


Bathroom Repair & Renovation
| Bathroom Tile/Bathtub/Mold Removal &
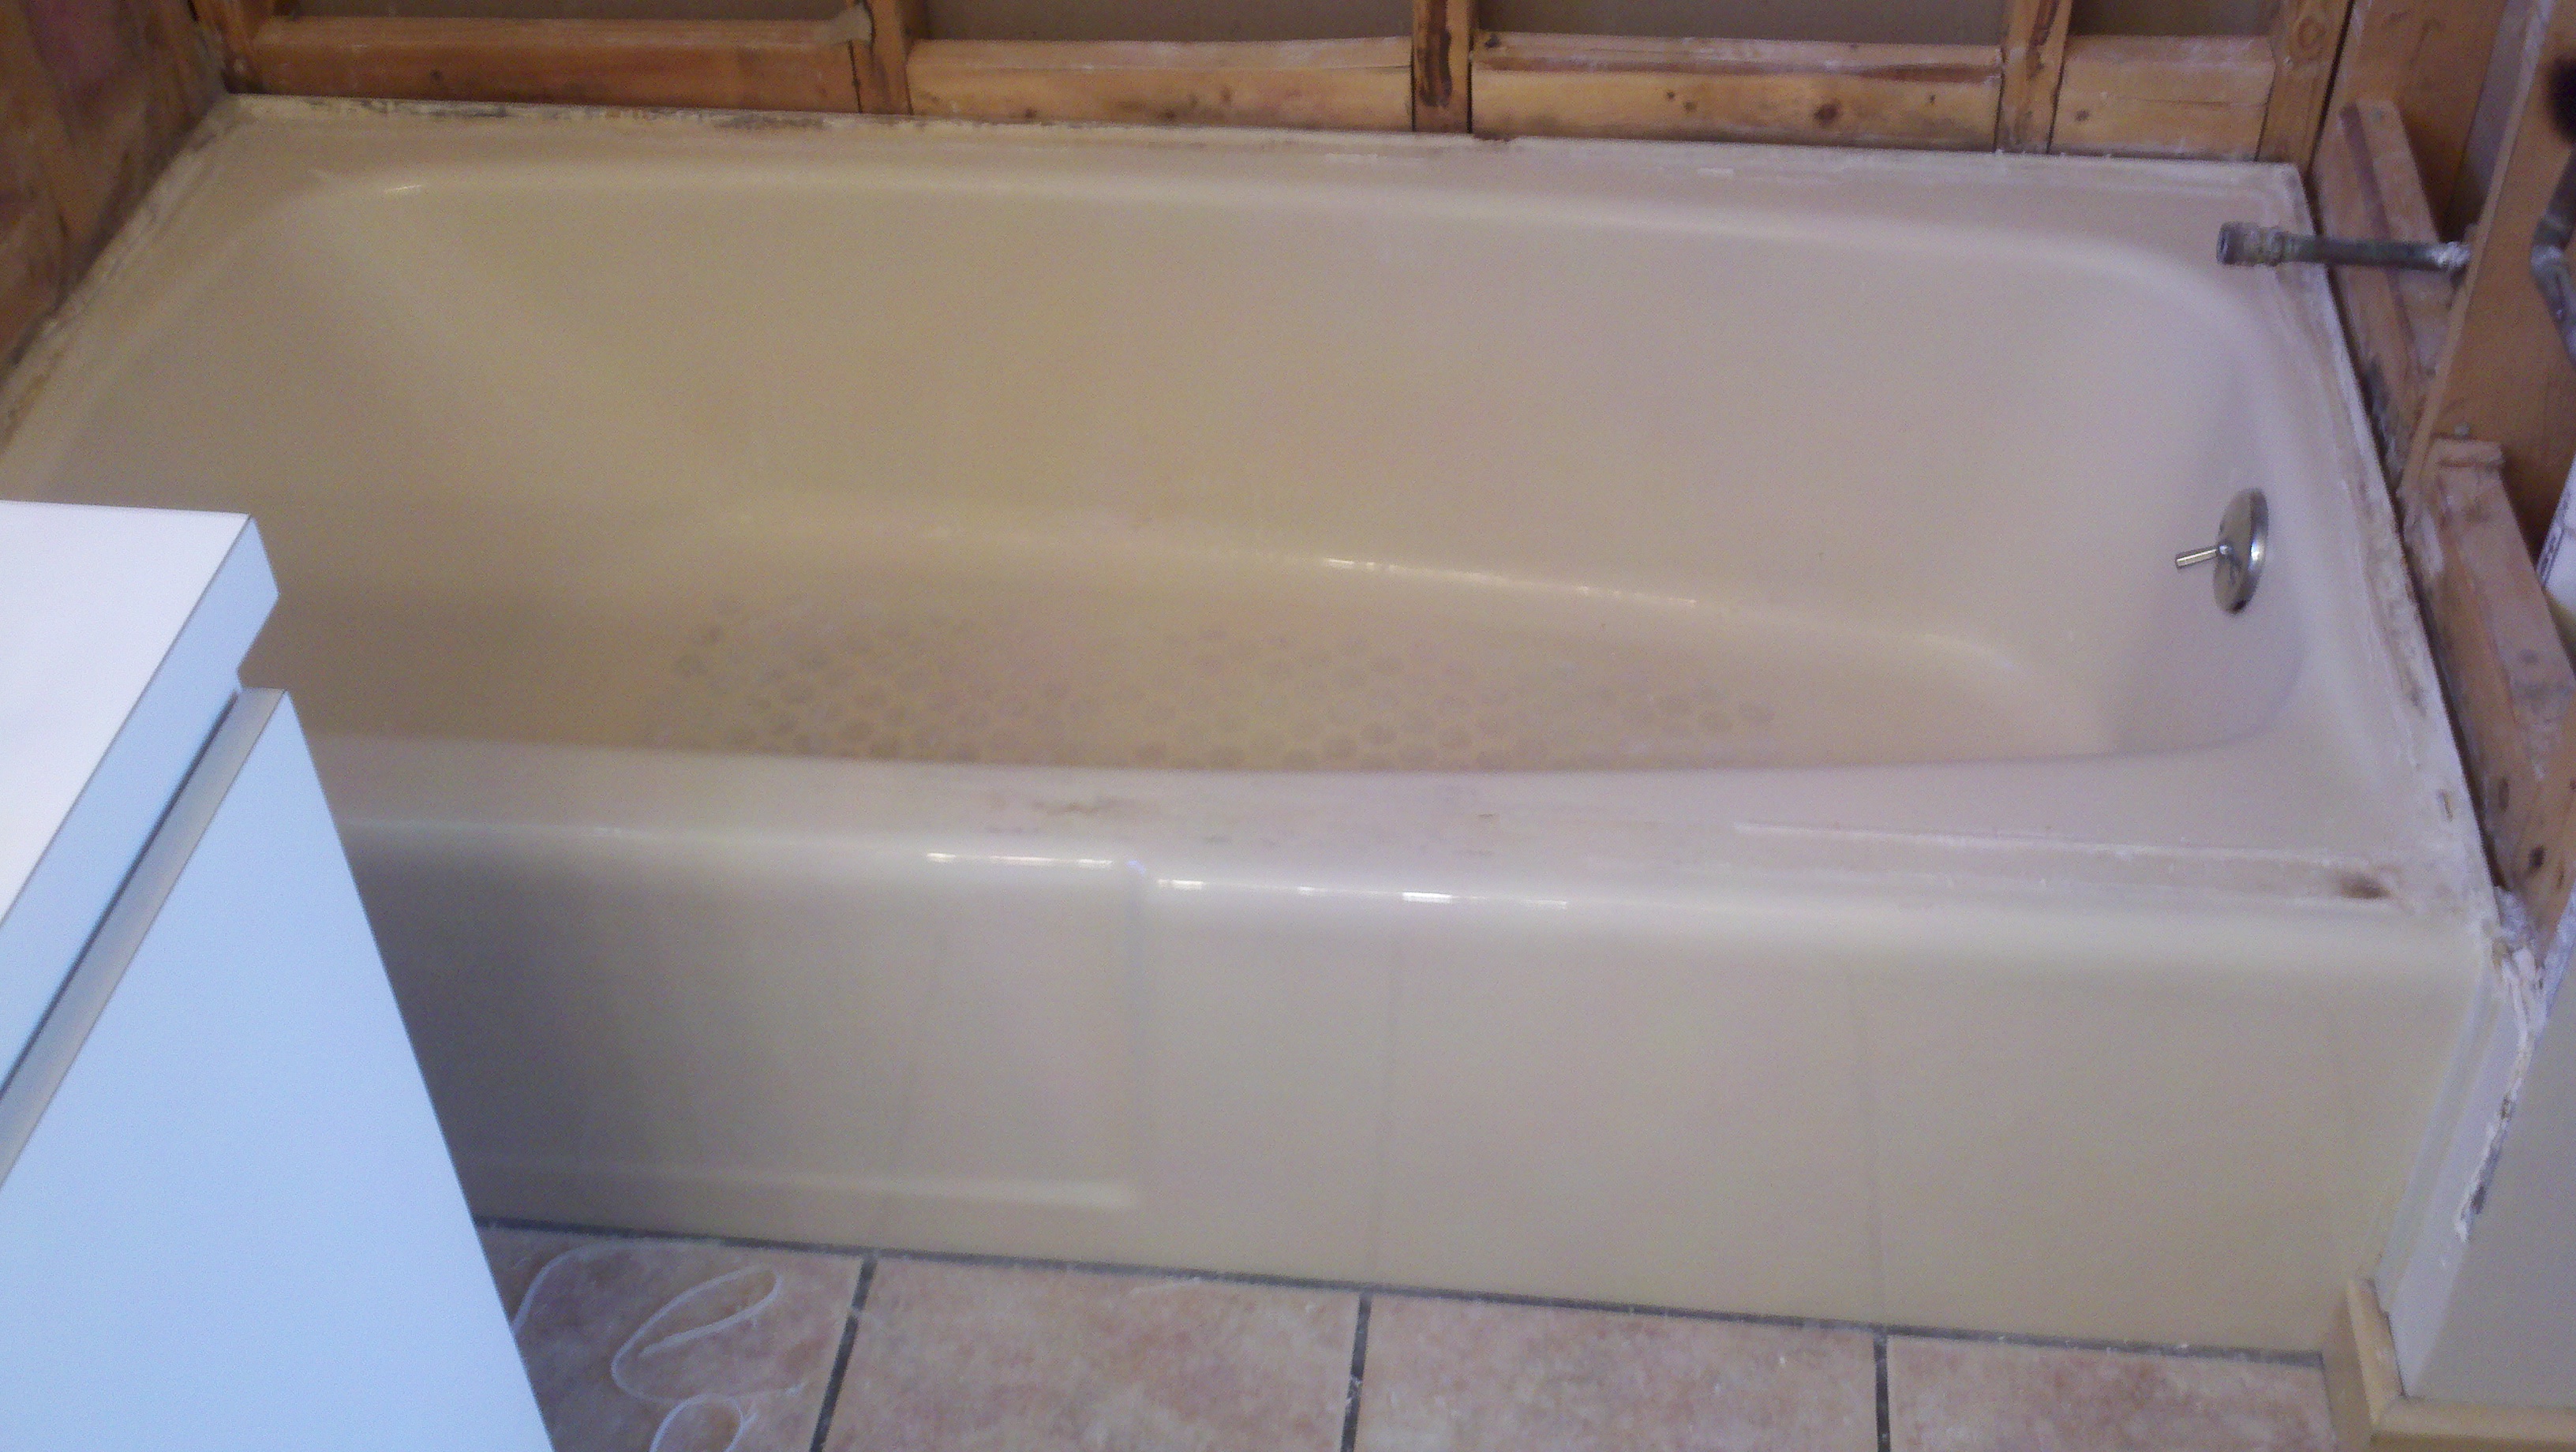
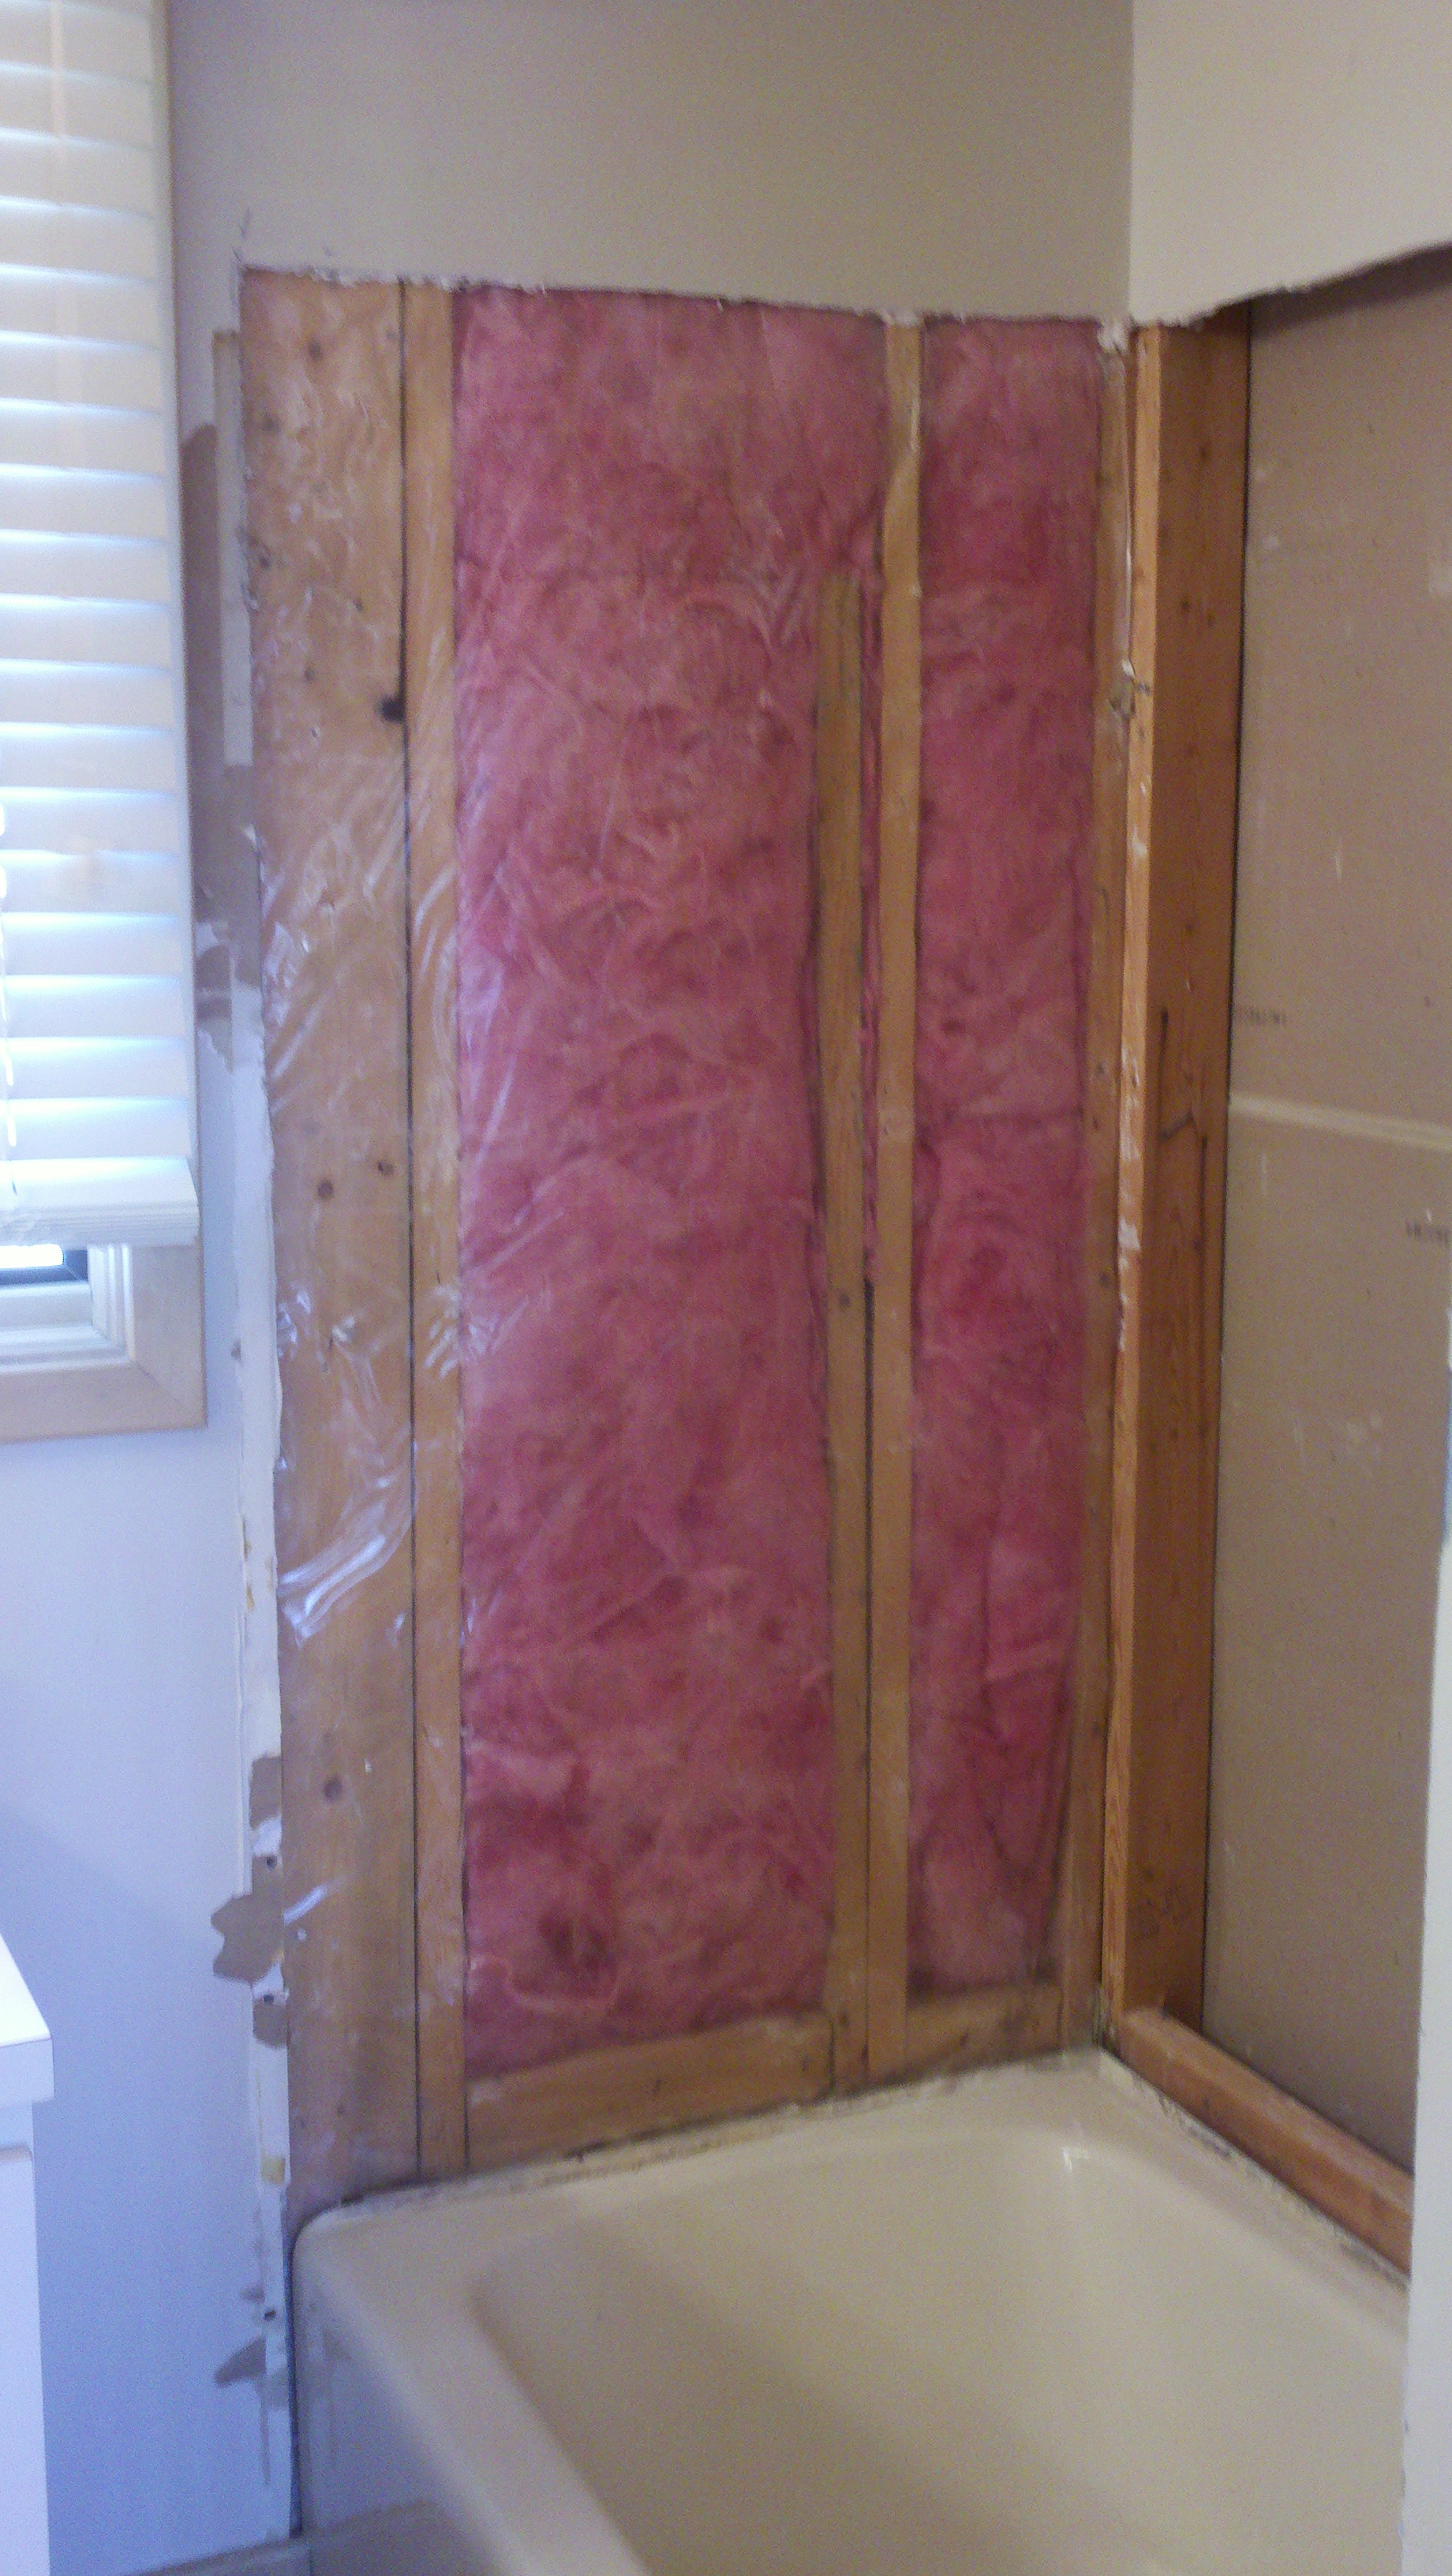
Shower Walls/Bathtub Installation
|
| Master Bathroom
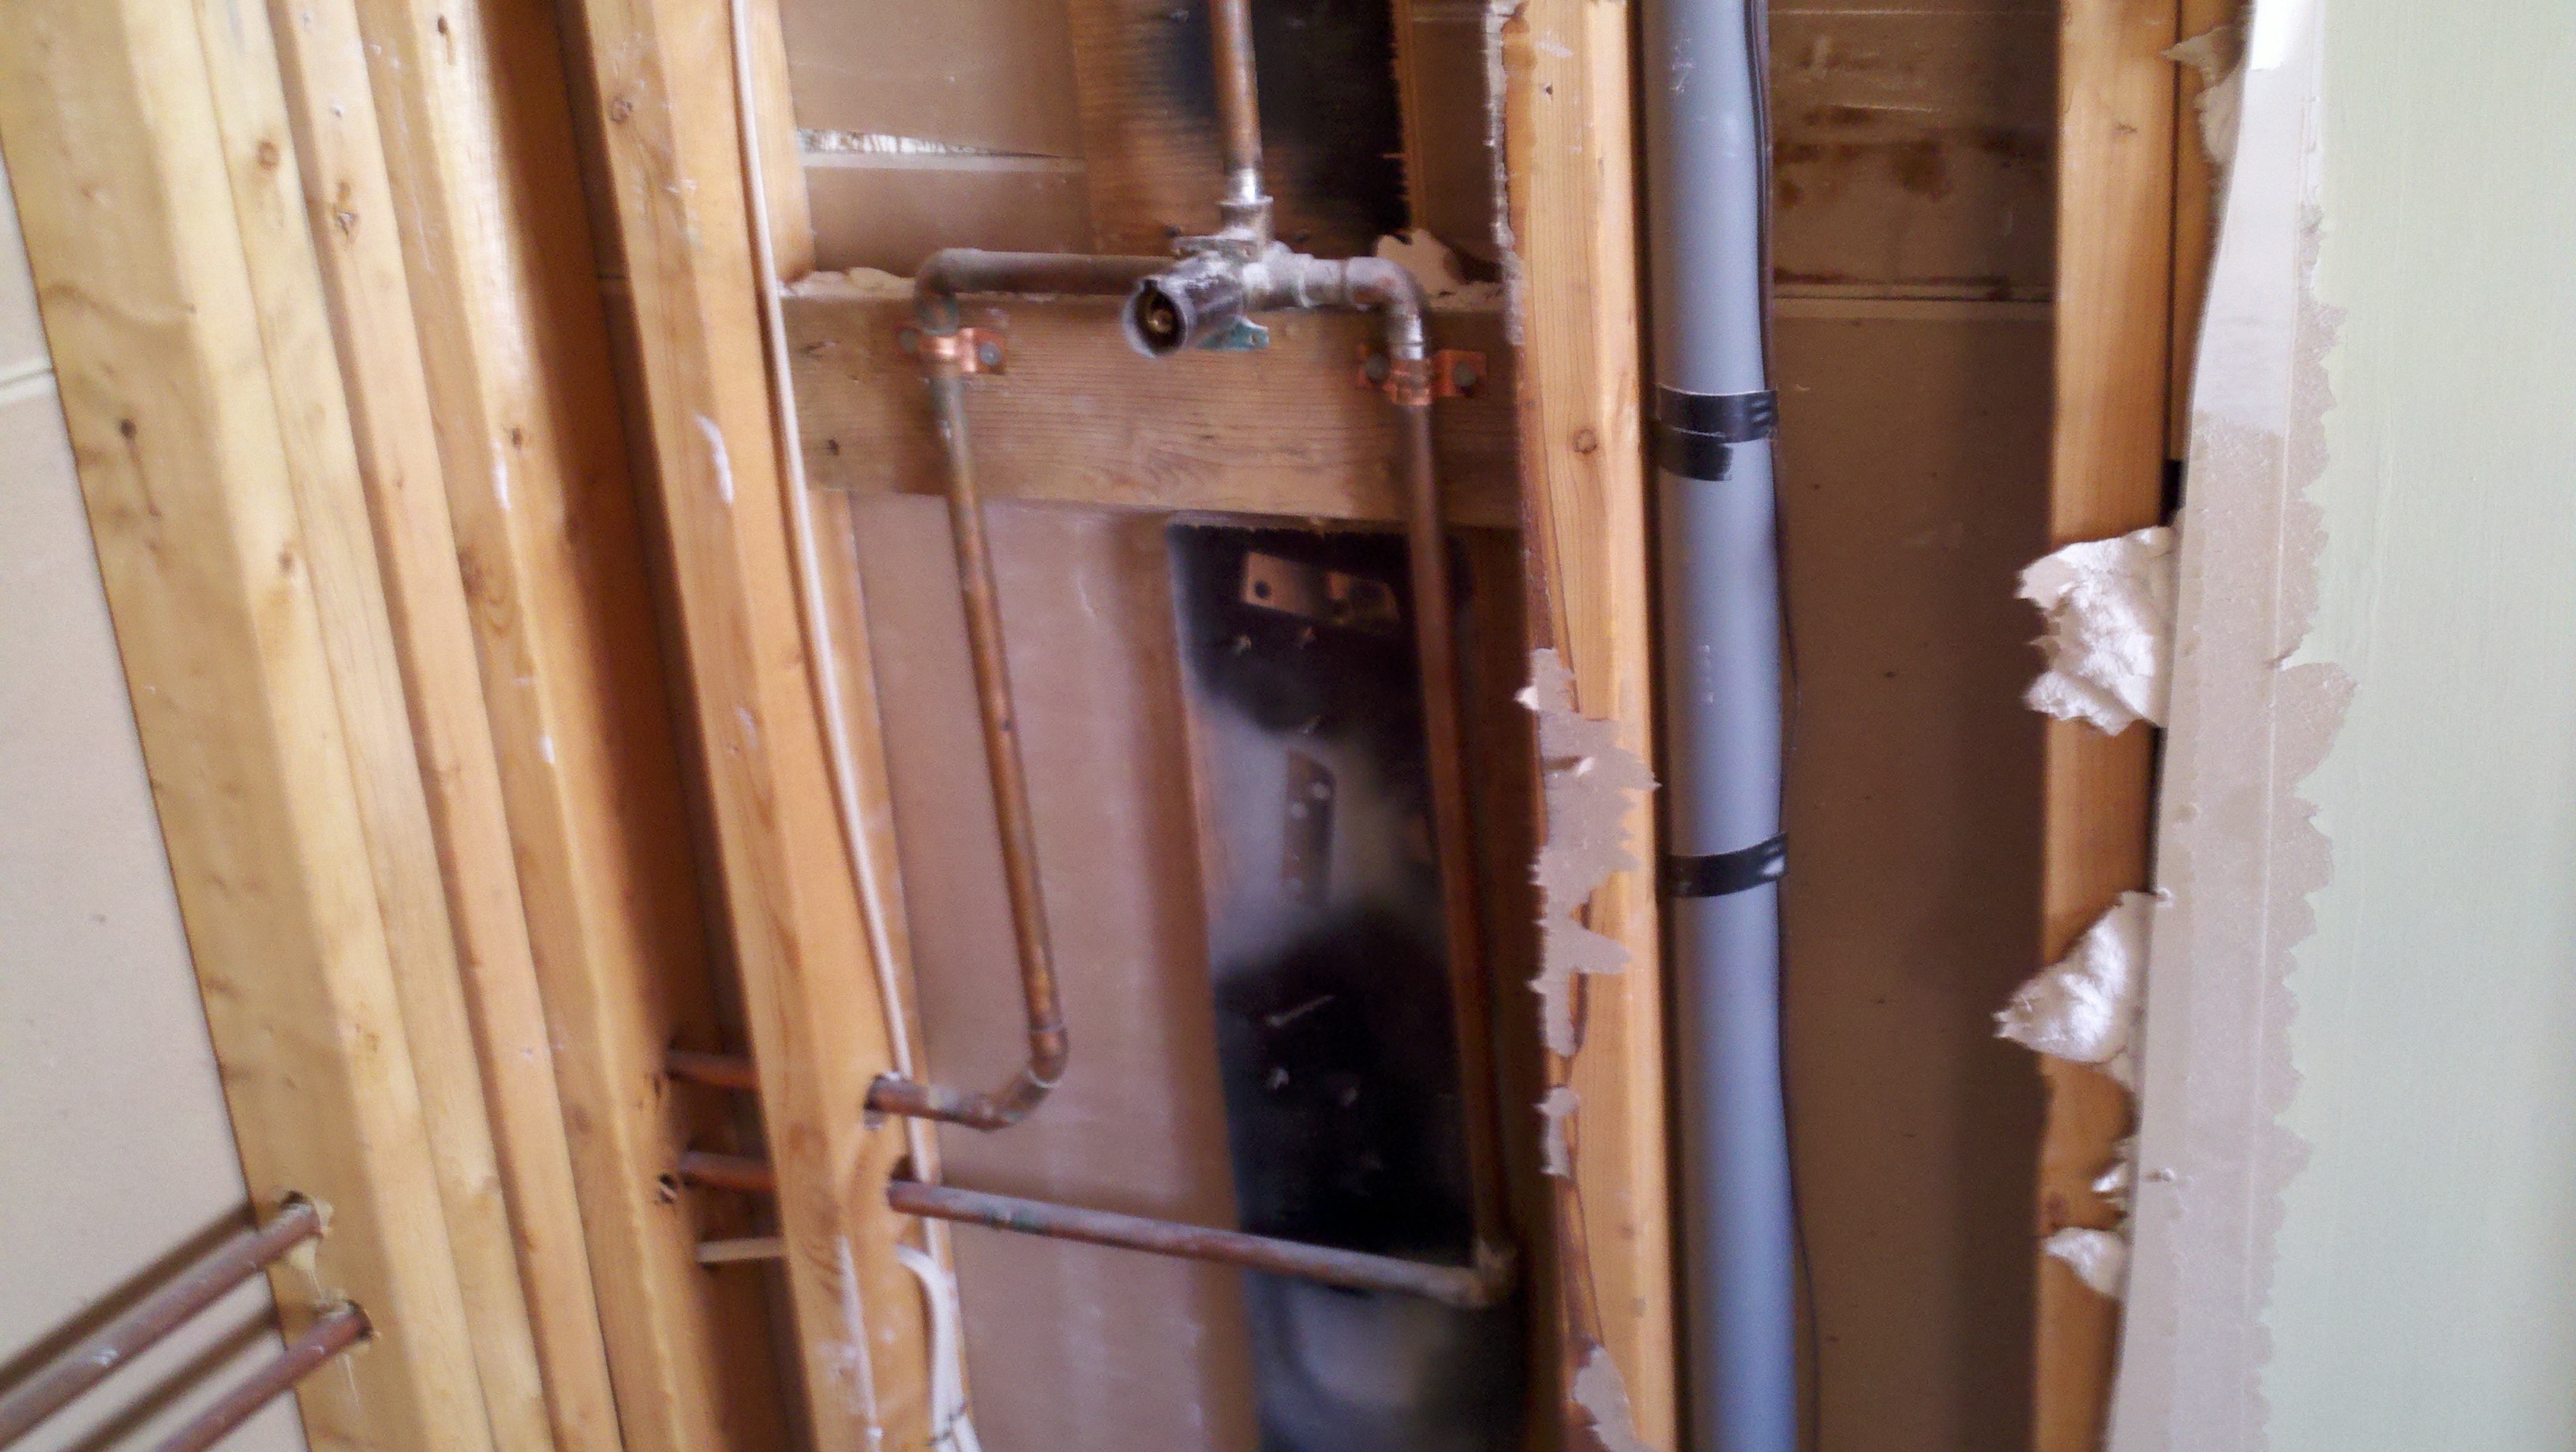
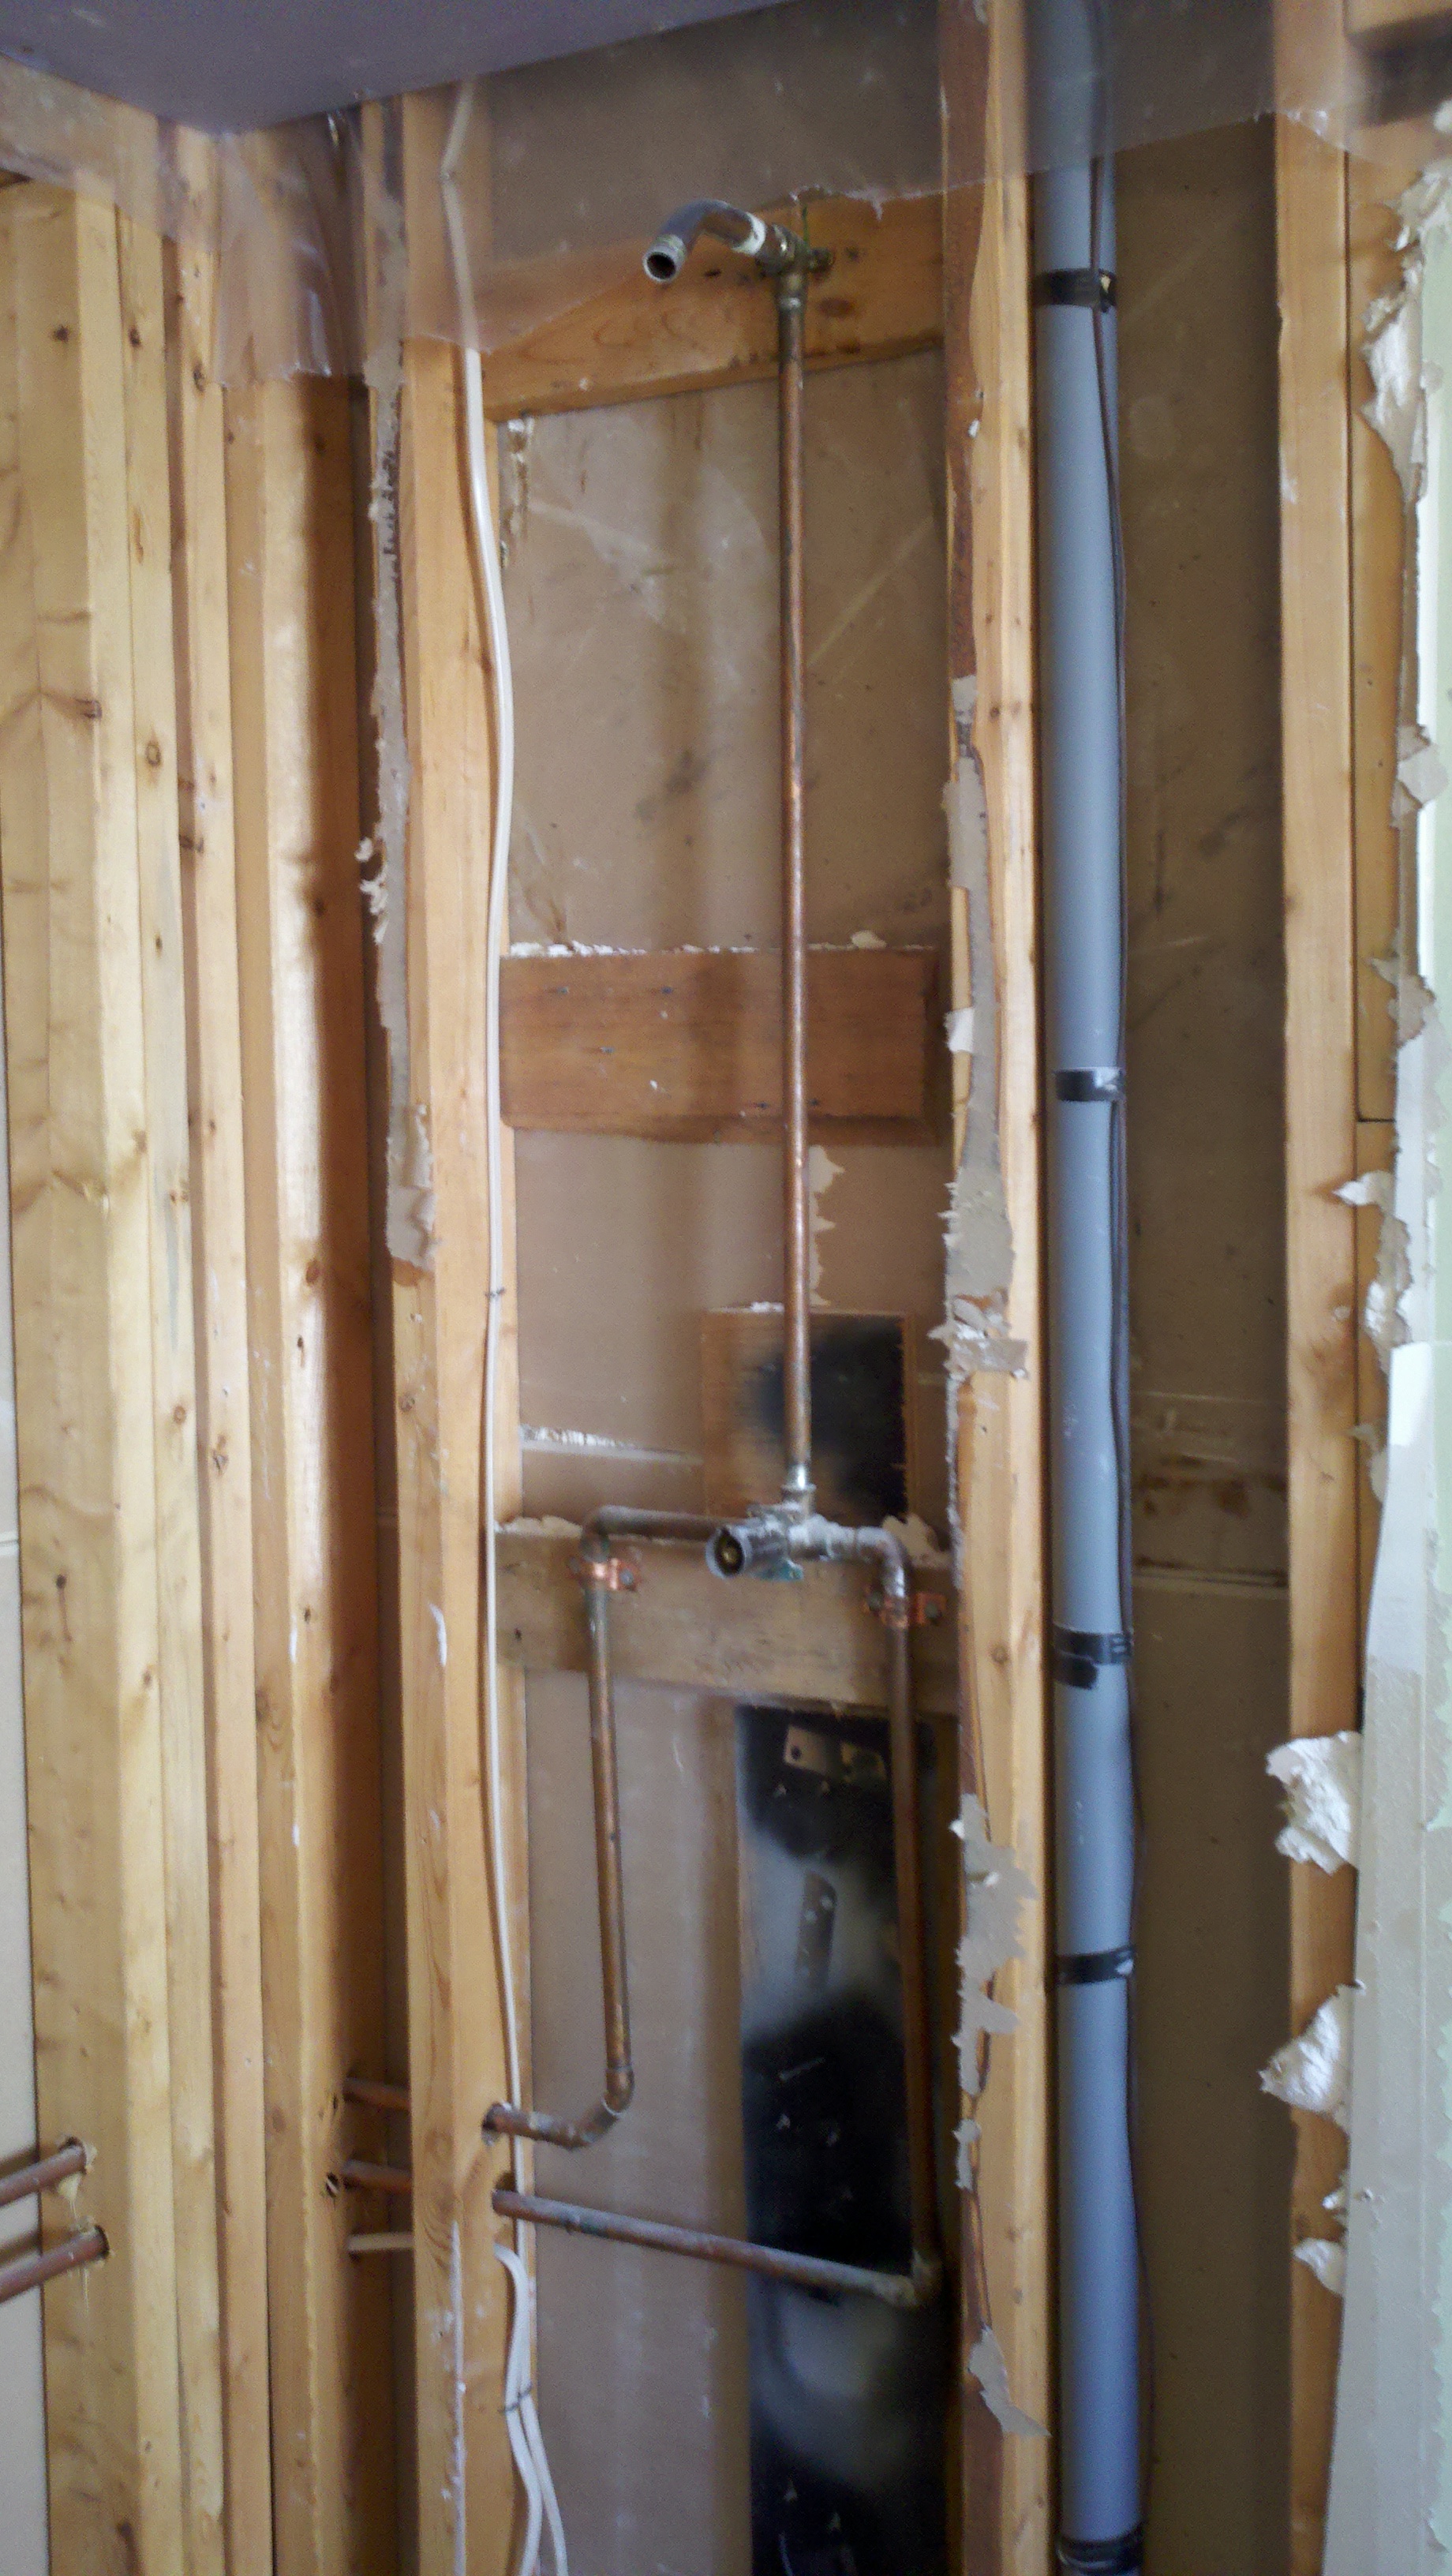
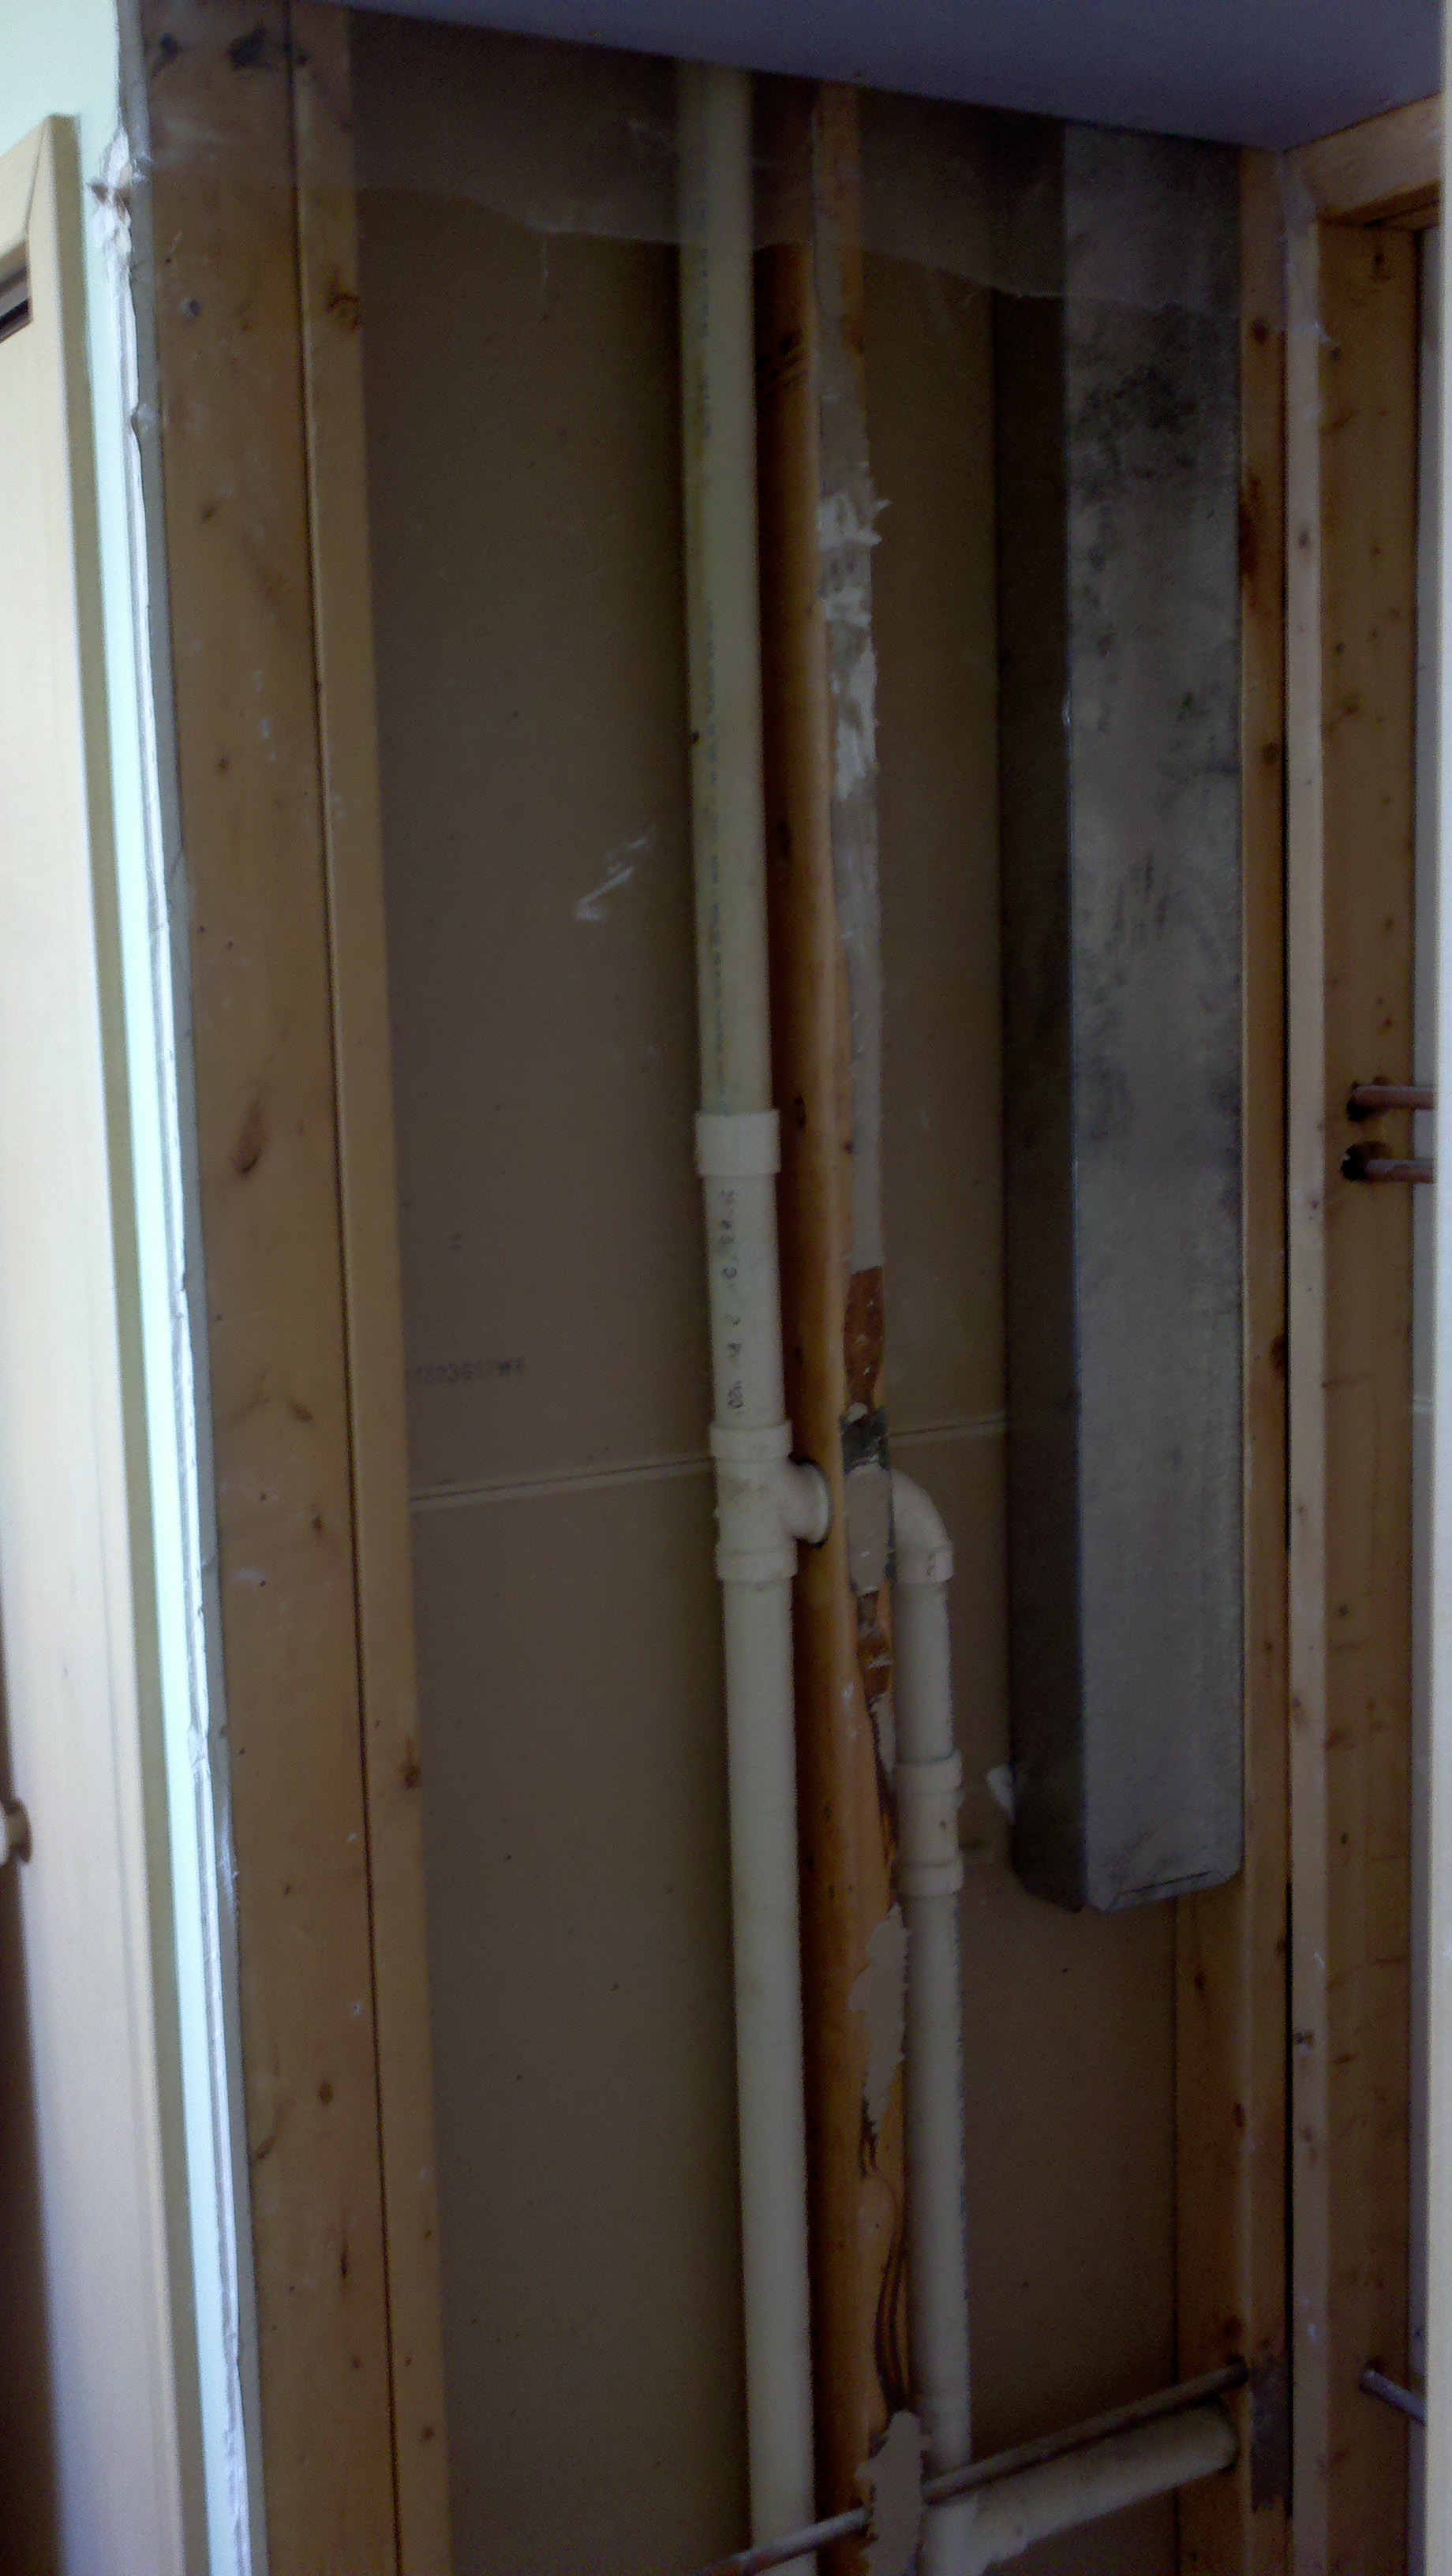
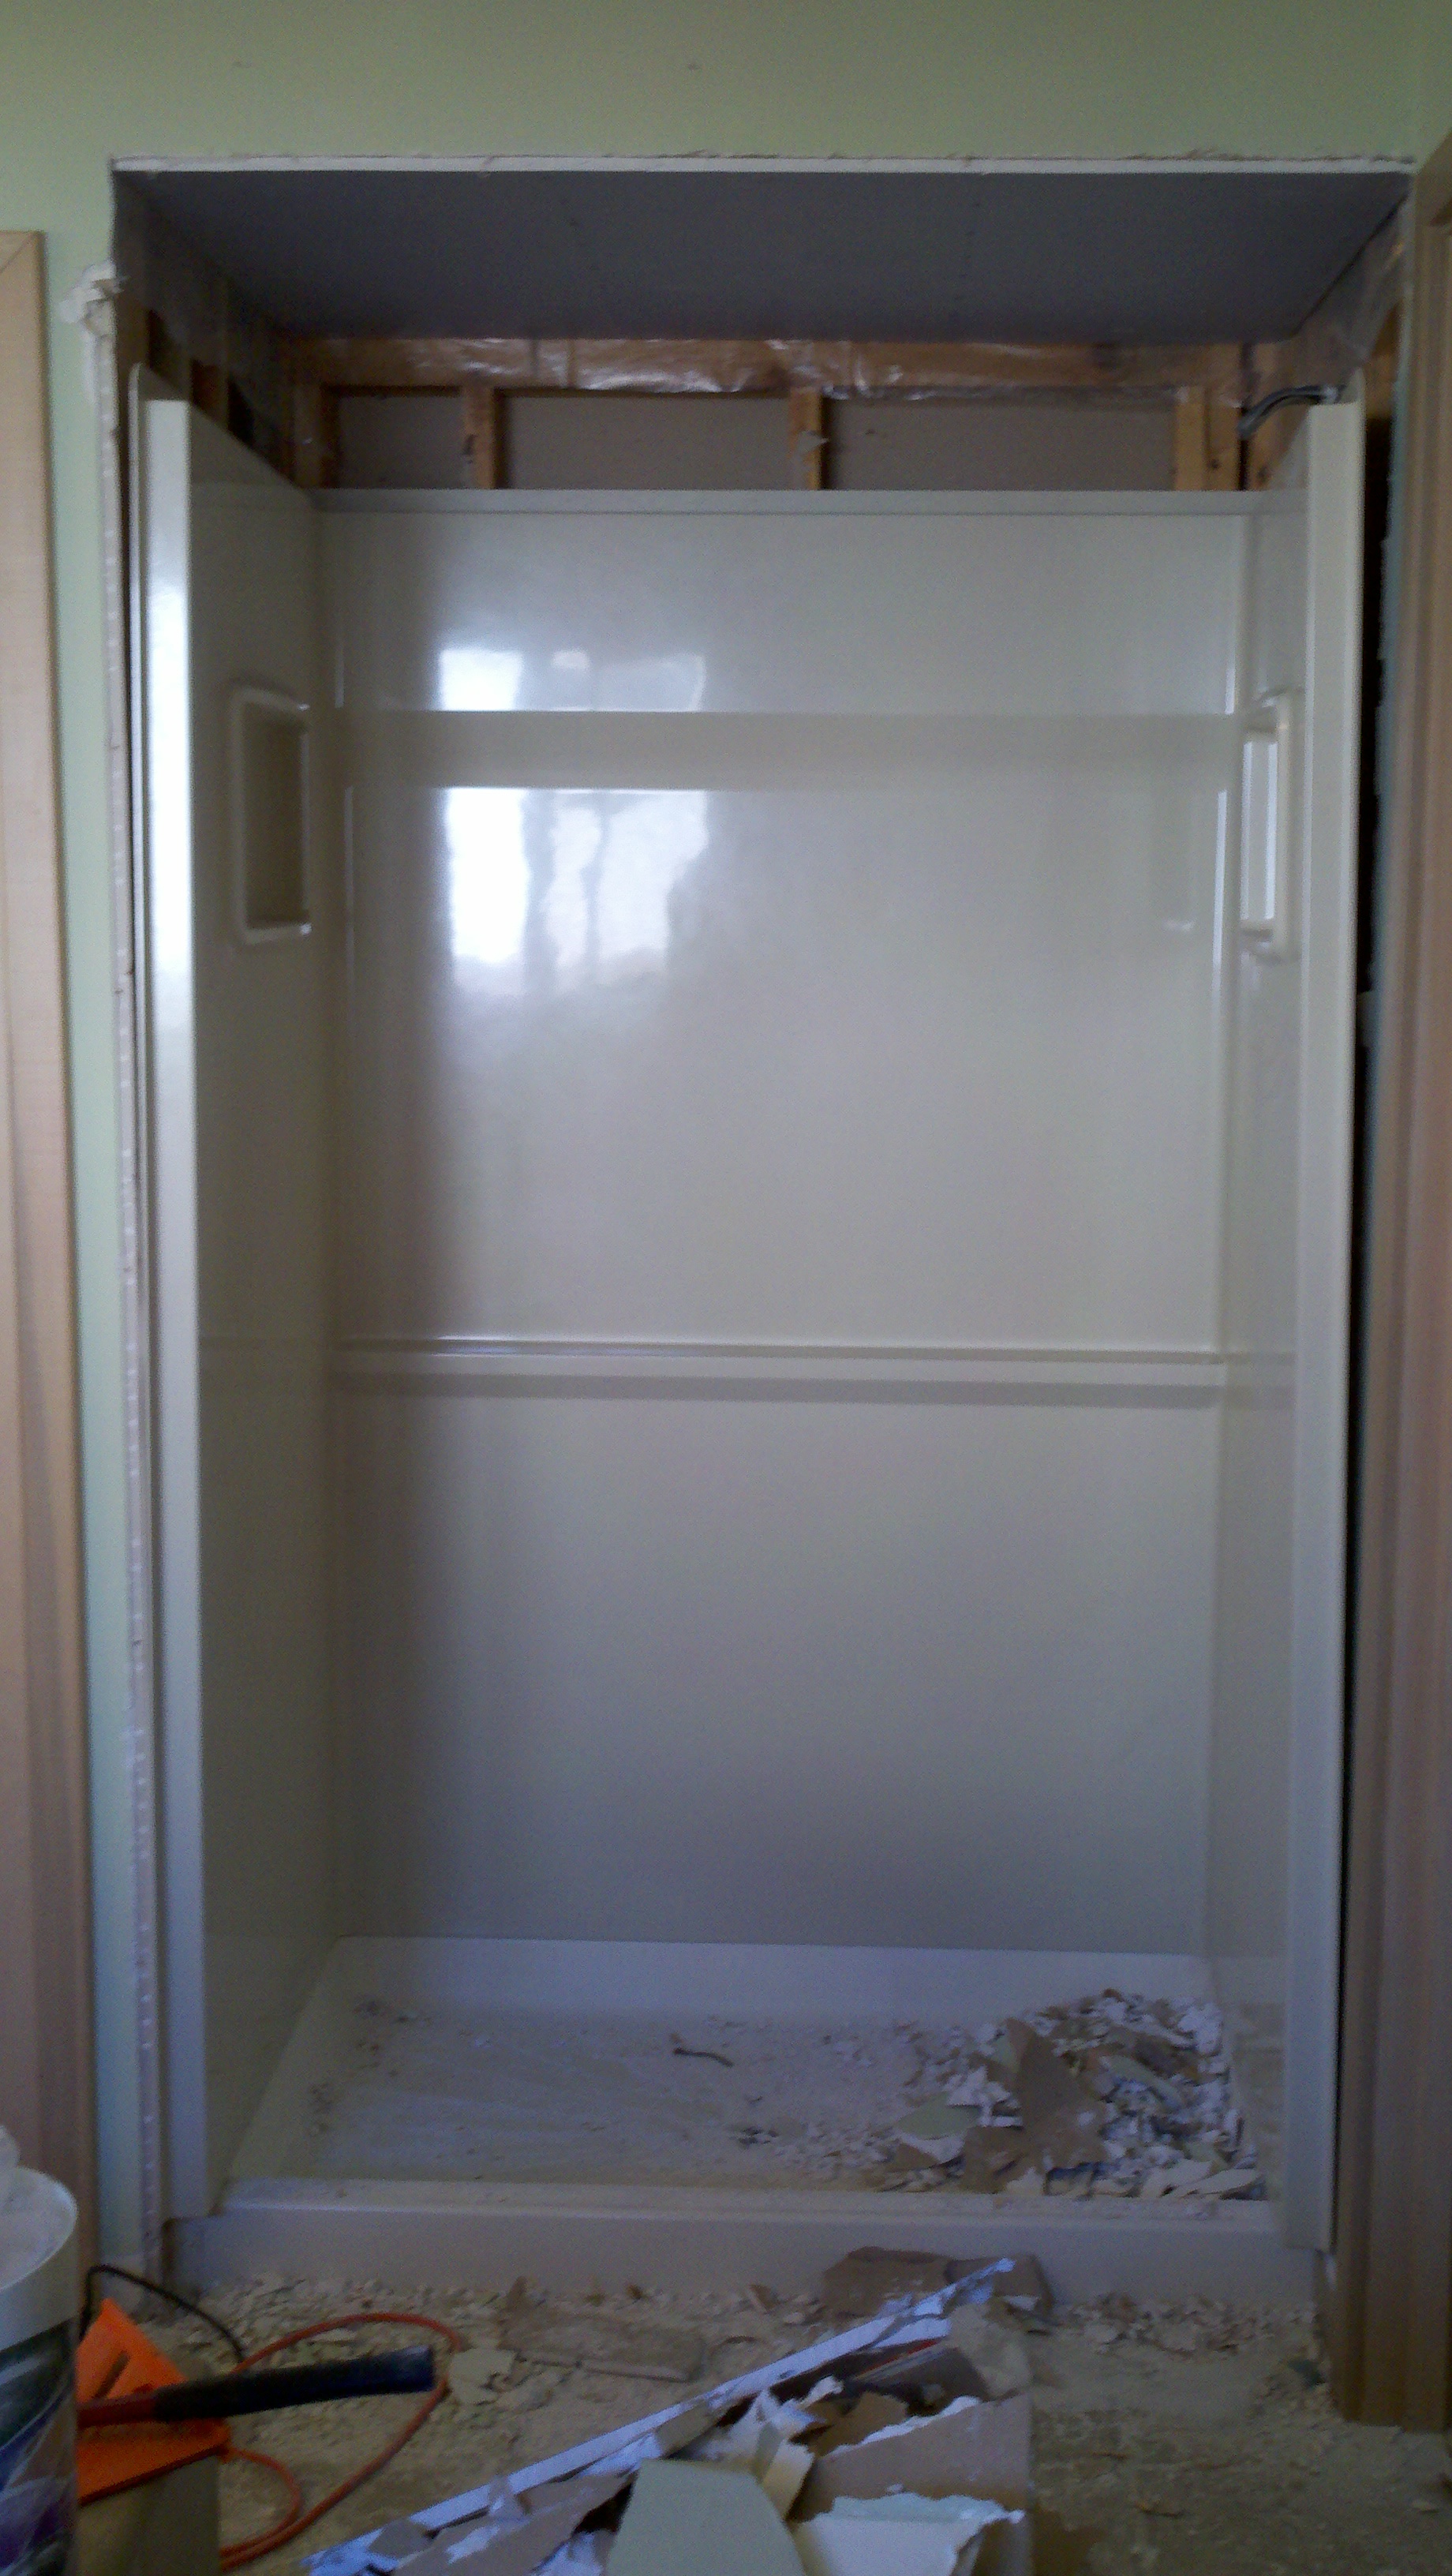
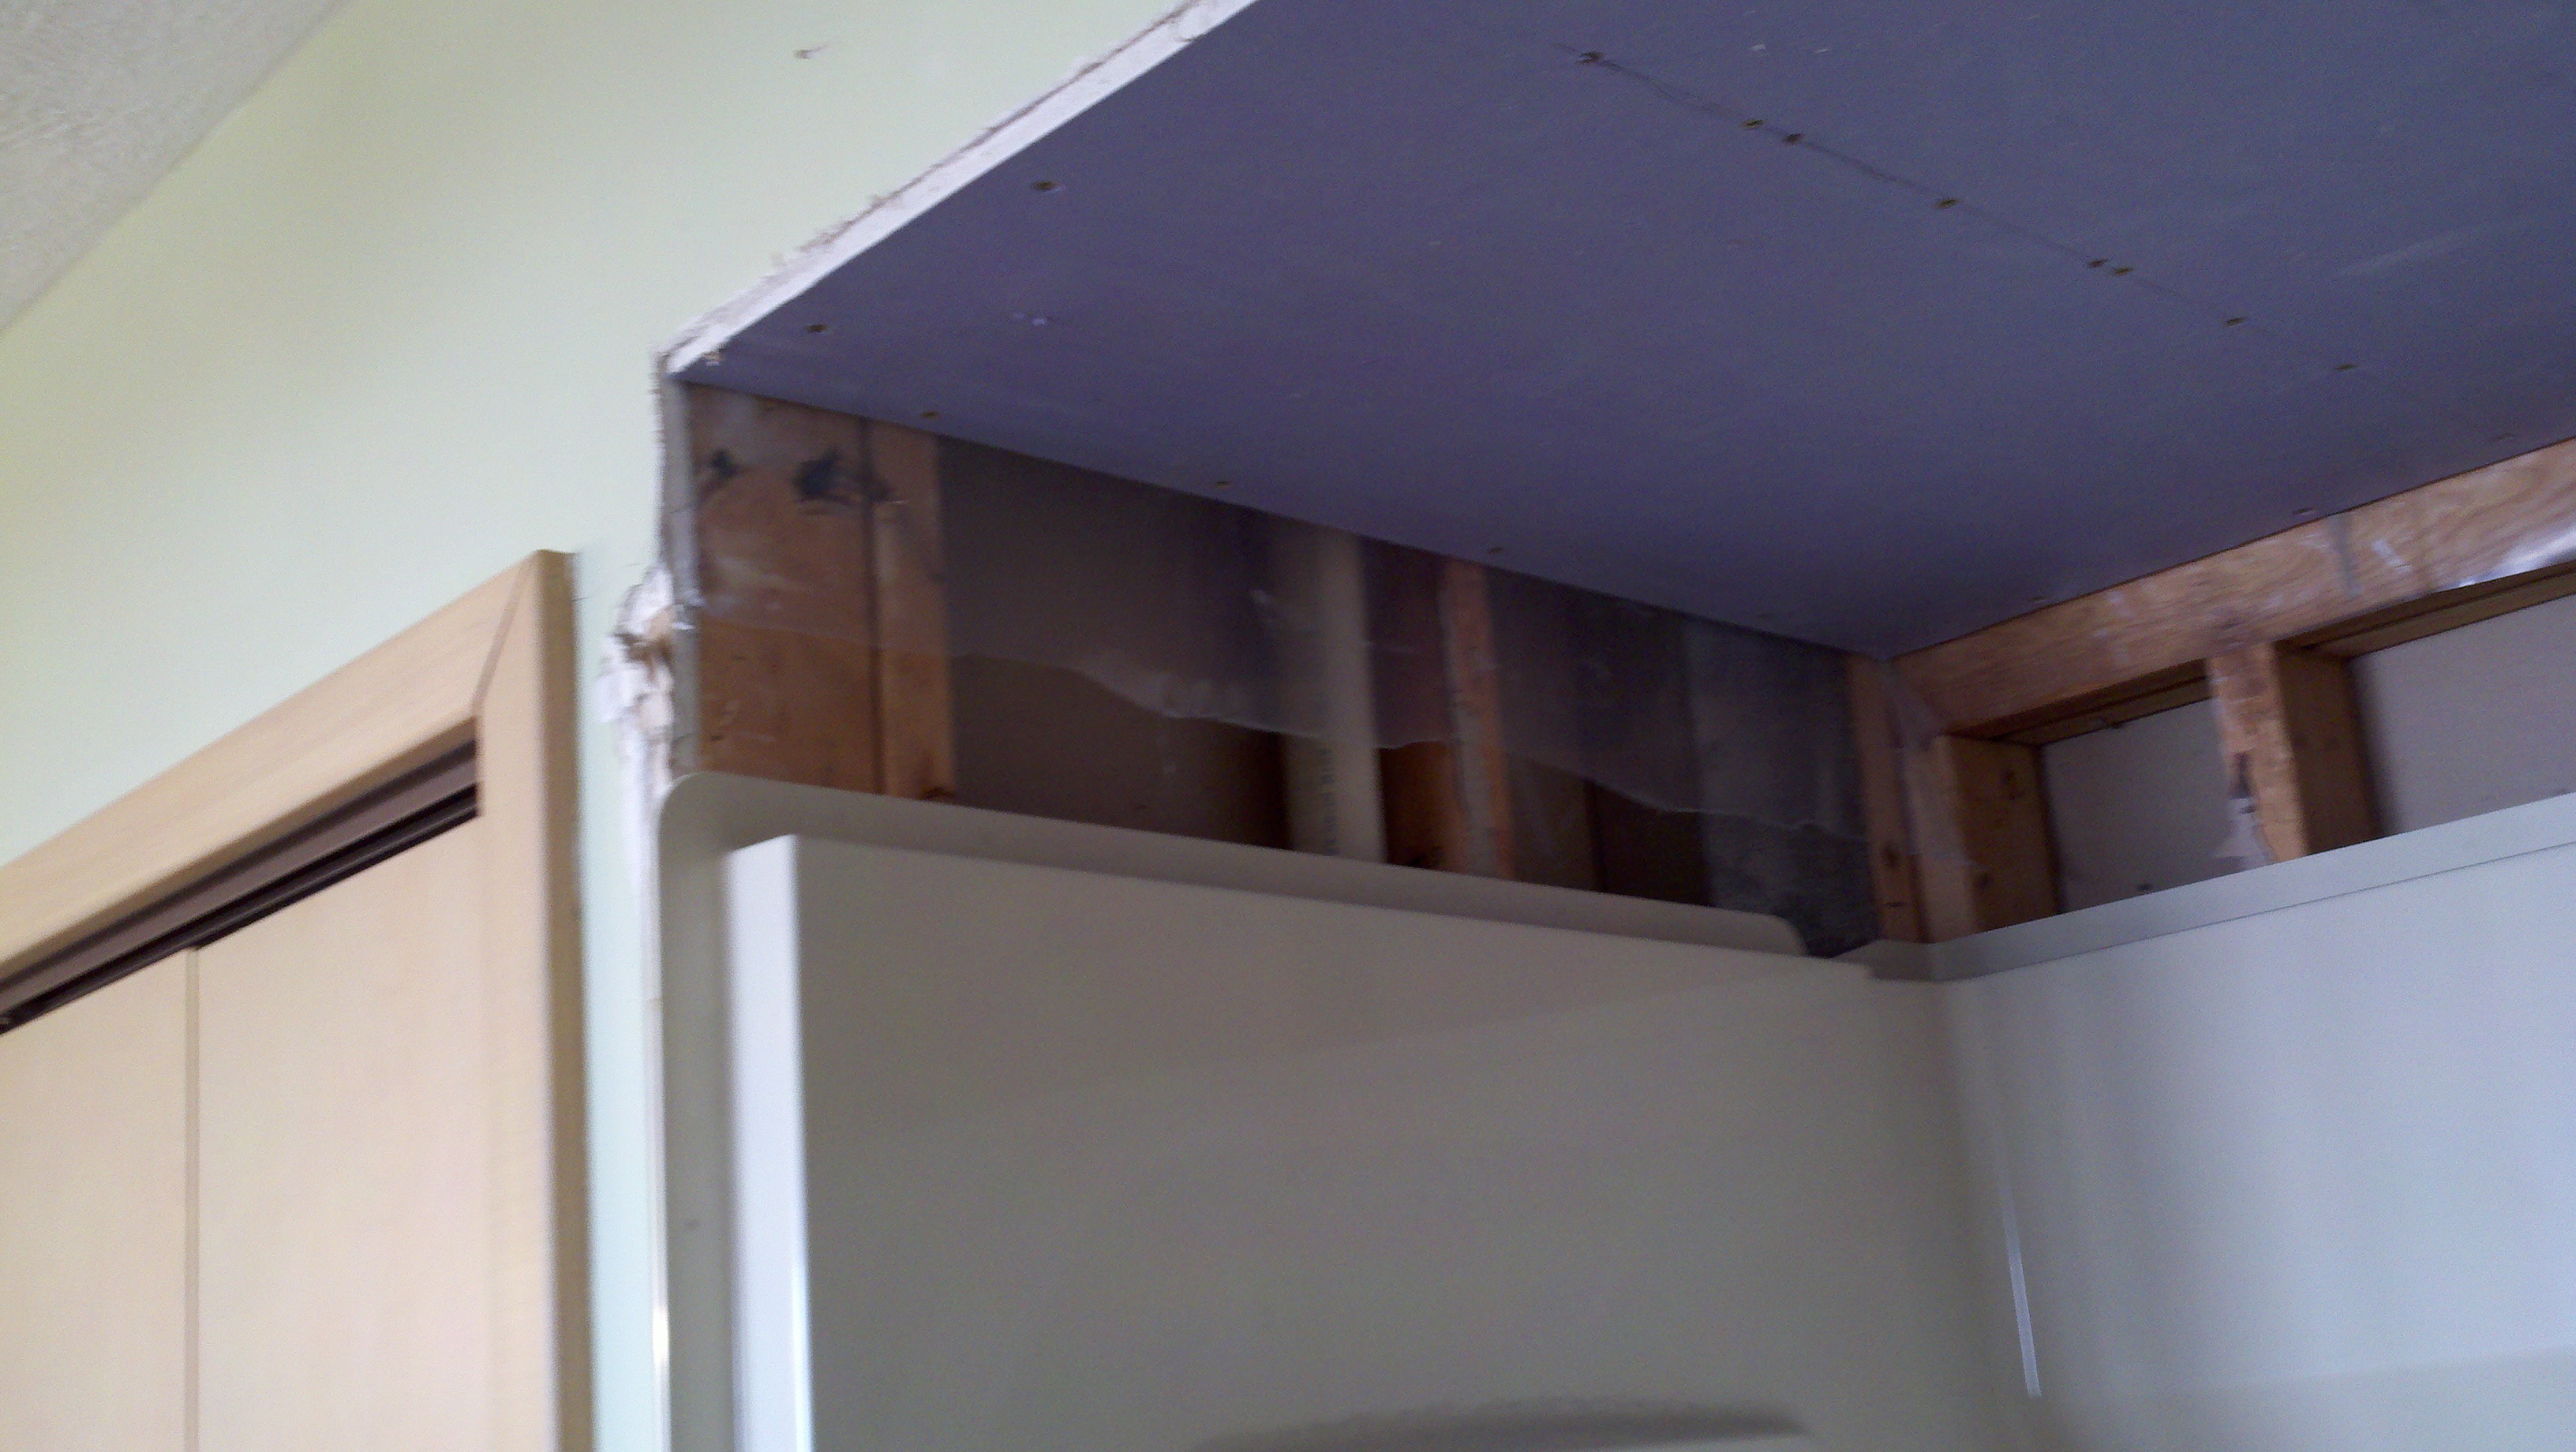
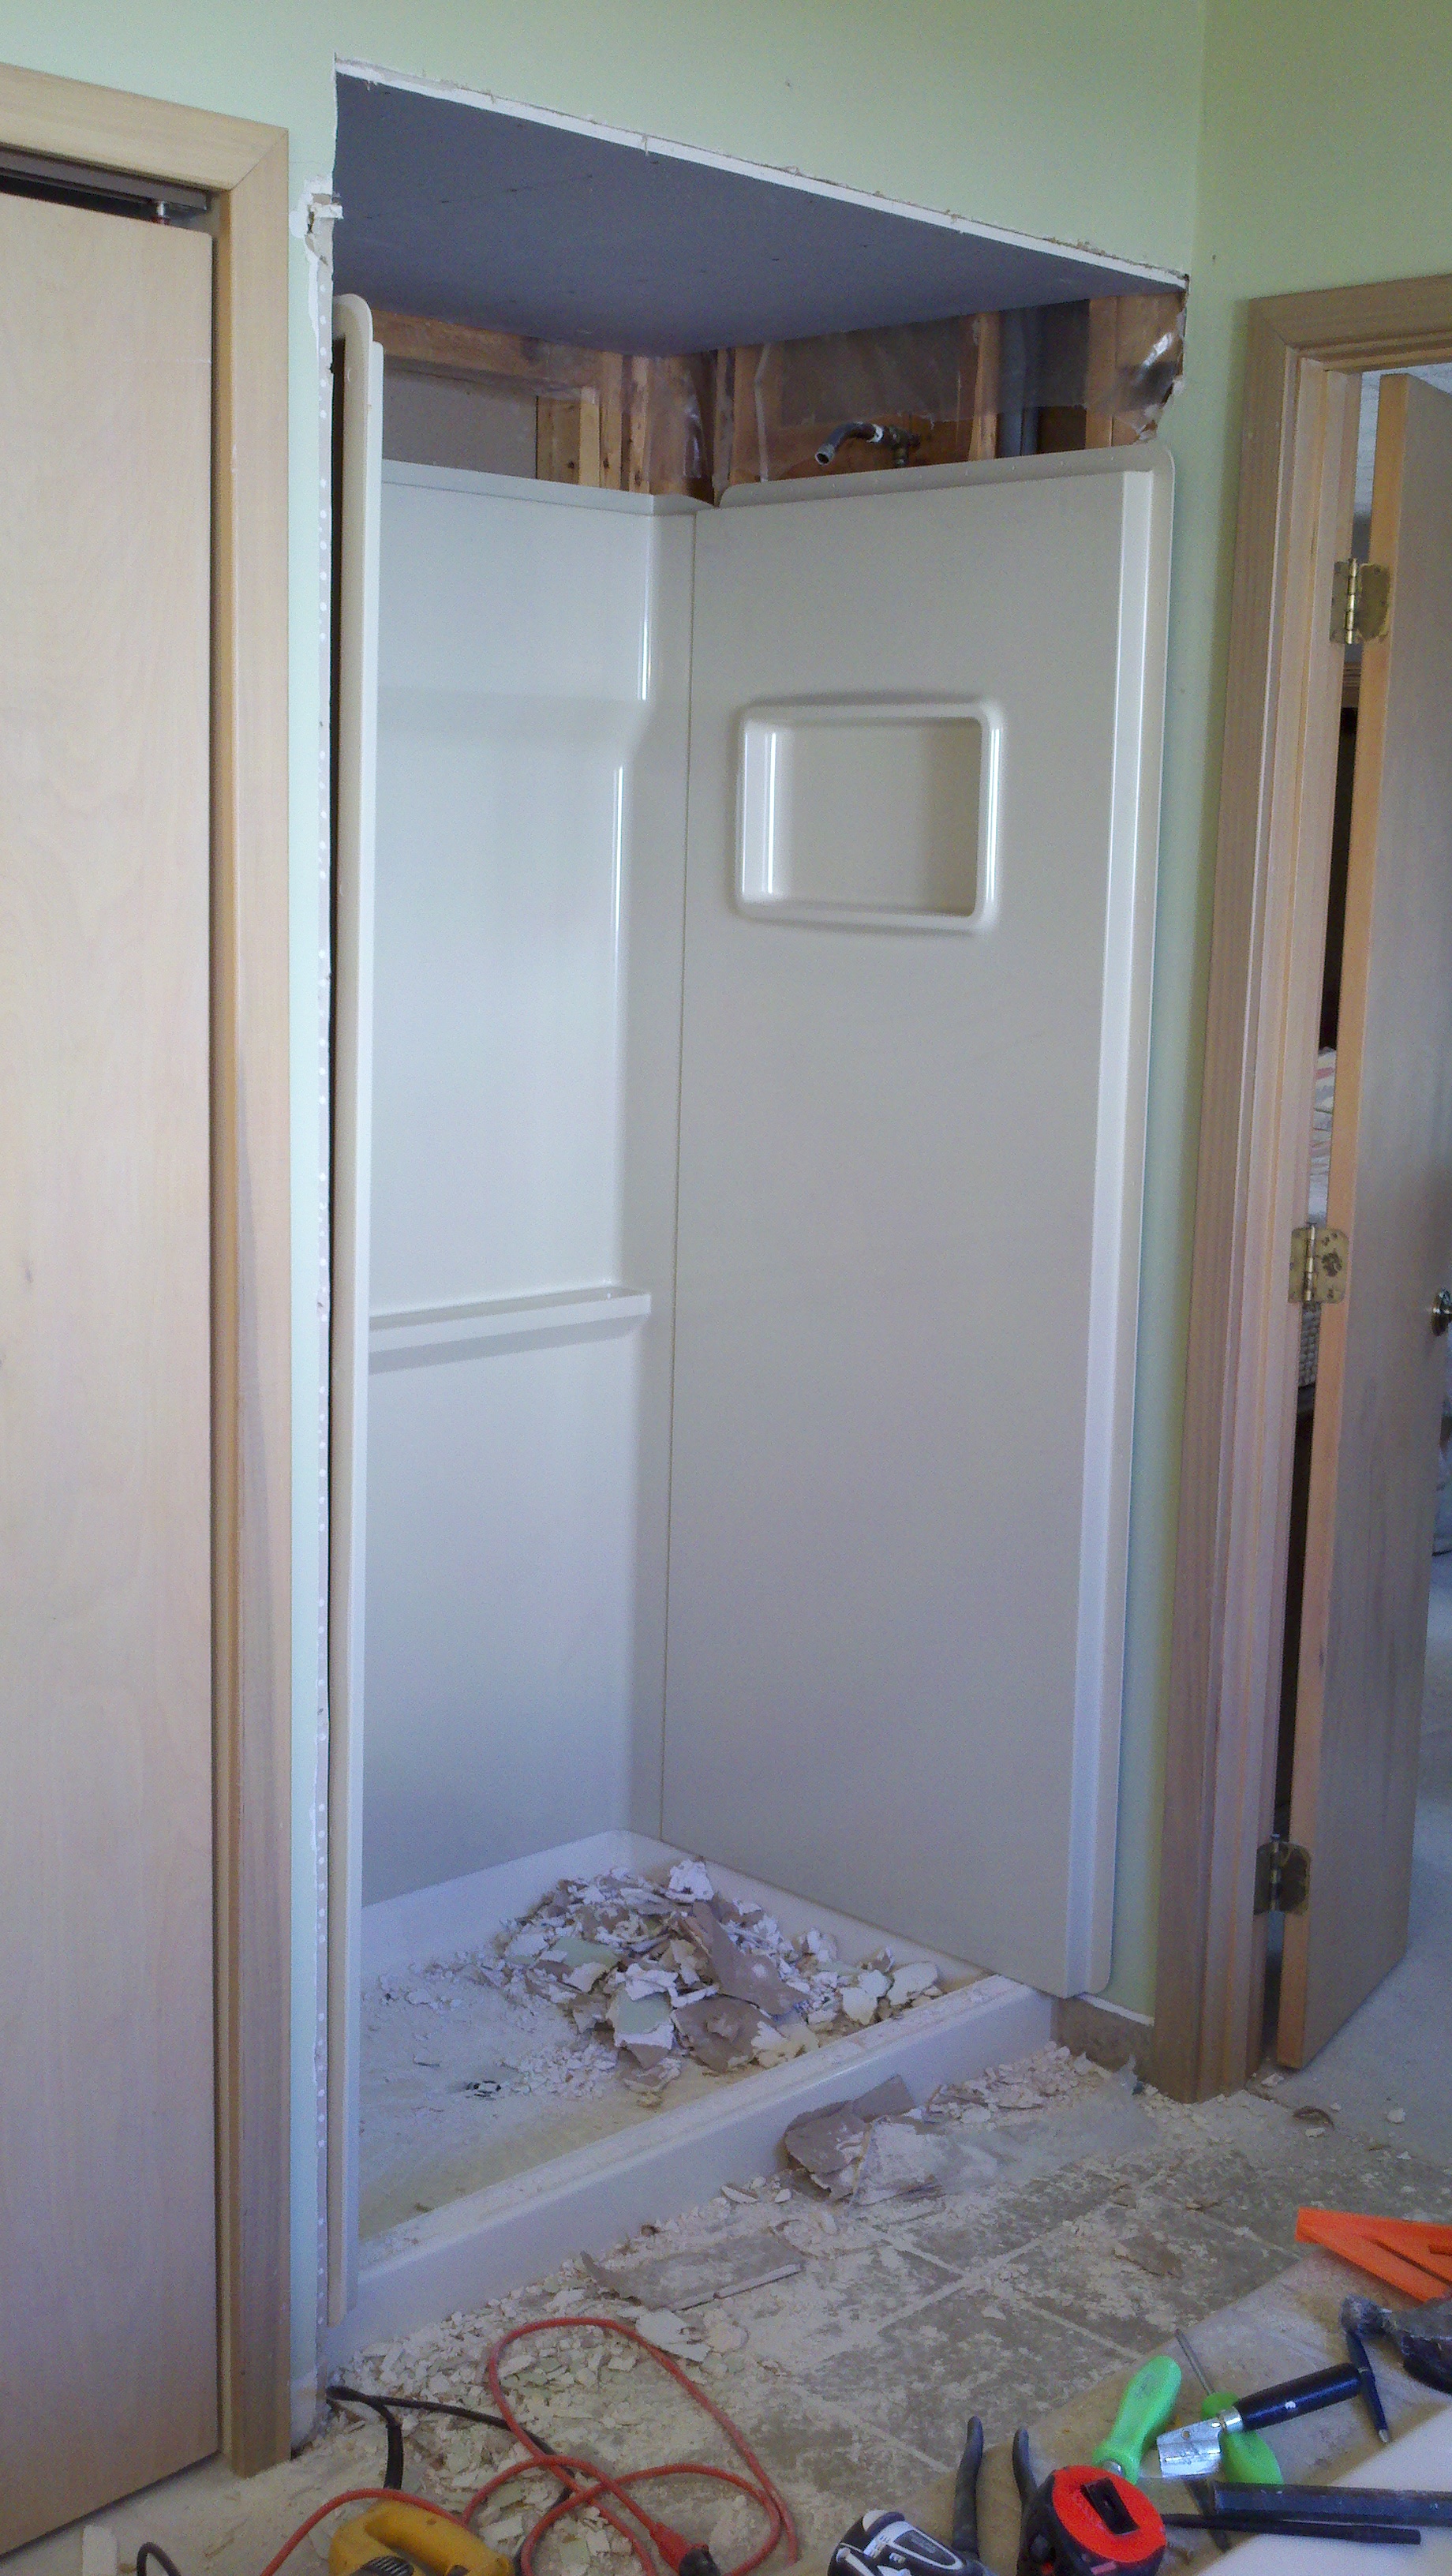
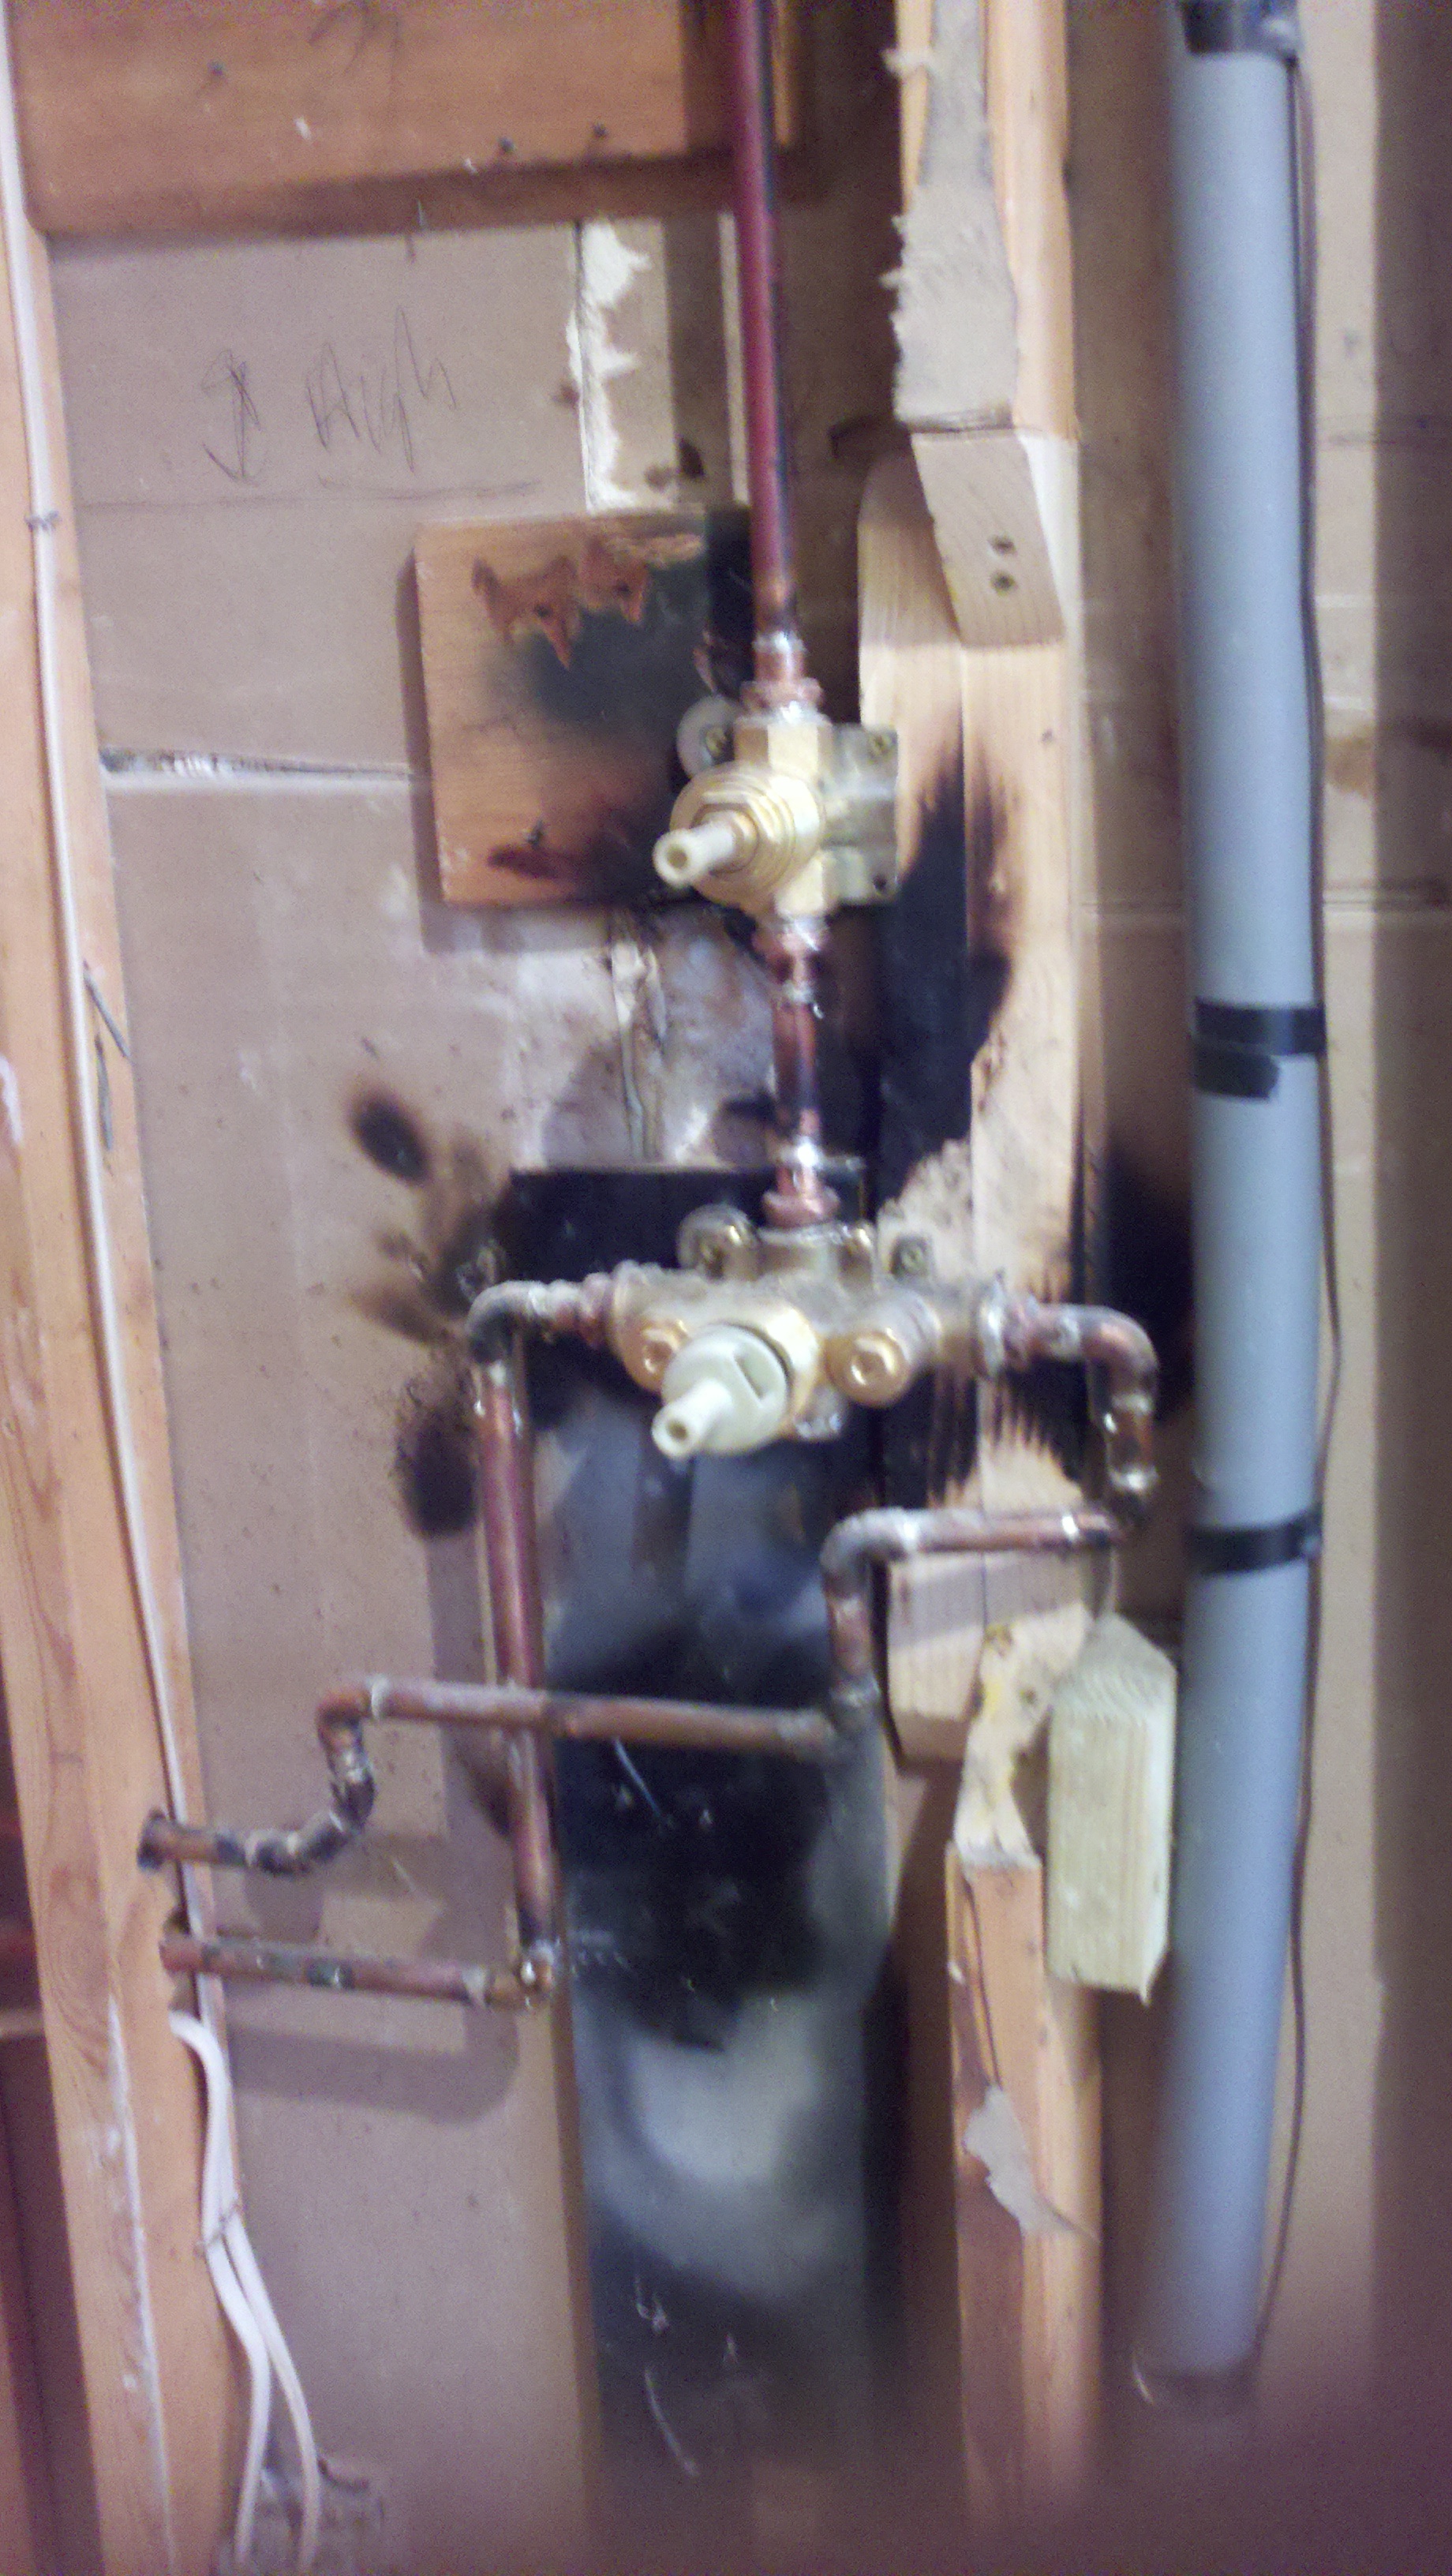
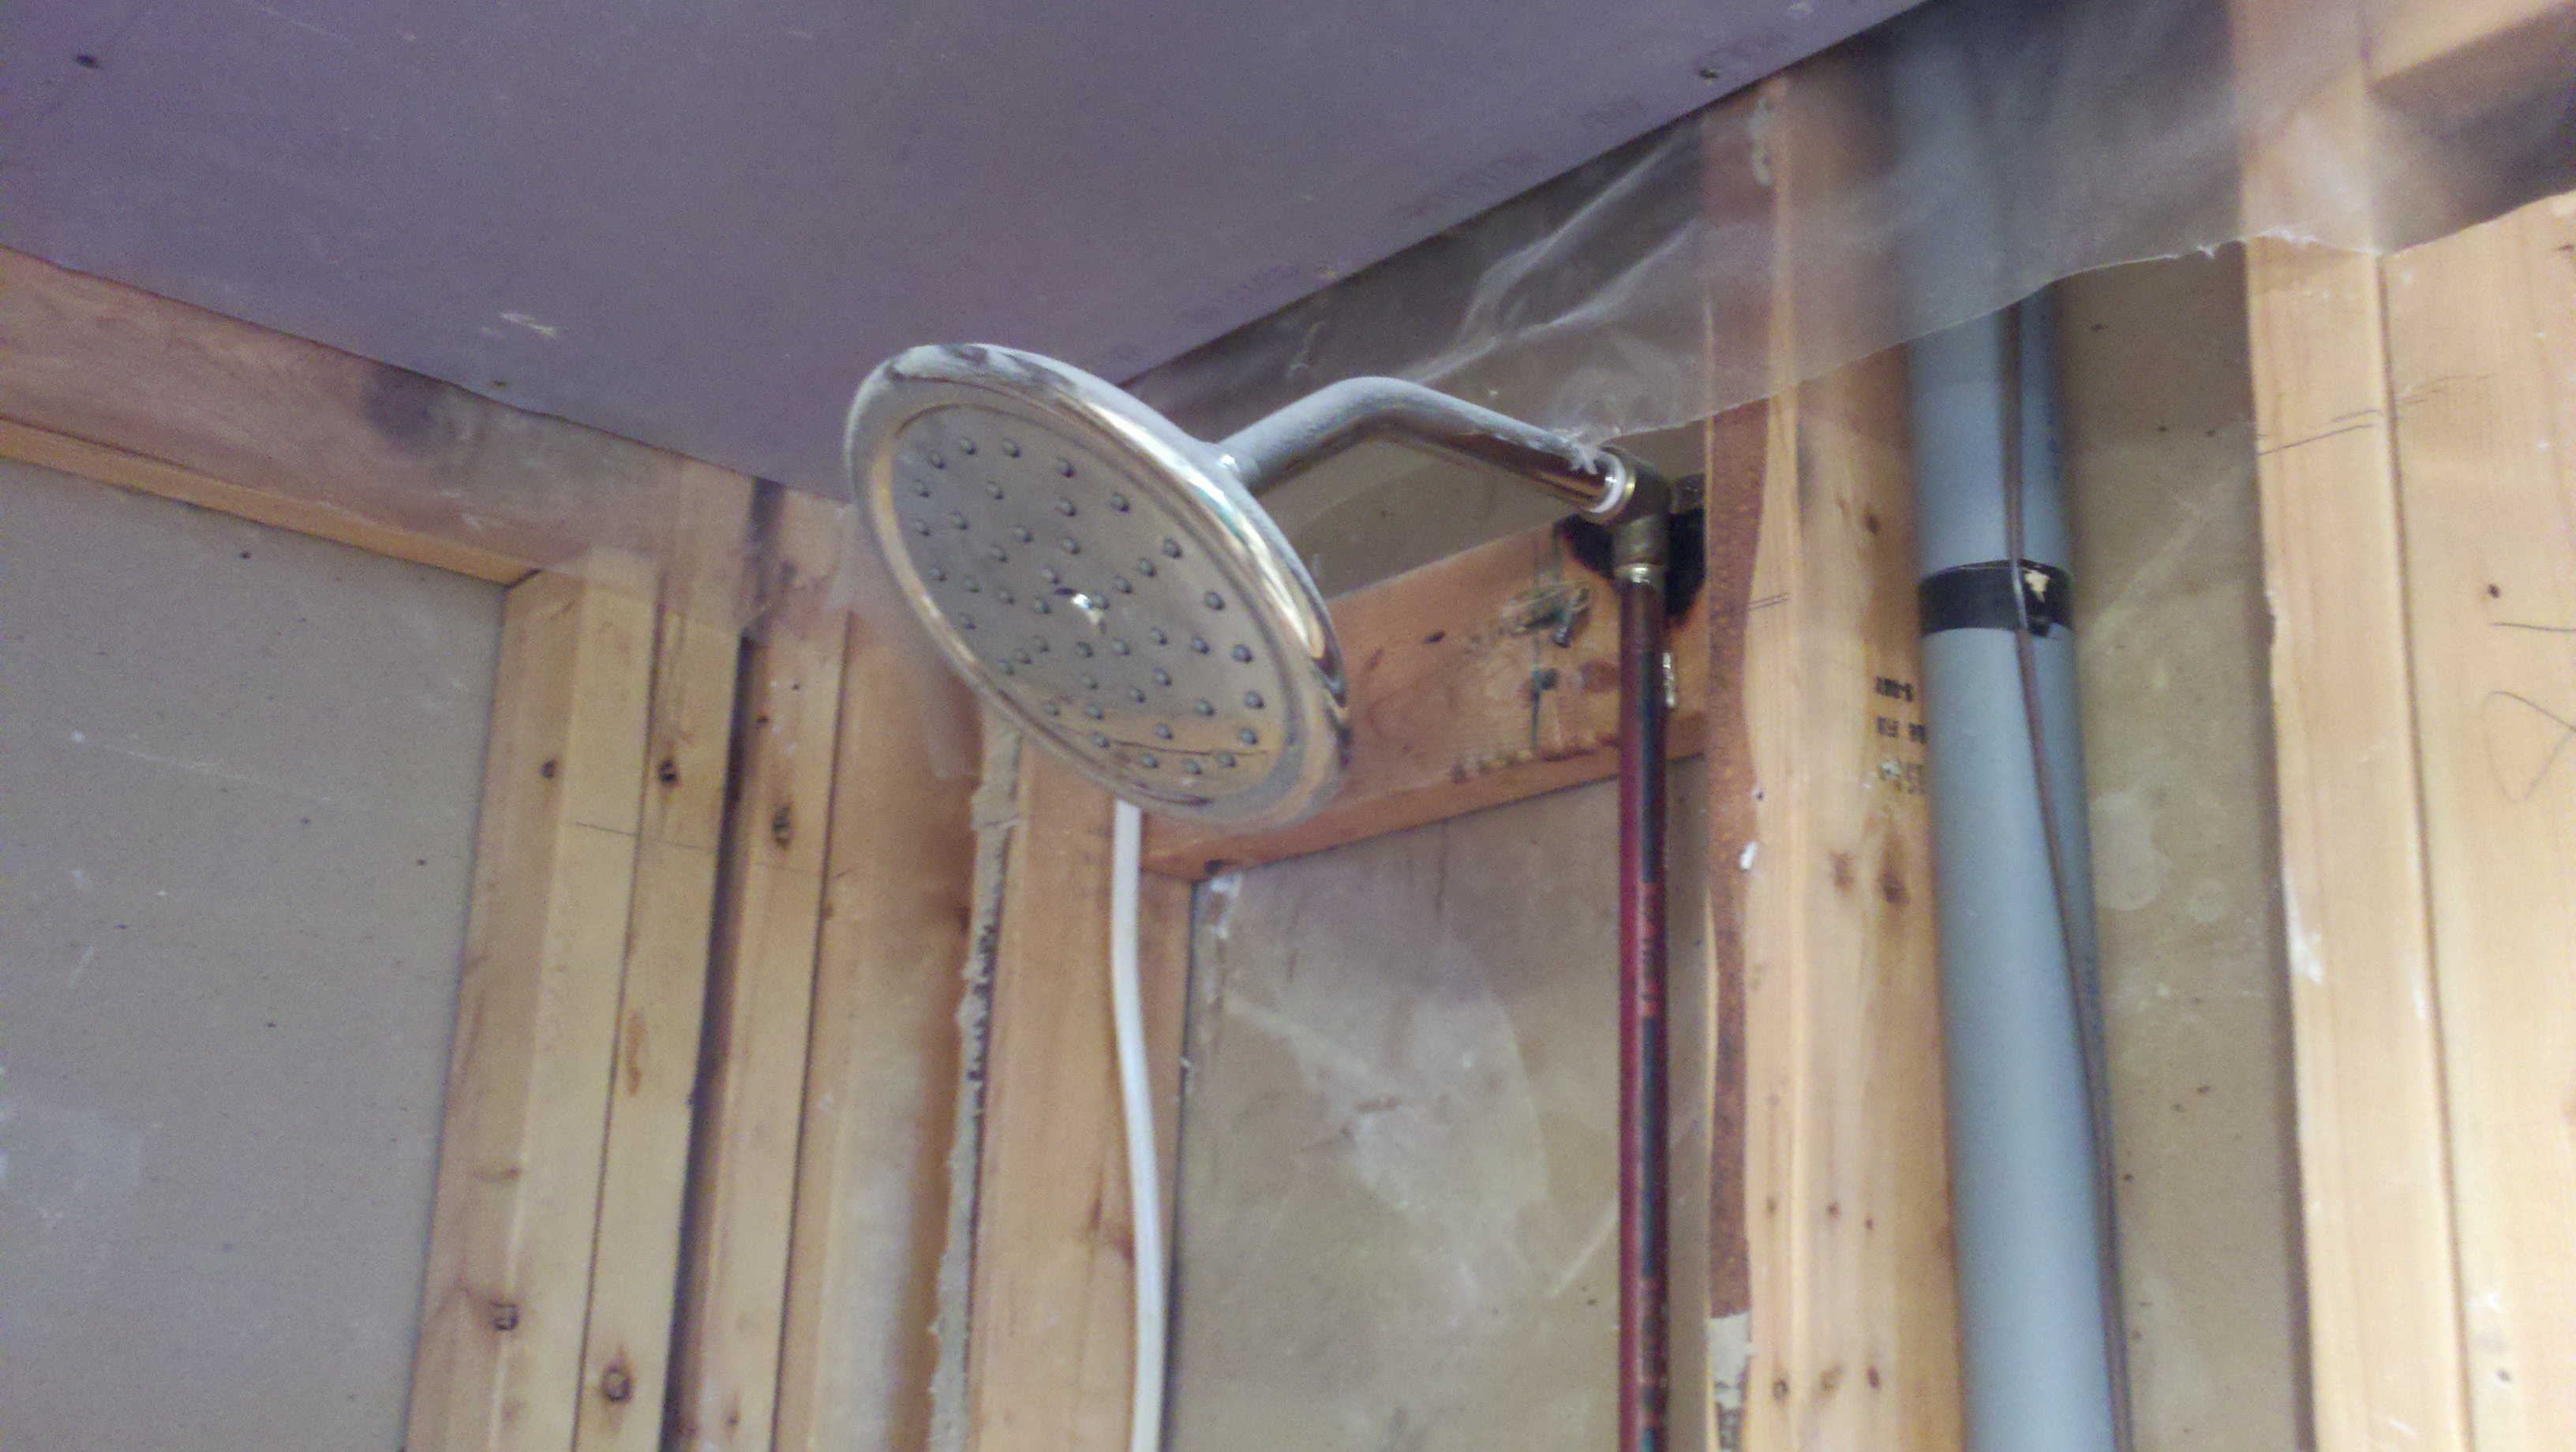
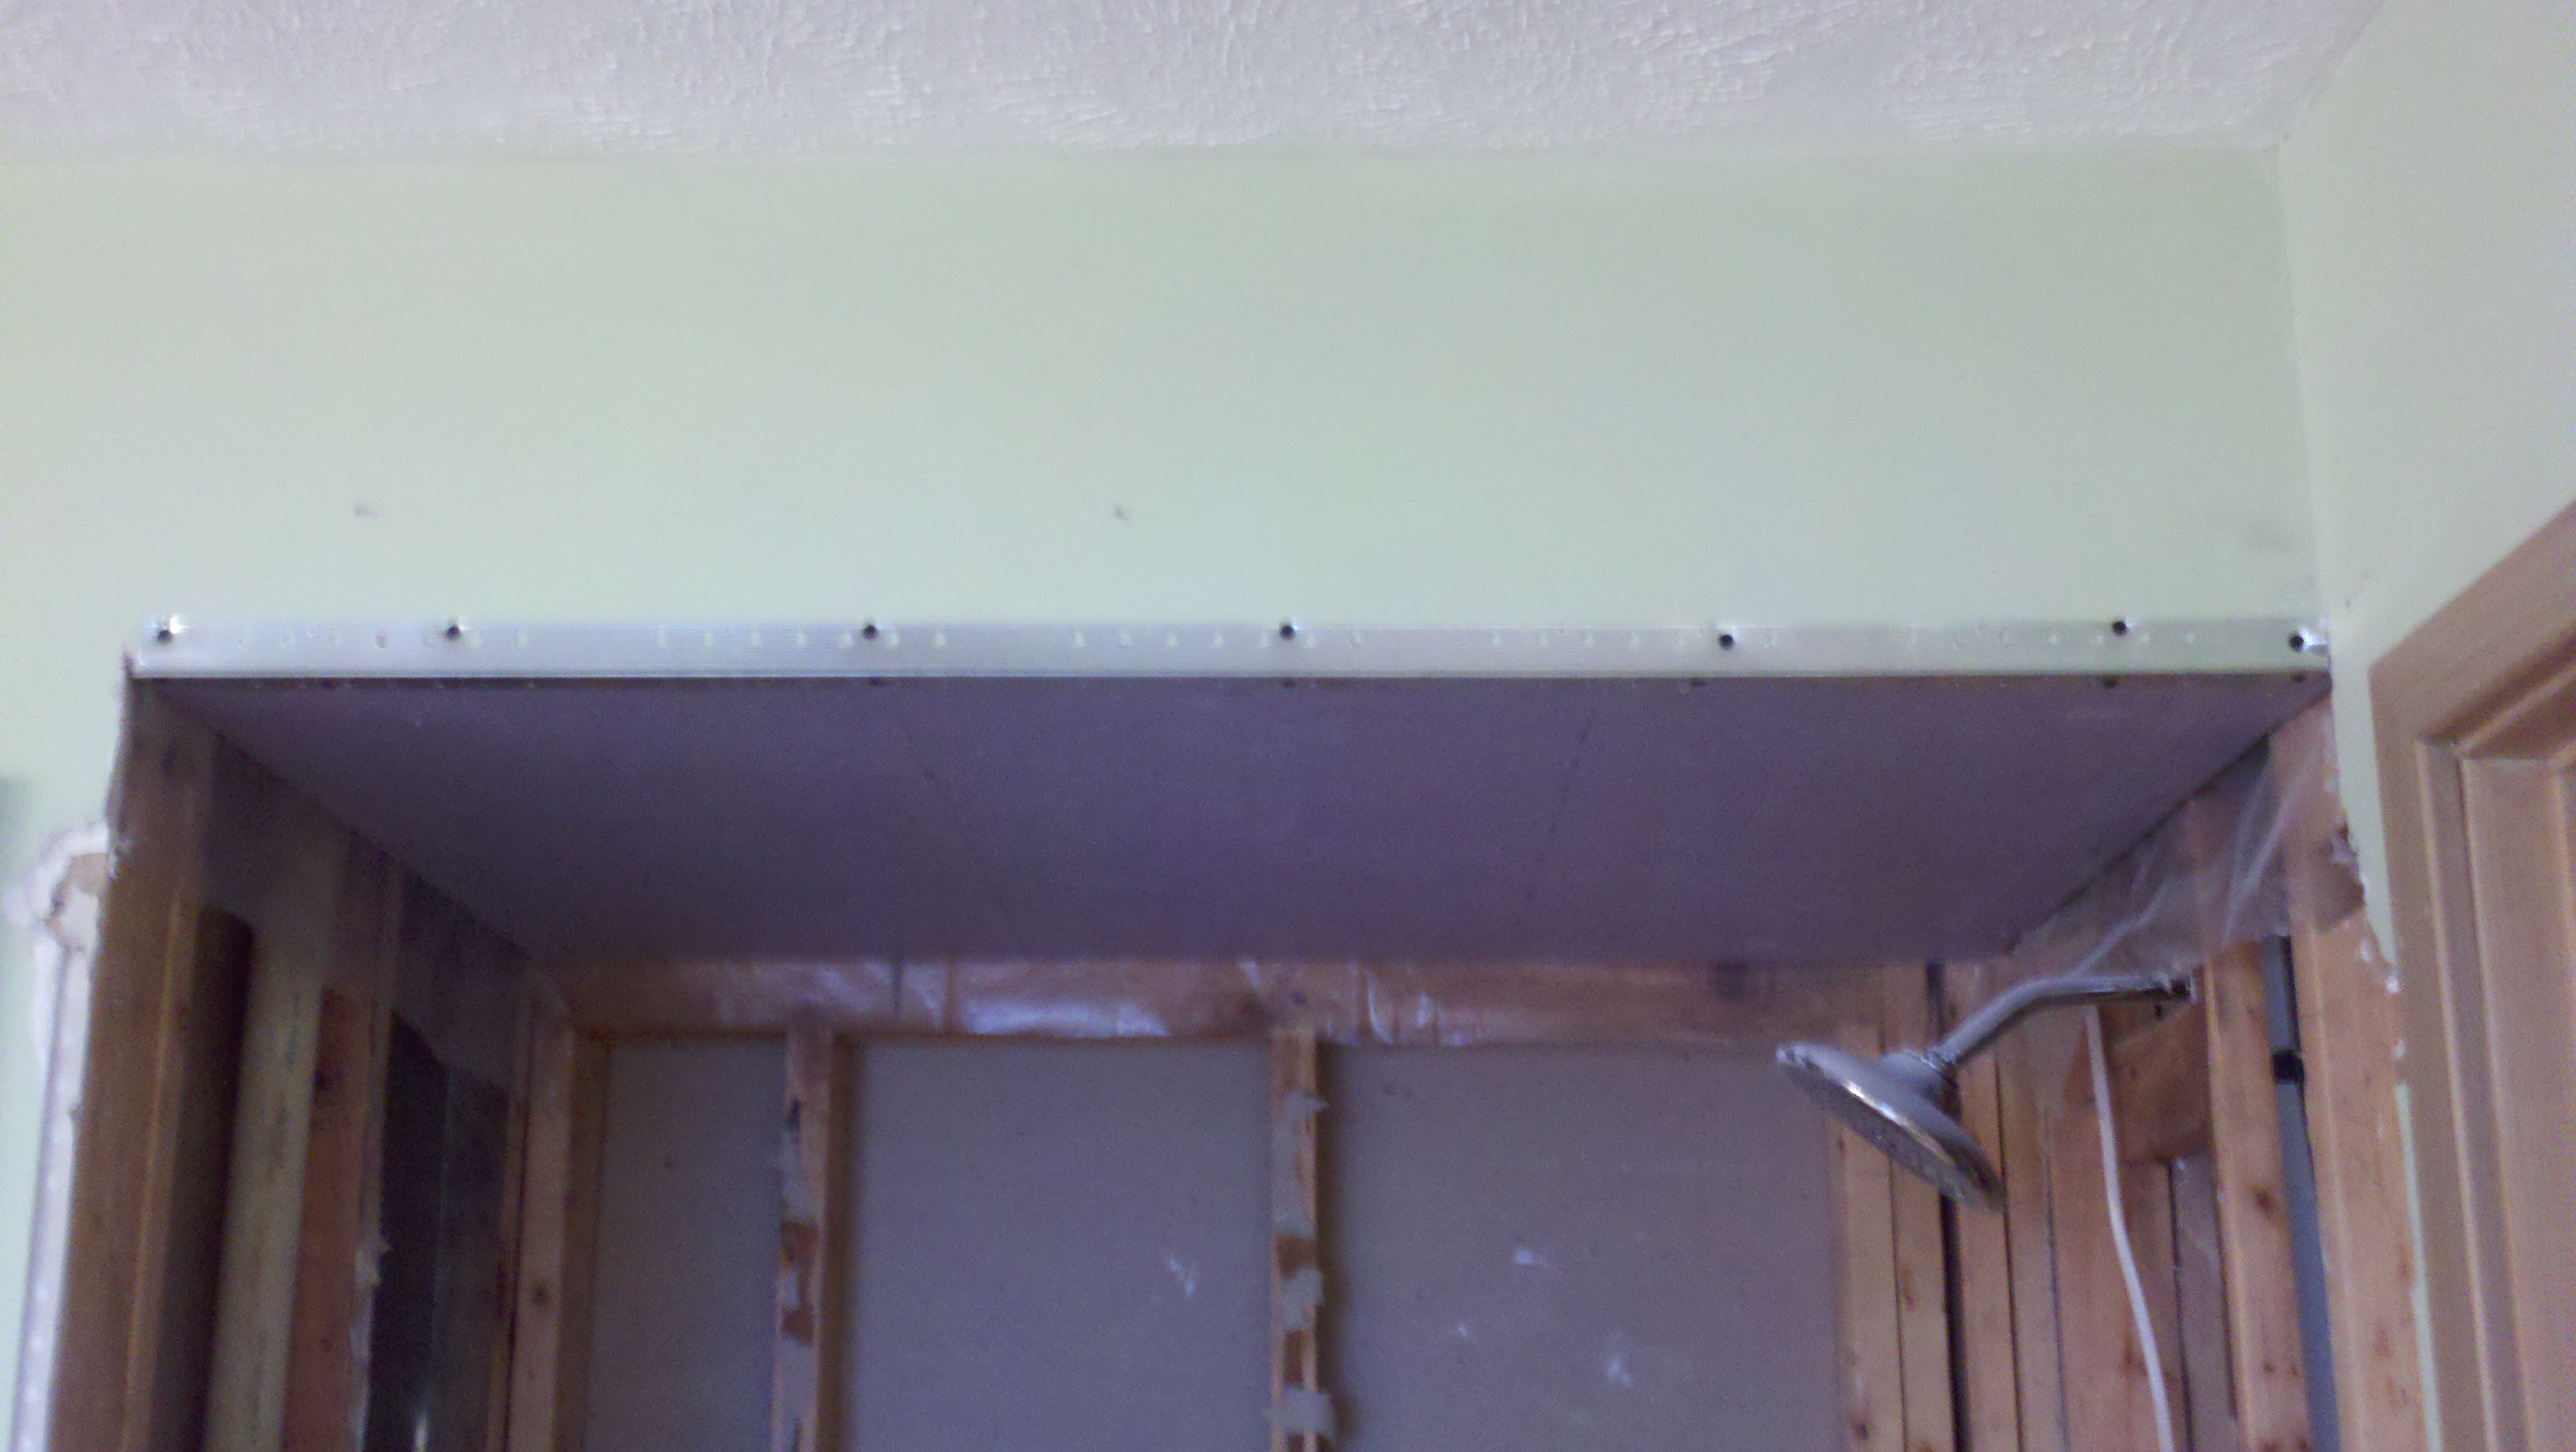
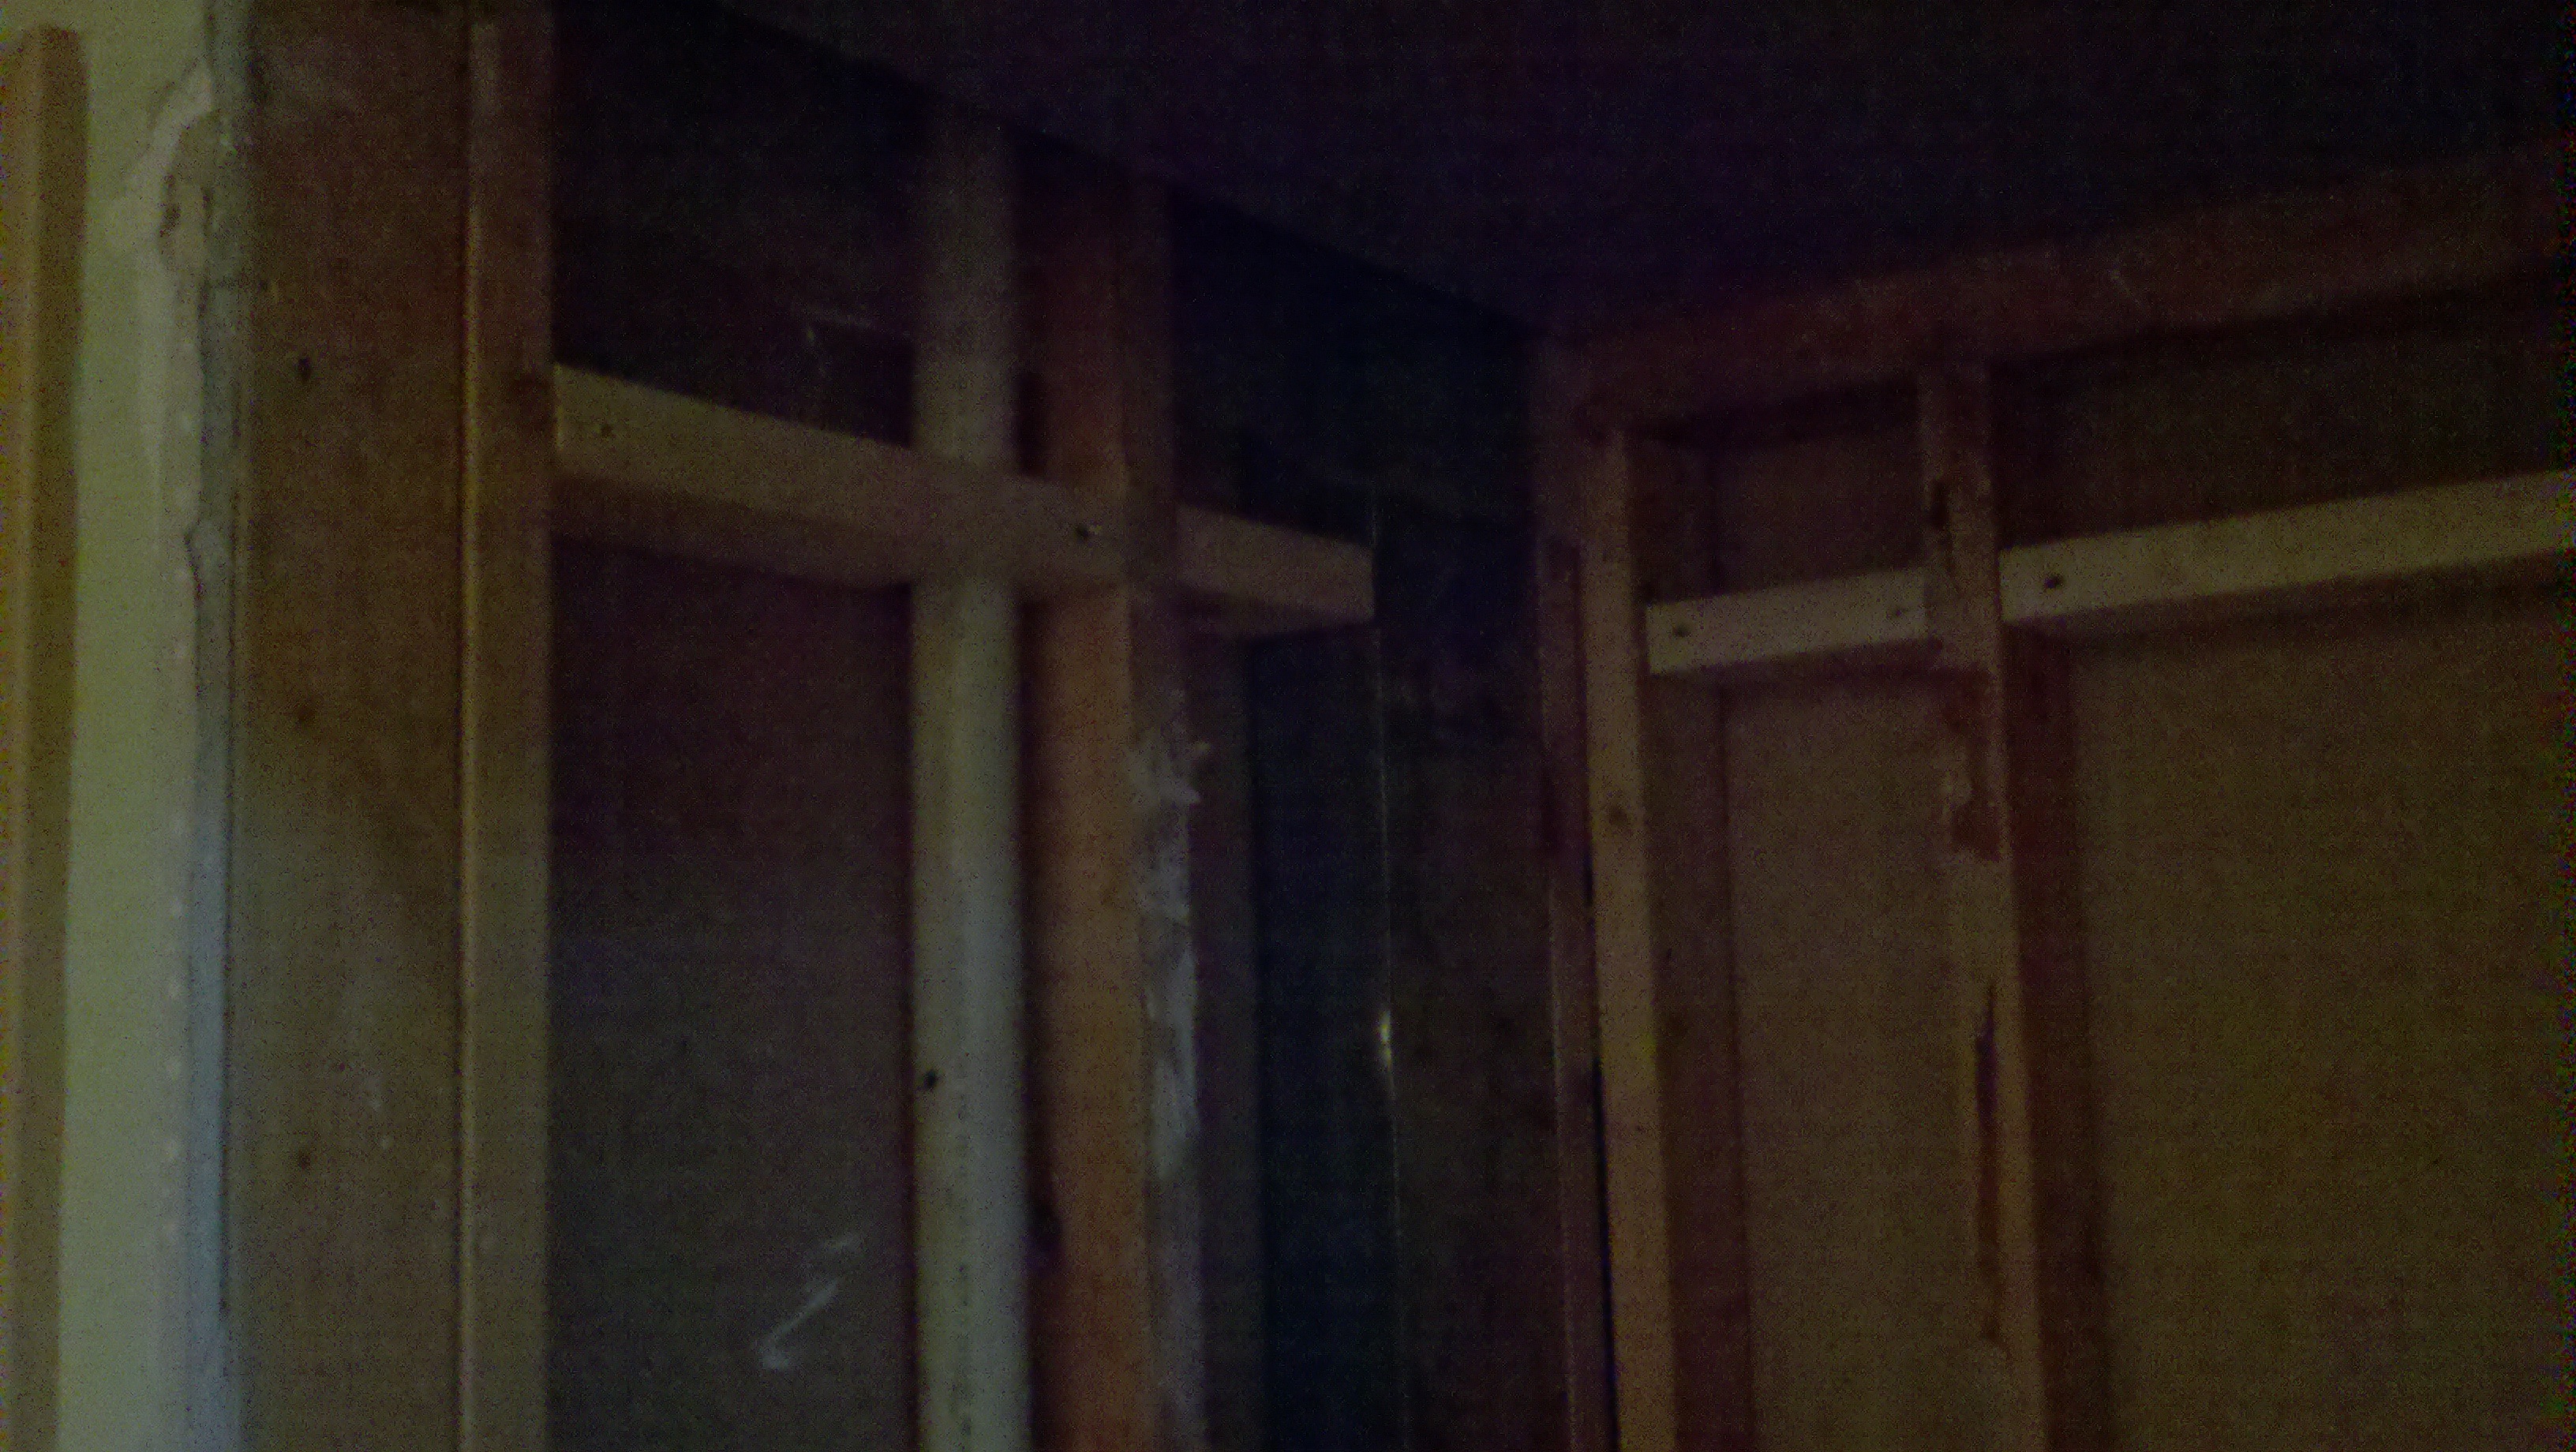
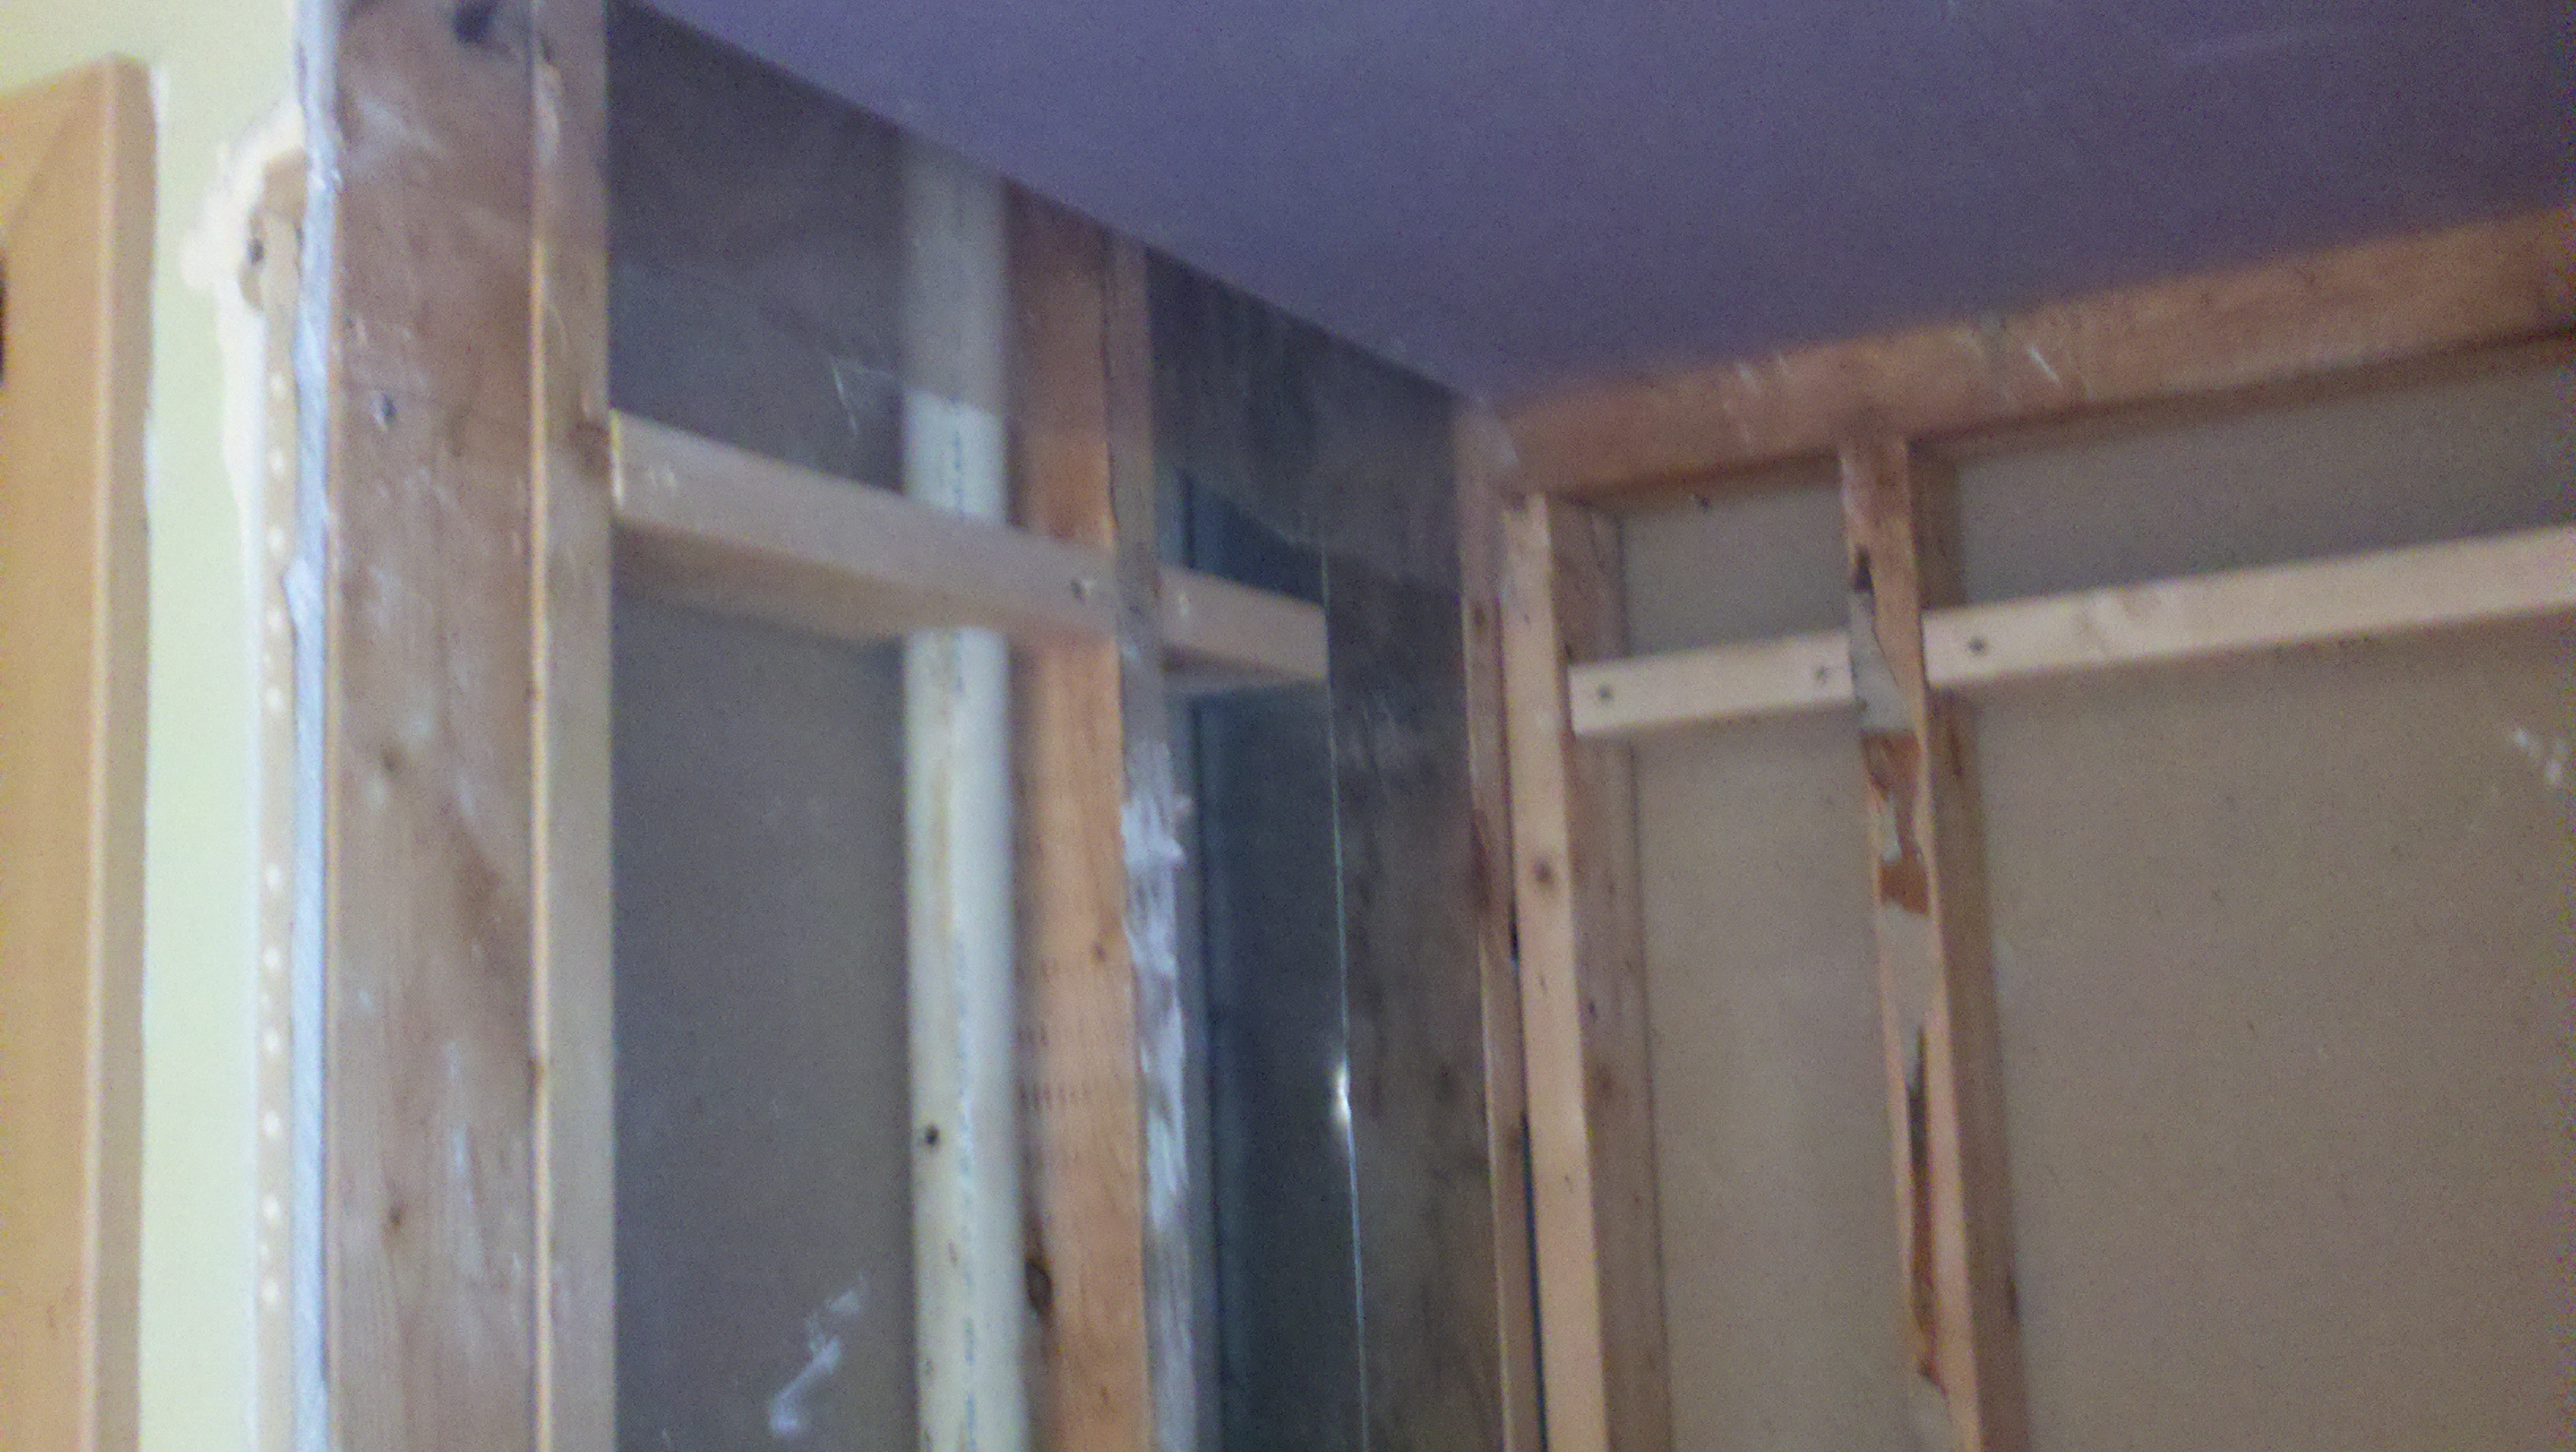
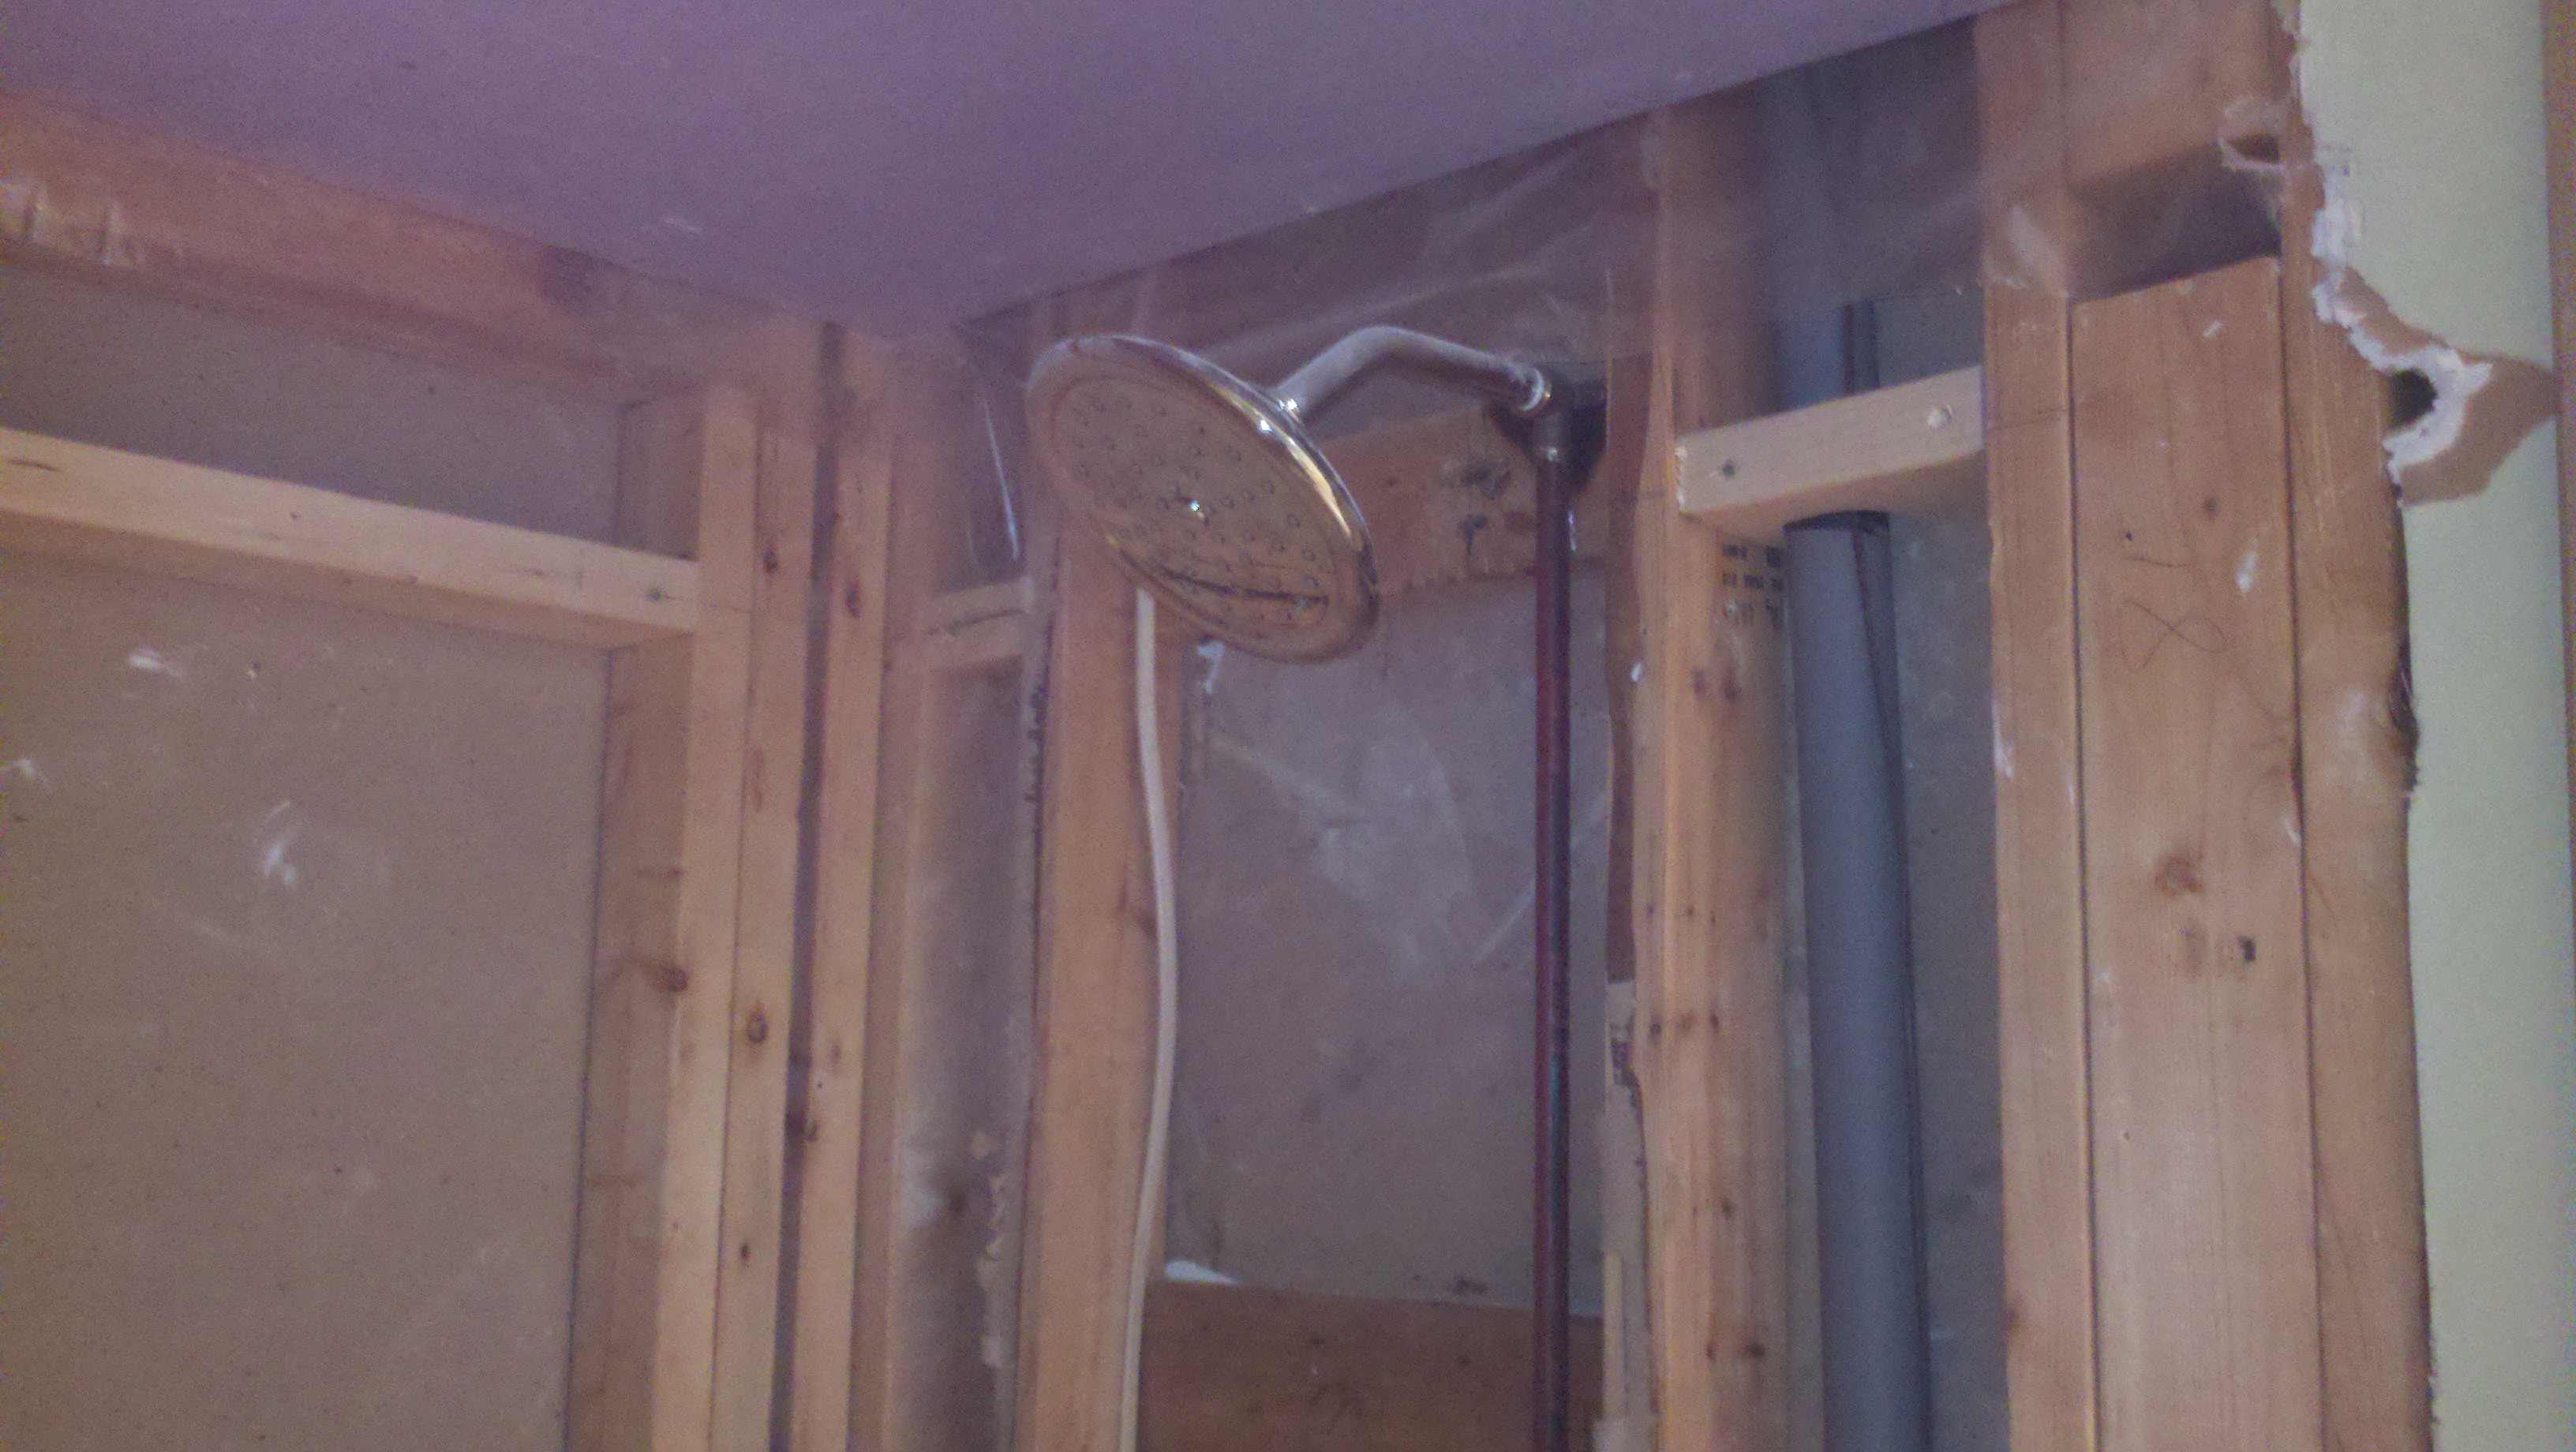
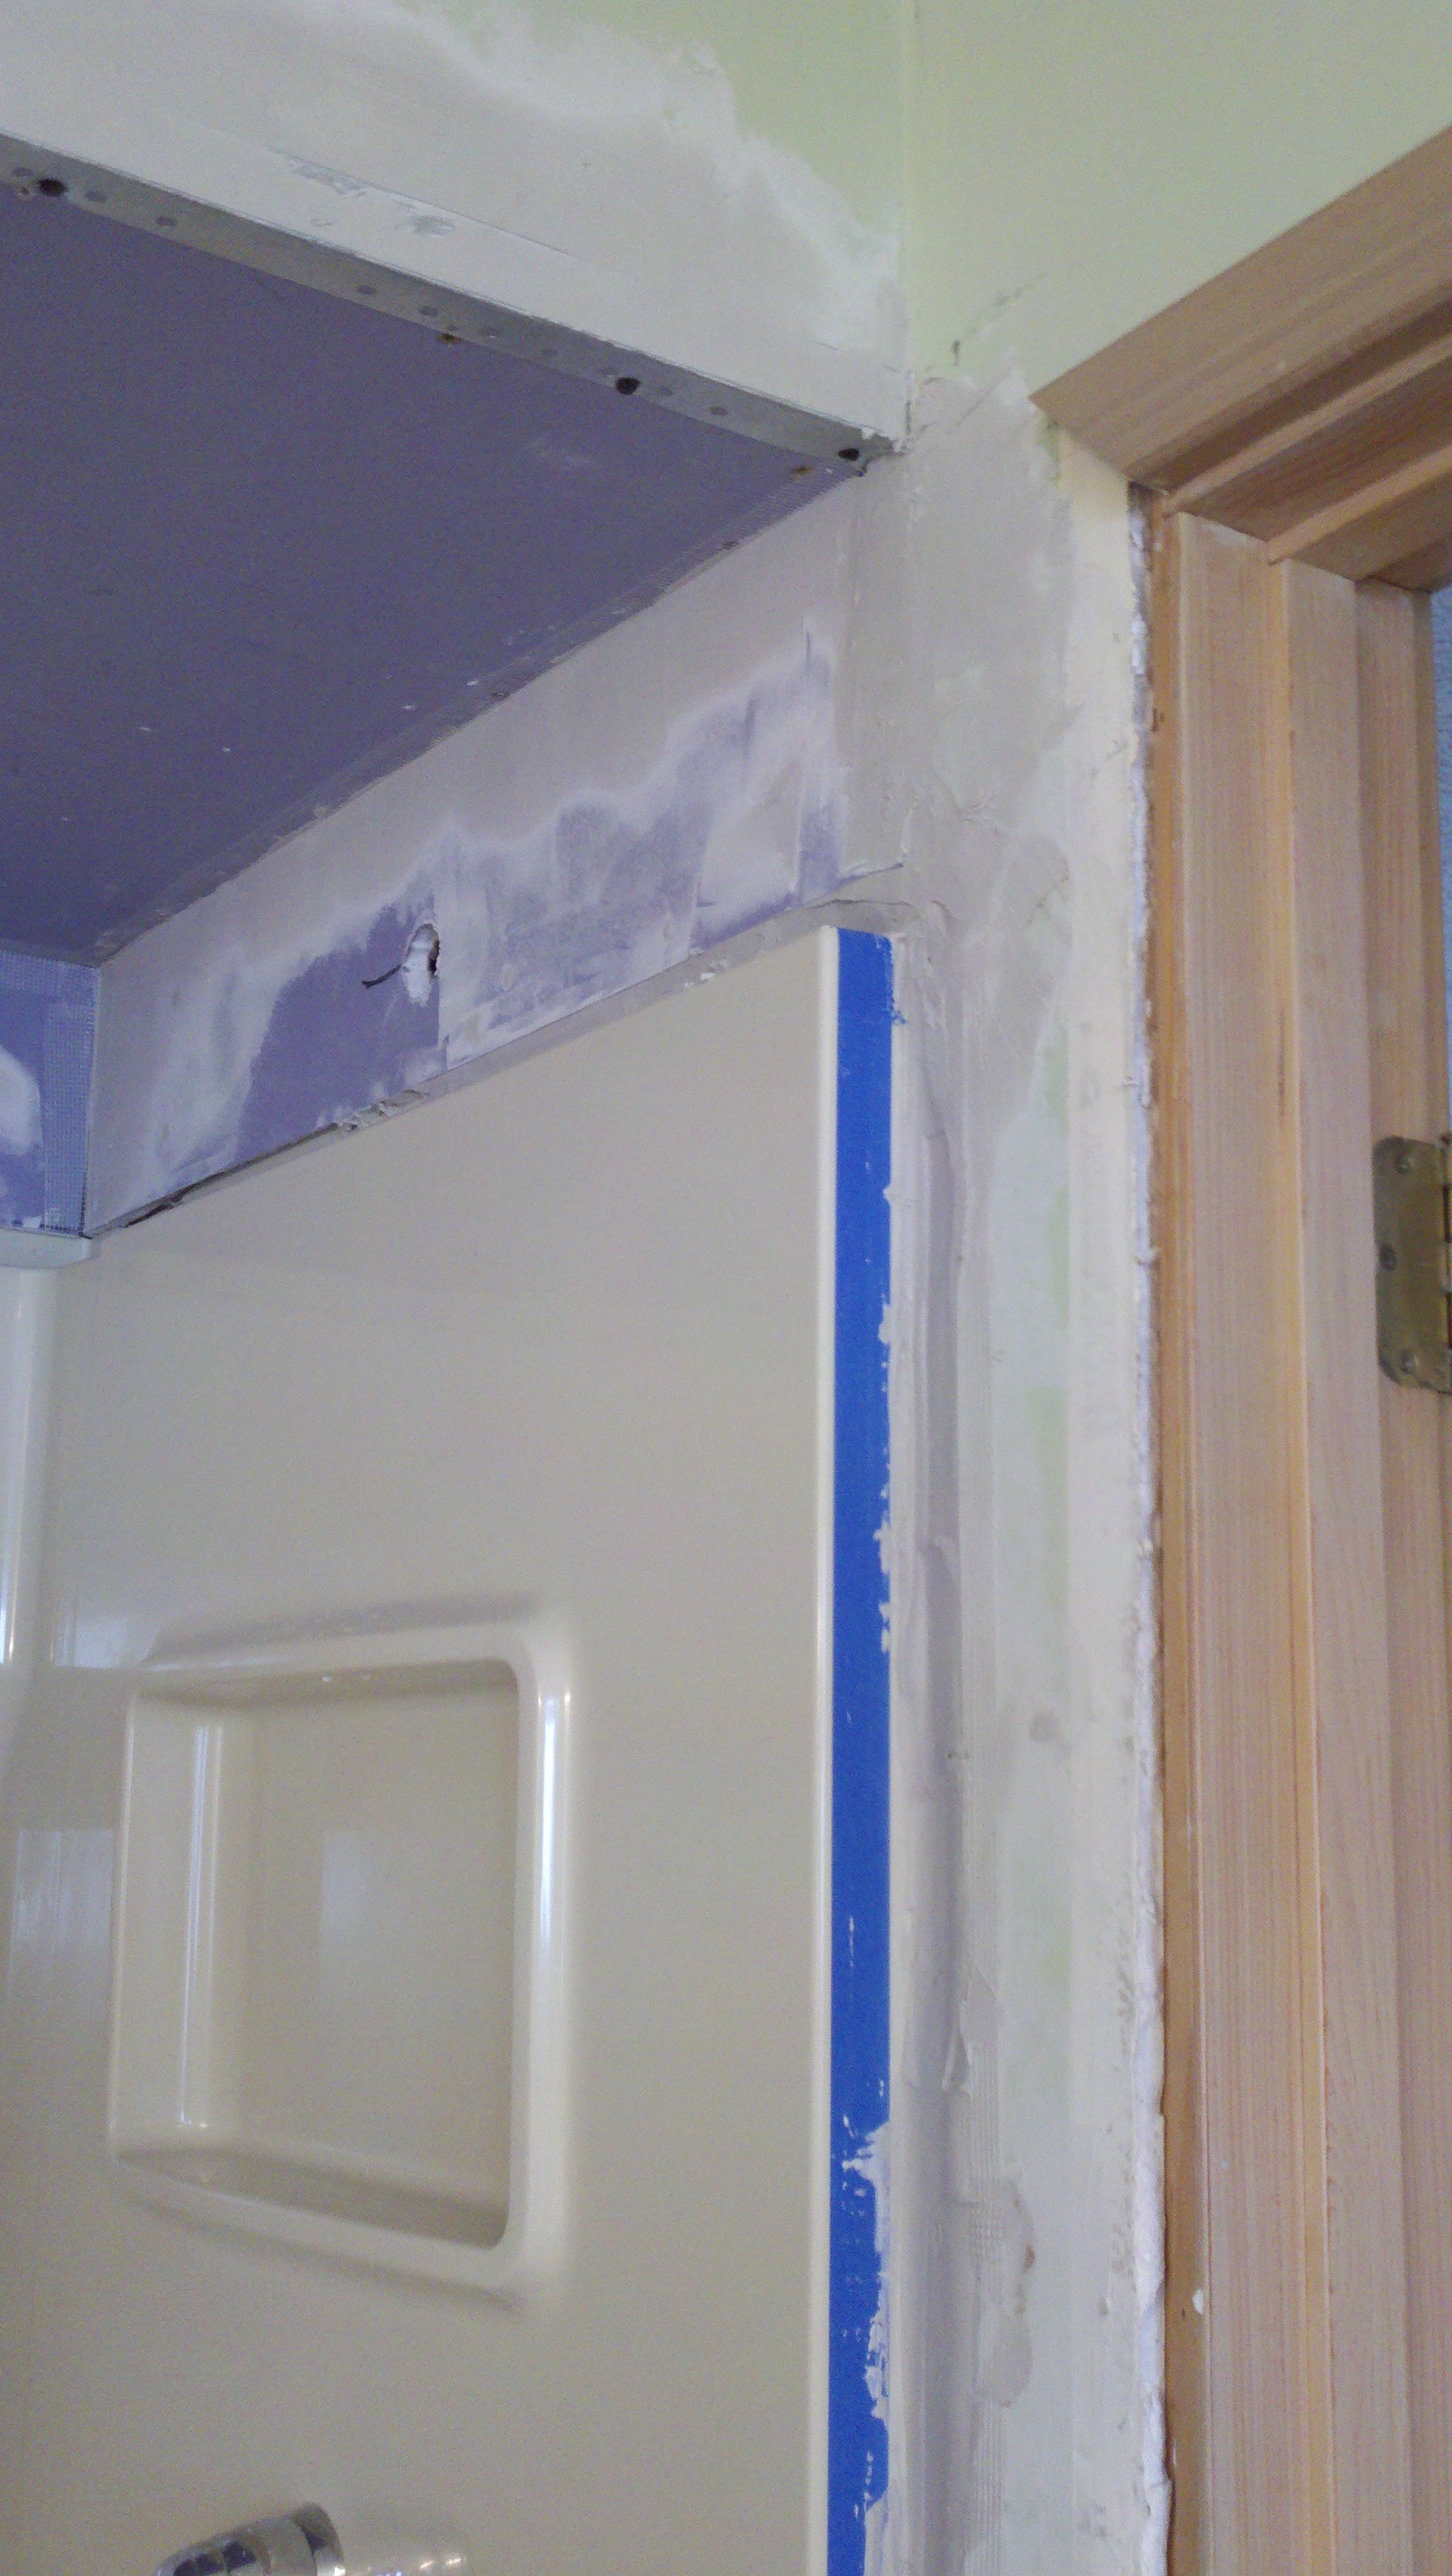
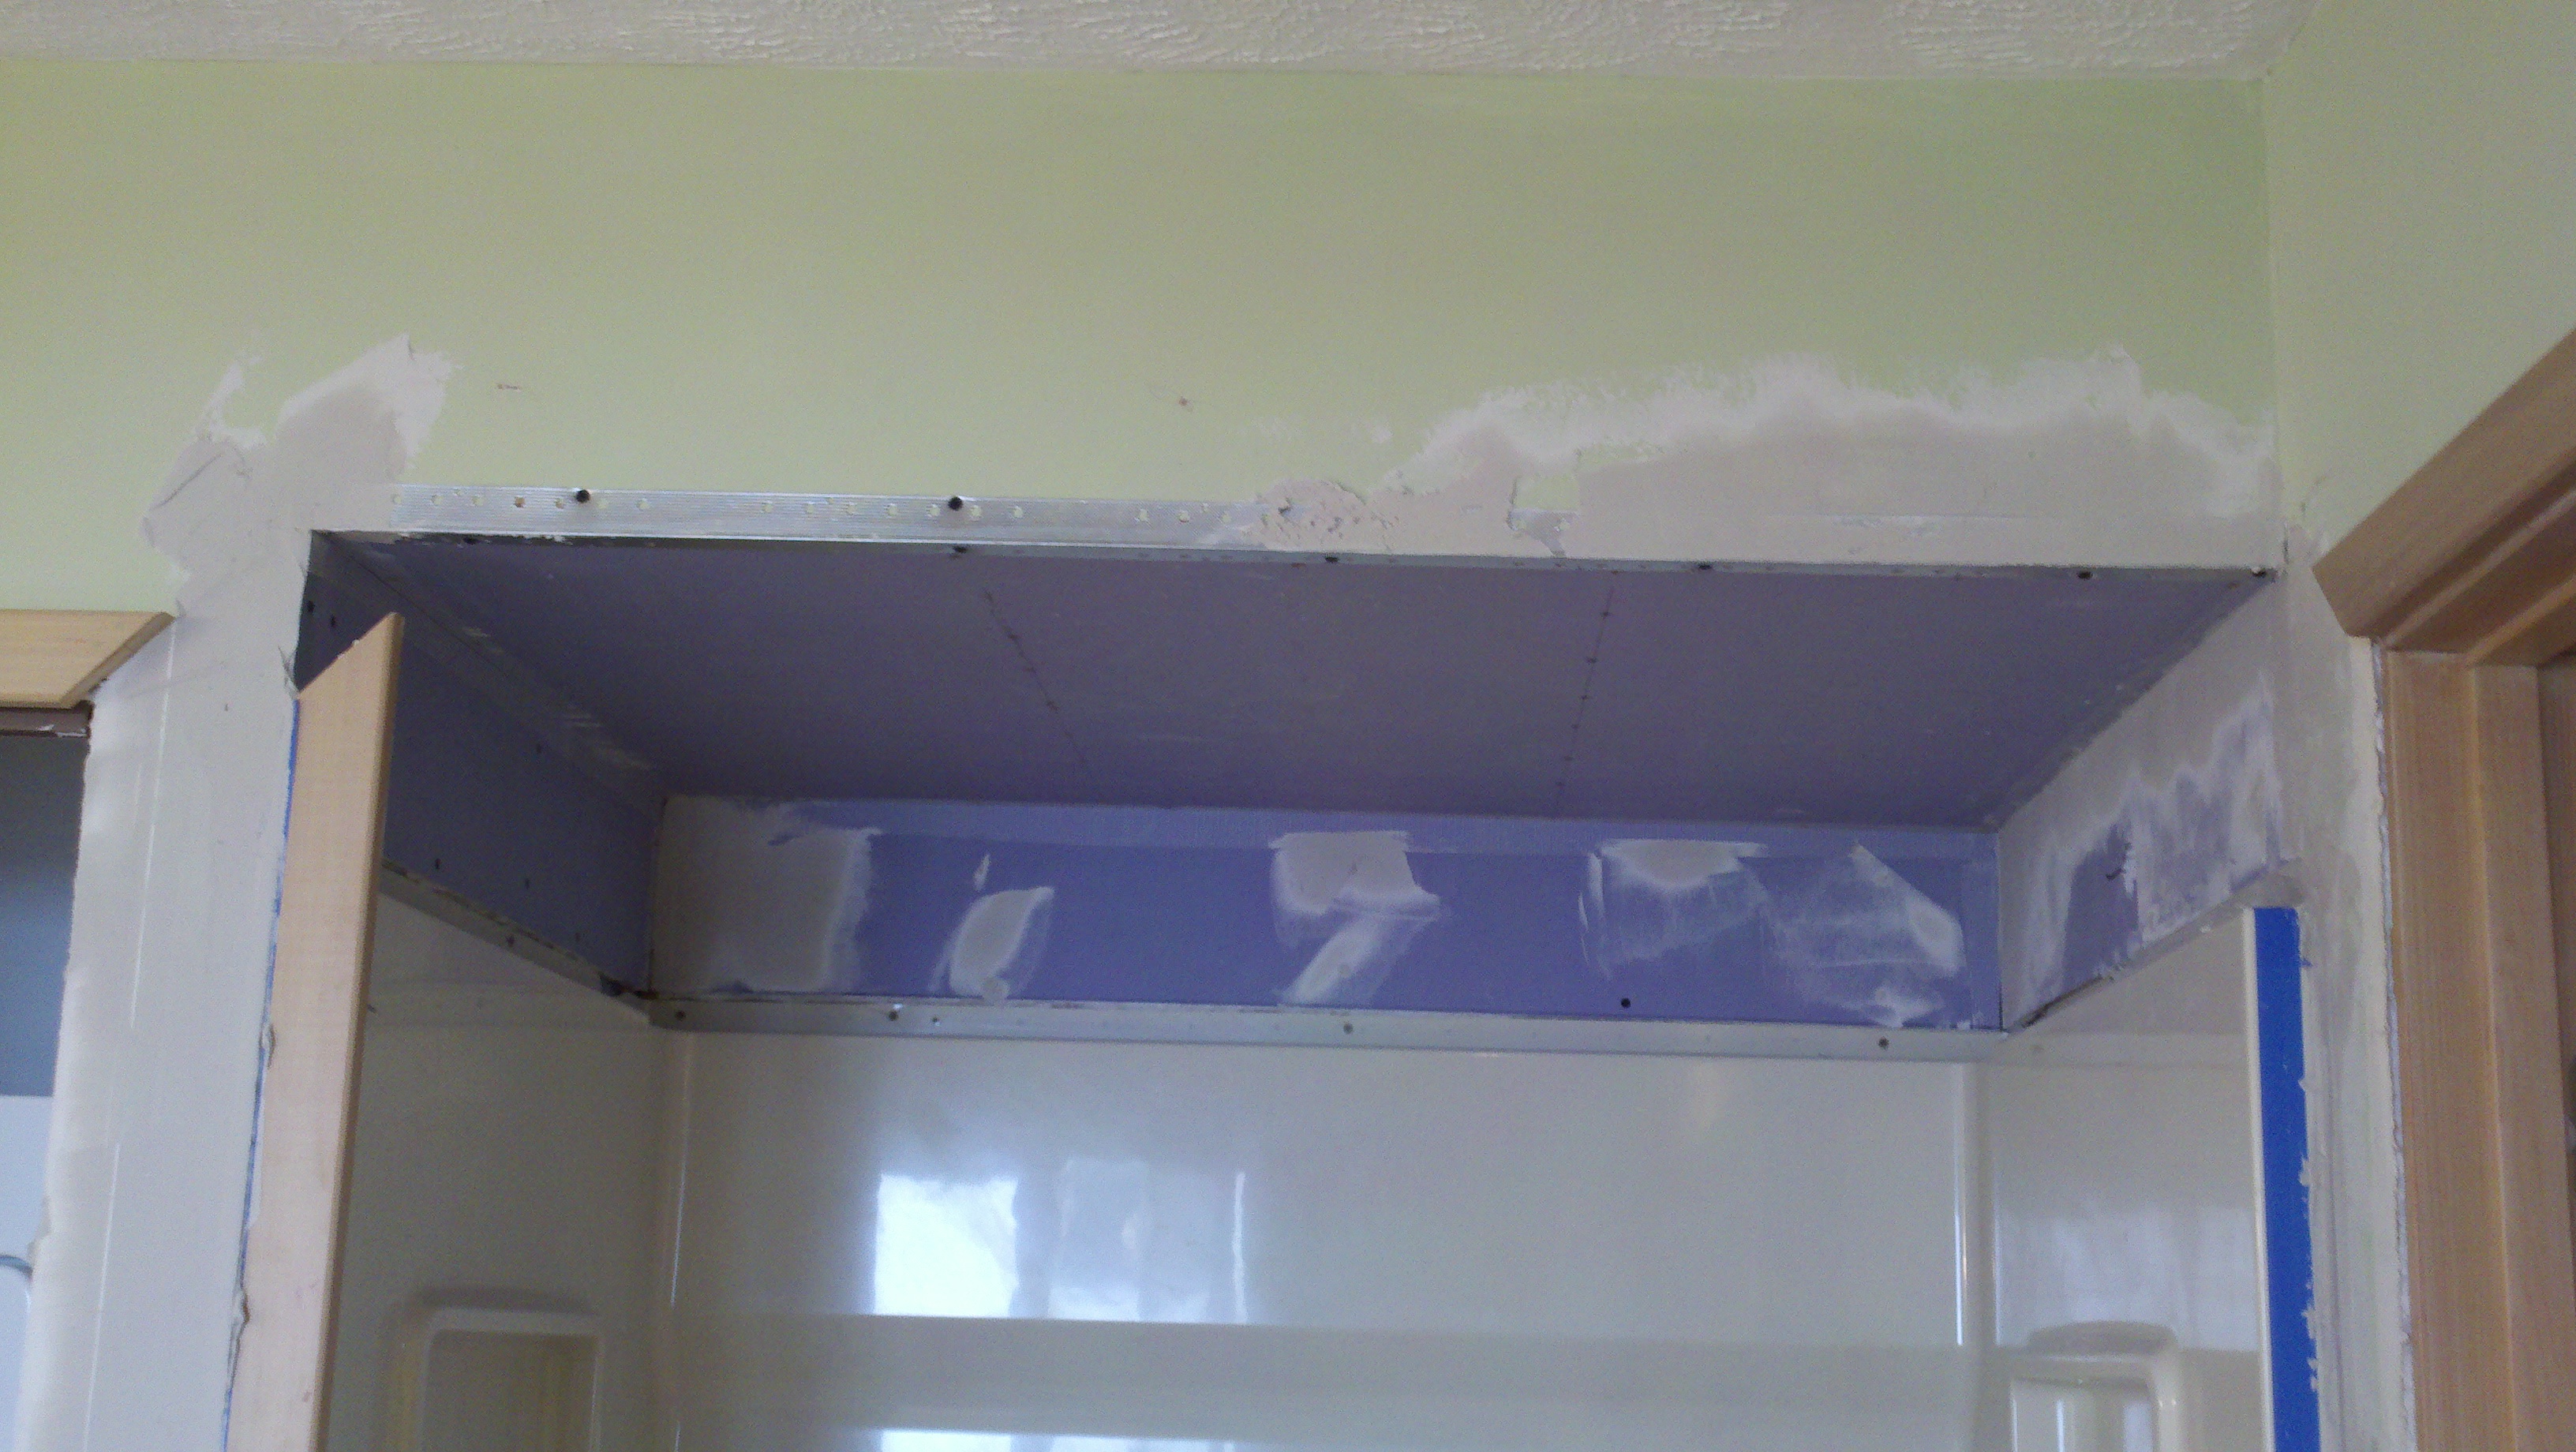
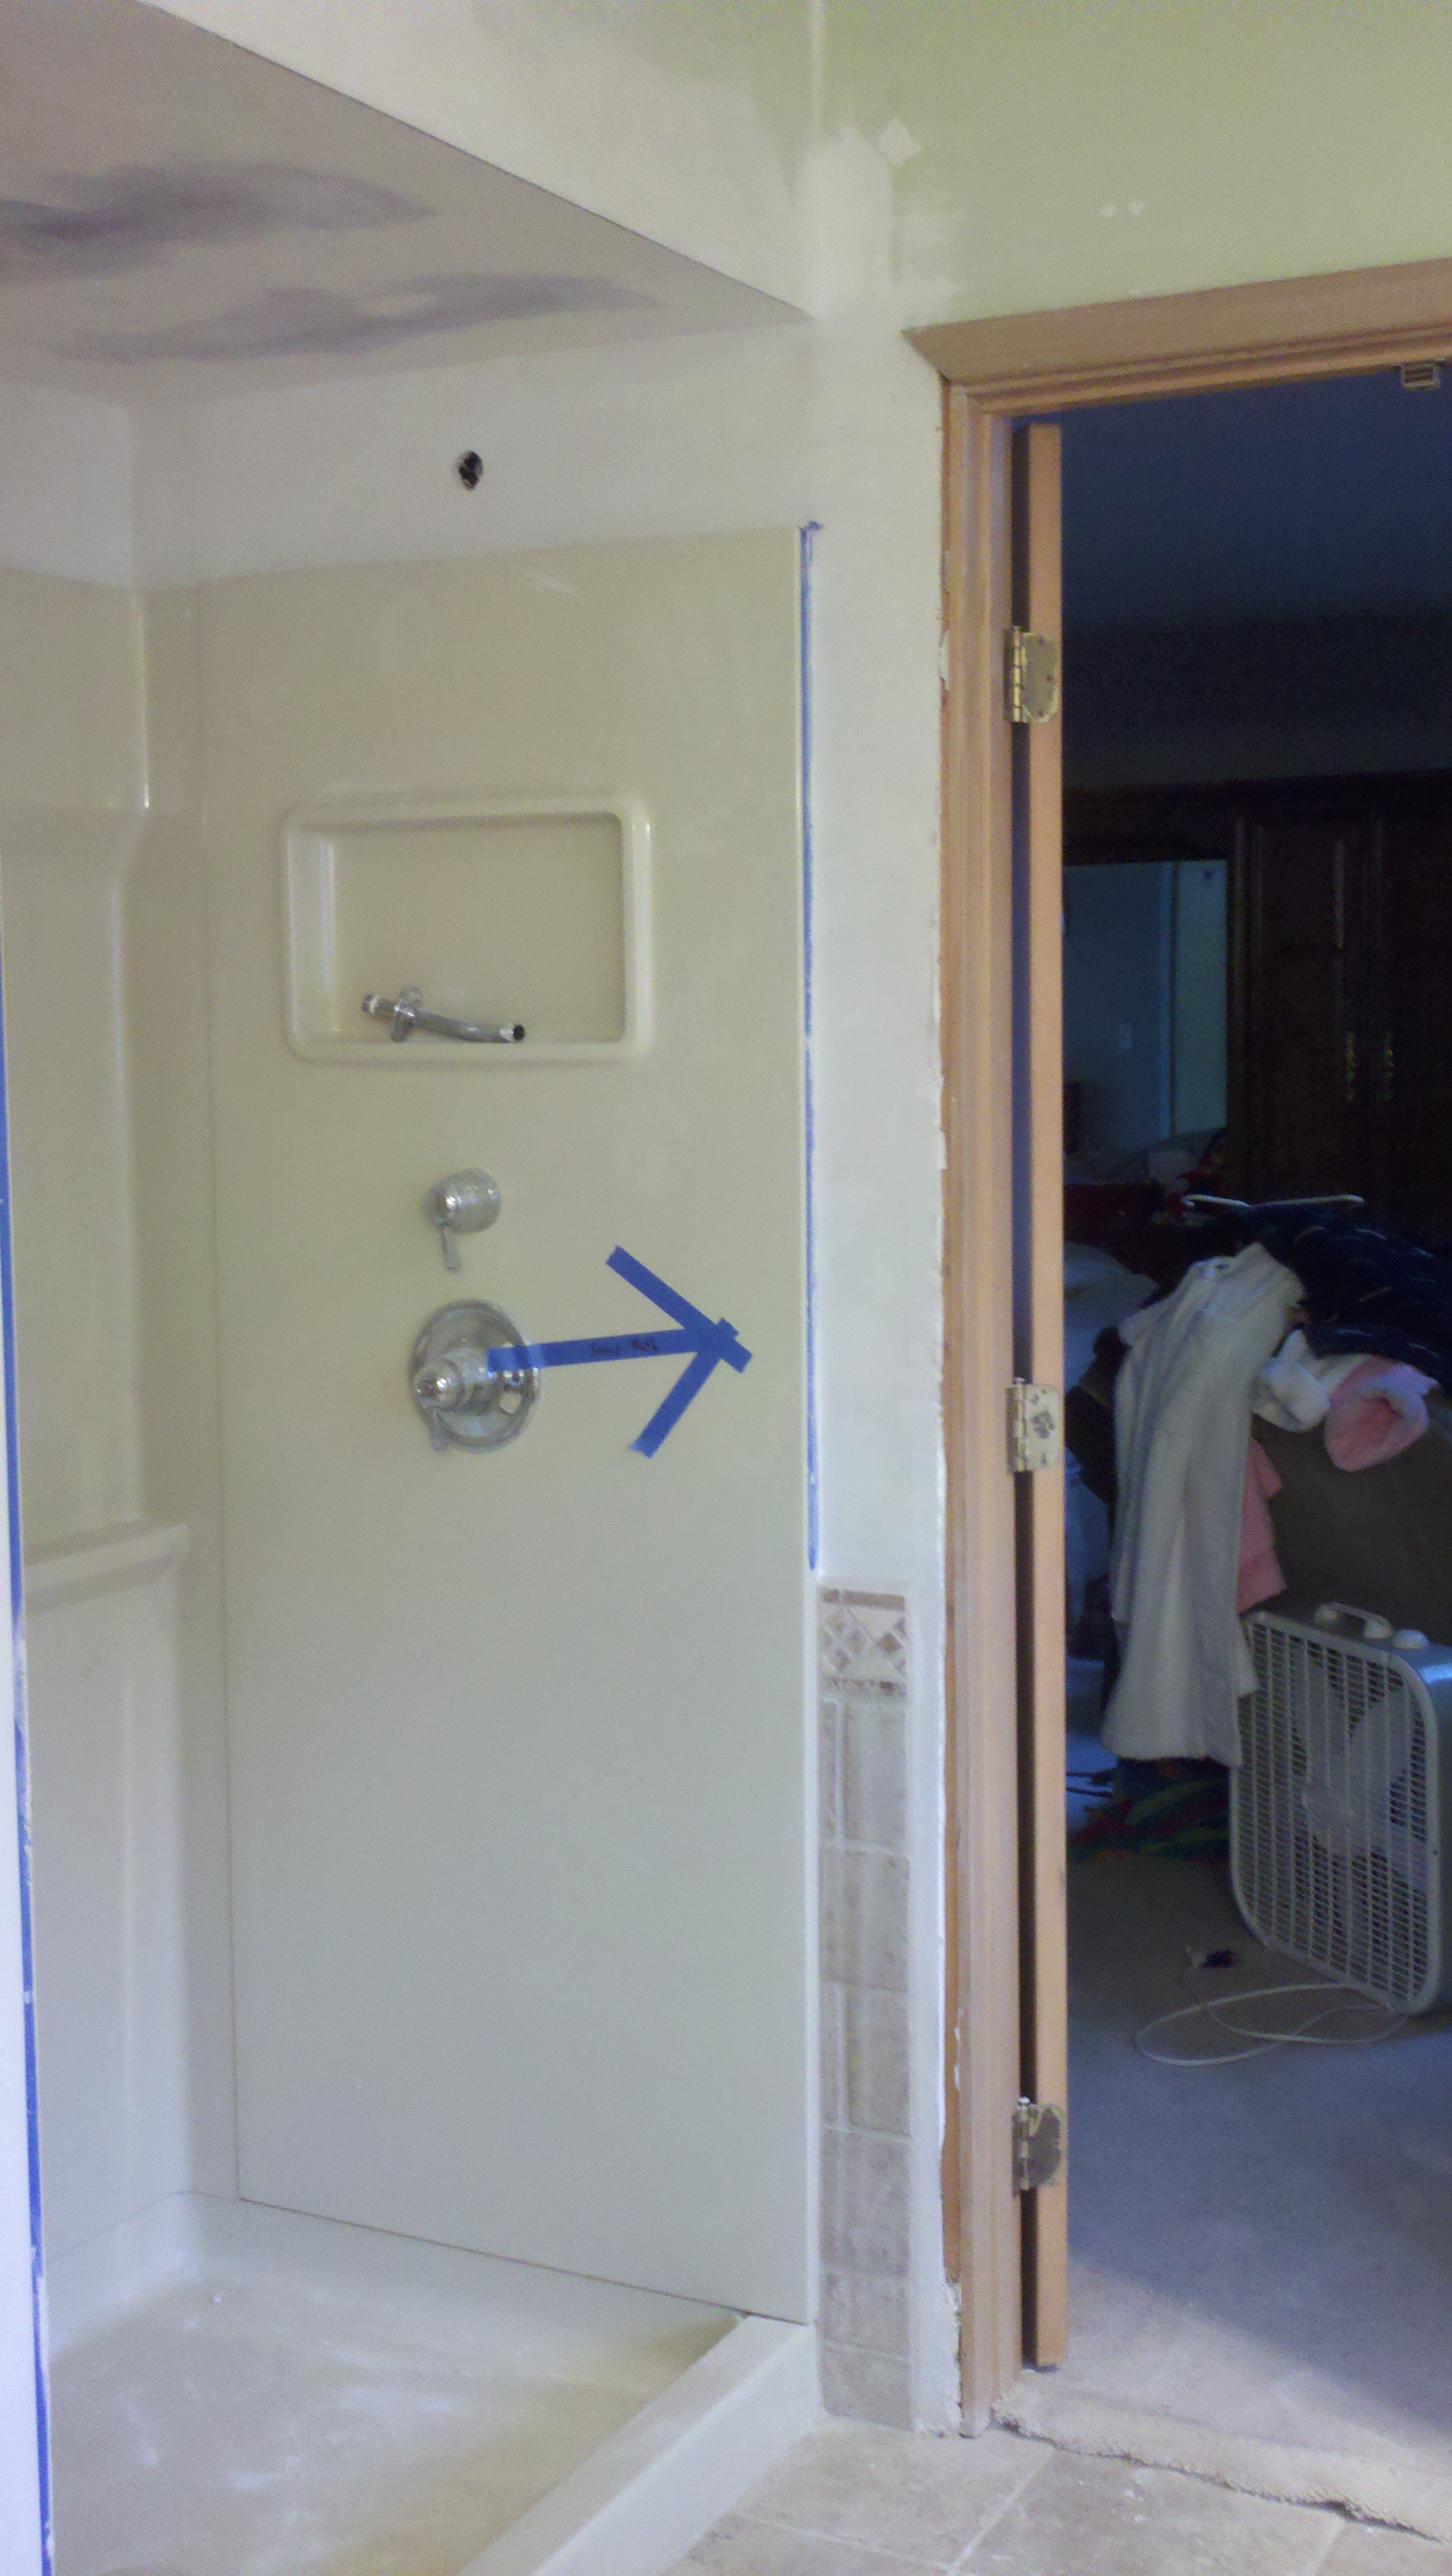
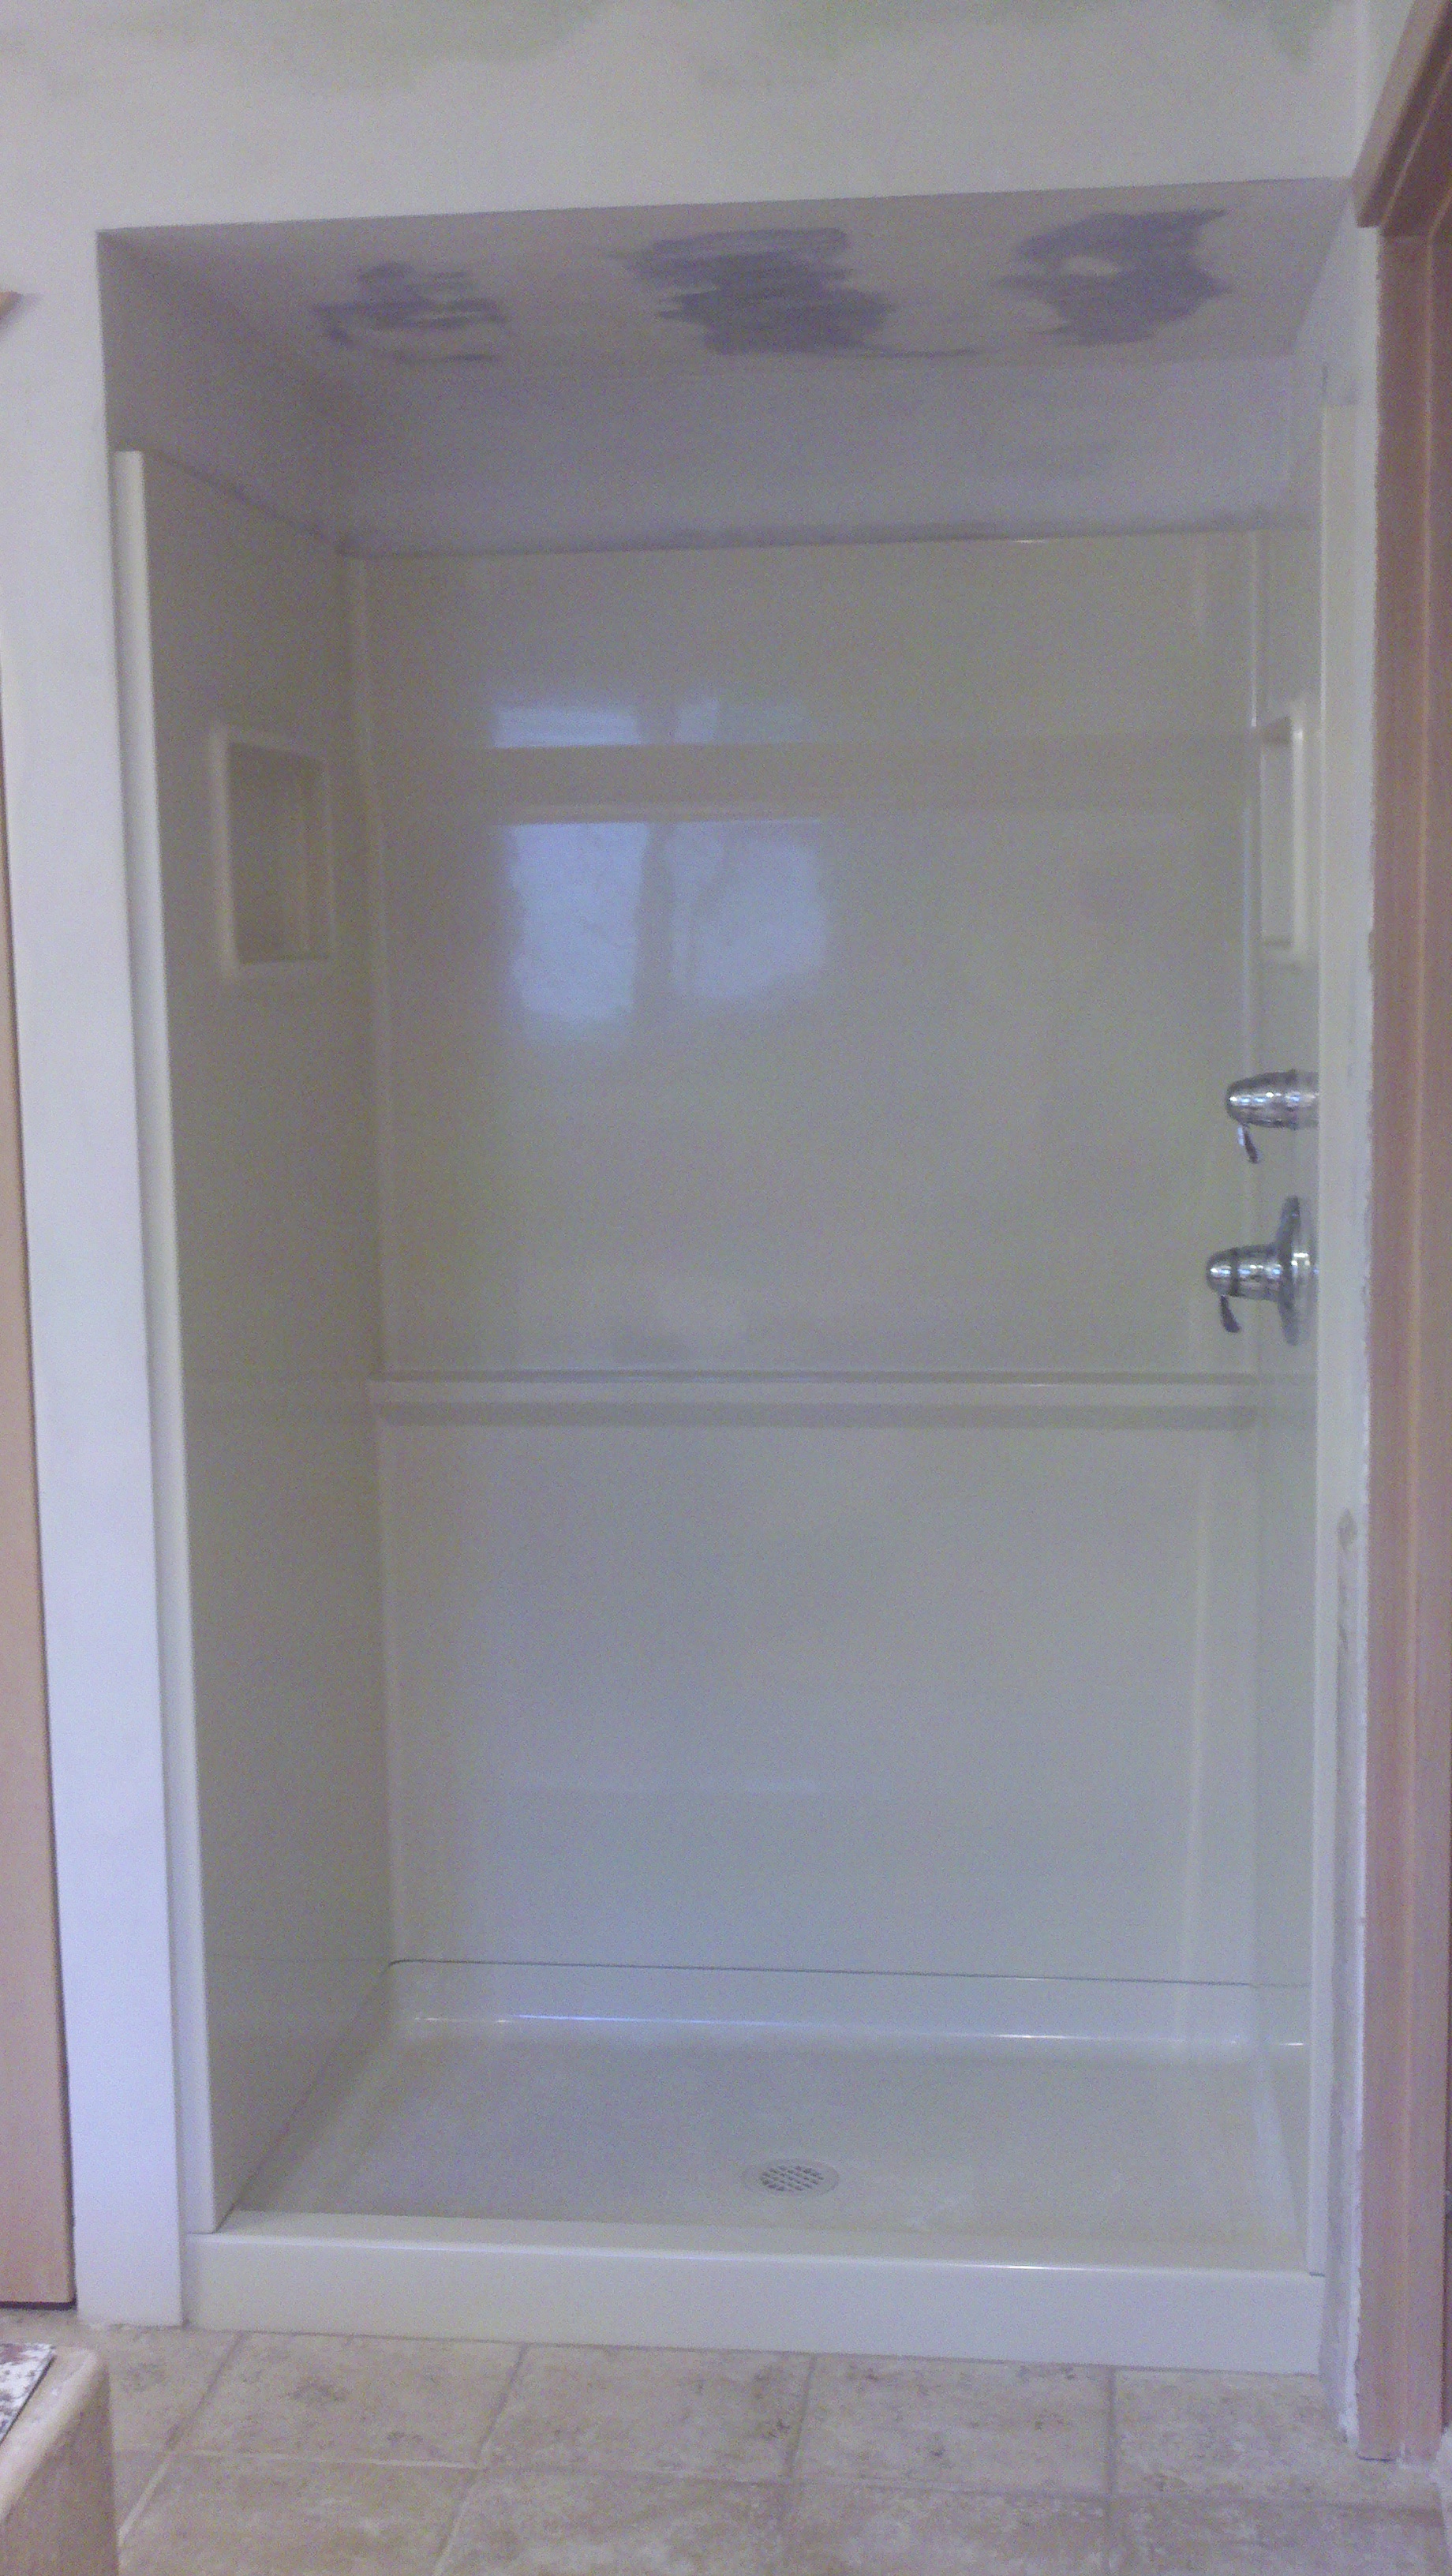
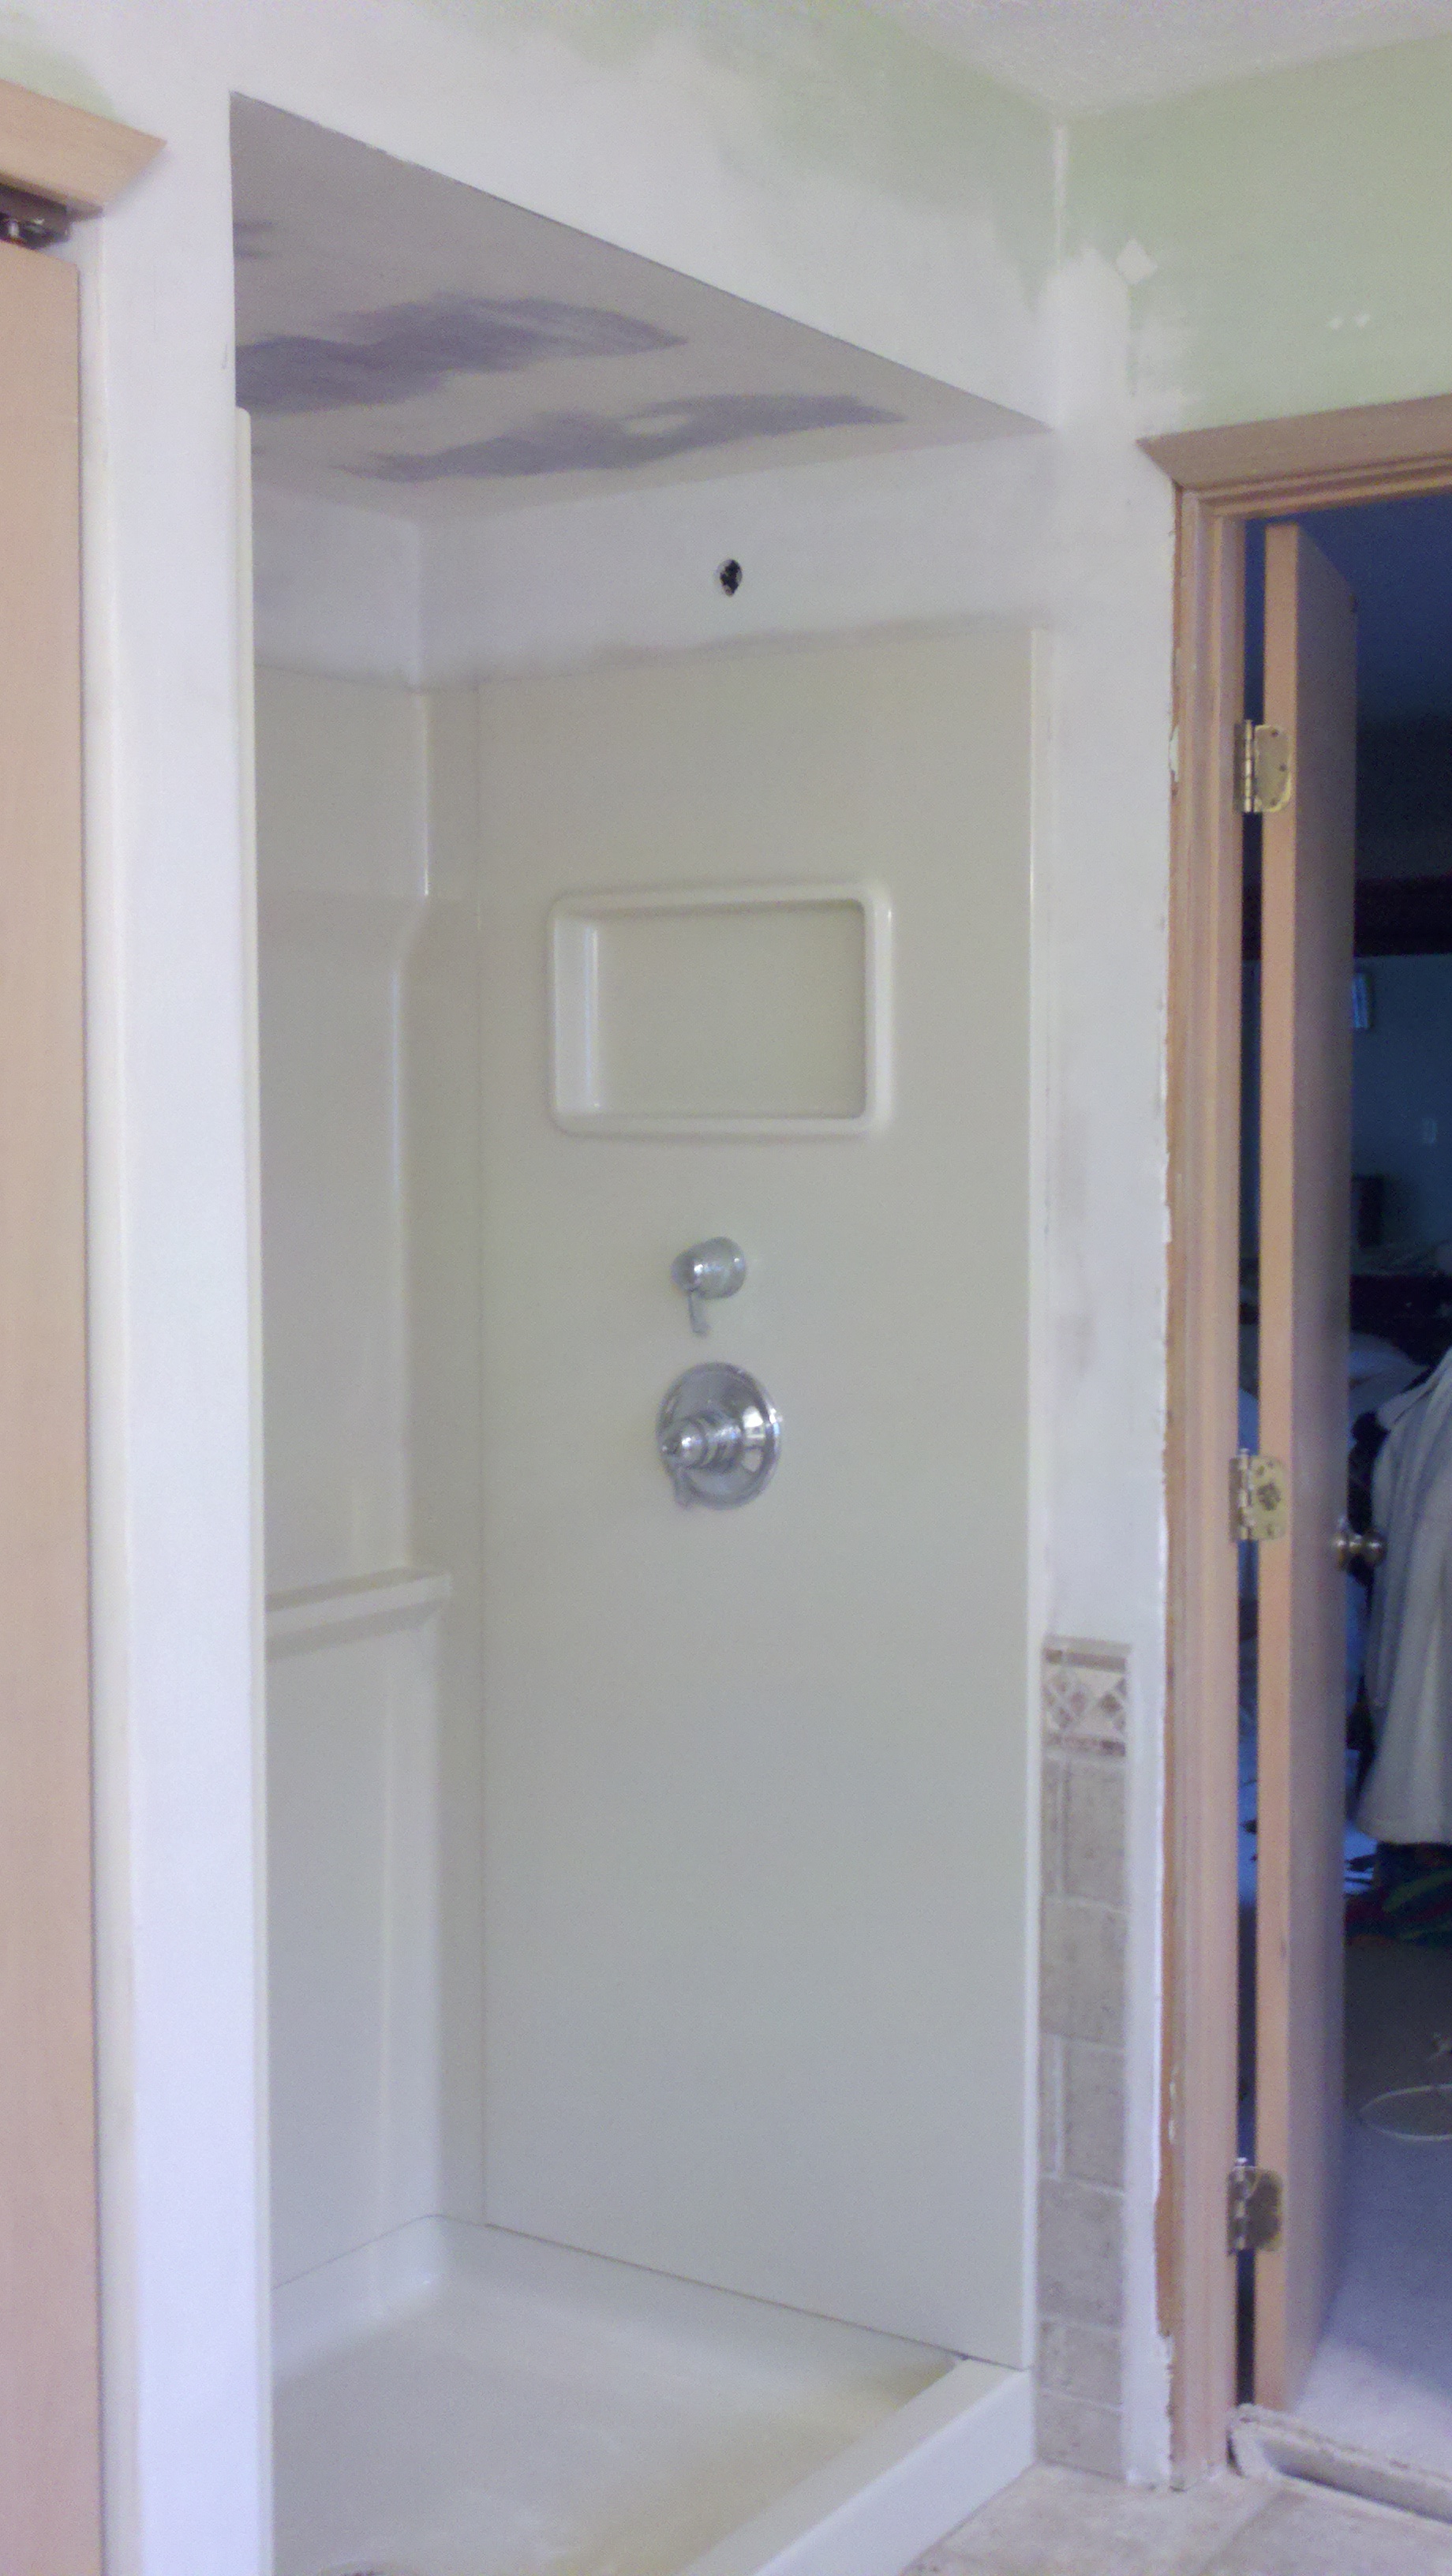
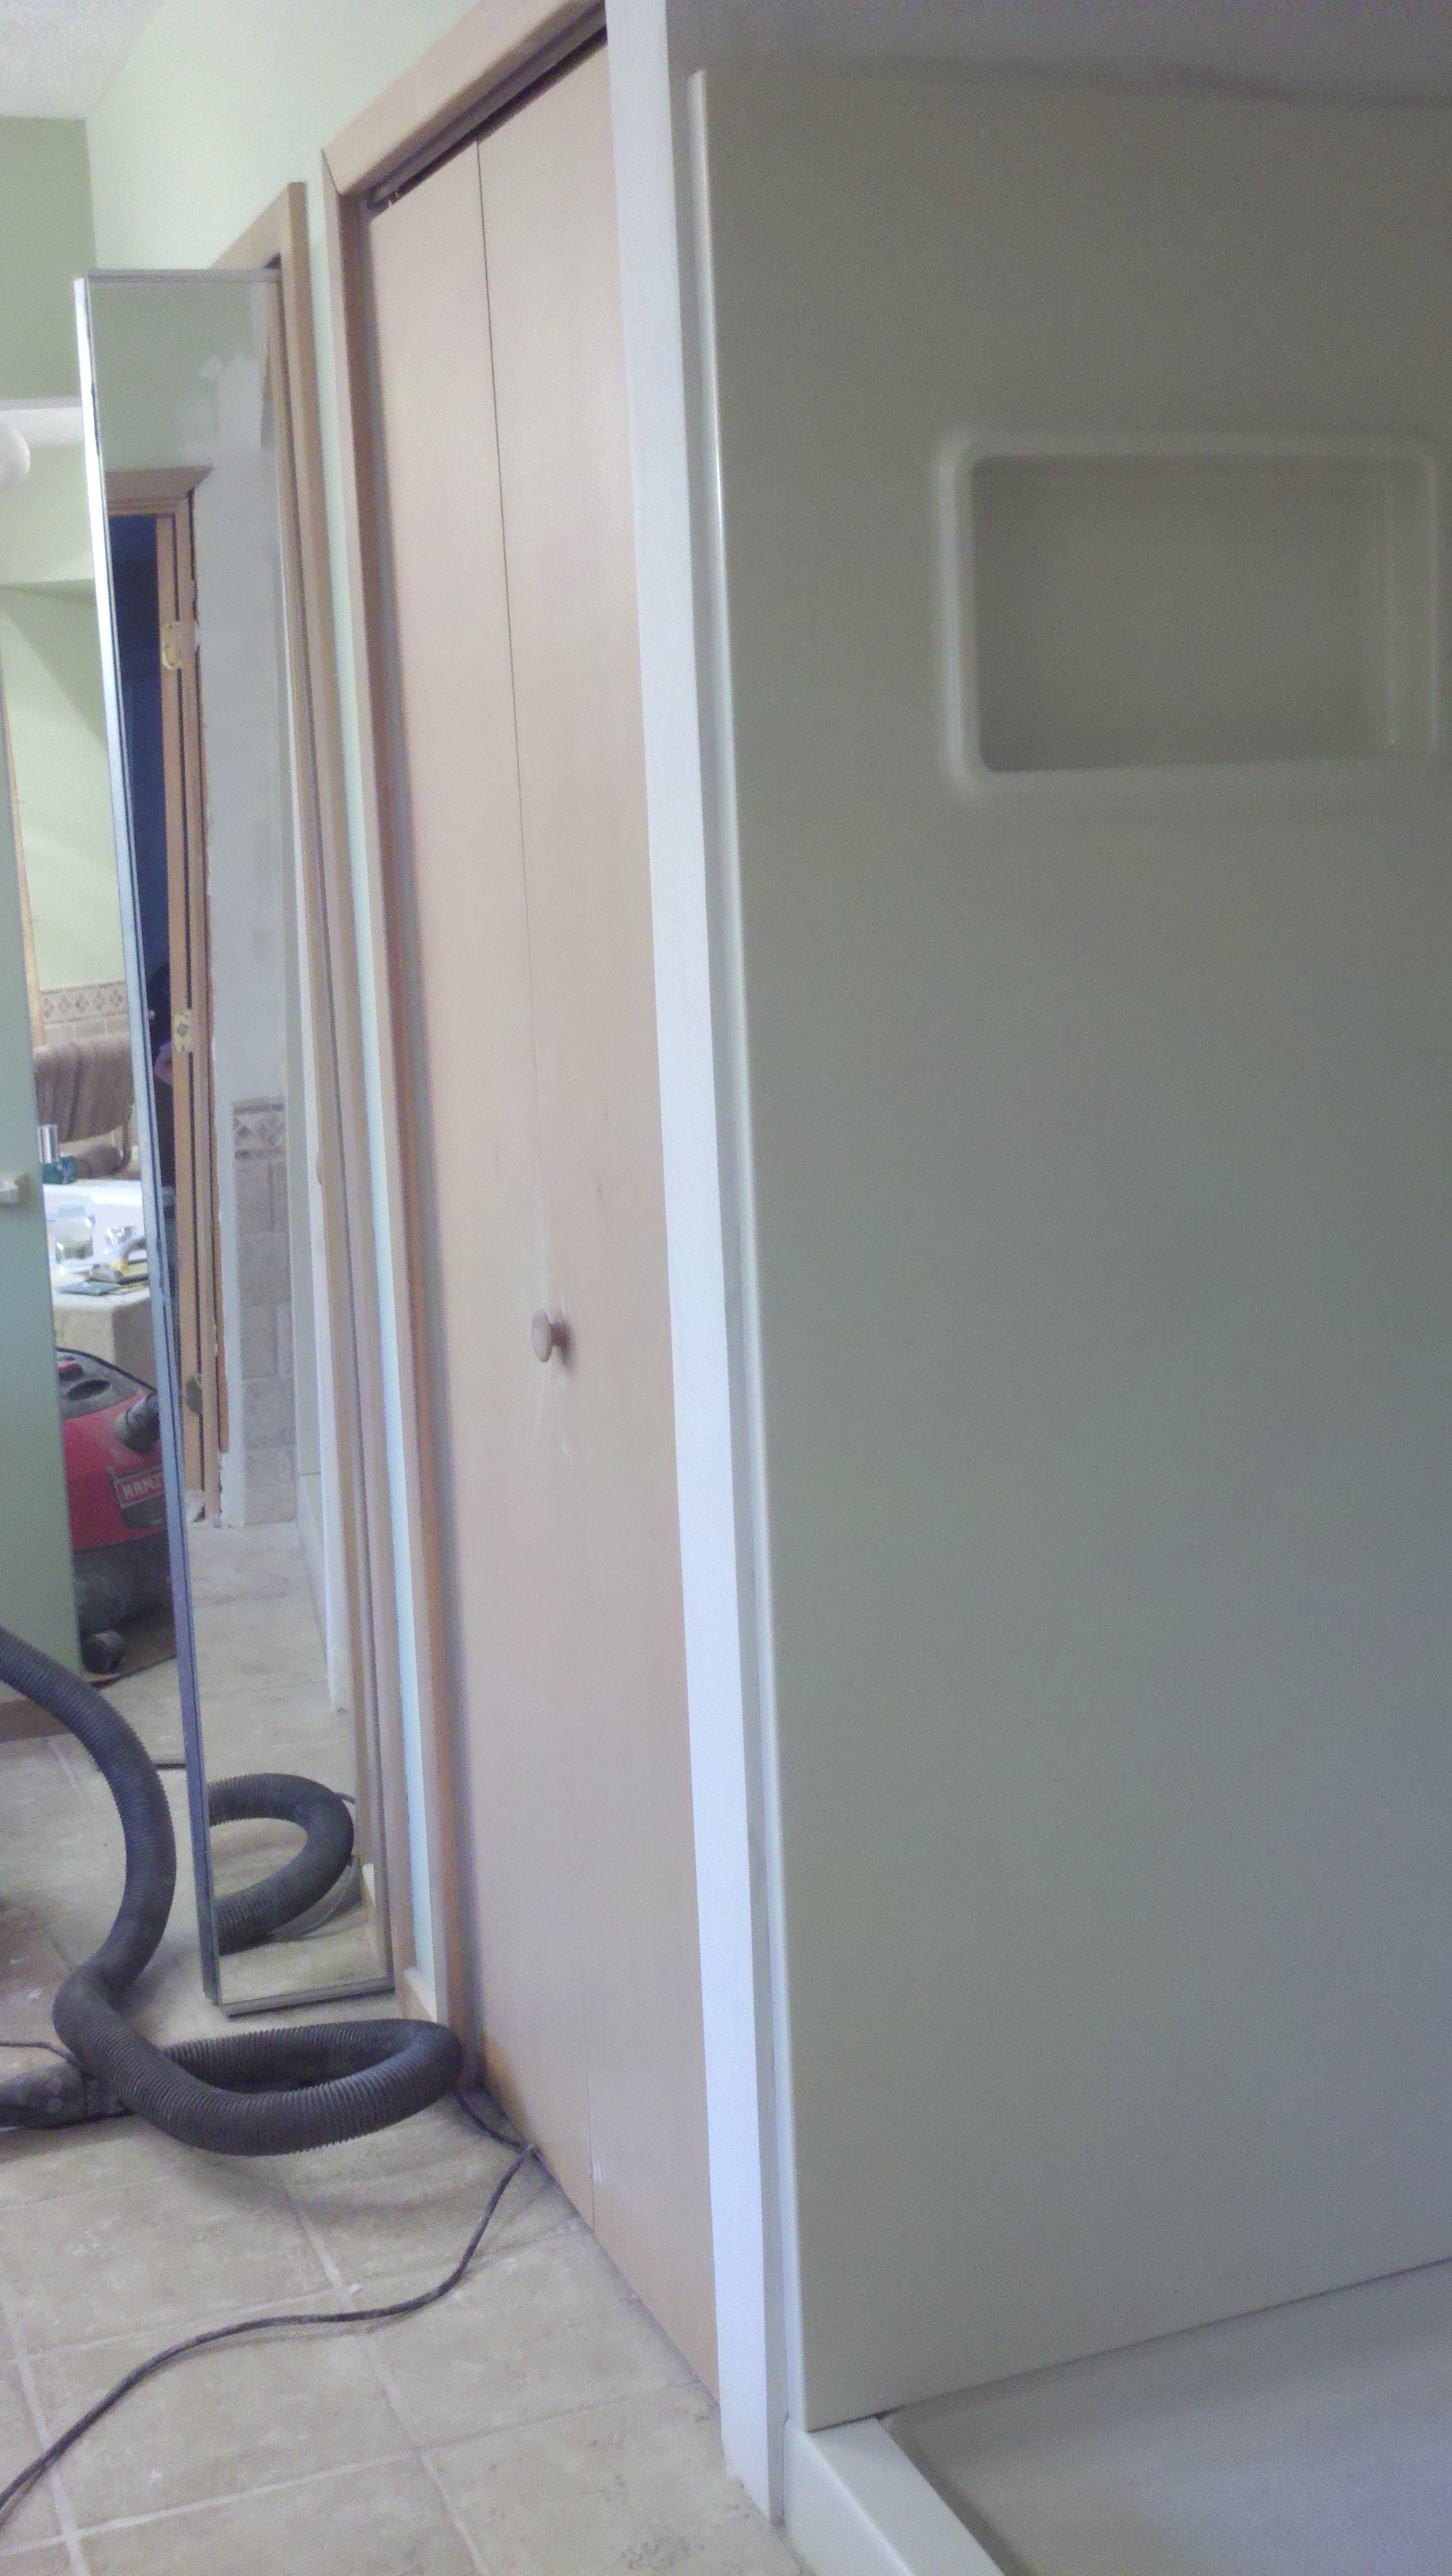
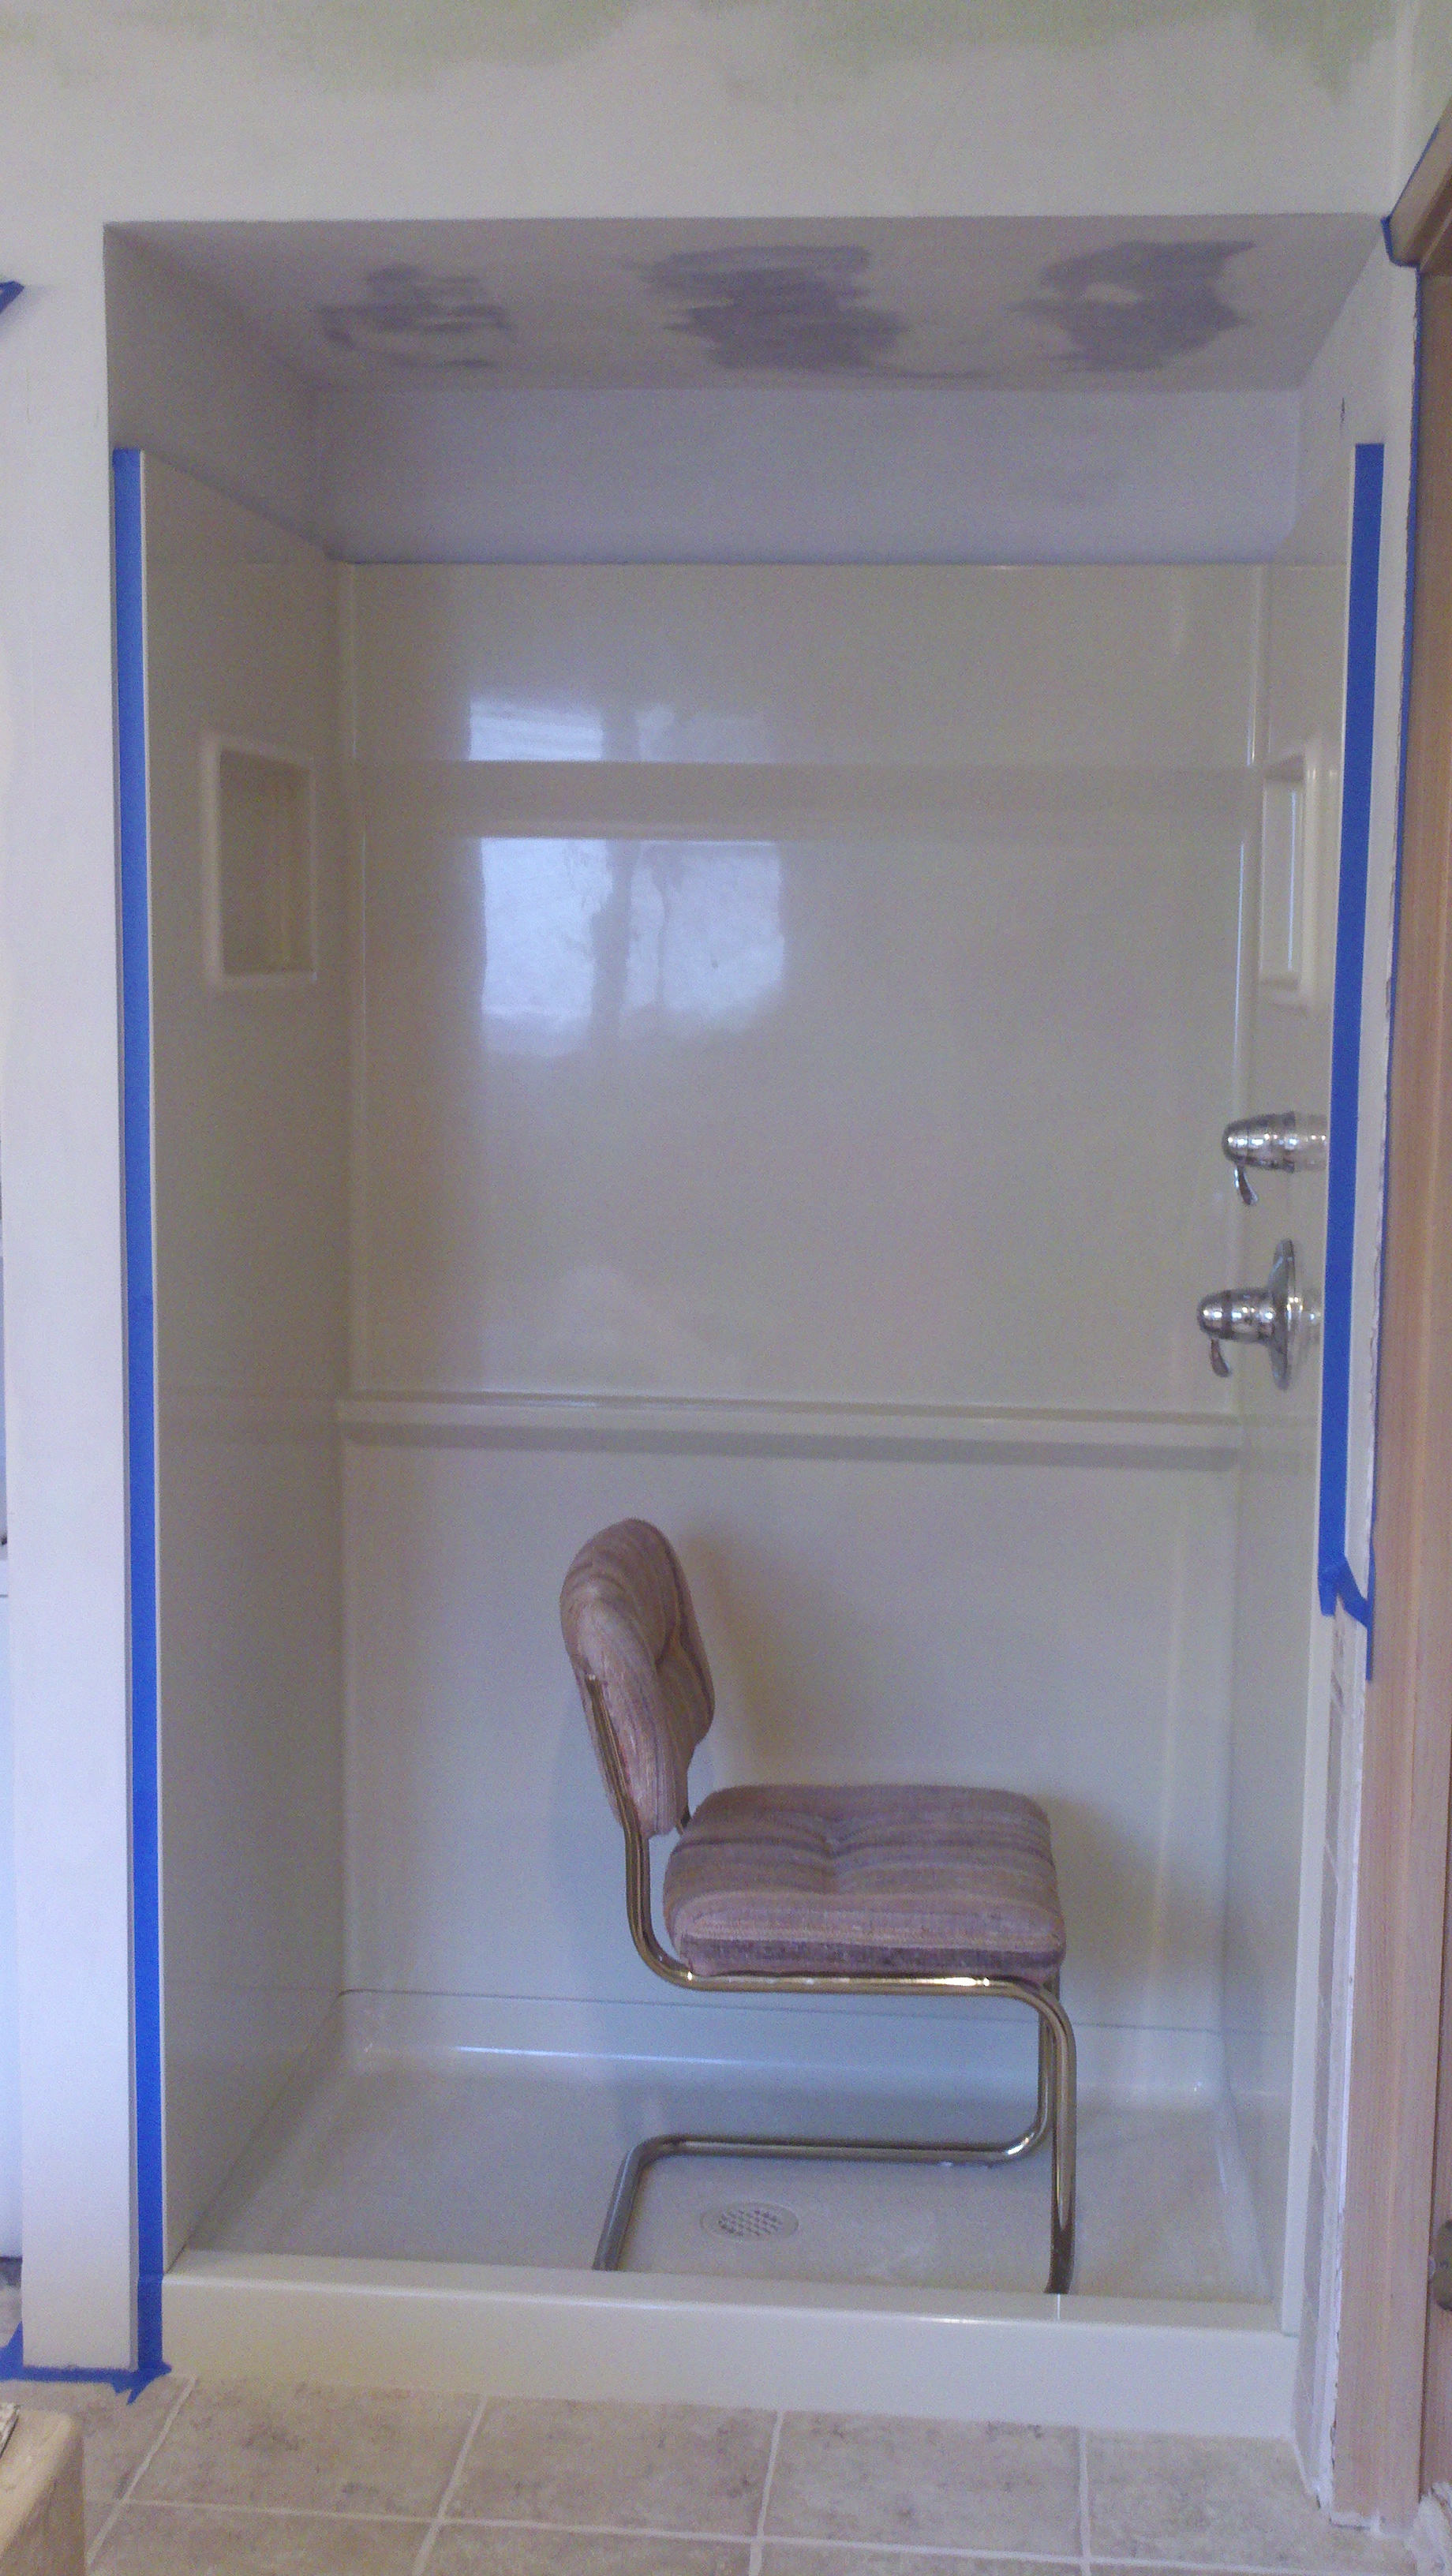
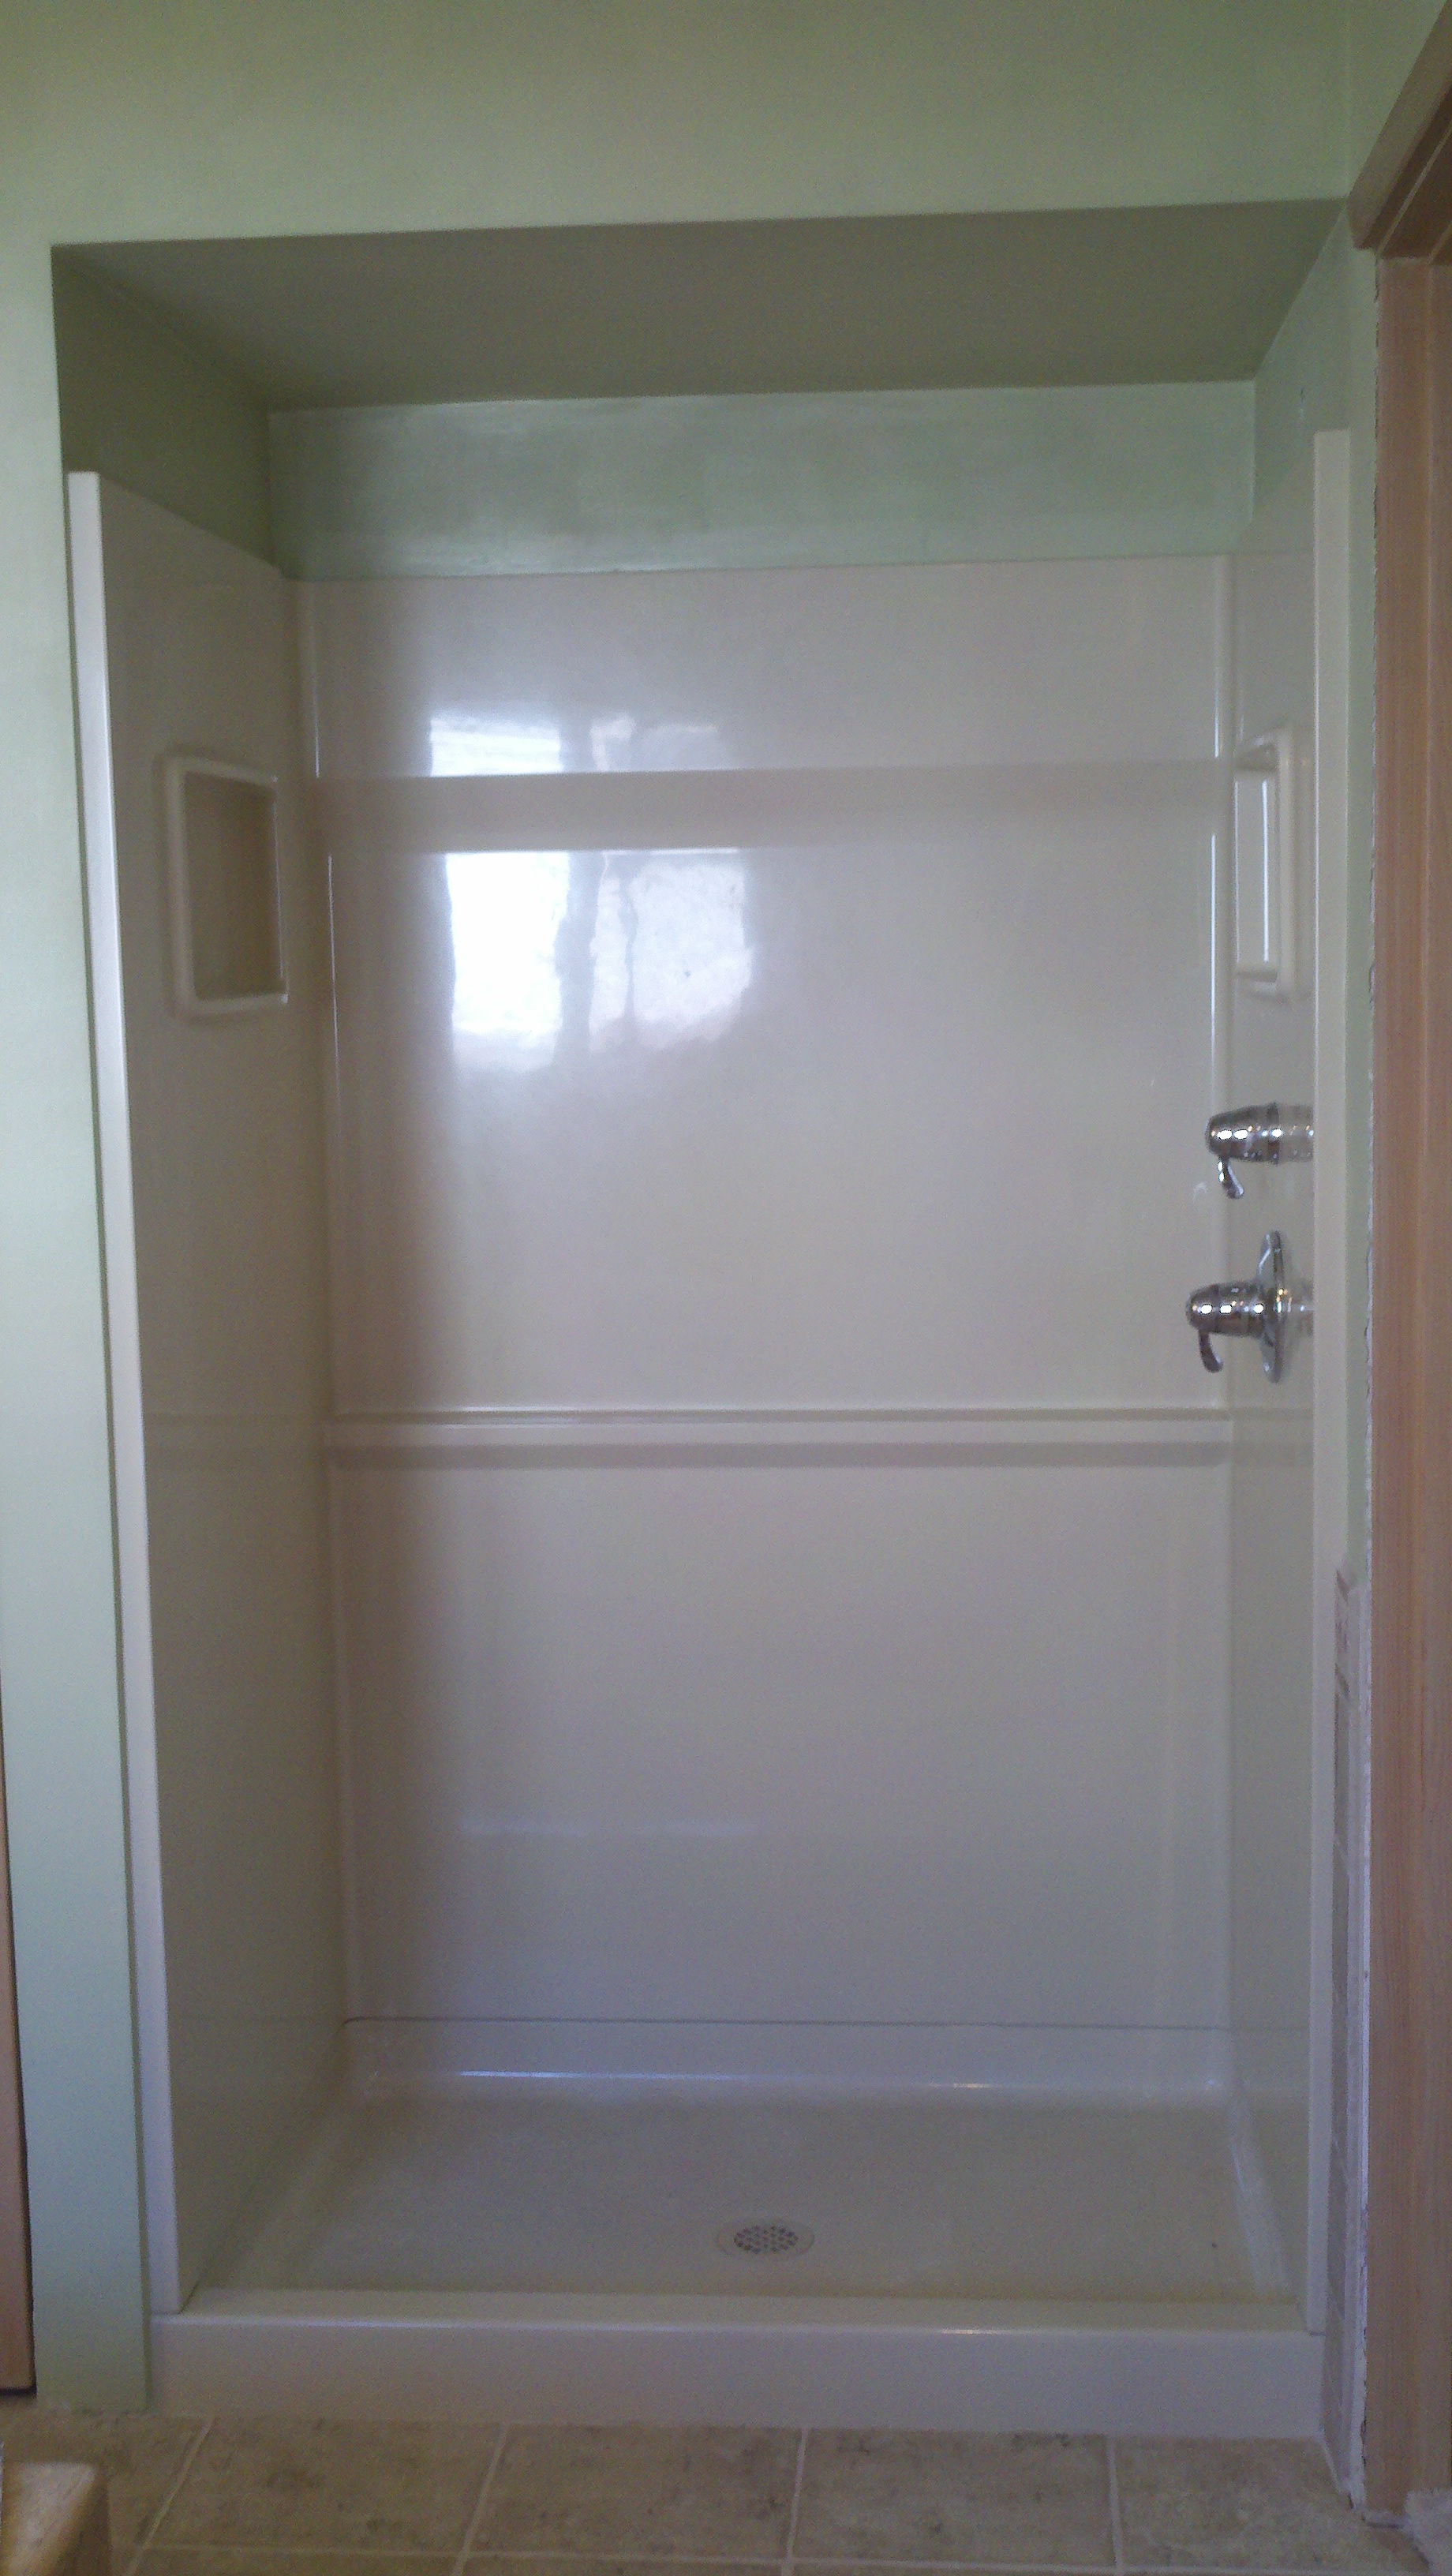
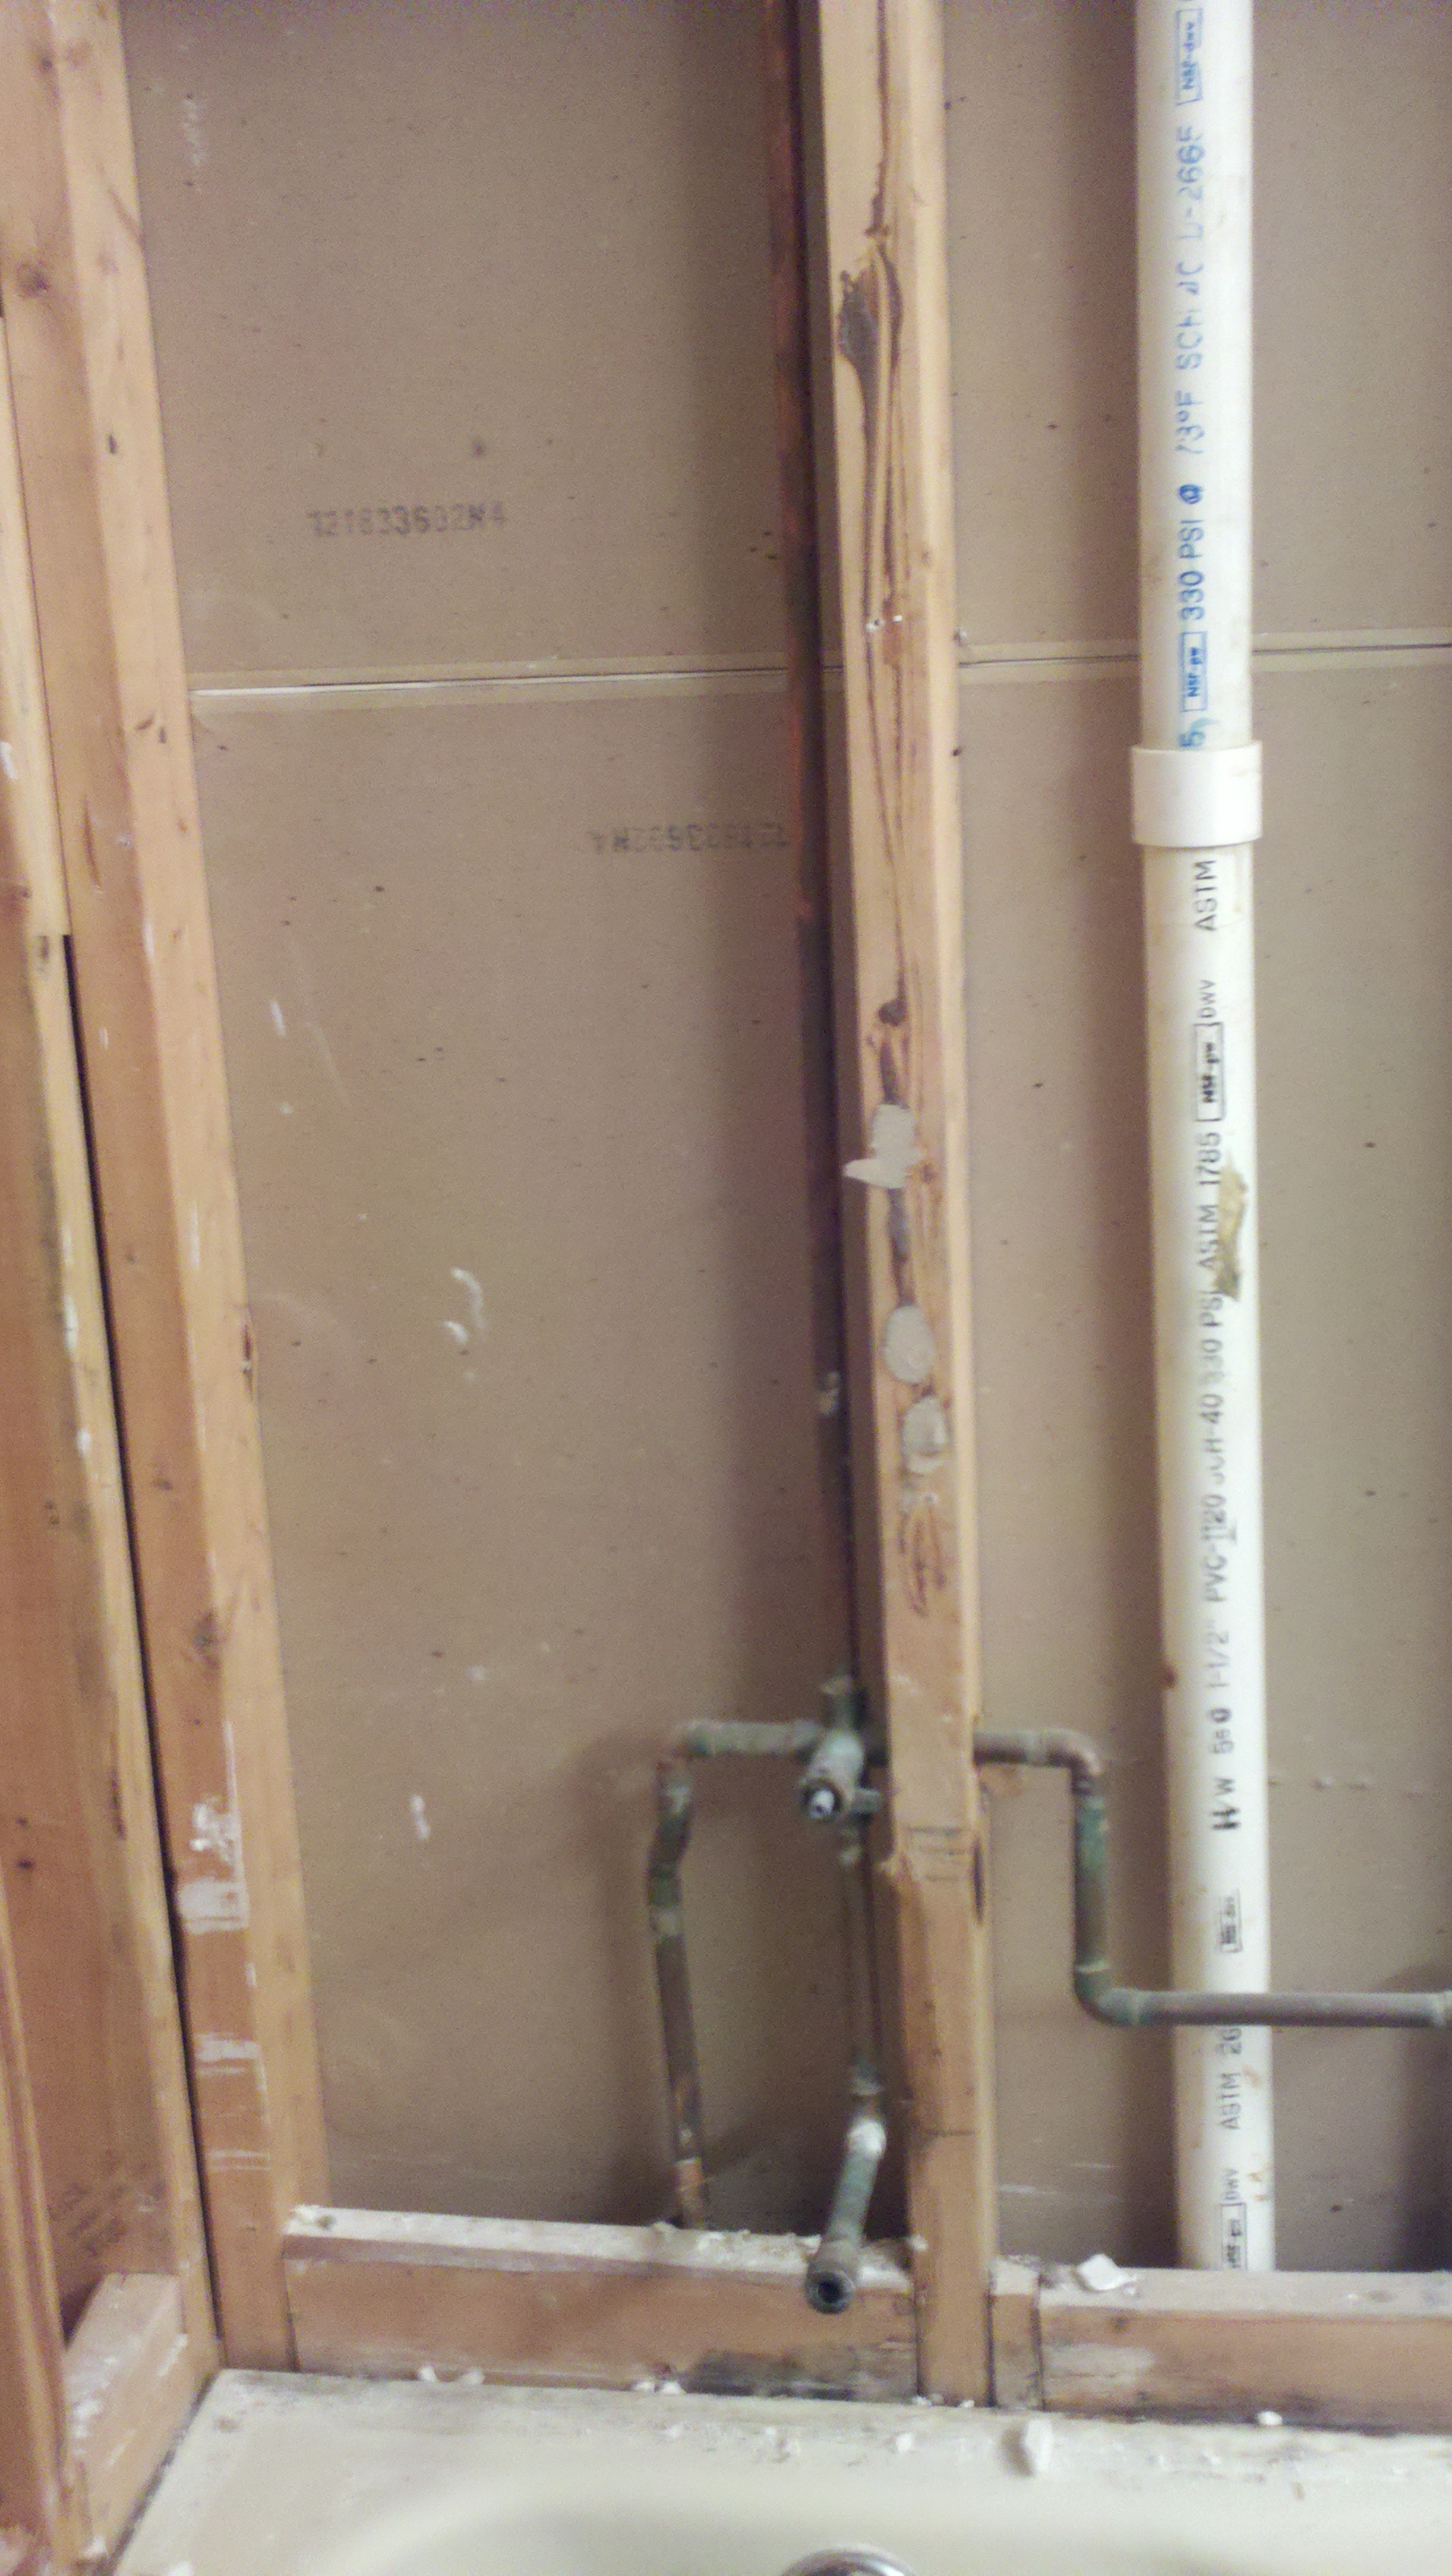
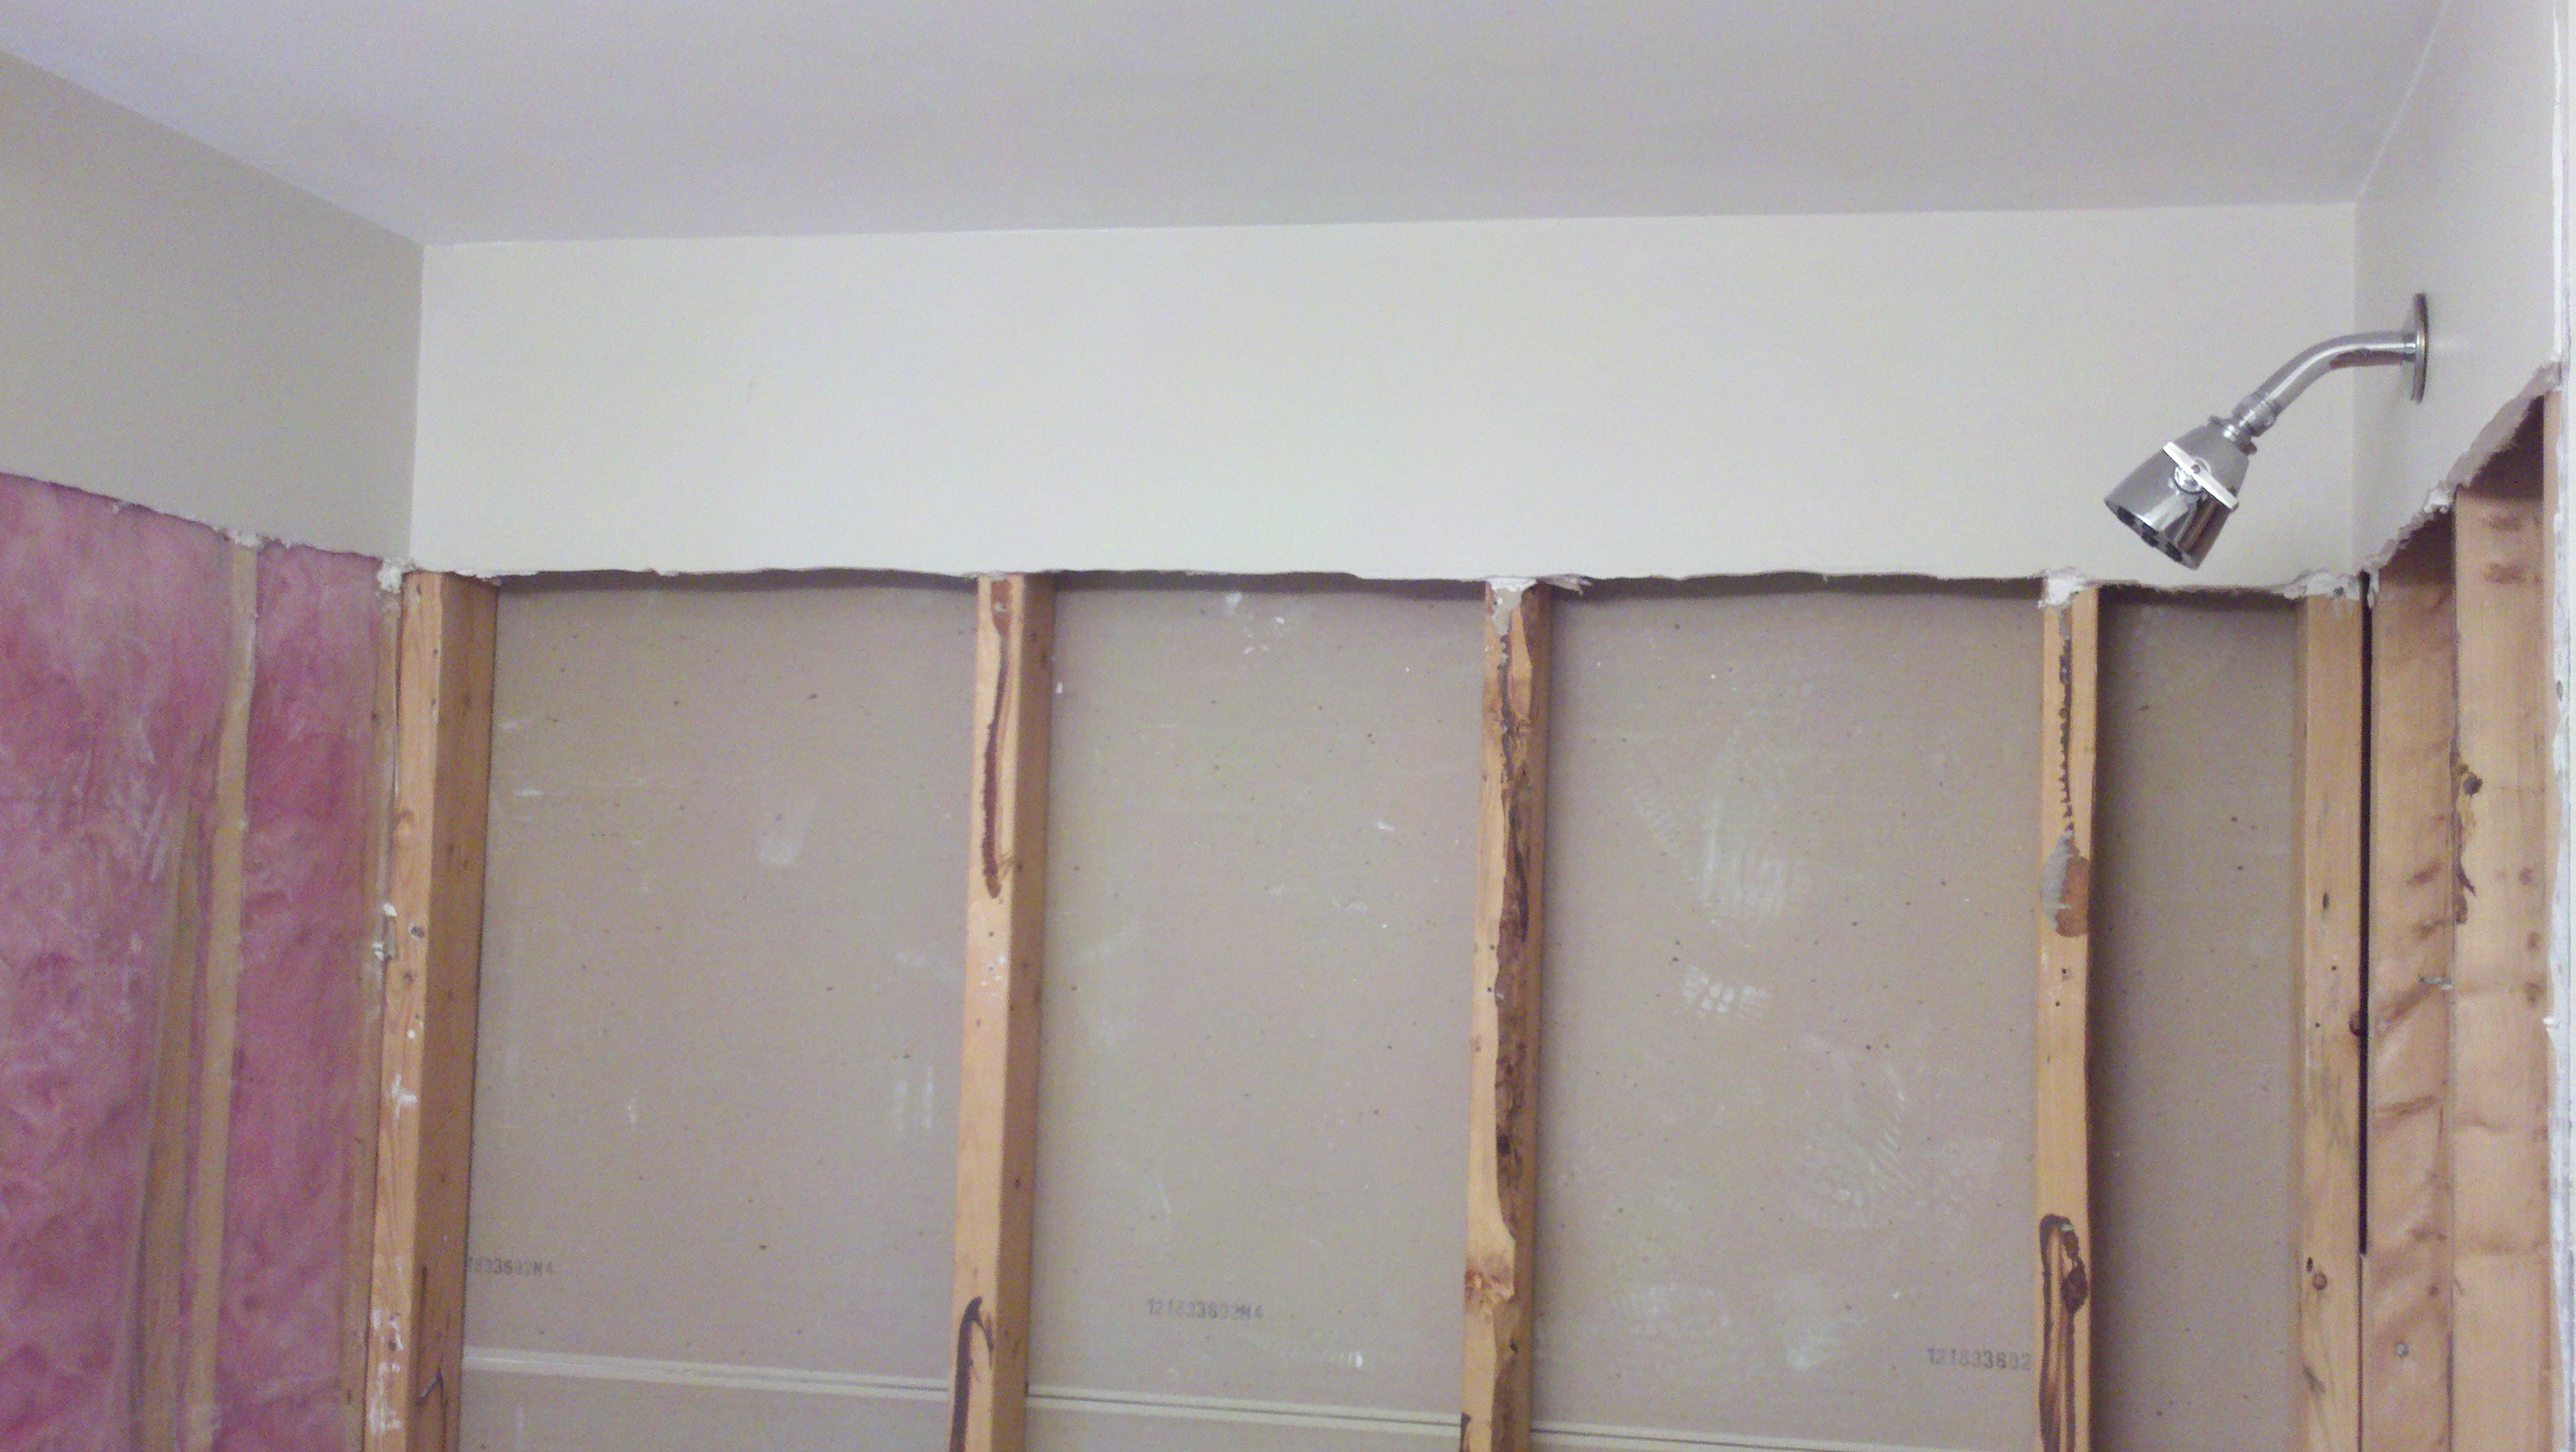
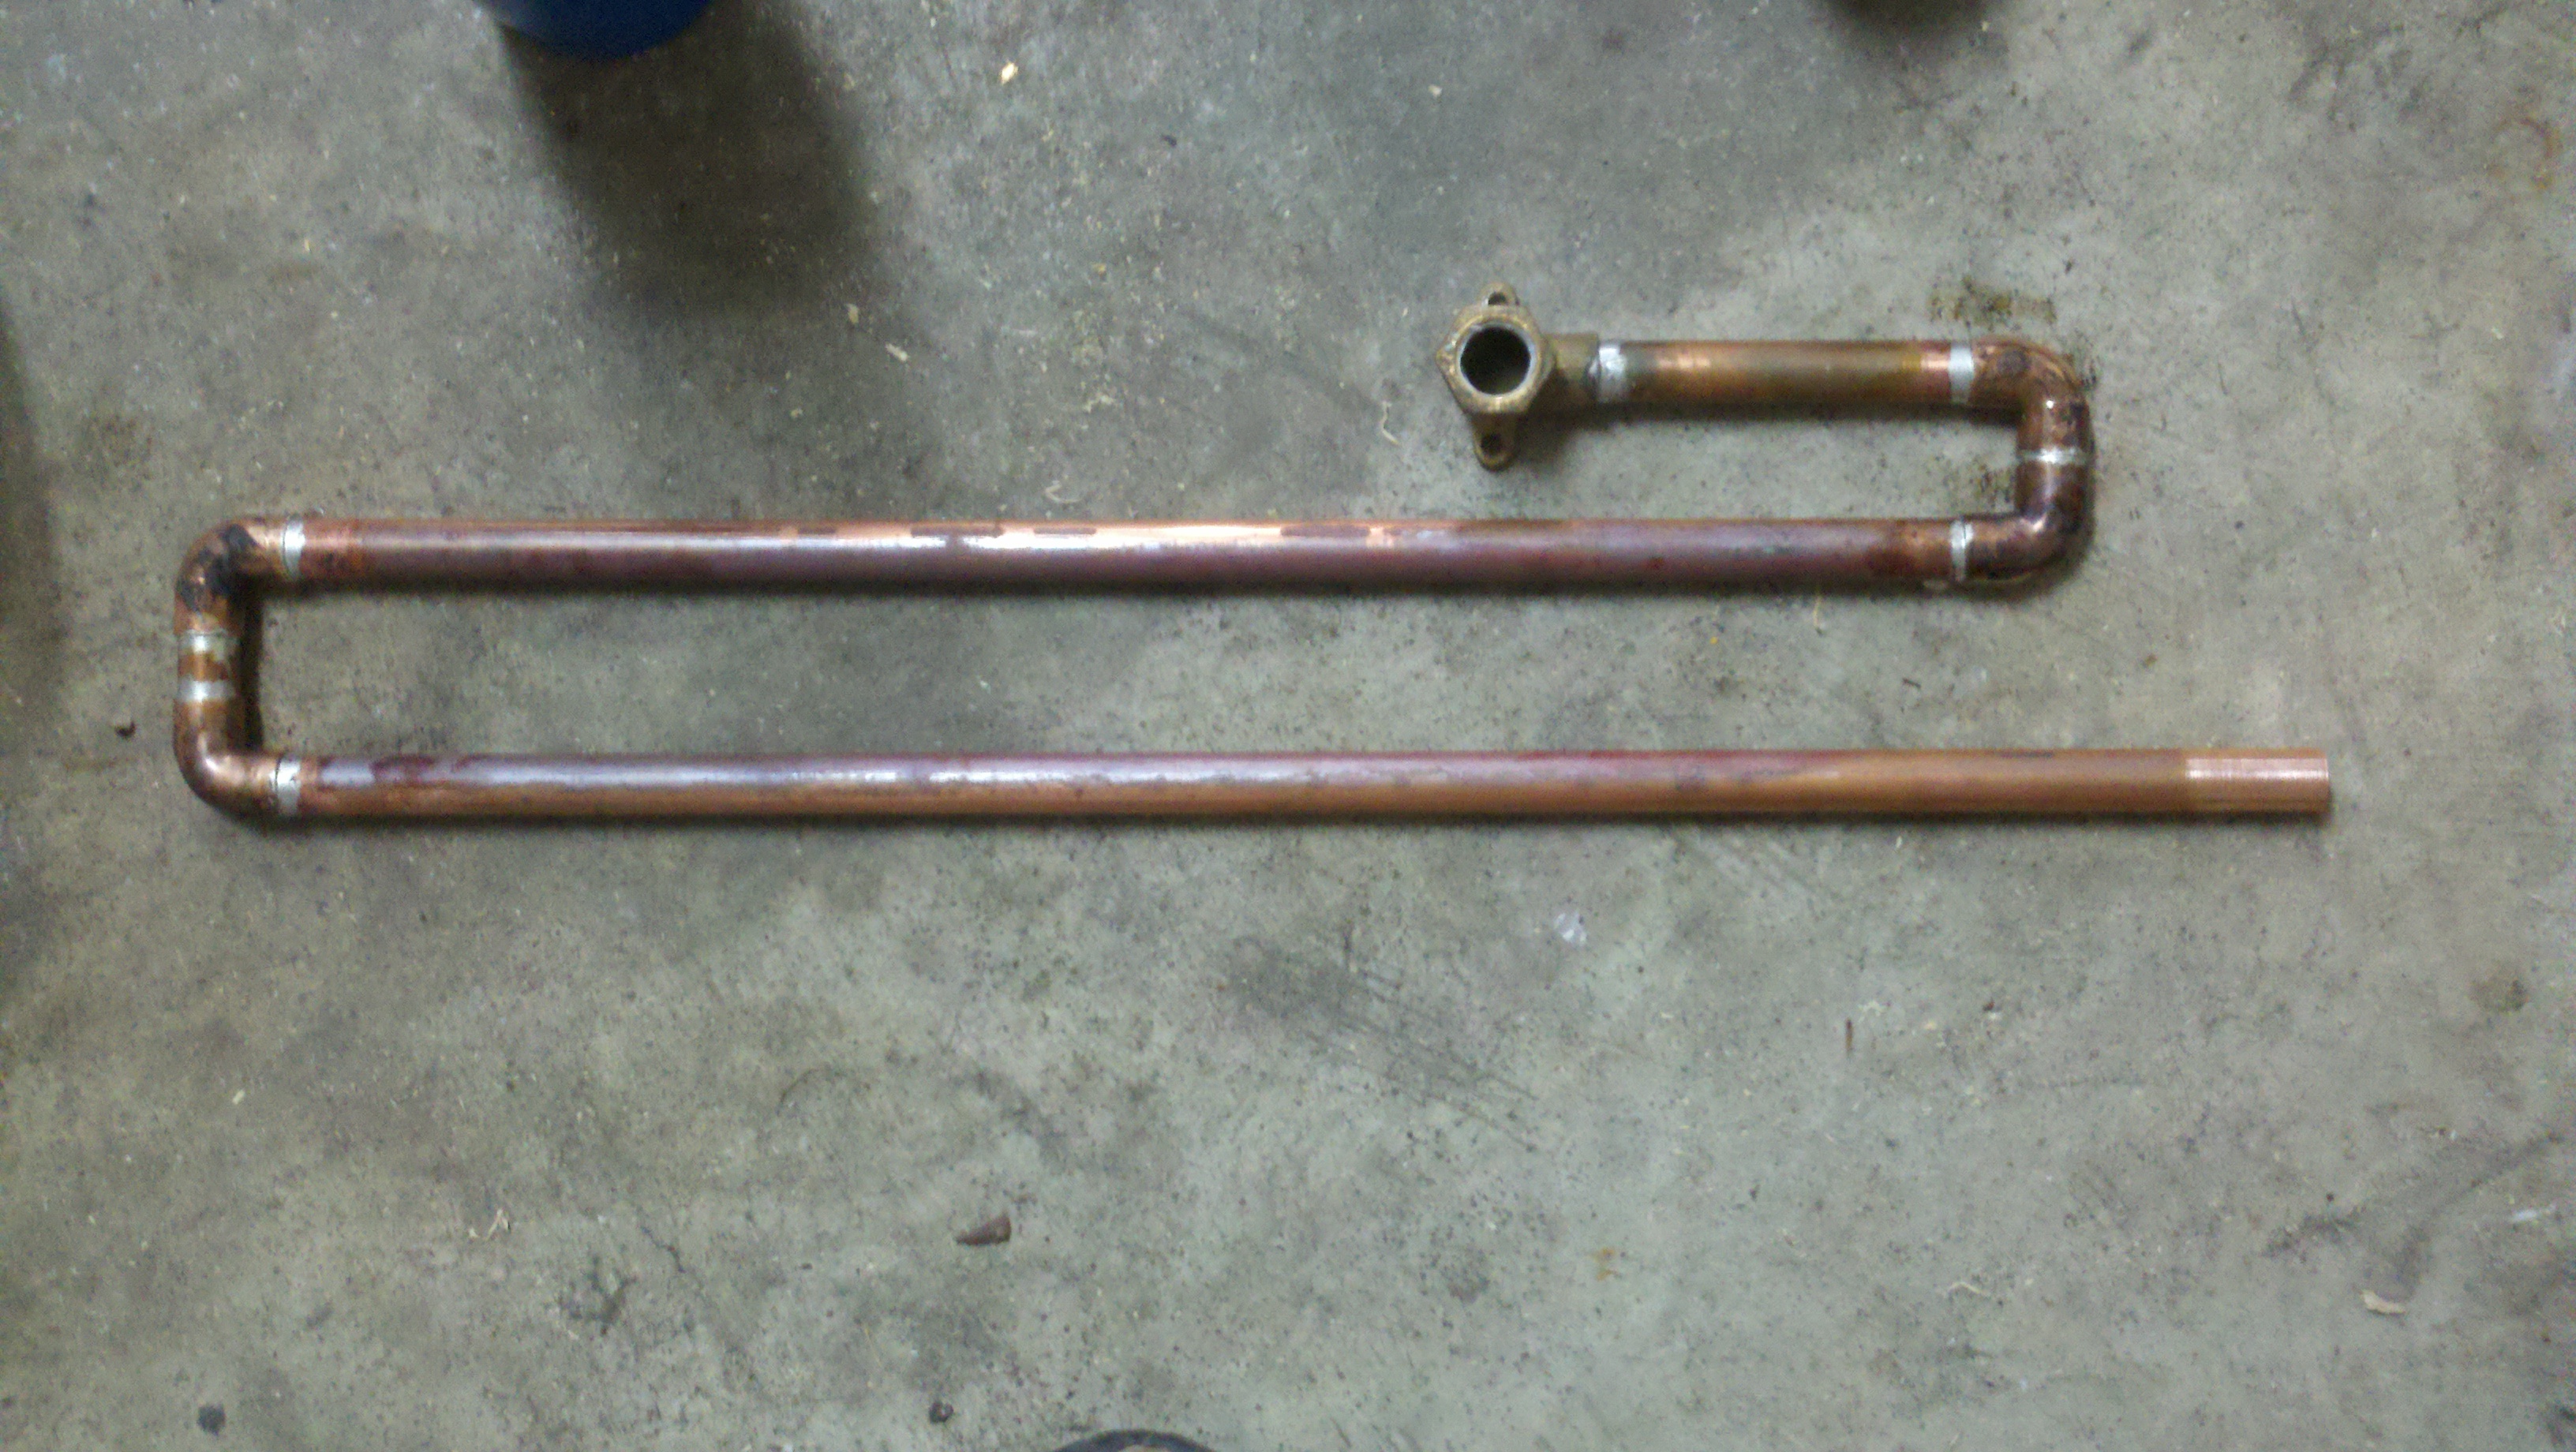
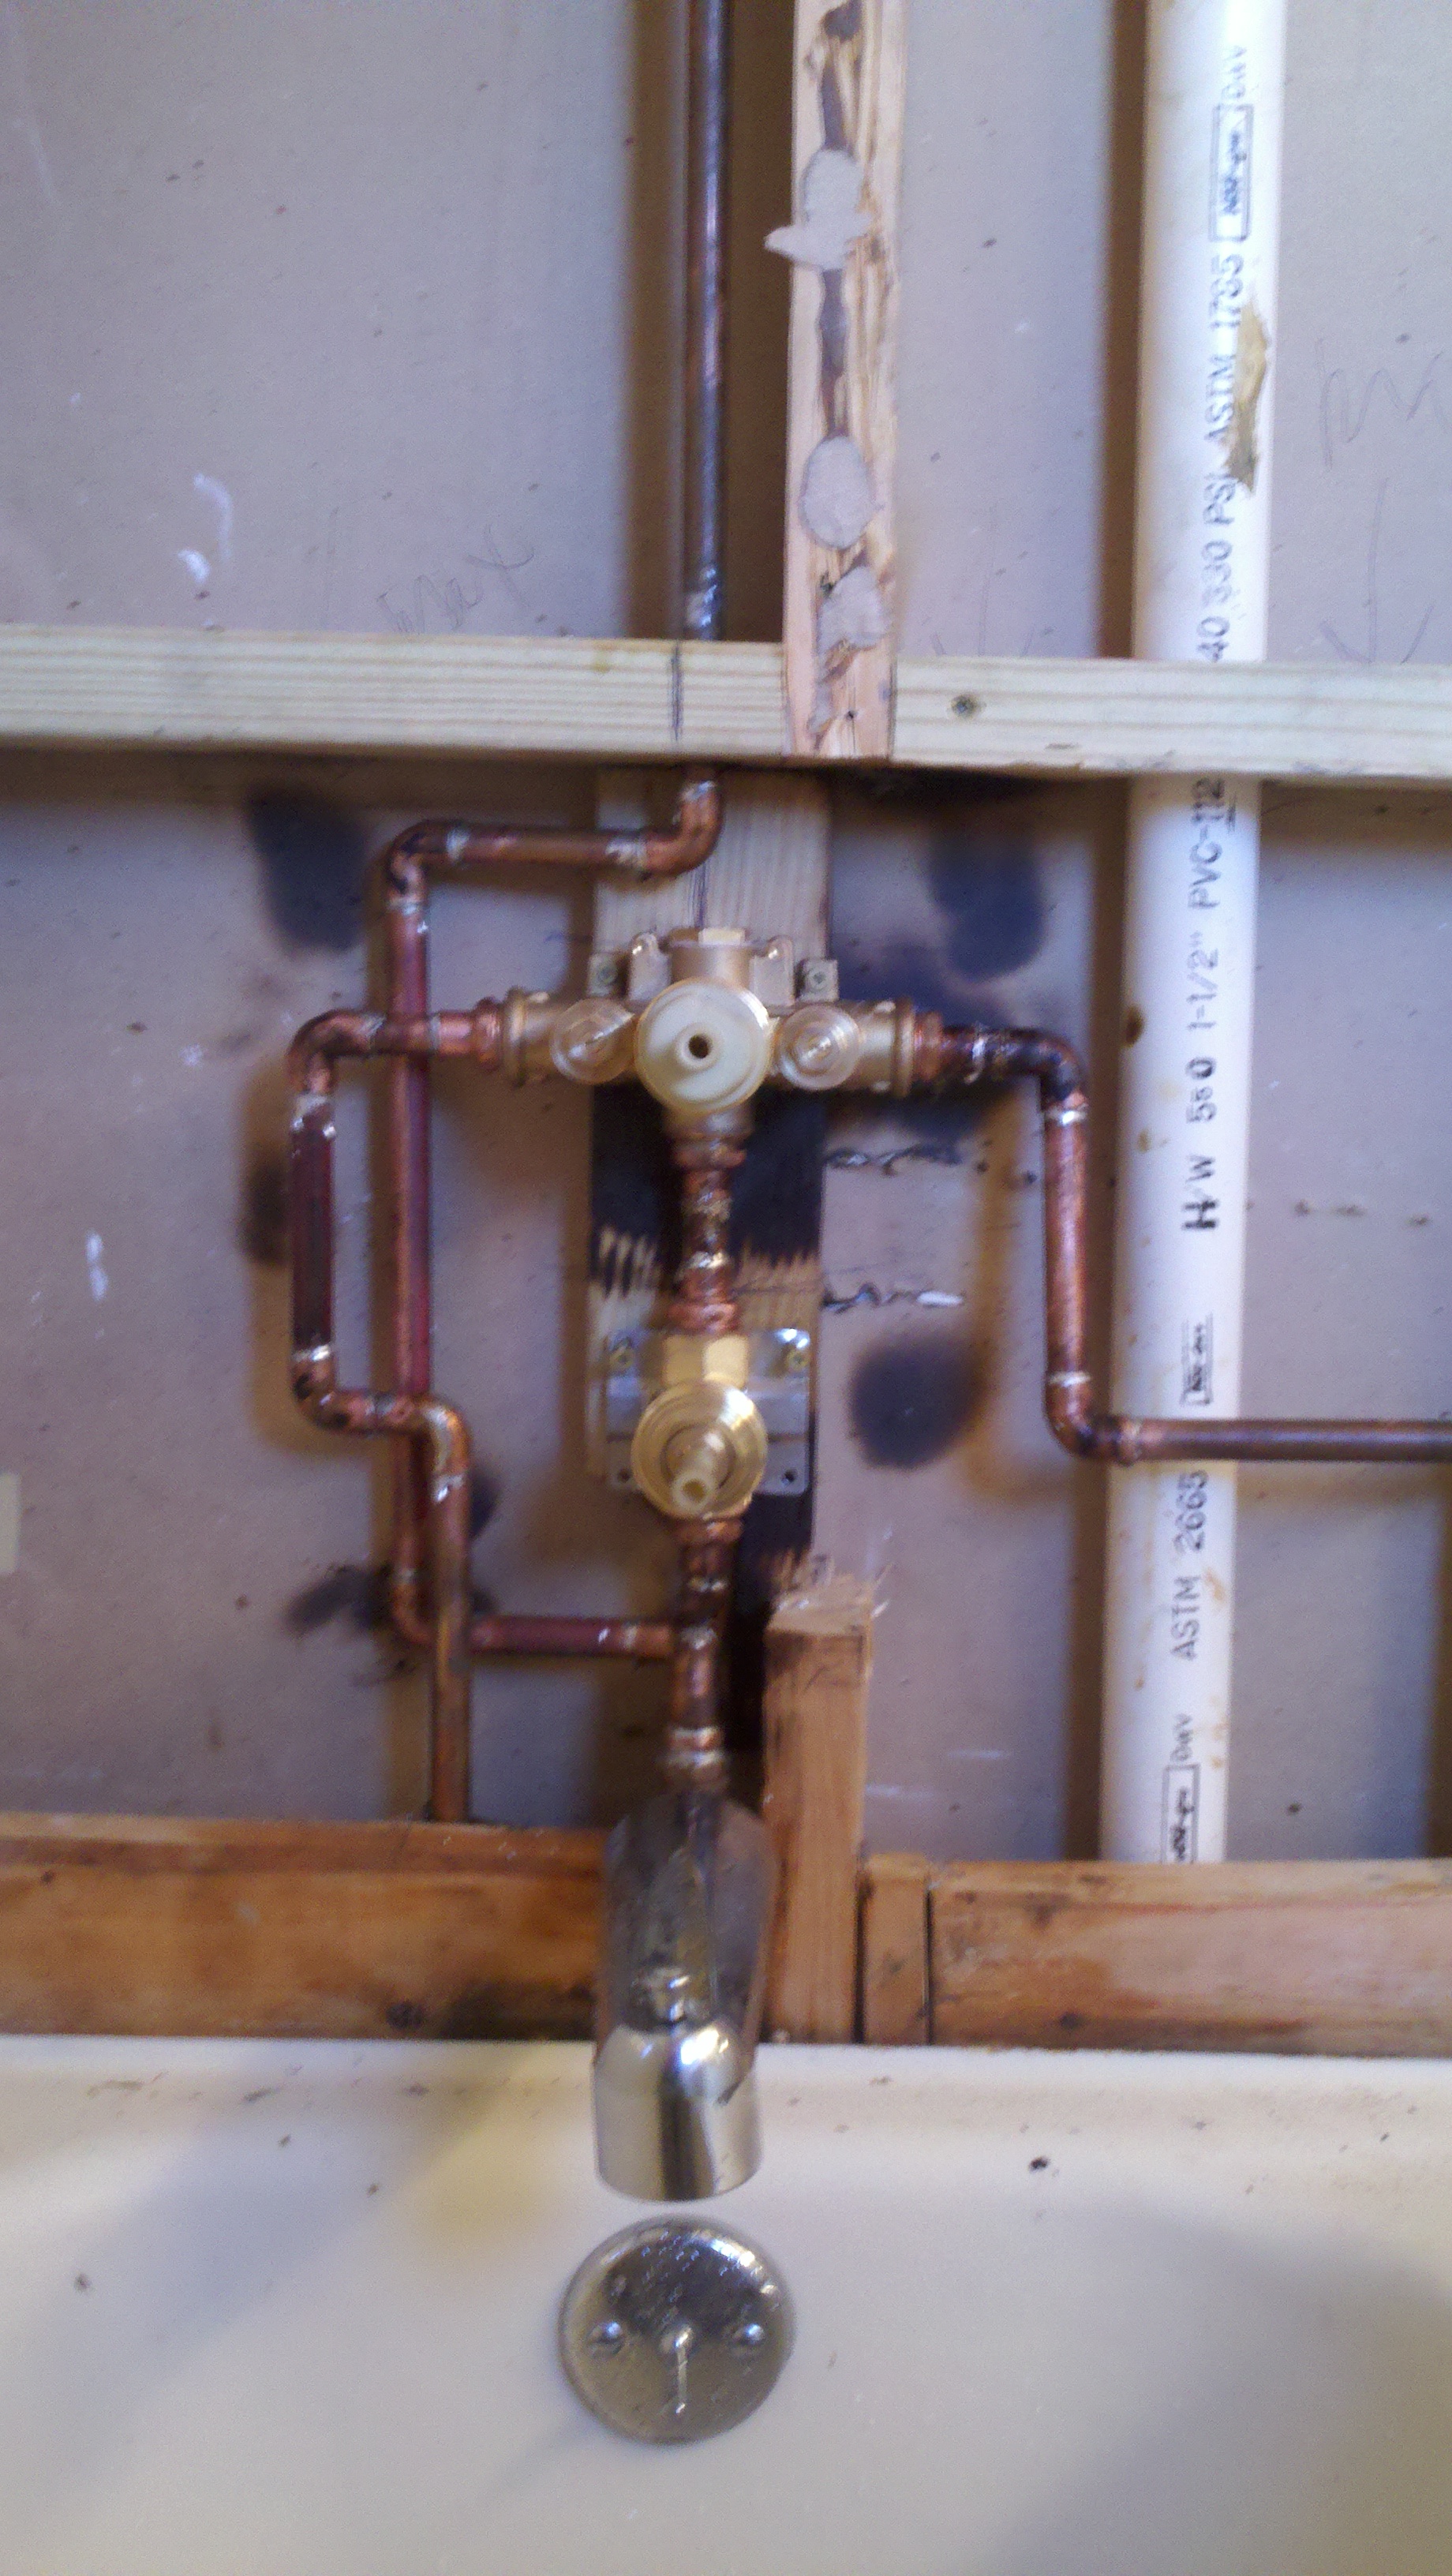
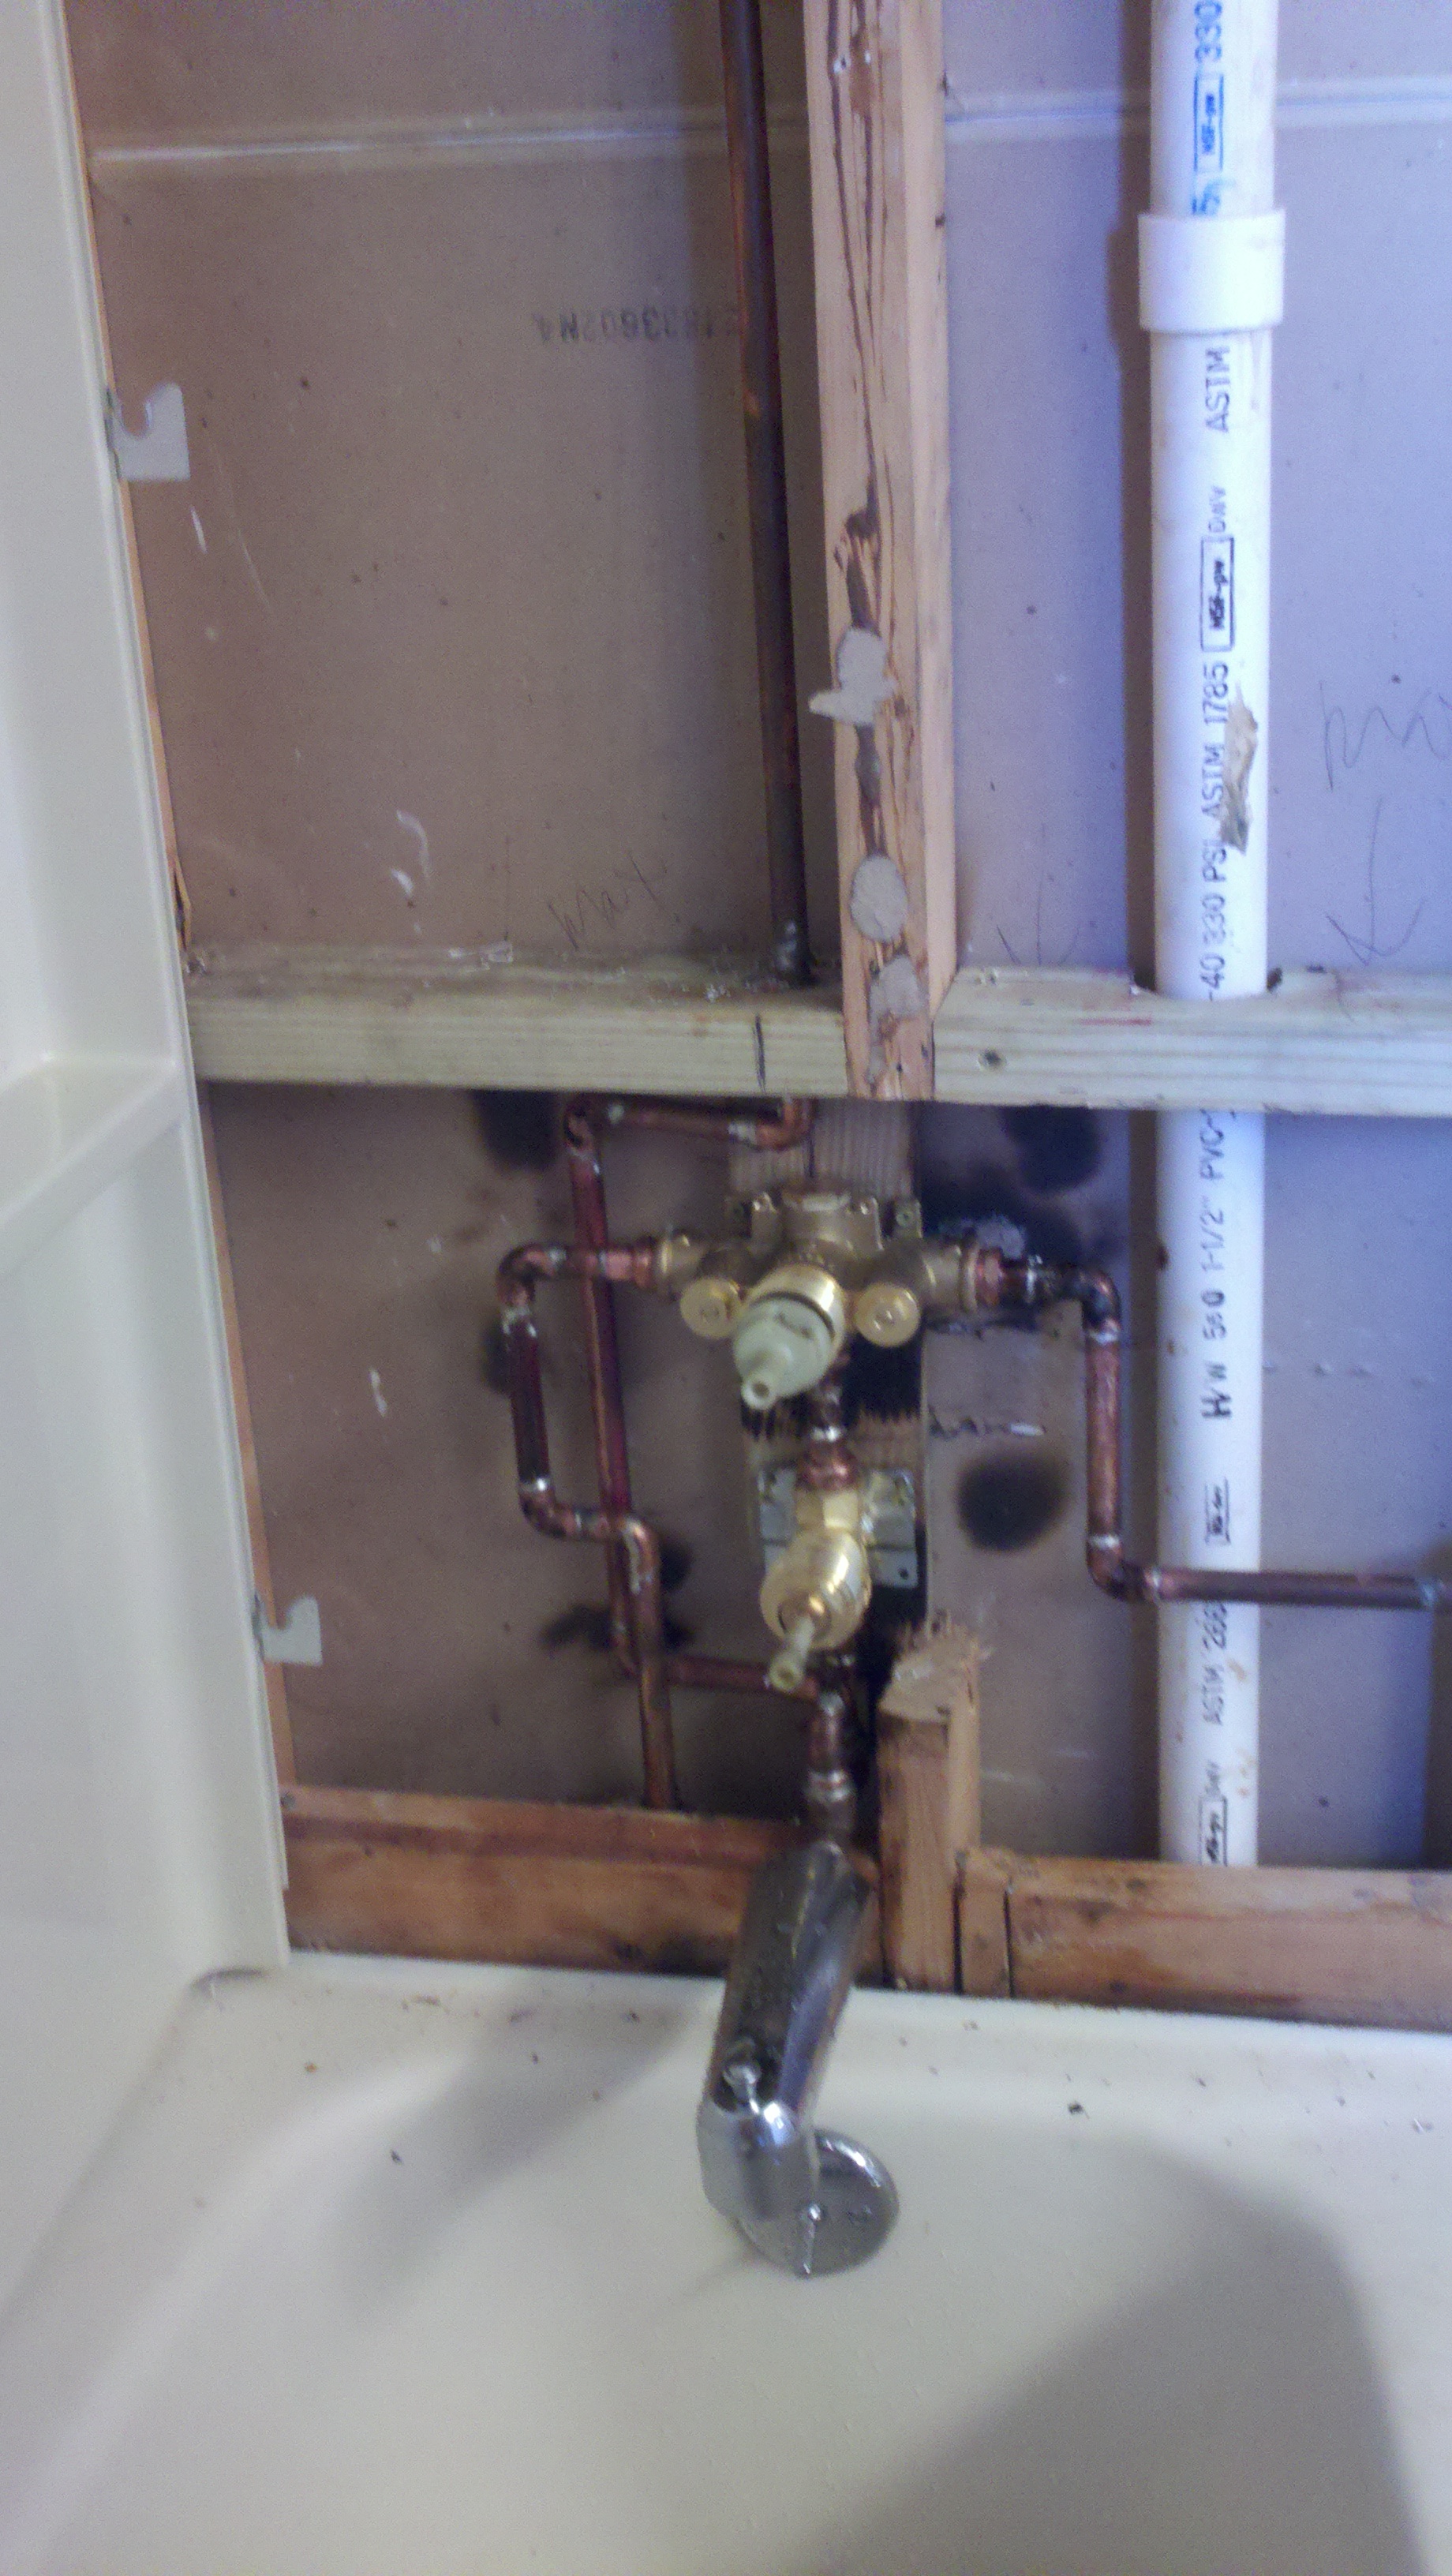
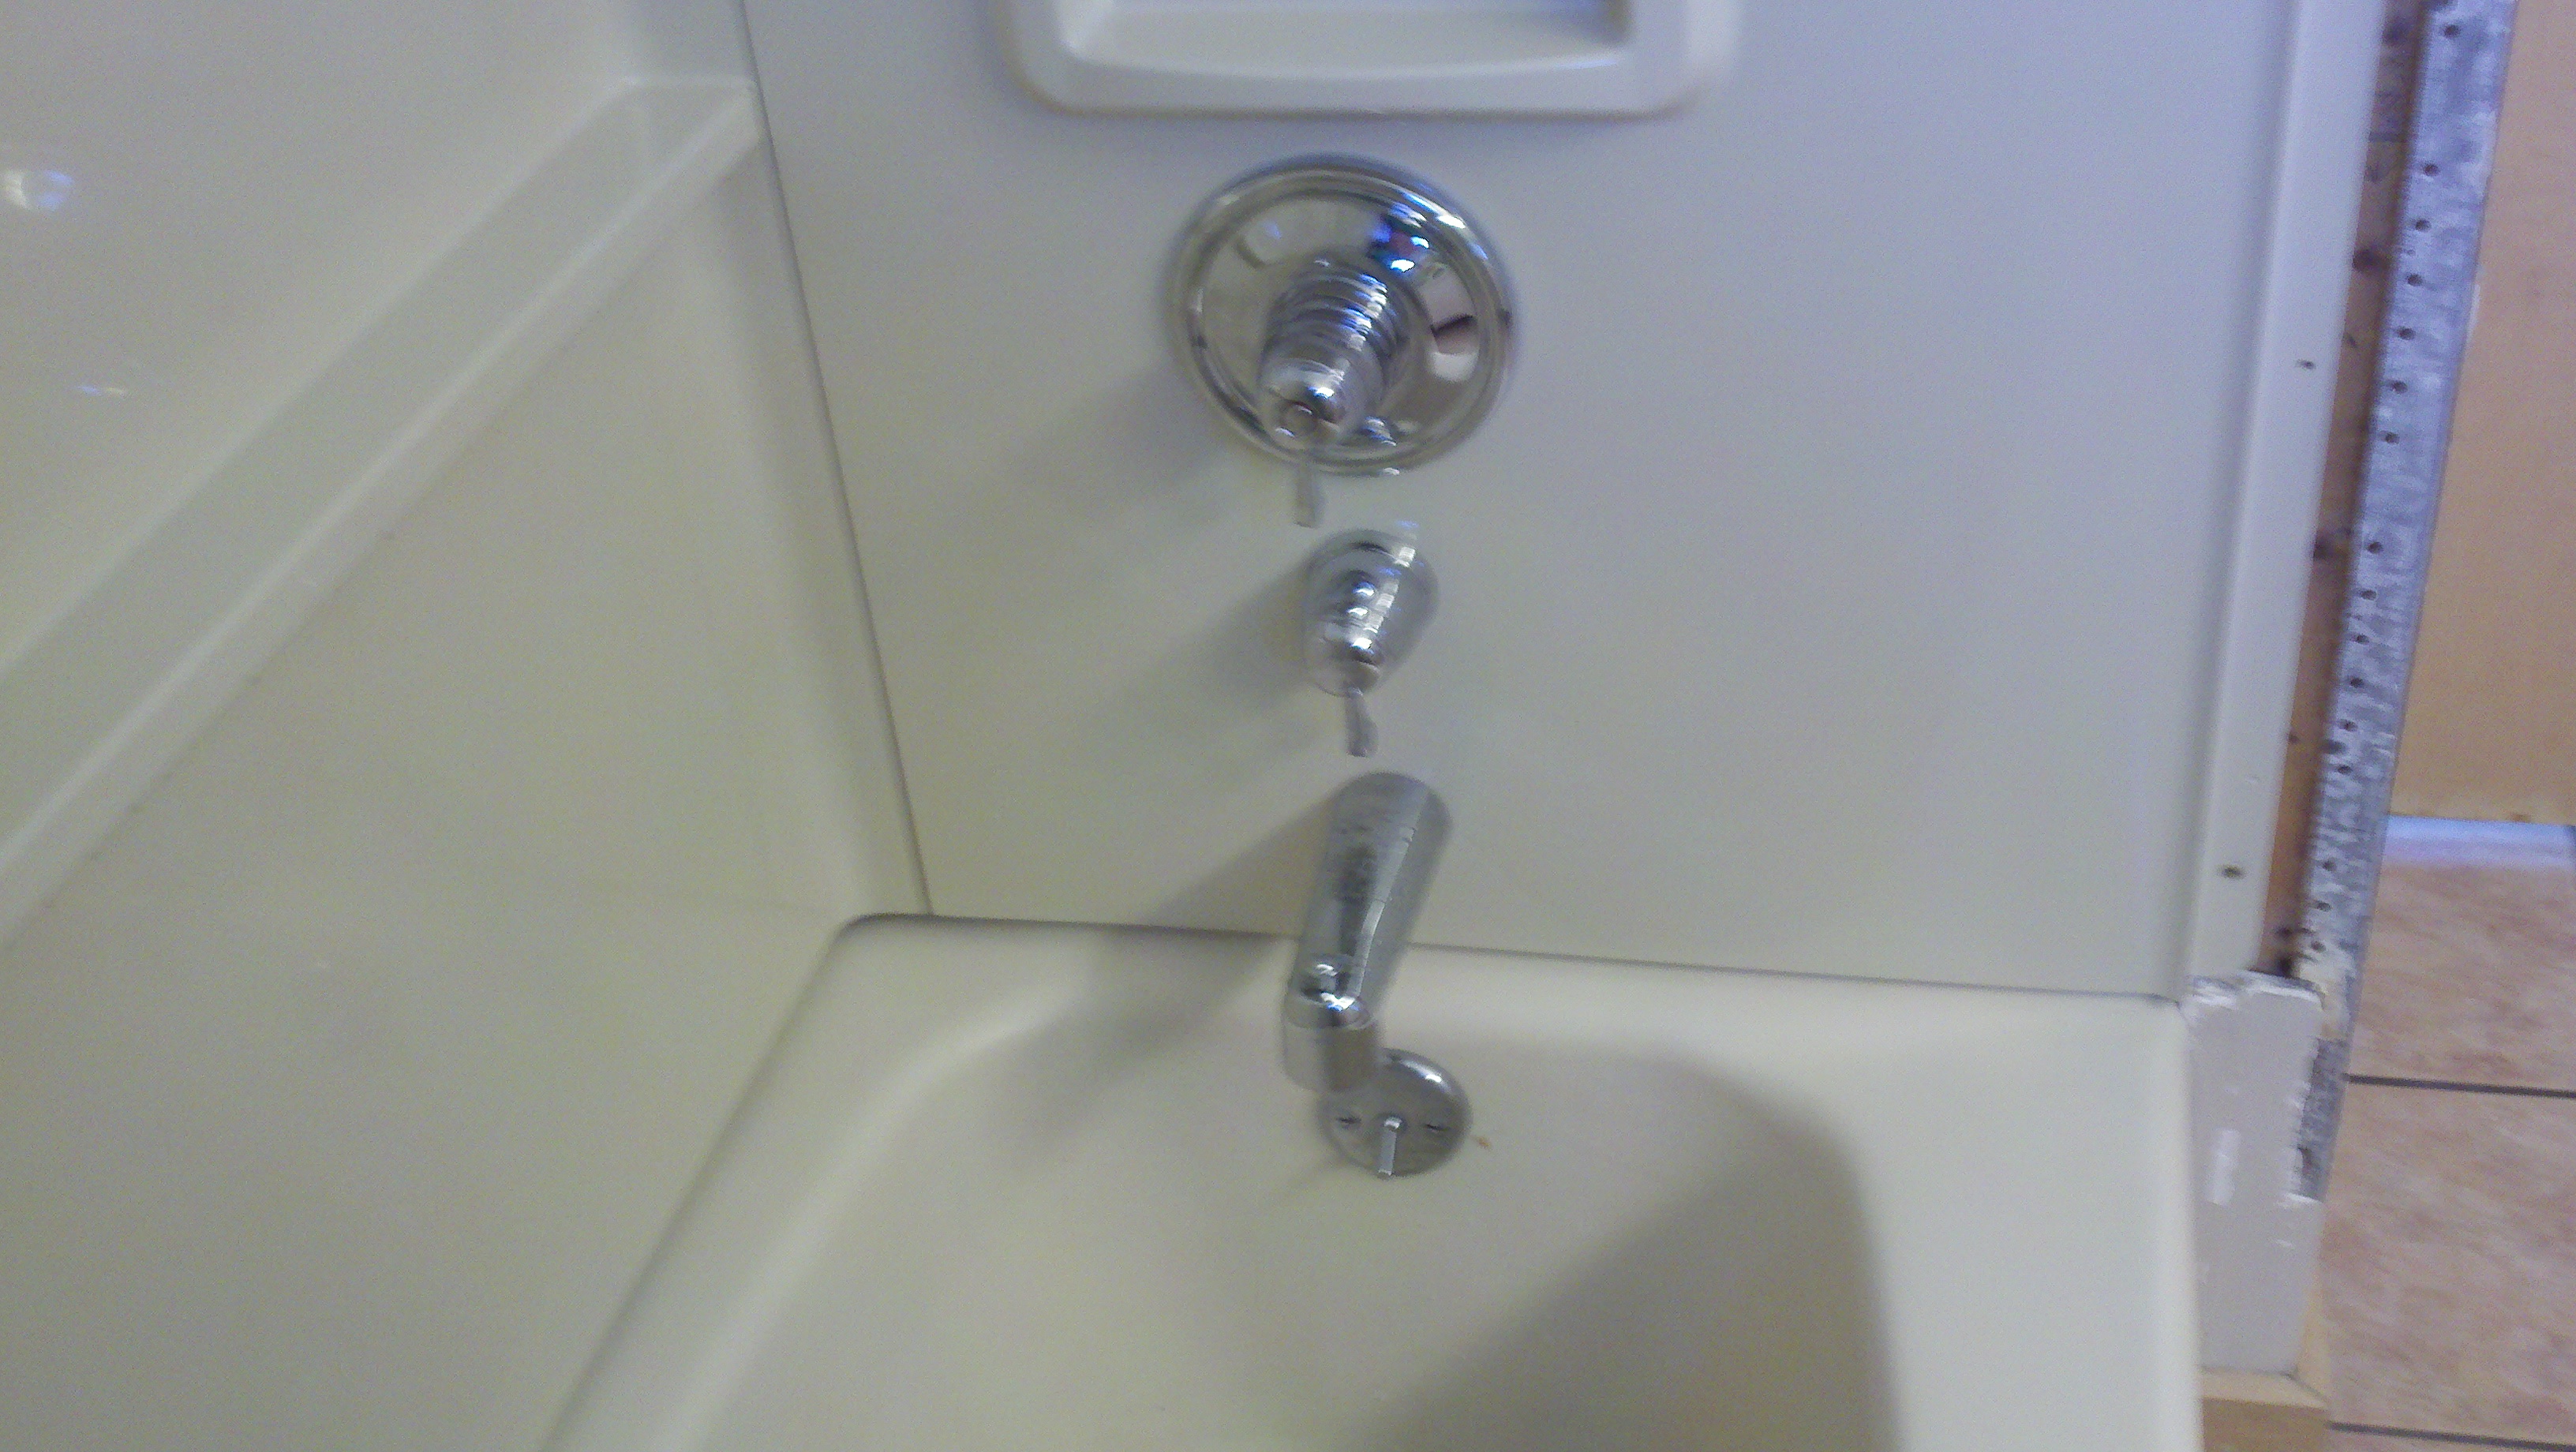
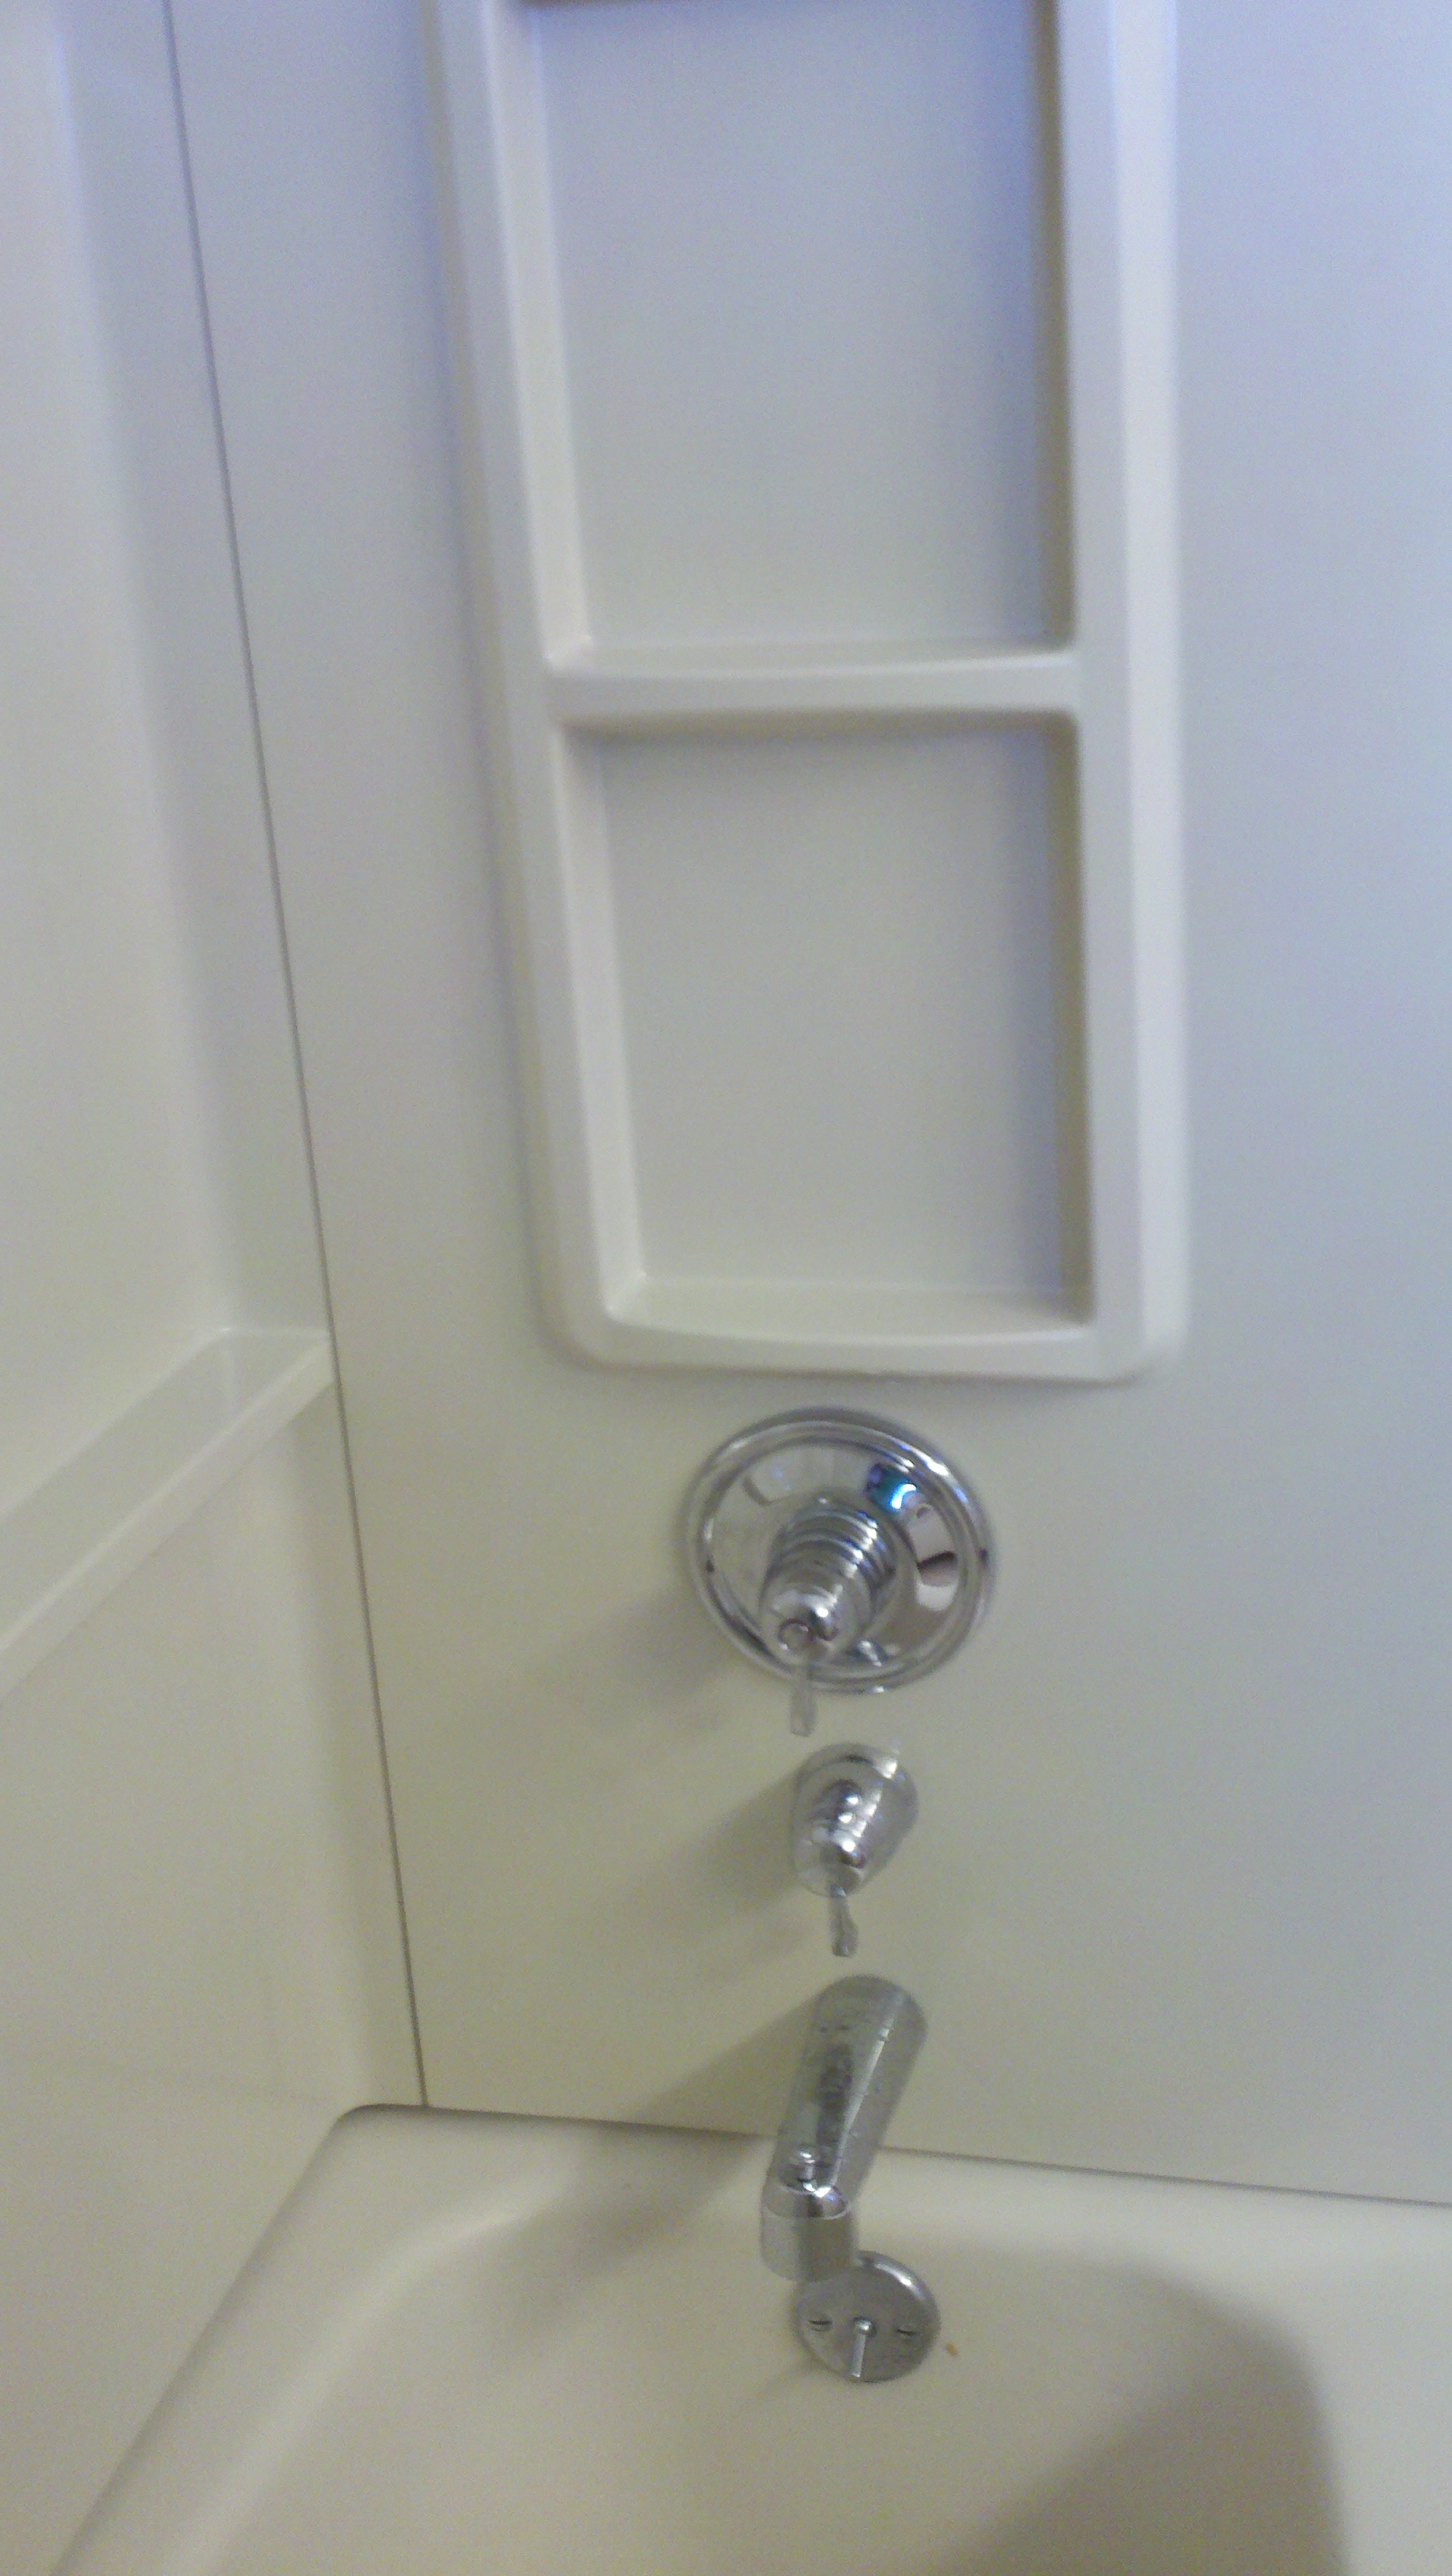
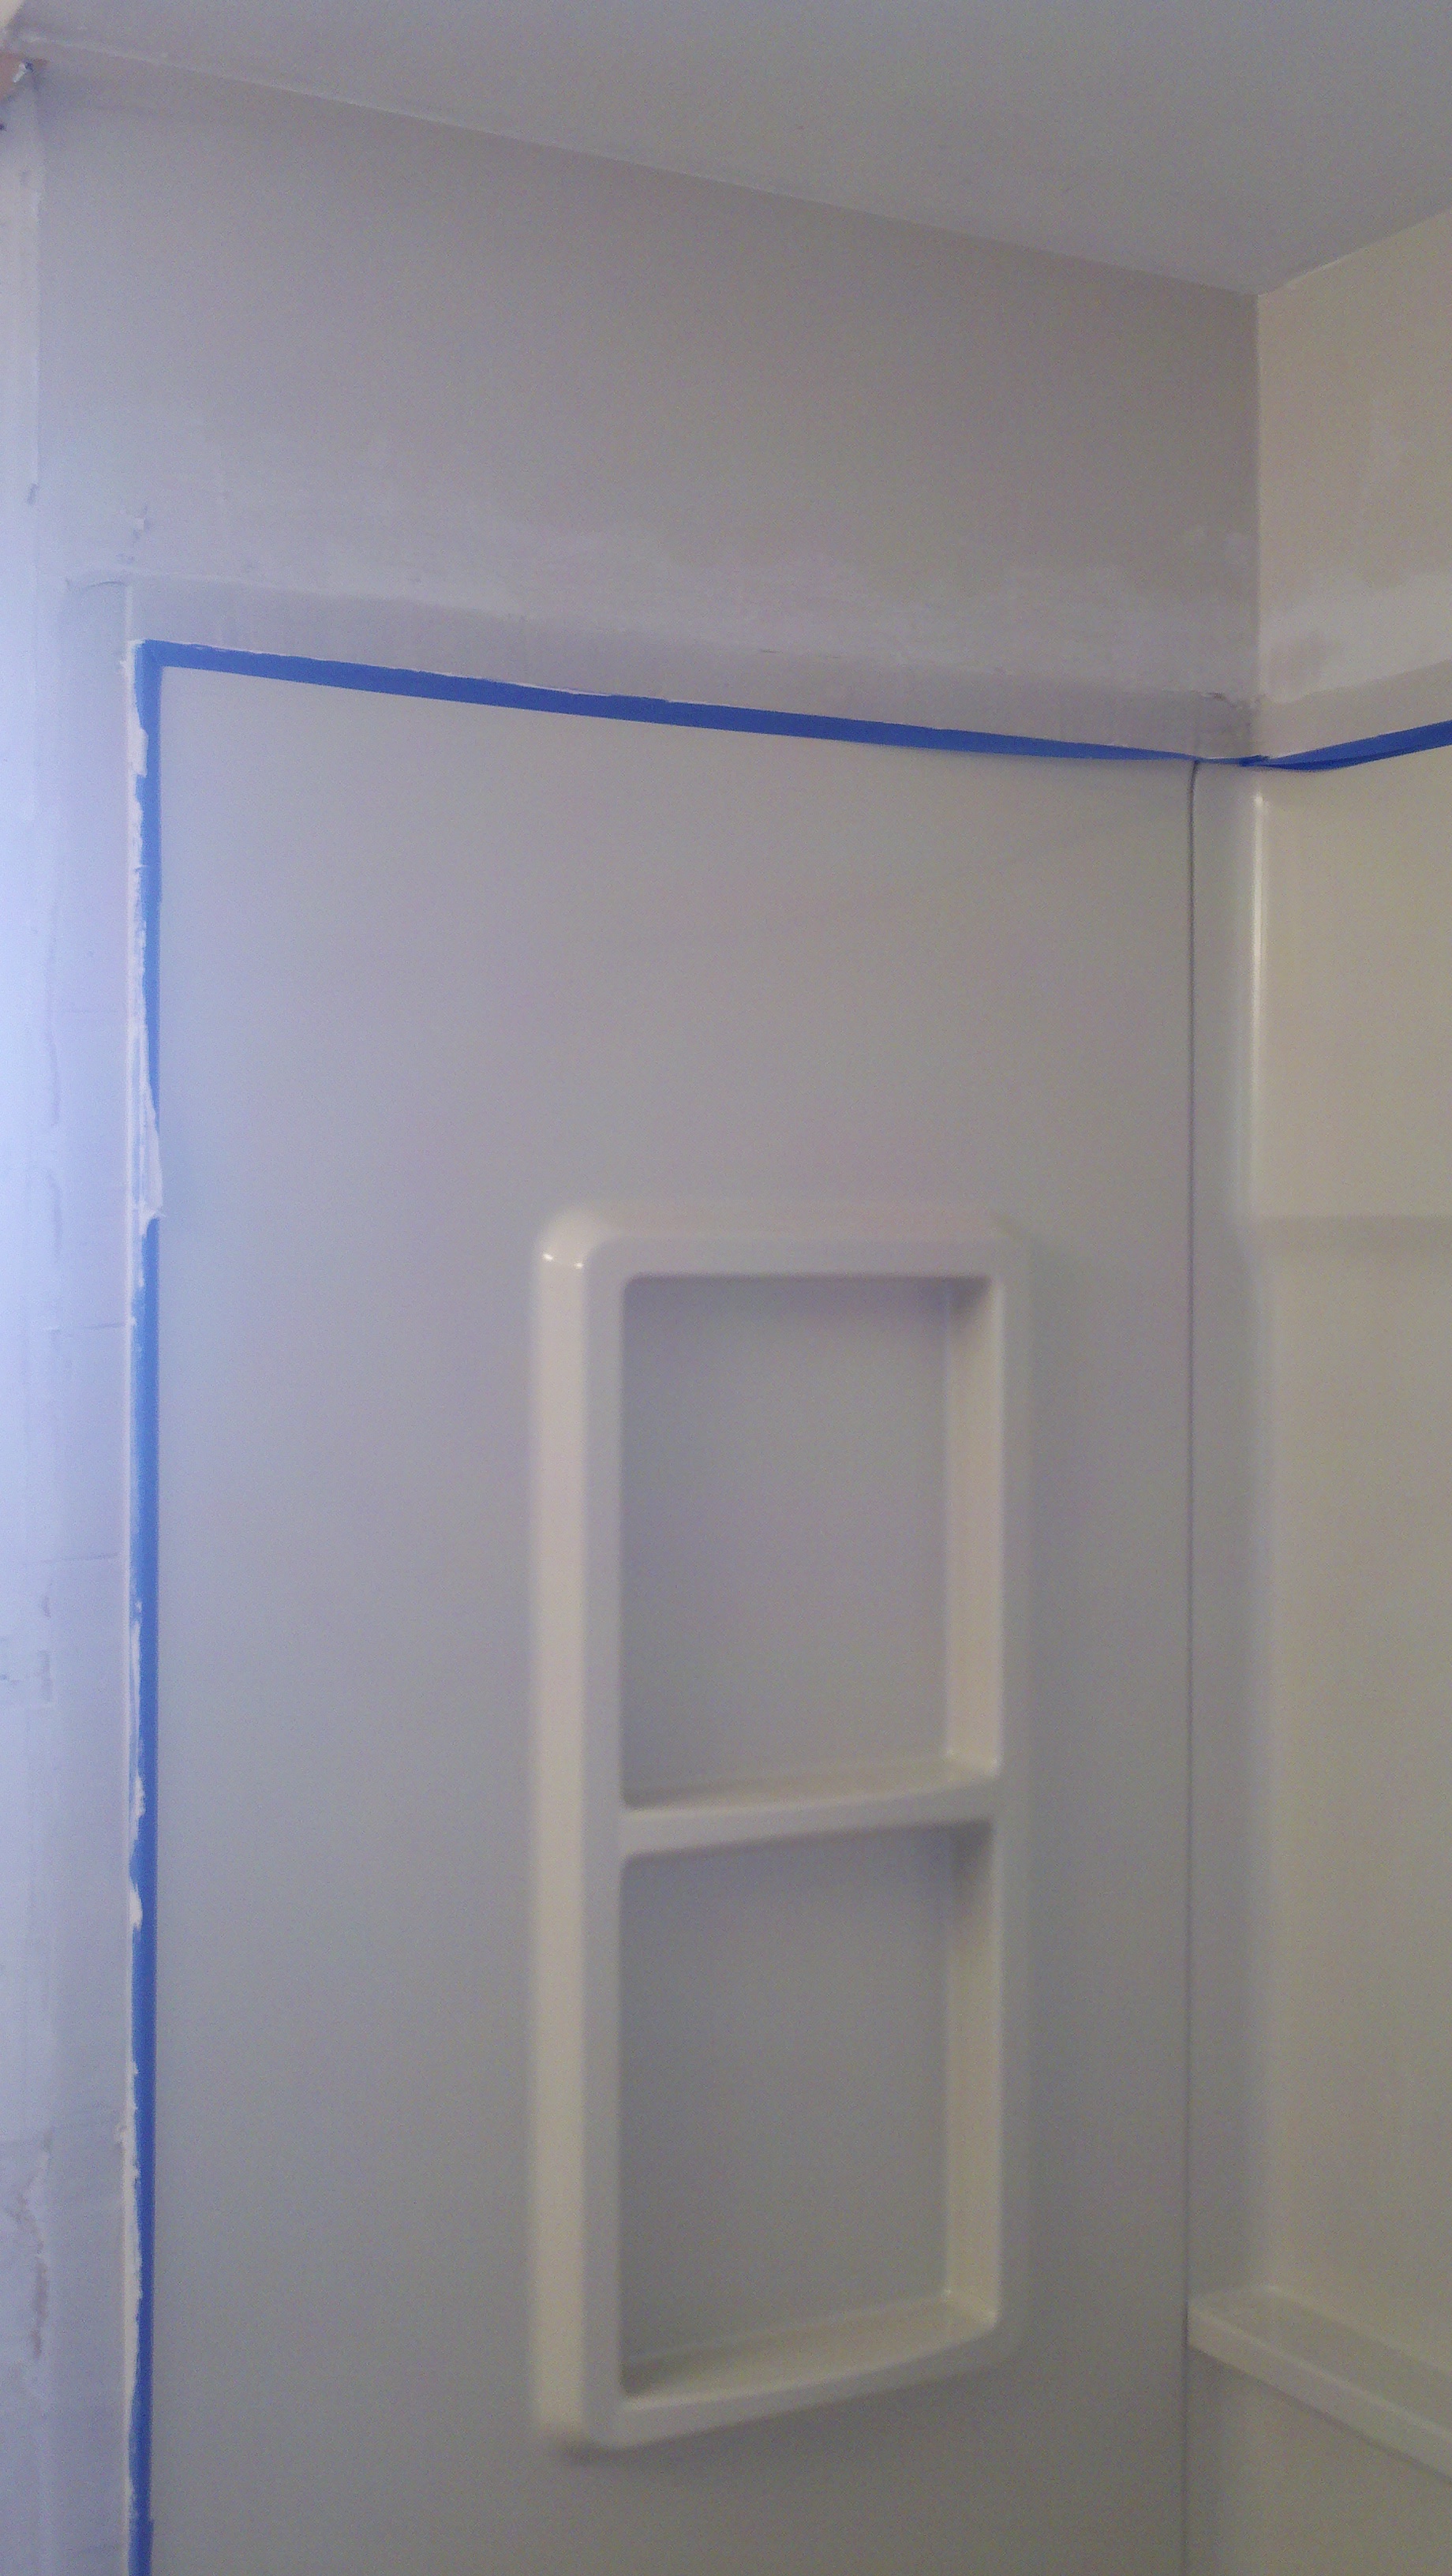
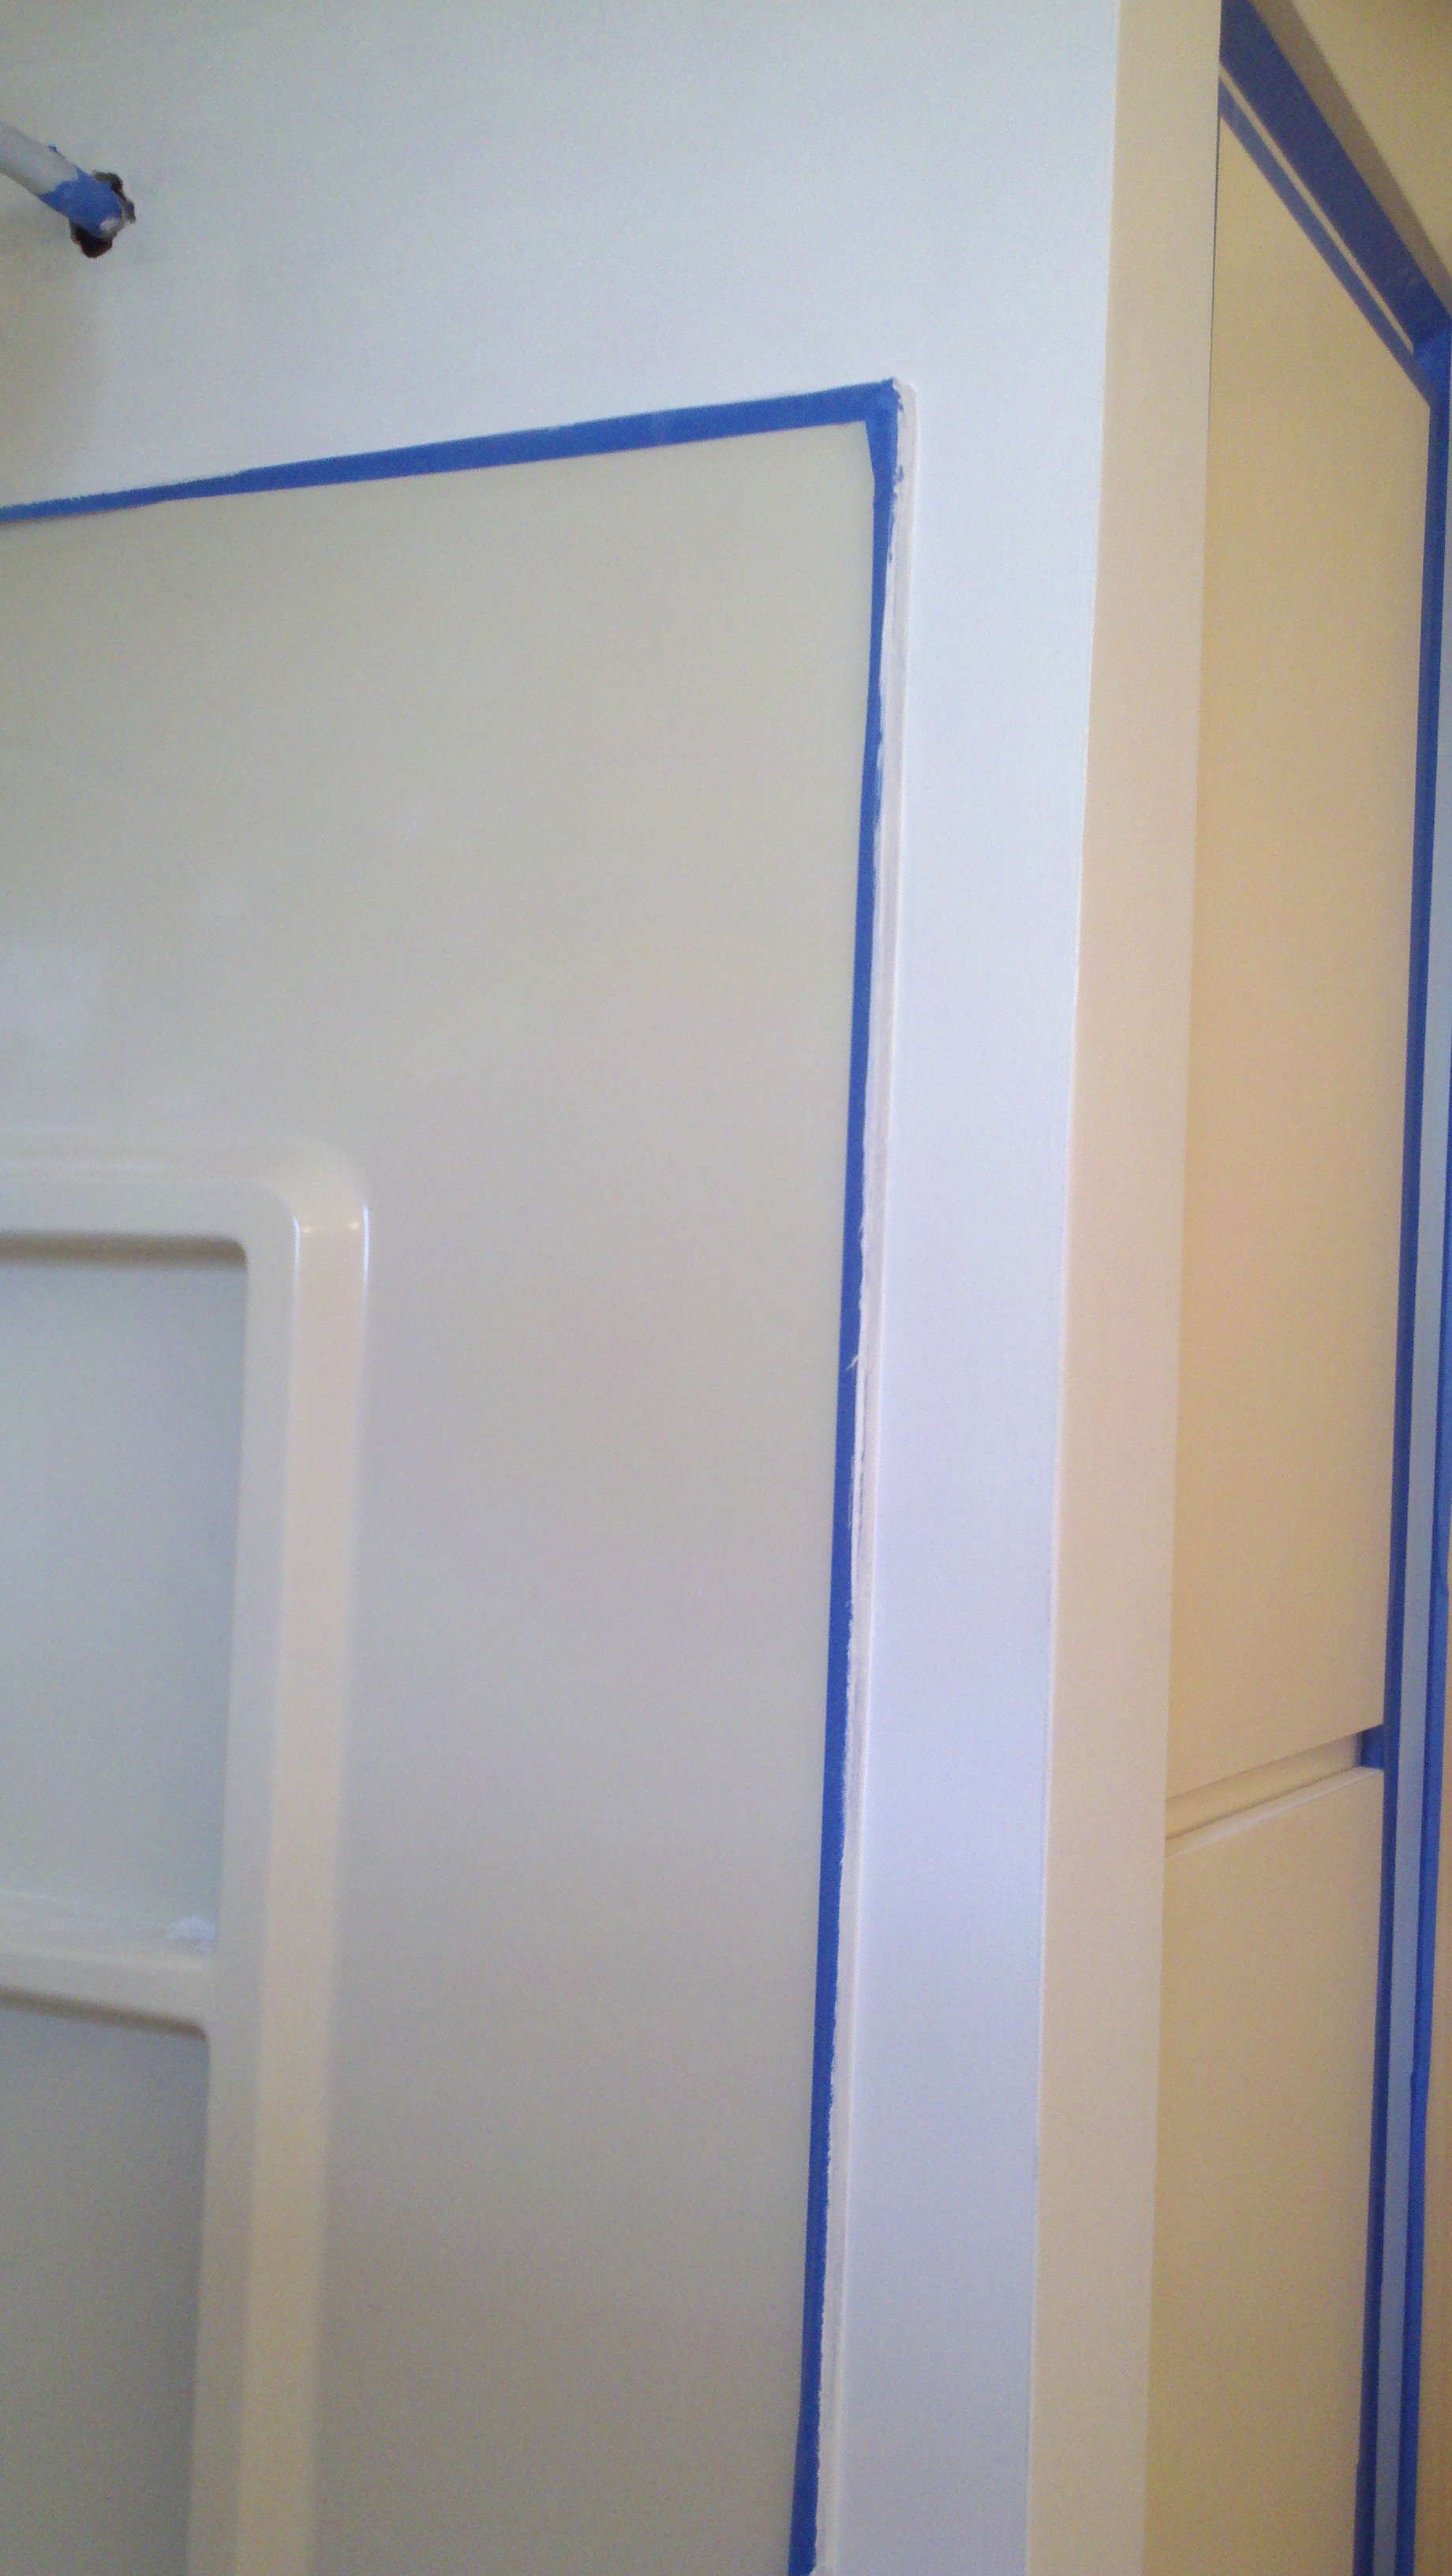
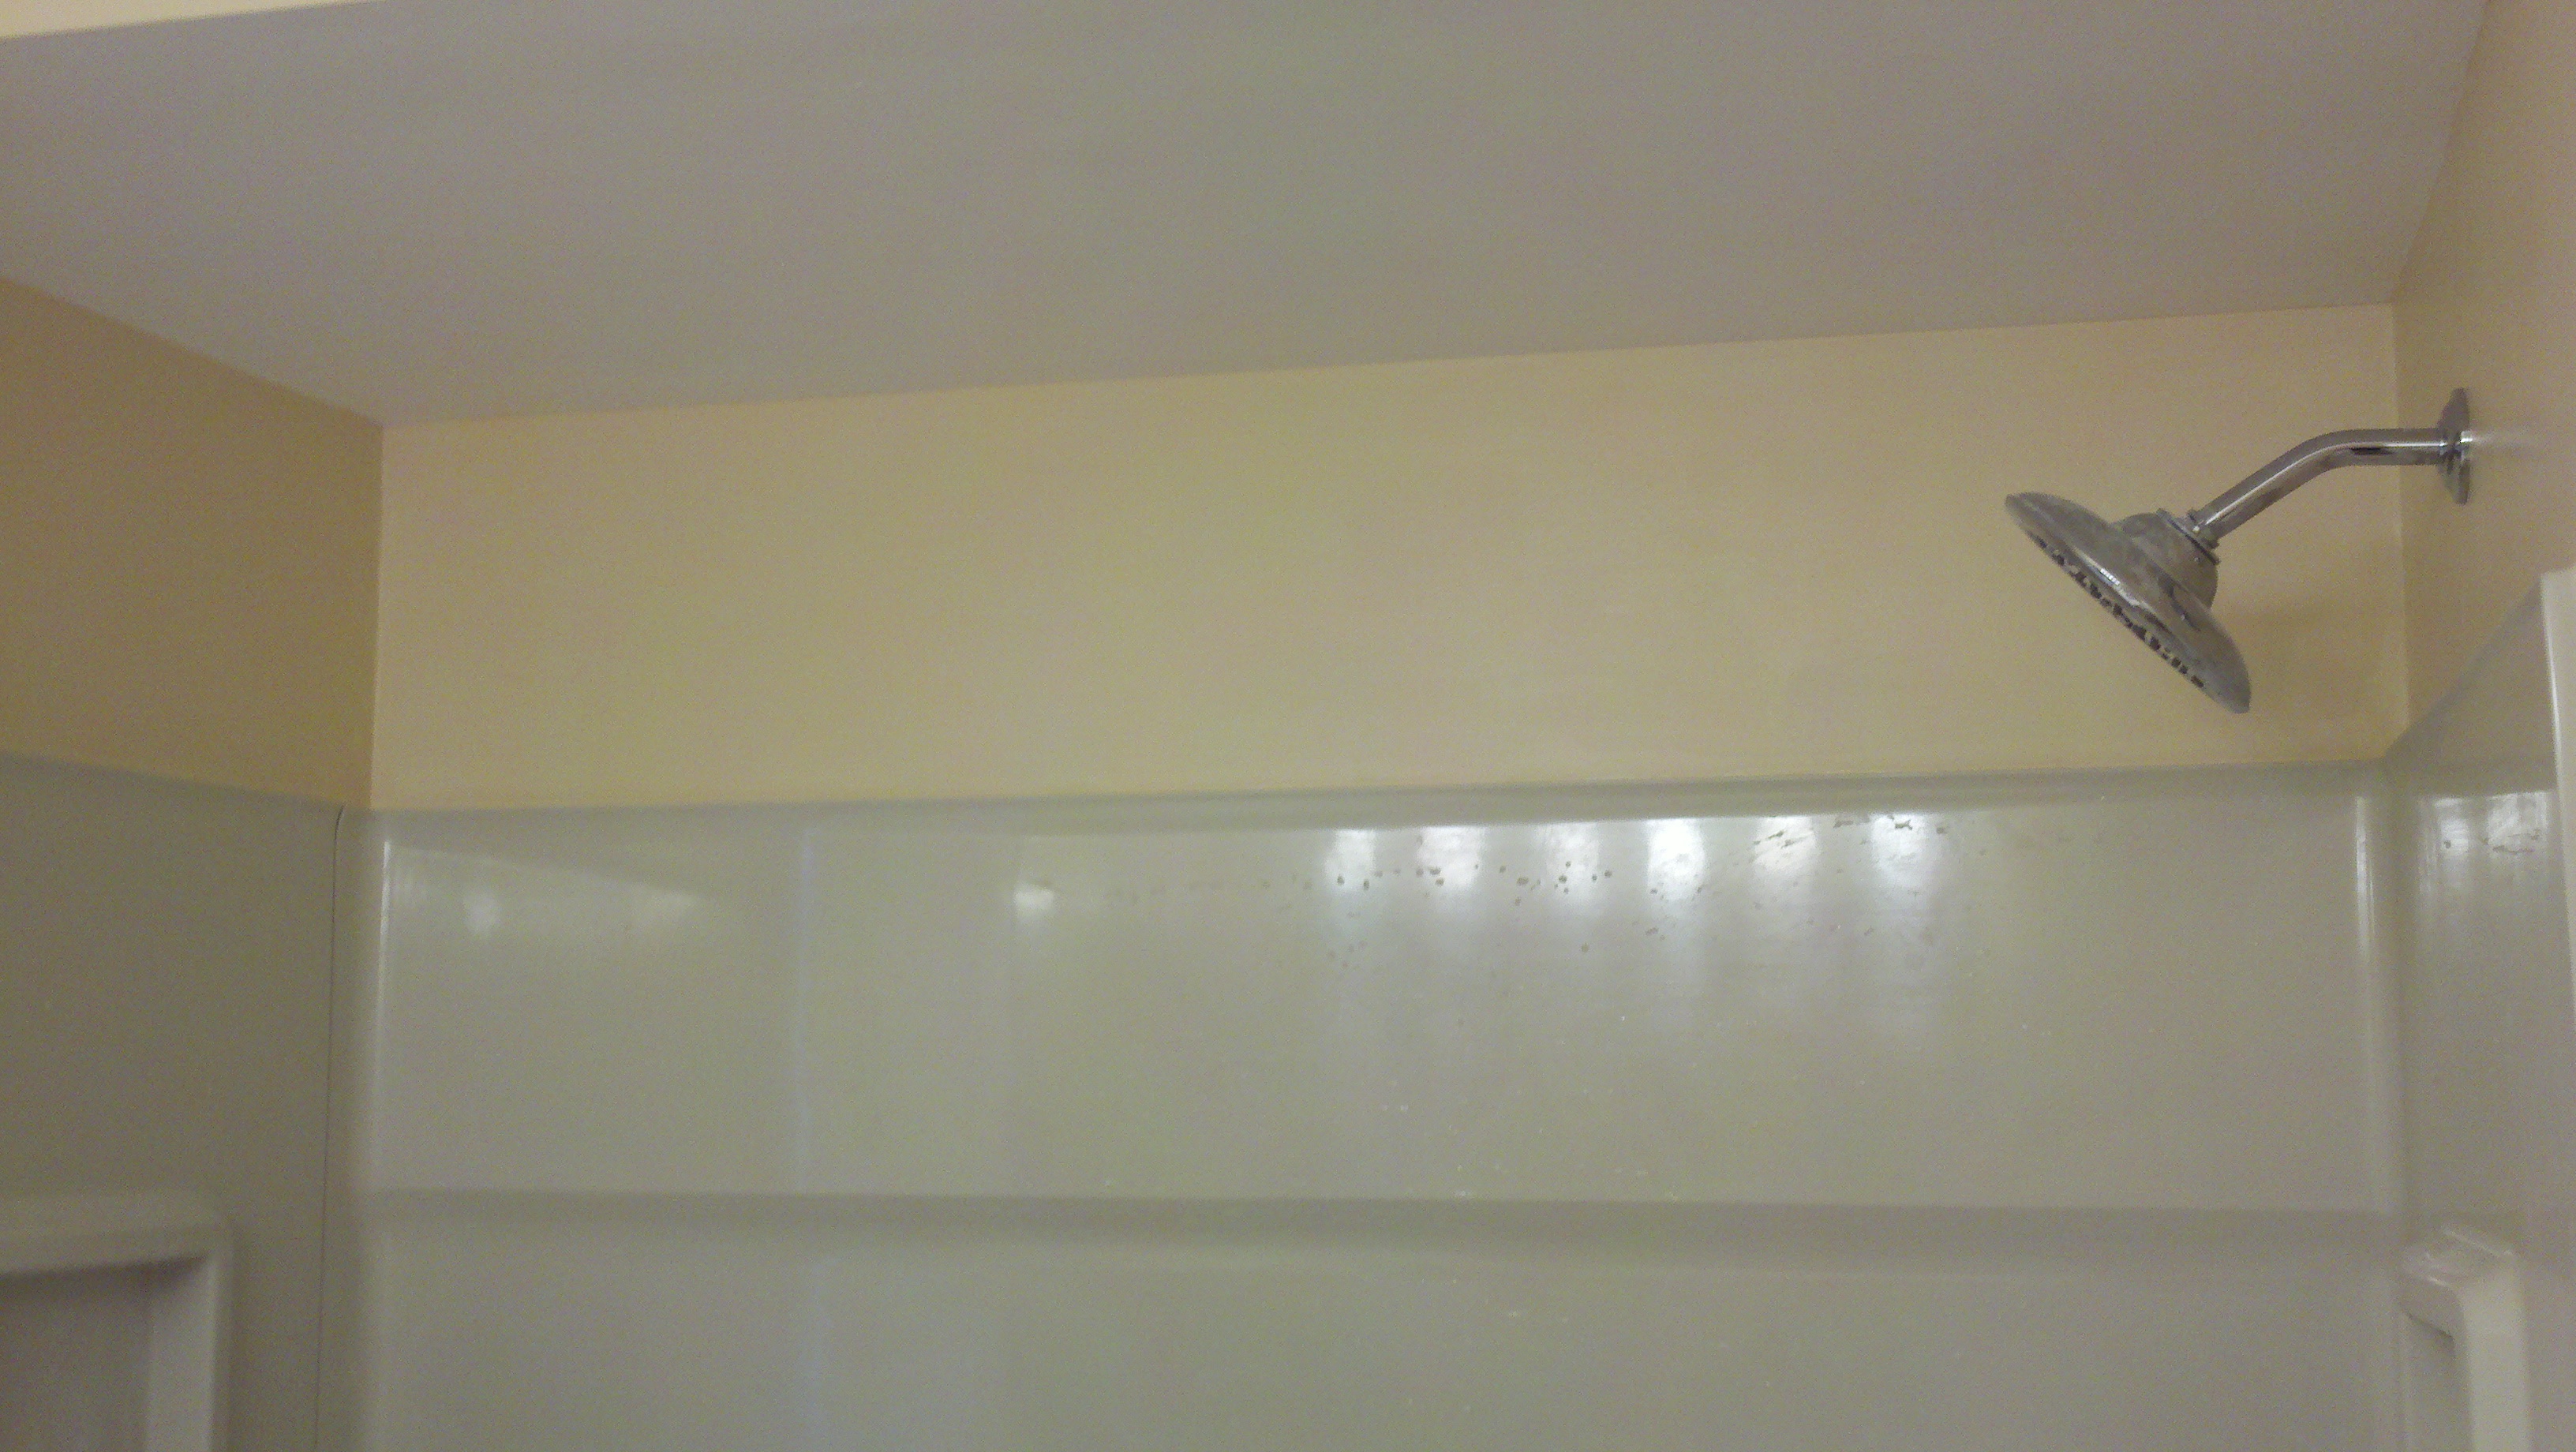
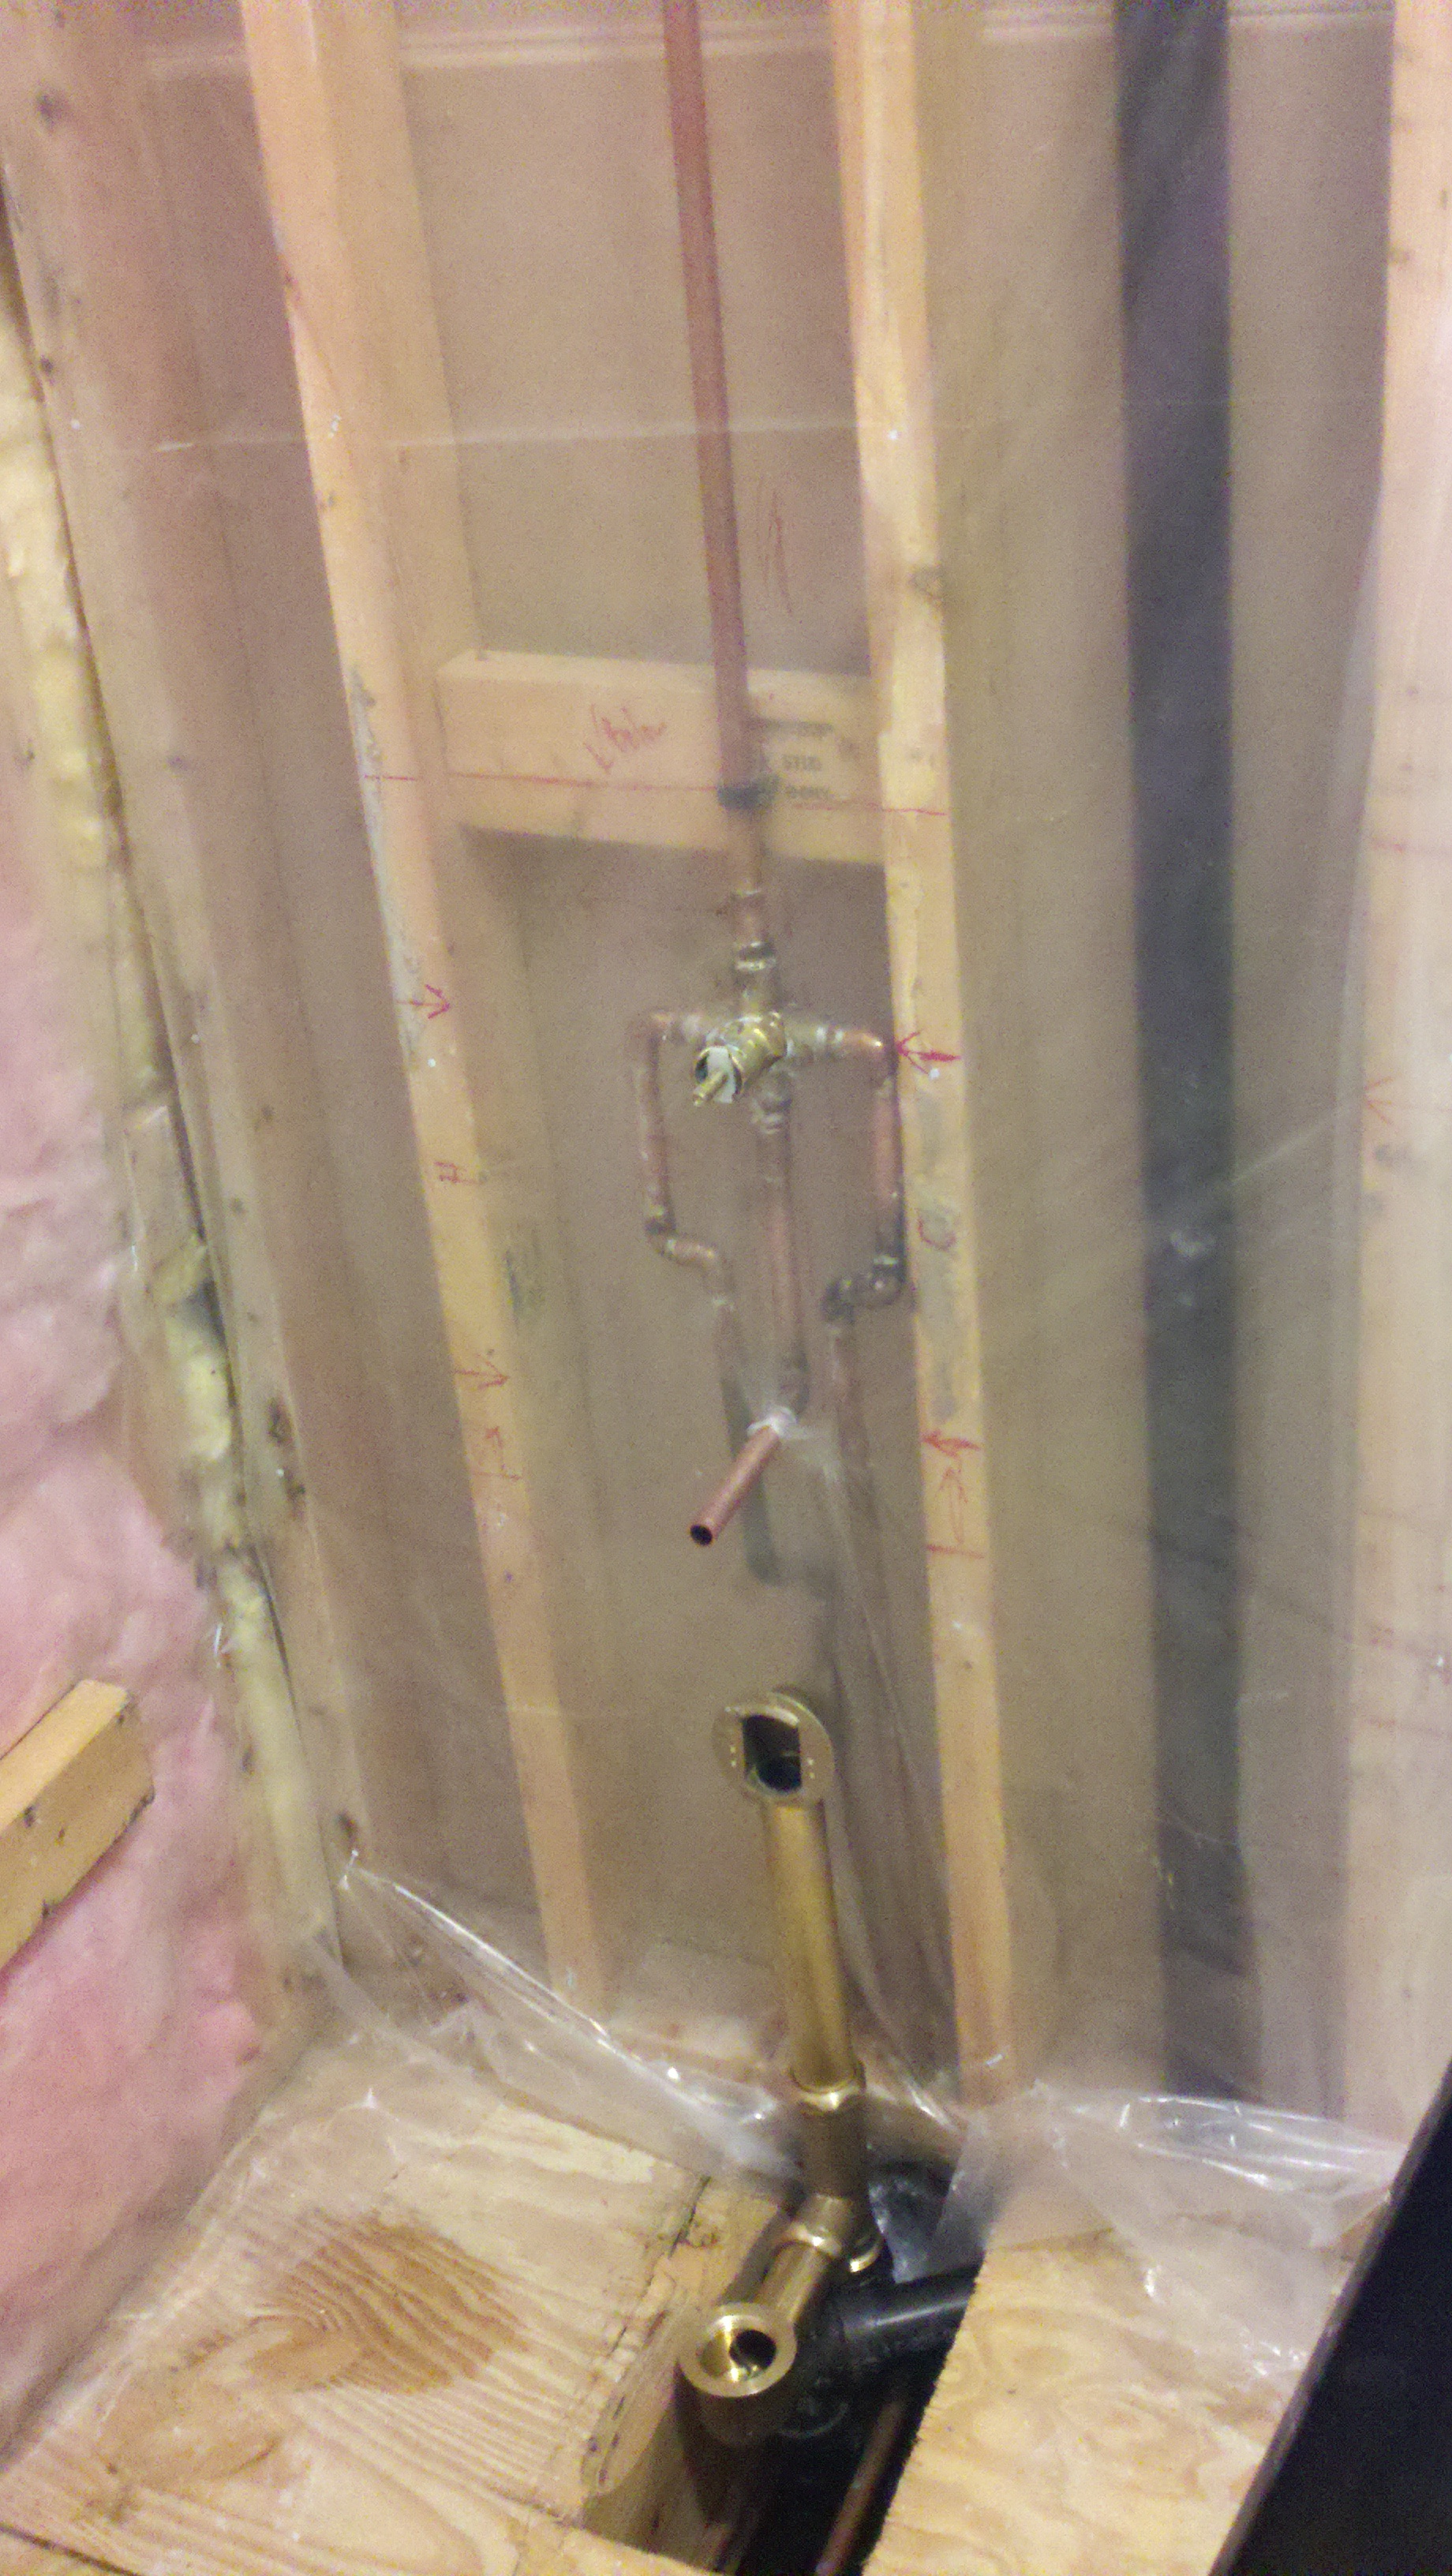
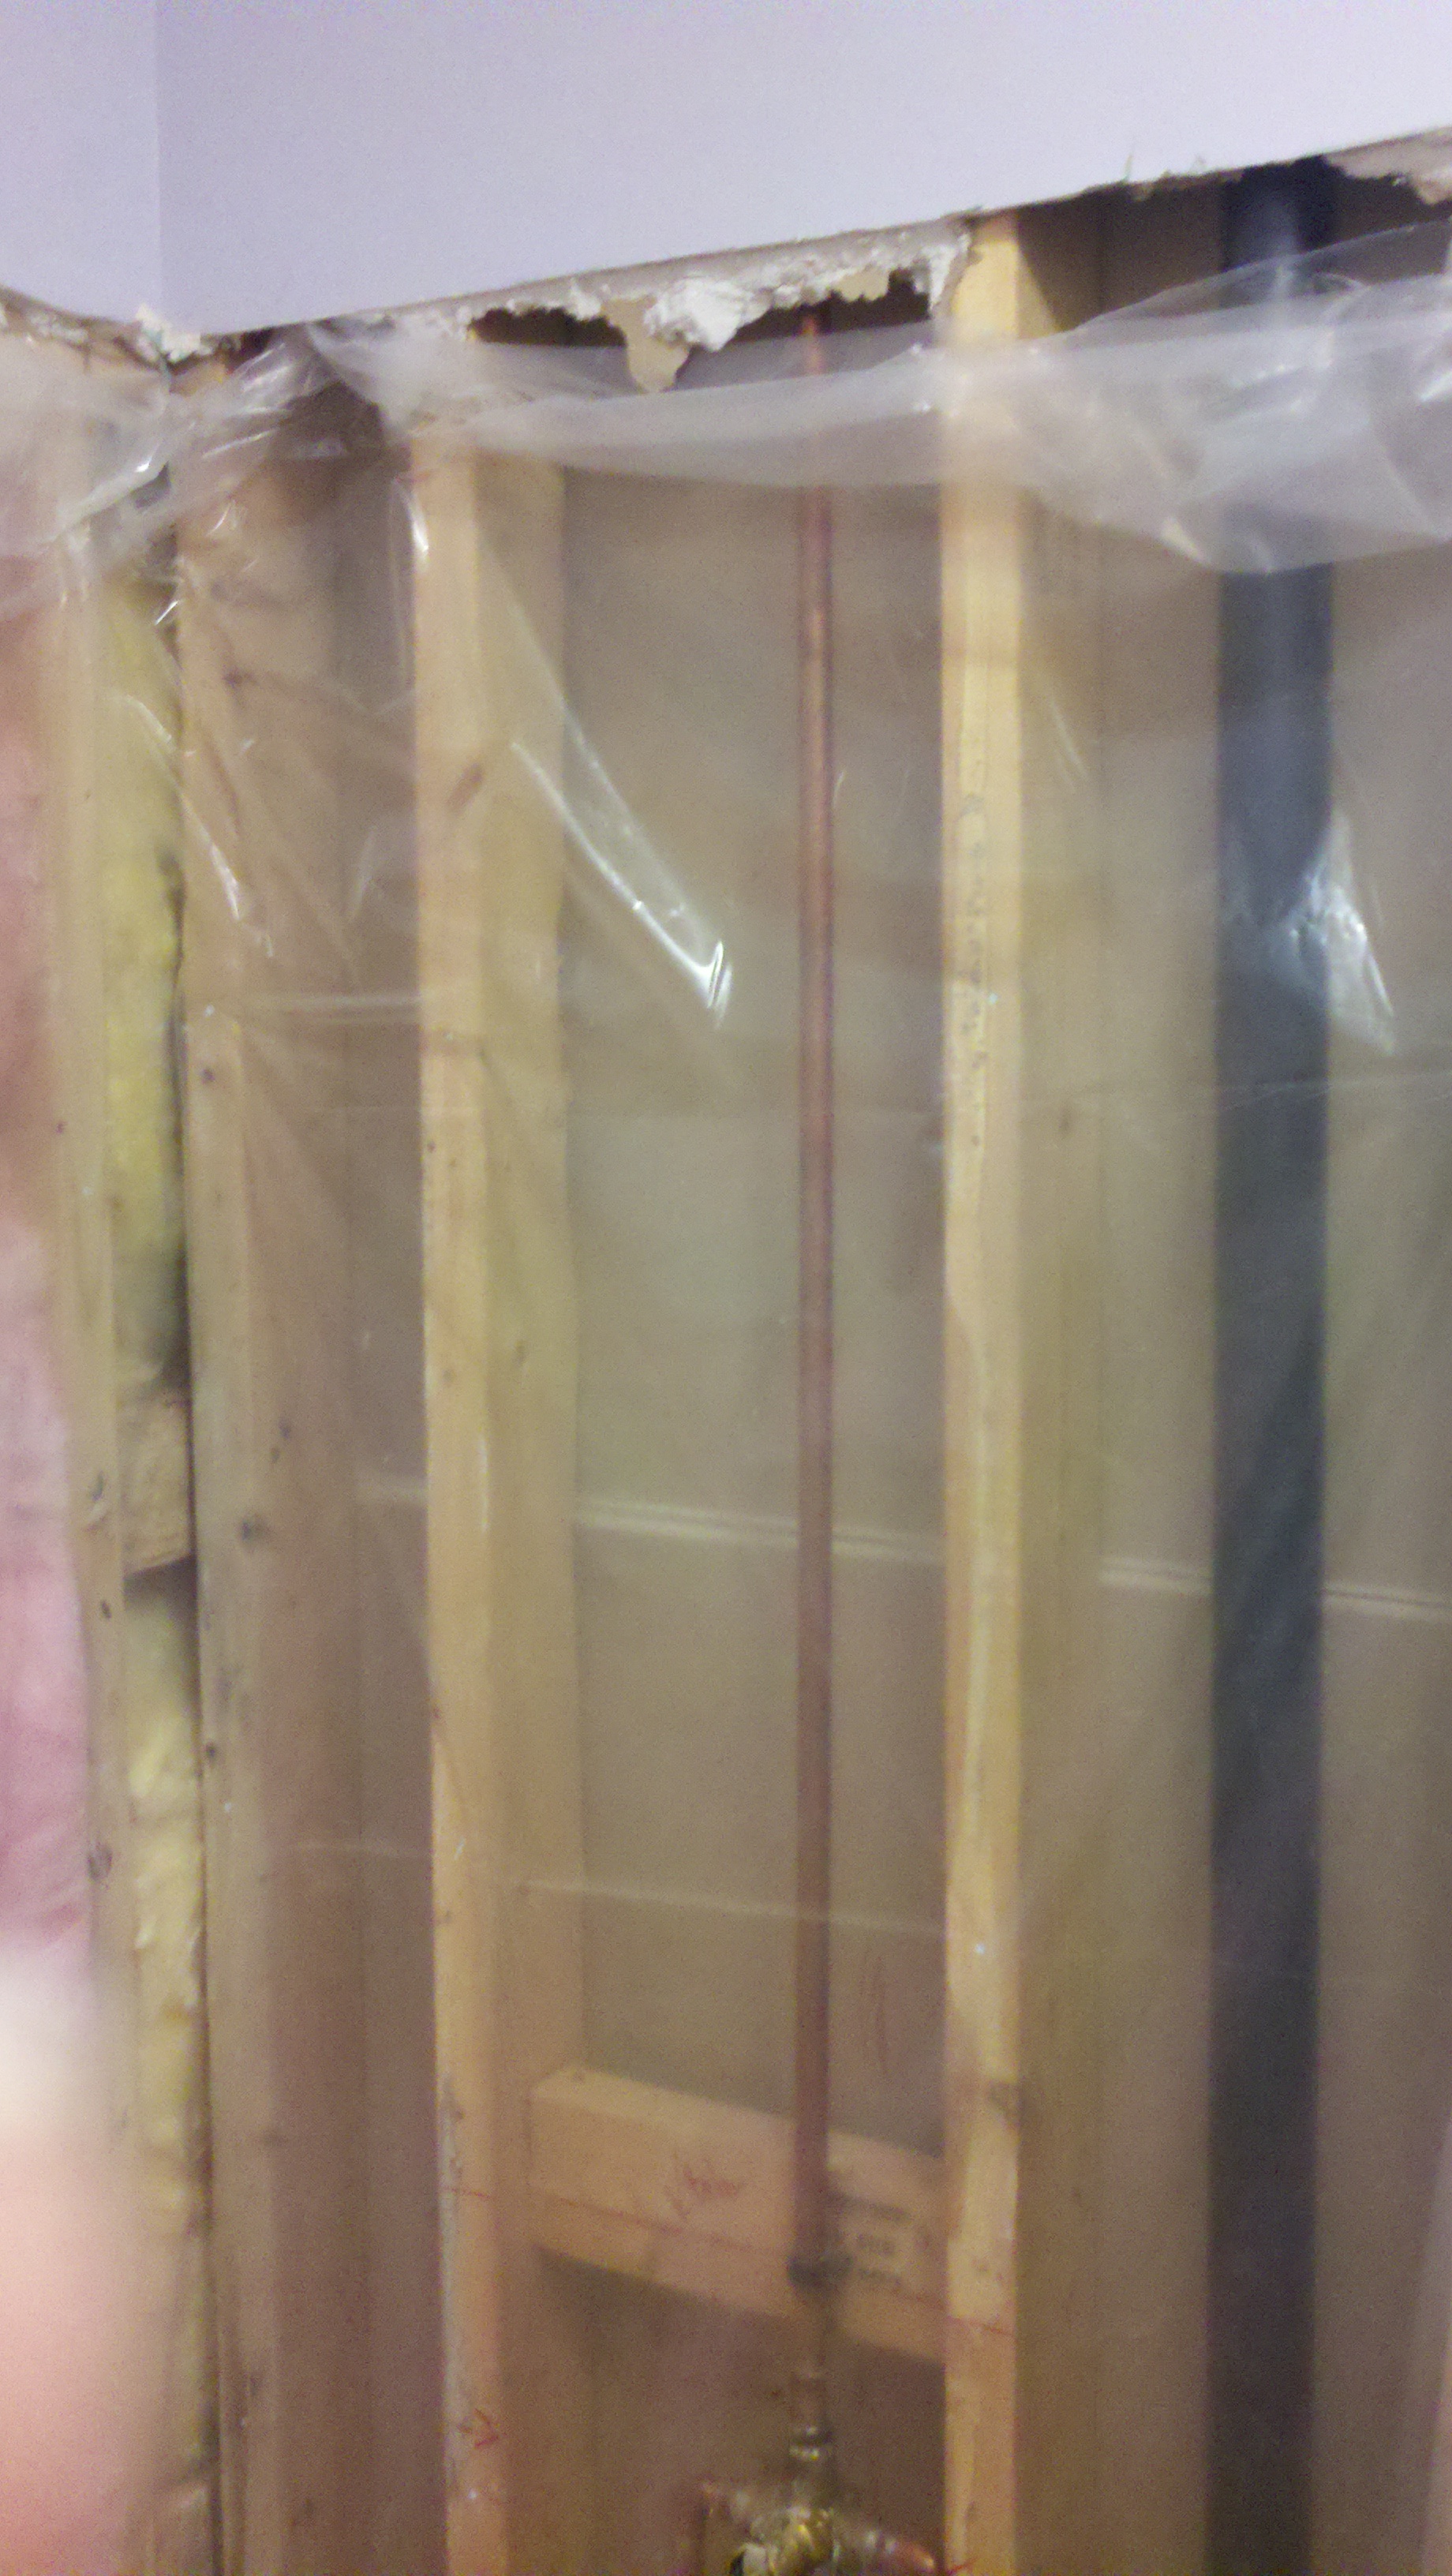
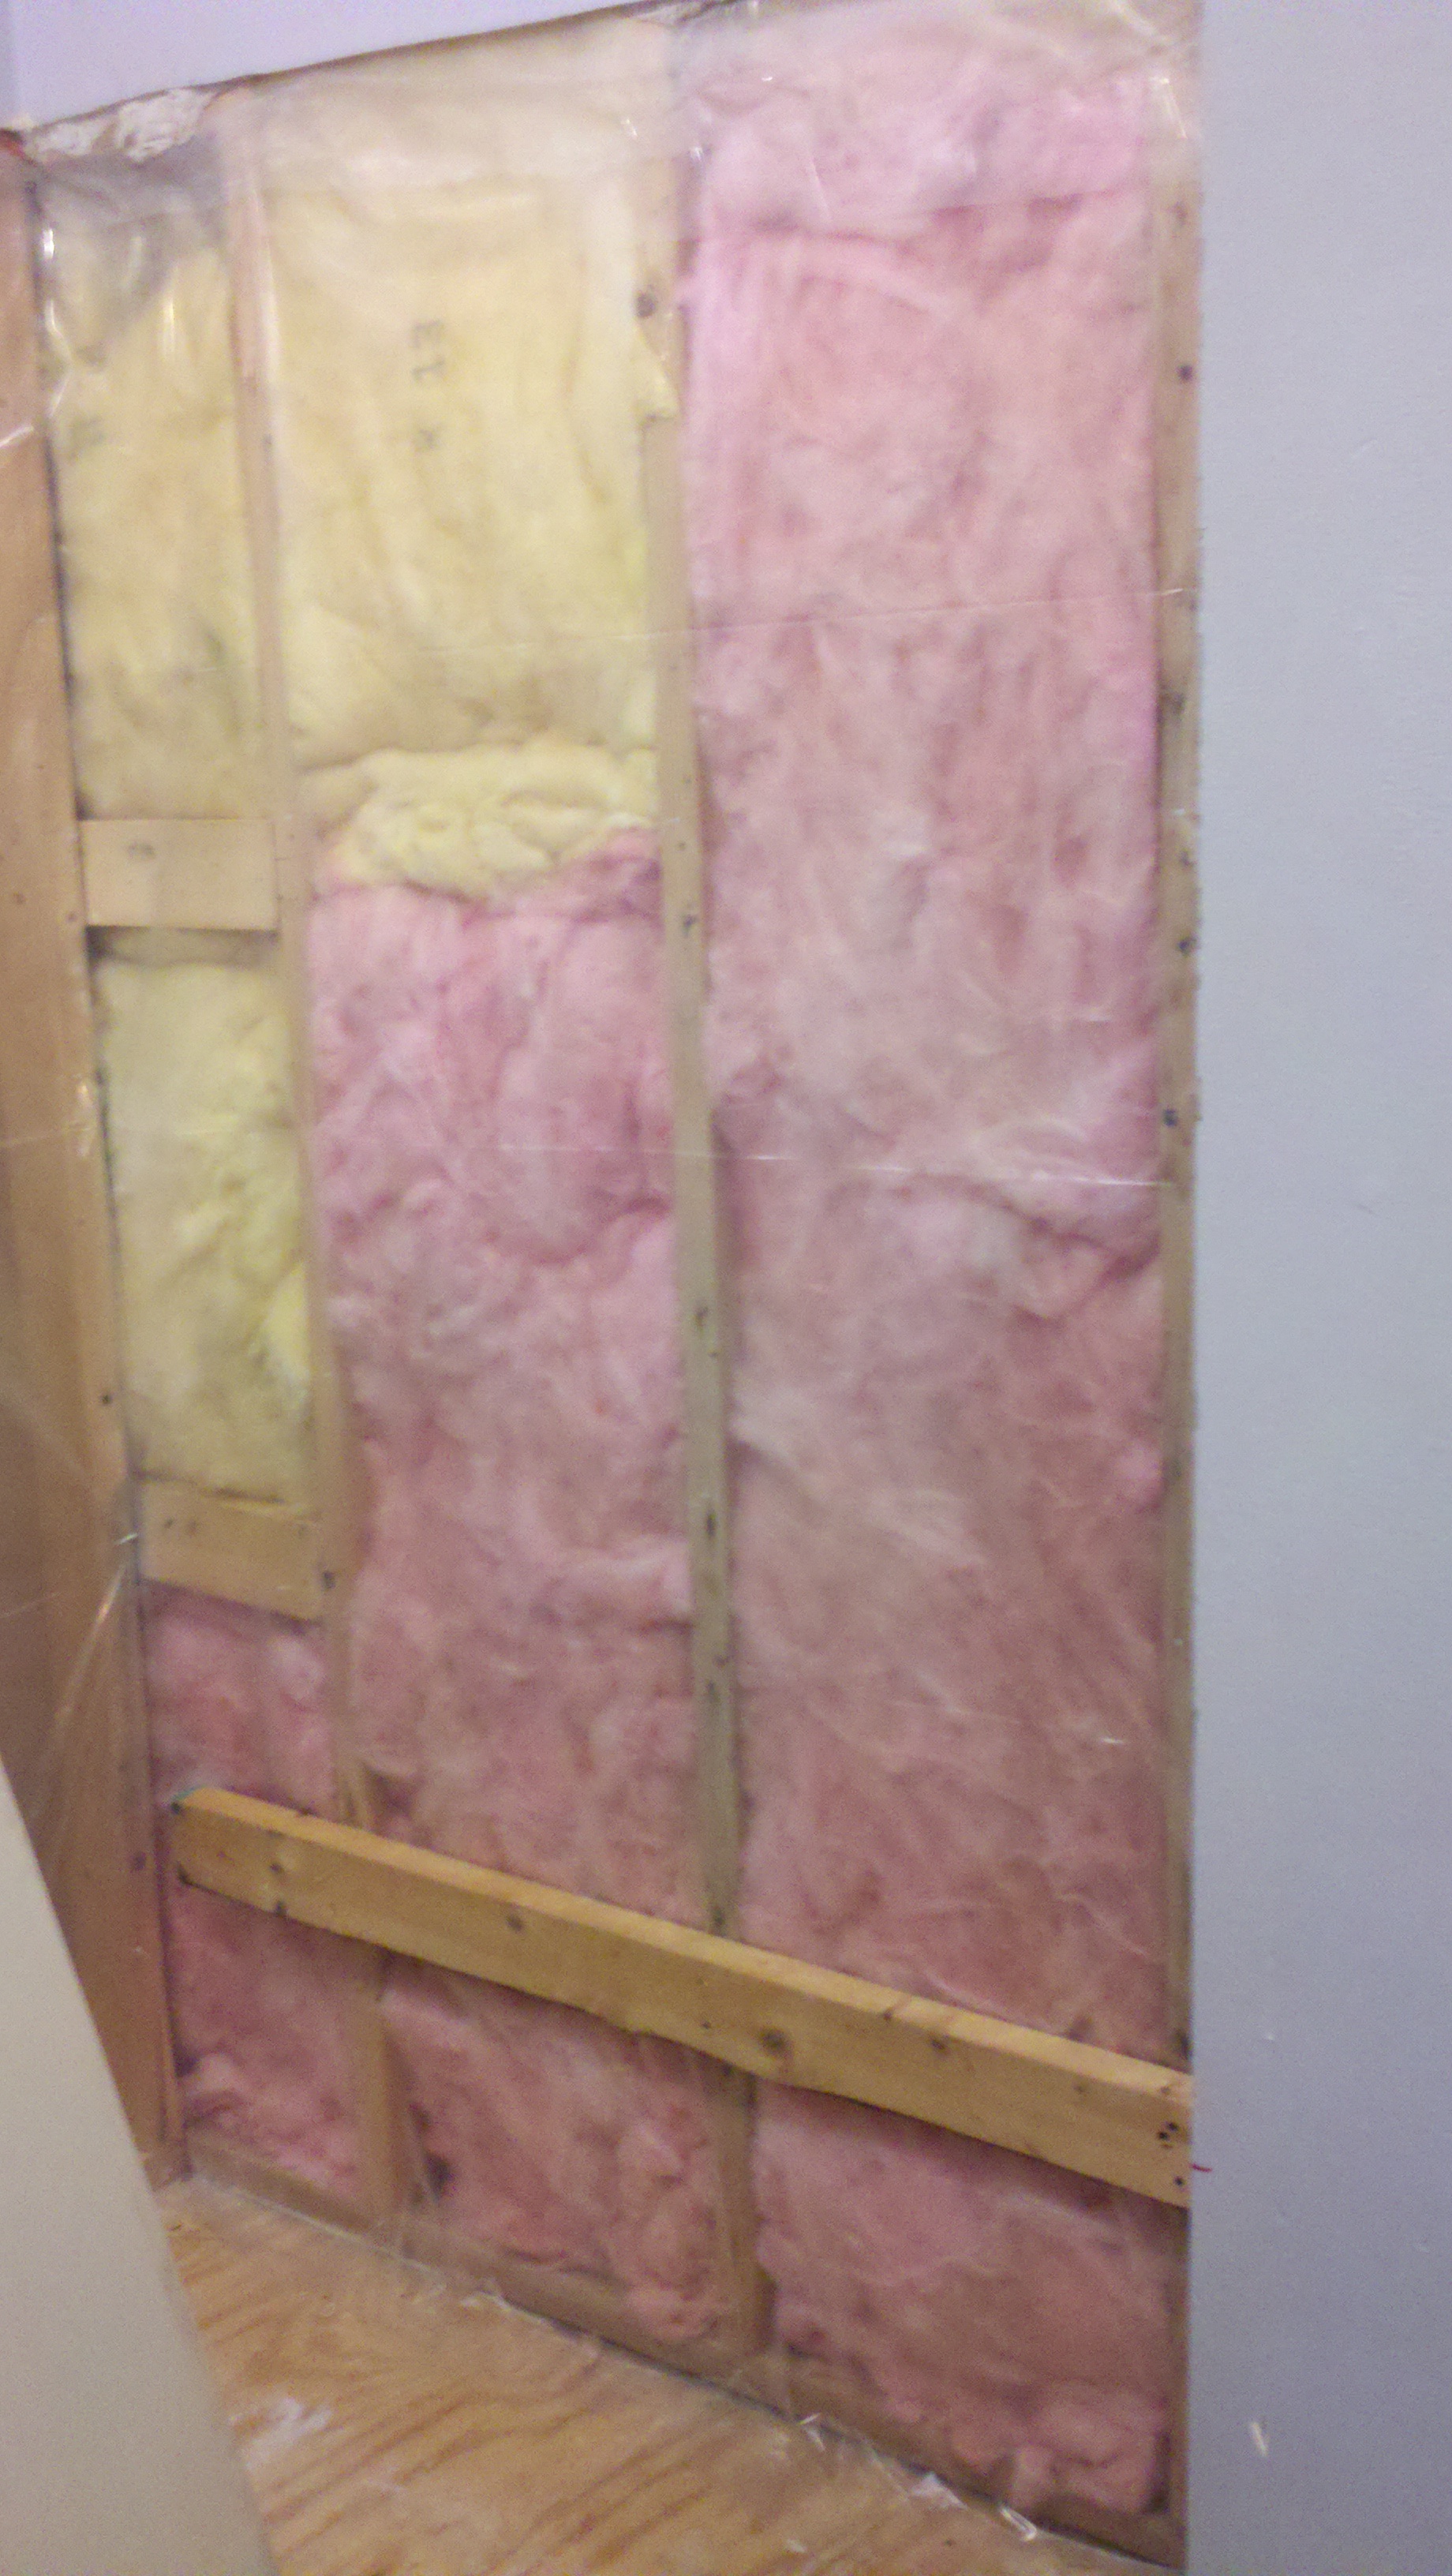
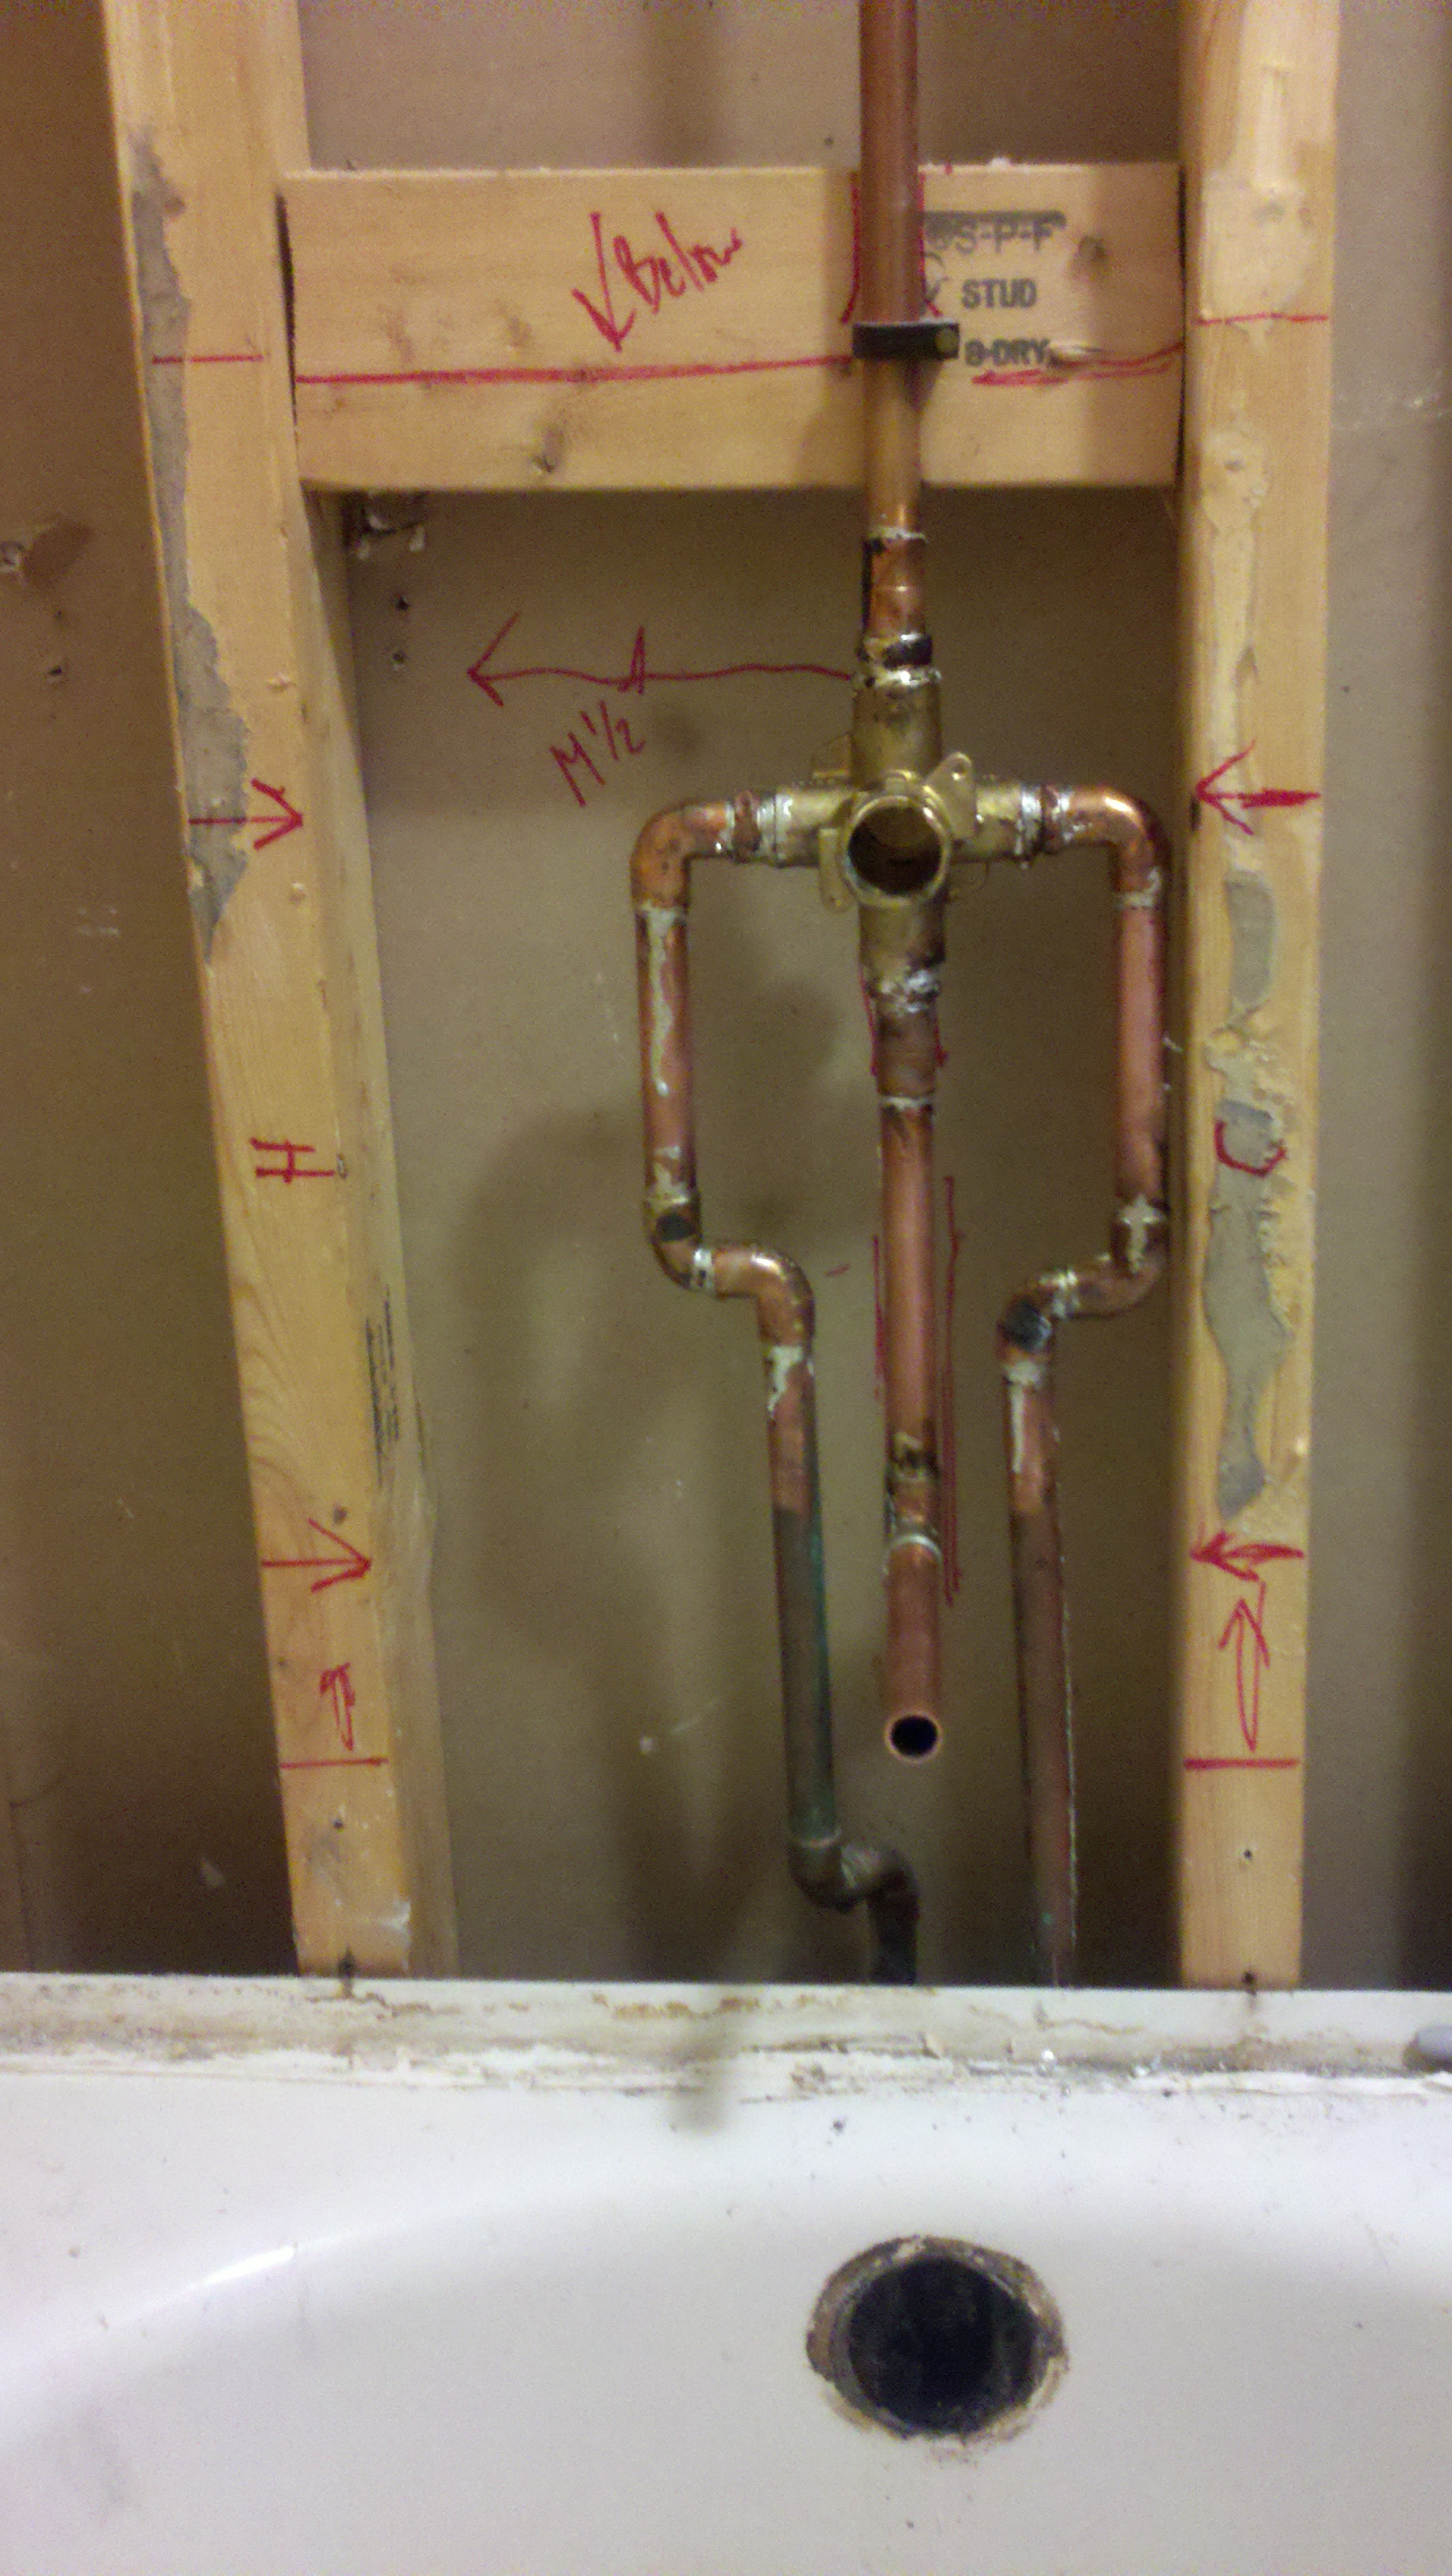
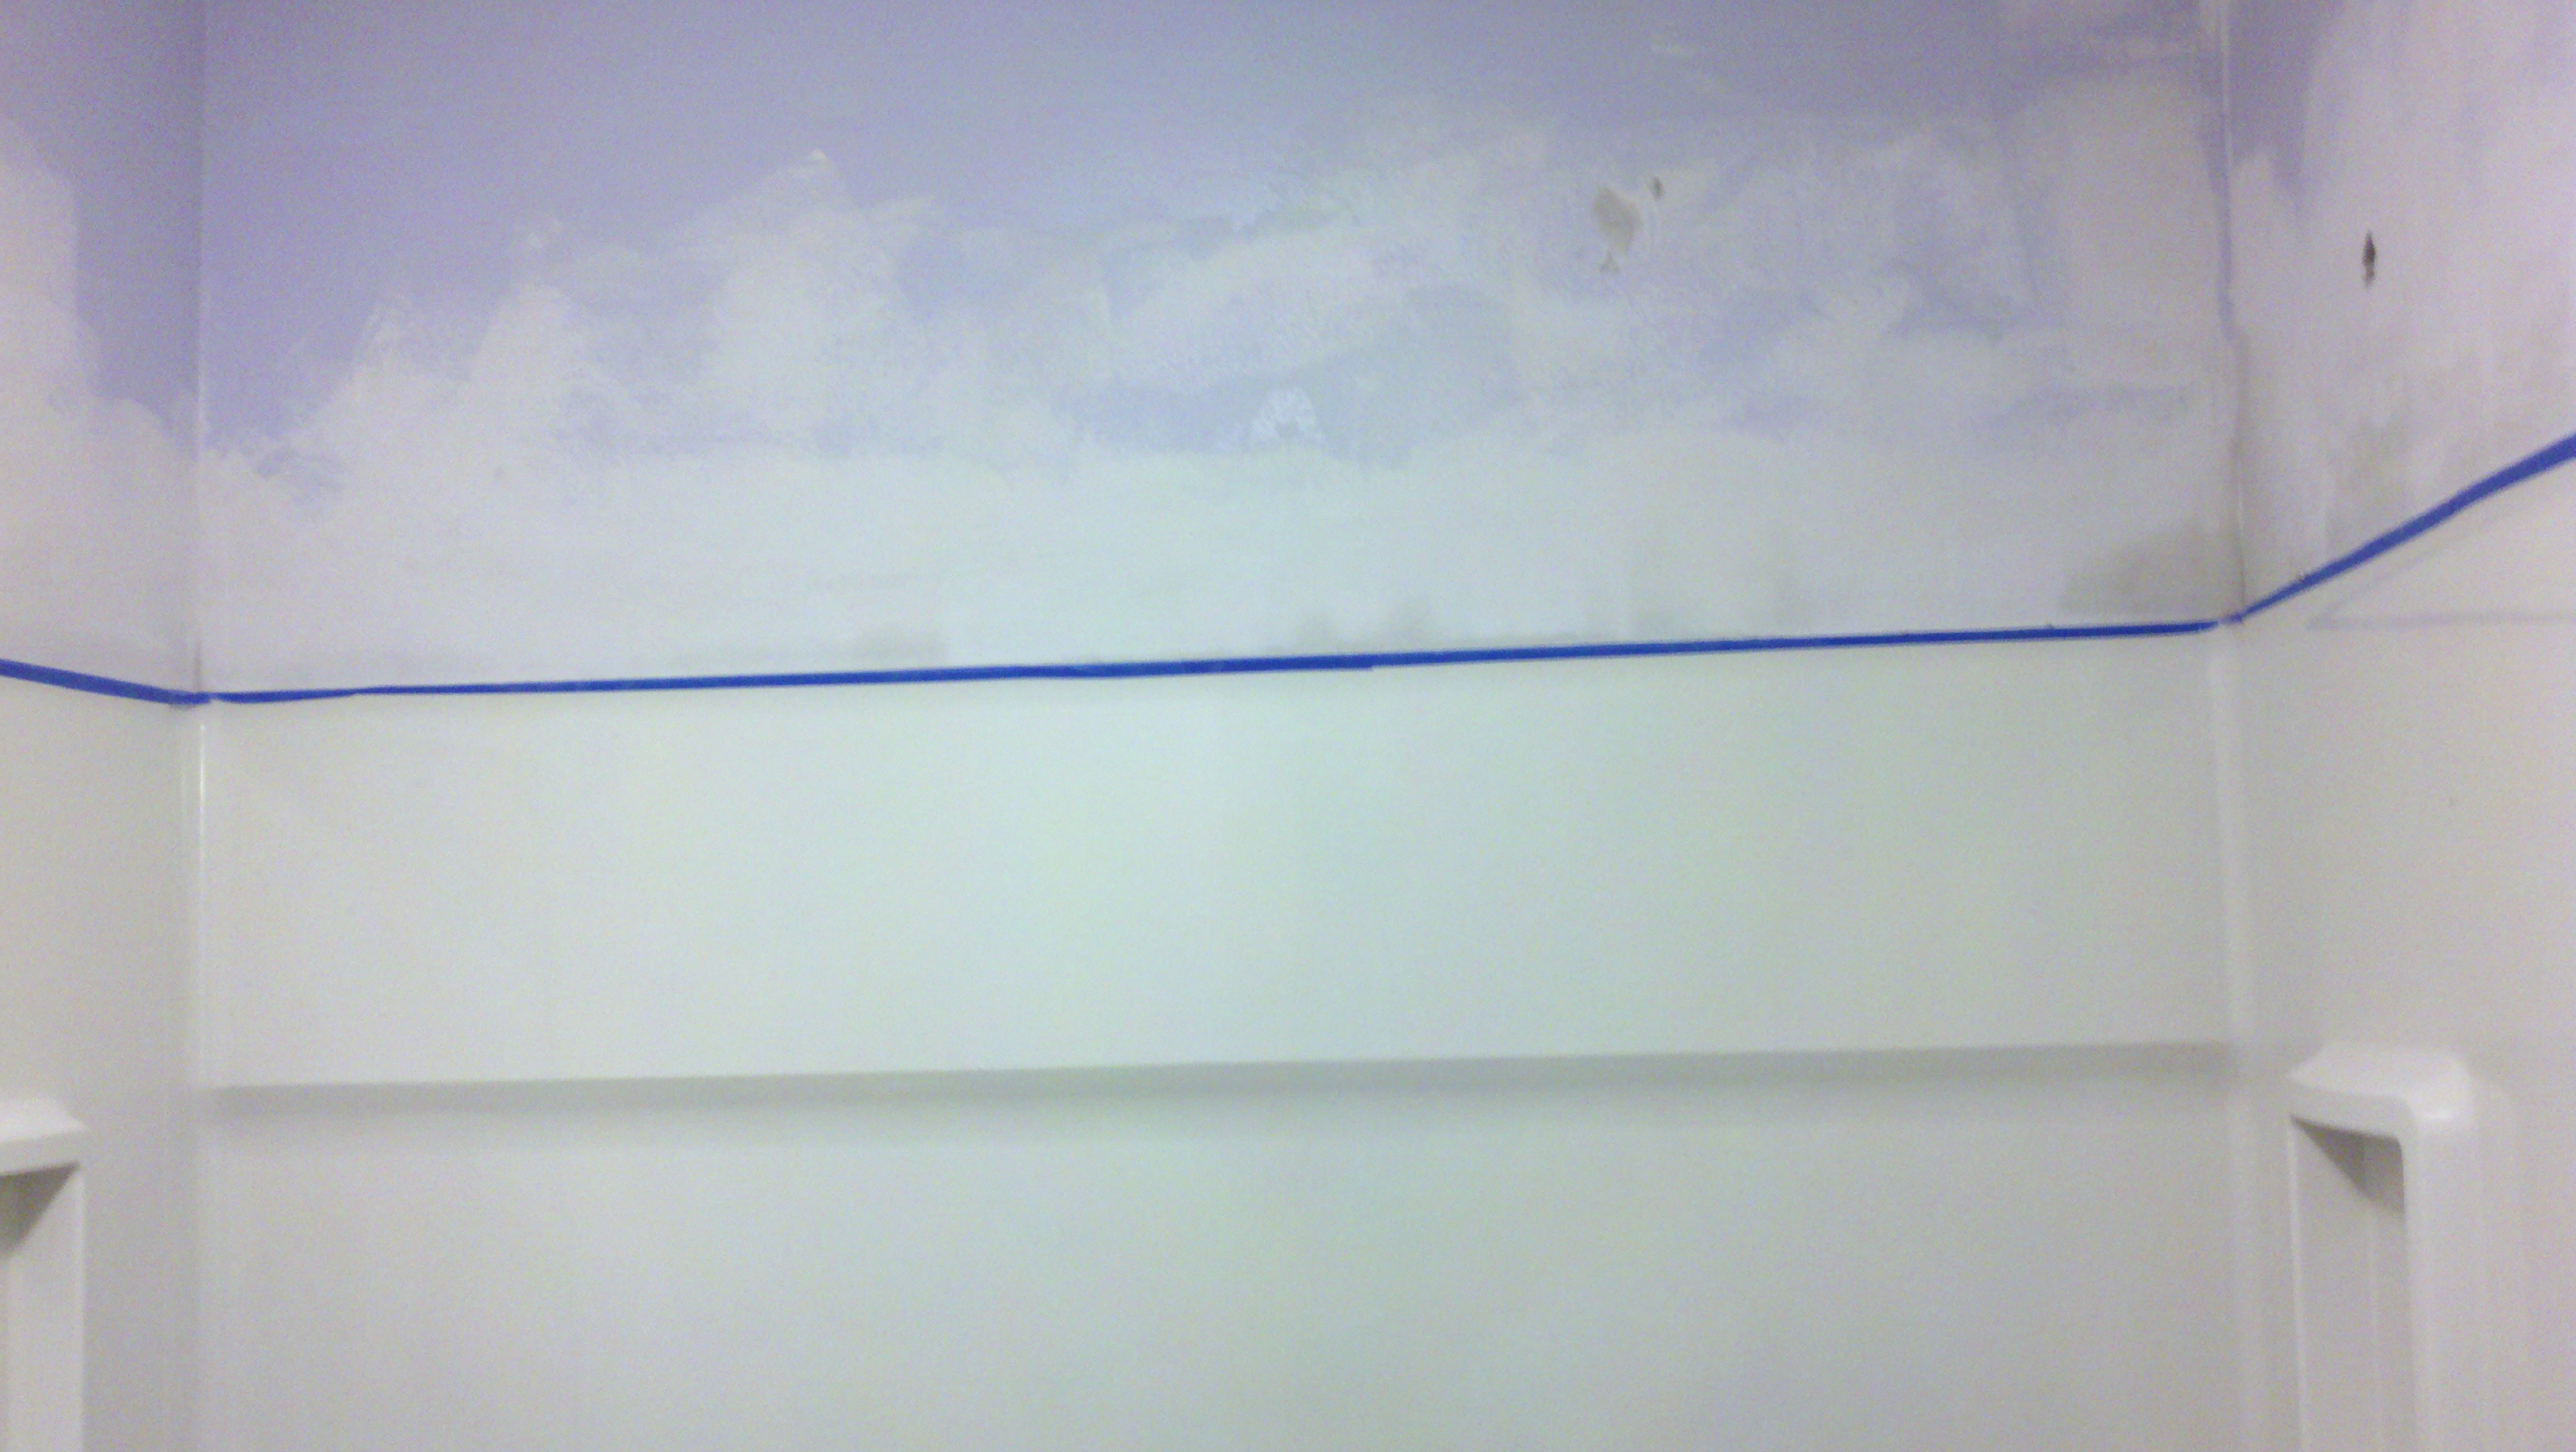
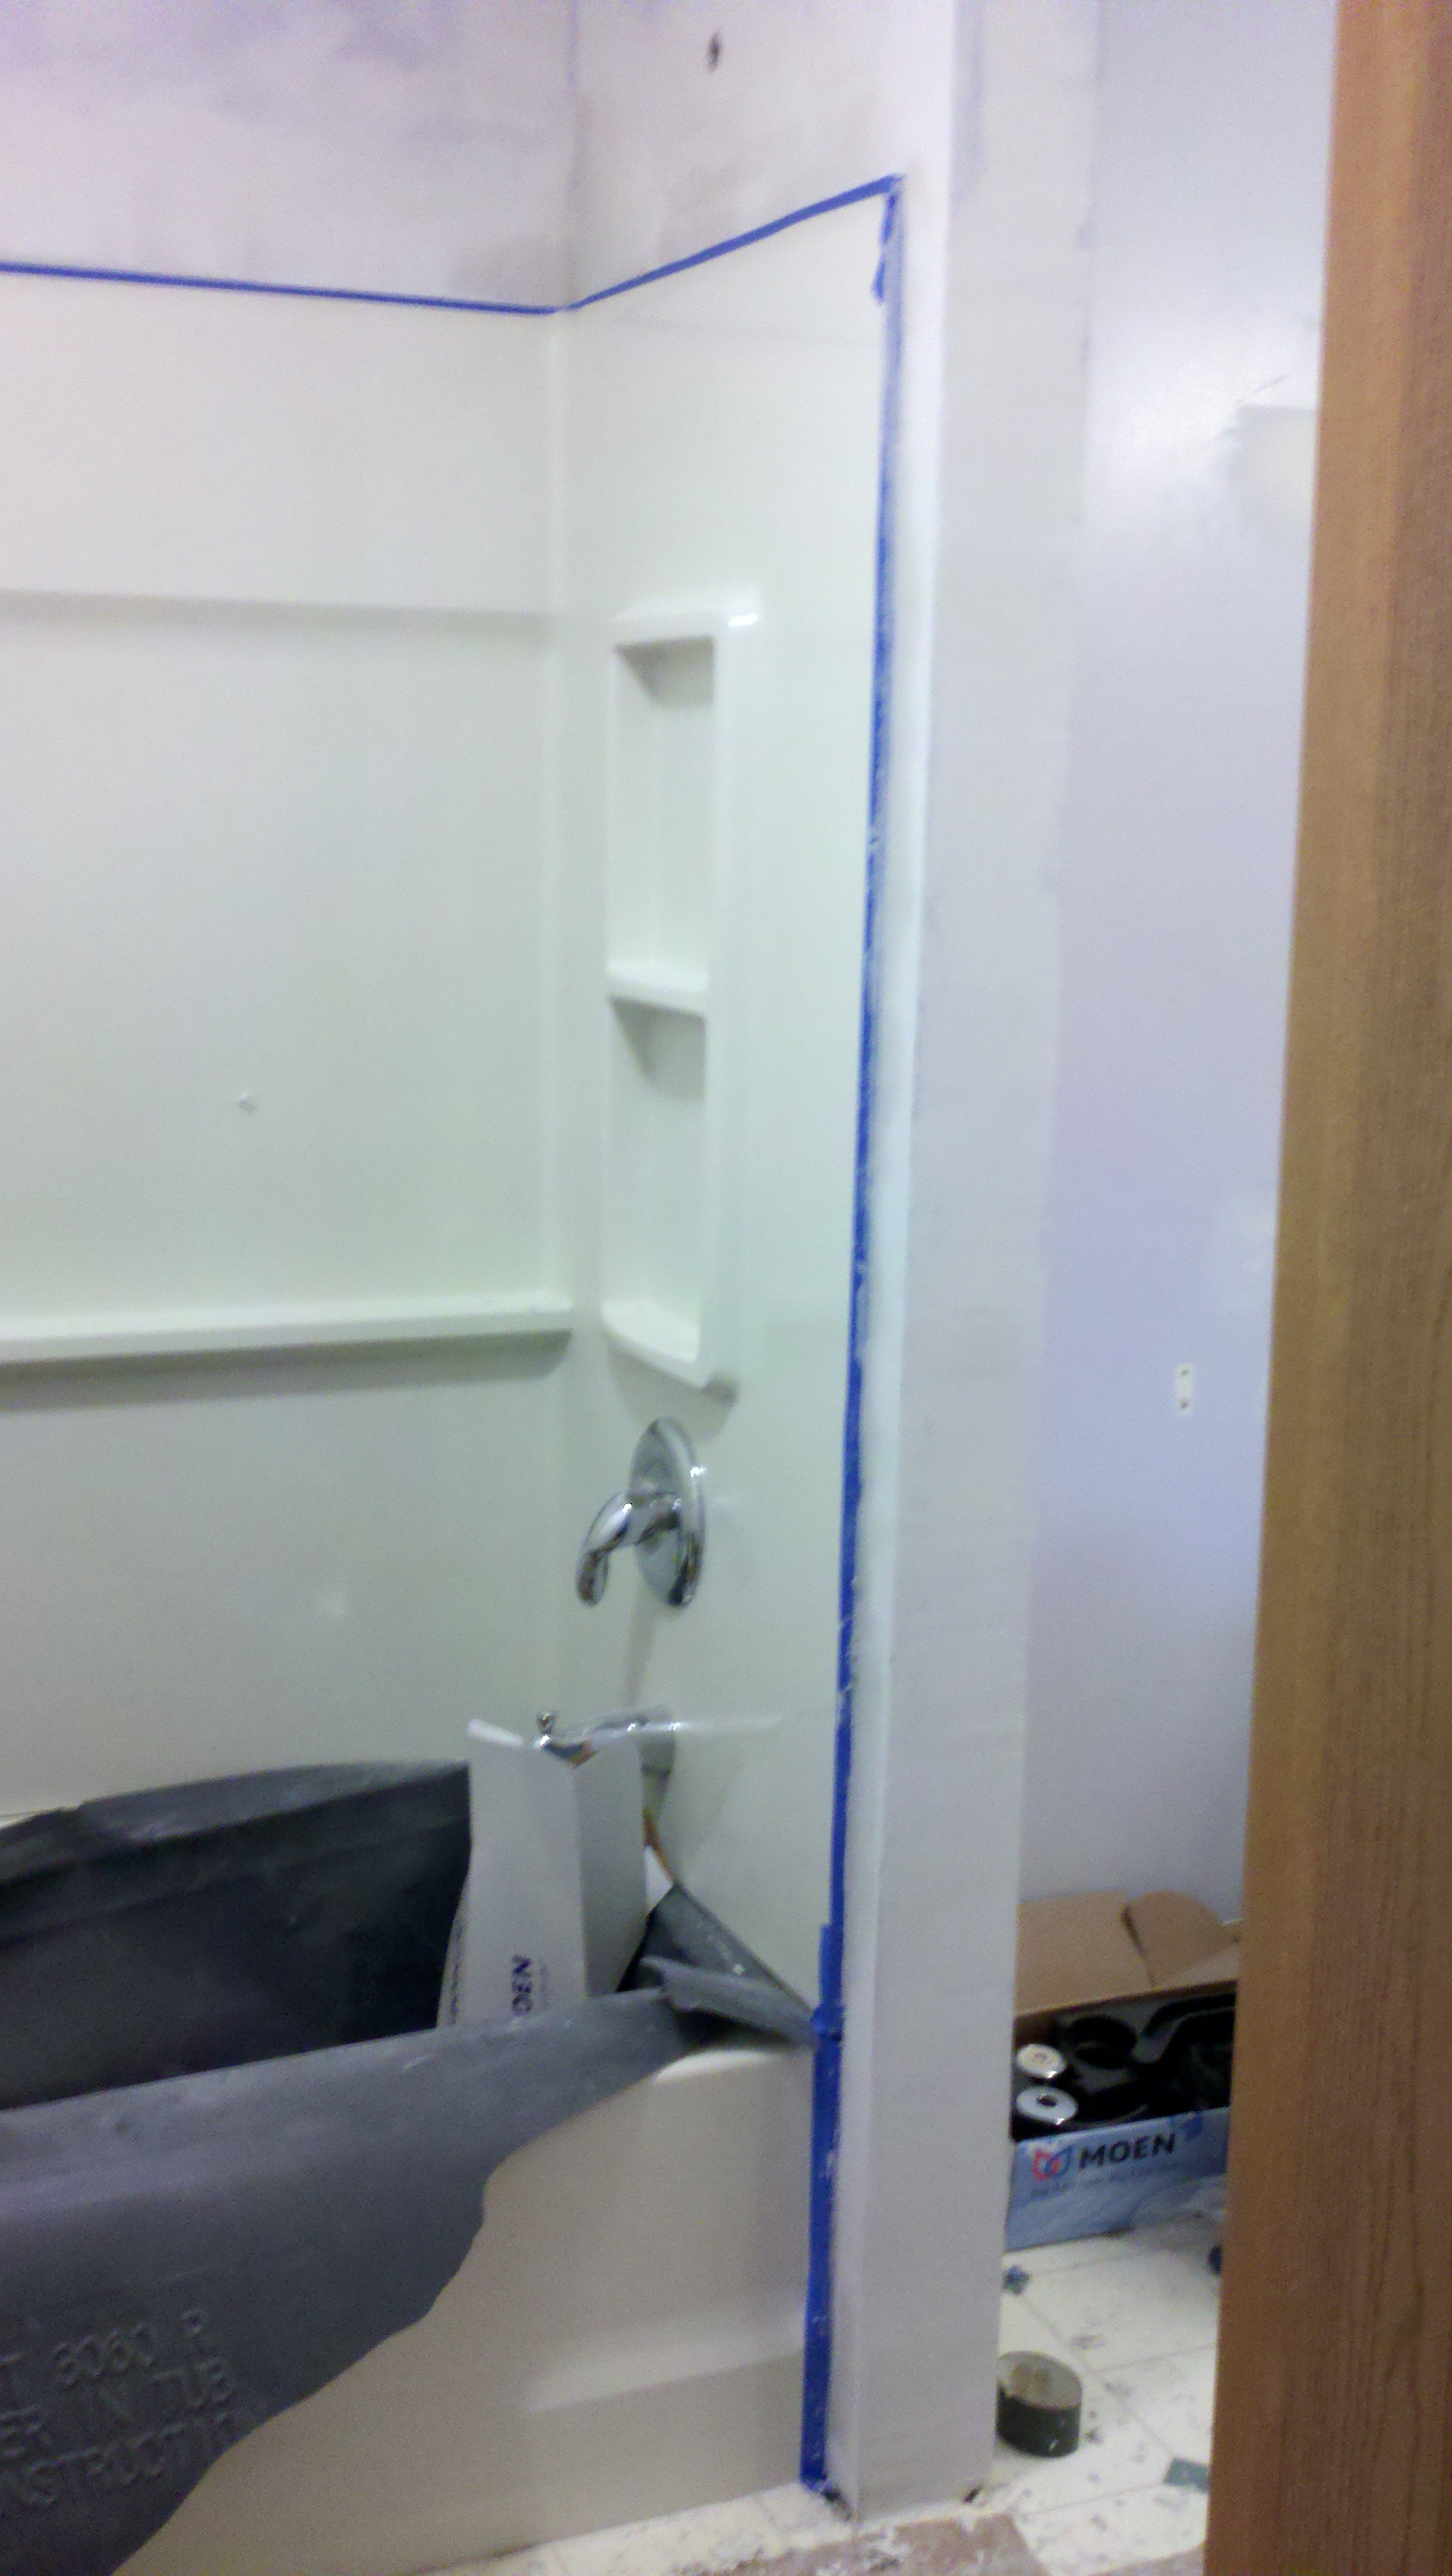
Shower Walls Replacement, Ceiling Alteration, & ExactTemp
Thermostatic Faucet Installation
|
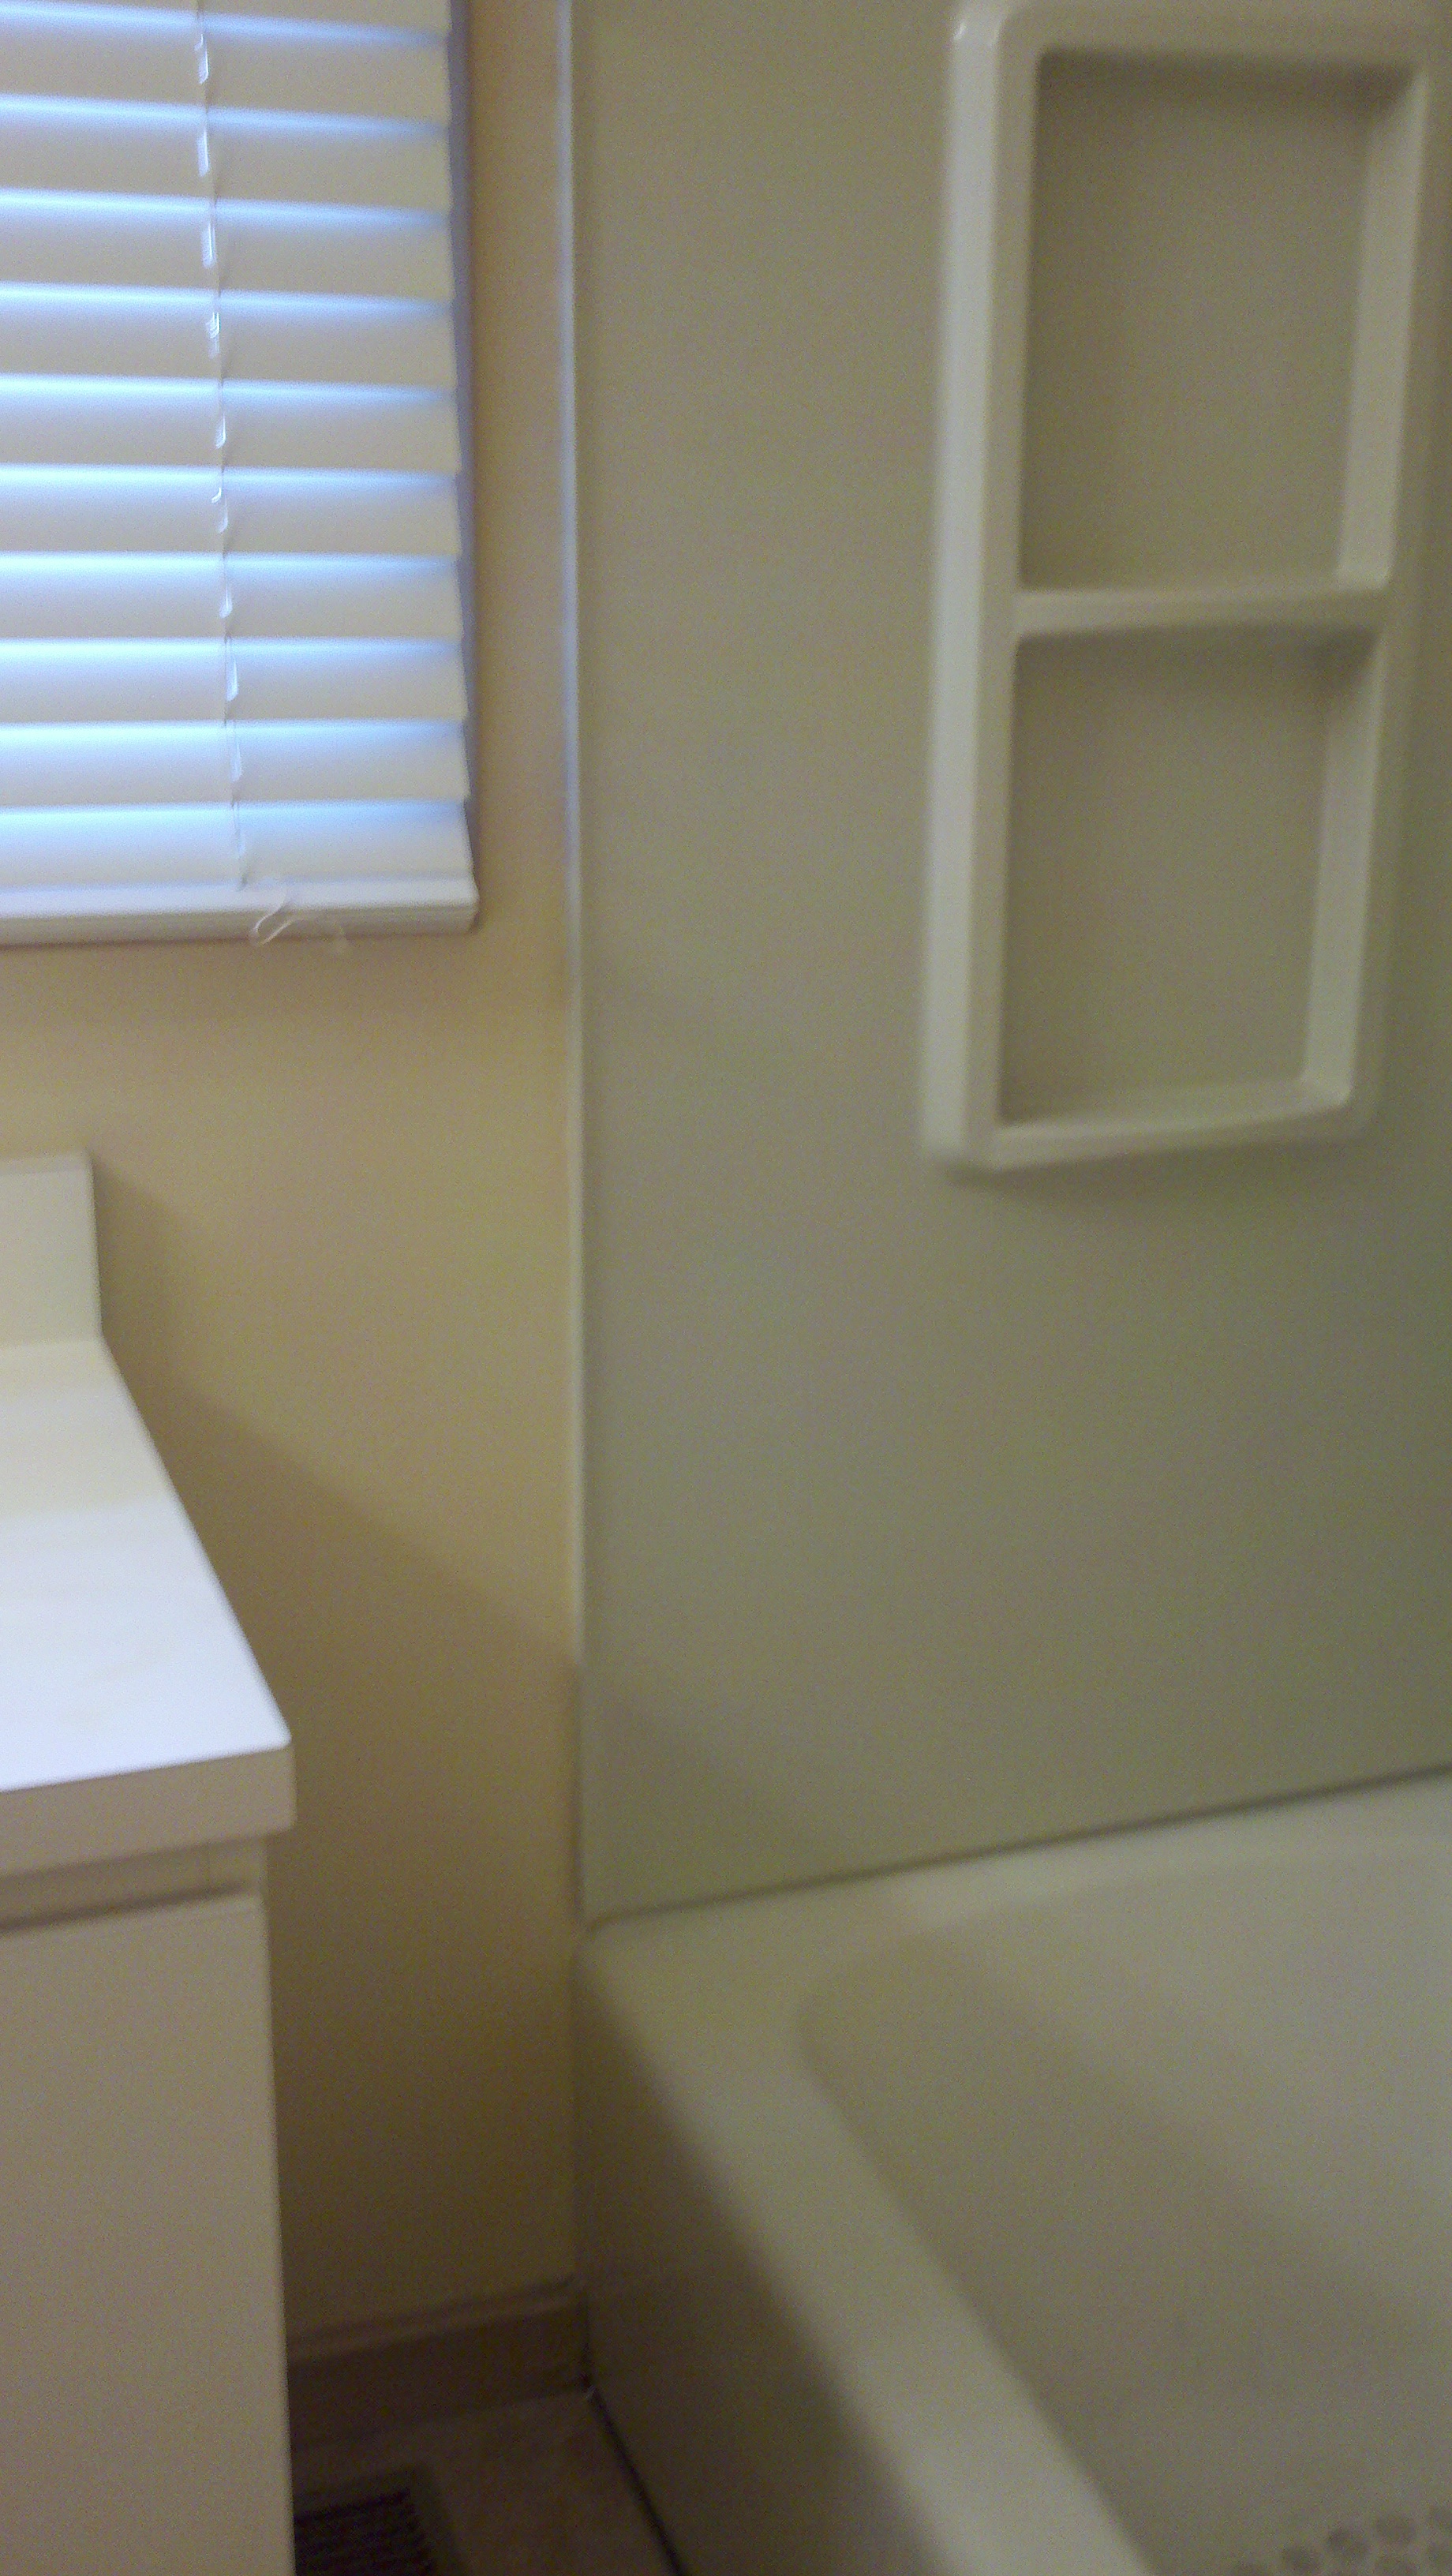
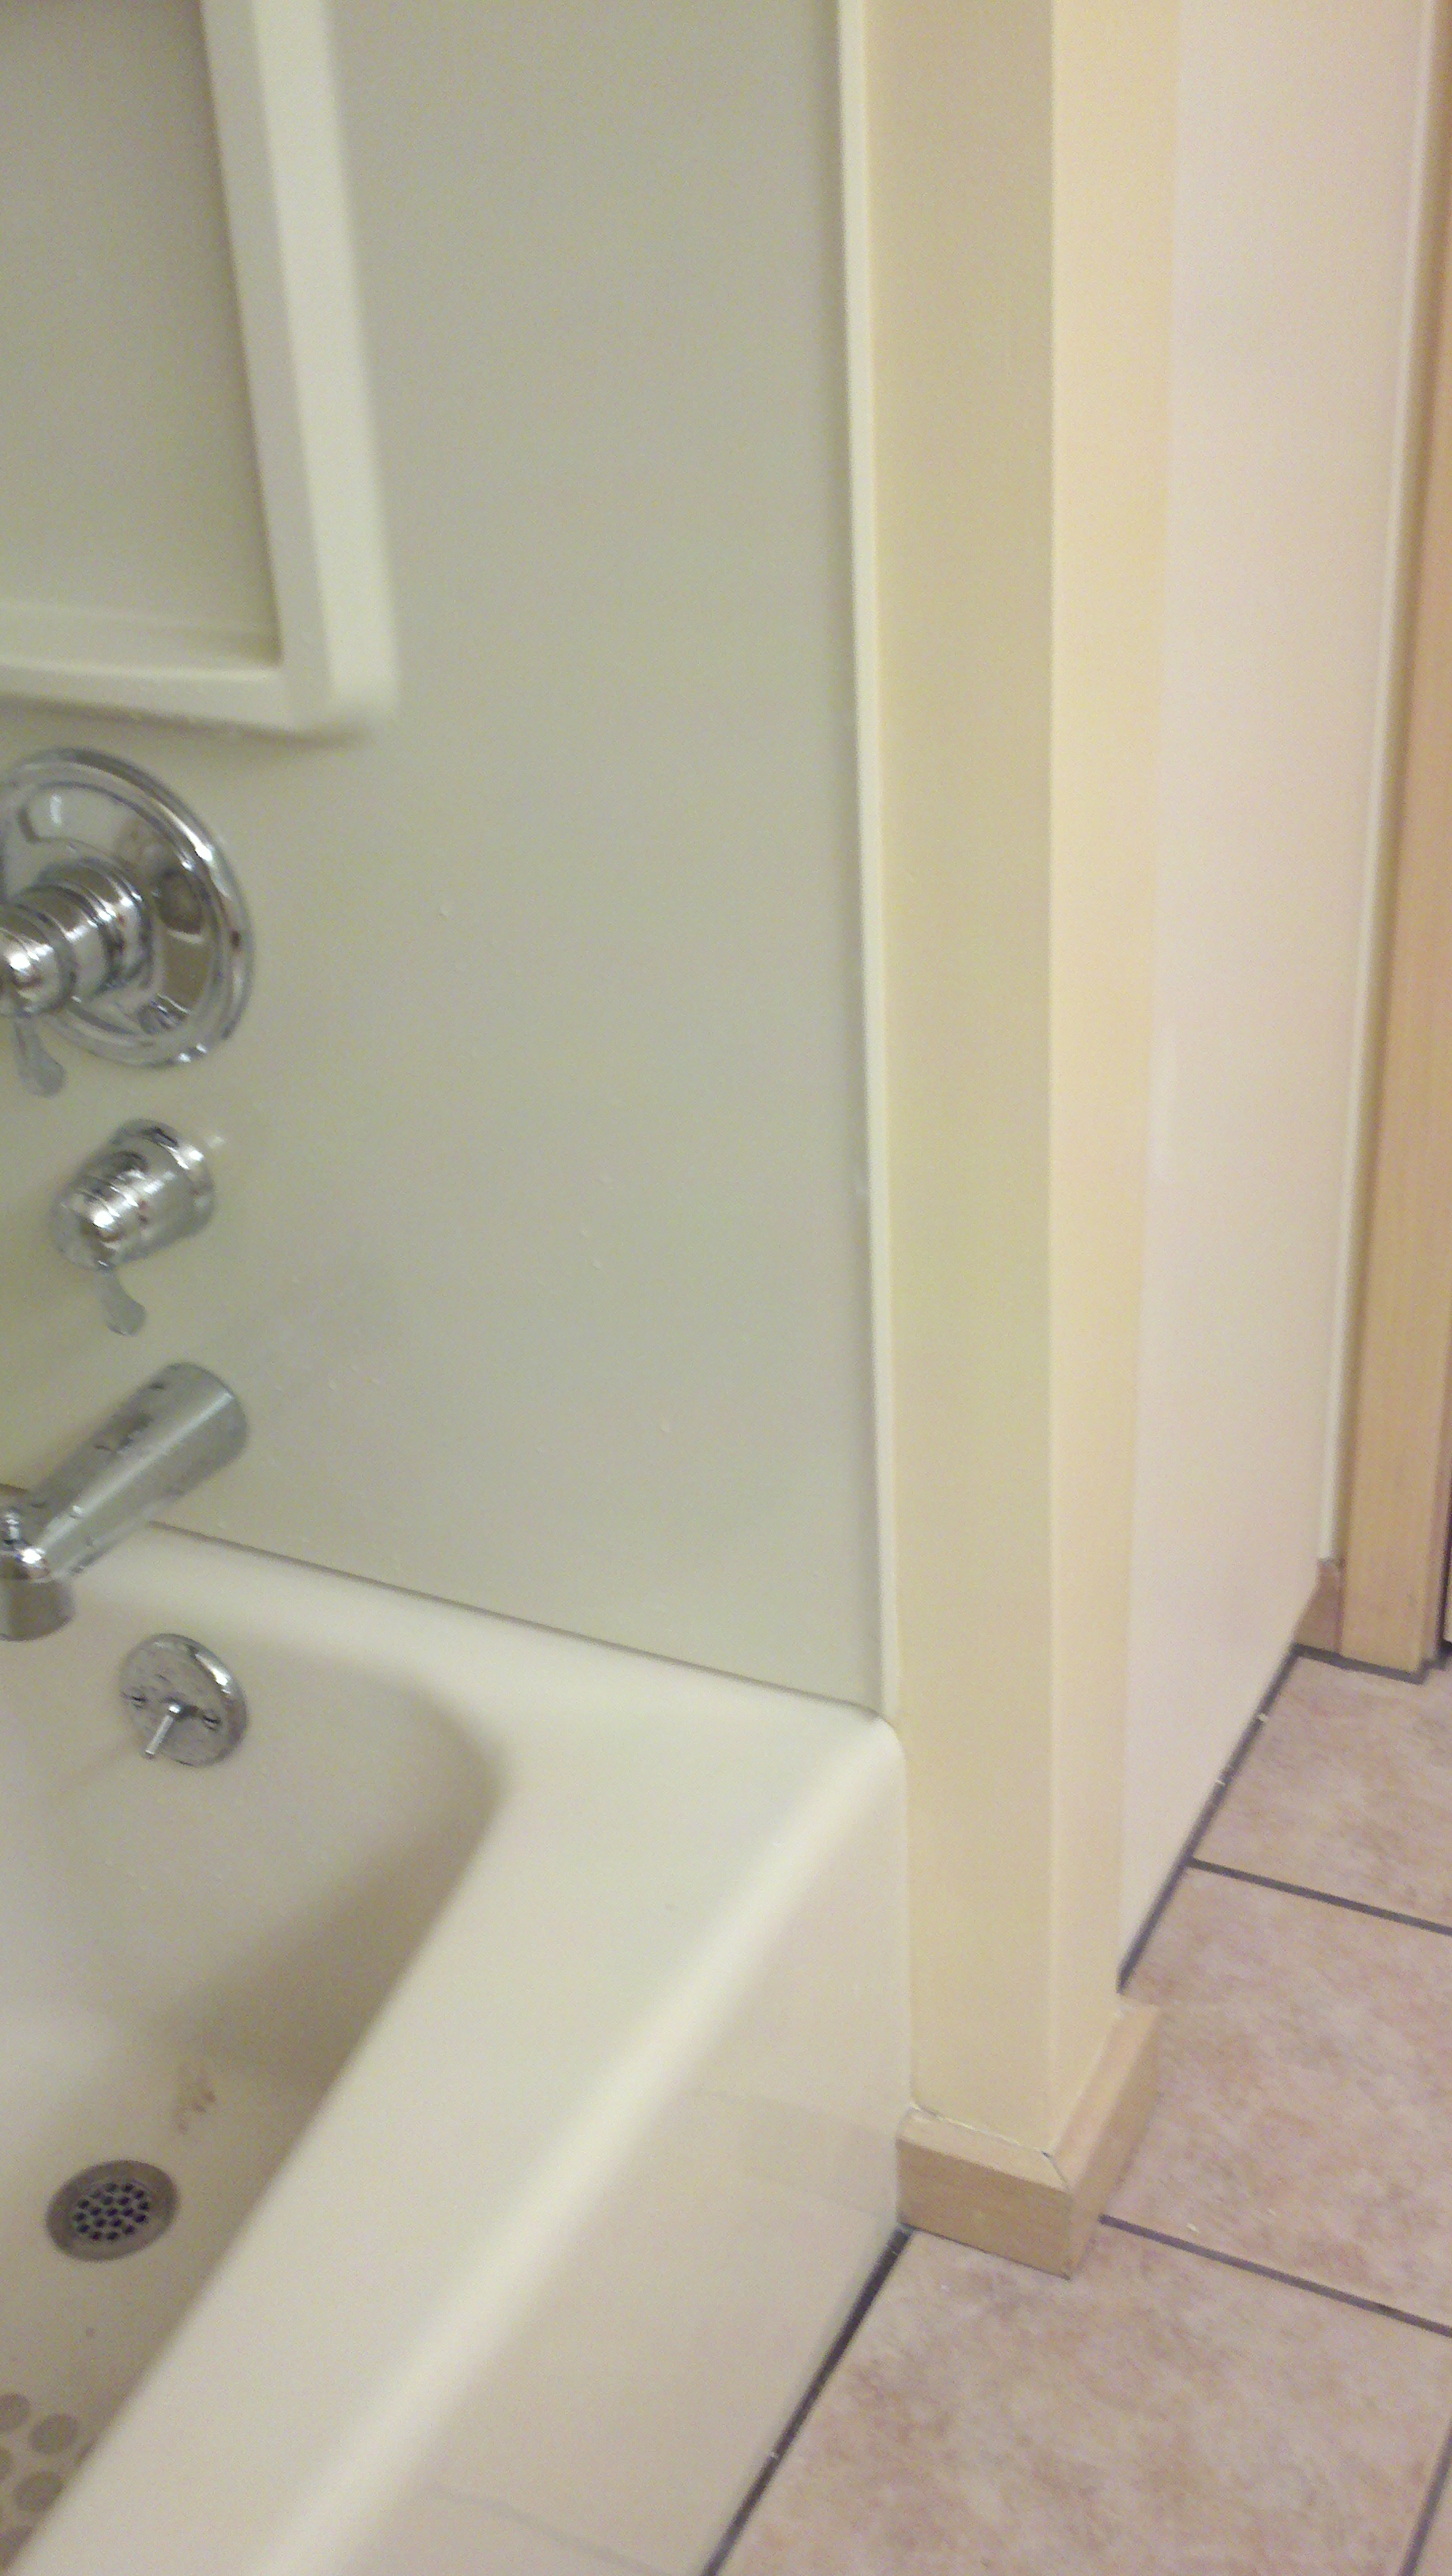
| Second Bathroom
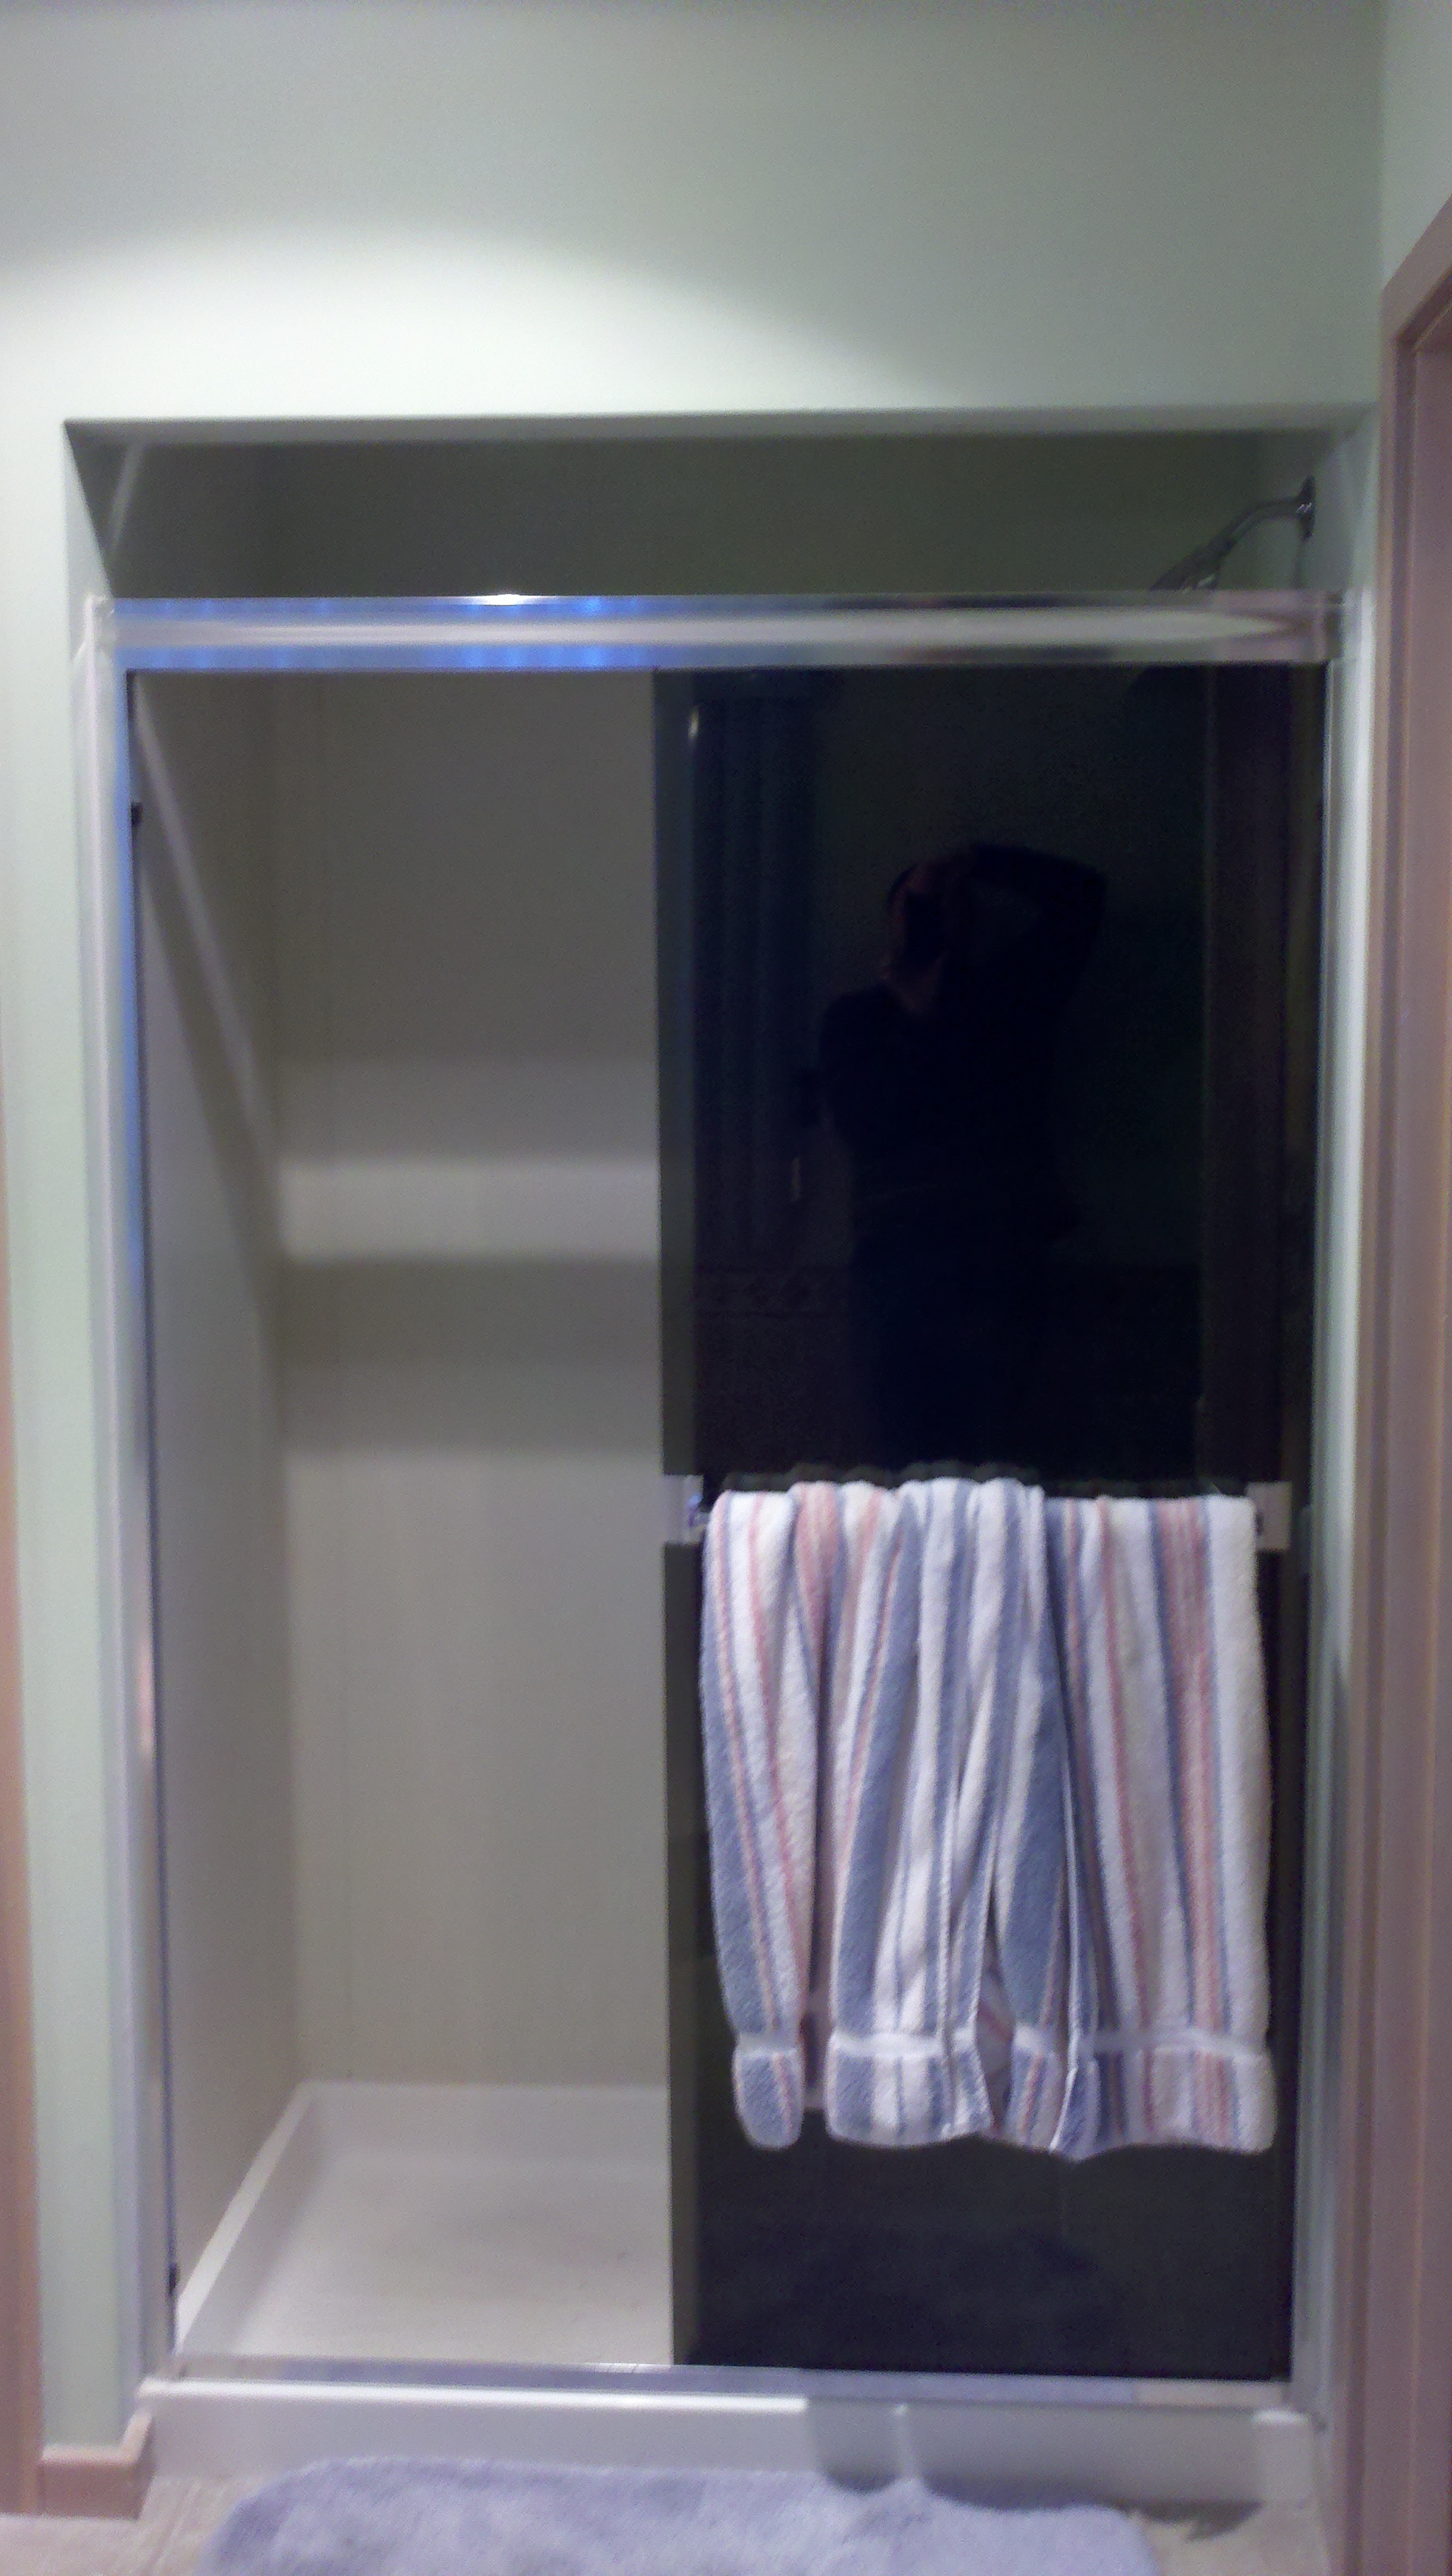
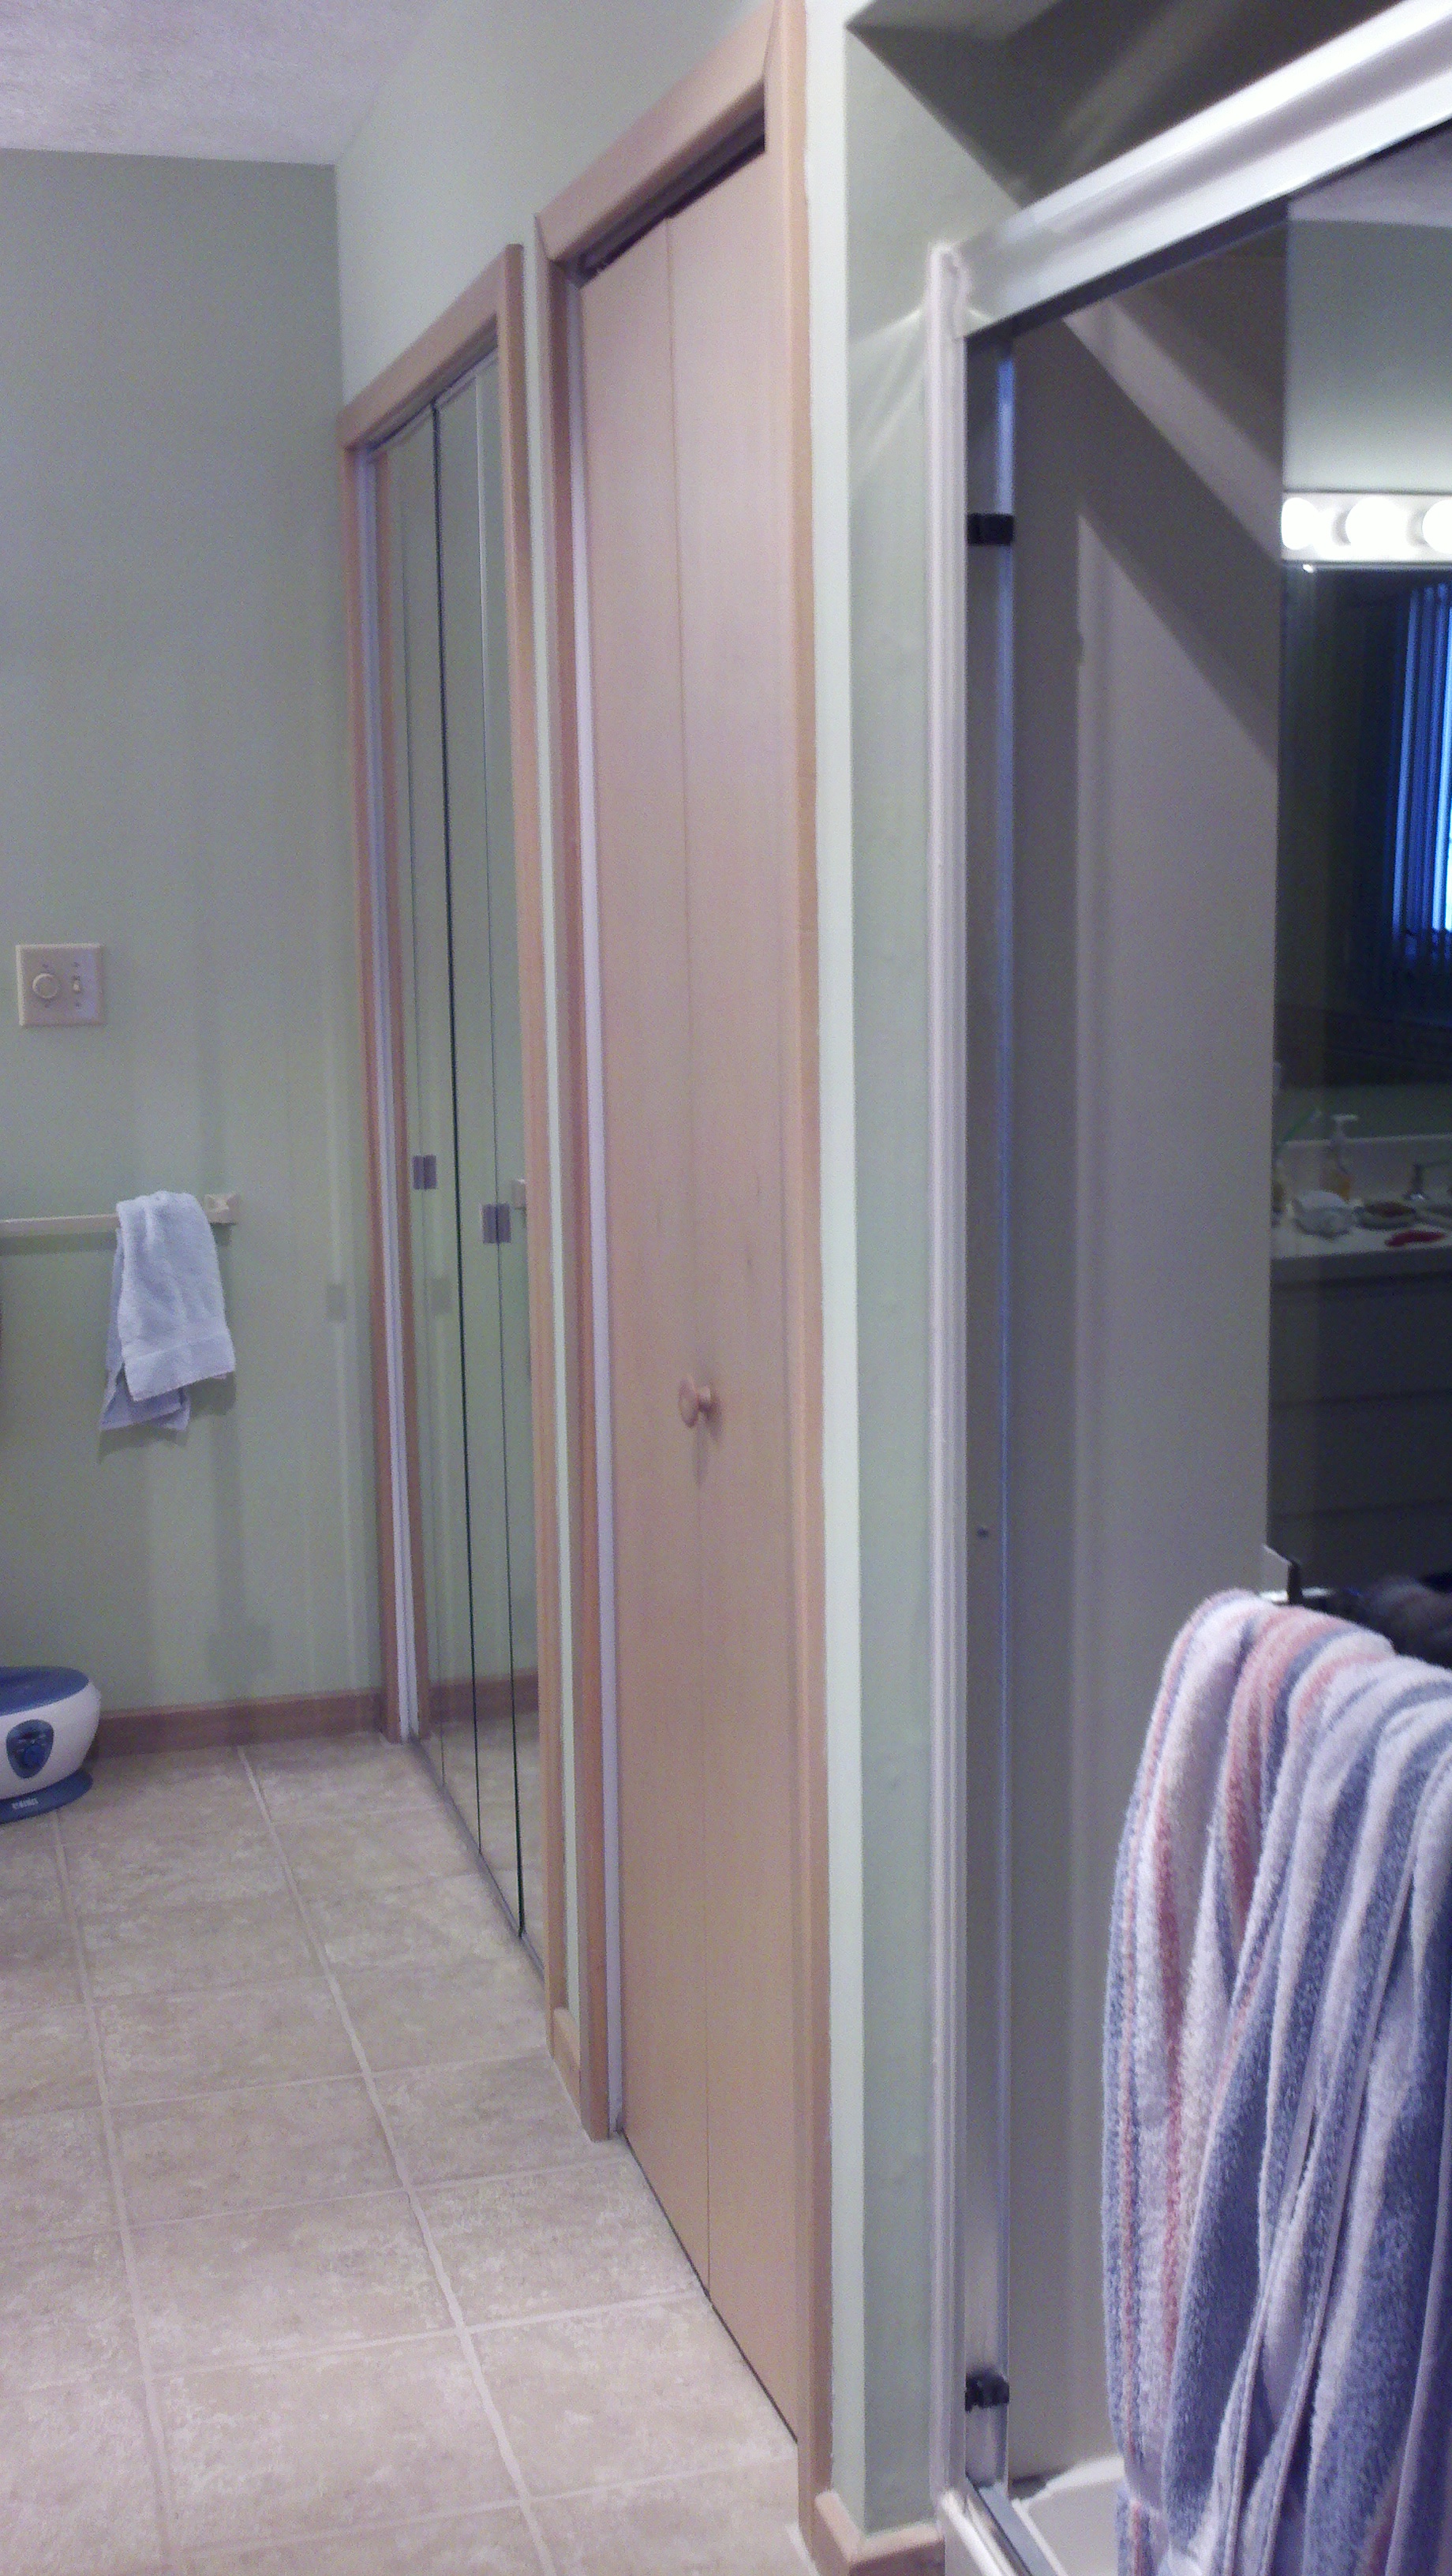
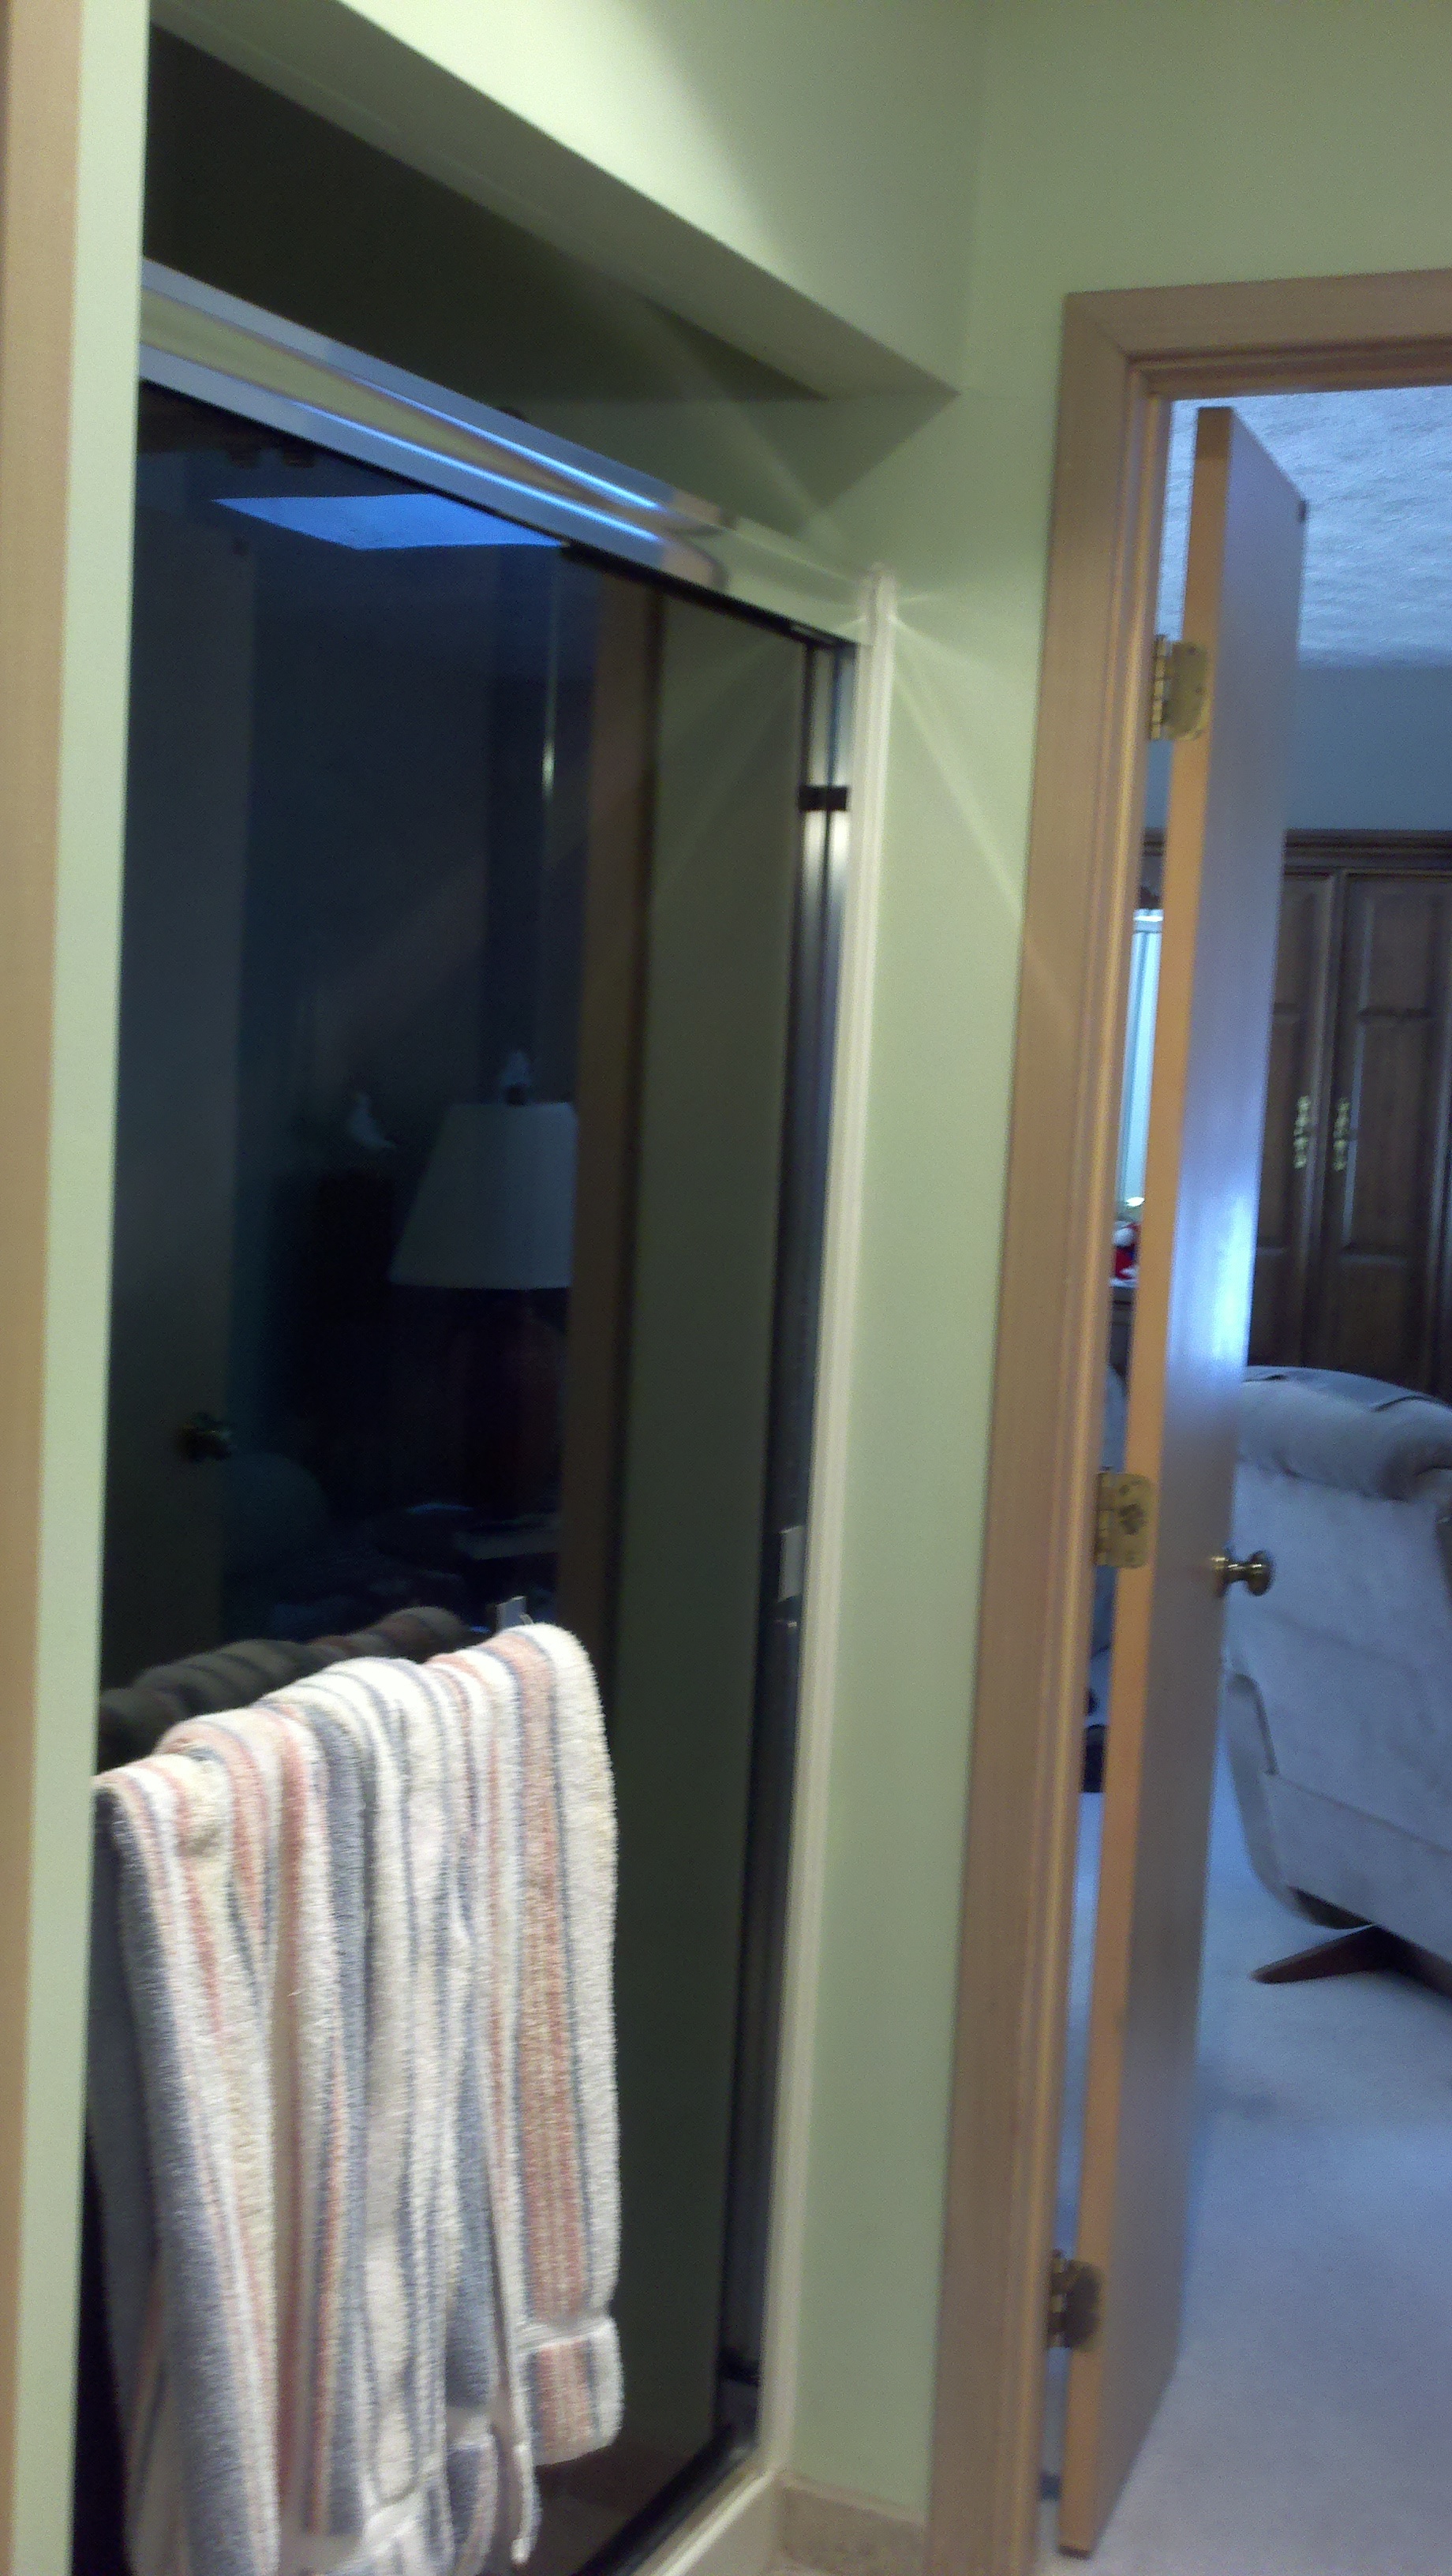
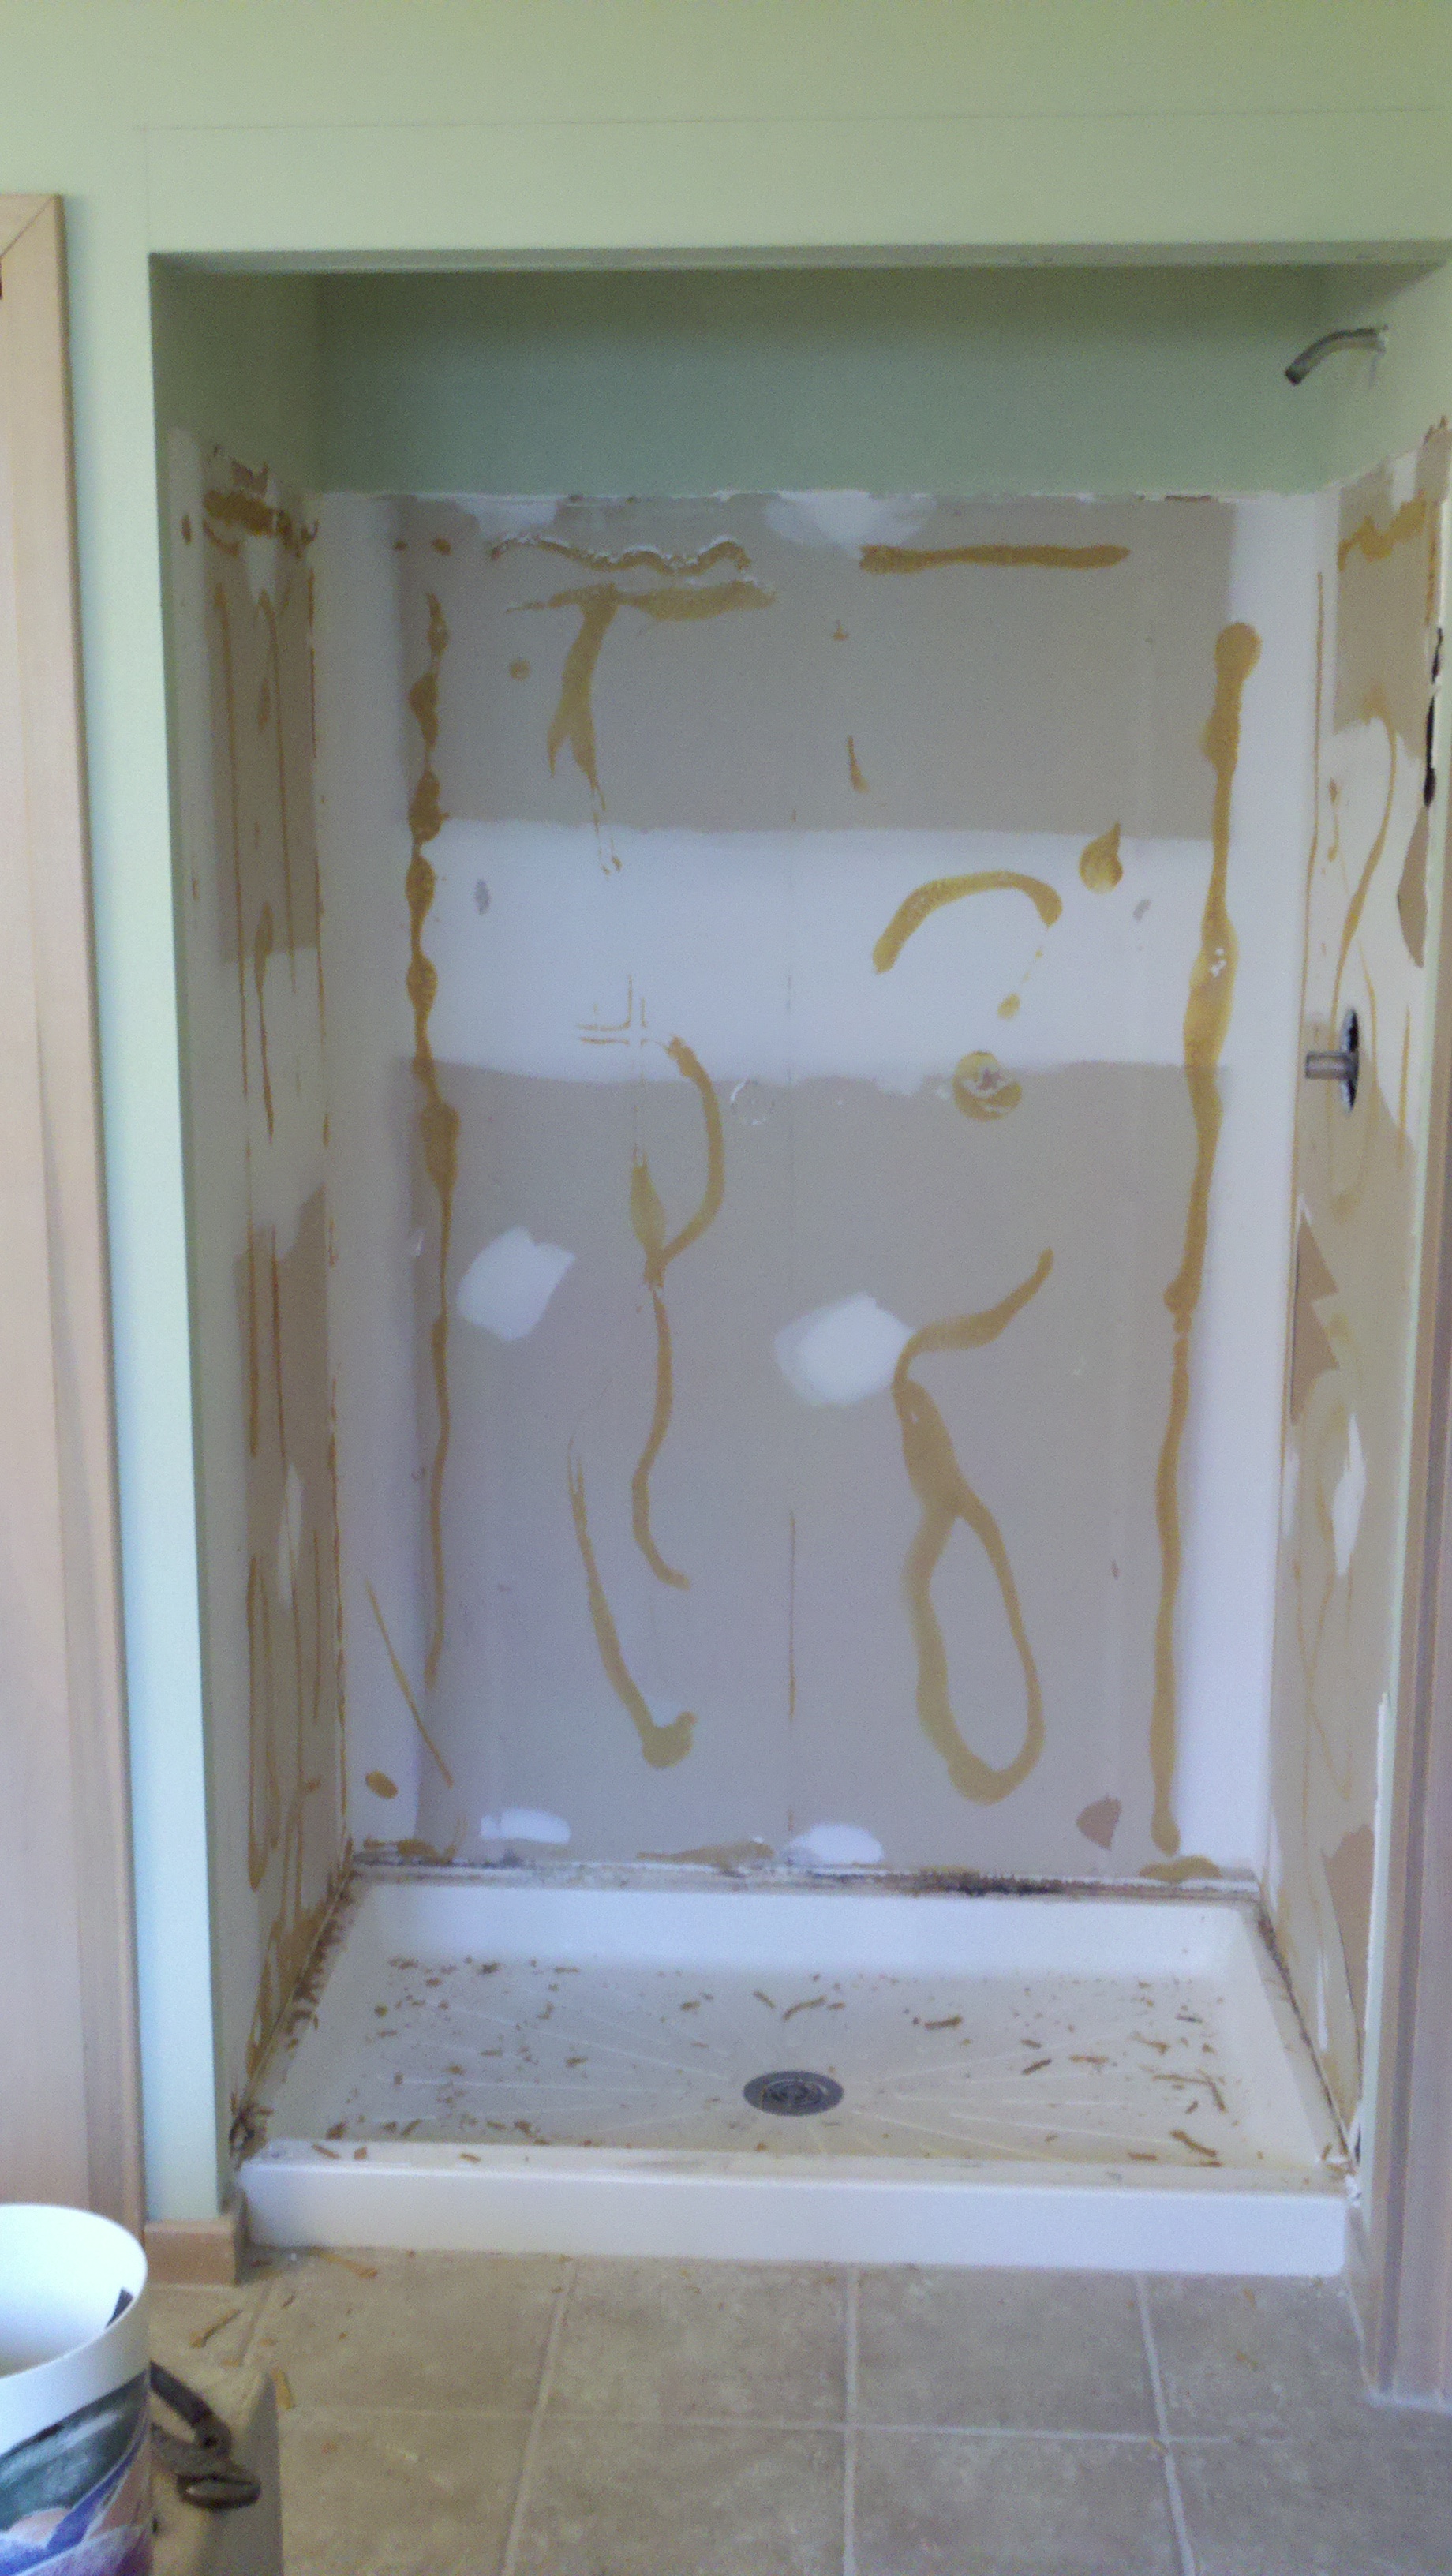
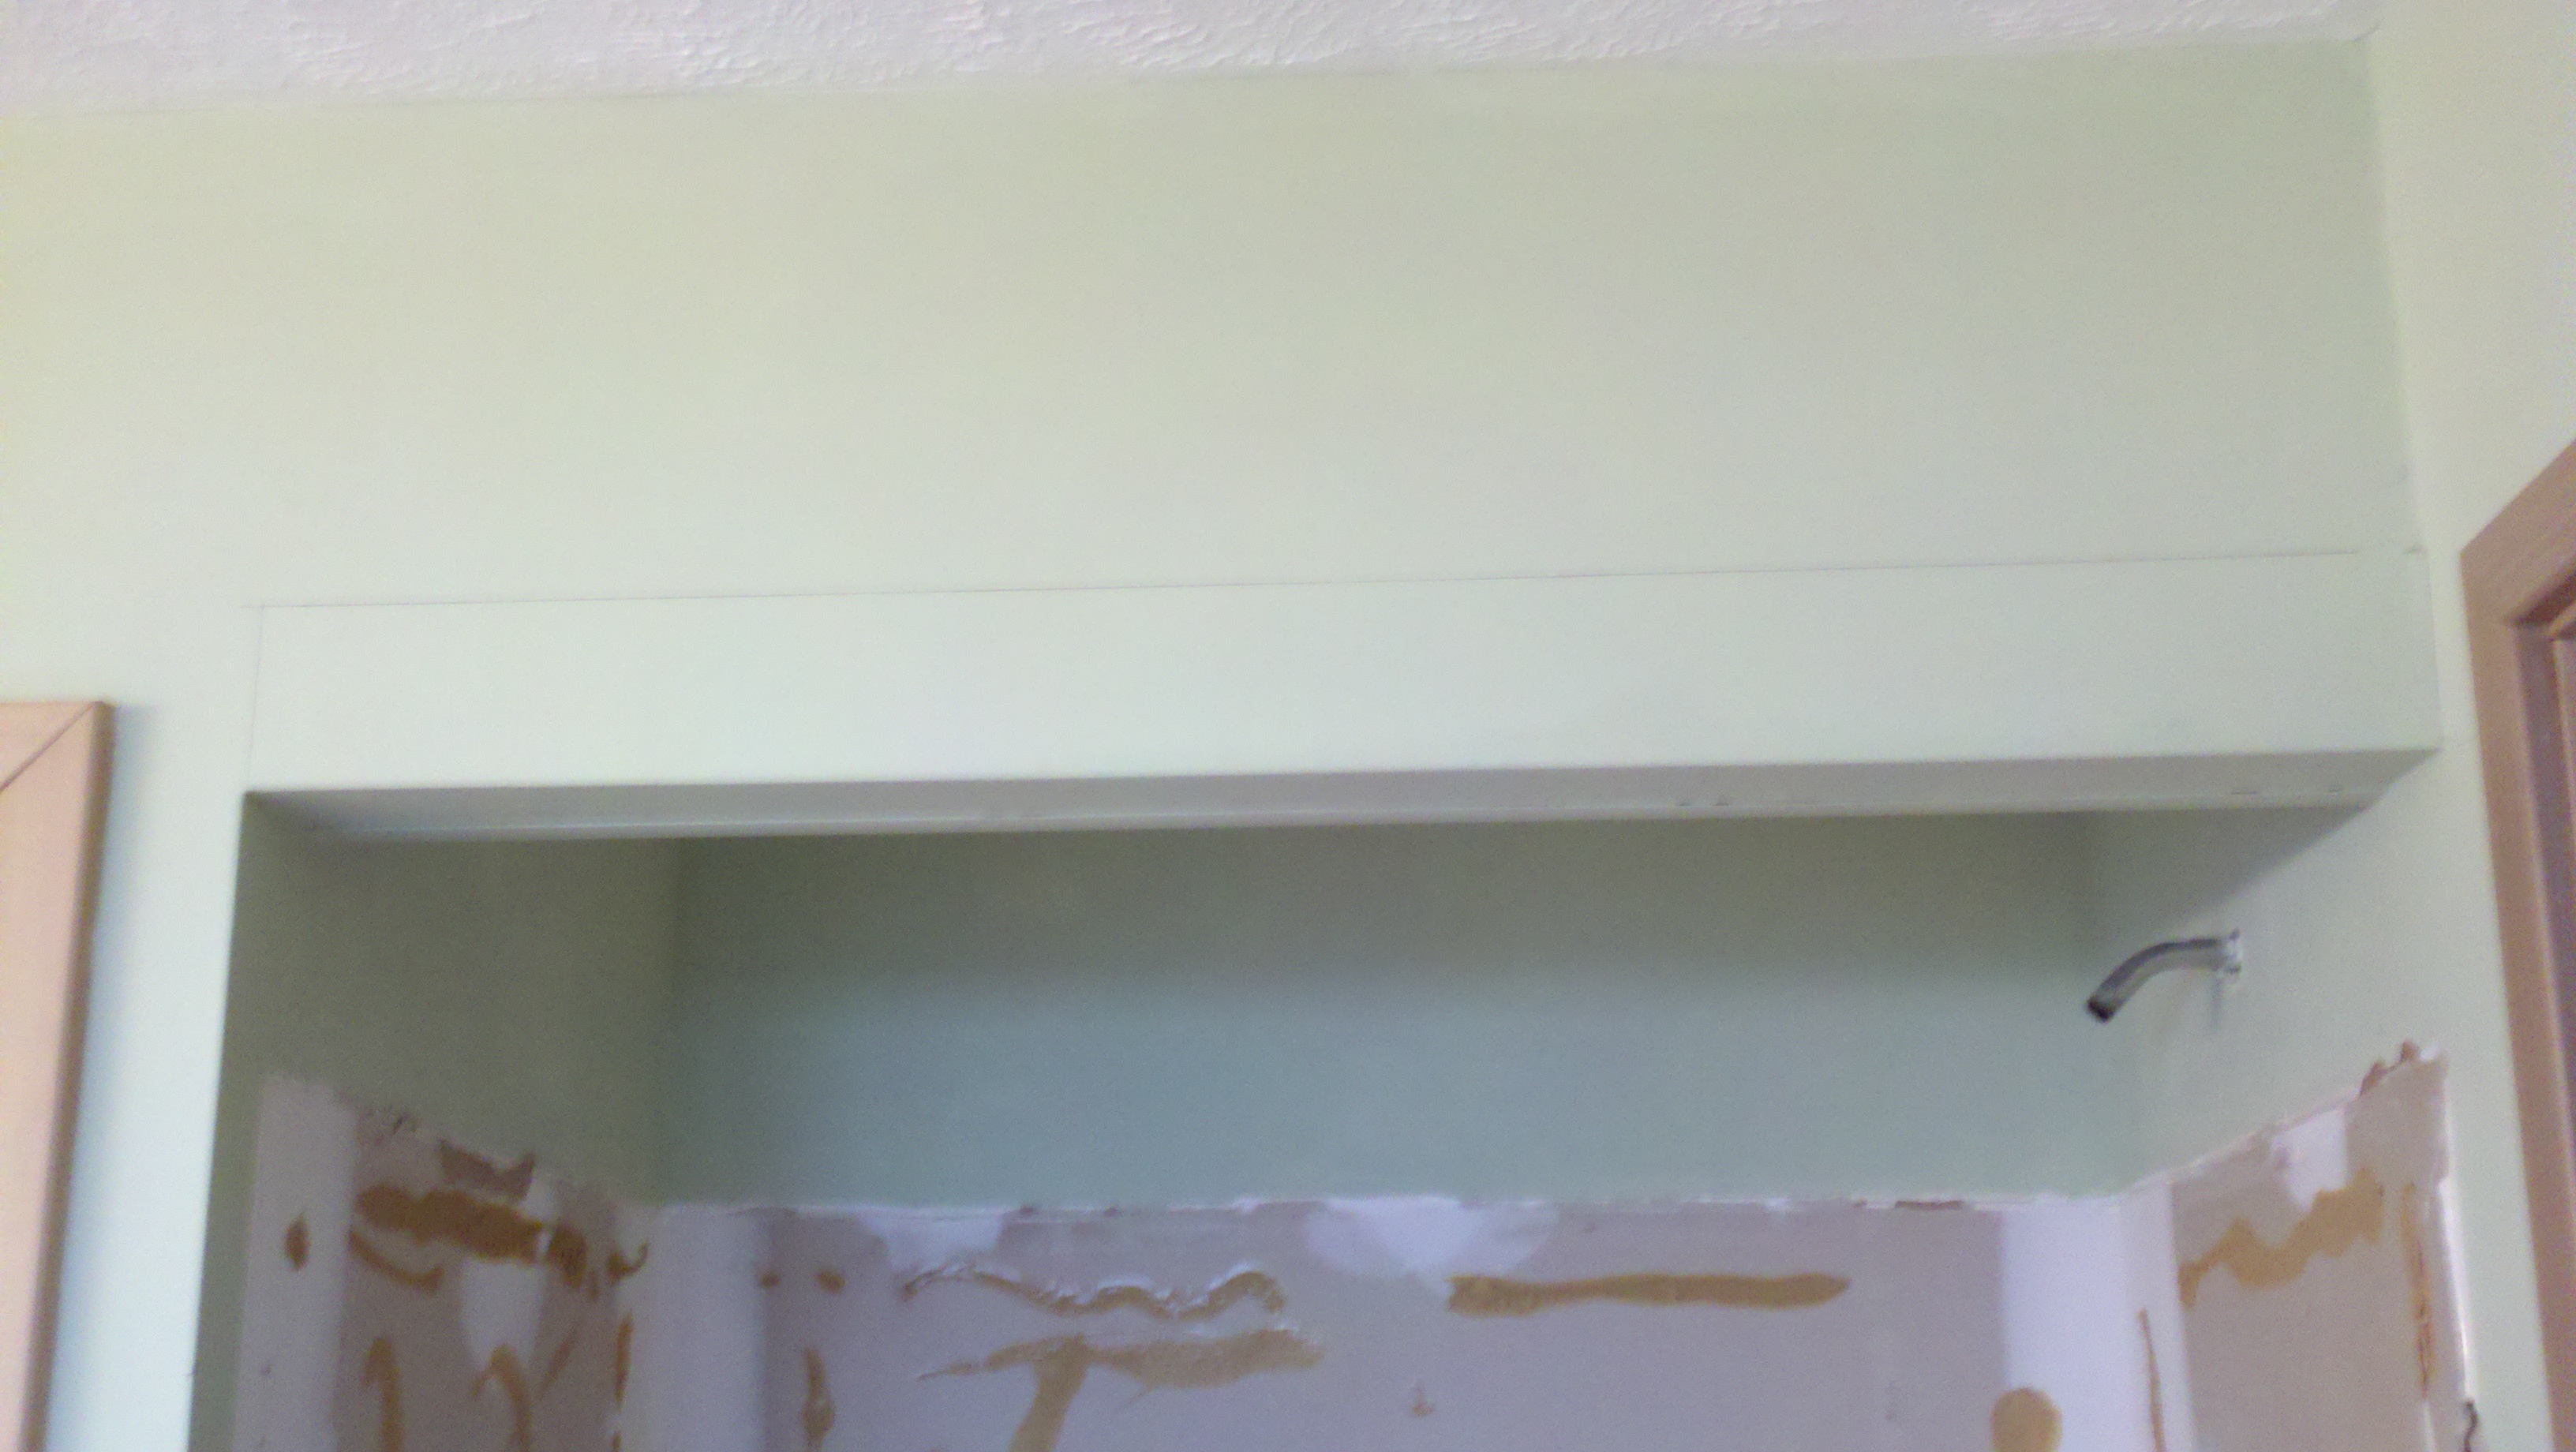
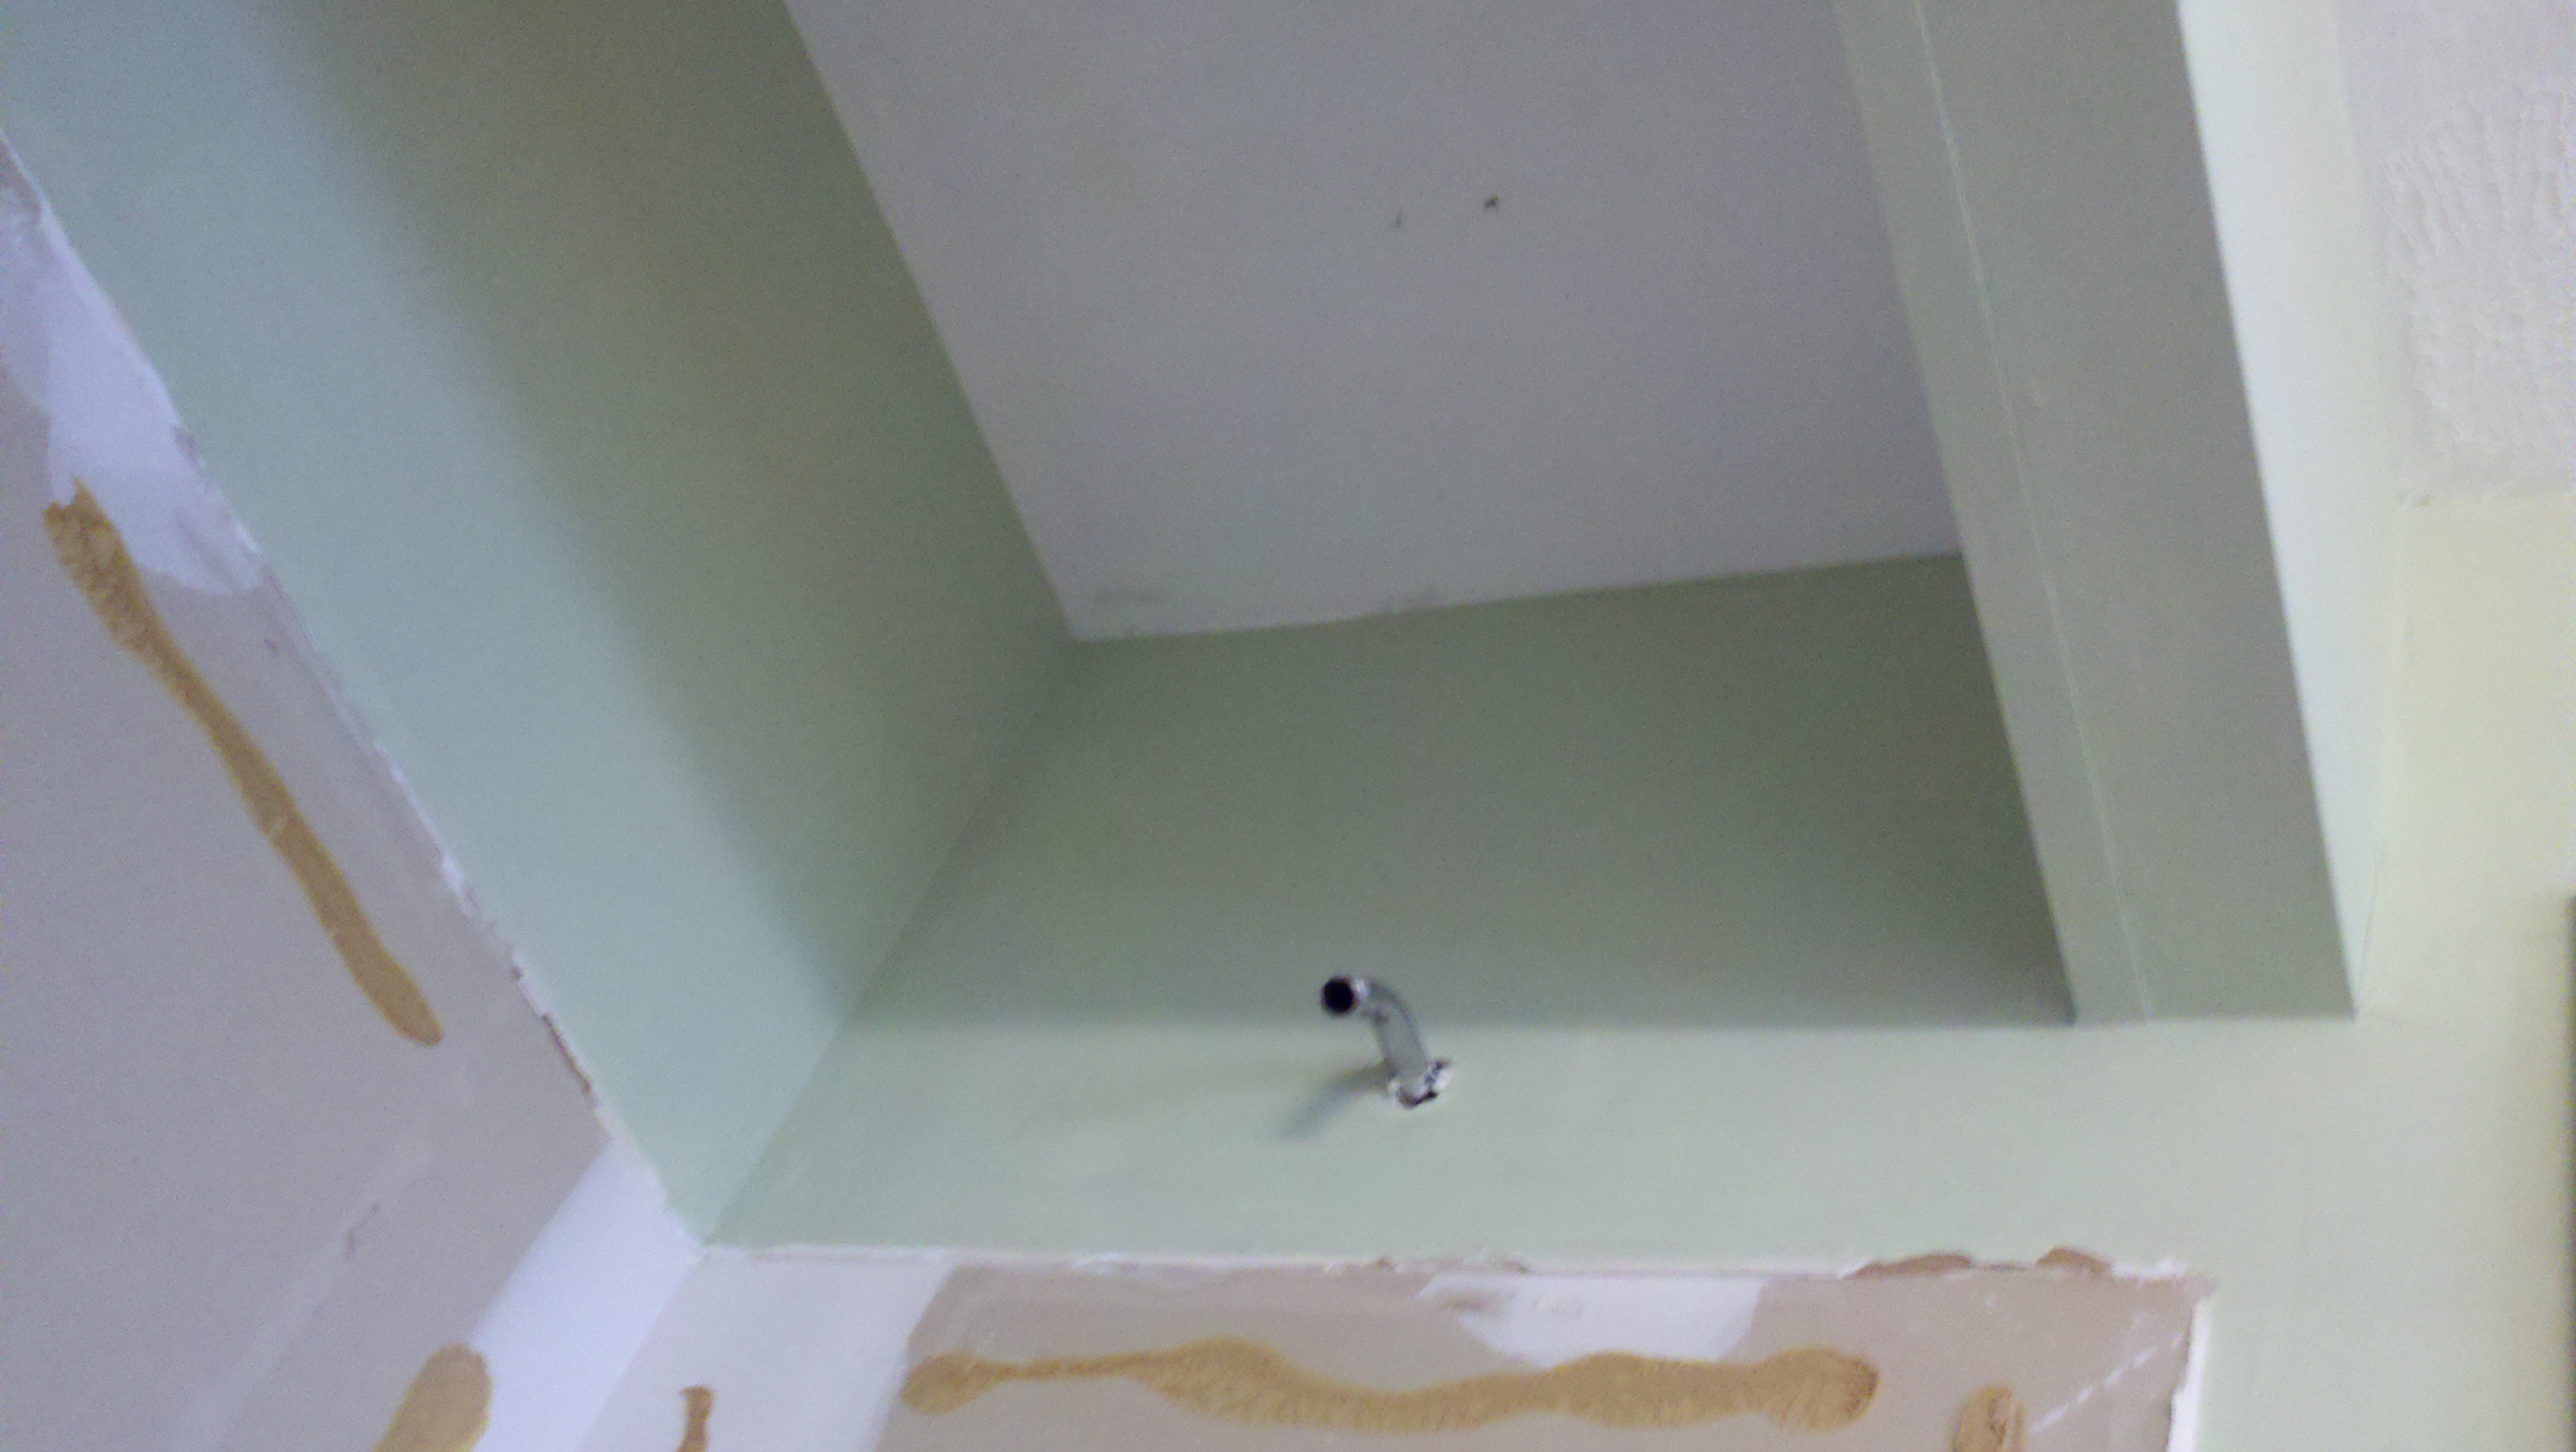
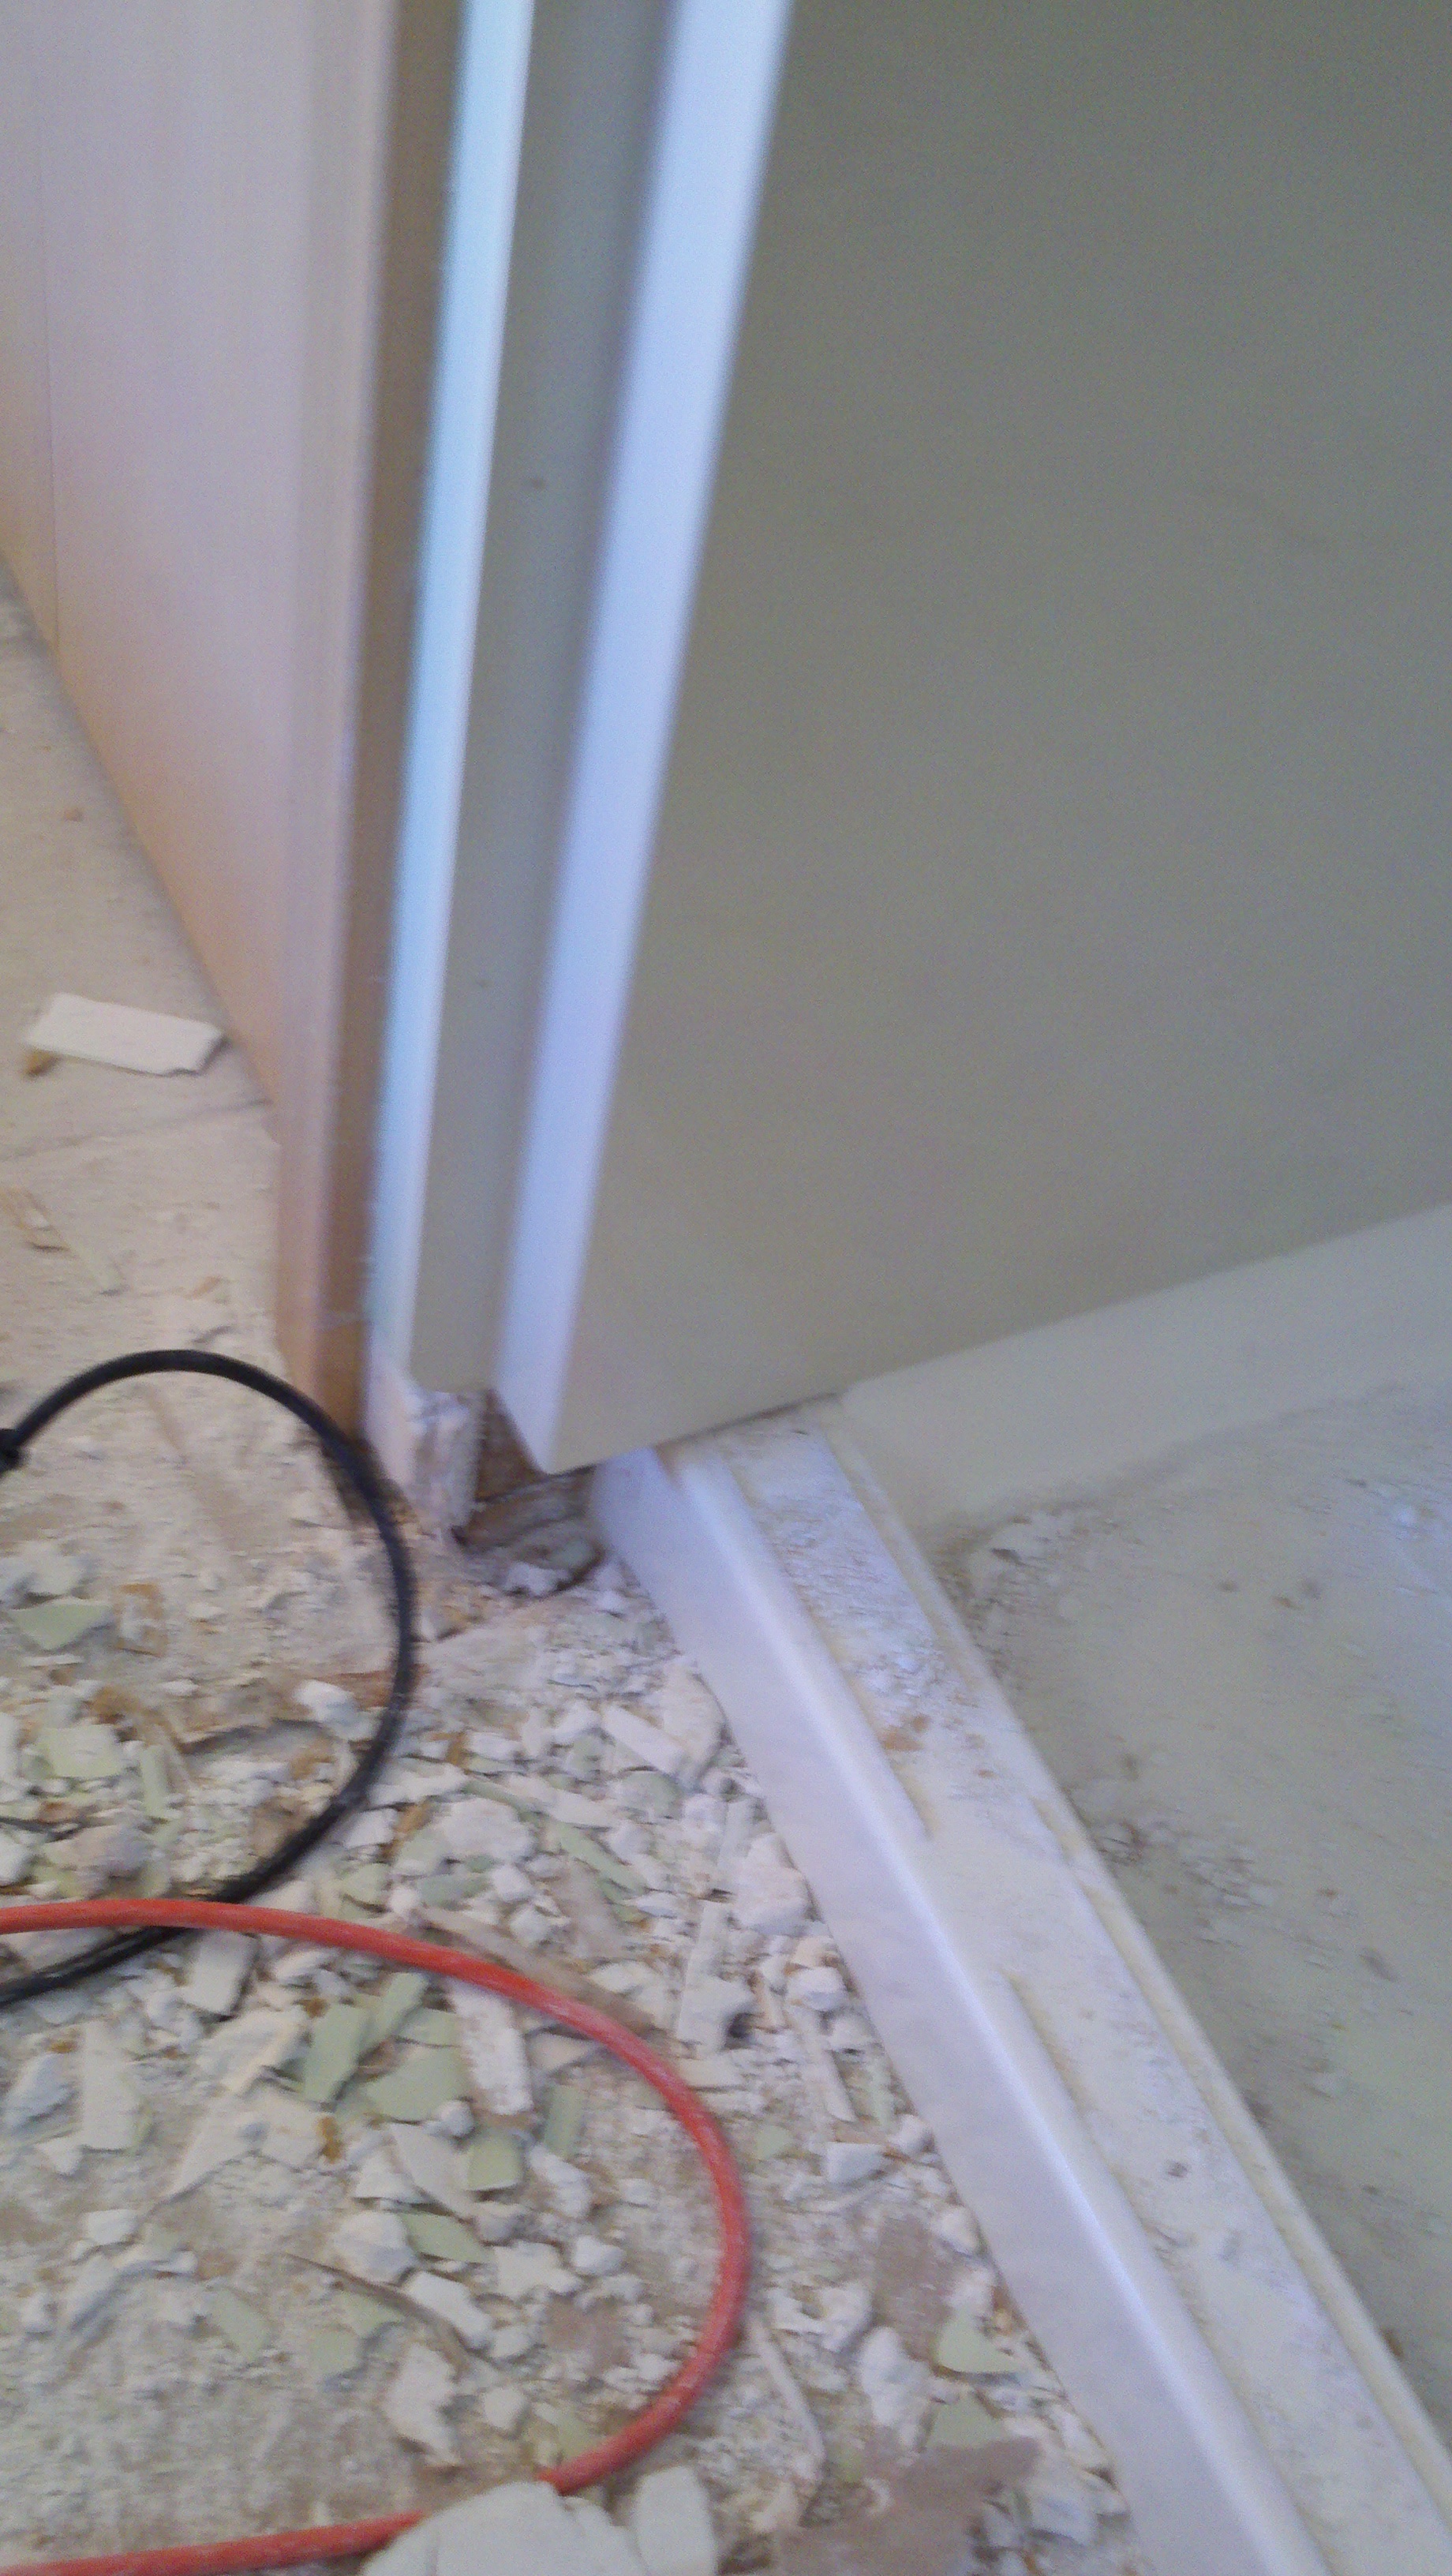
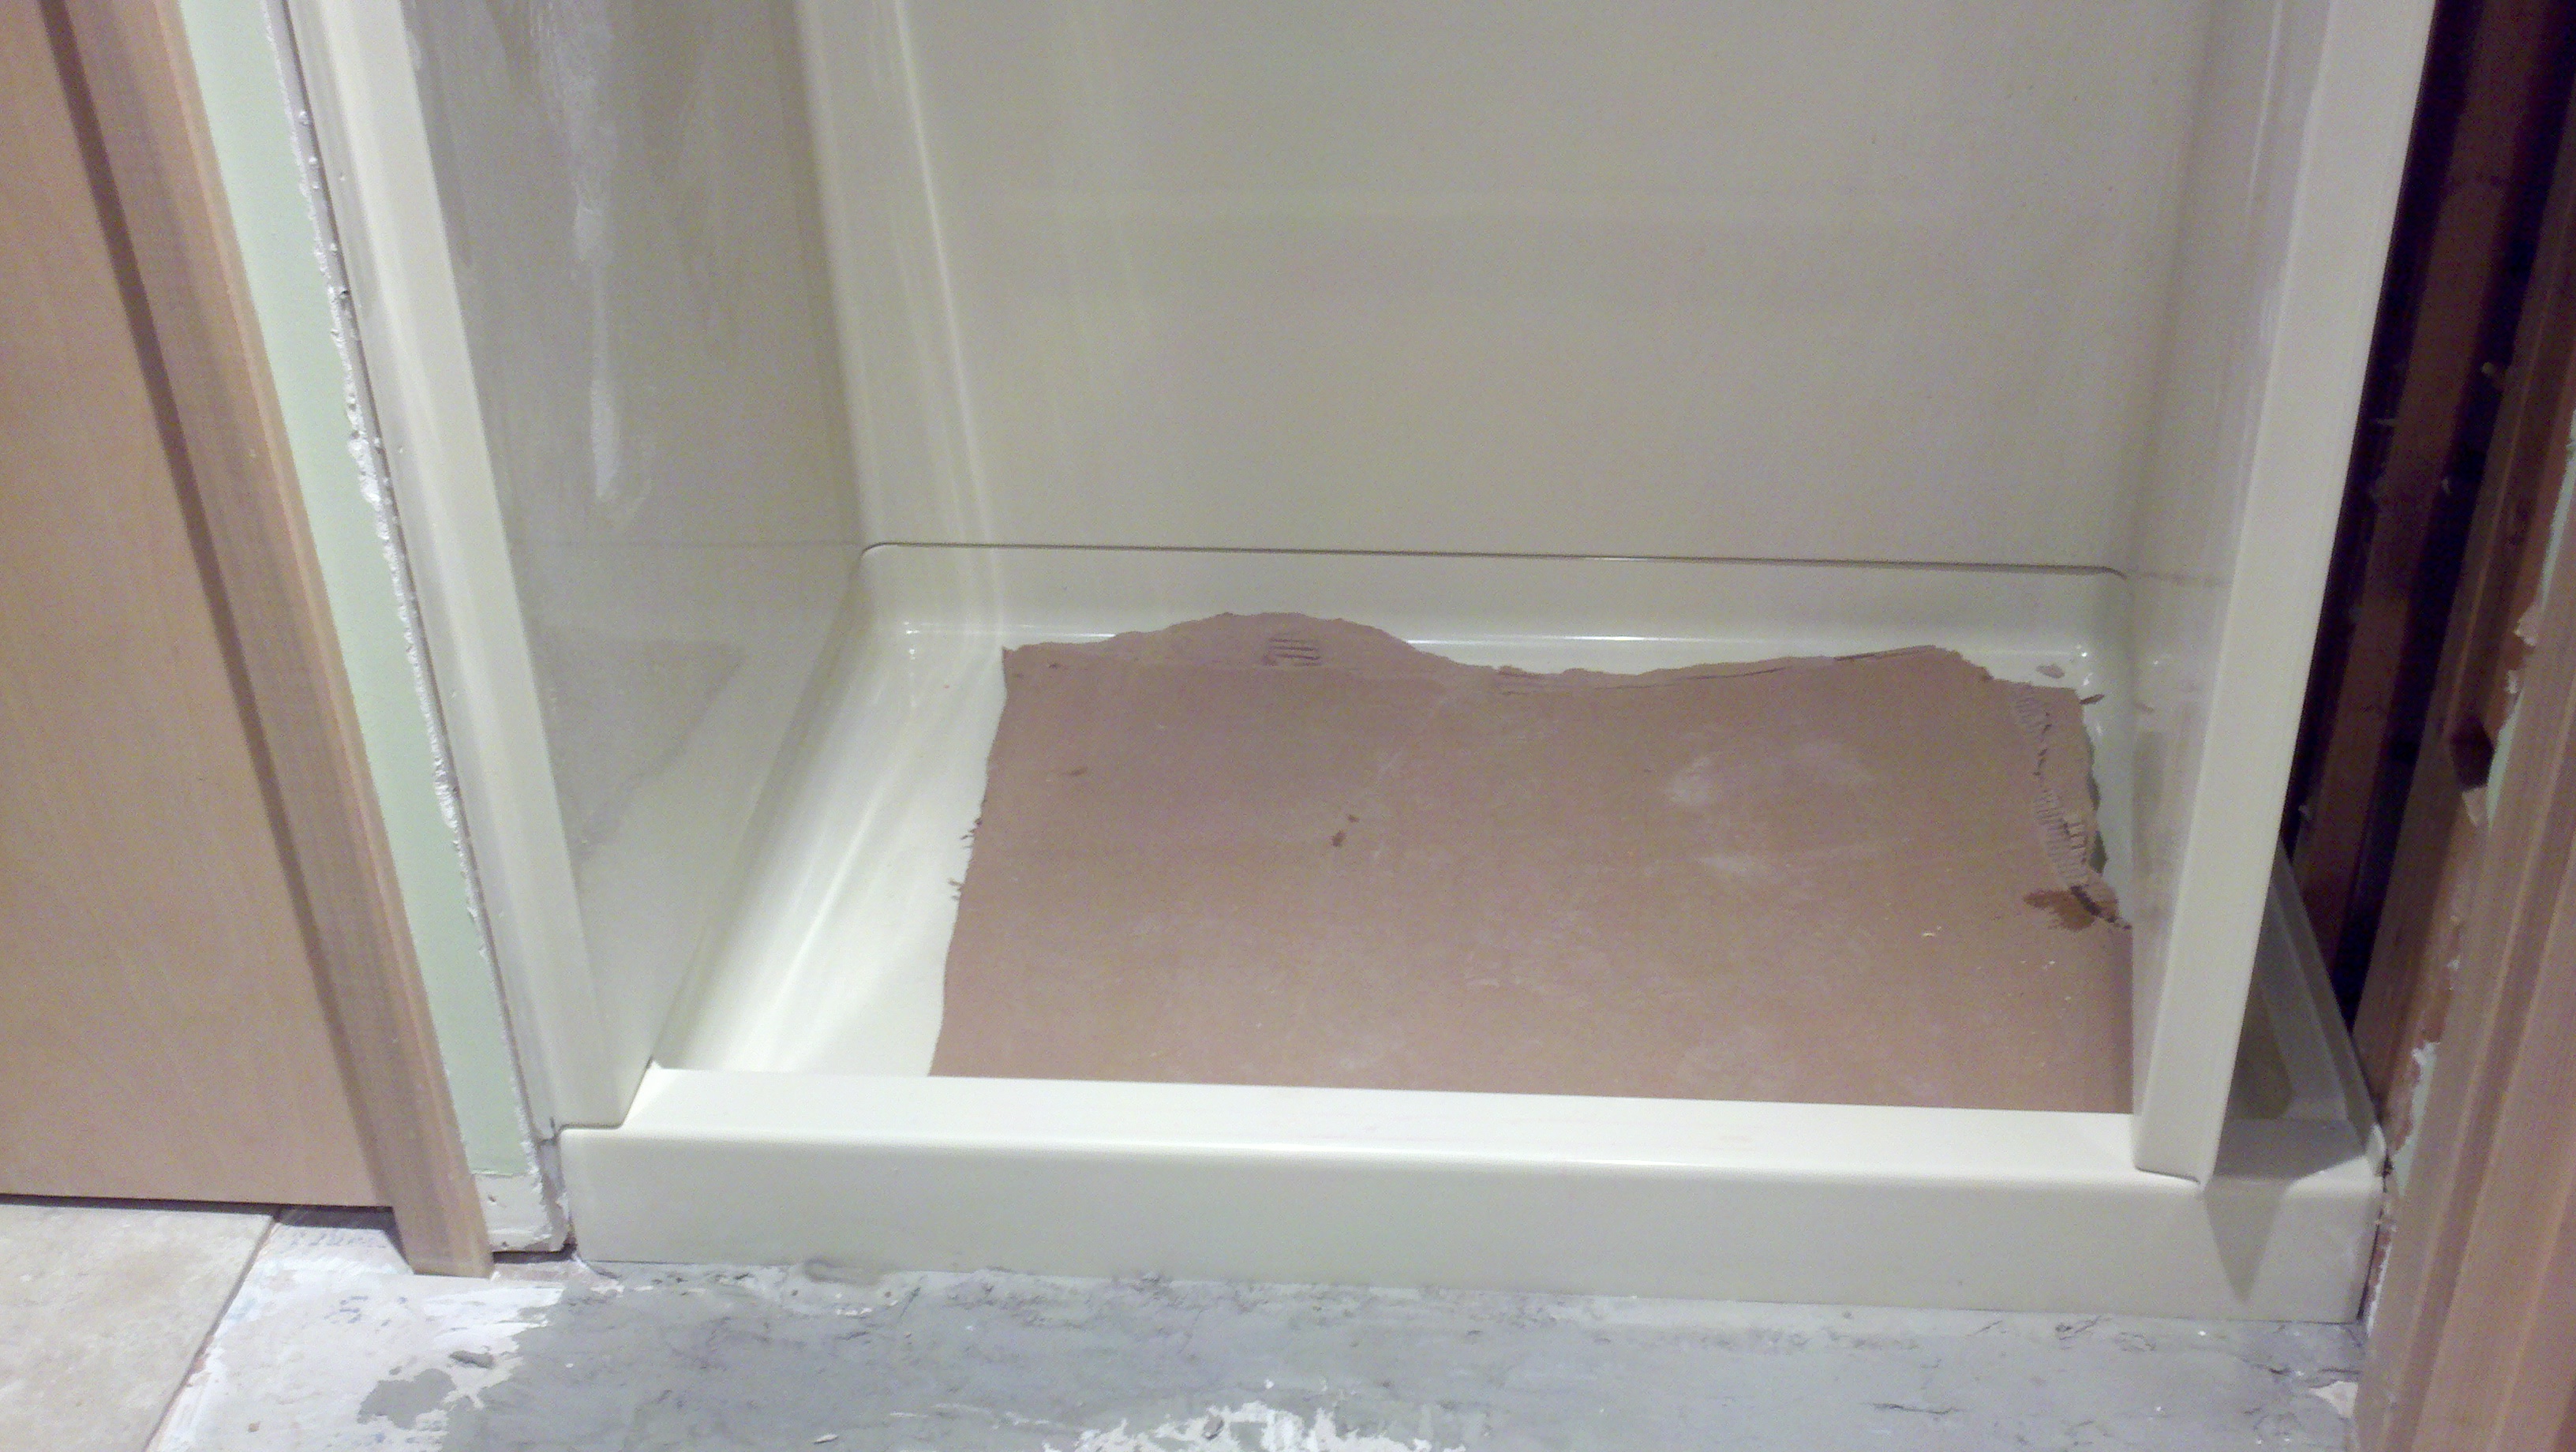
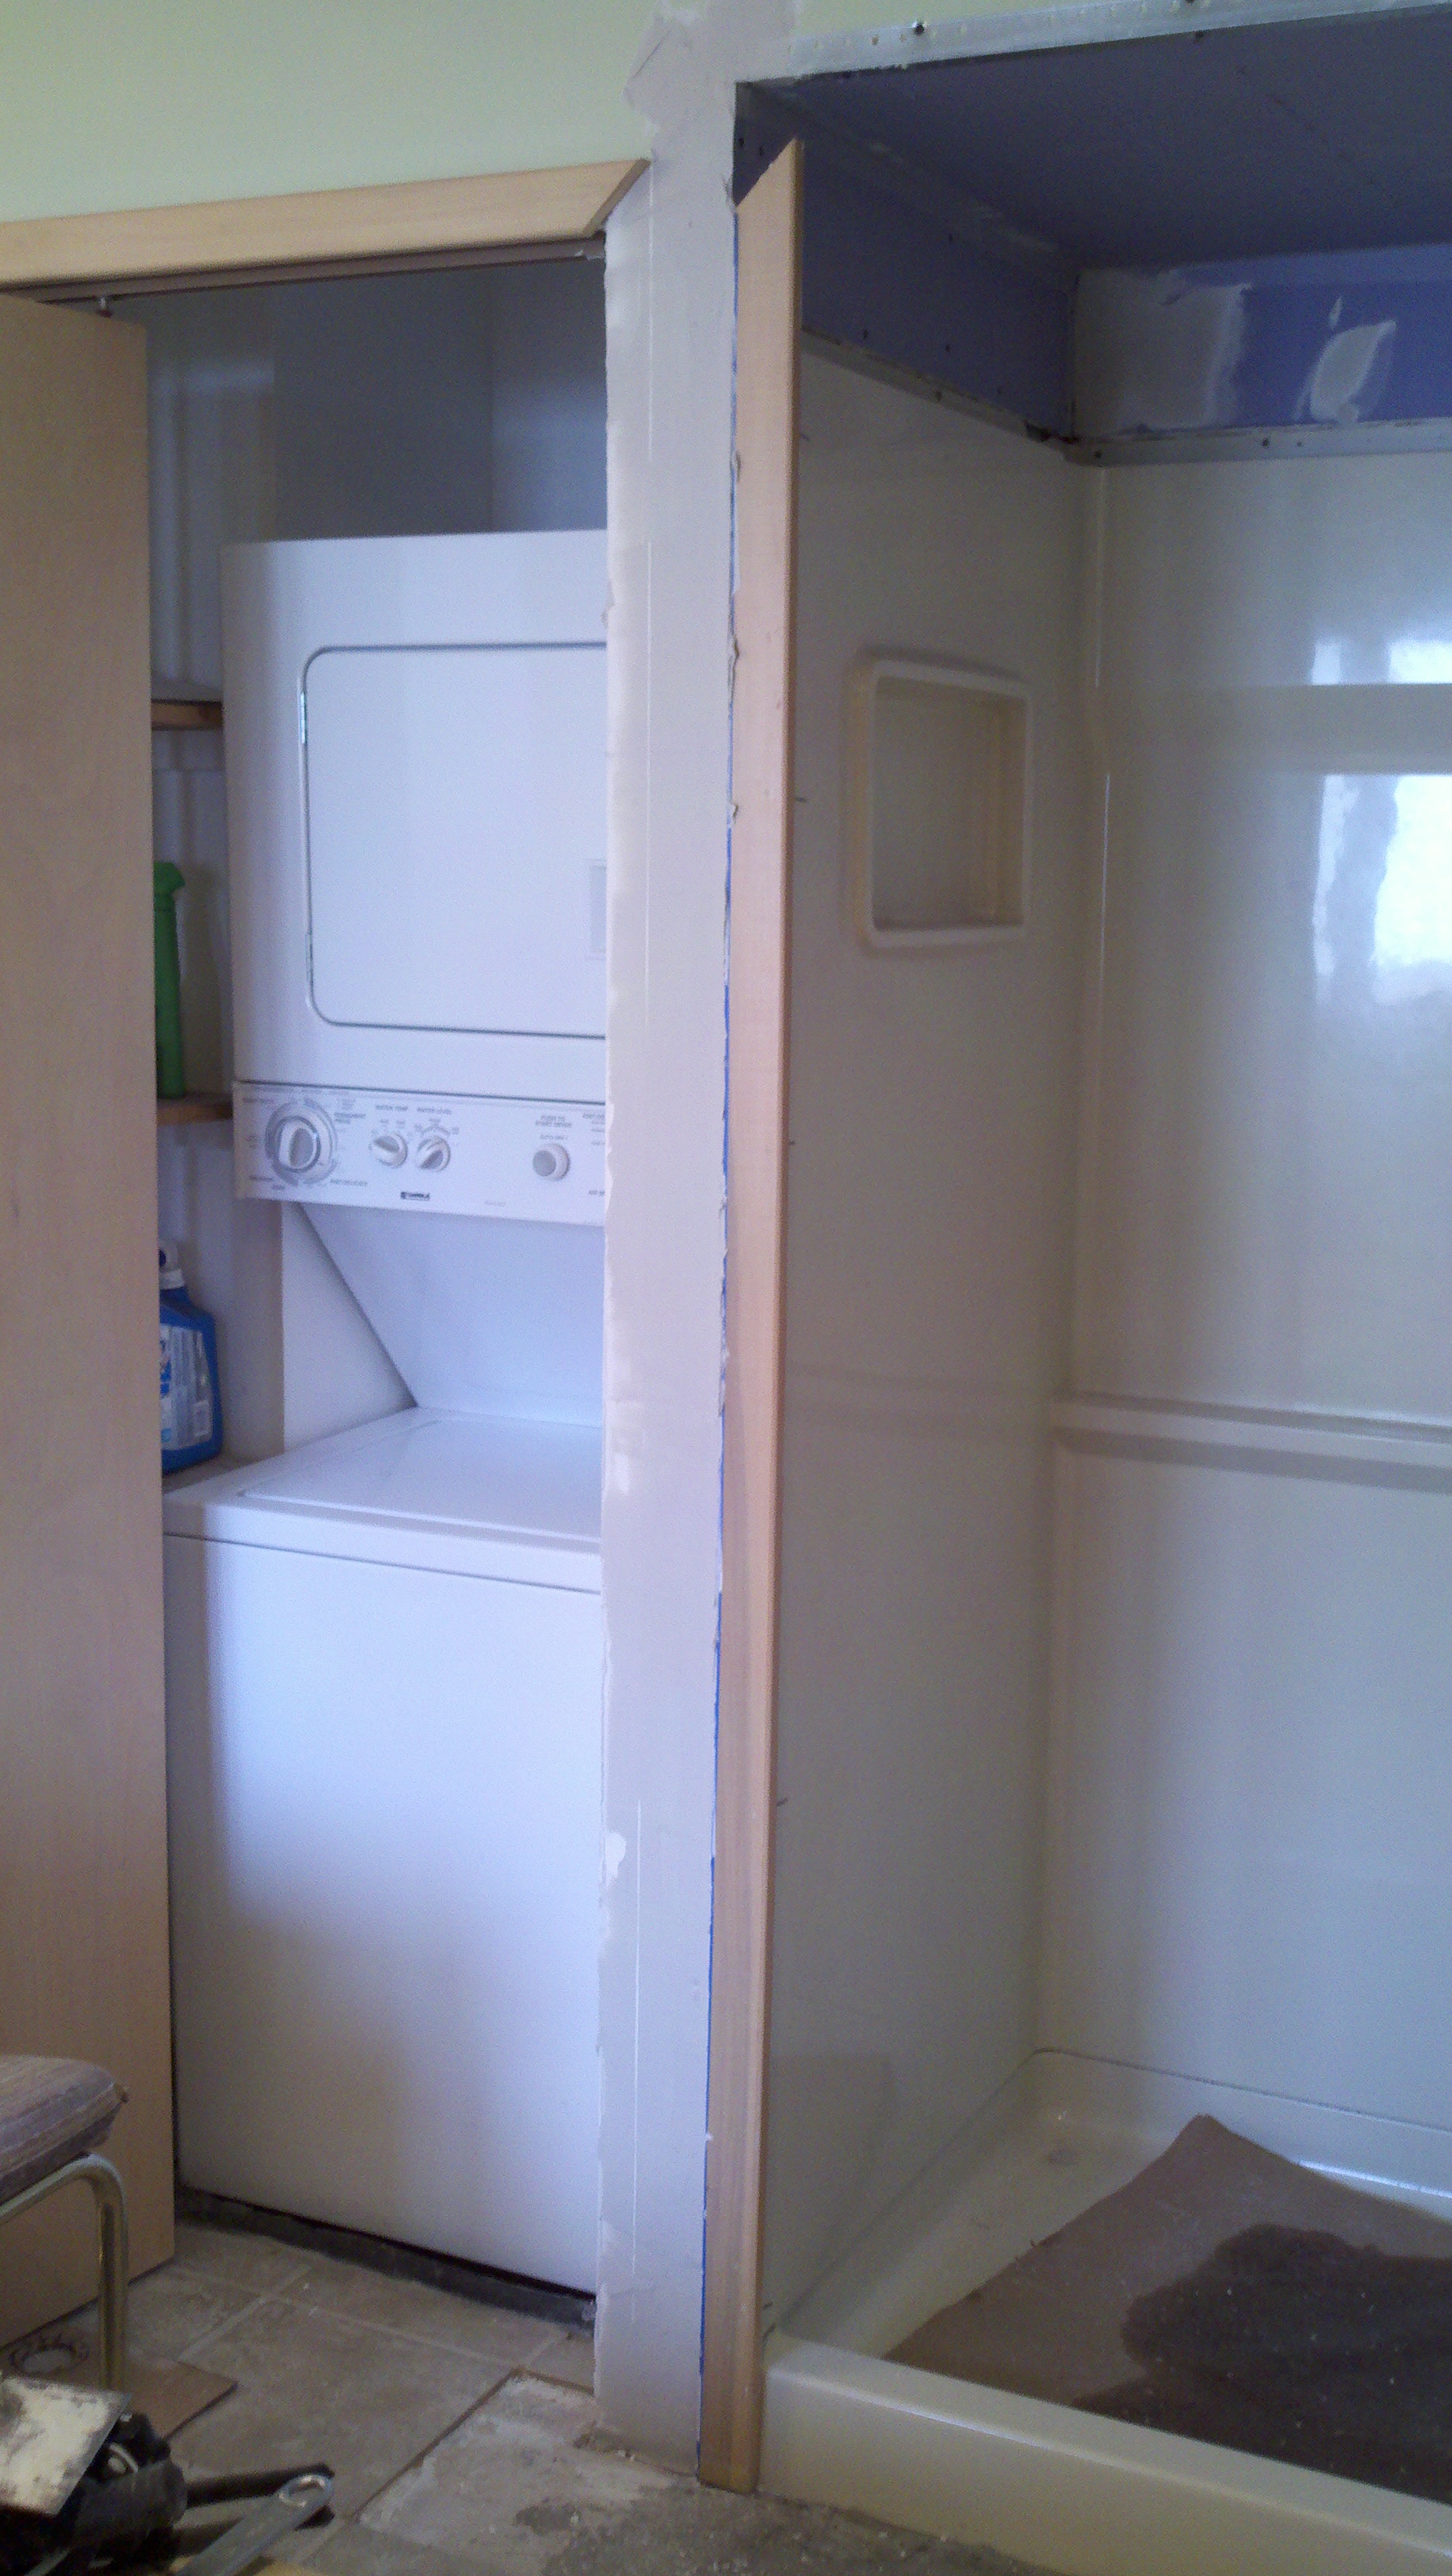
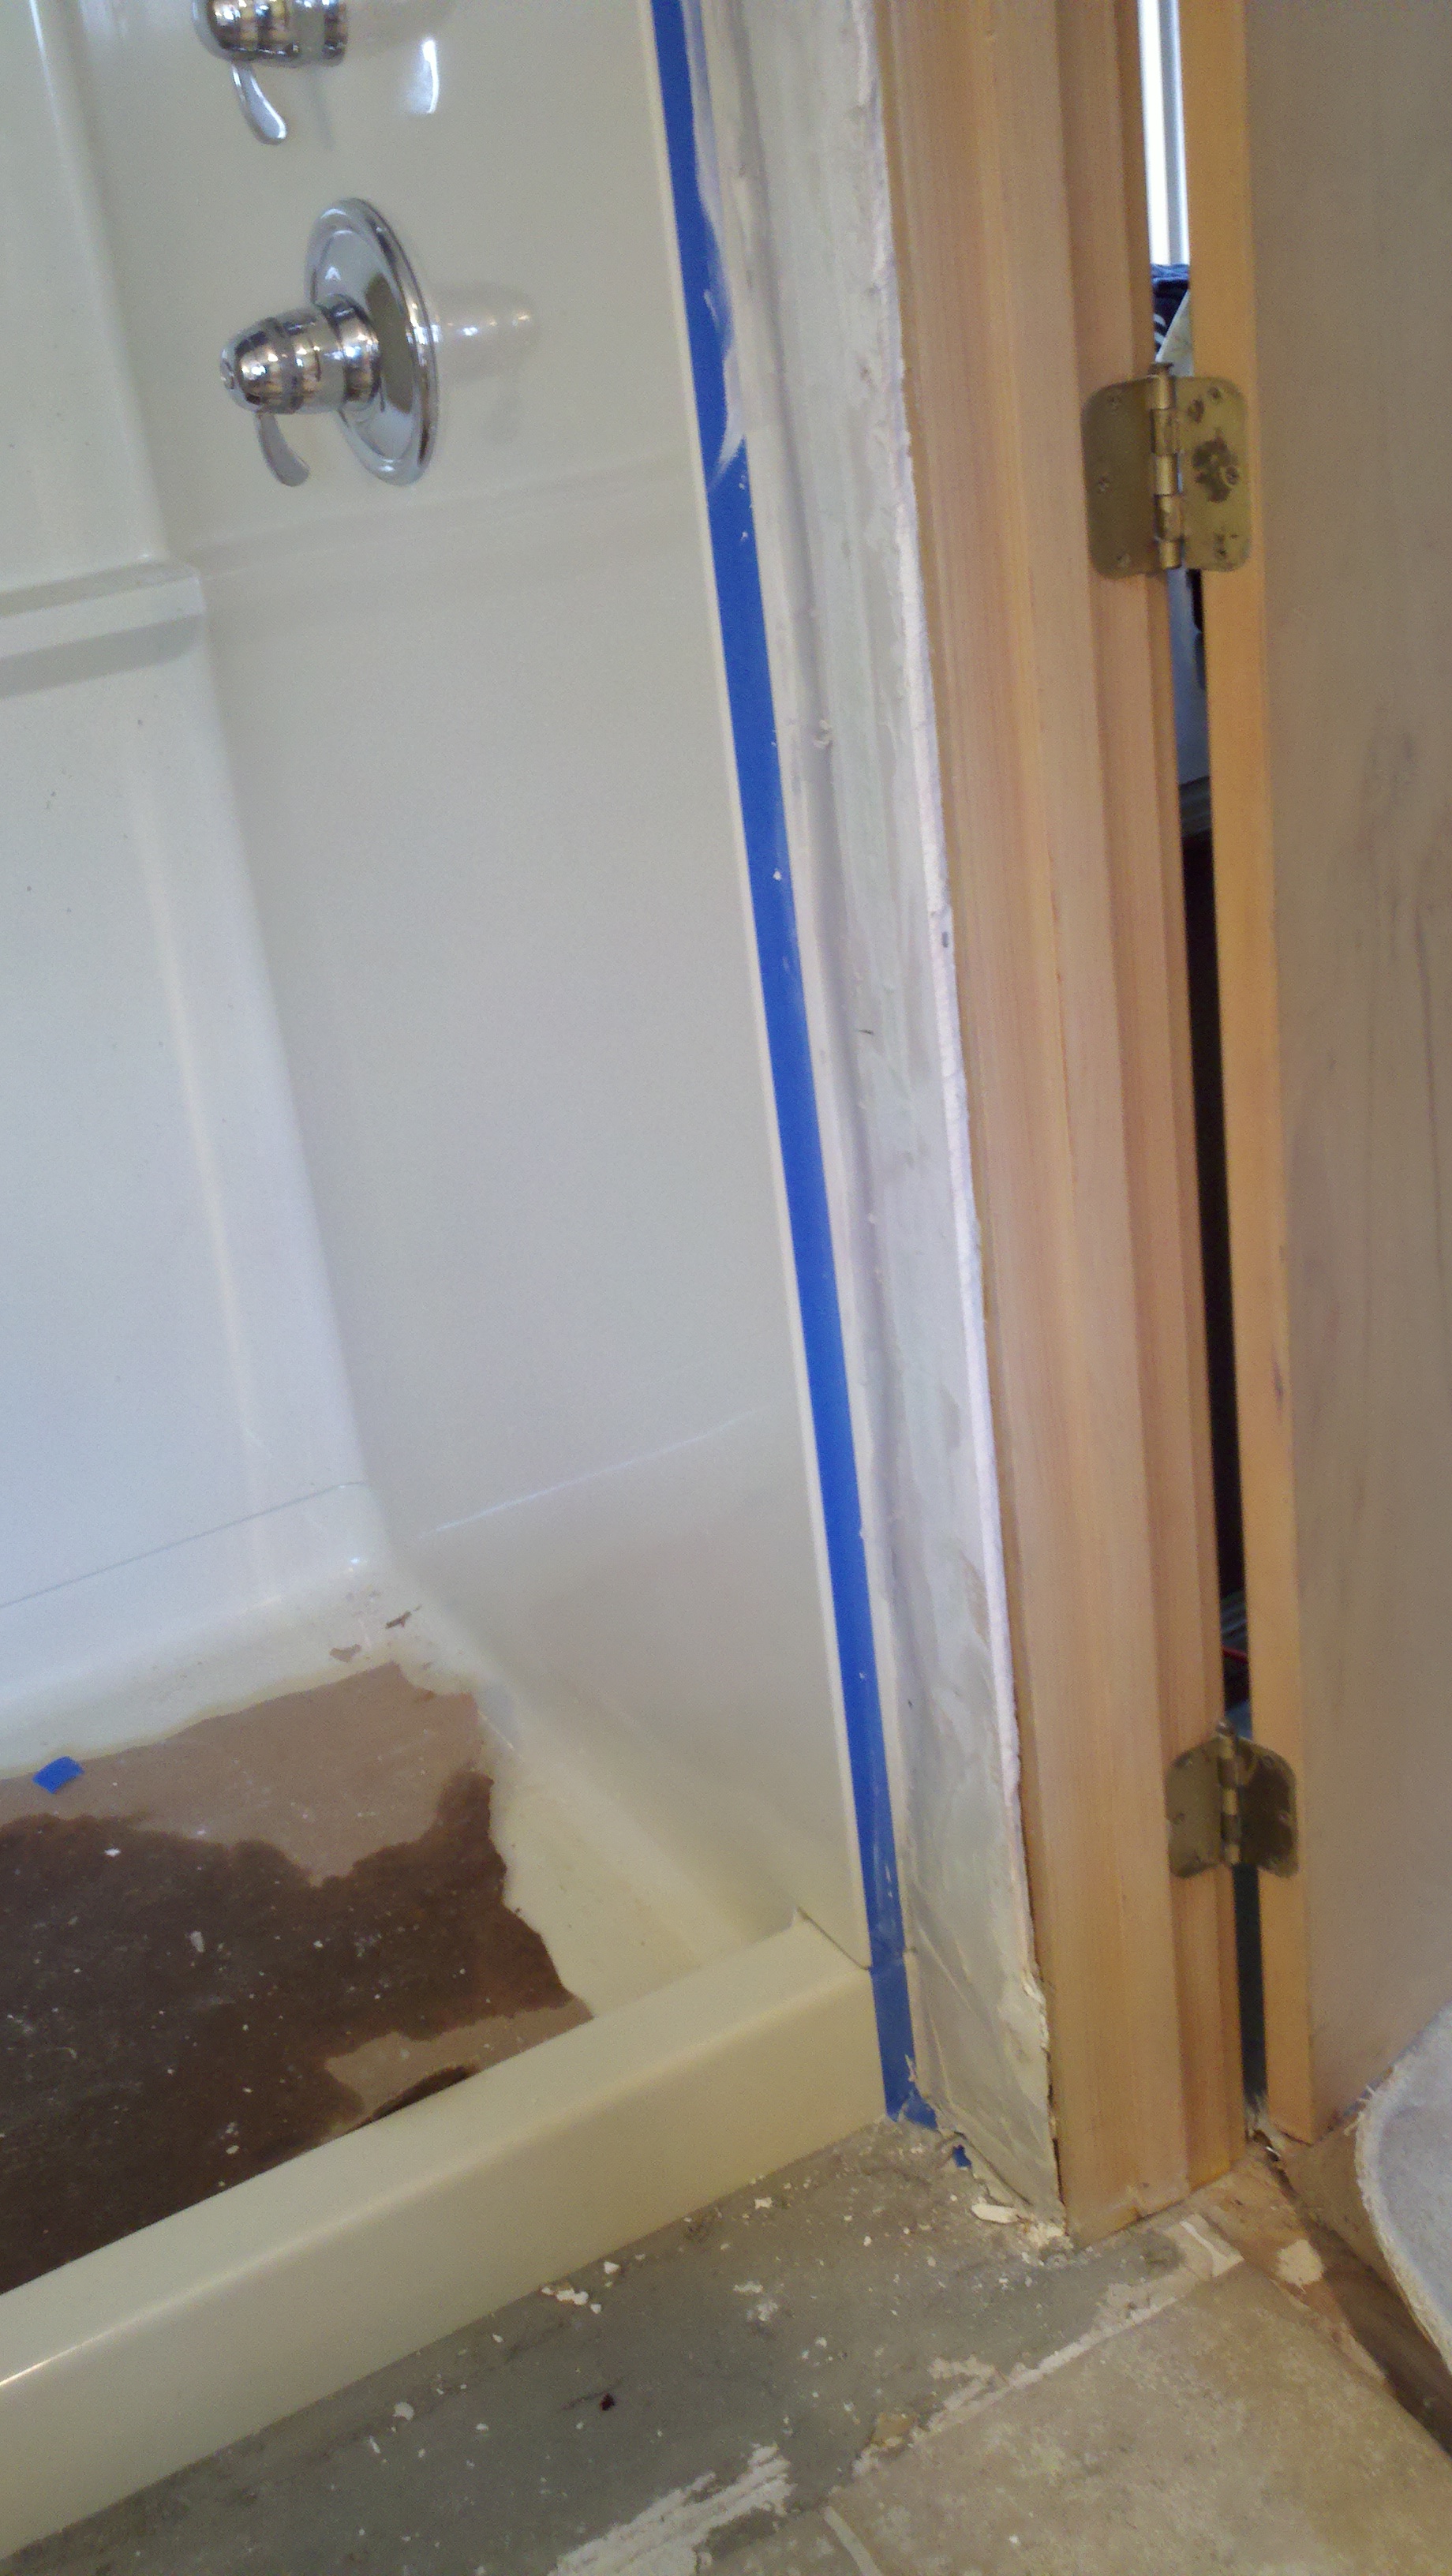
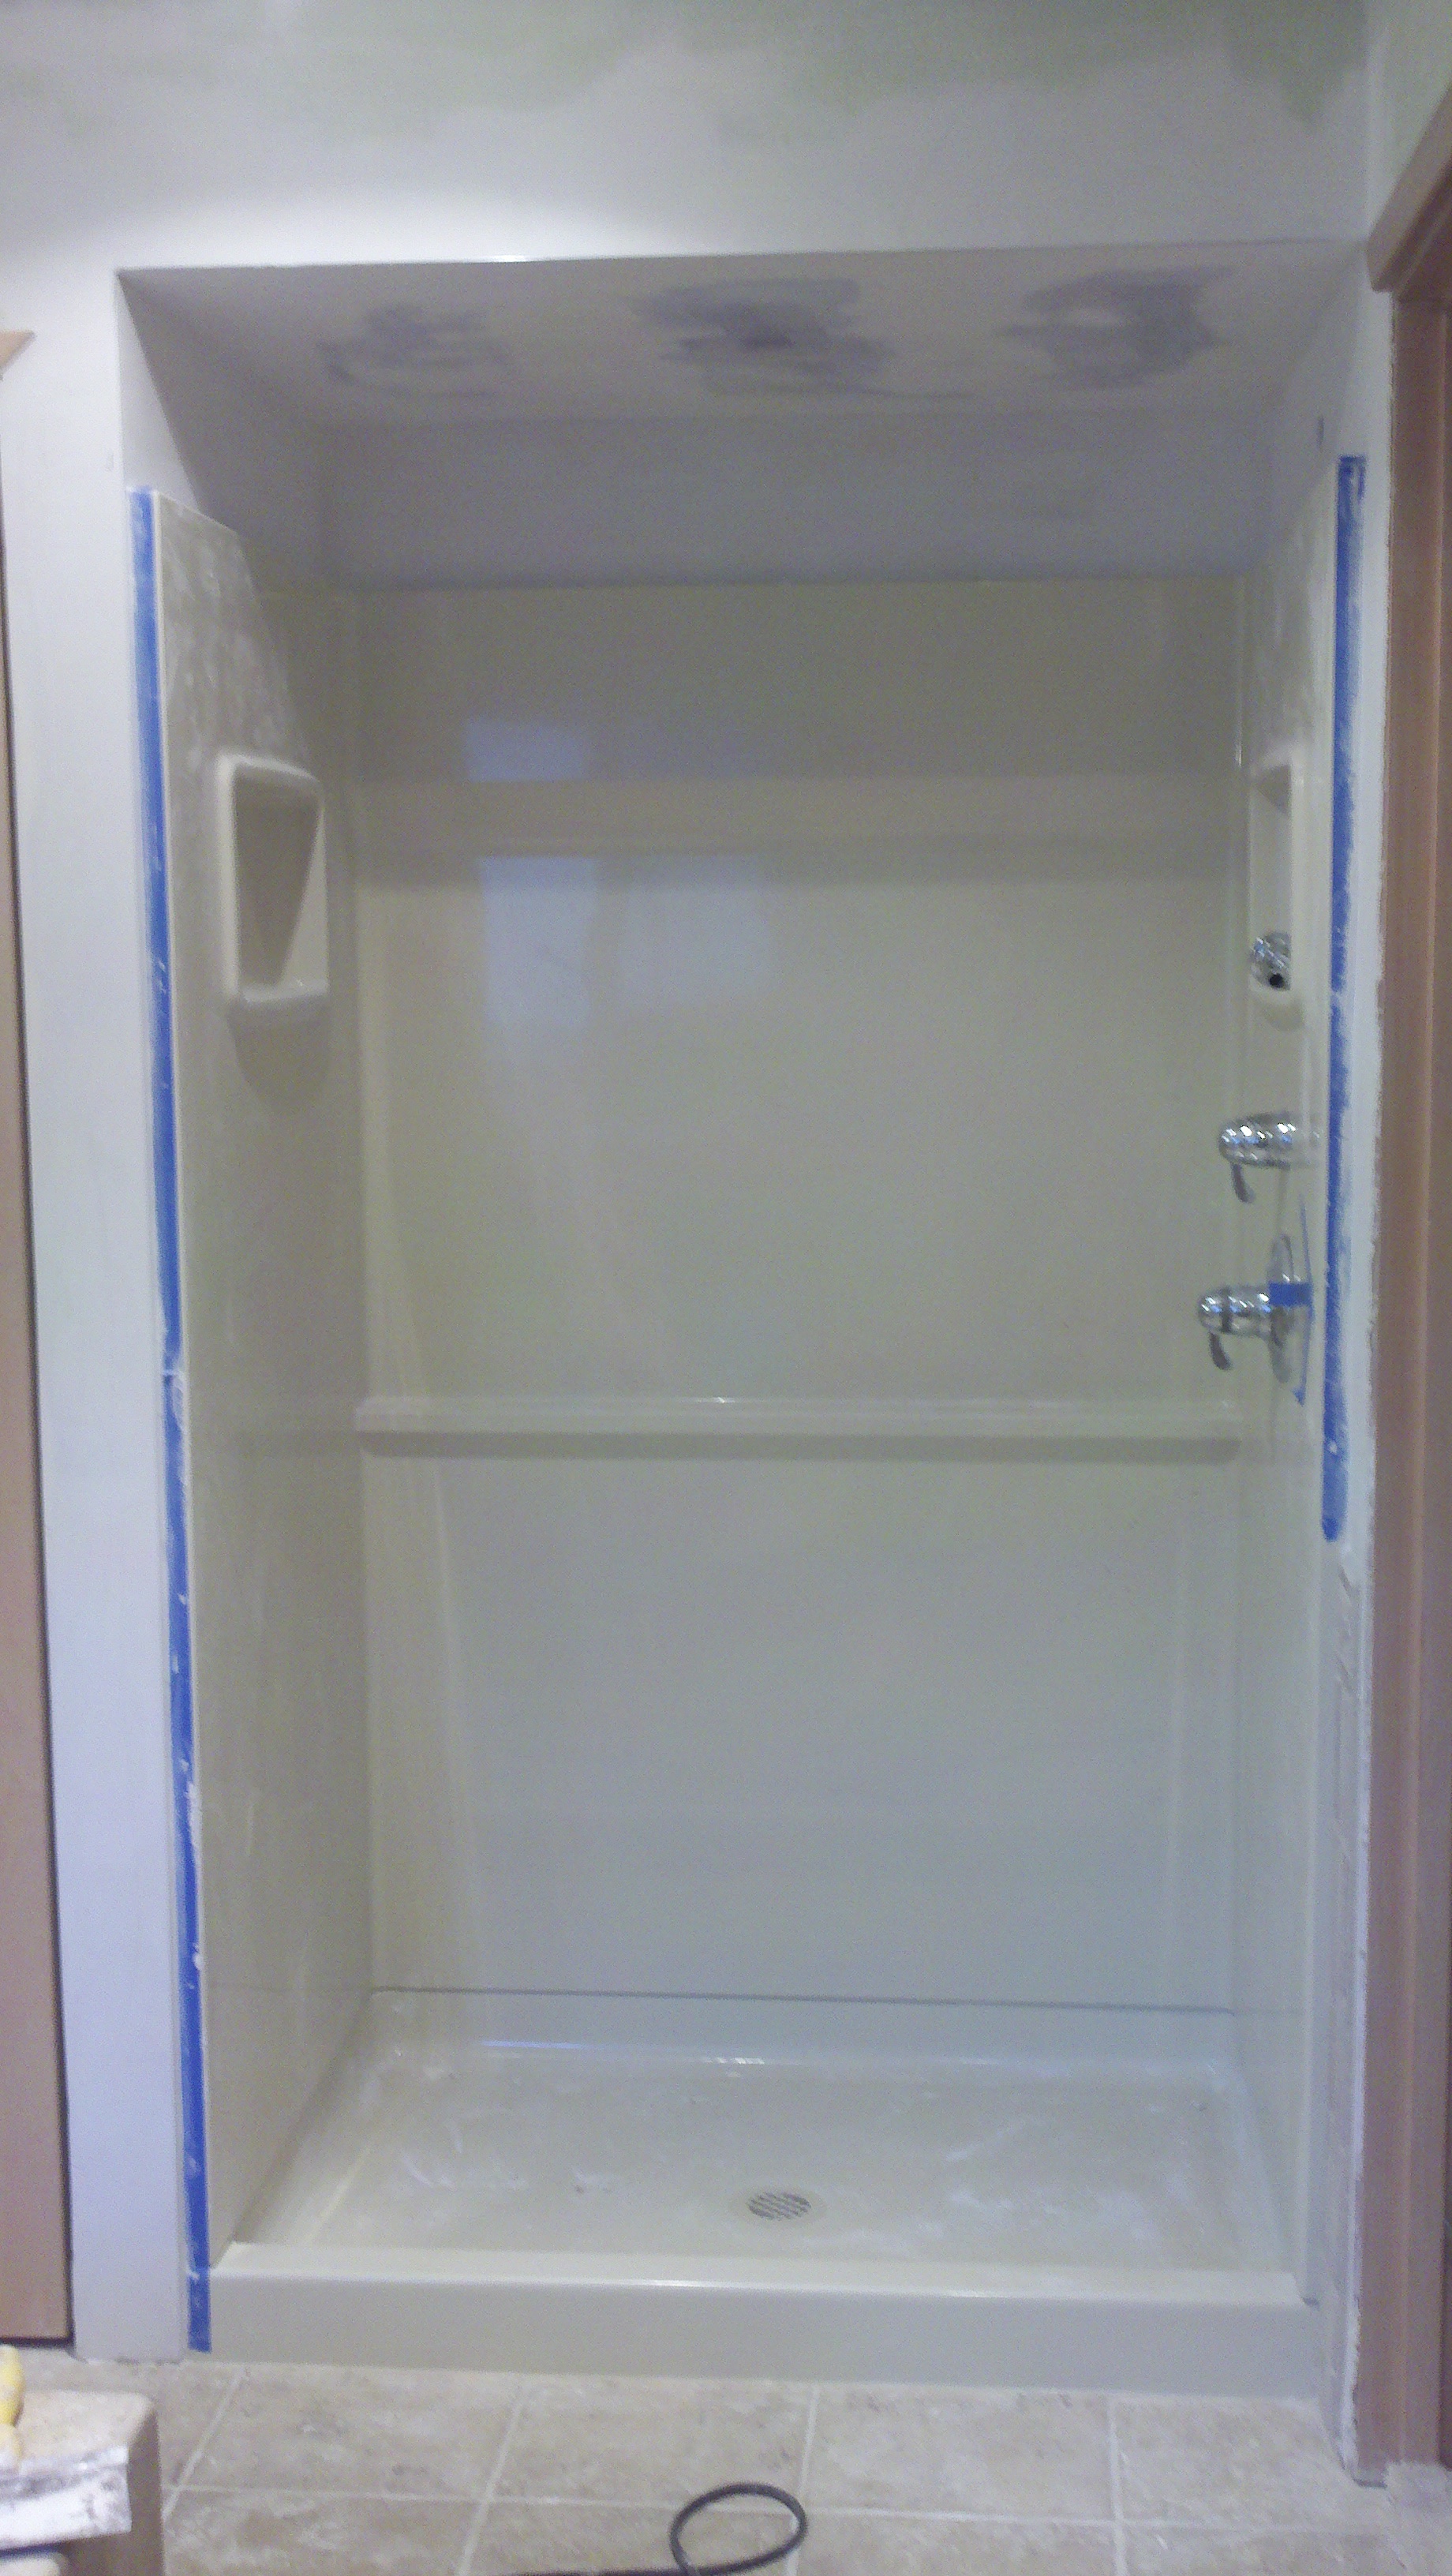
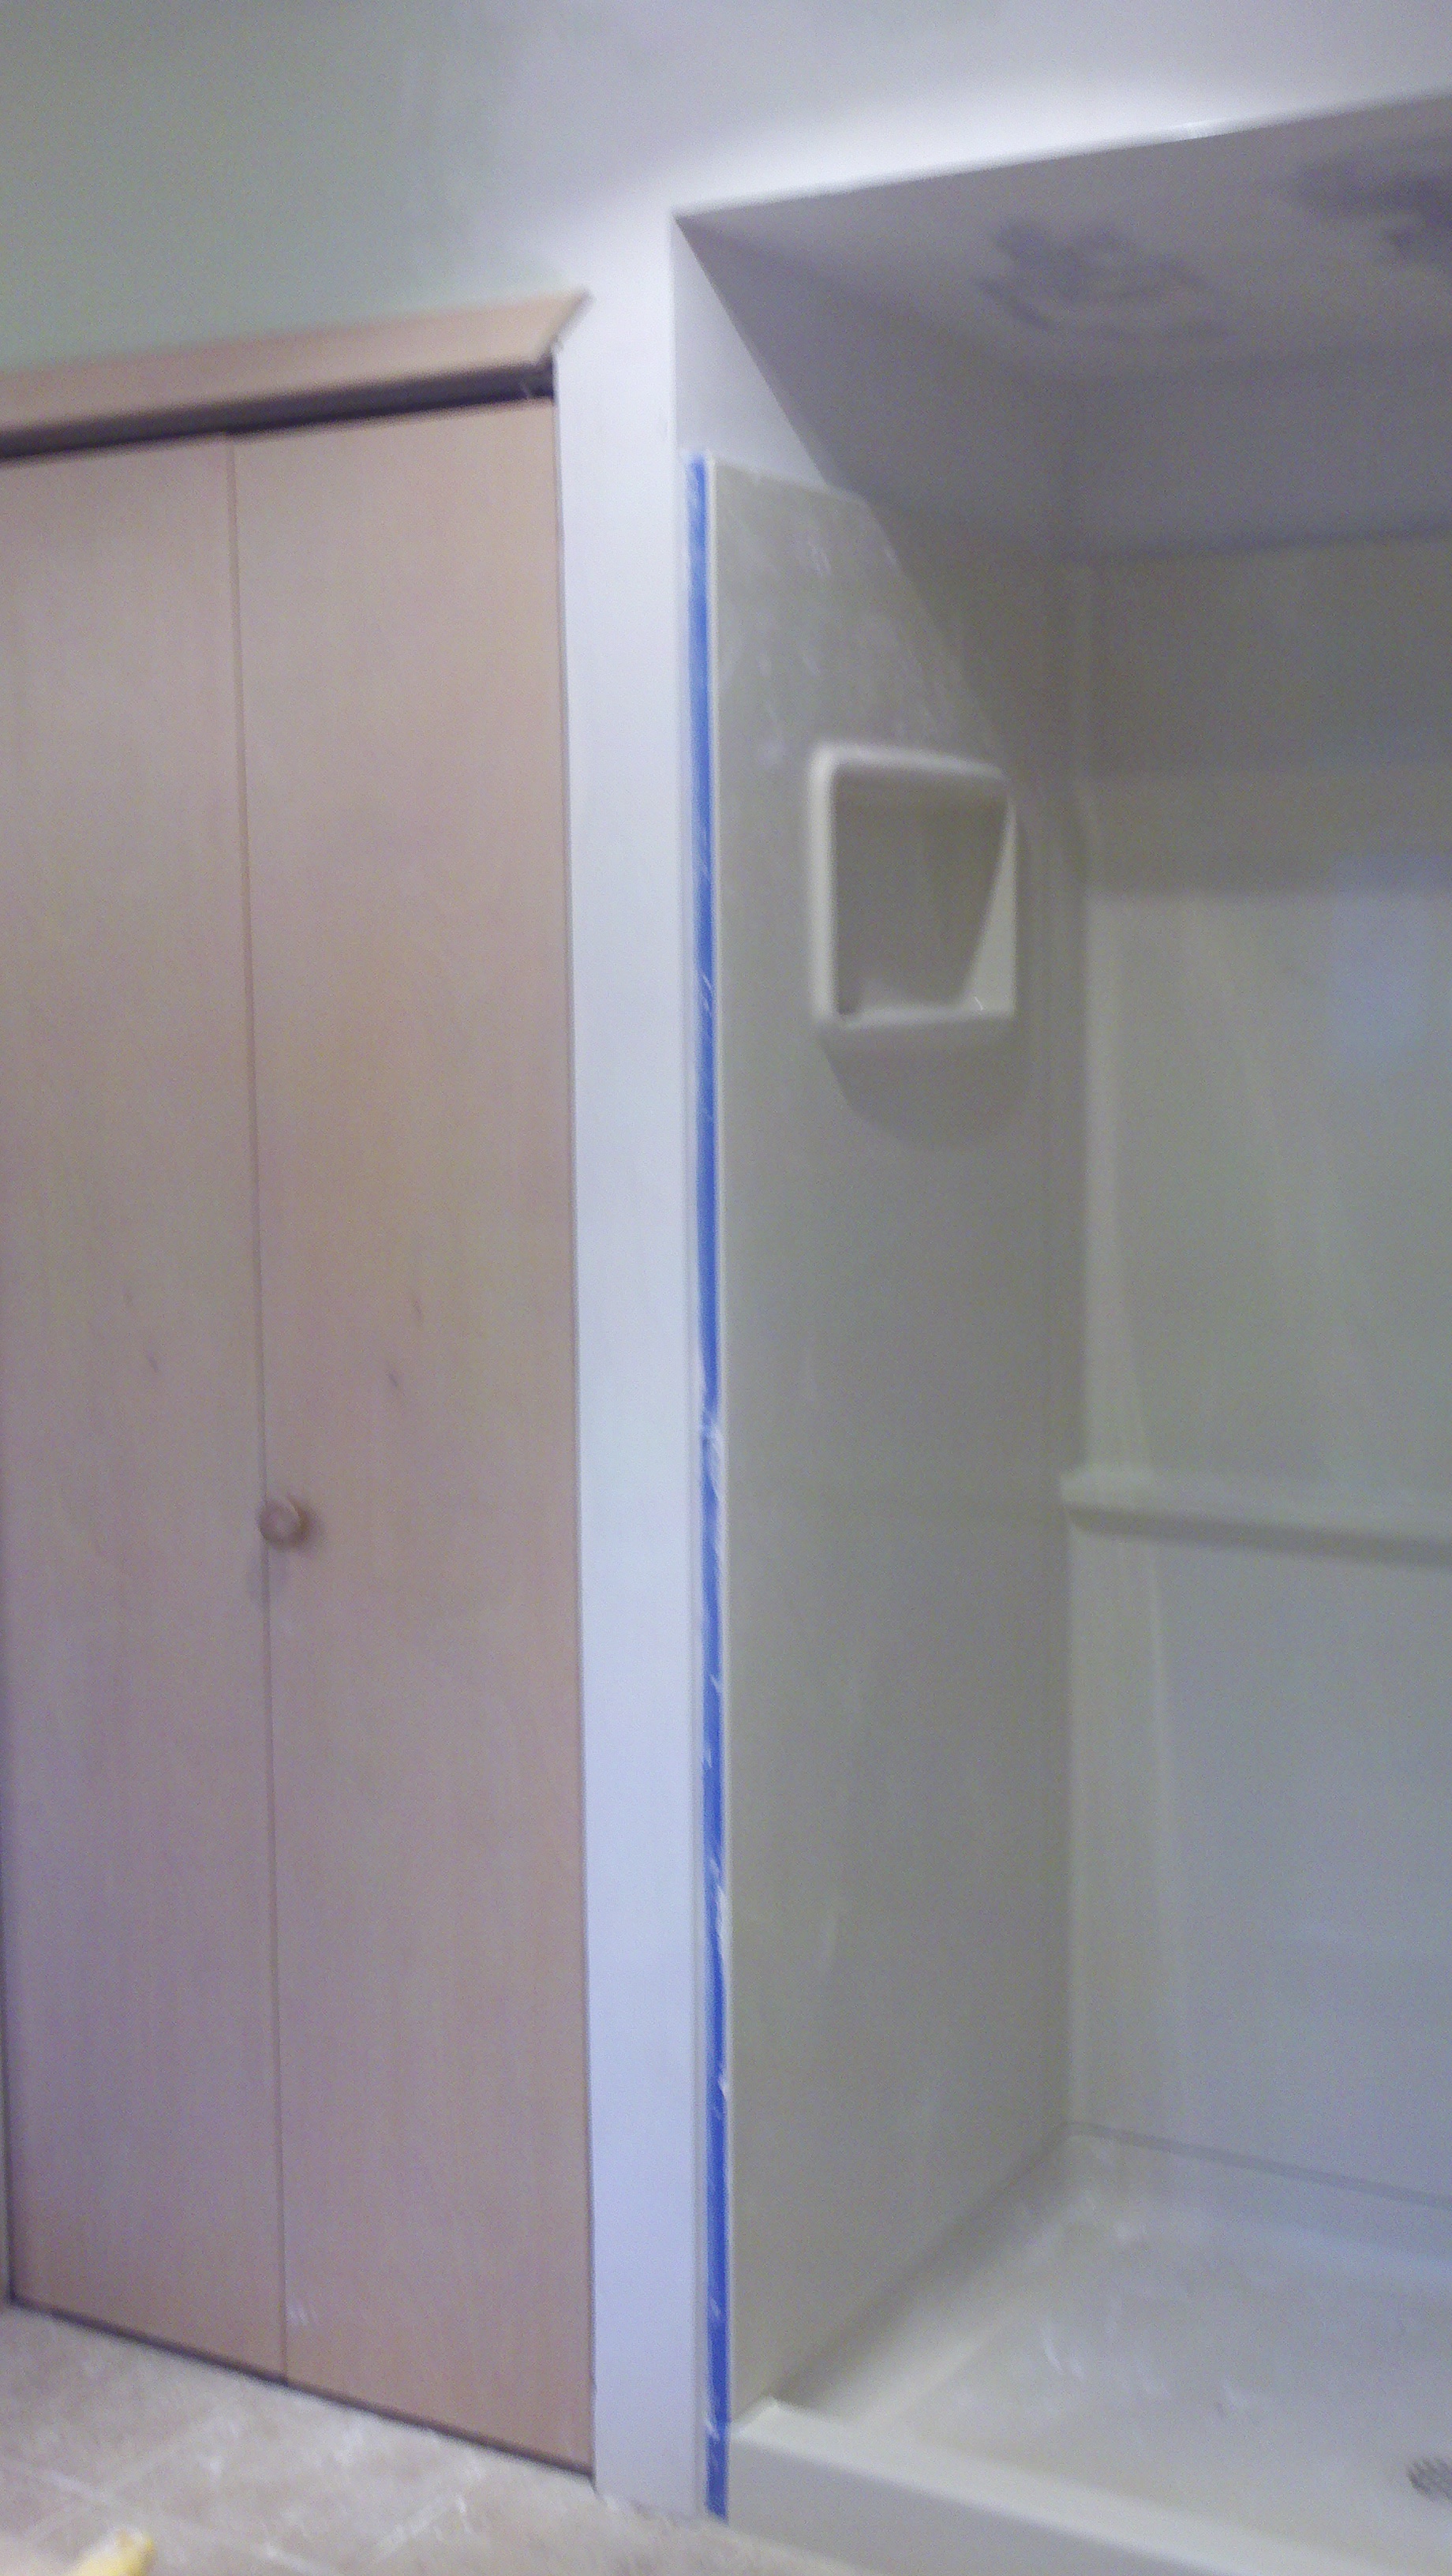
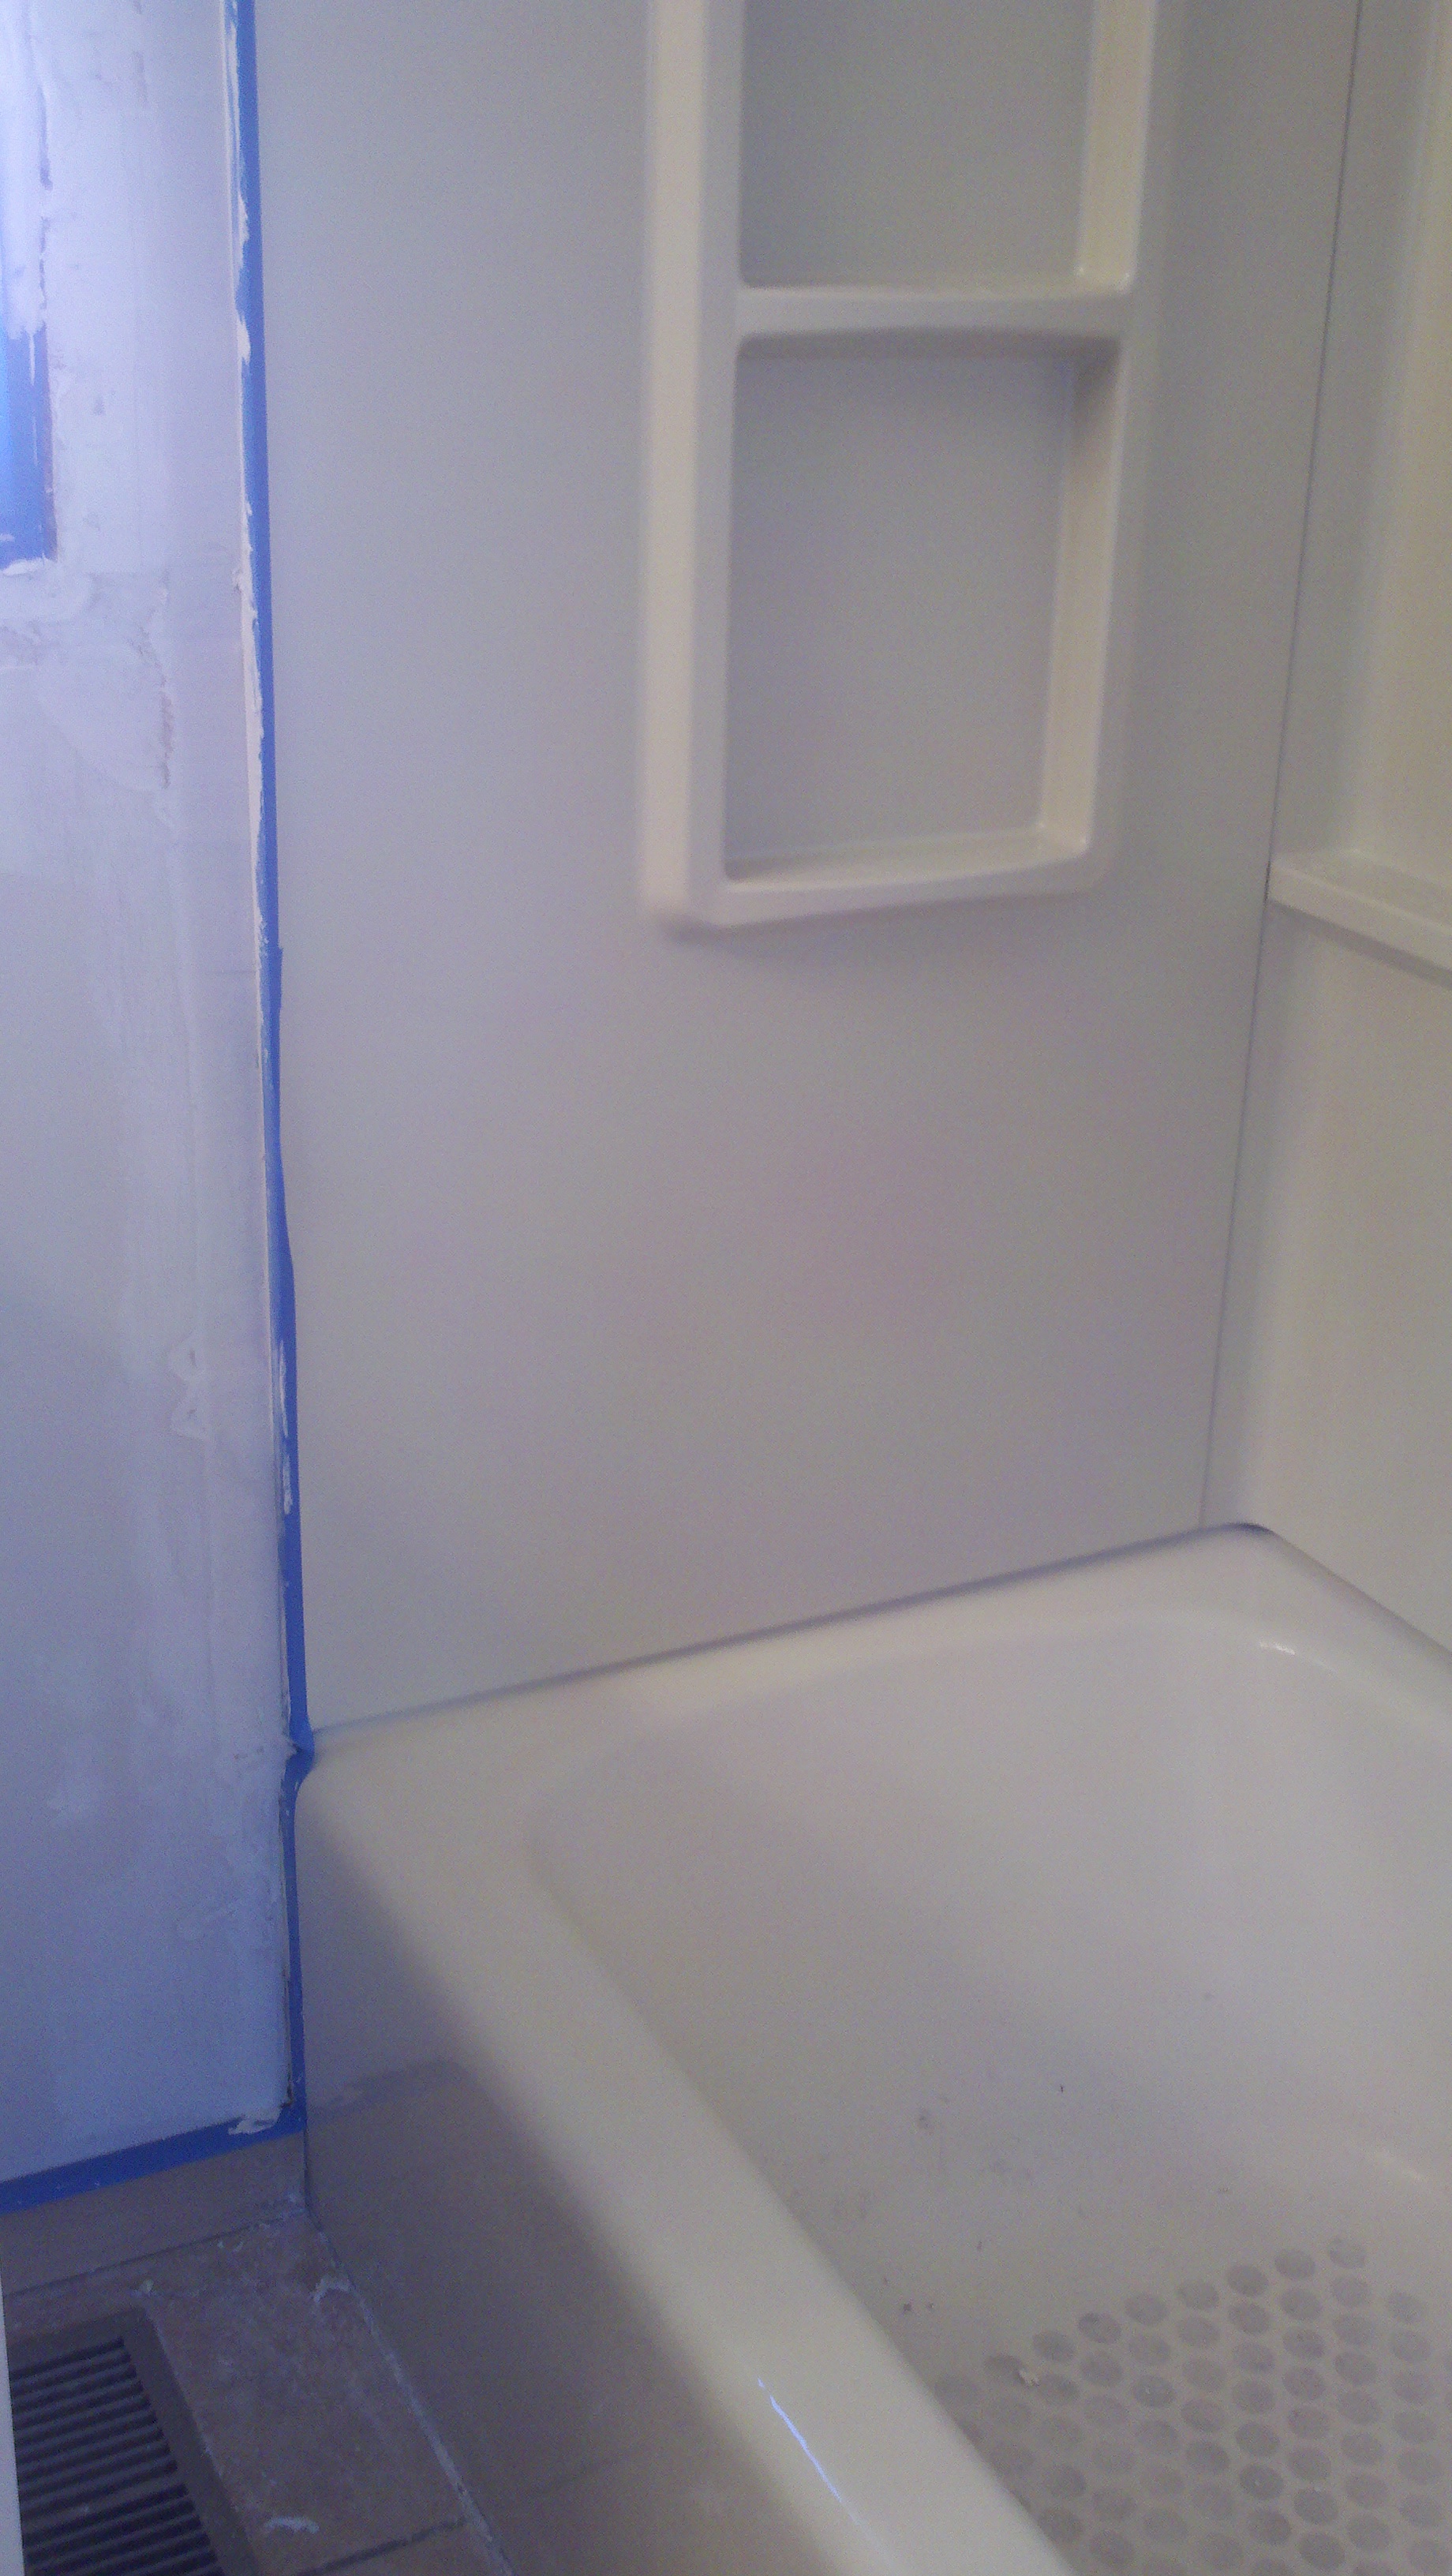
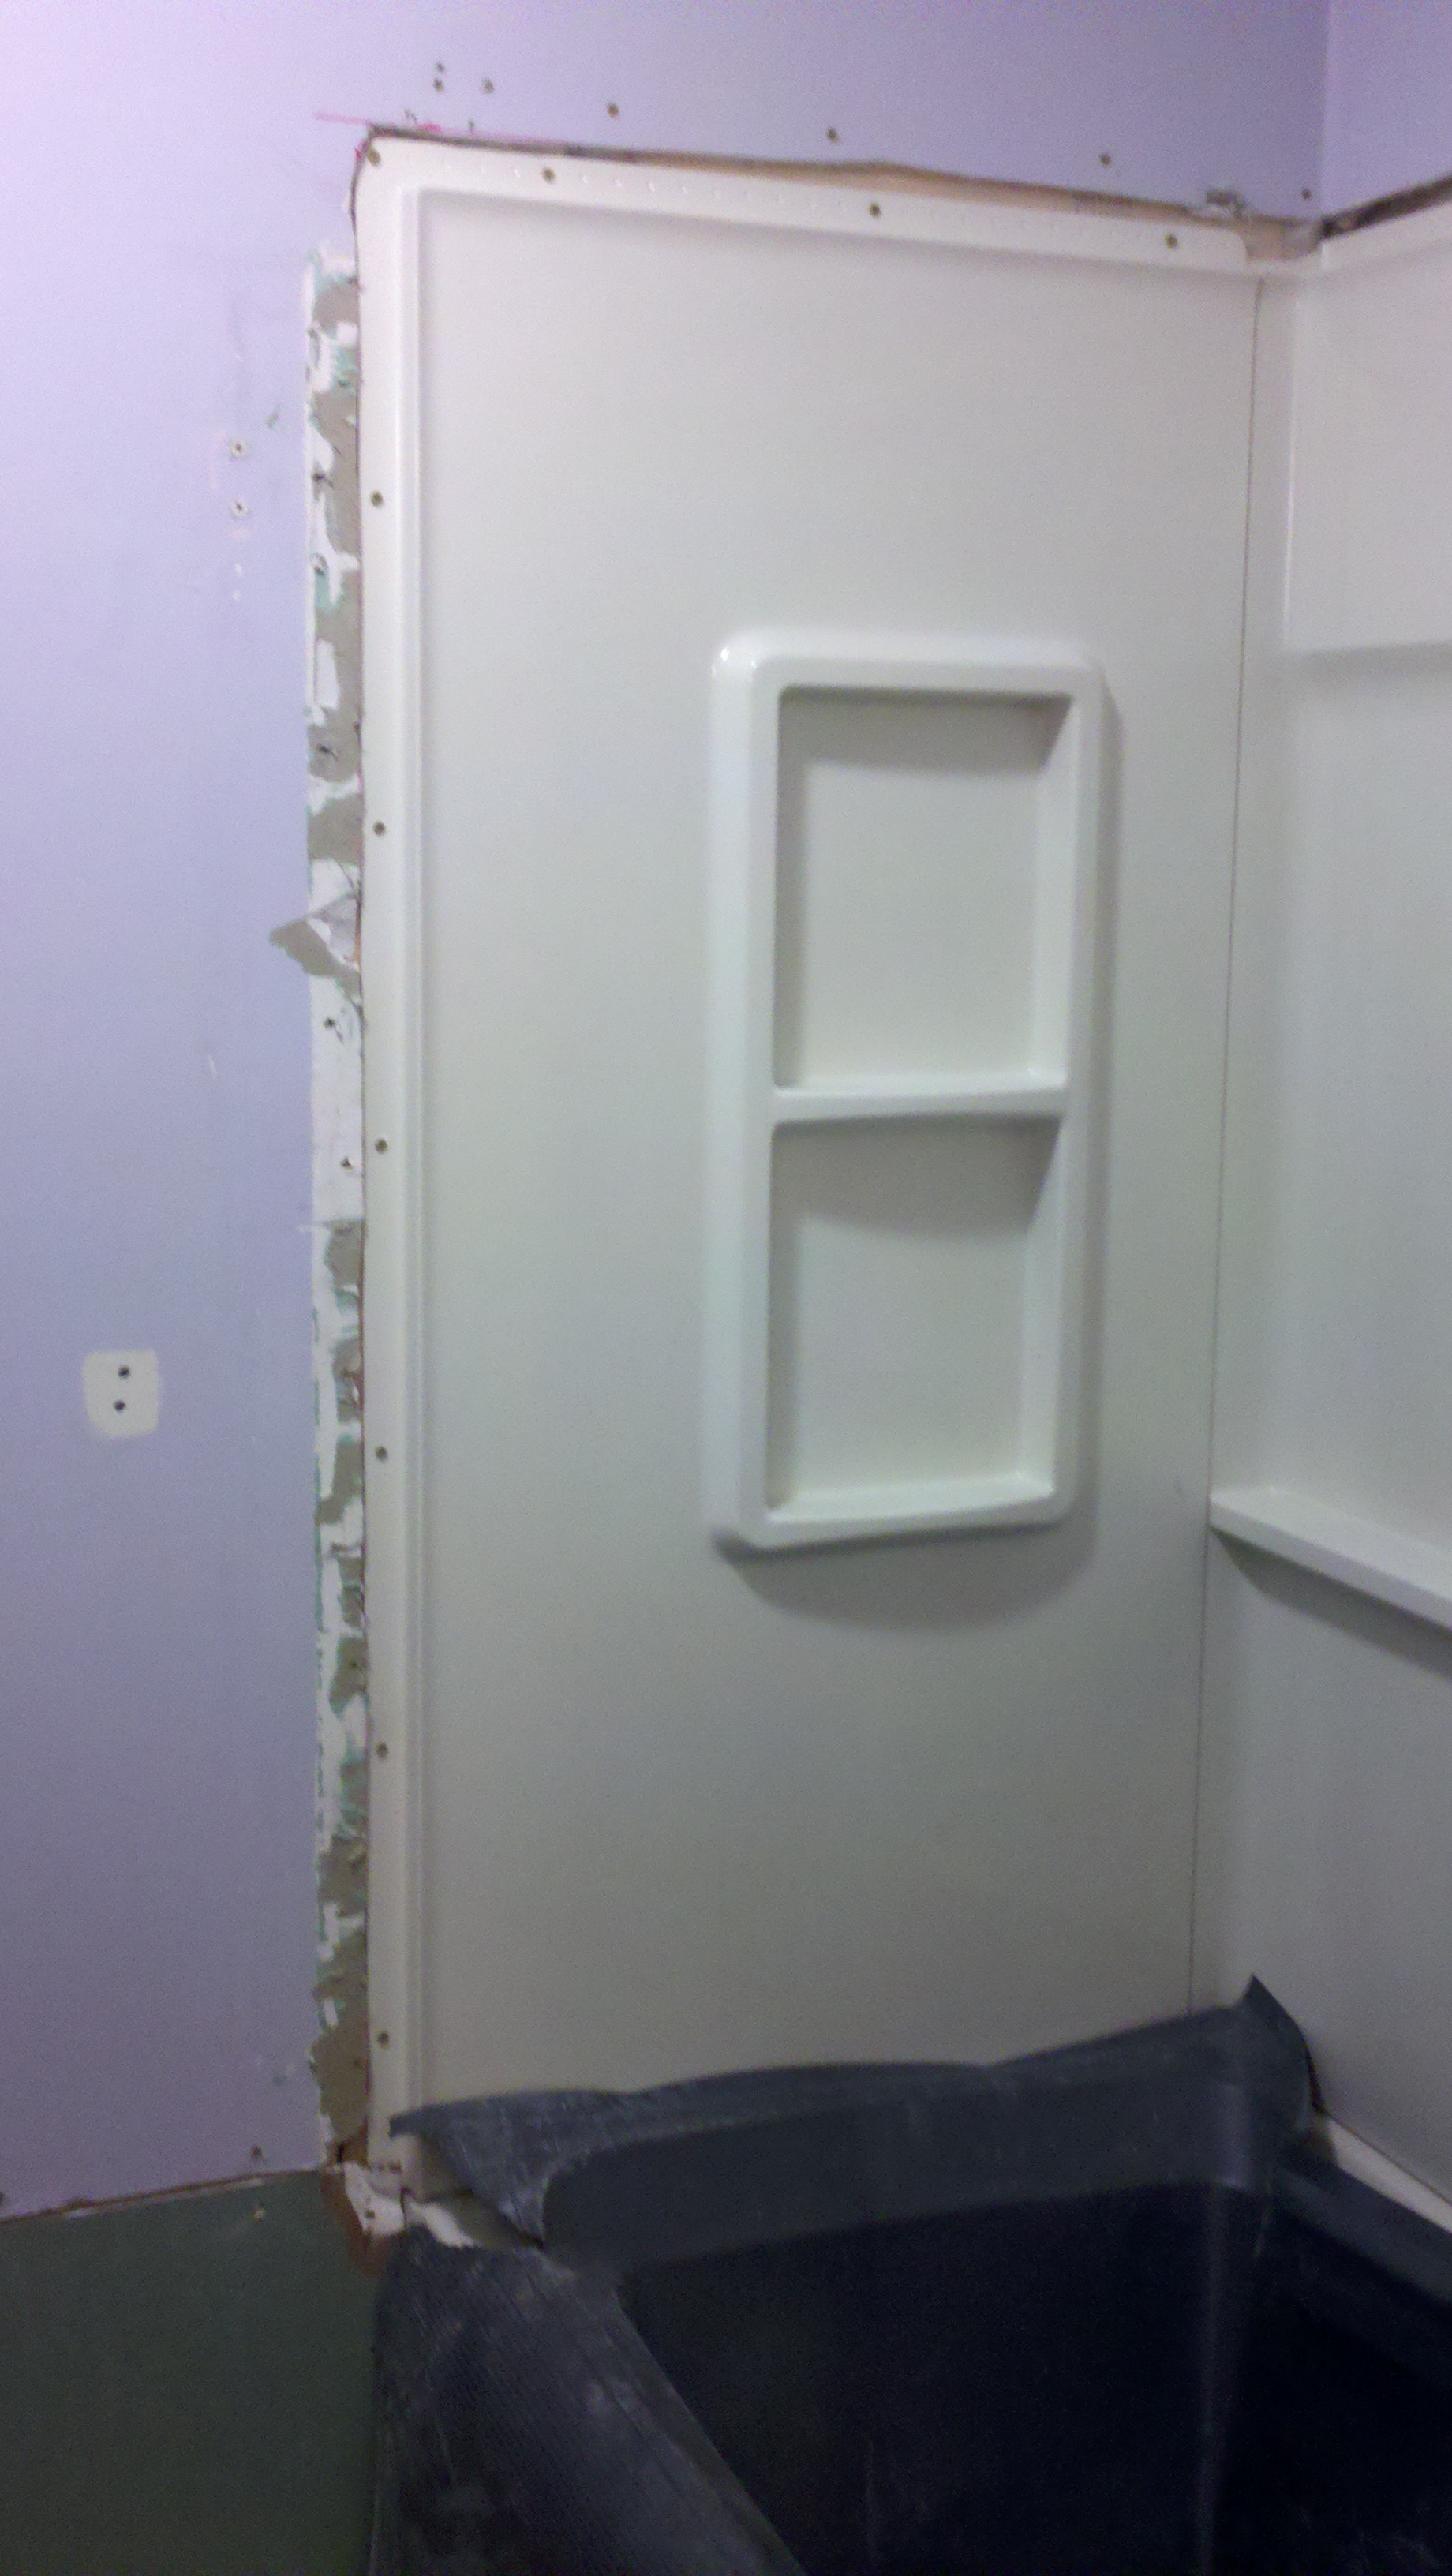
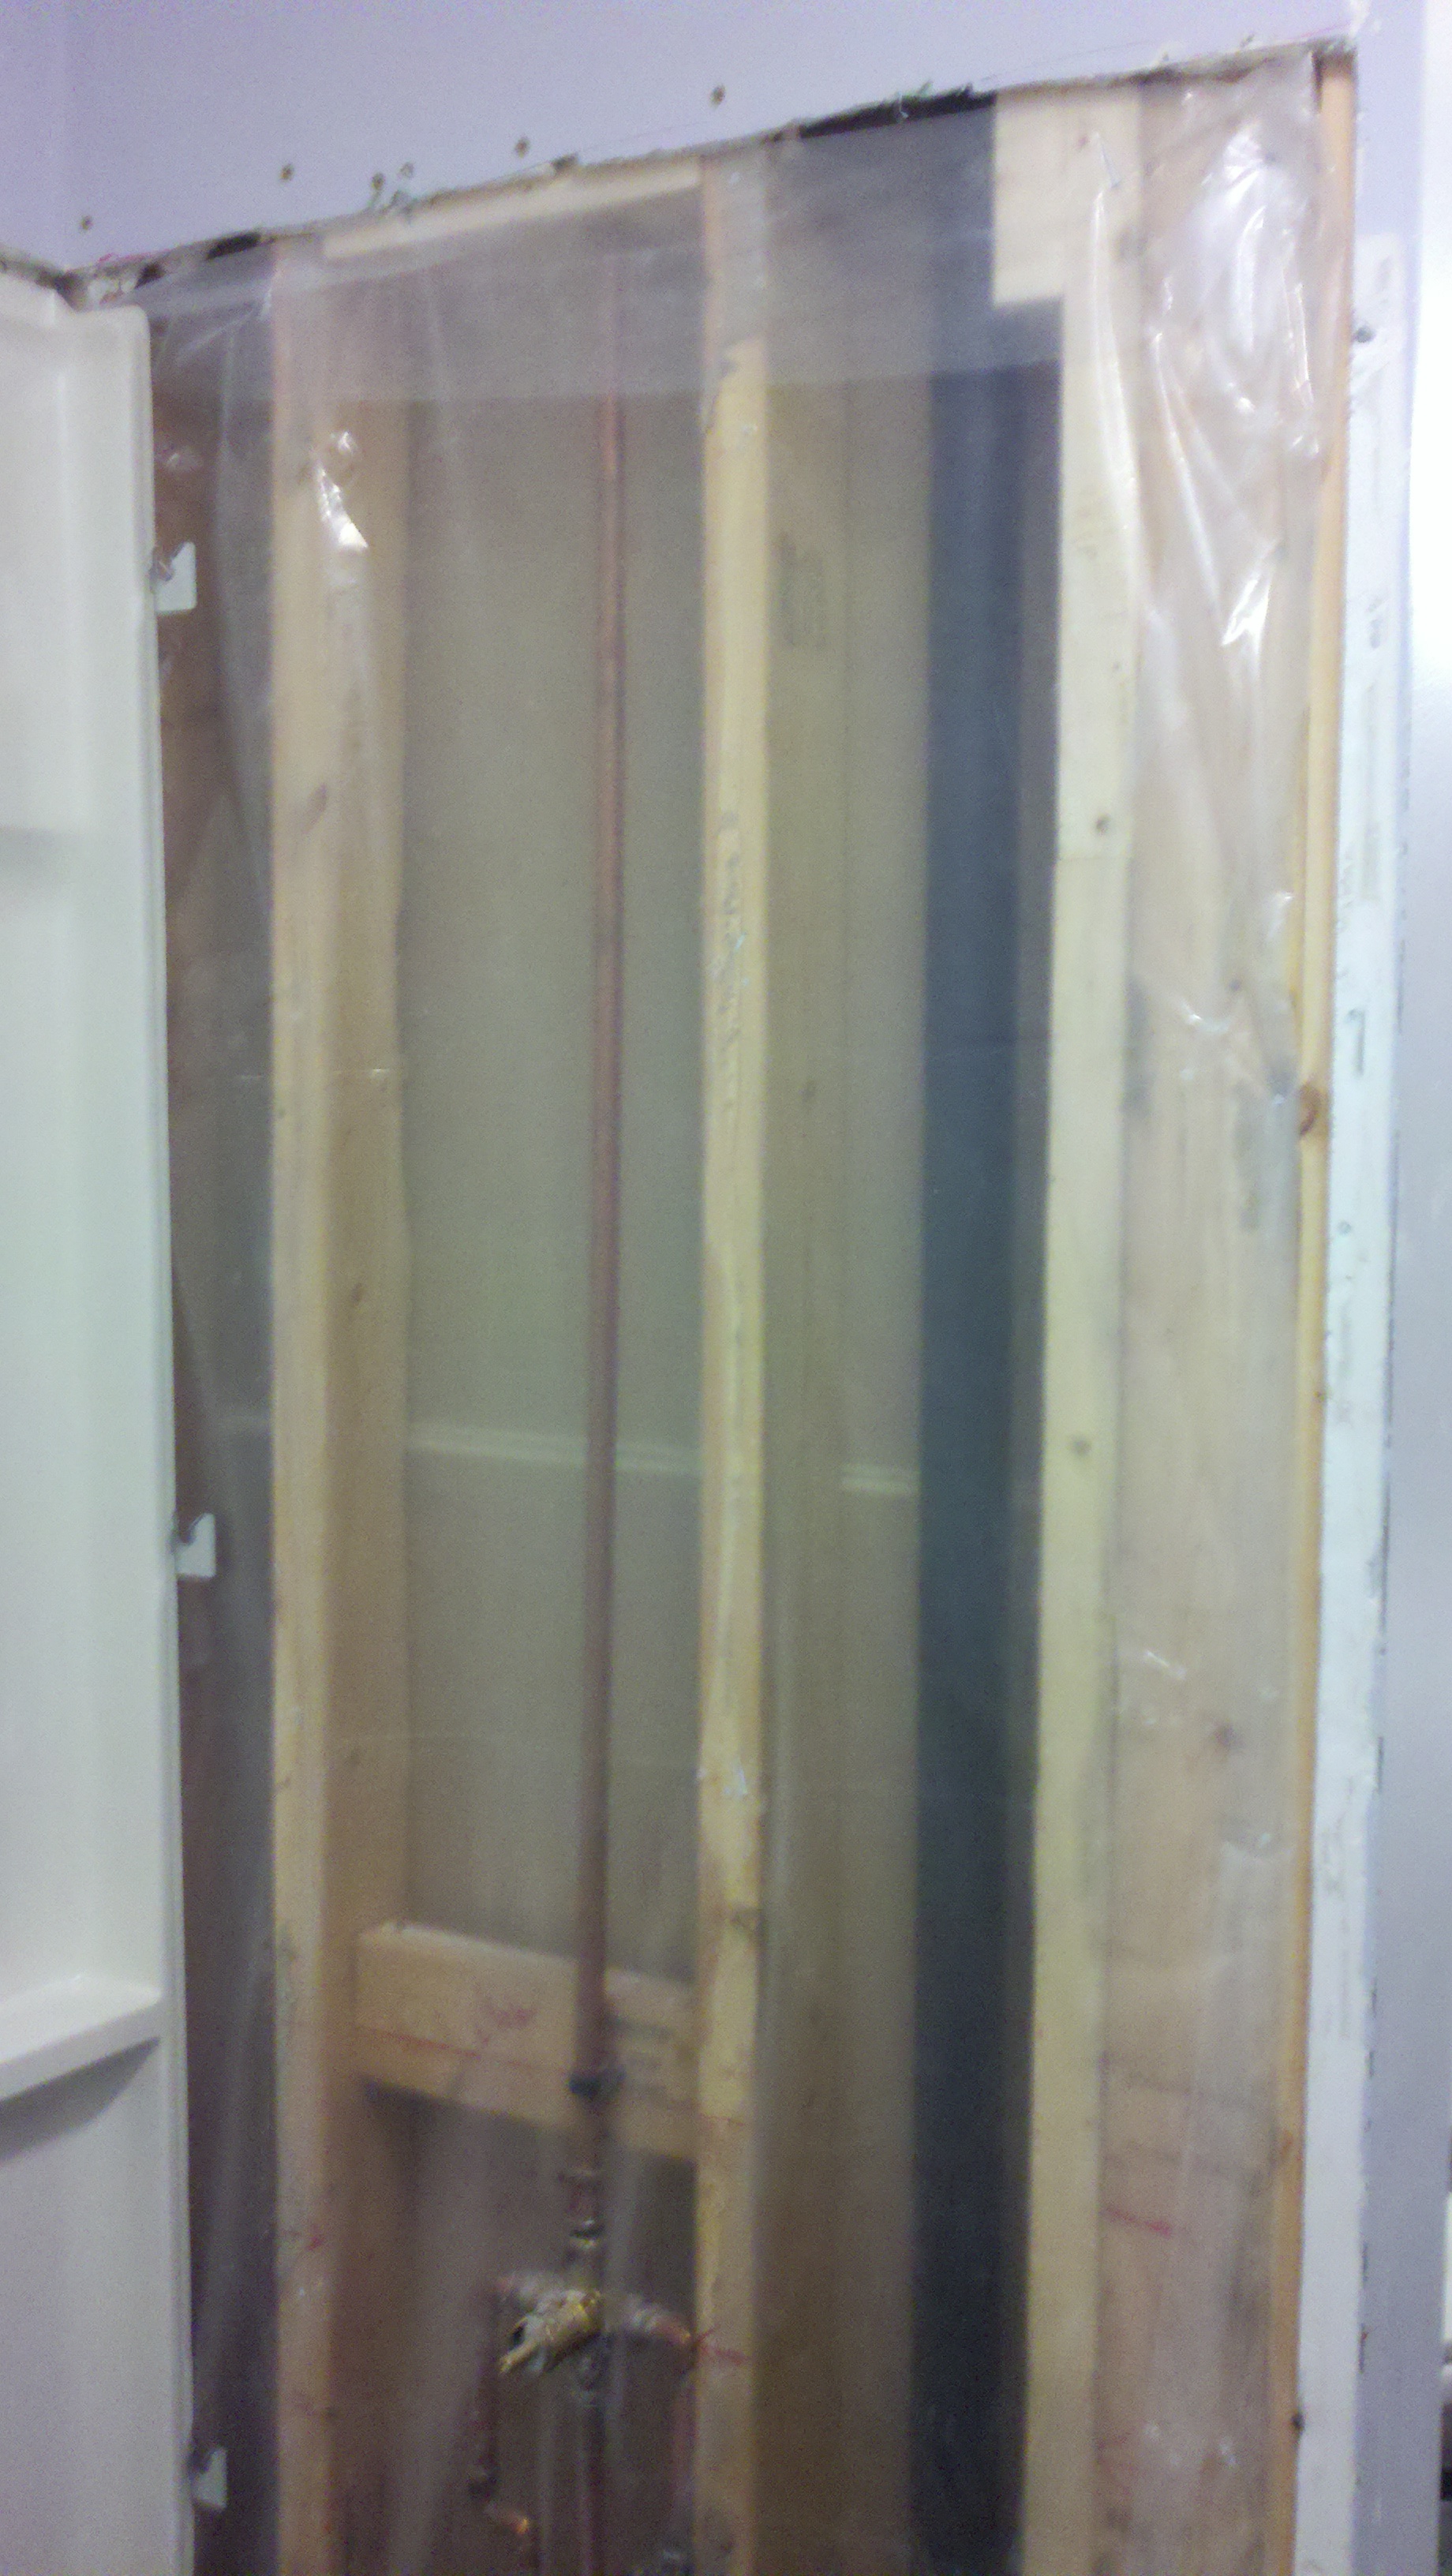
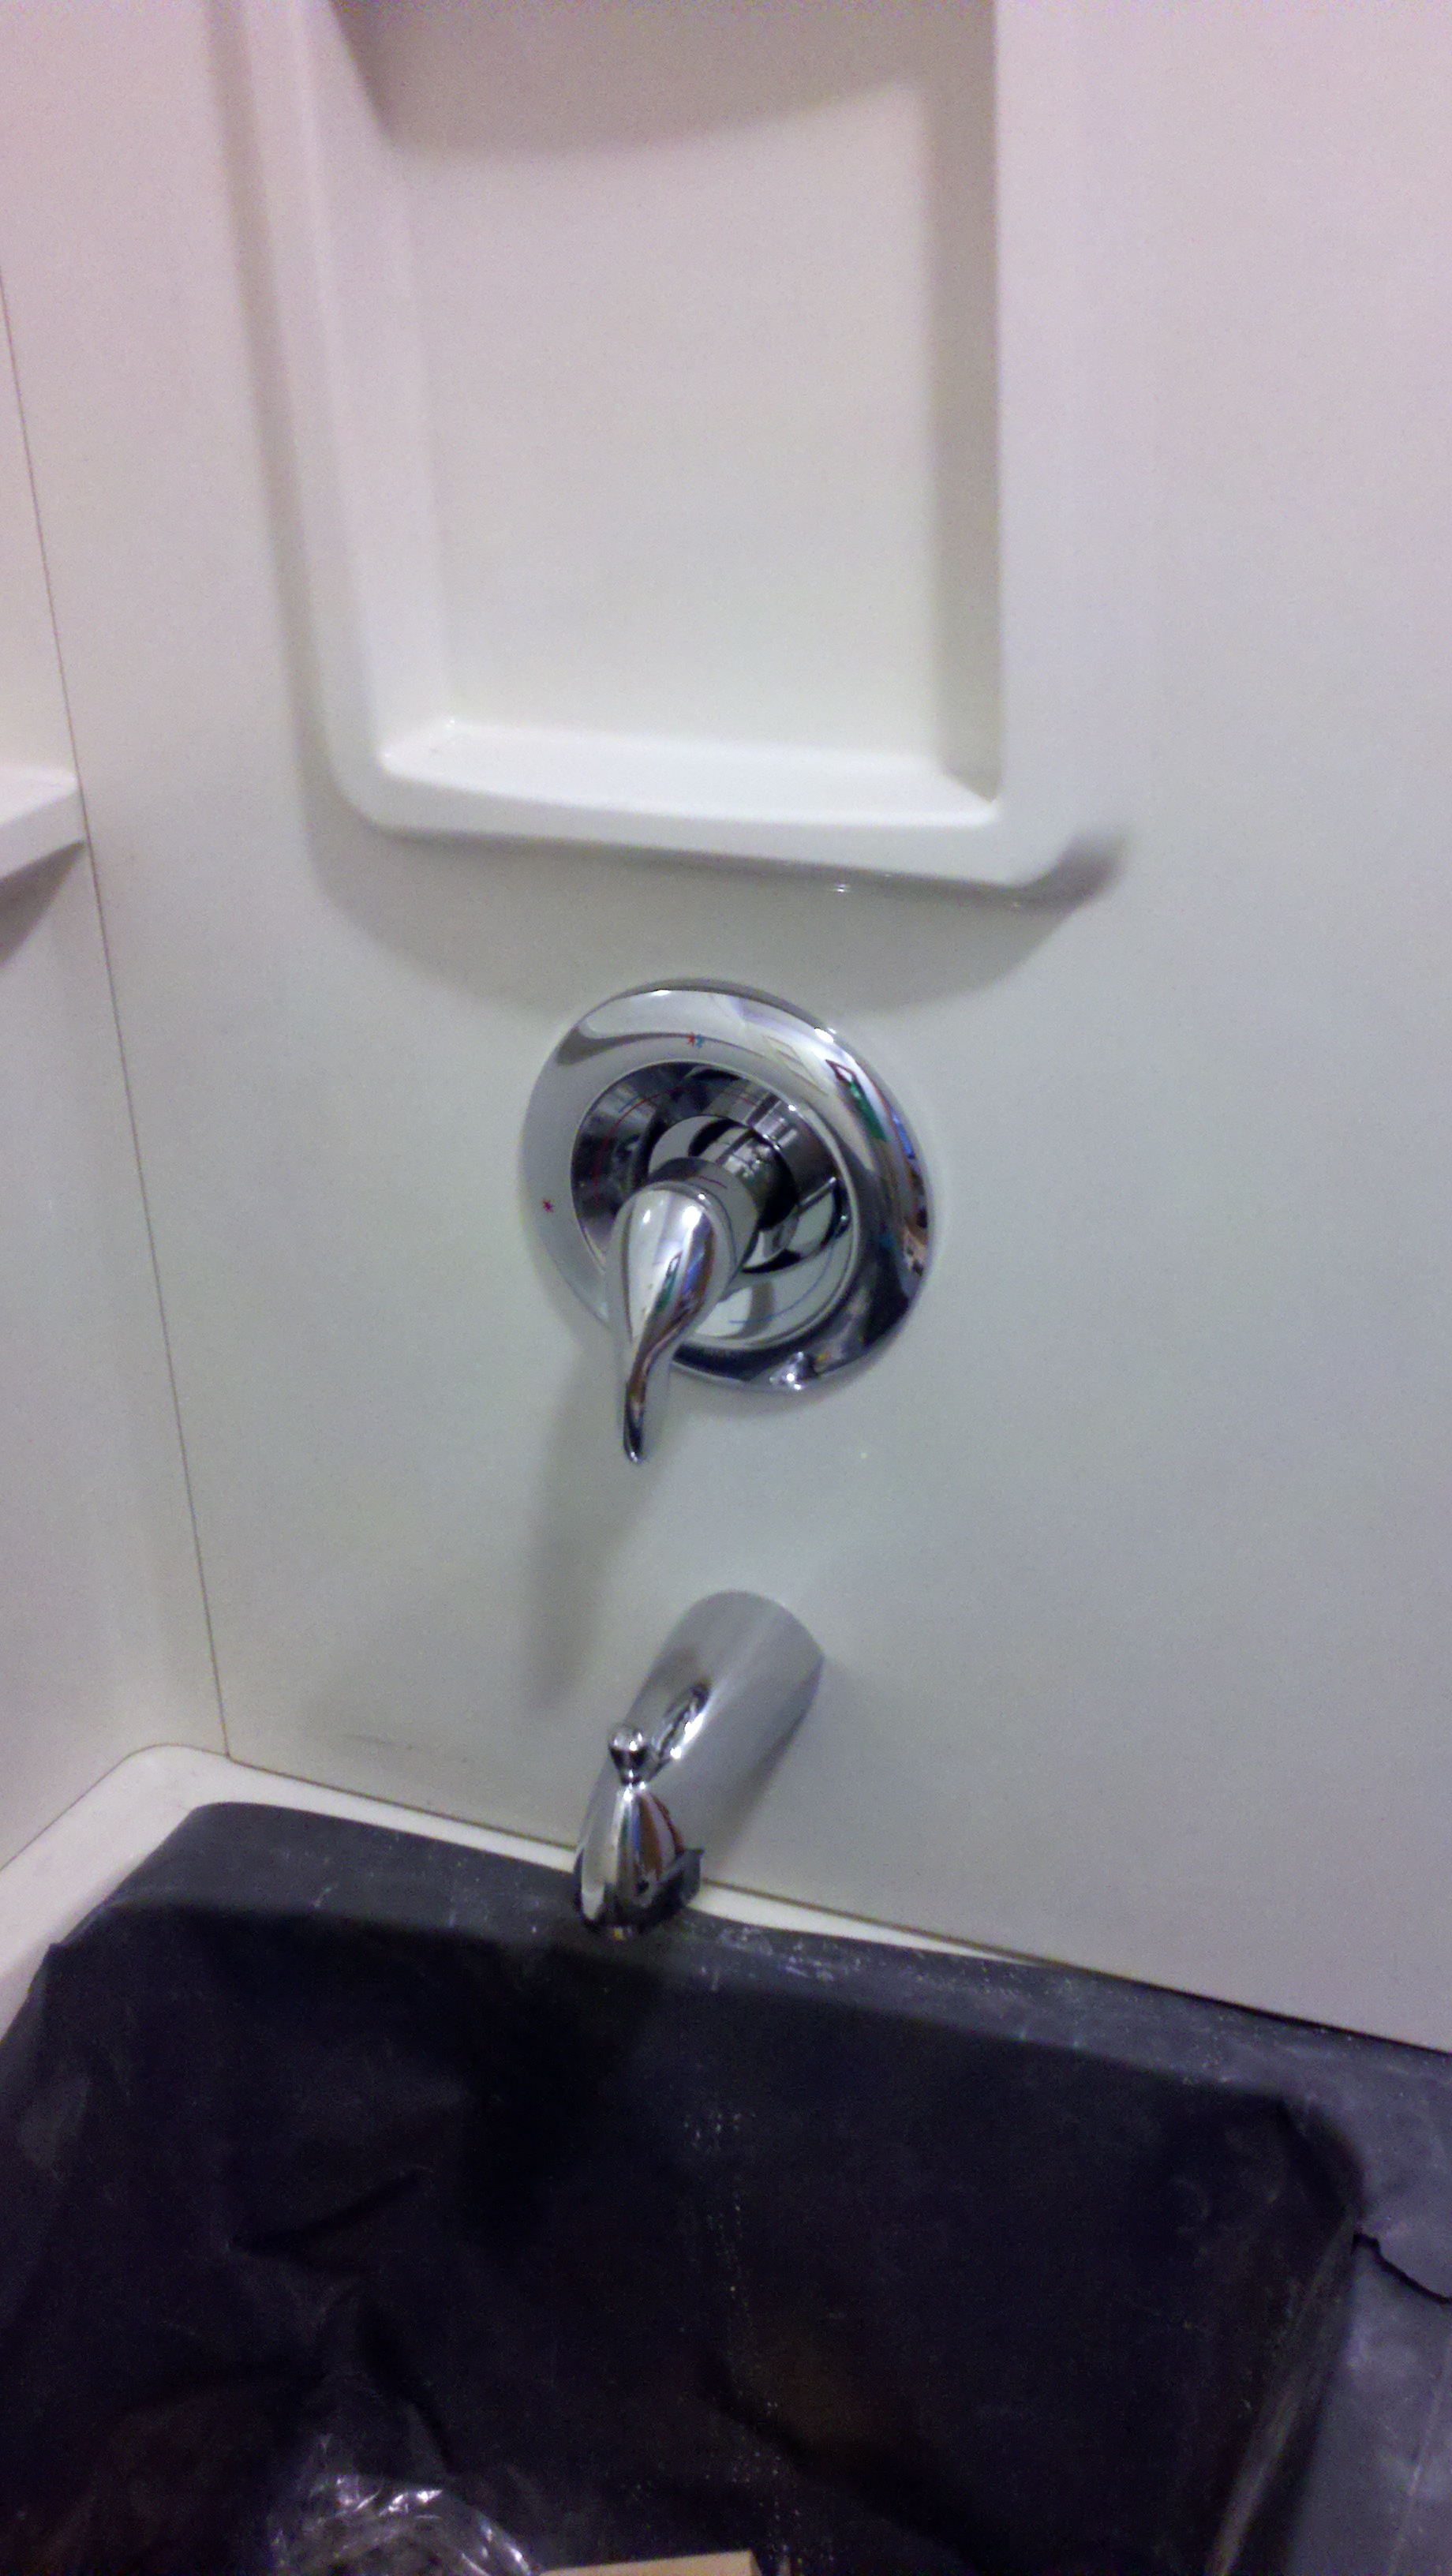
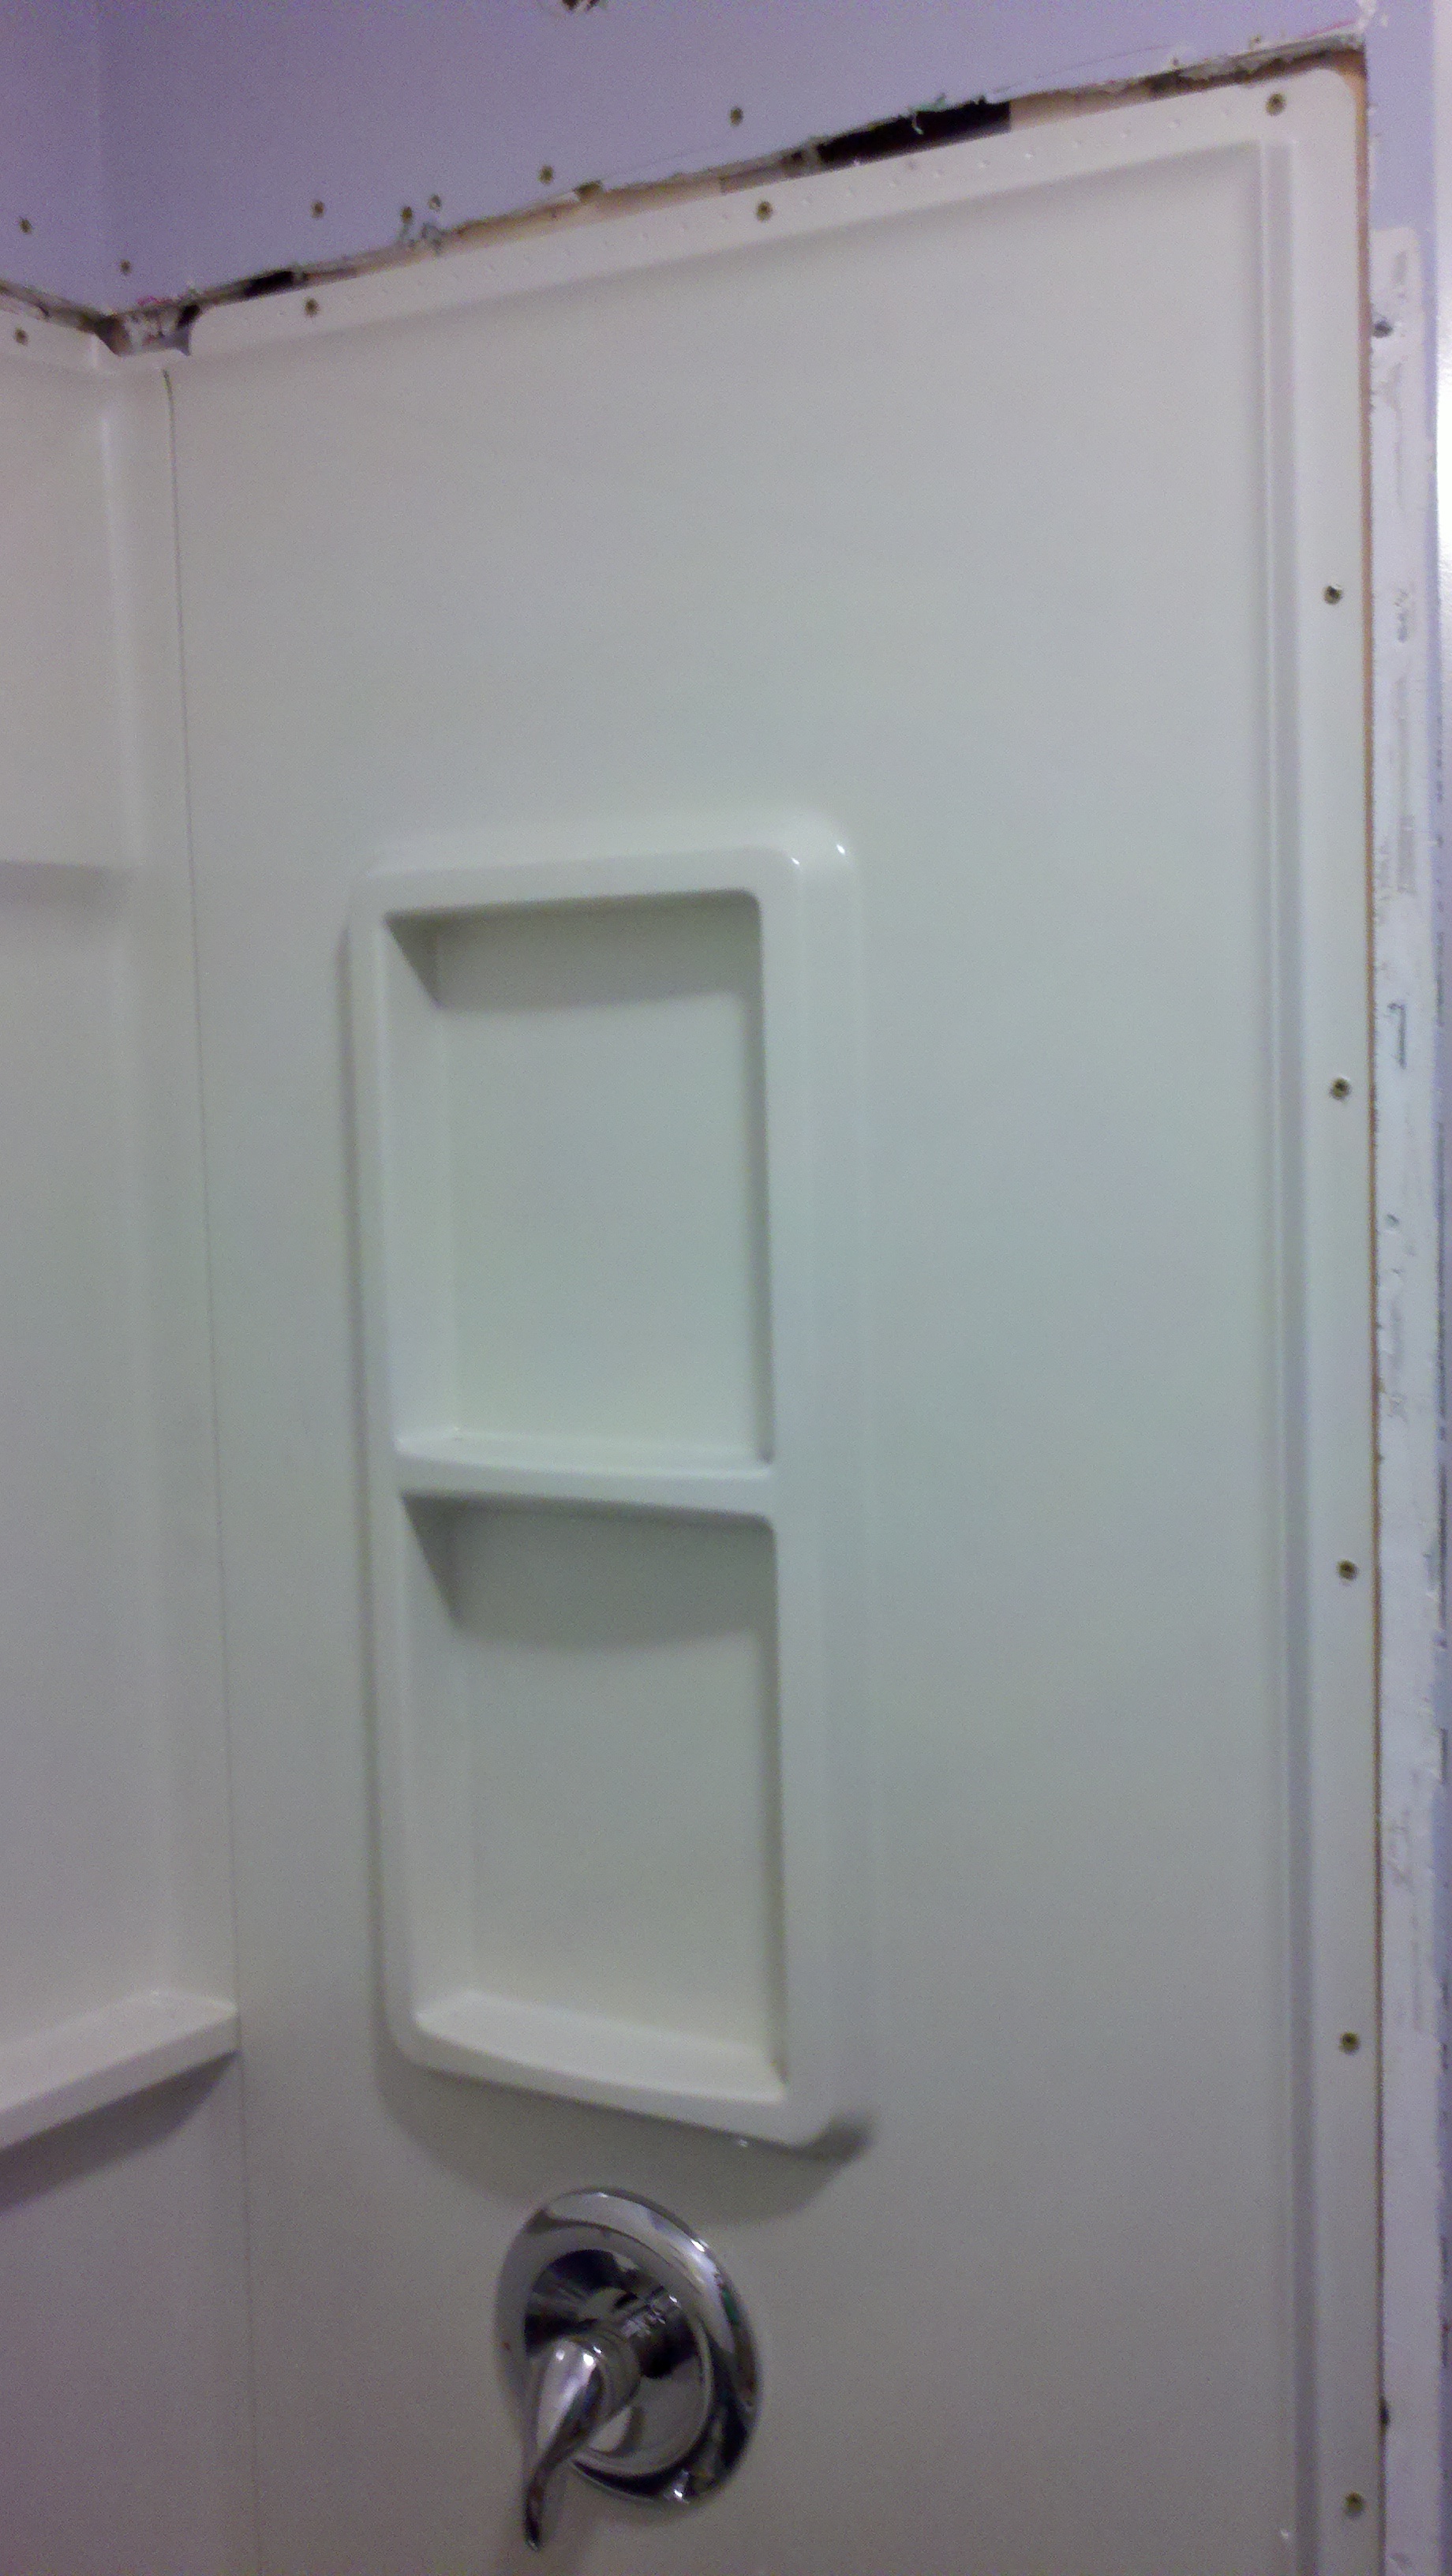
Shower Wall Removal & Installation, ExactTemp Thermostatic Faucet
Installation, & Paint Walls
|
|
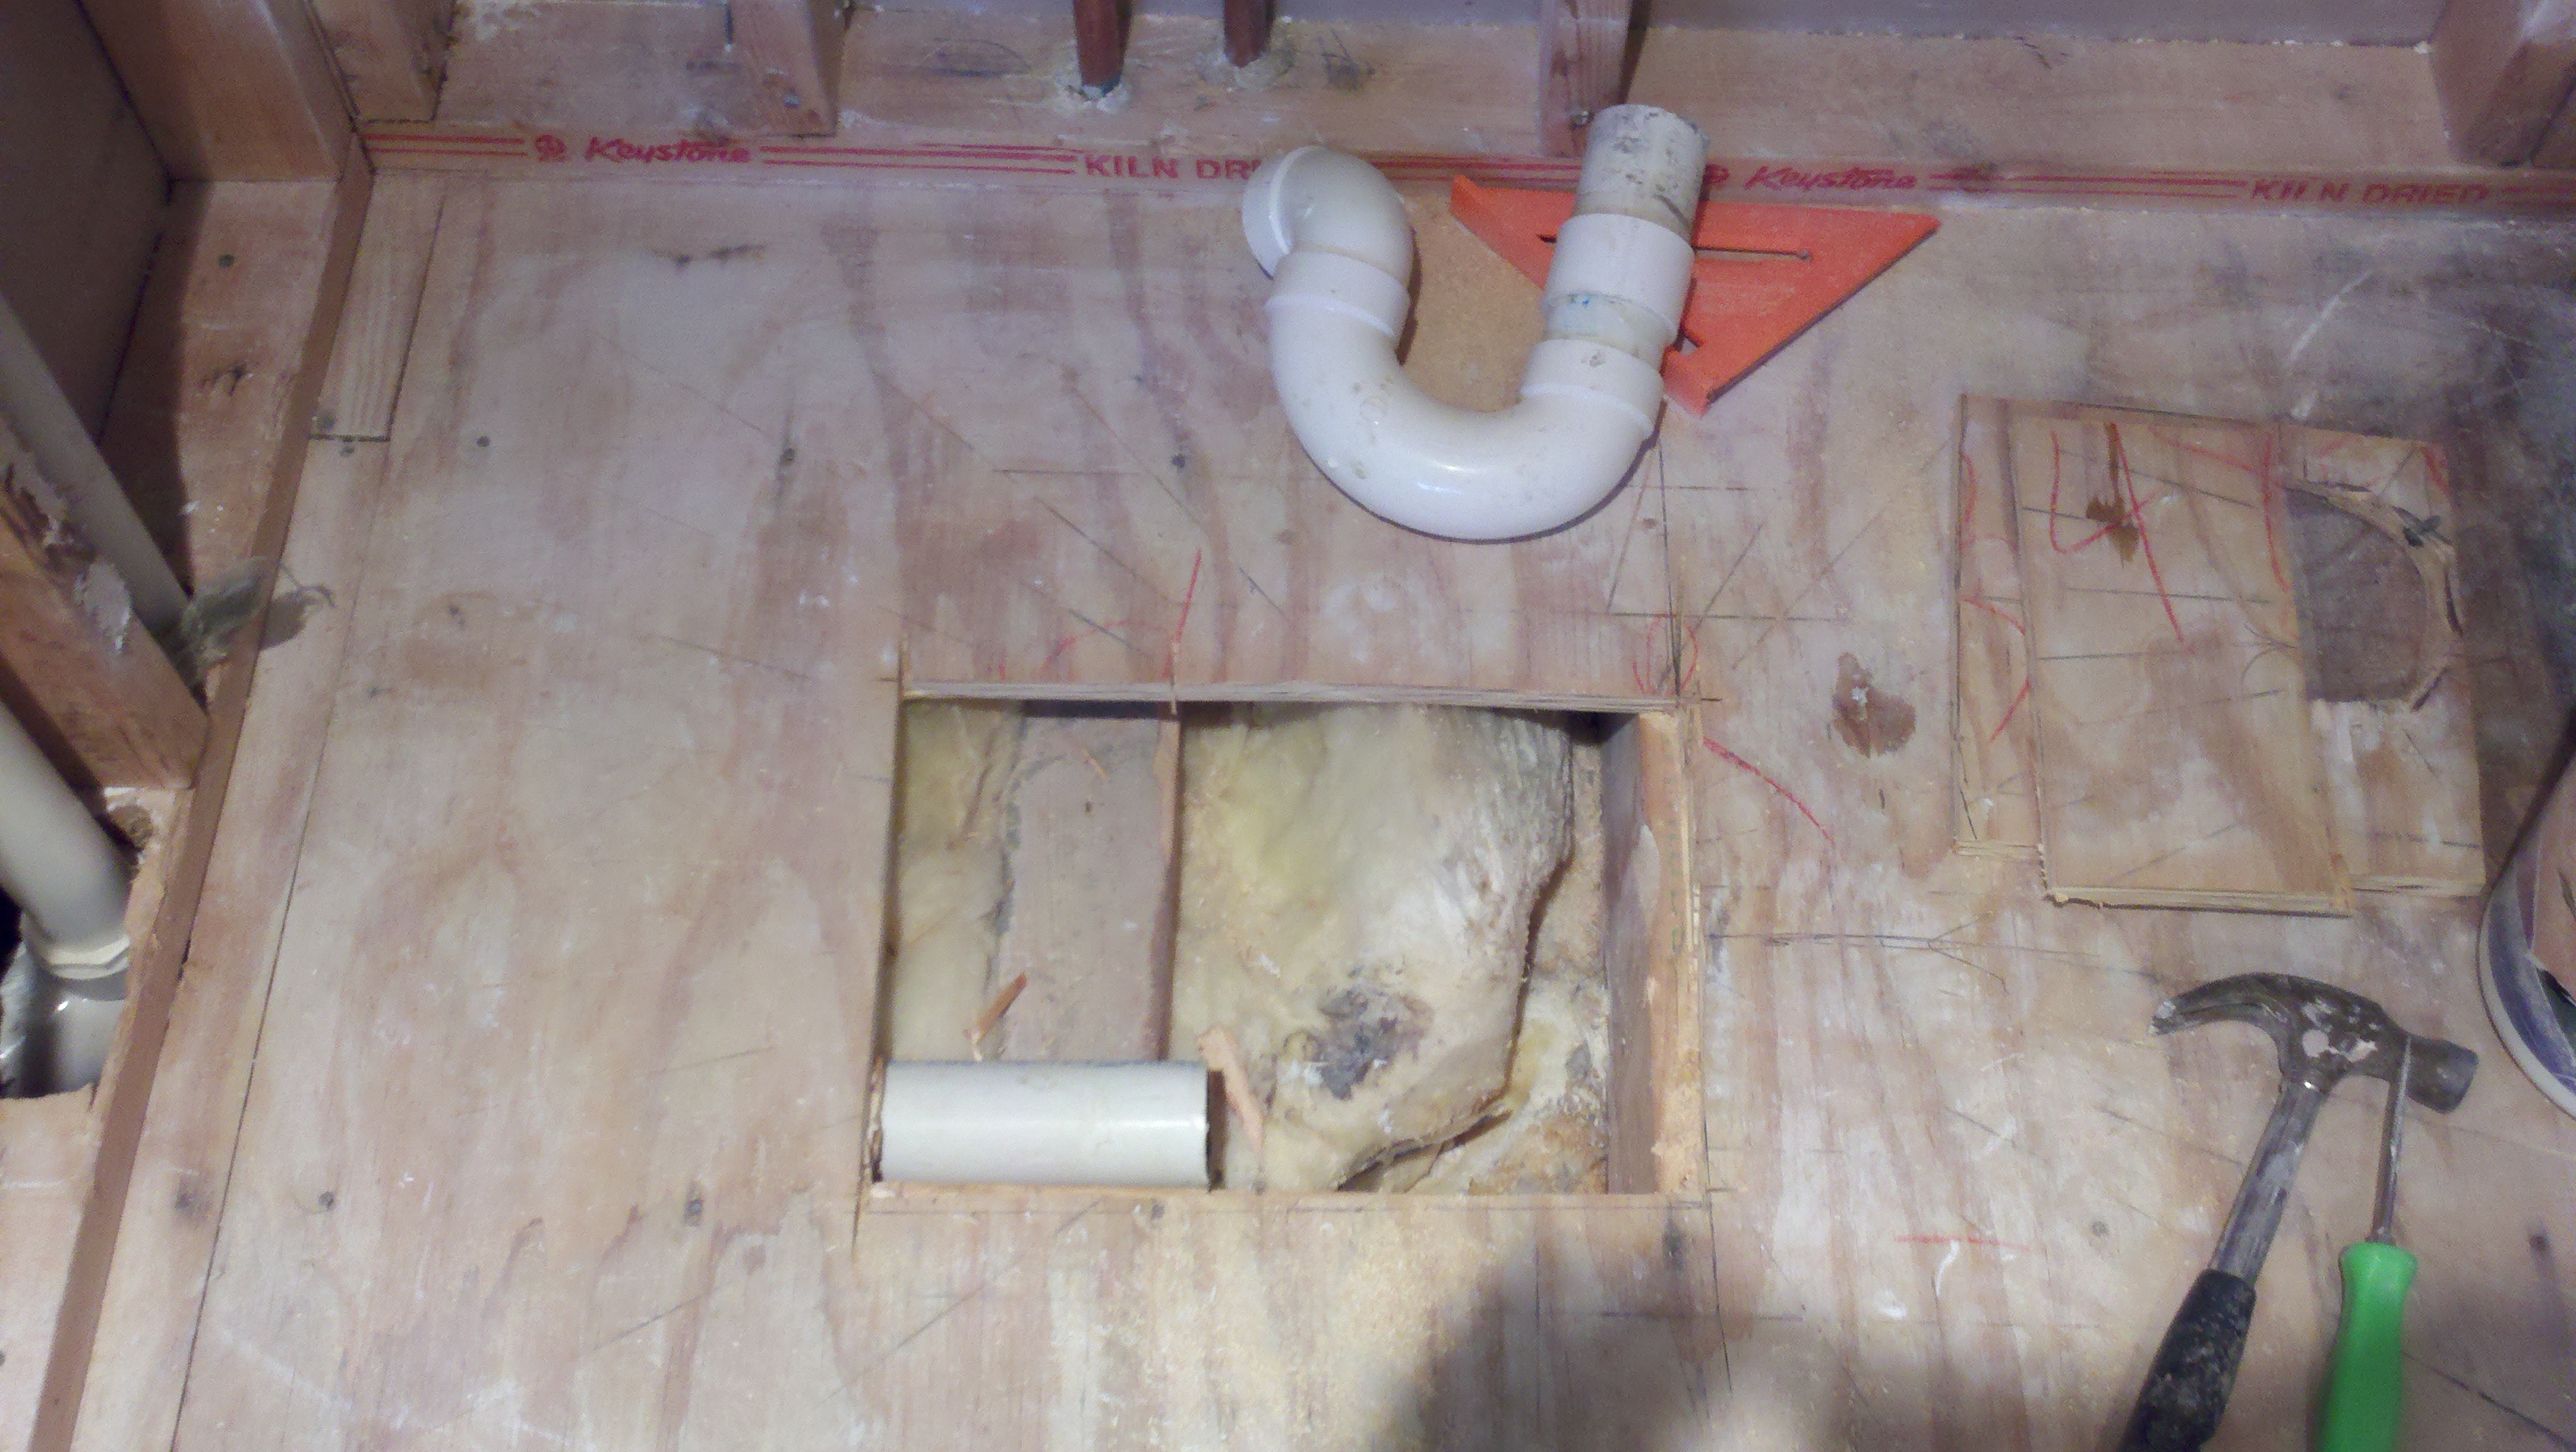
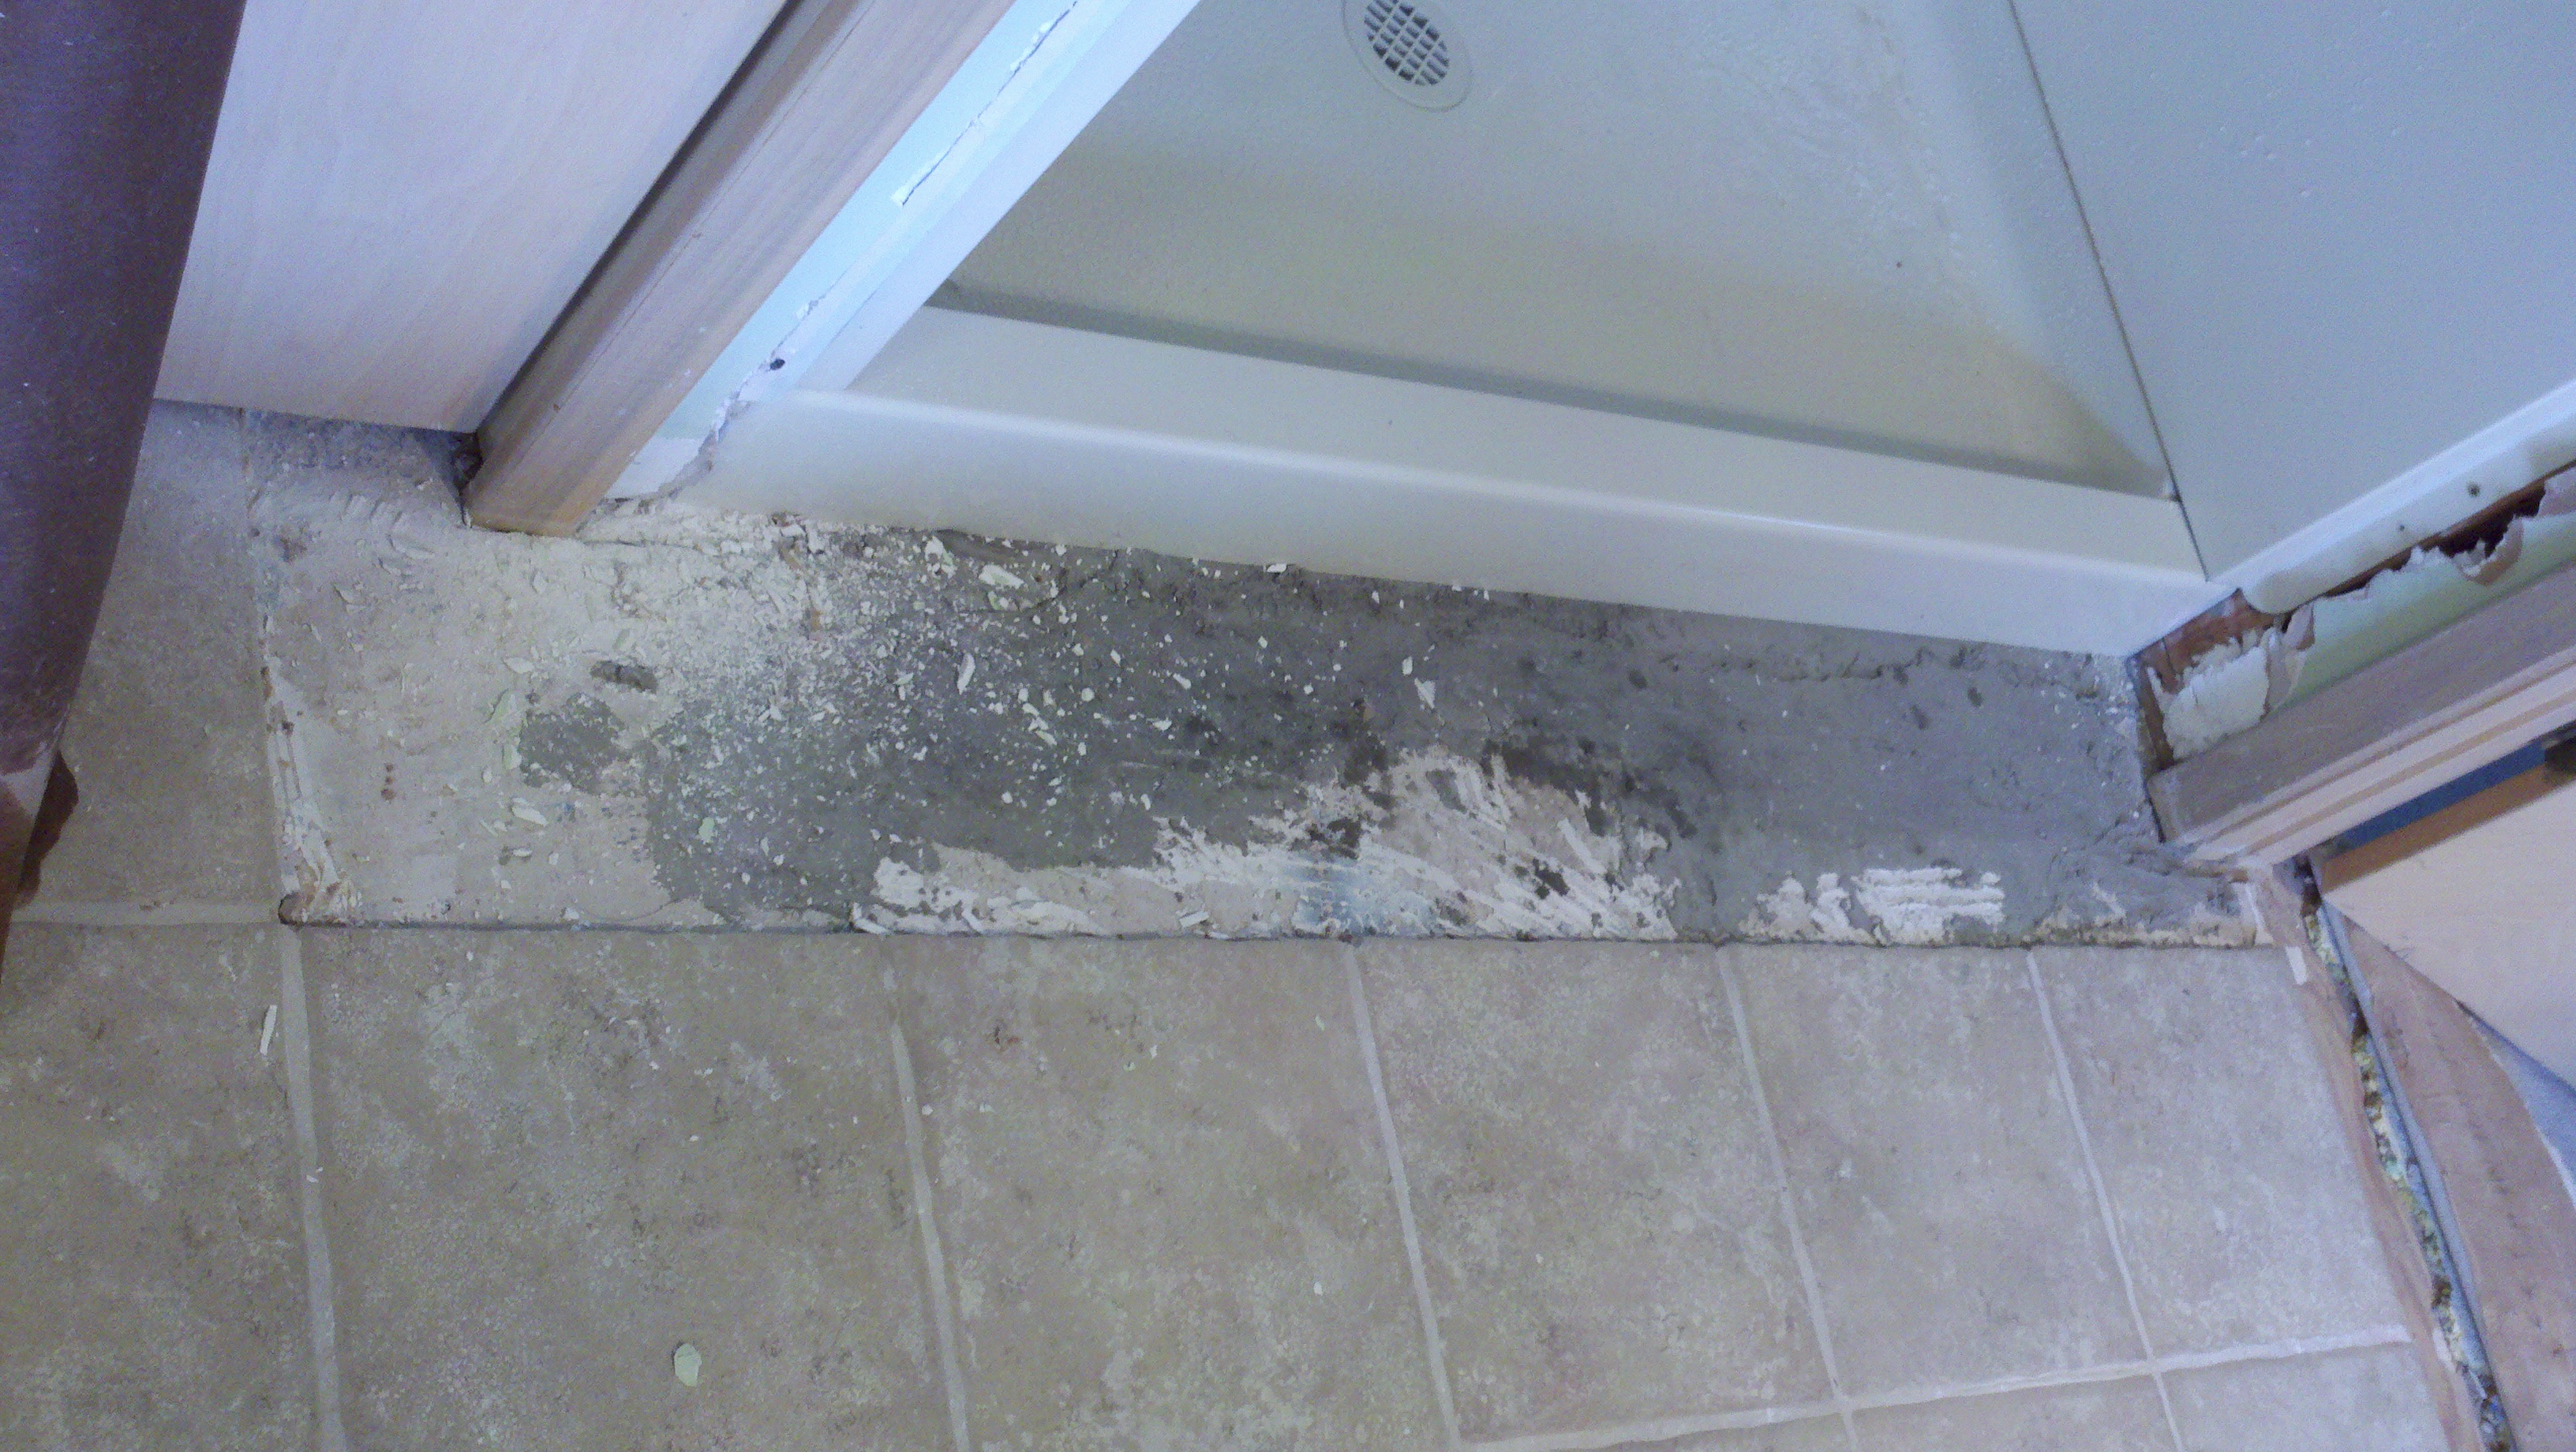
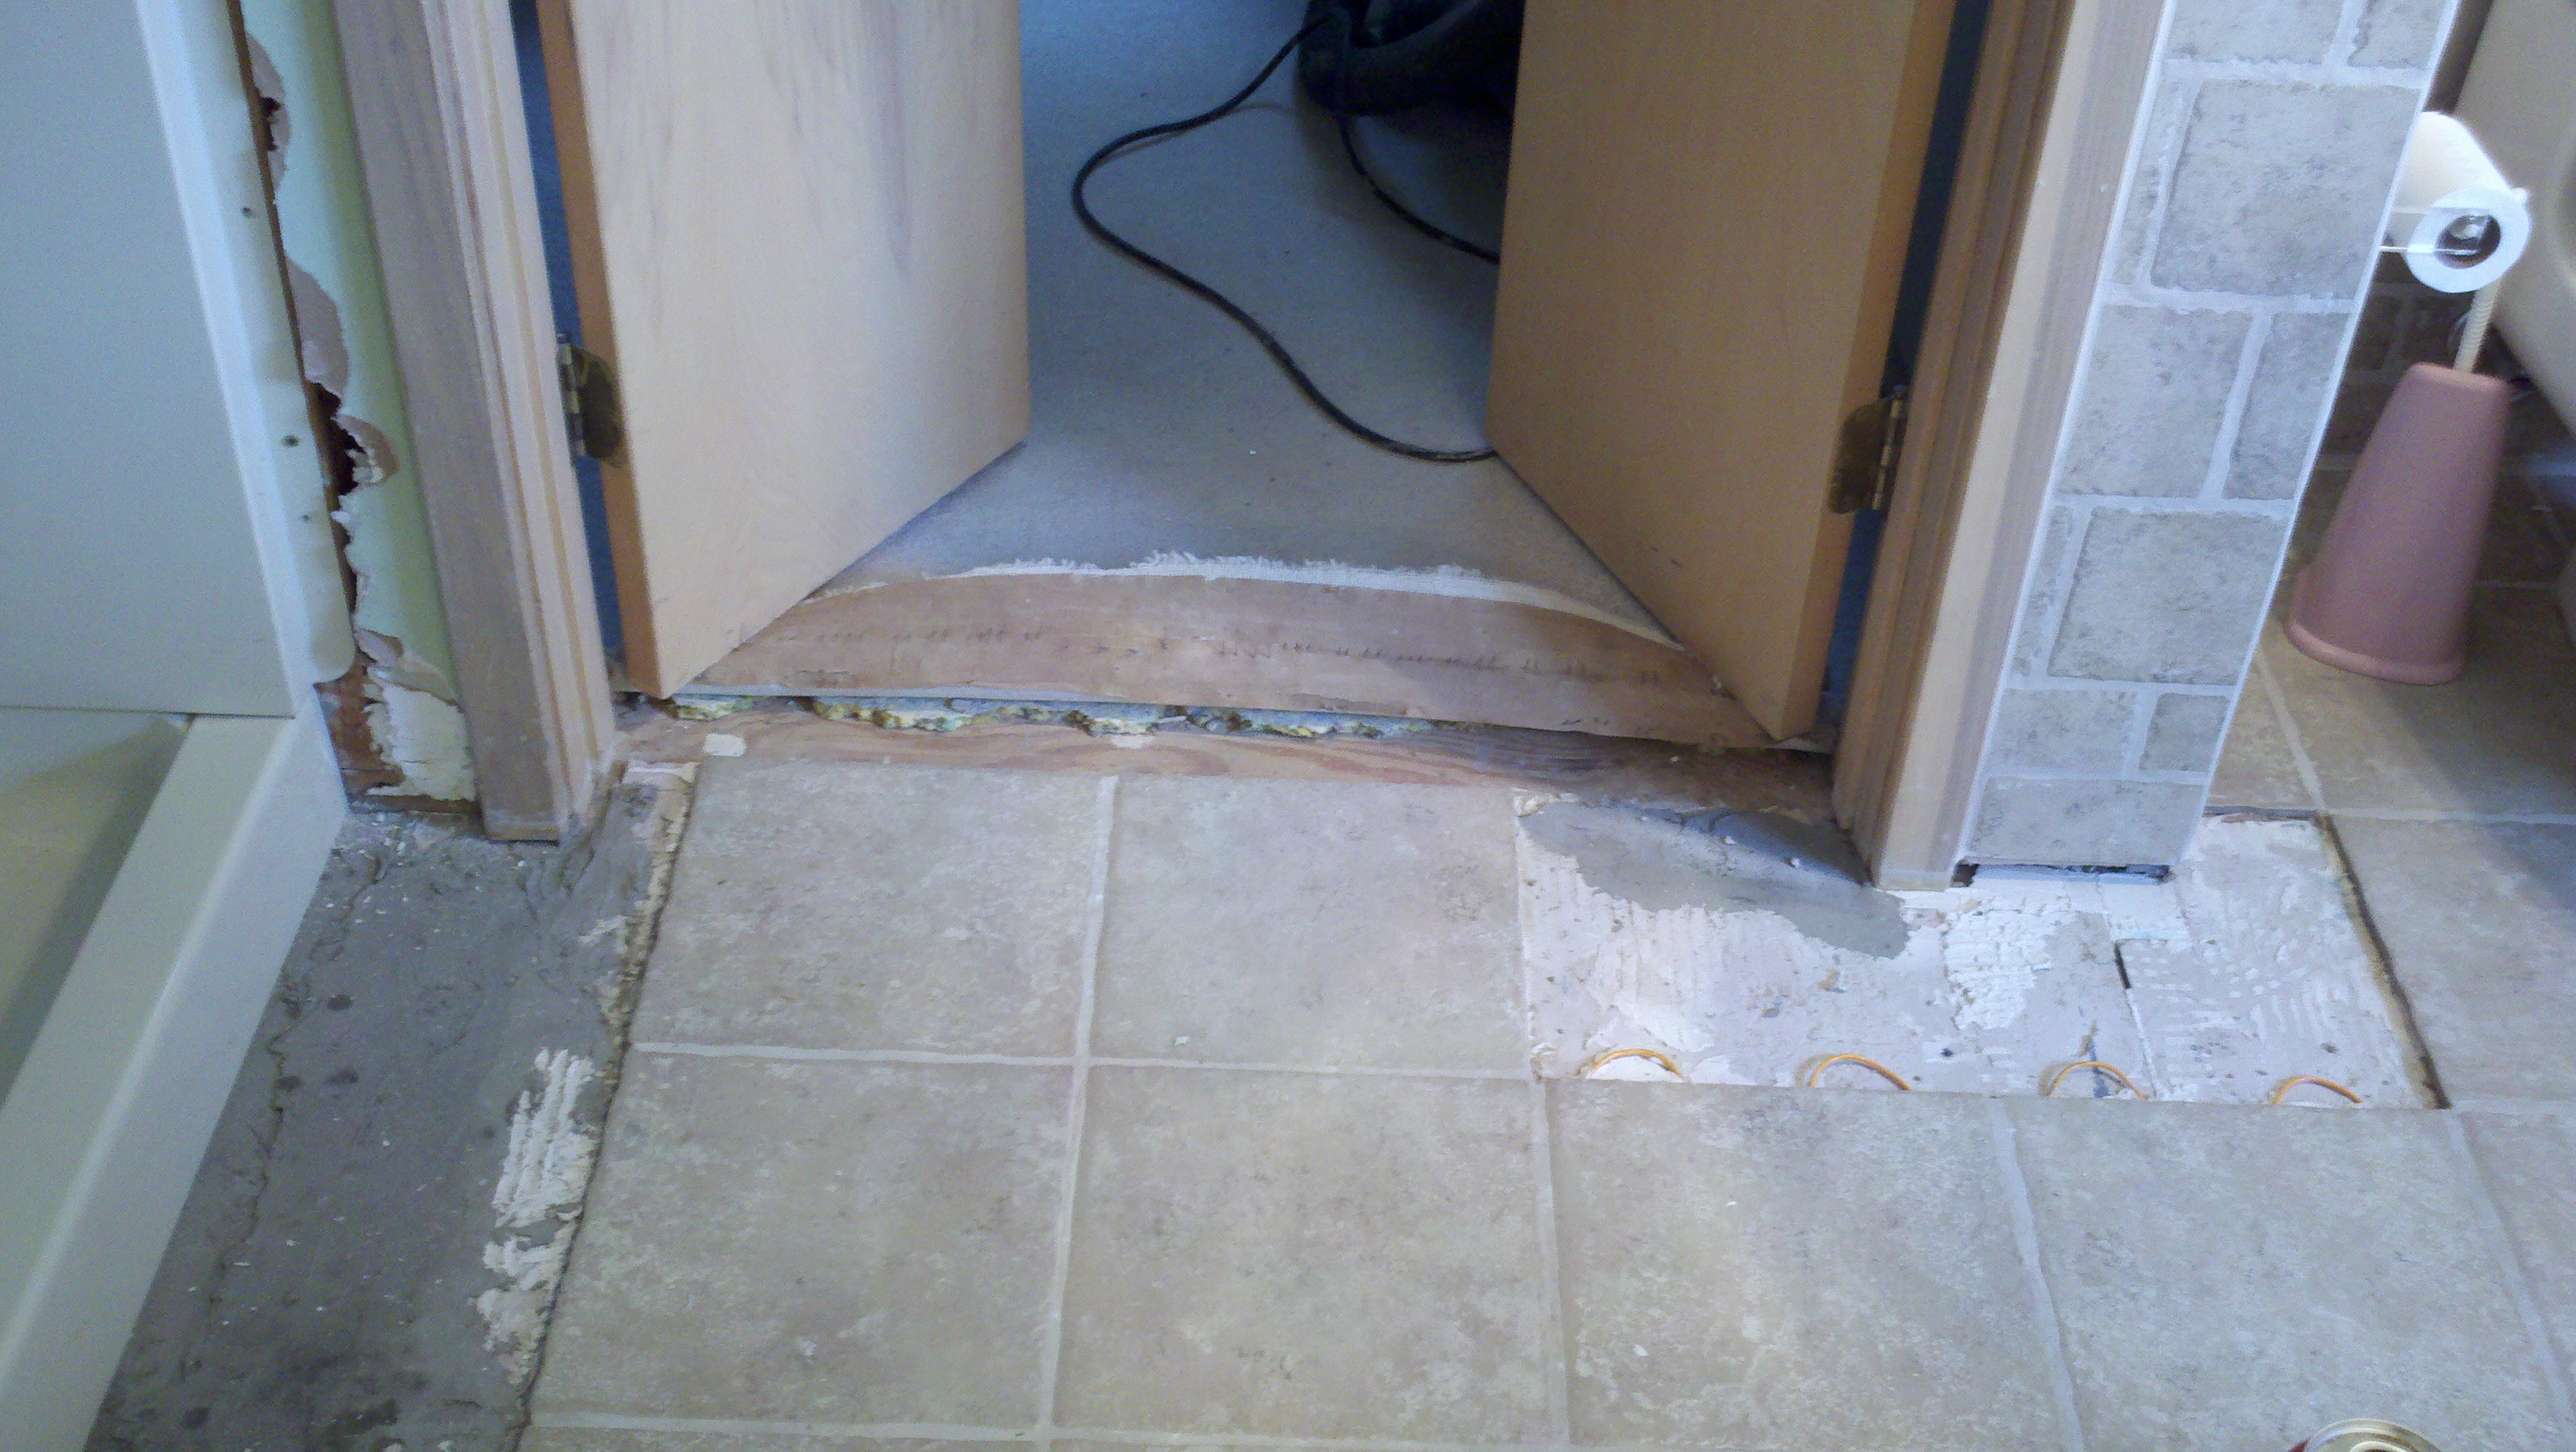
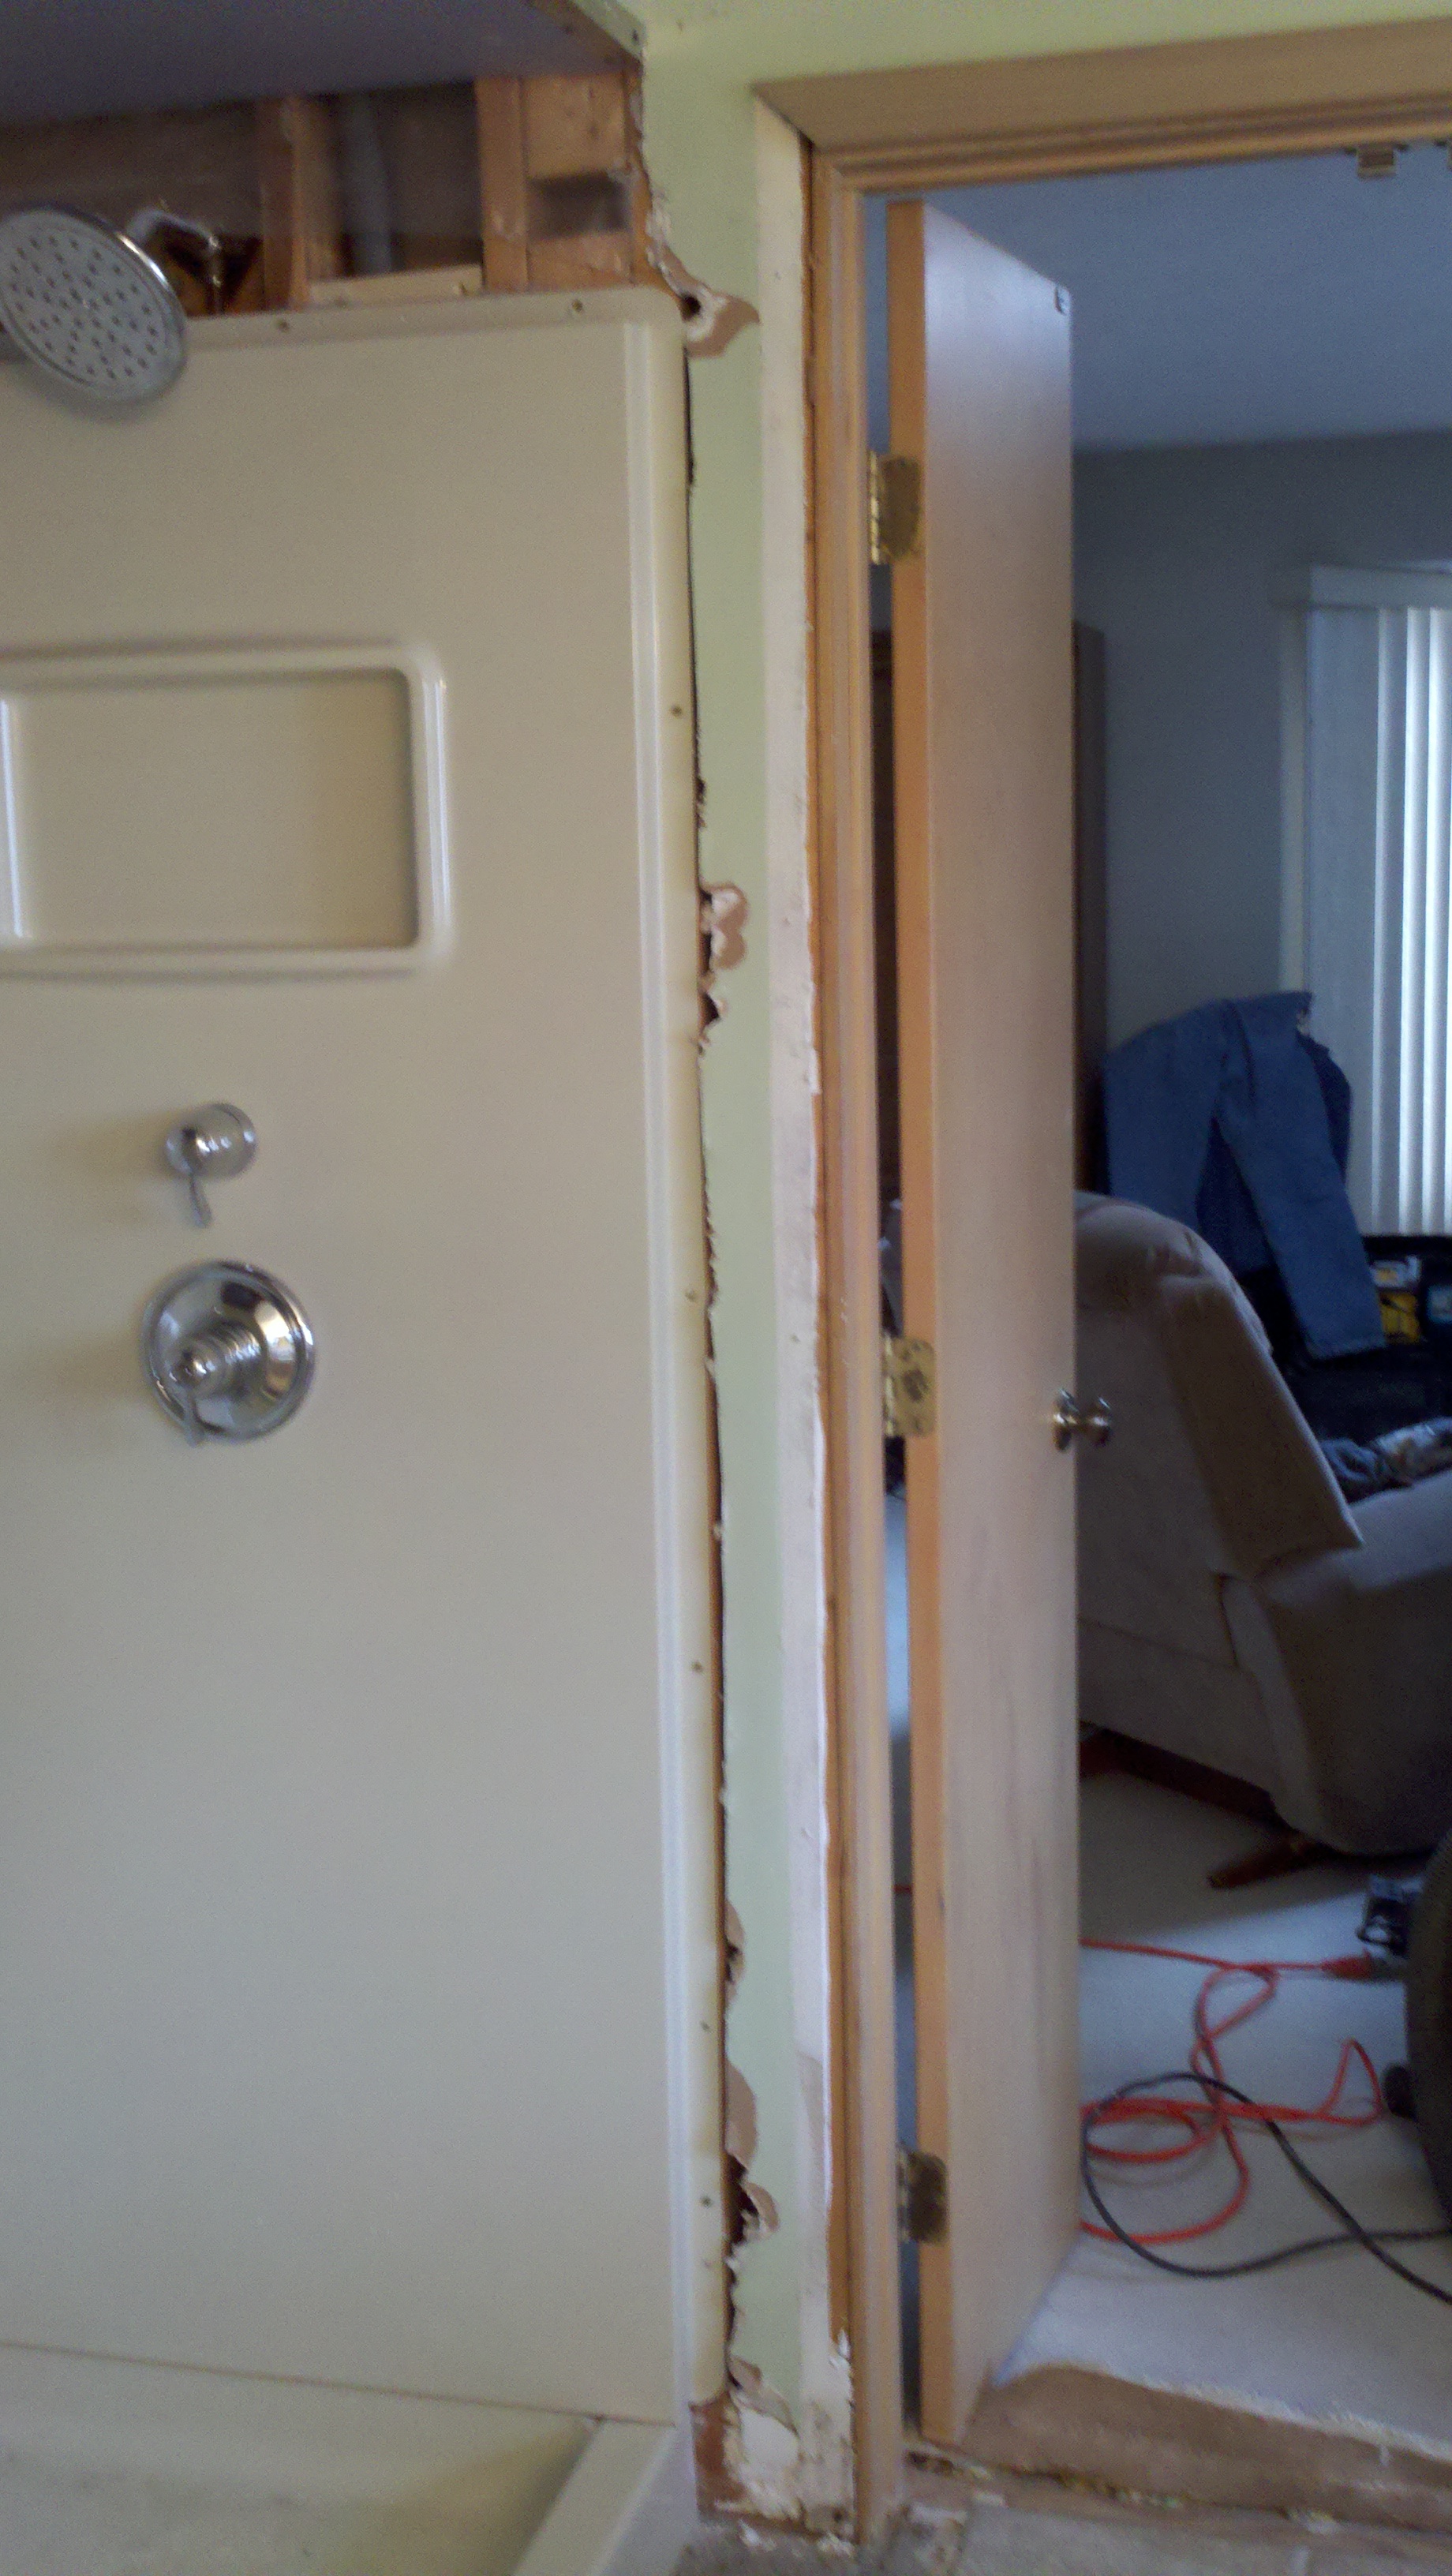
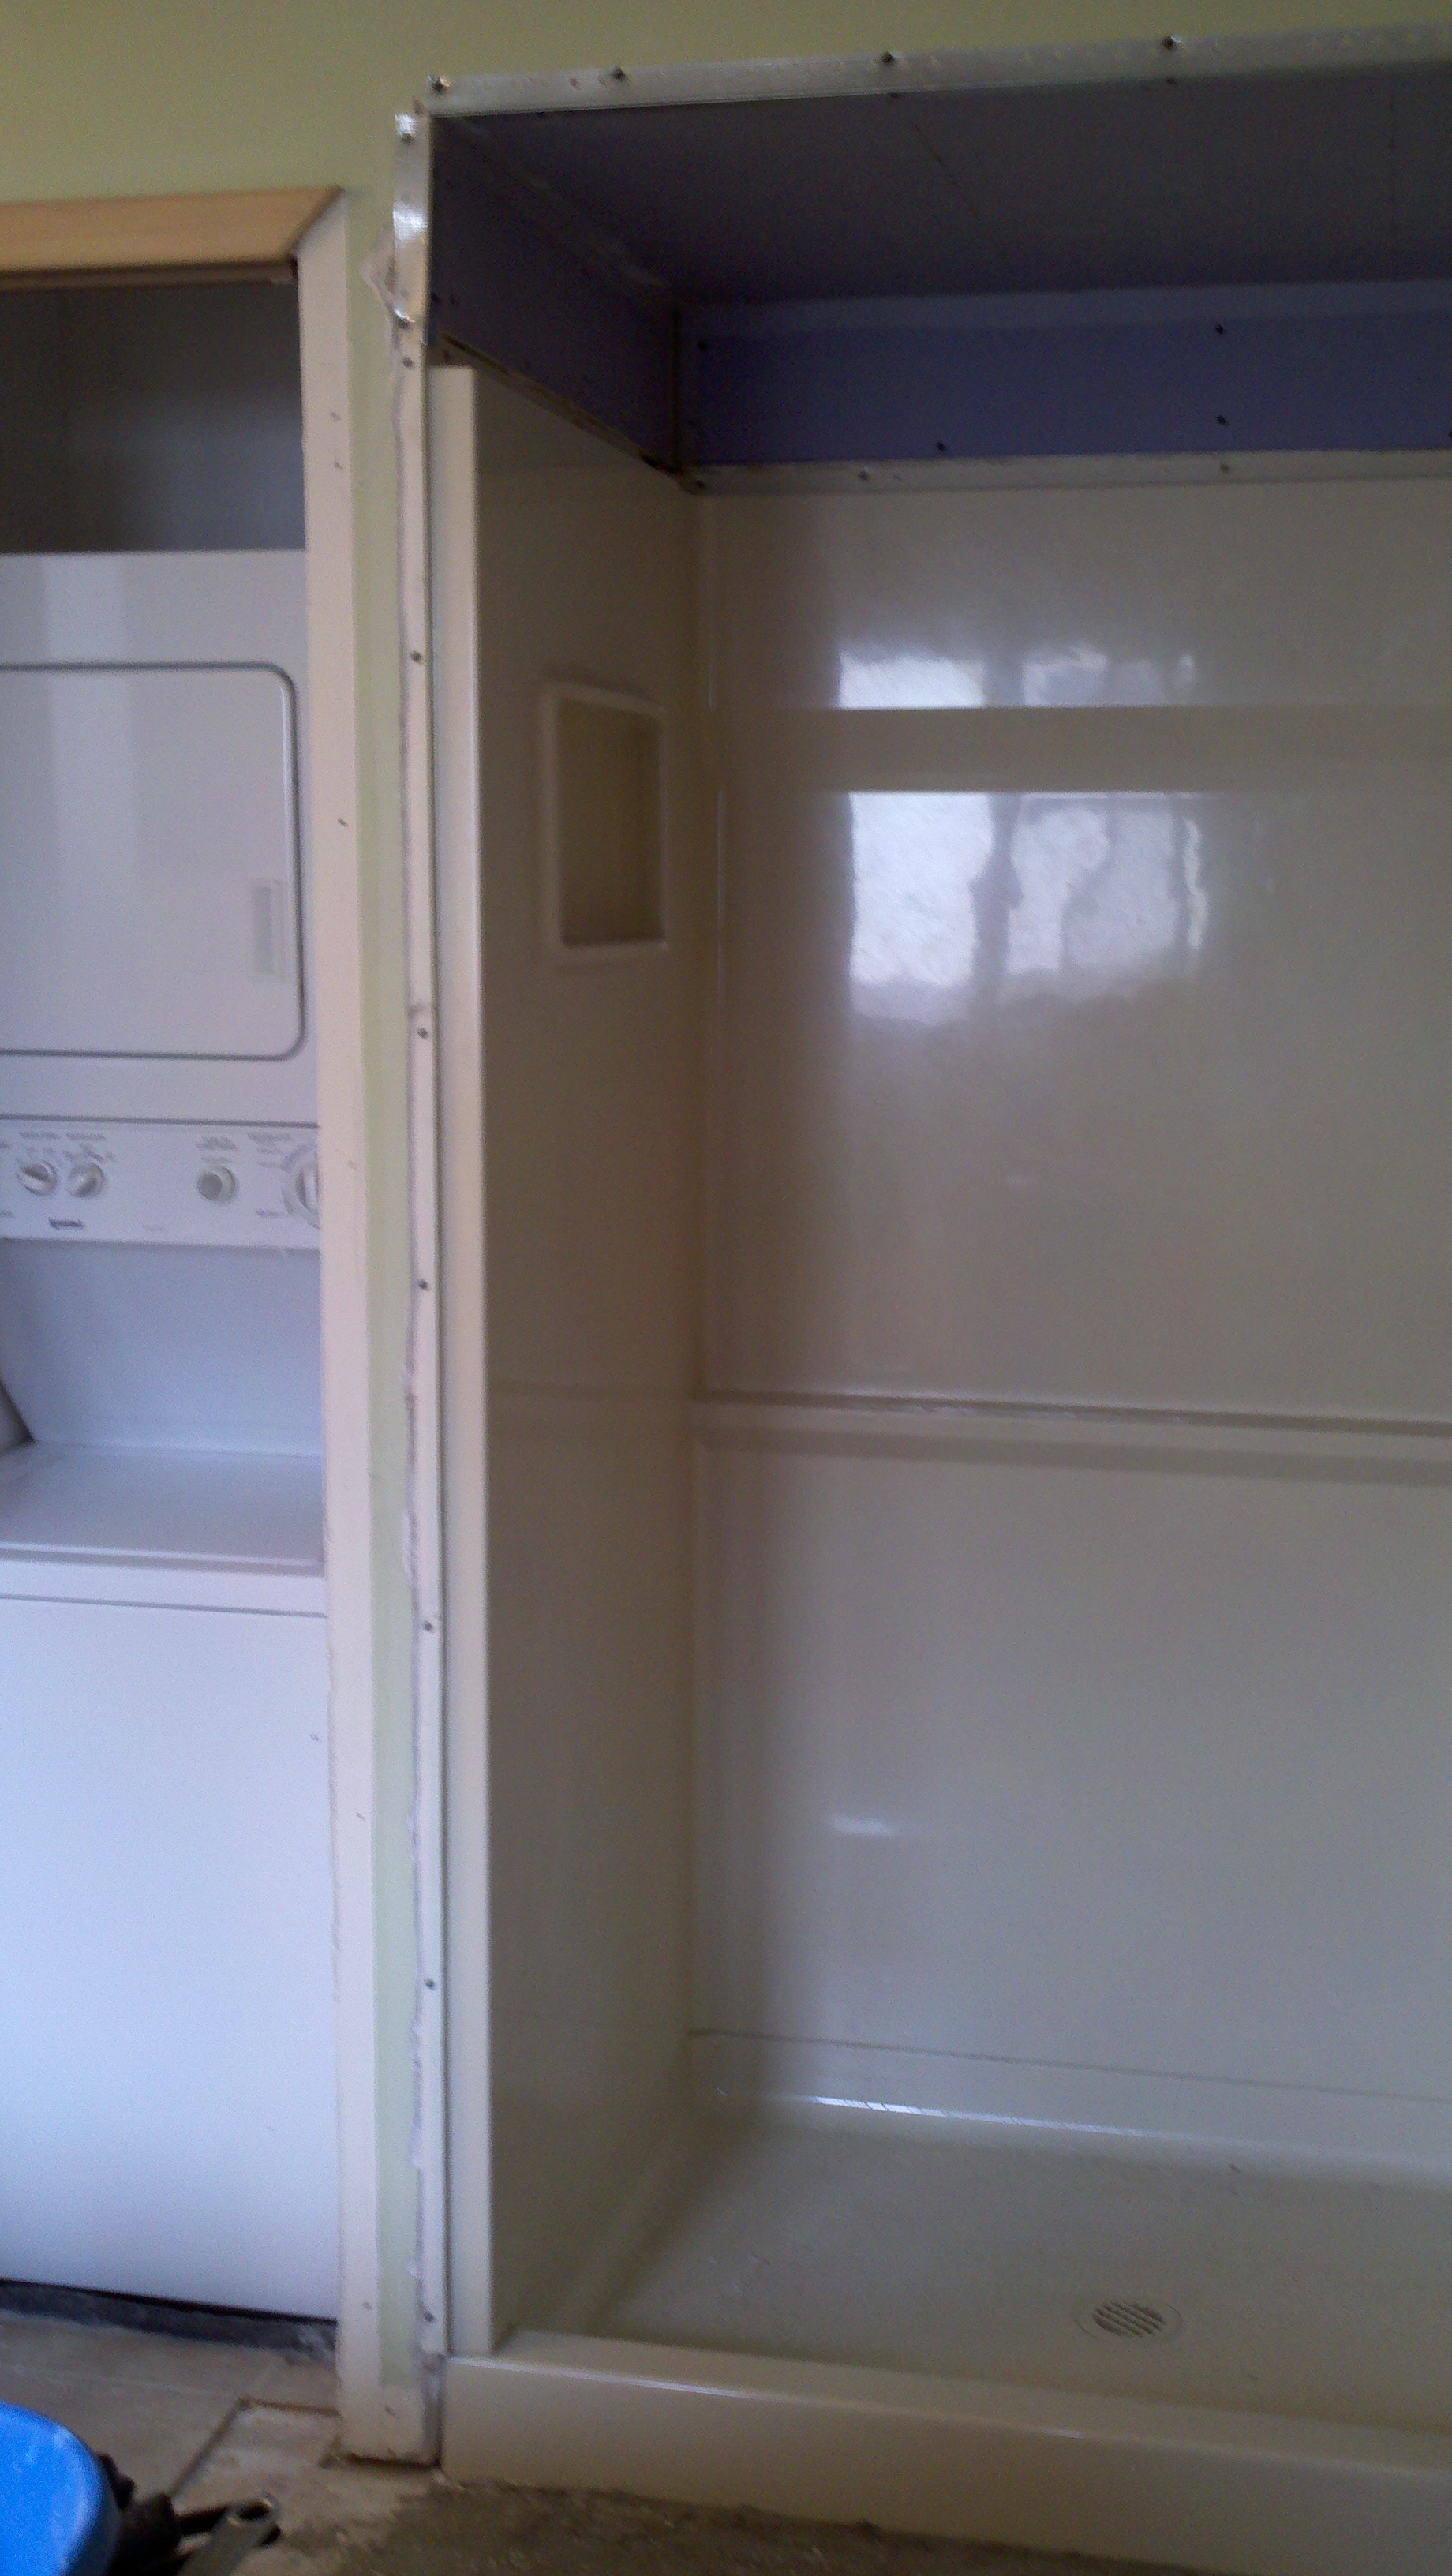
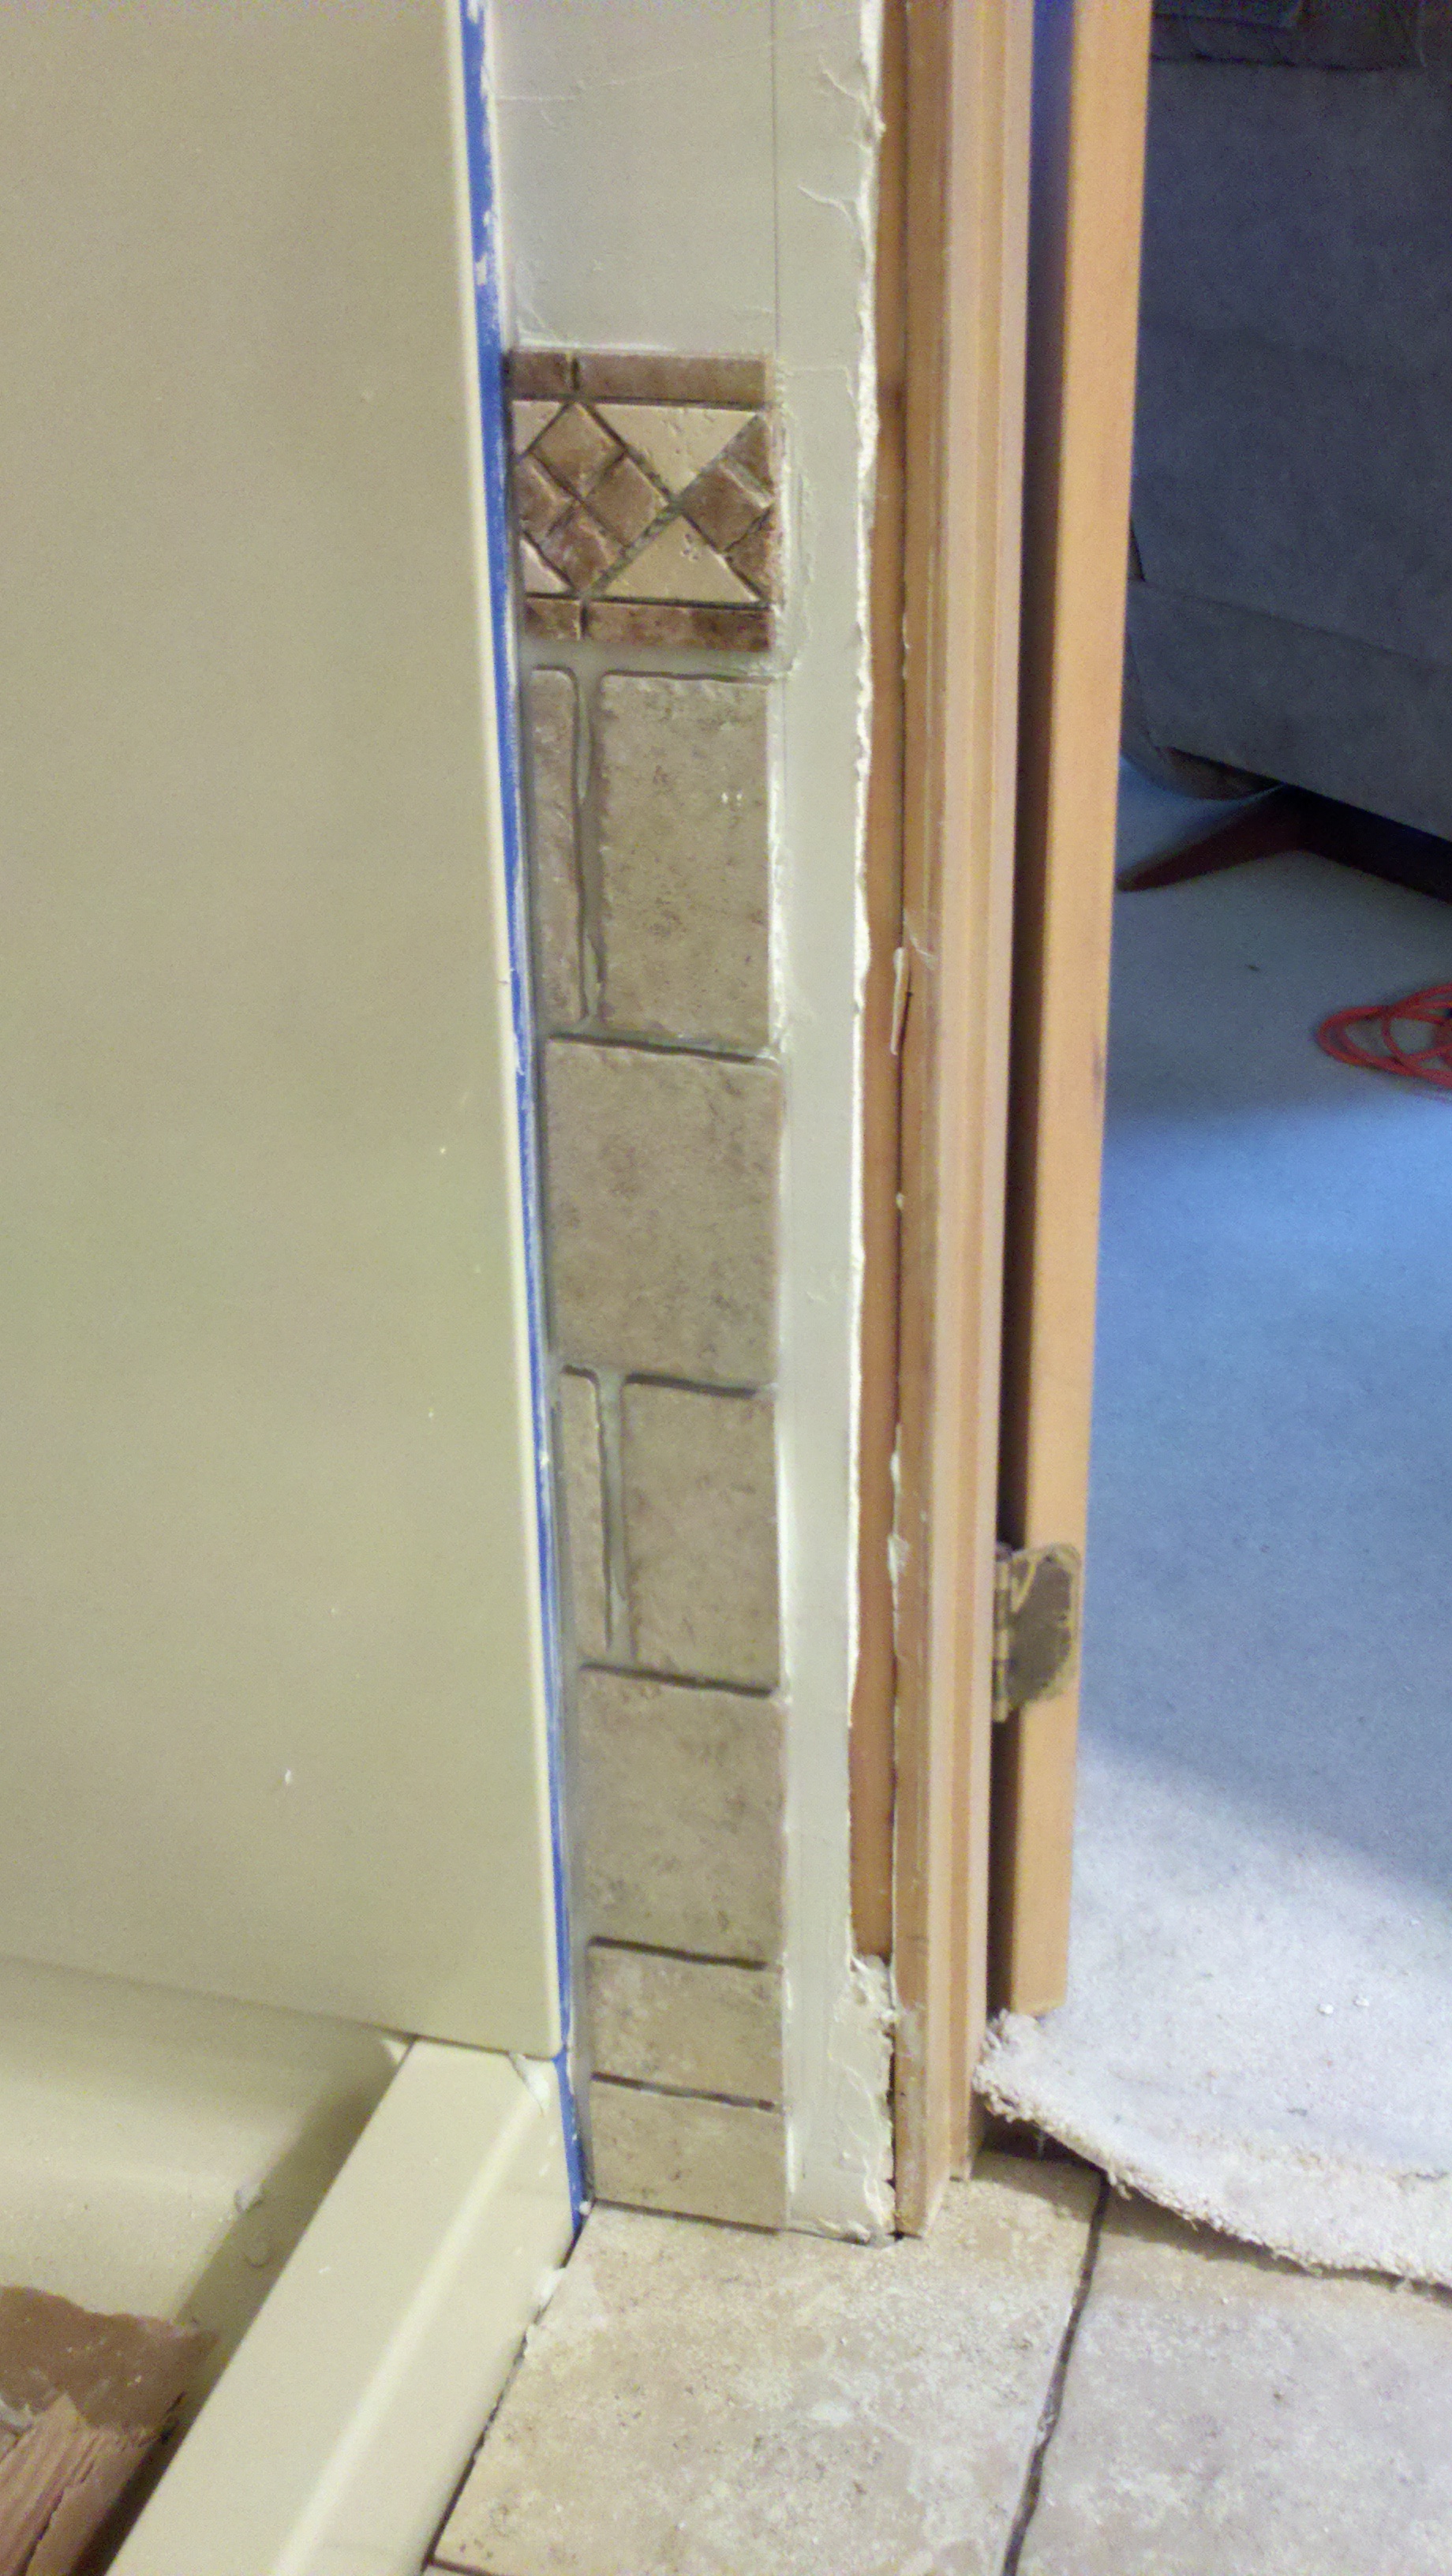
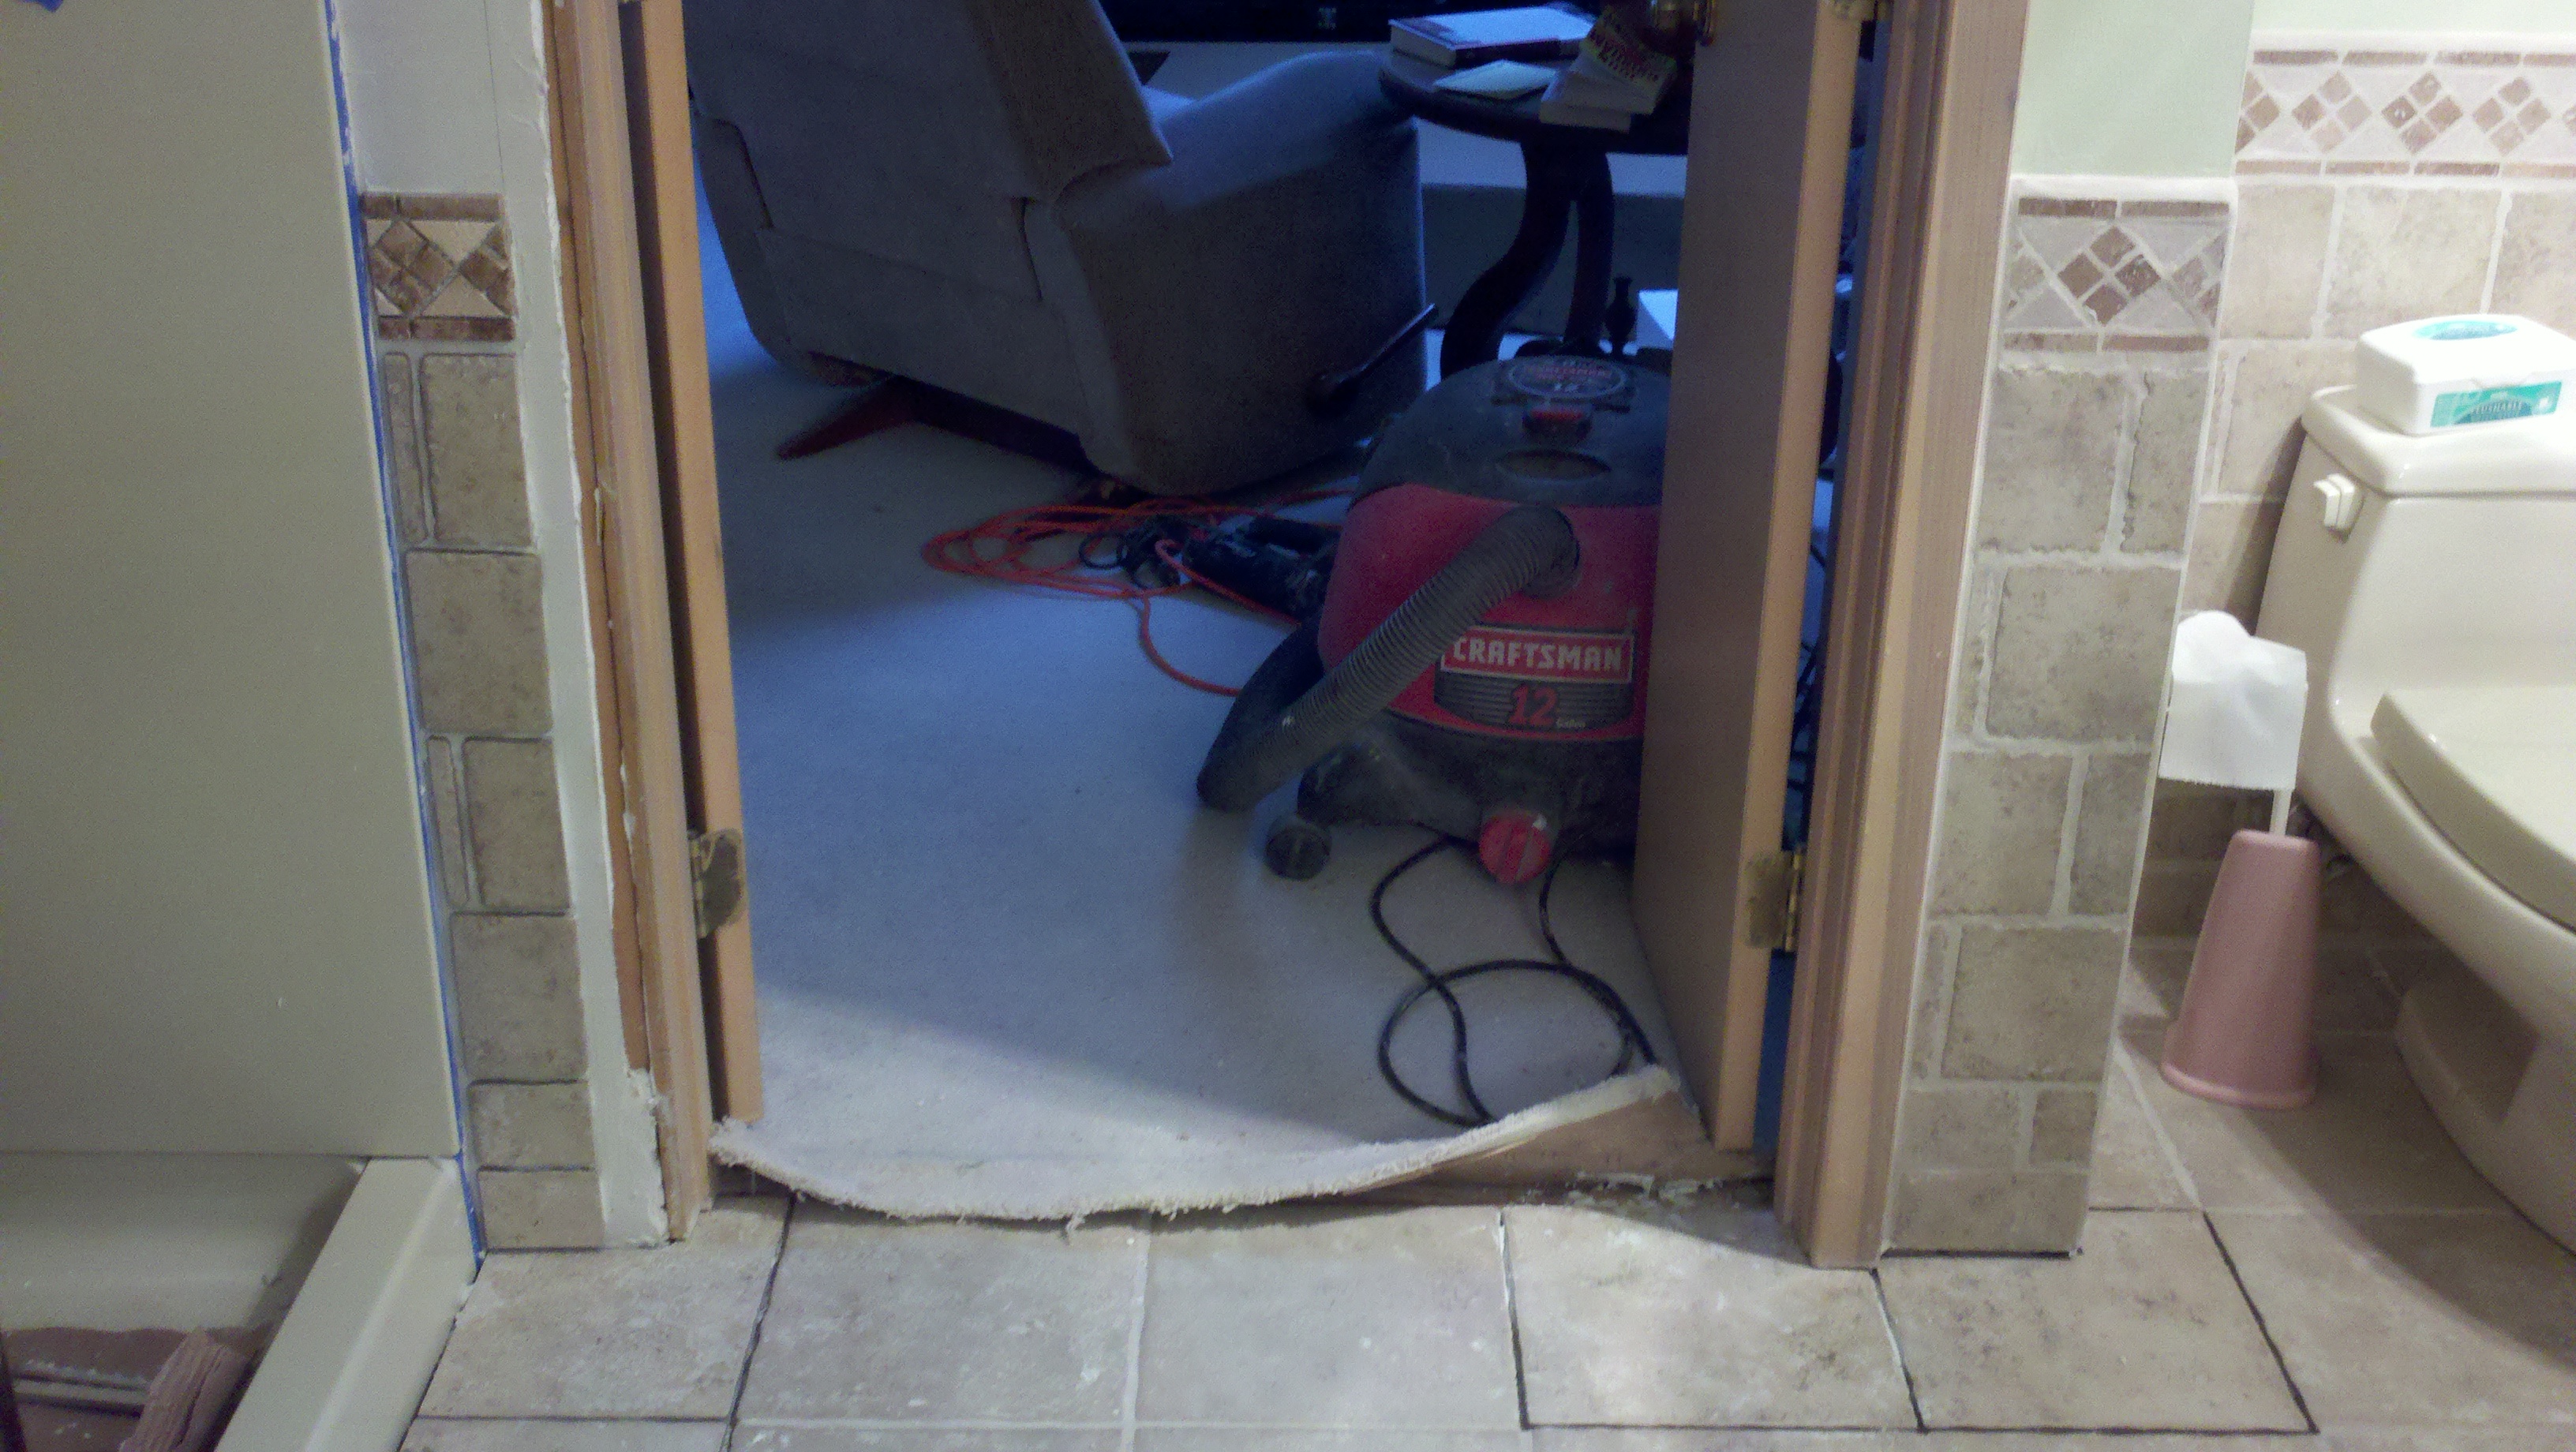
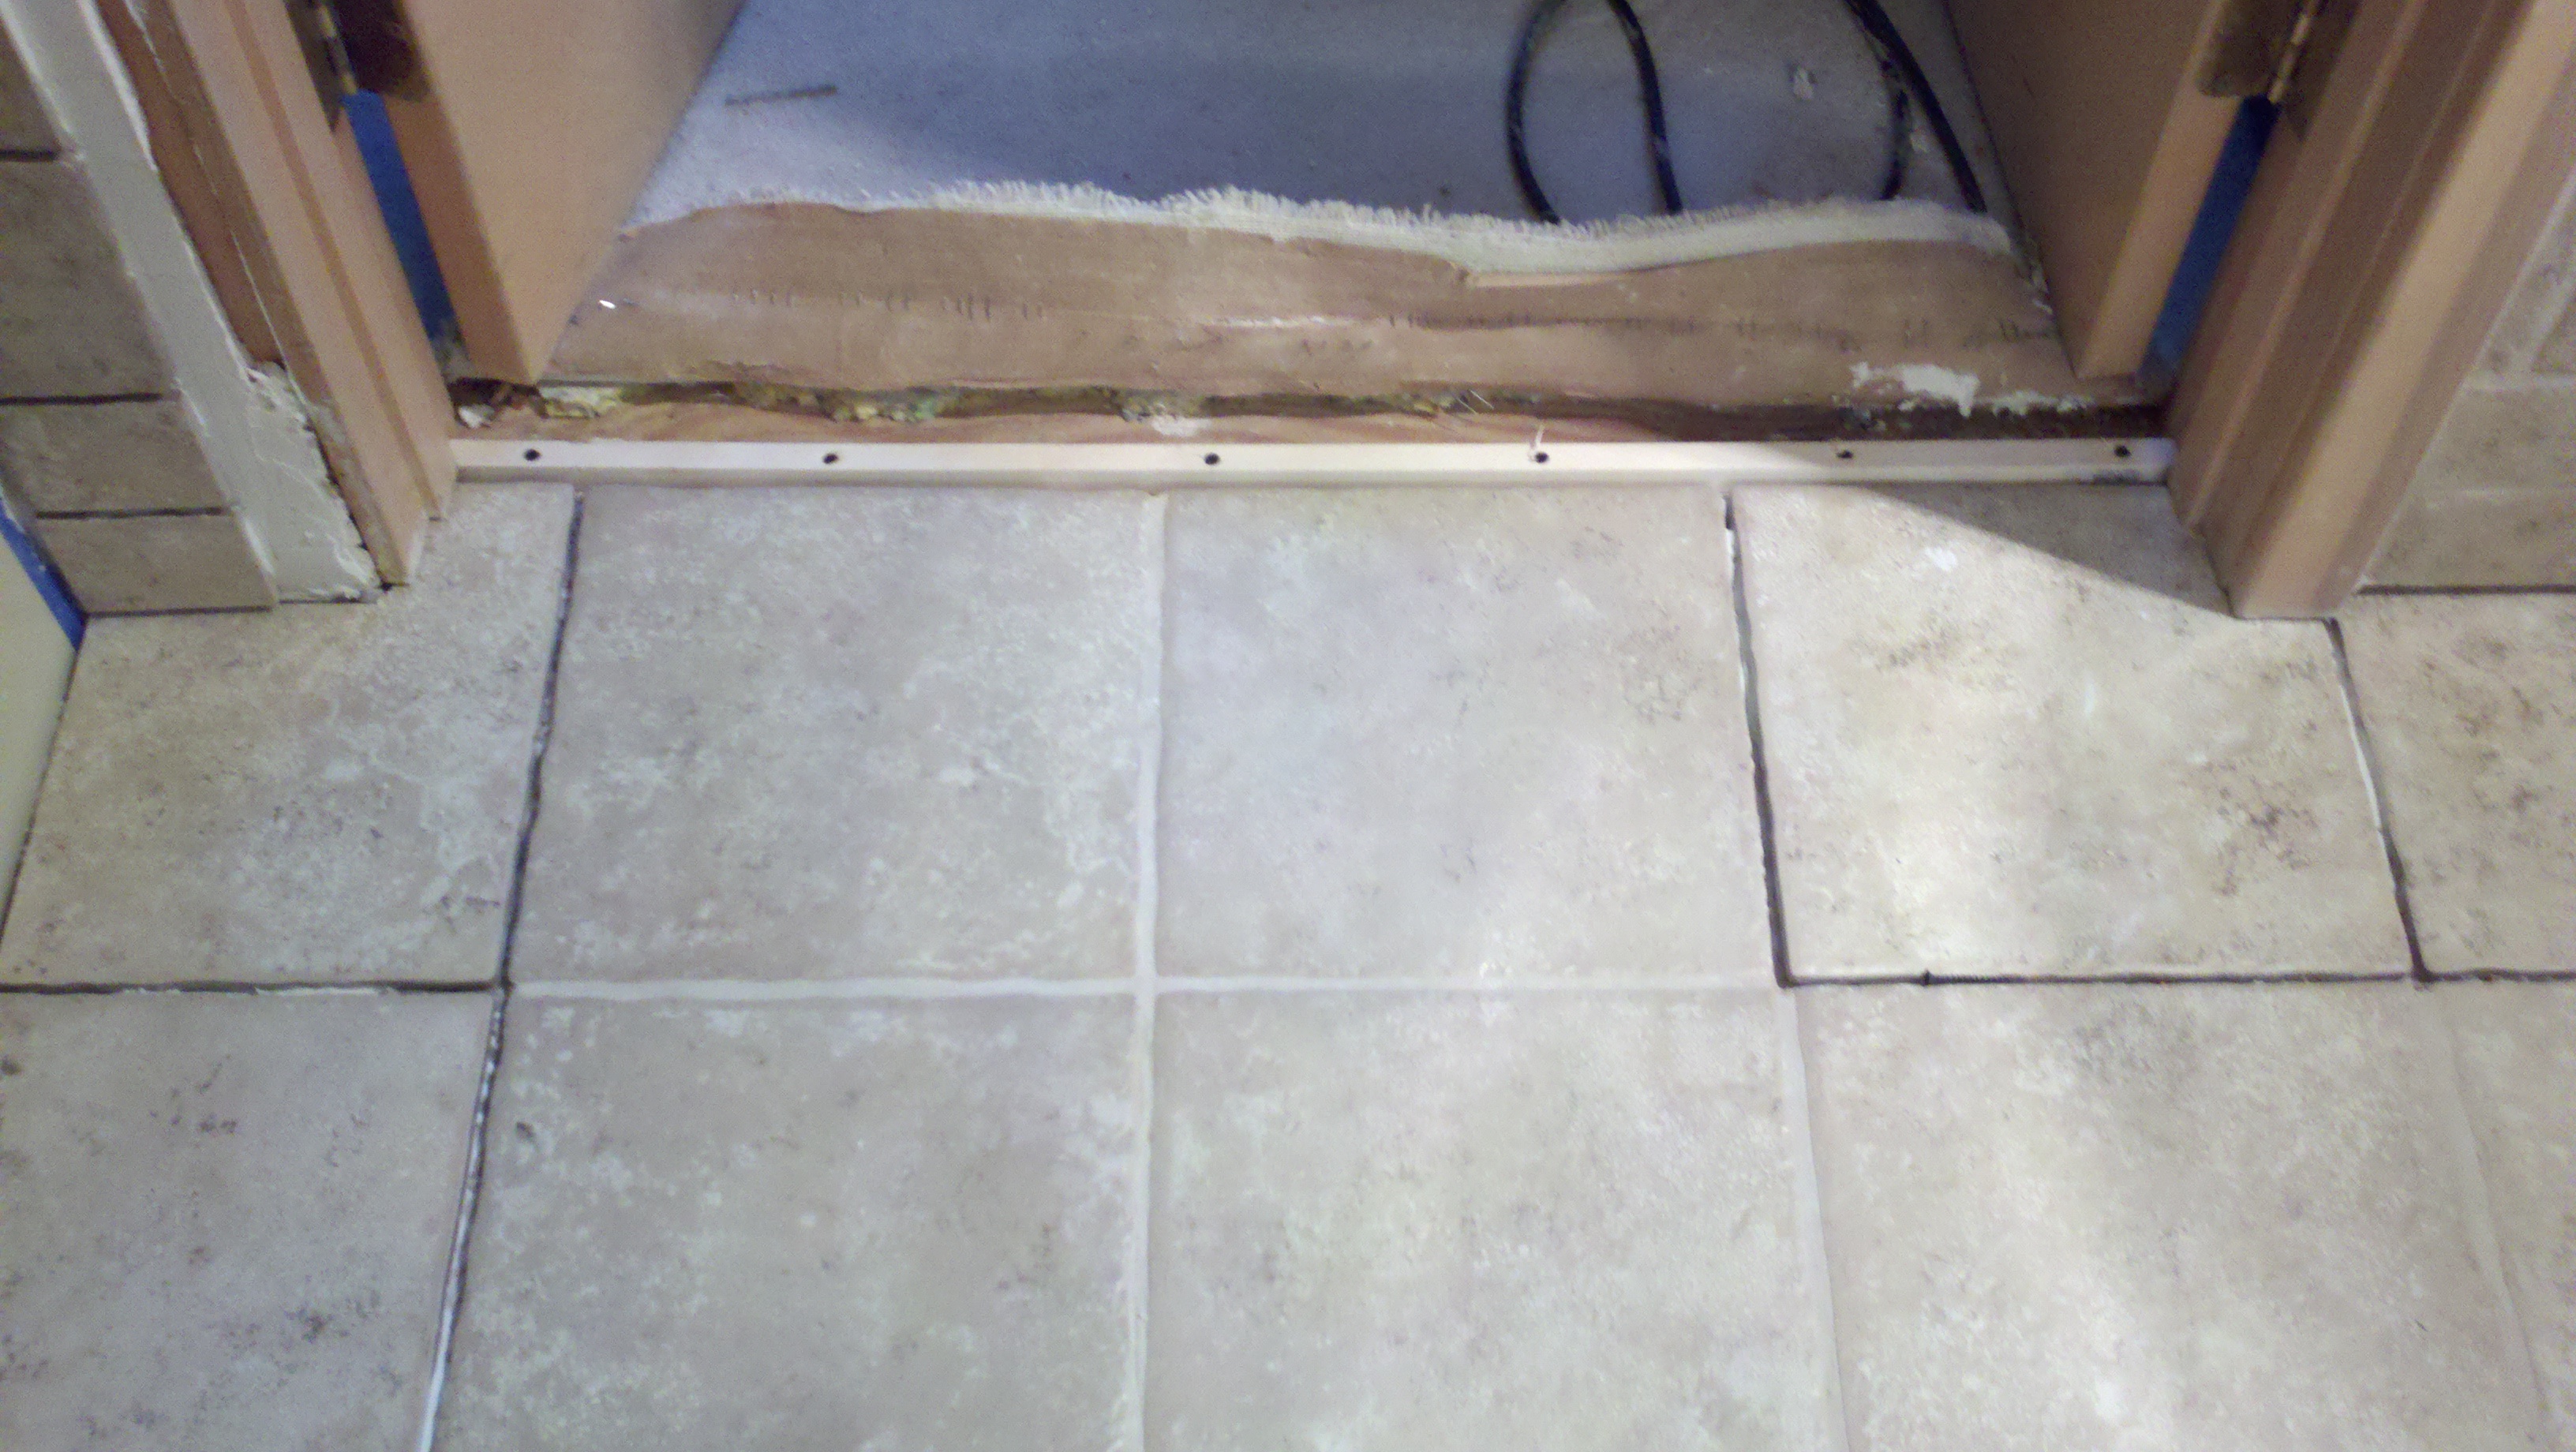
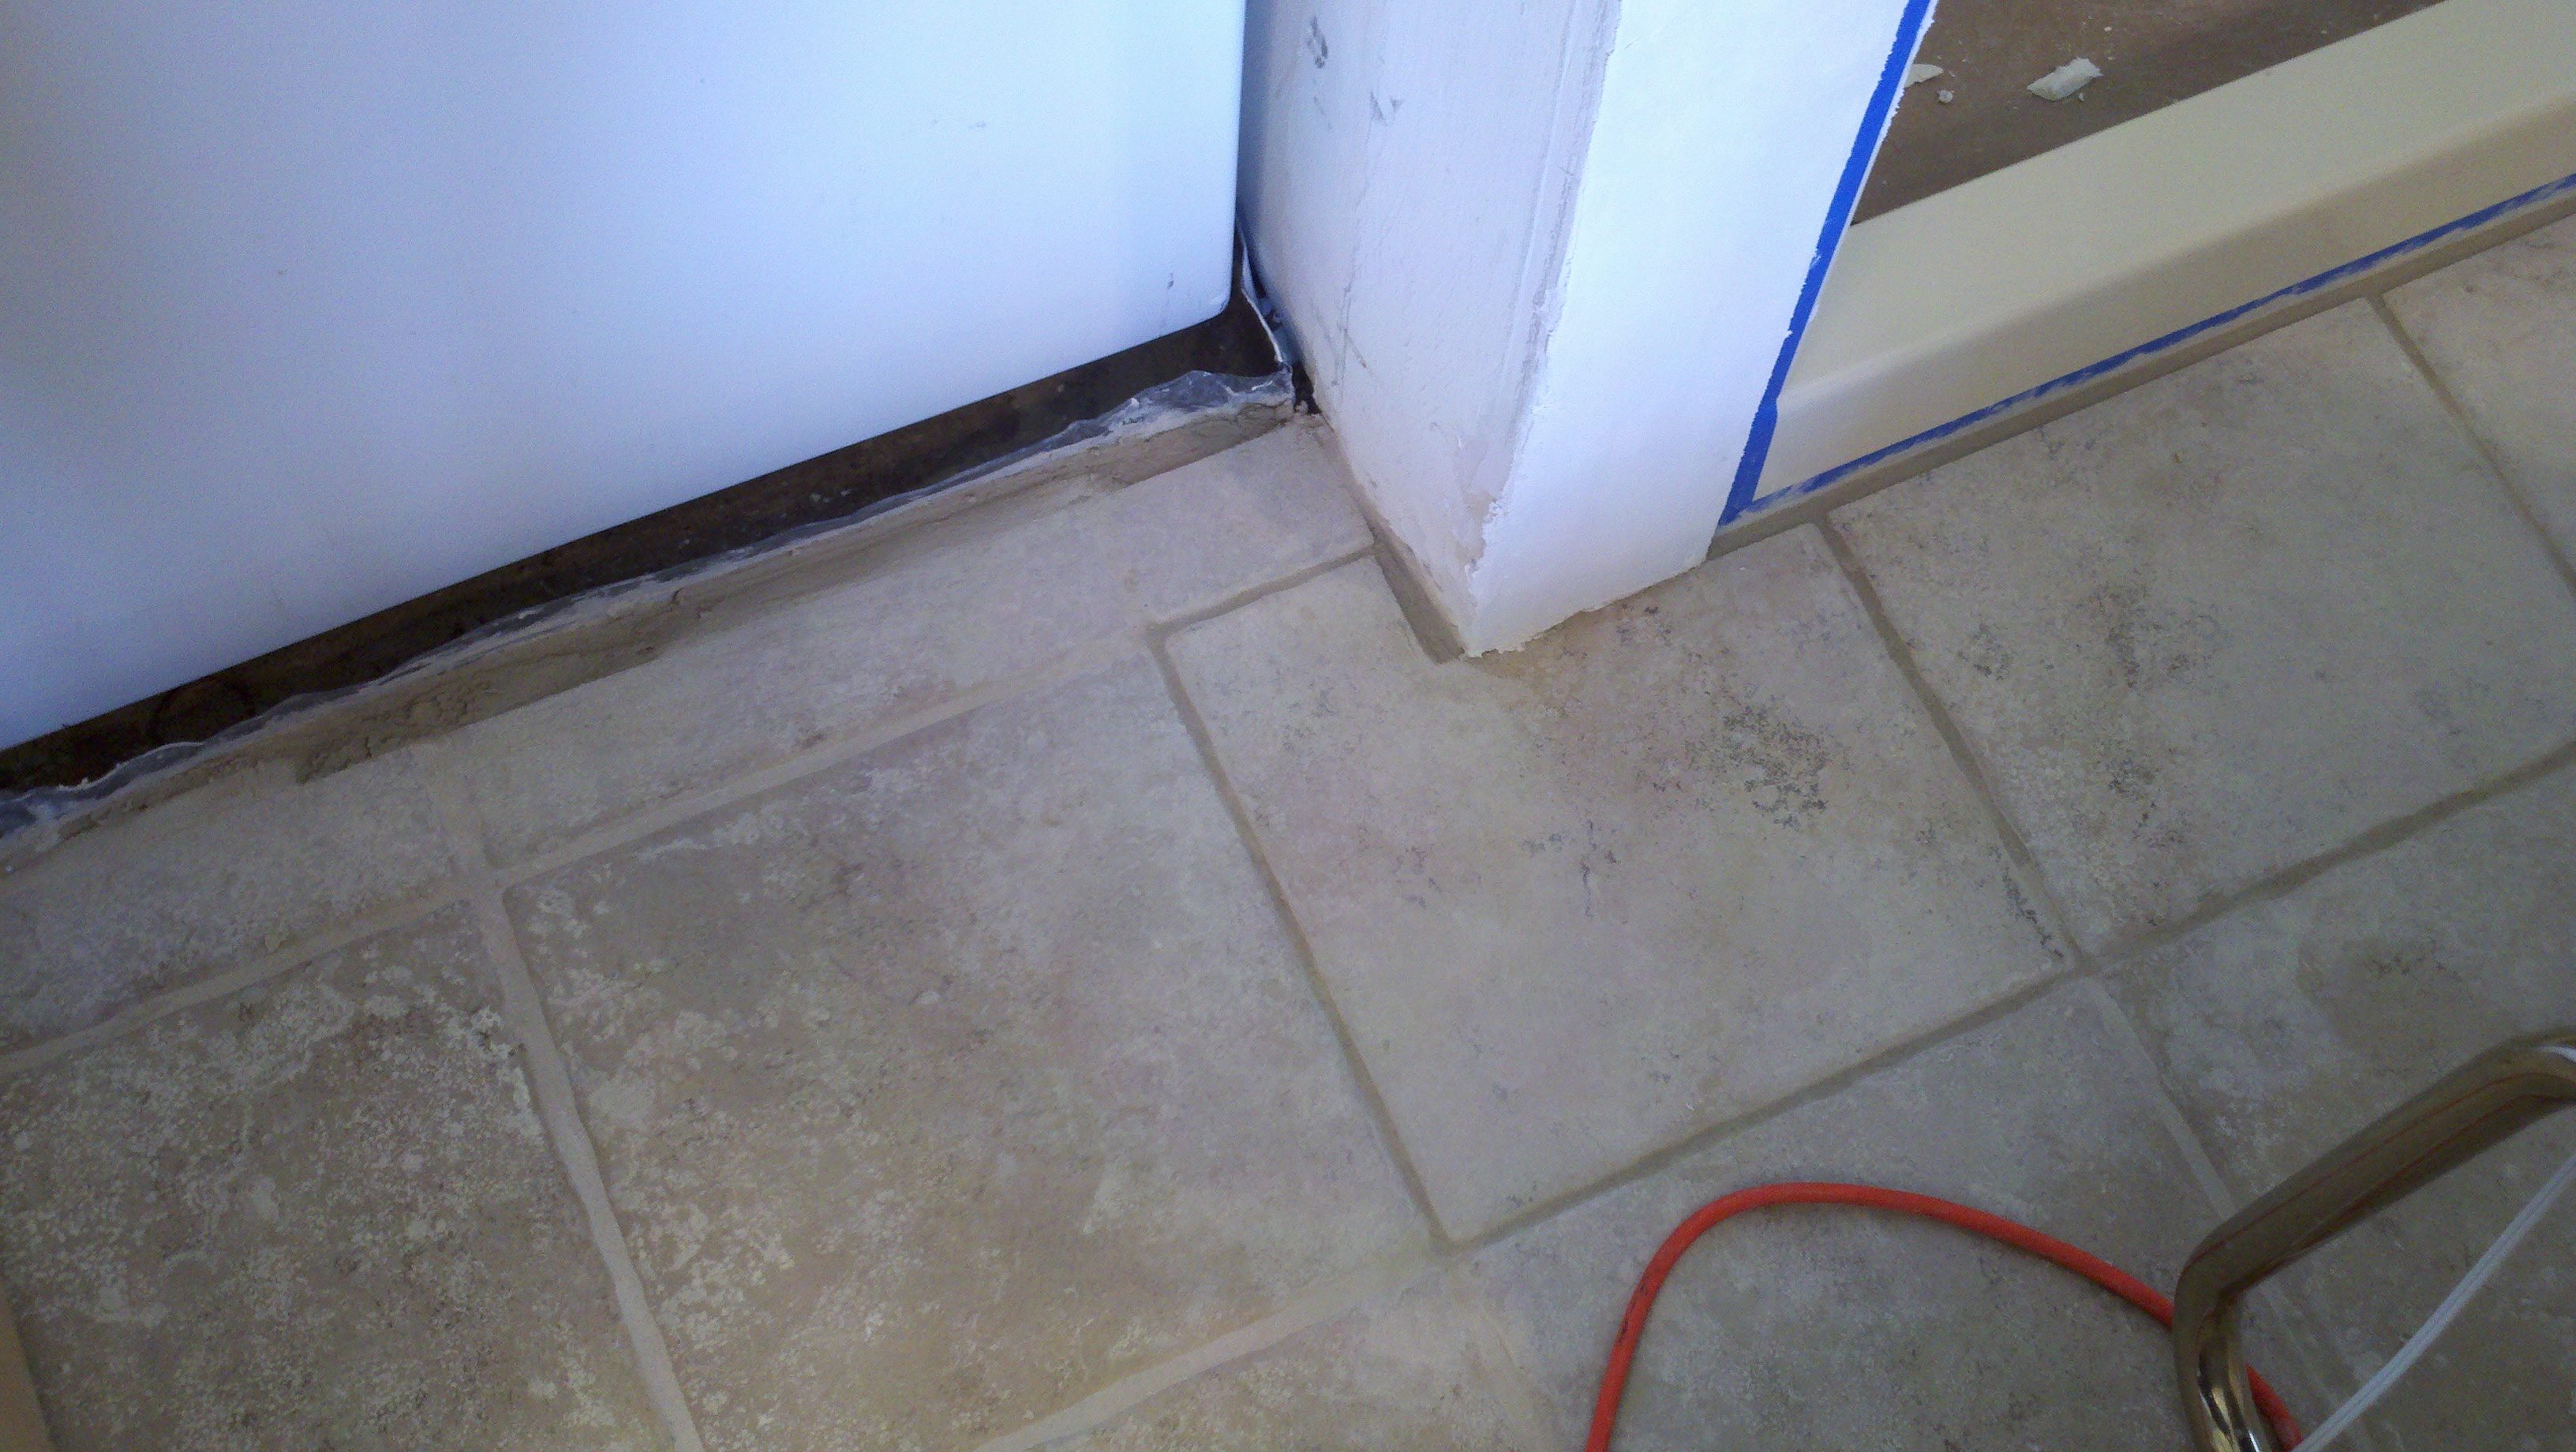
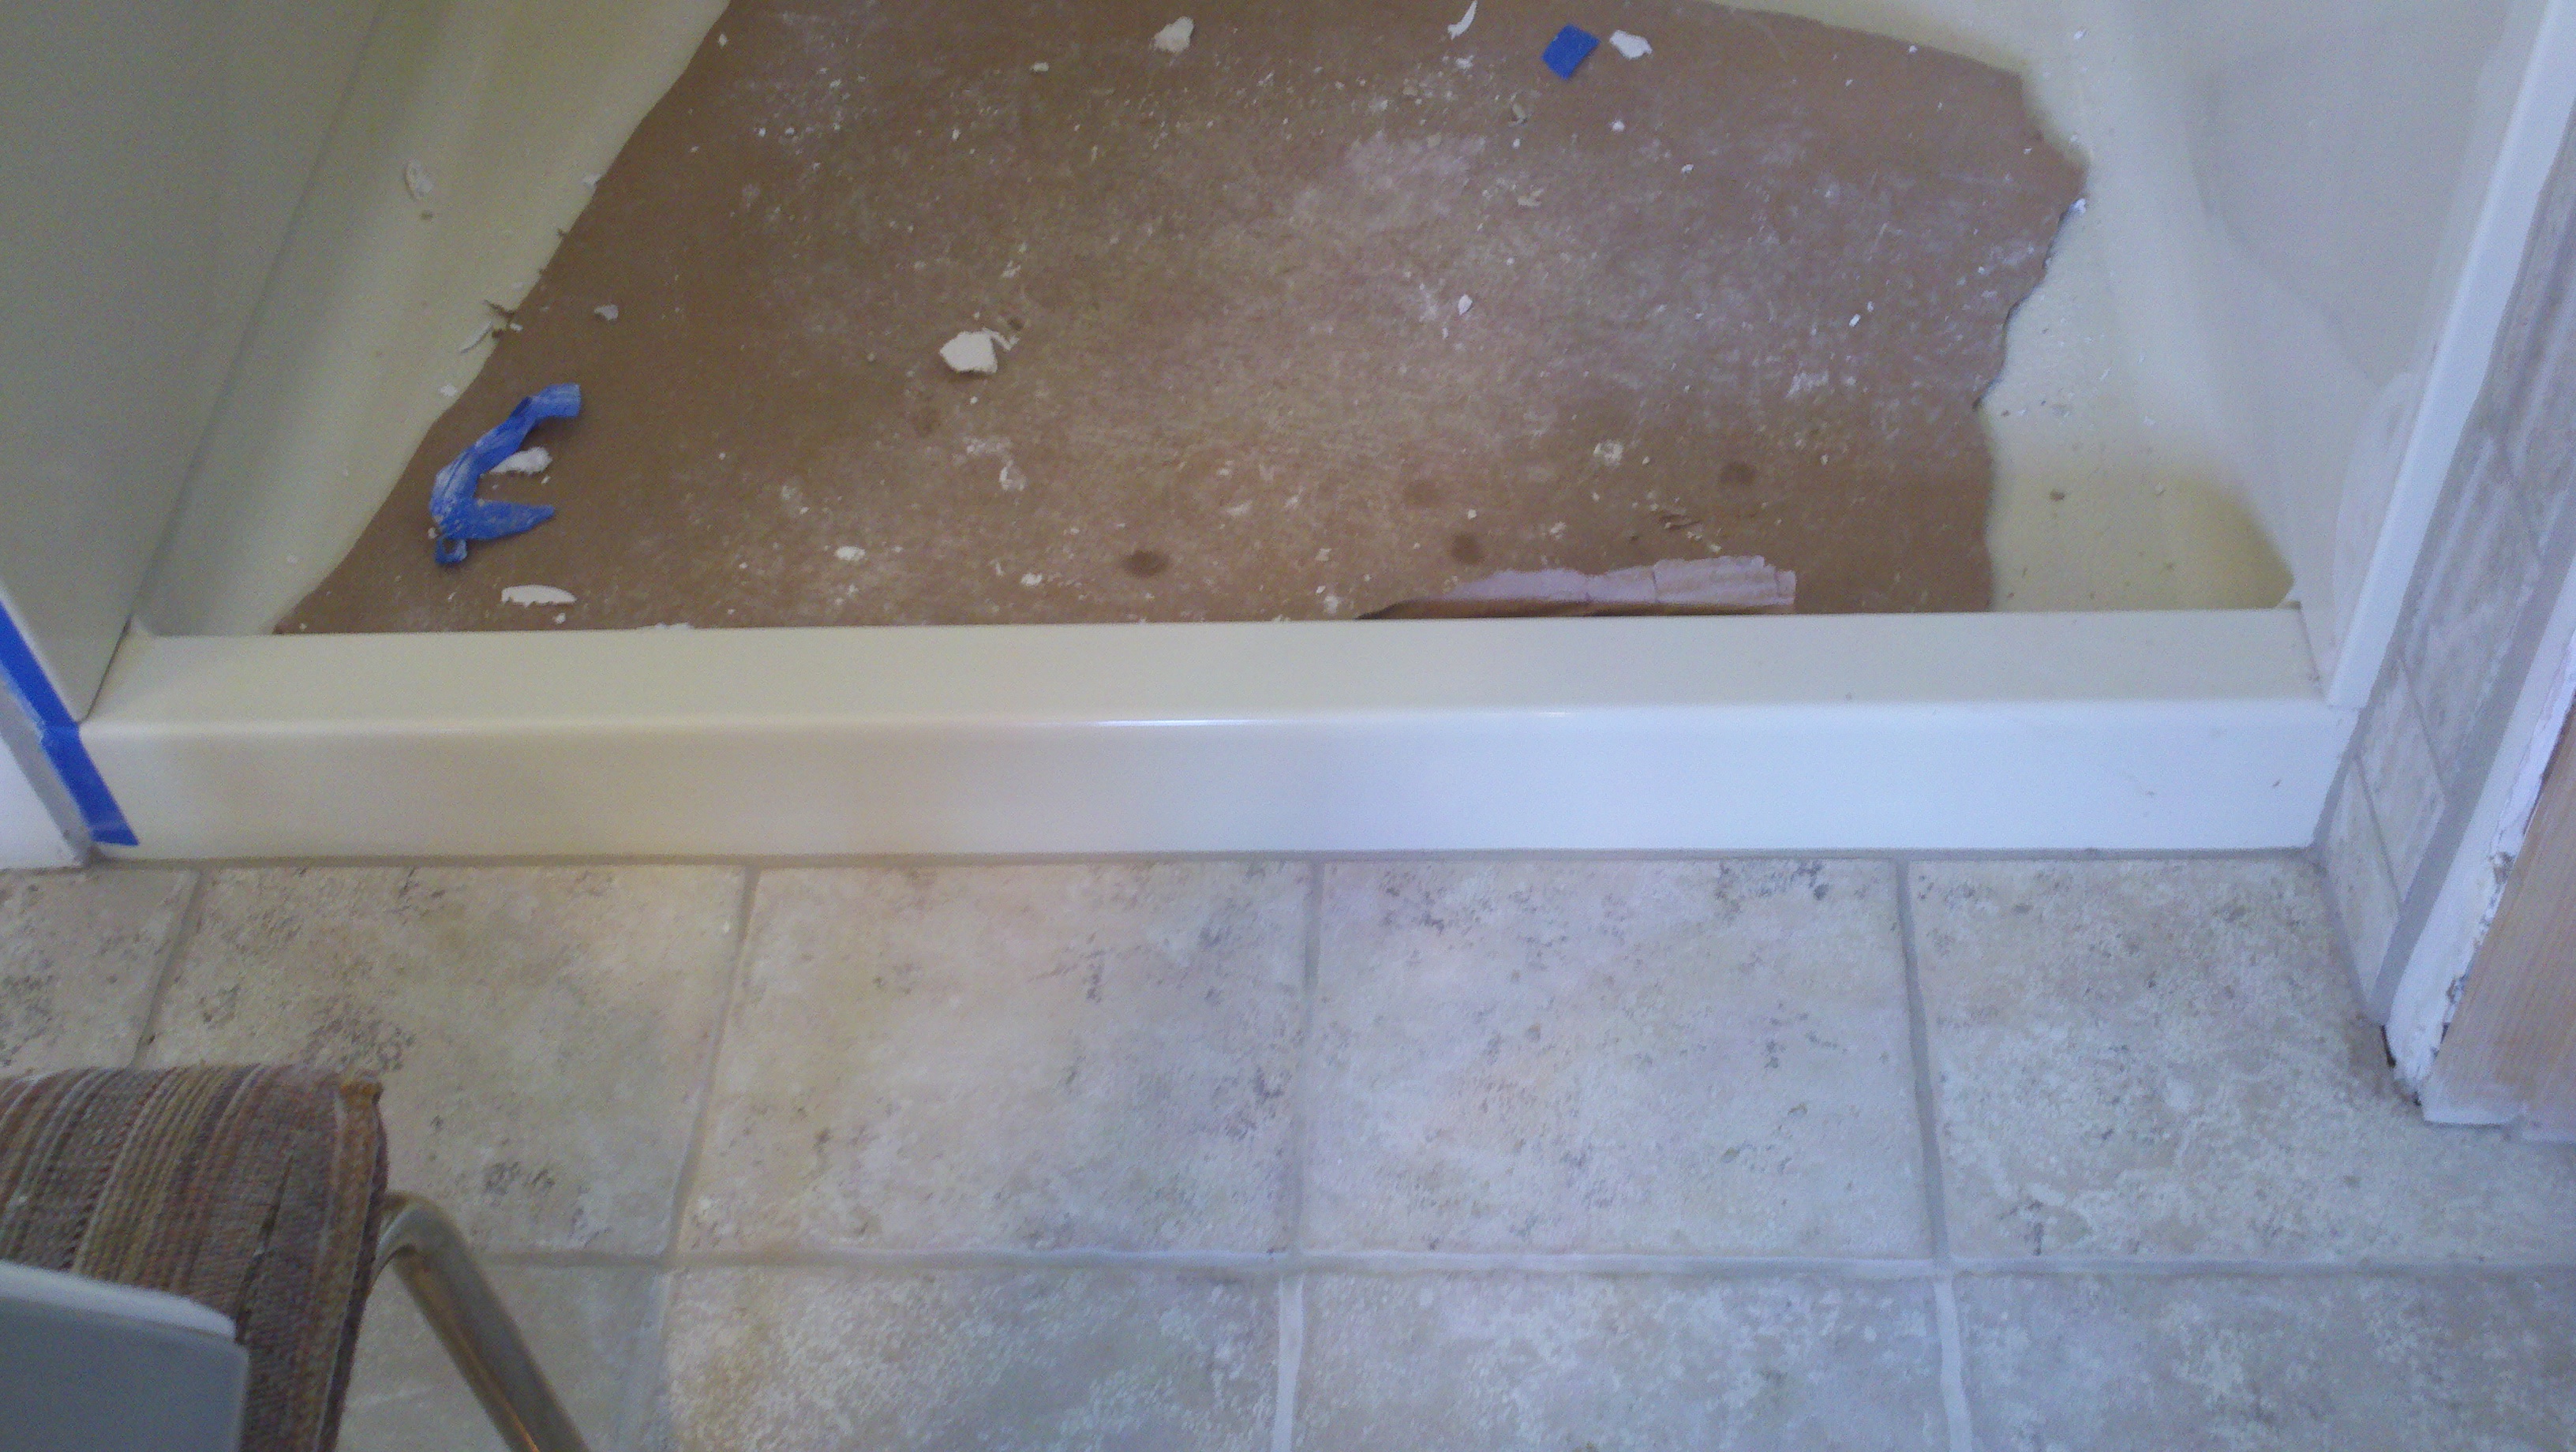
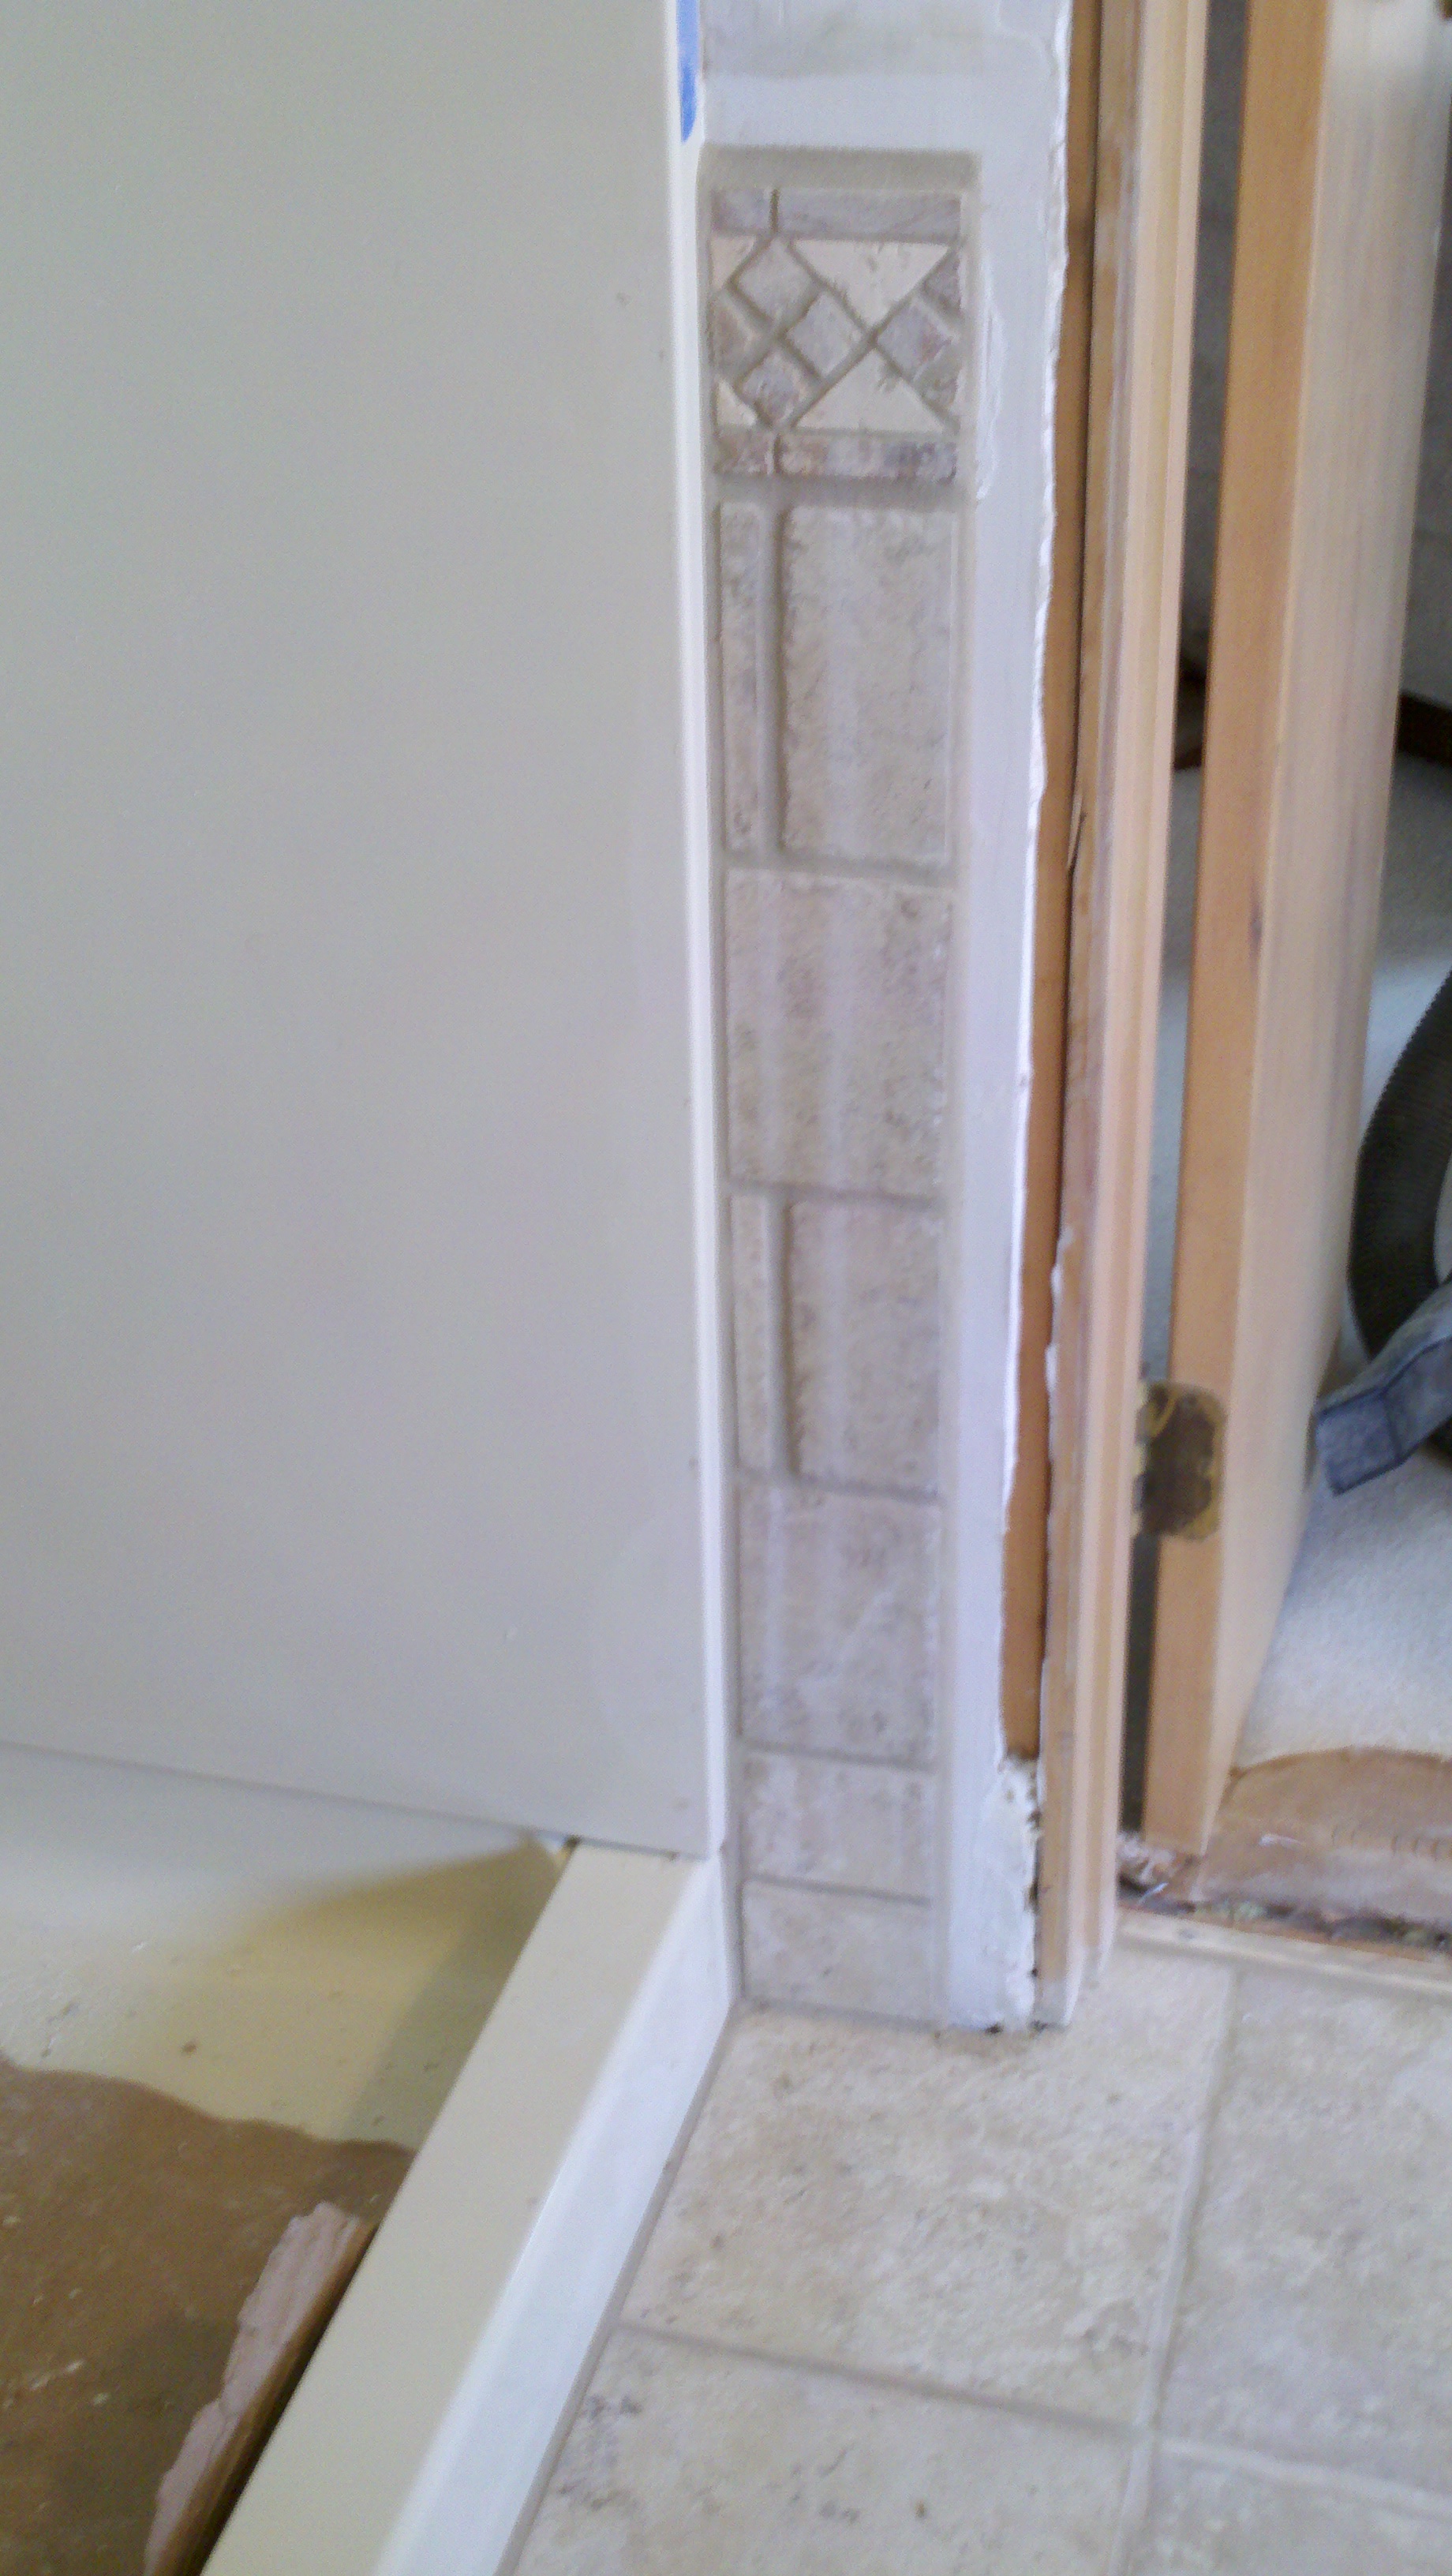
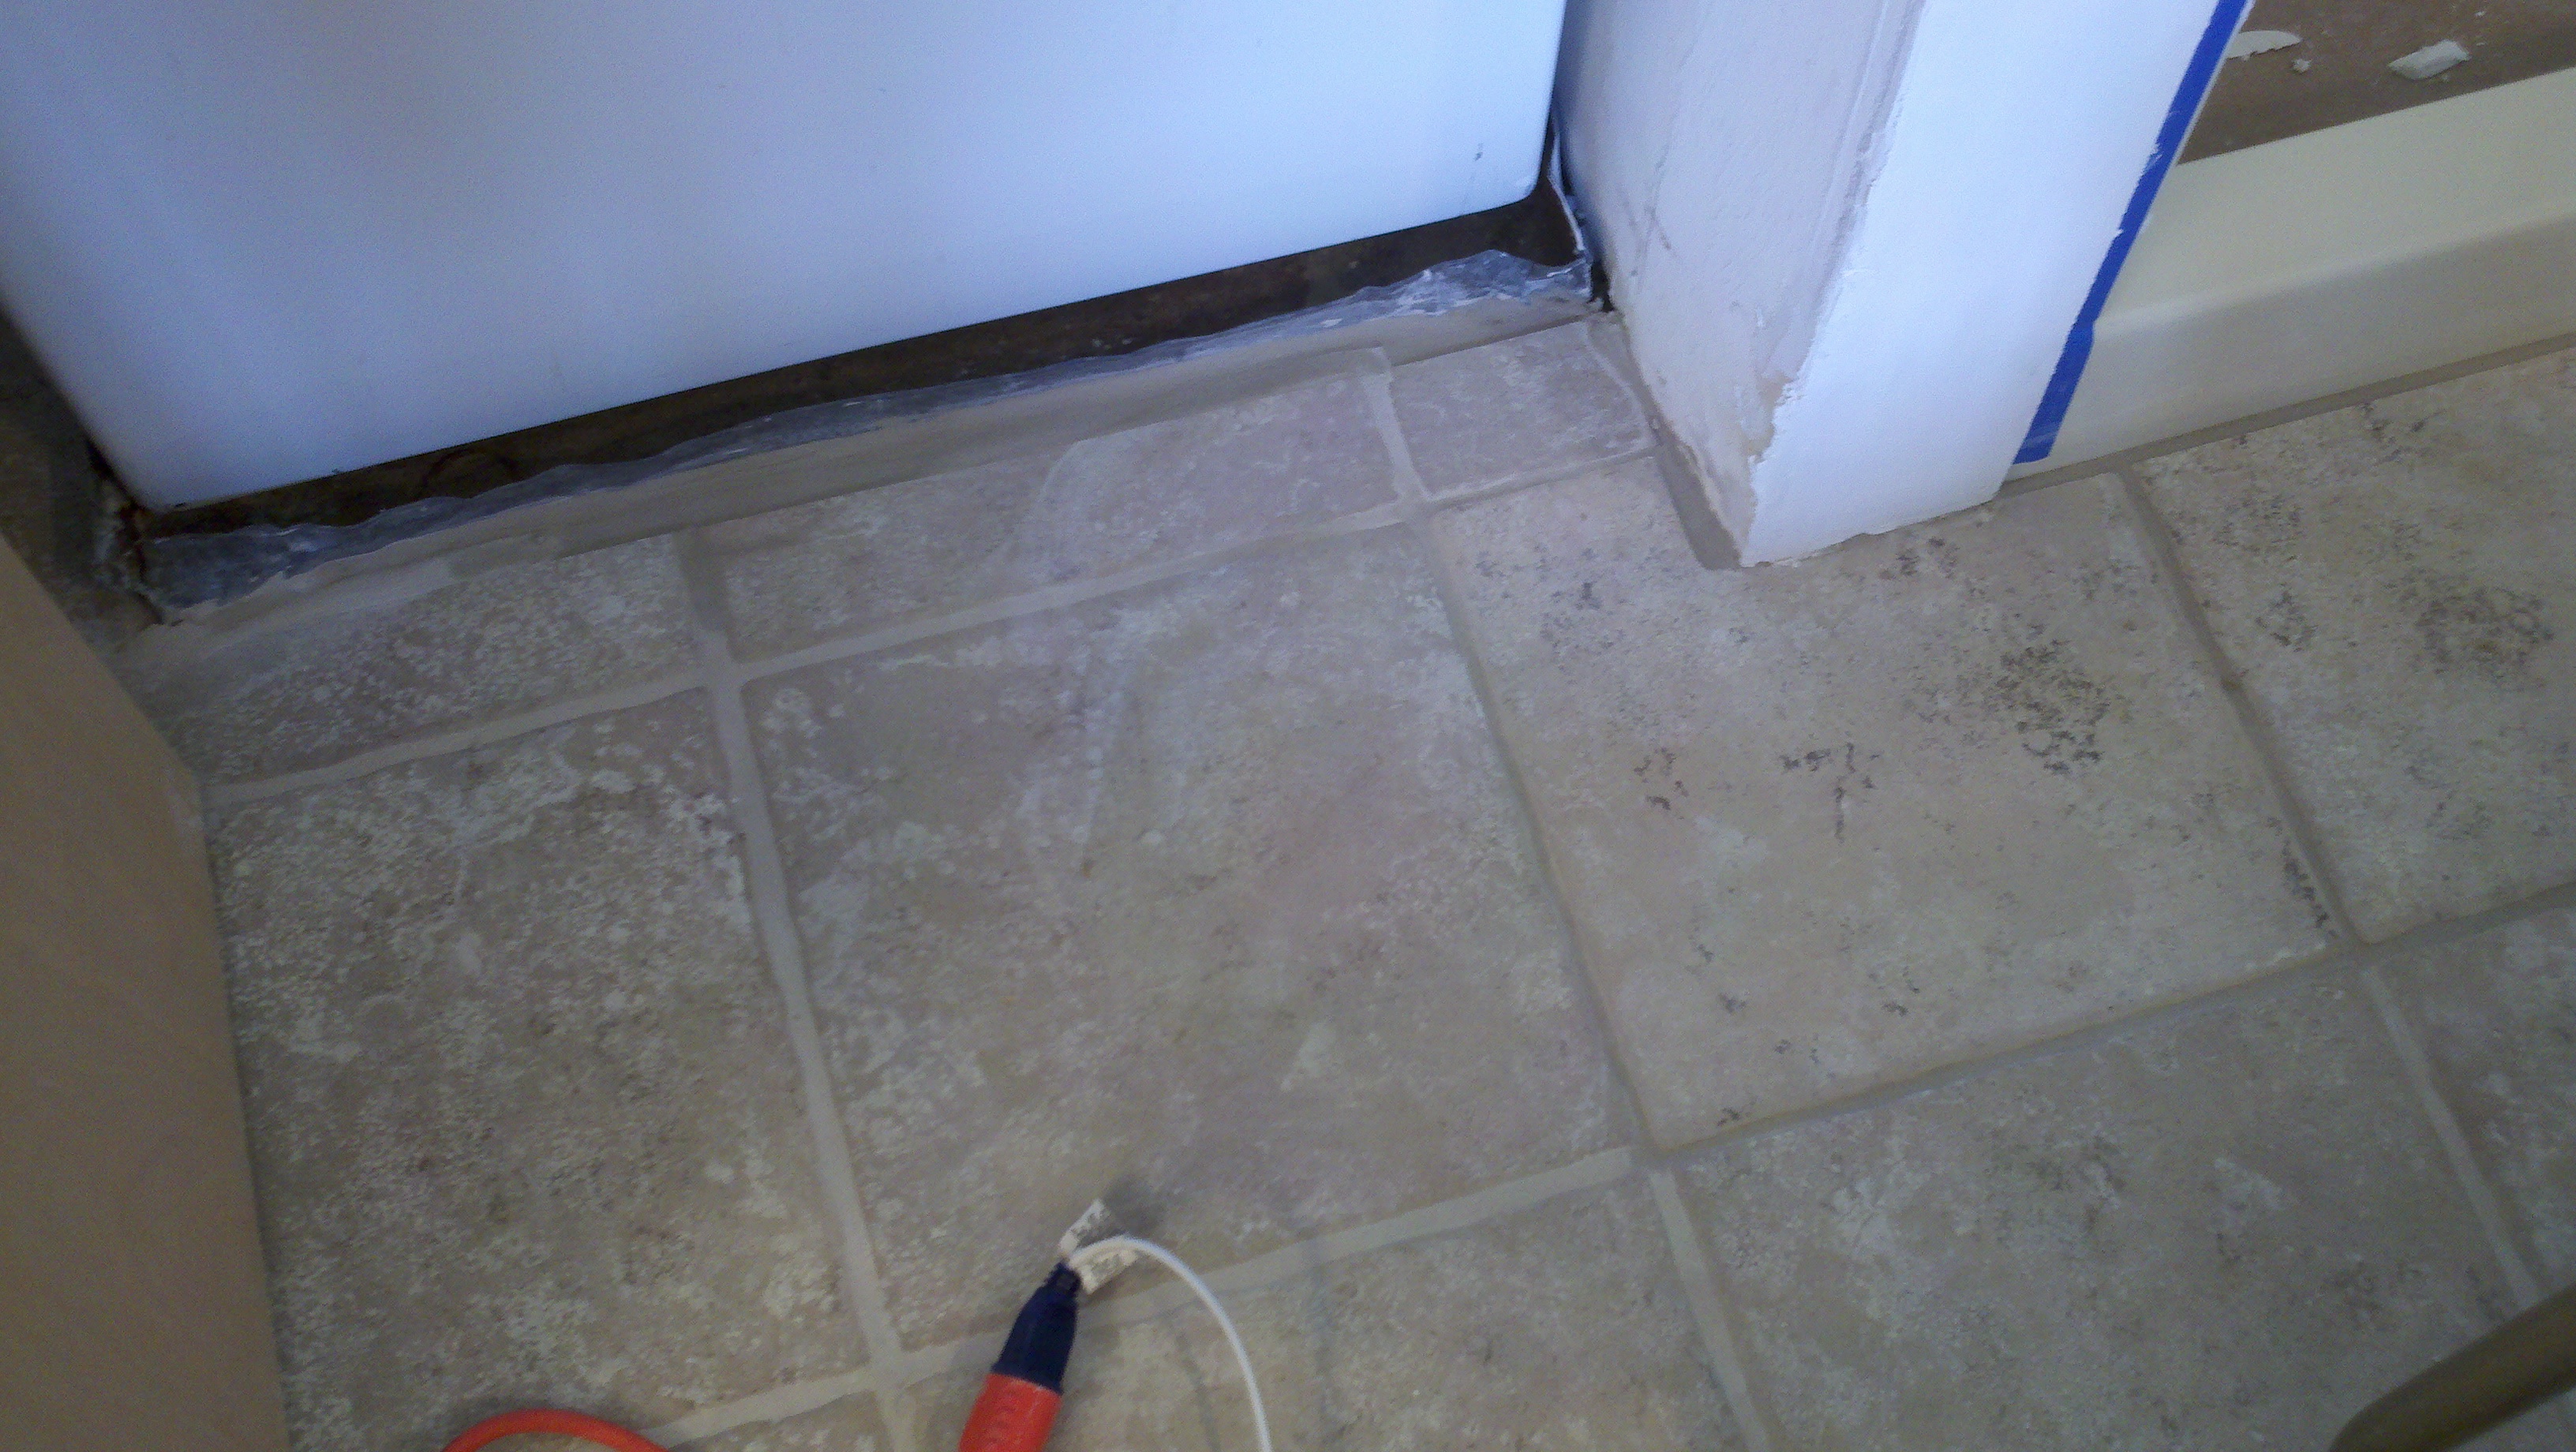
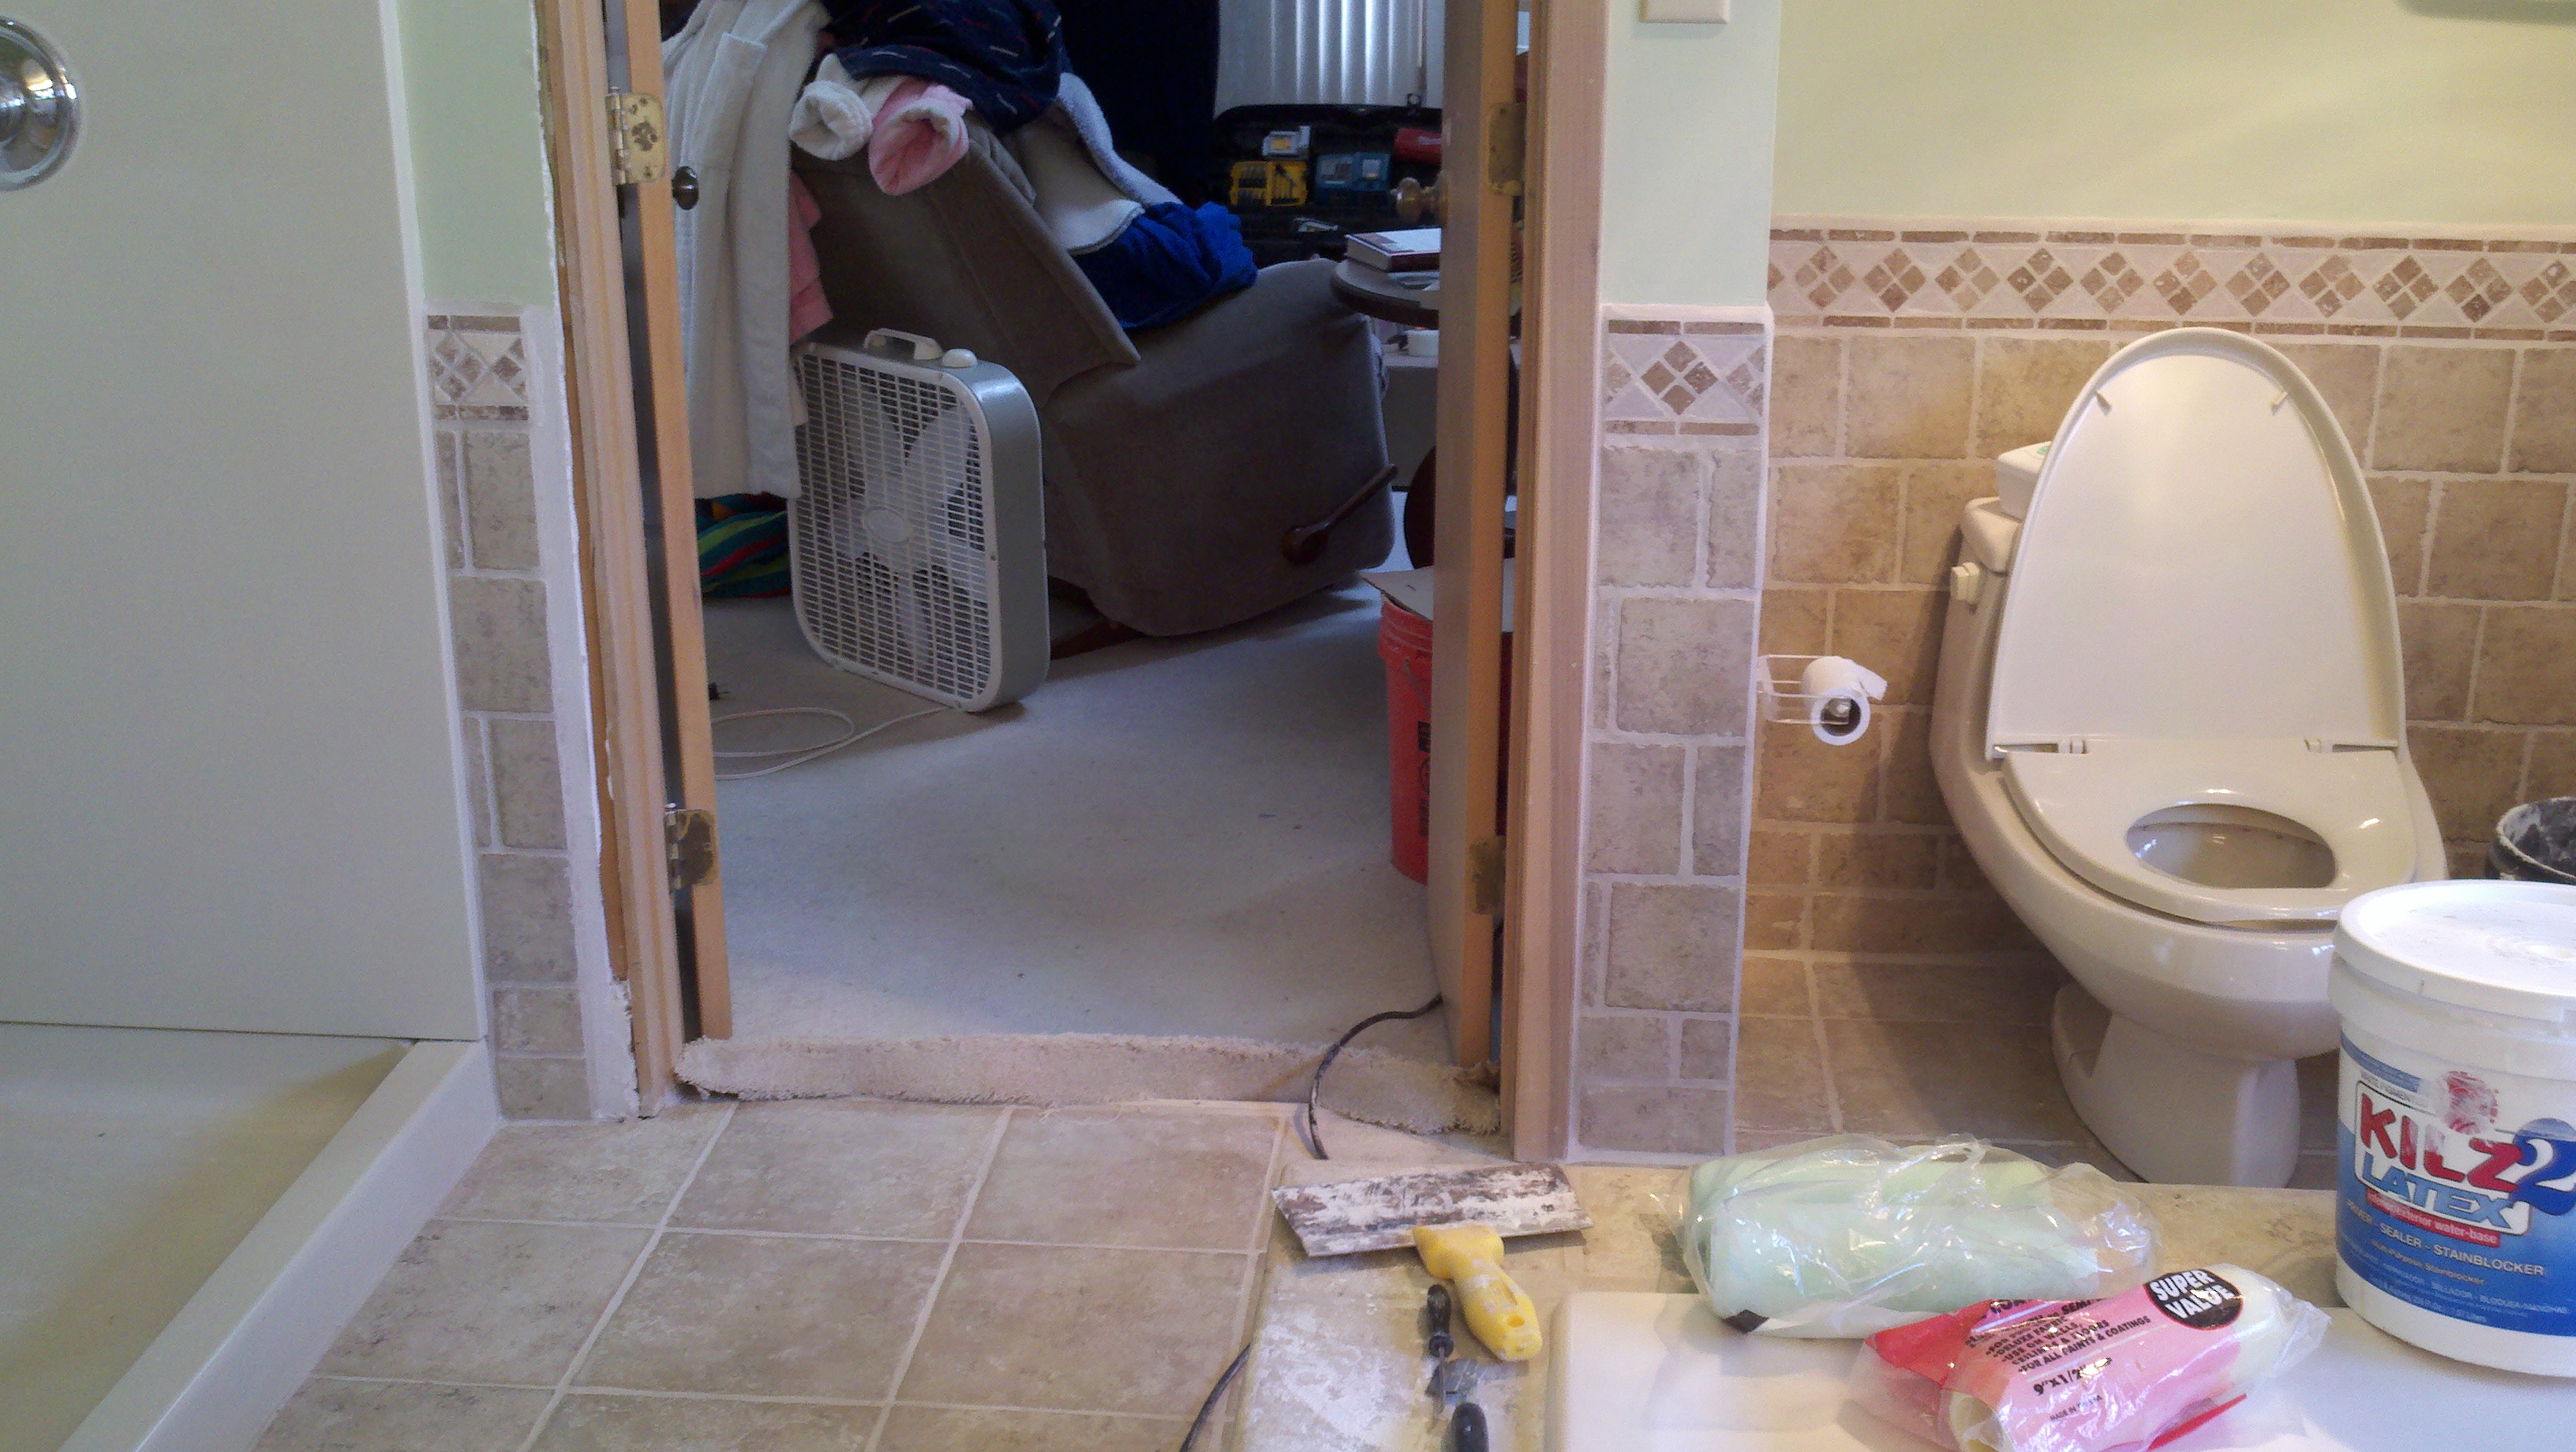
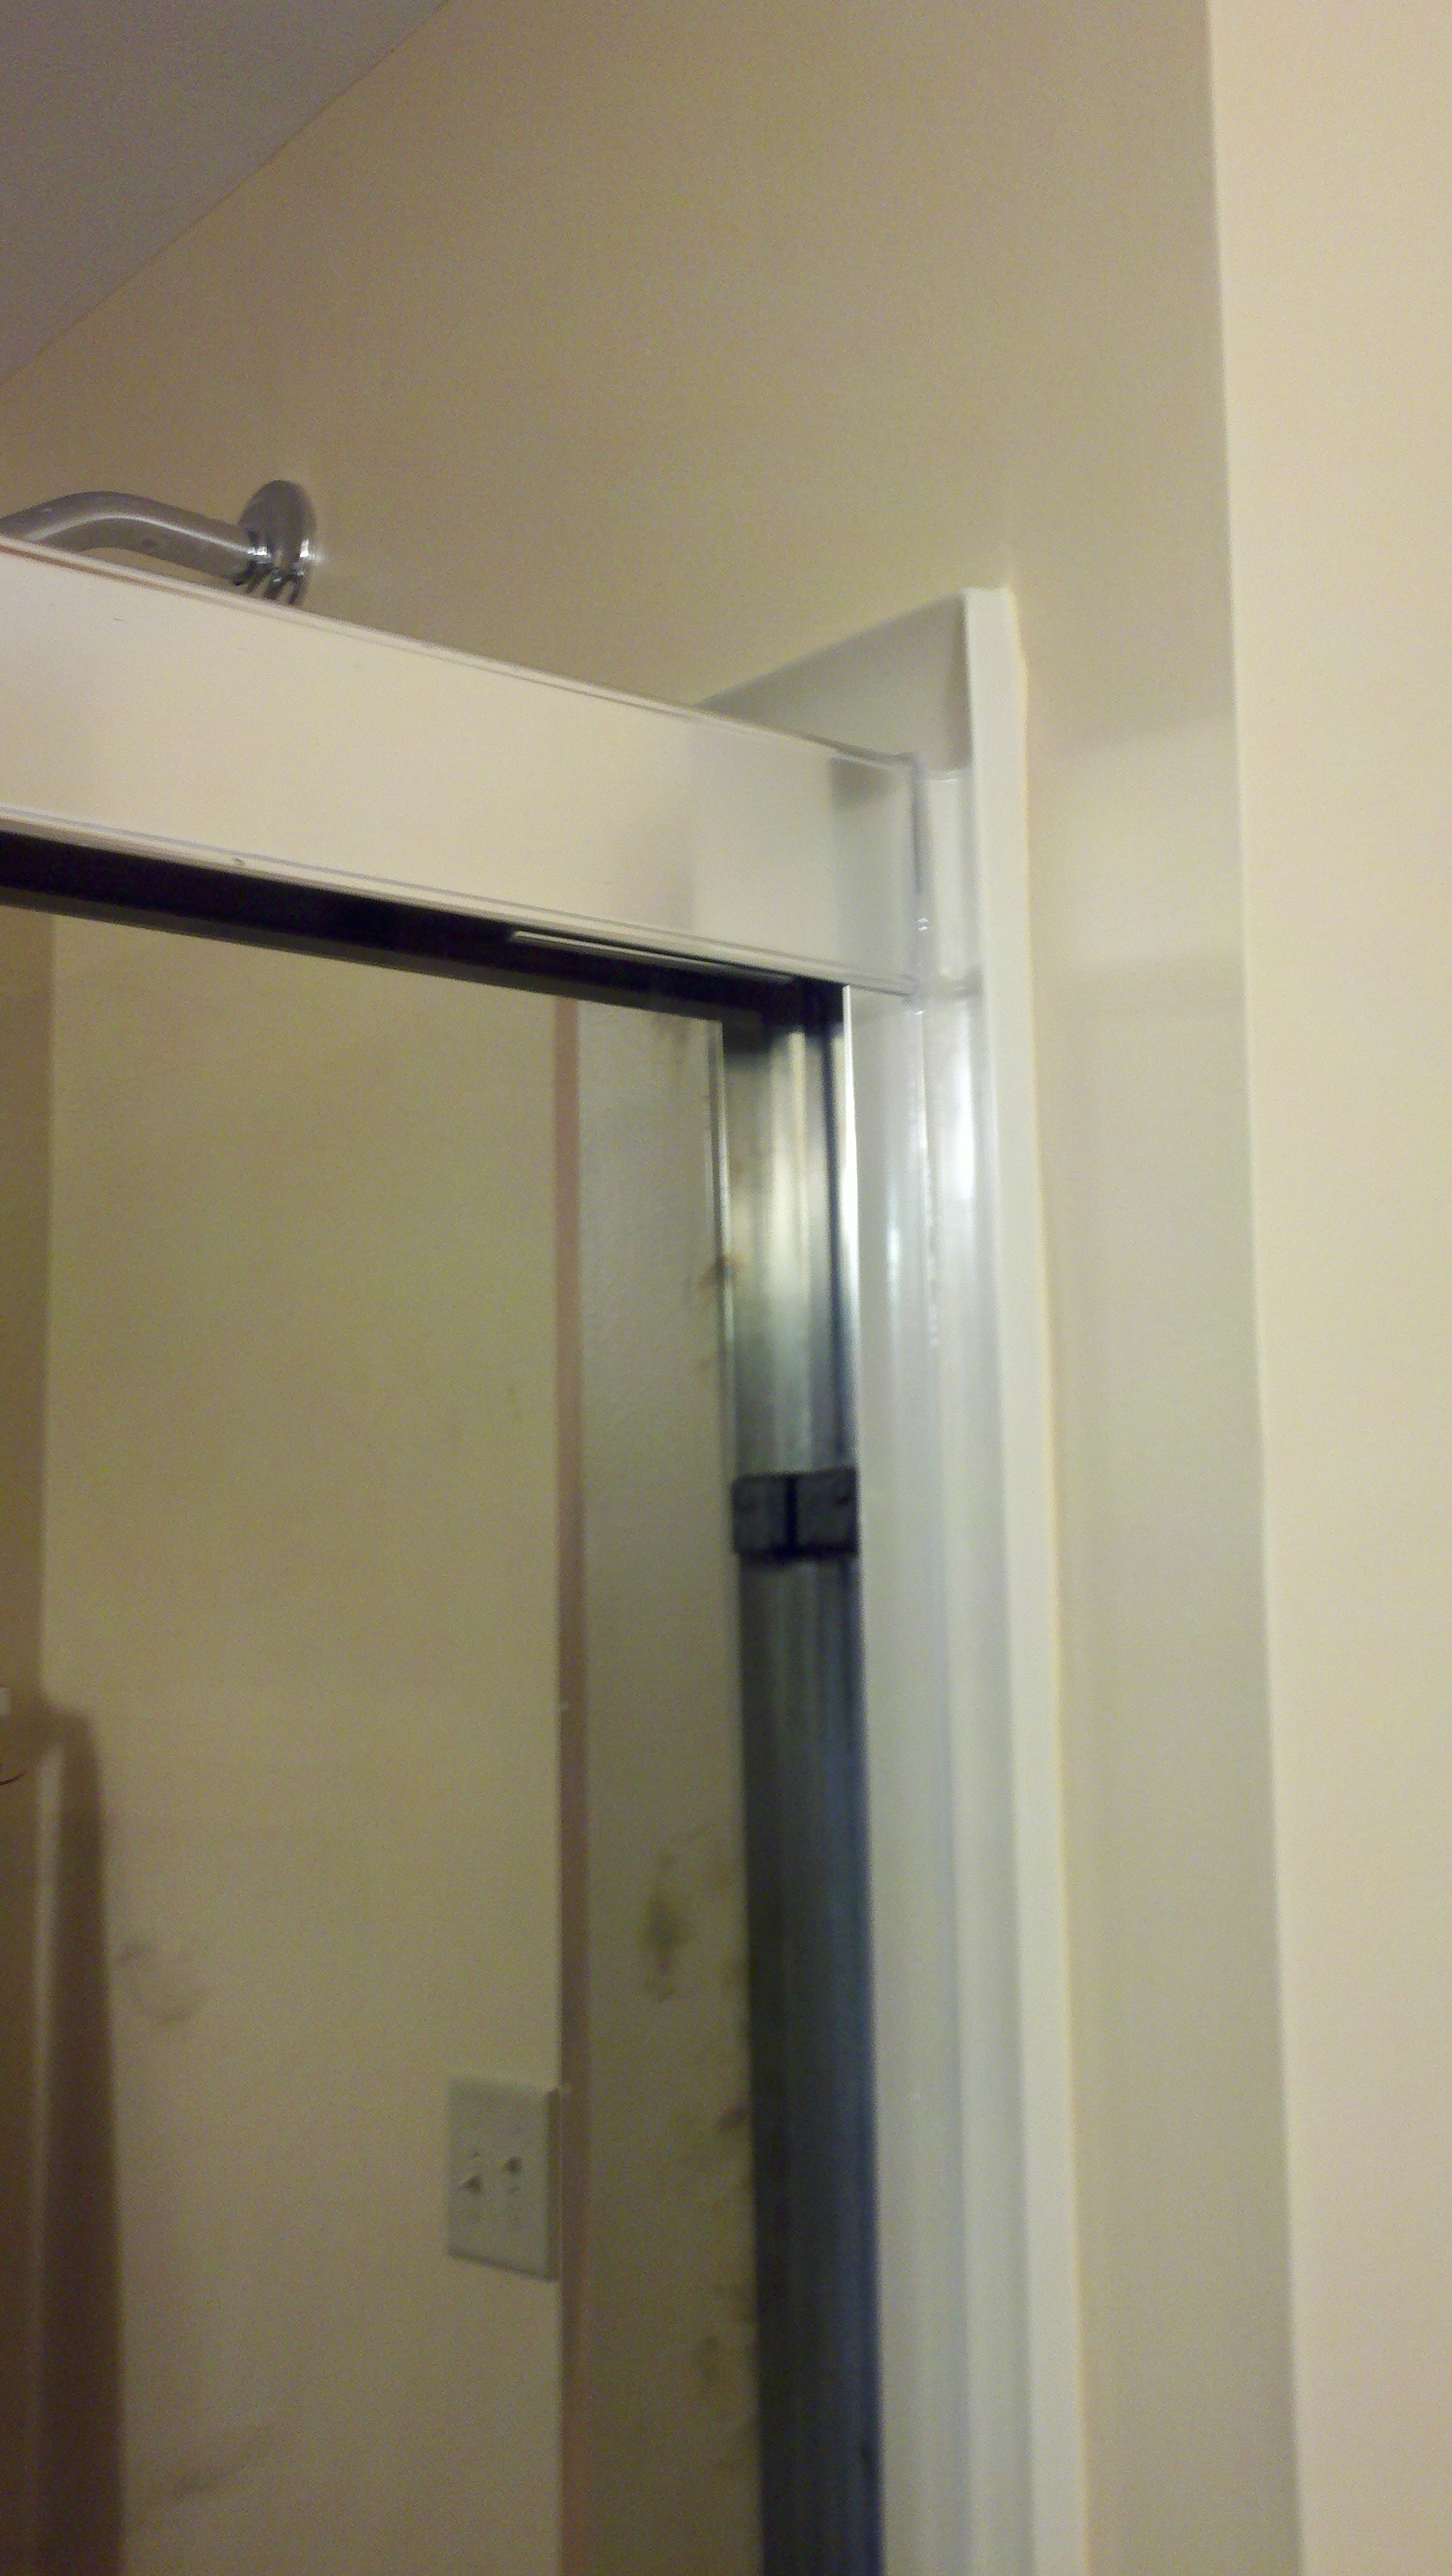
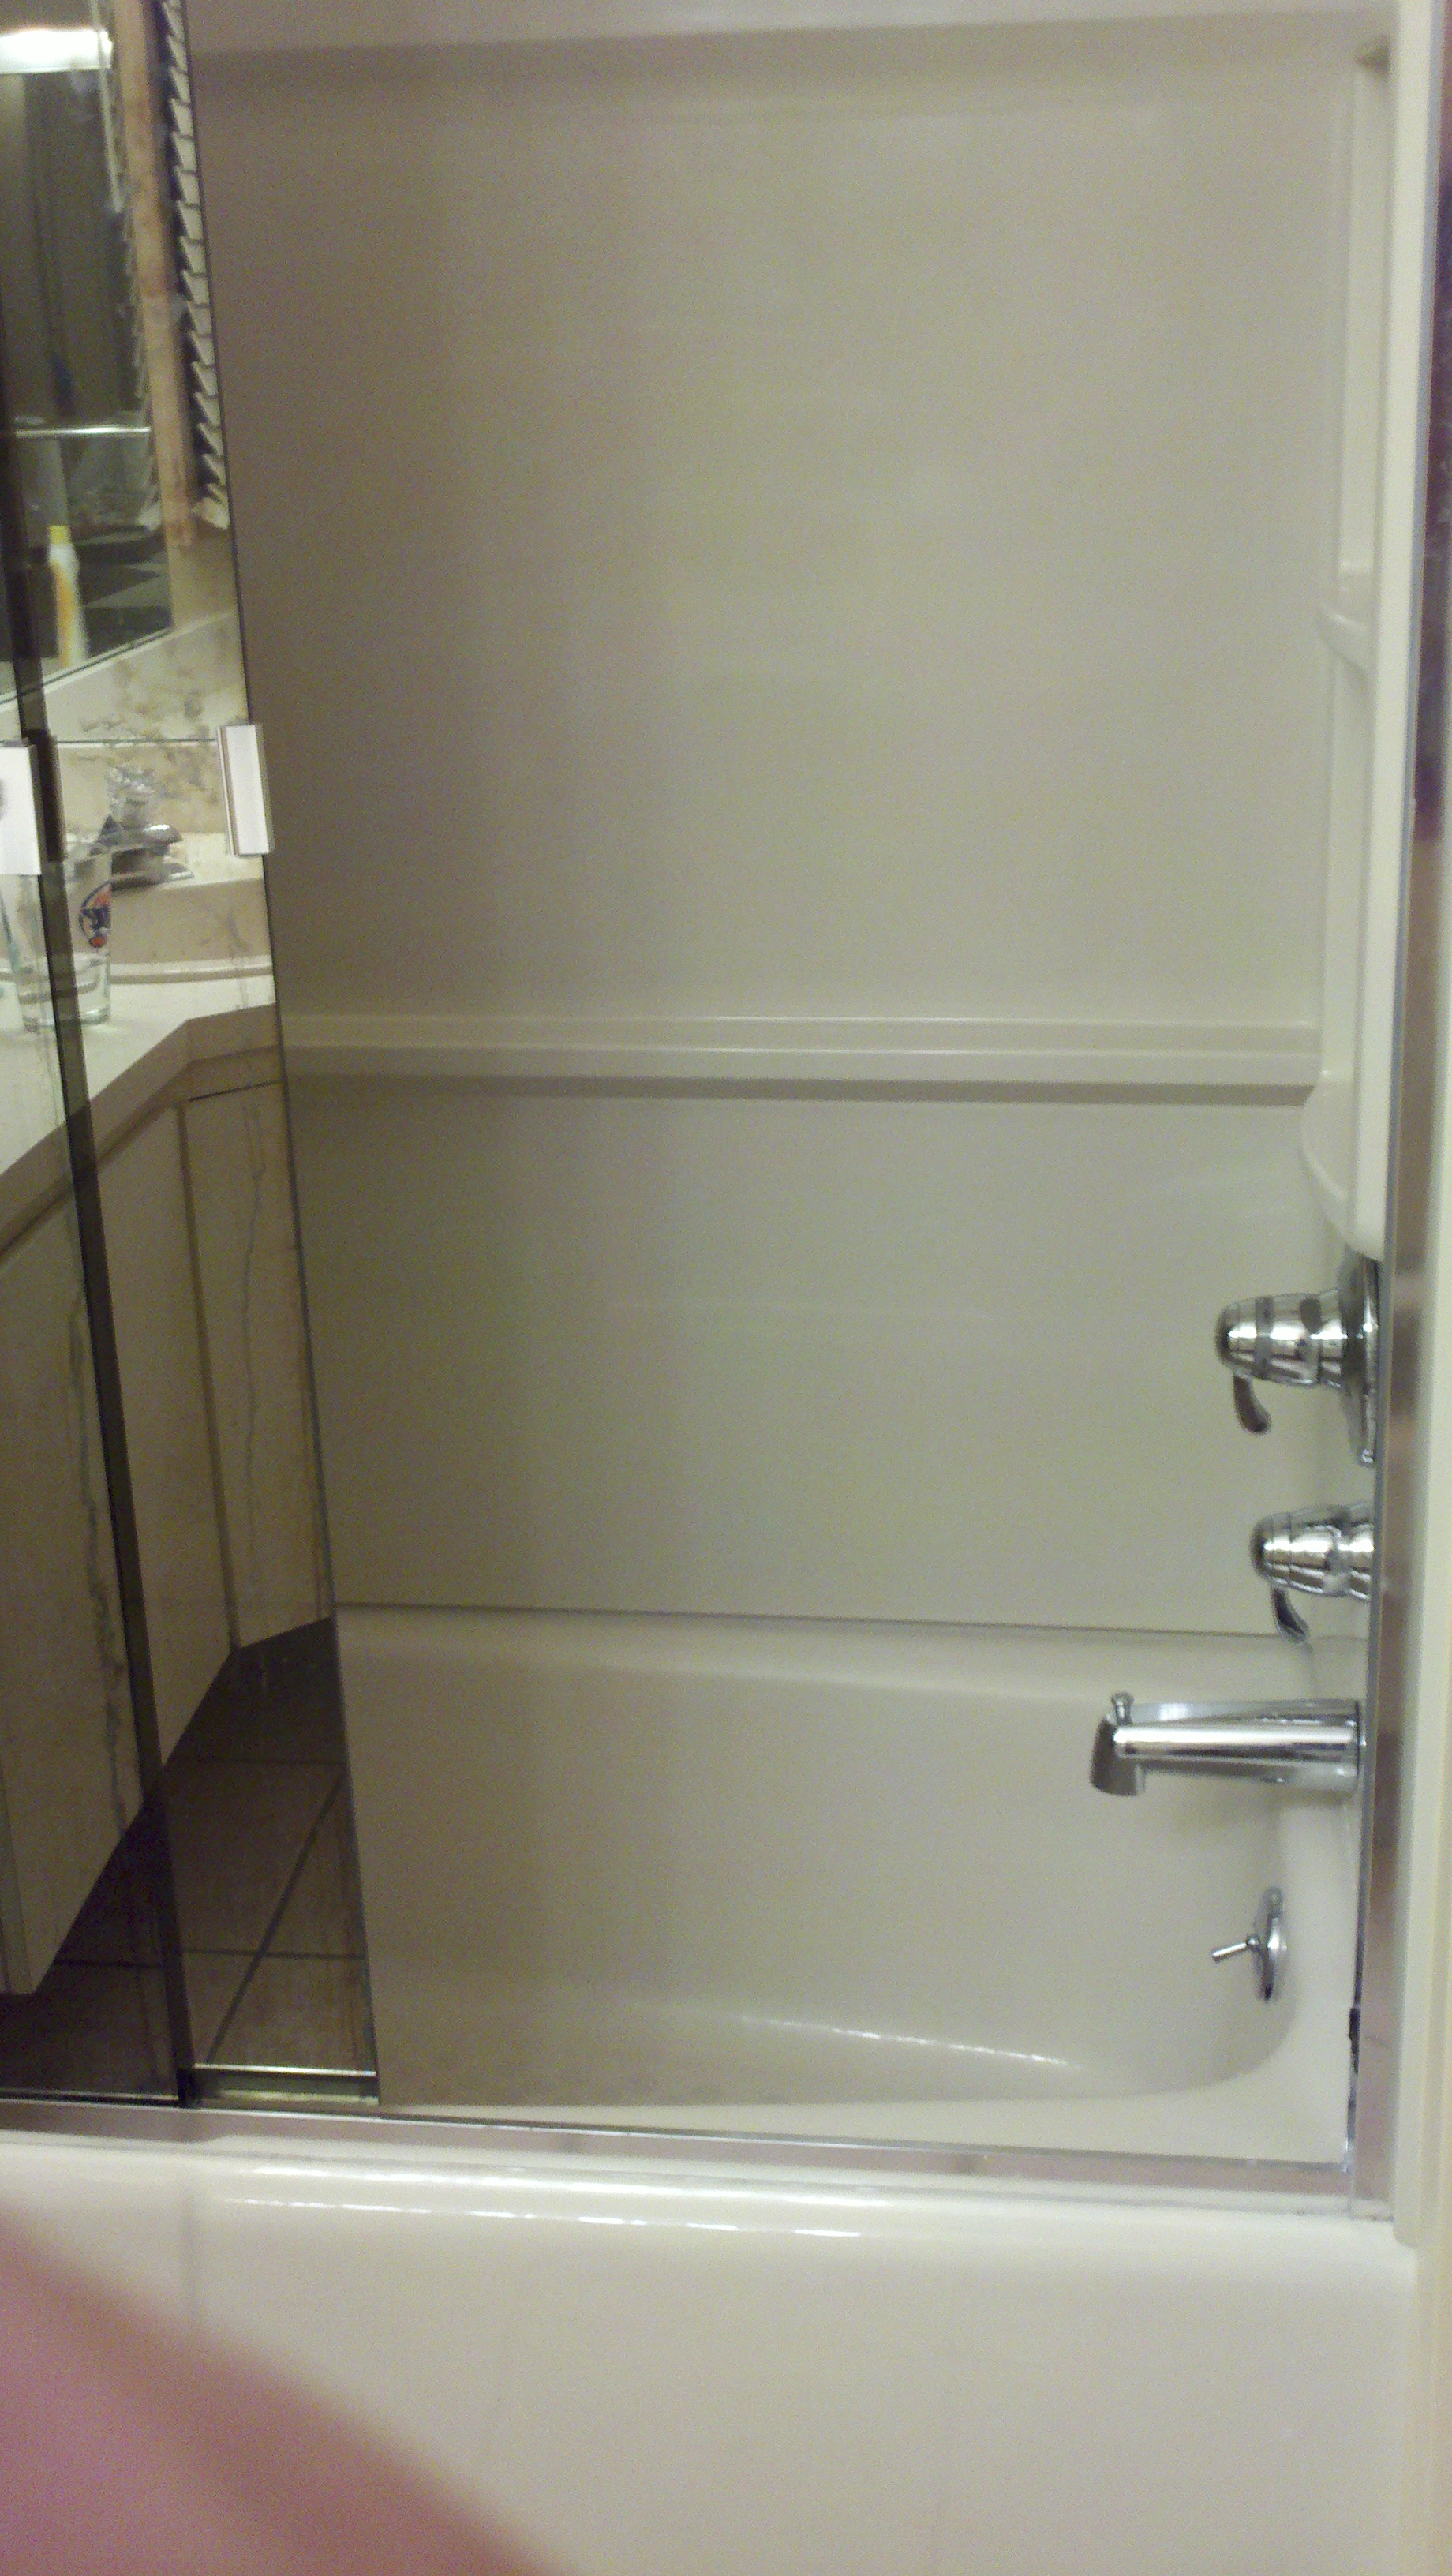
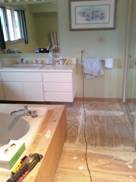
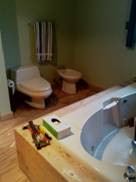
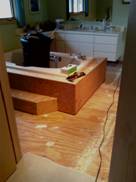
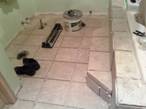
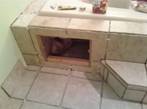
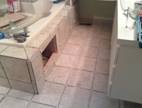
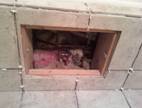
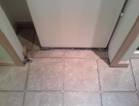
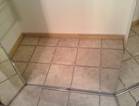
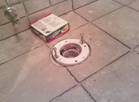
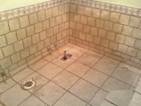
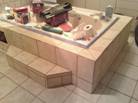
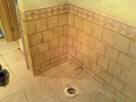
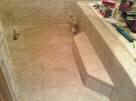
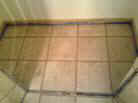
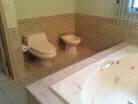
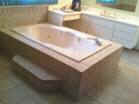
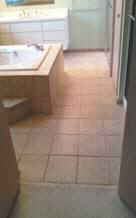
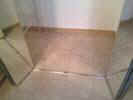
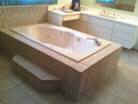
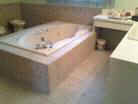
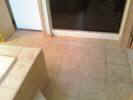
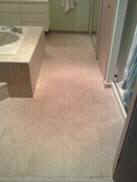
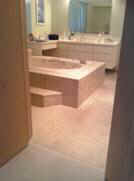
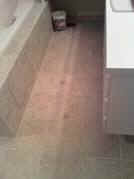
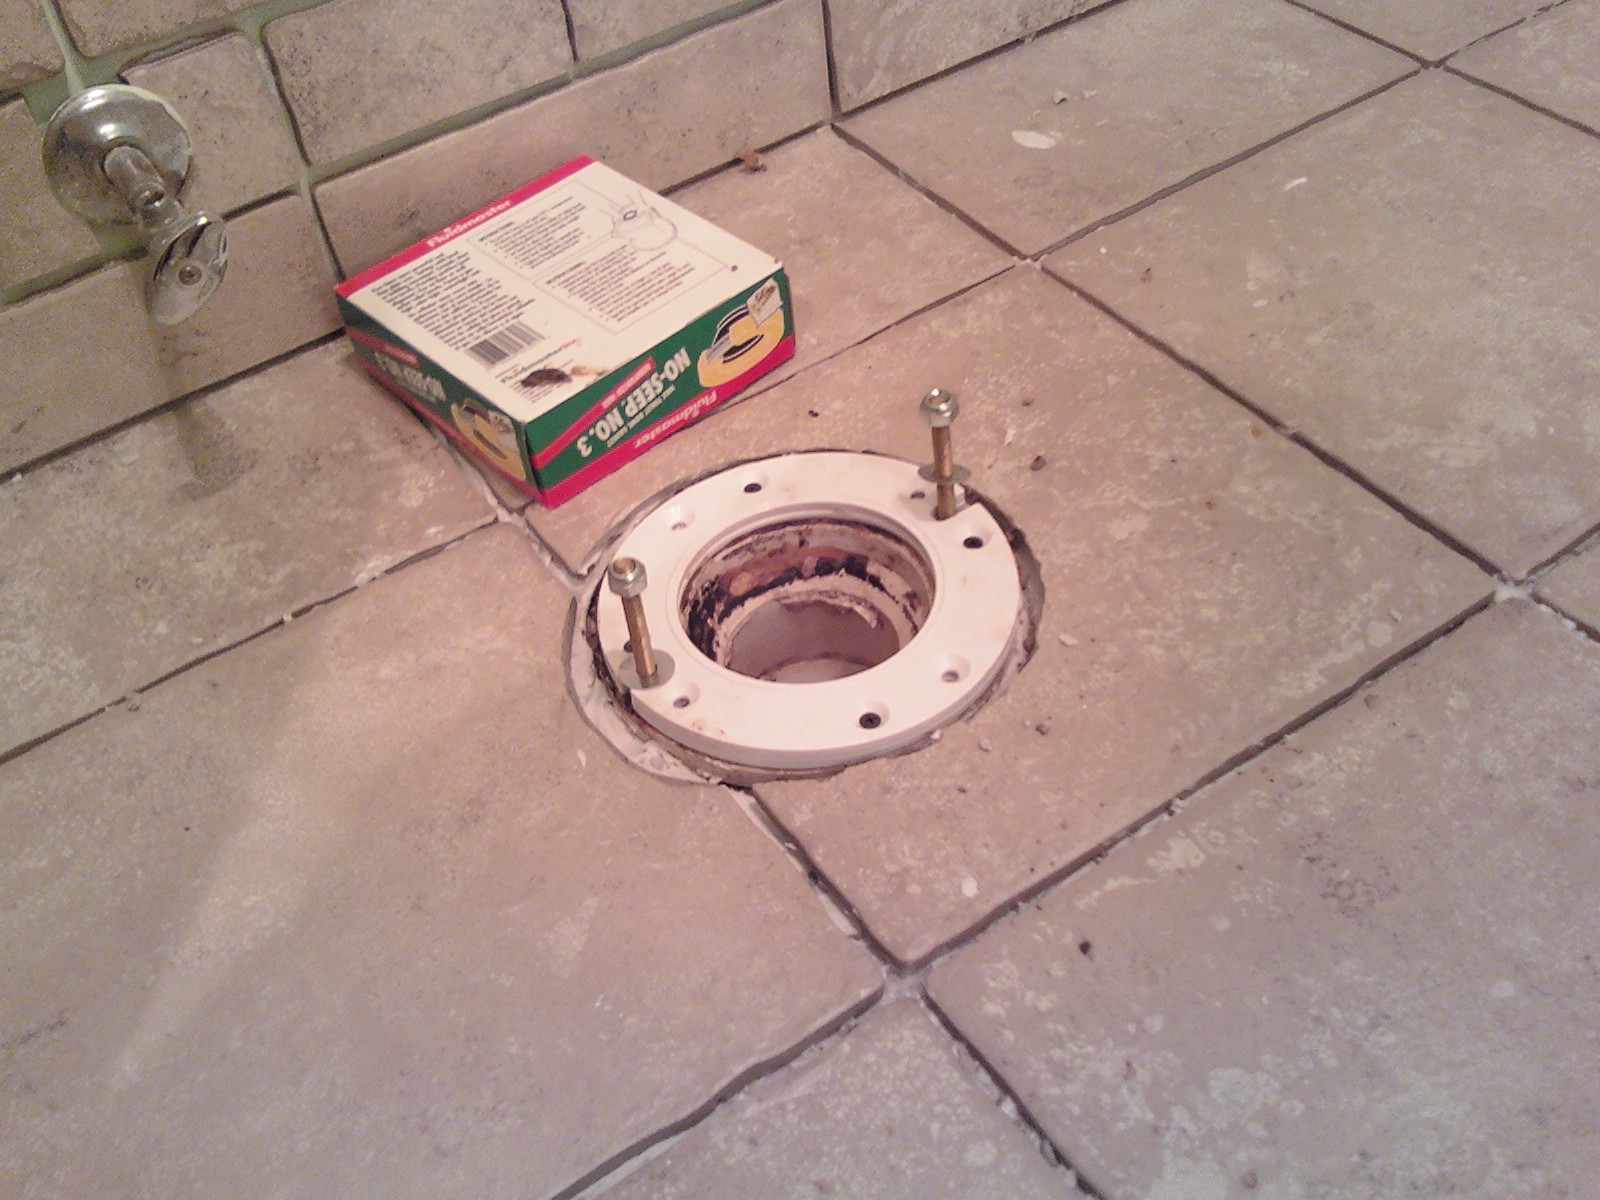
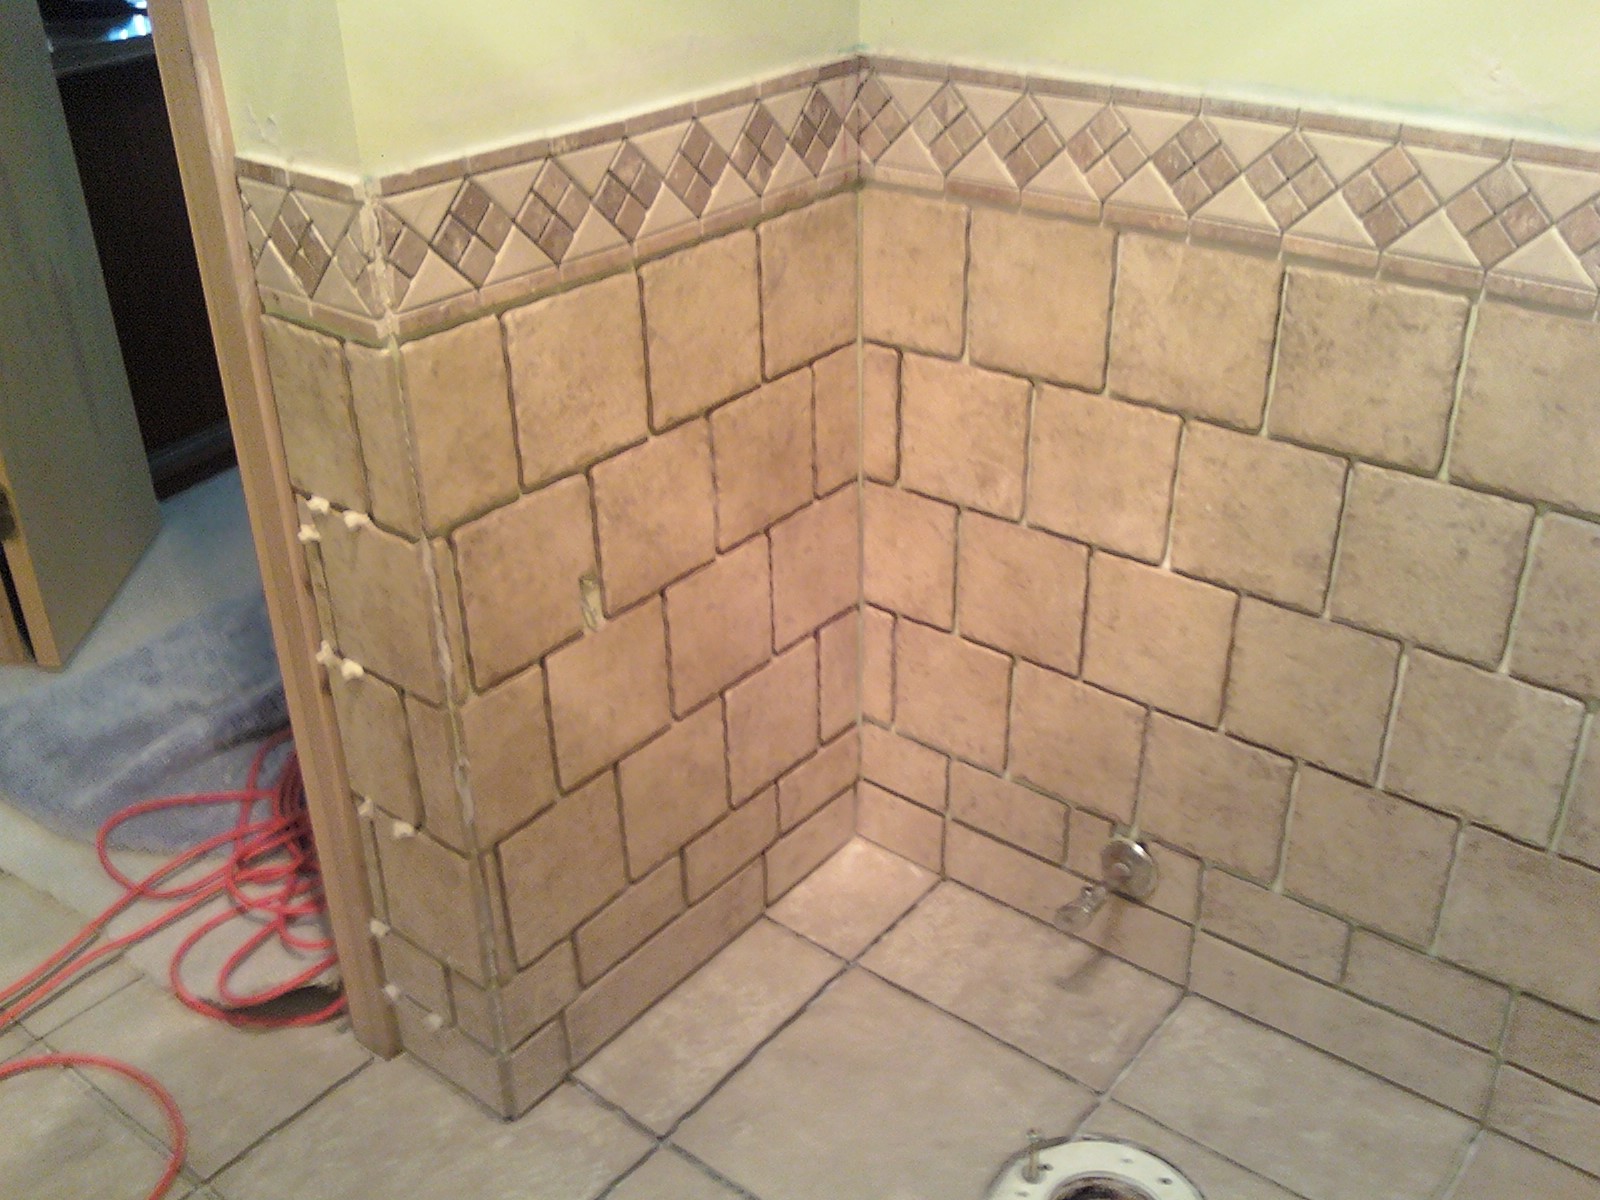
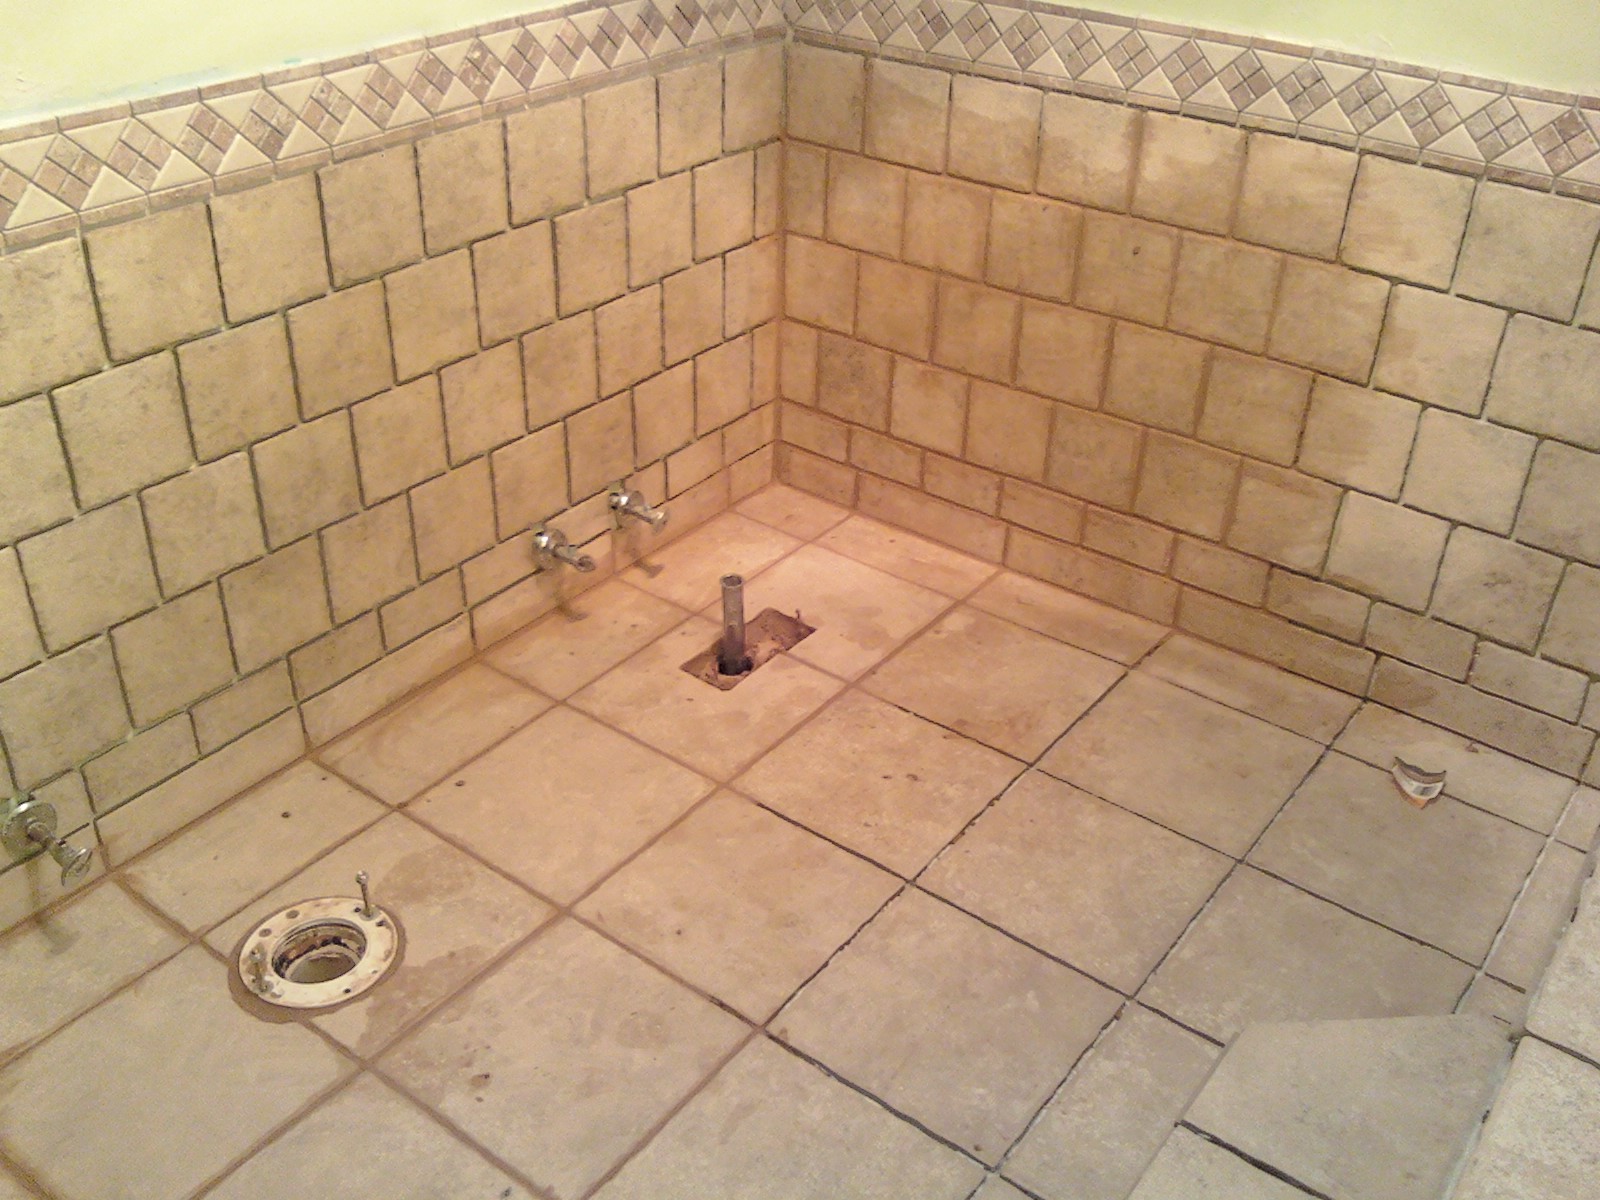
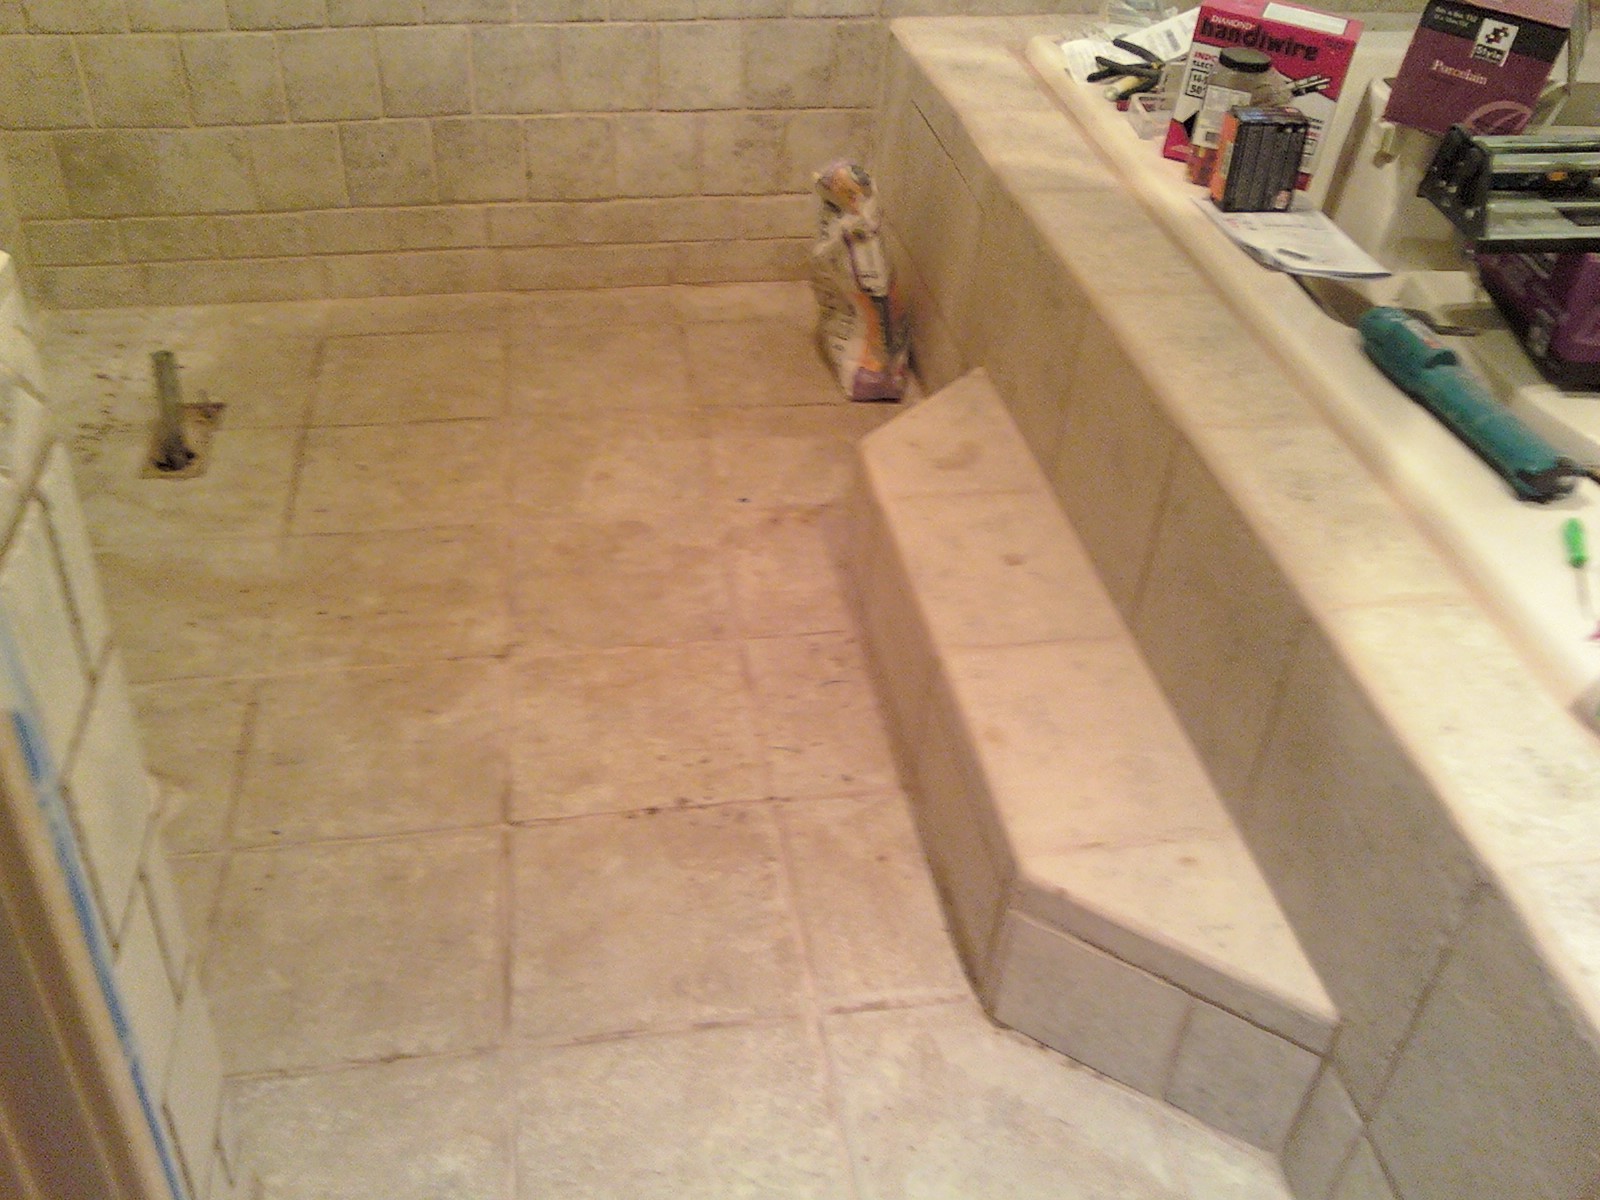
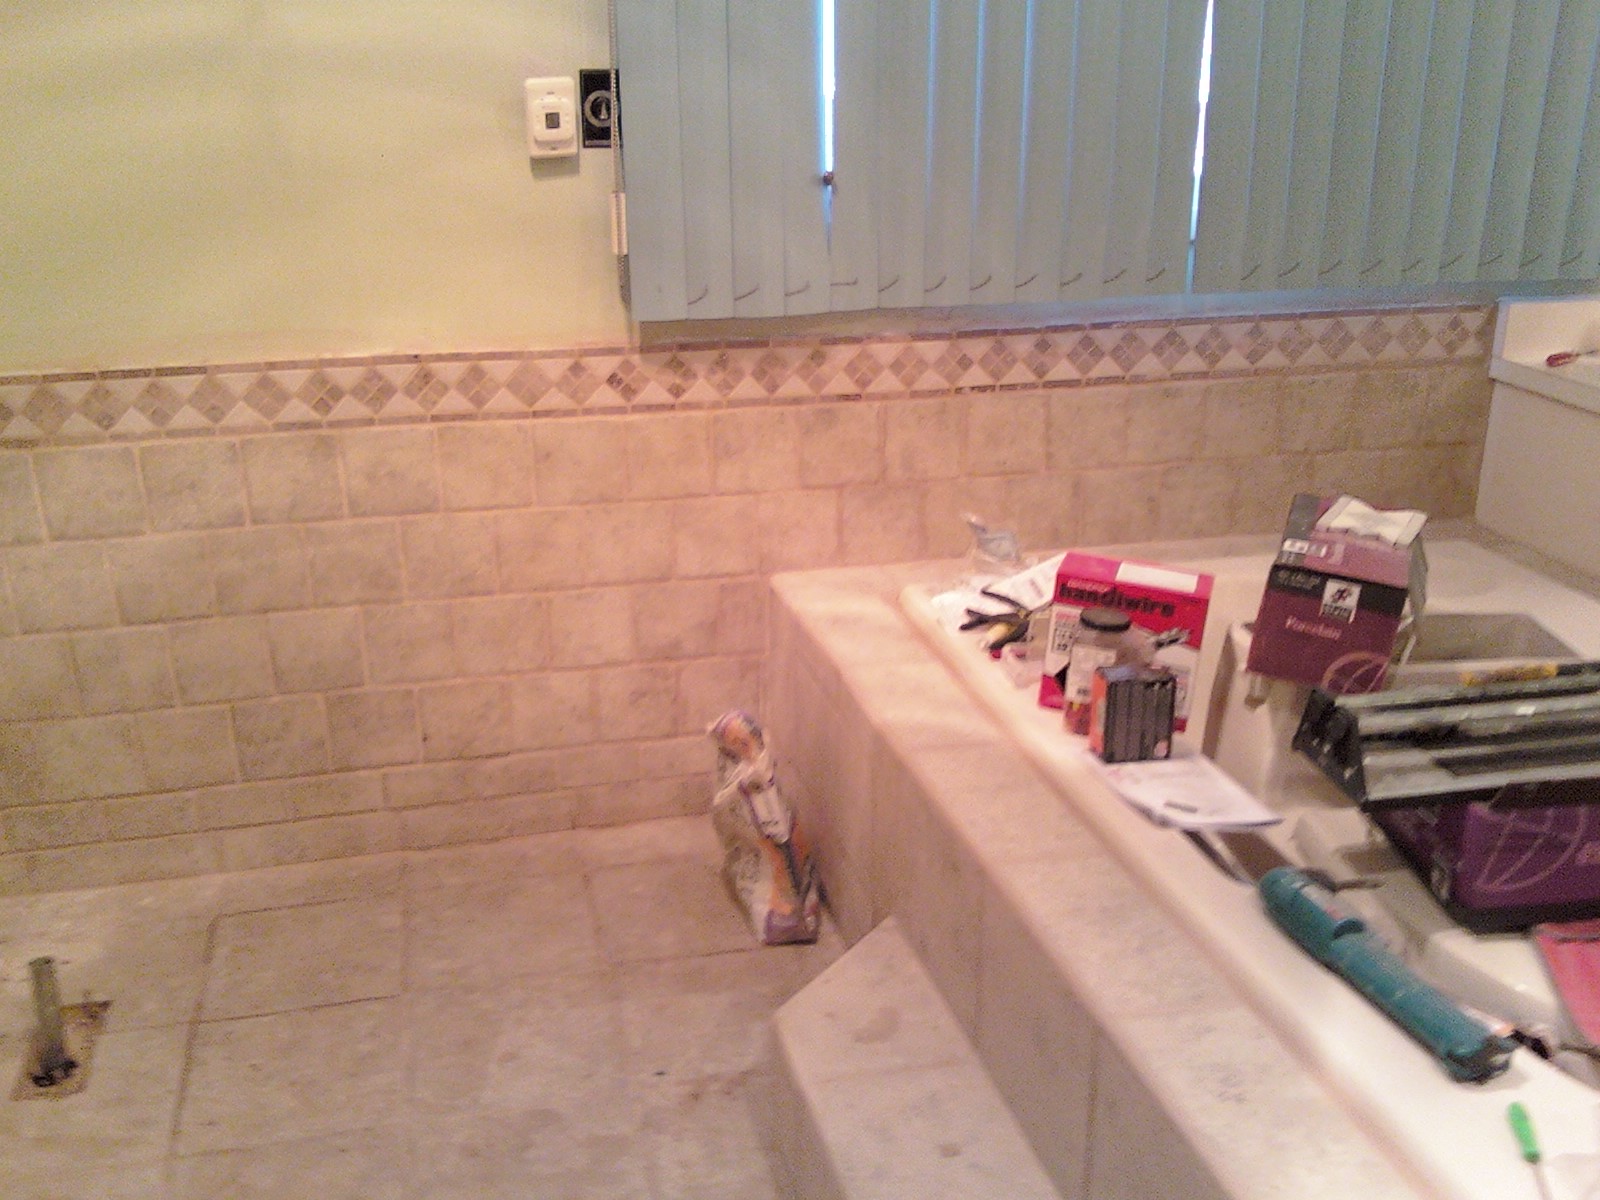
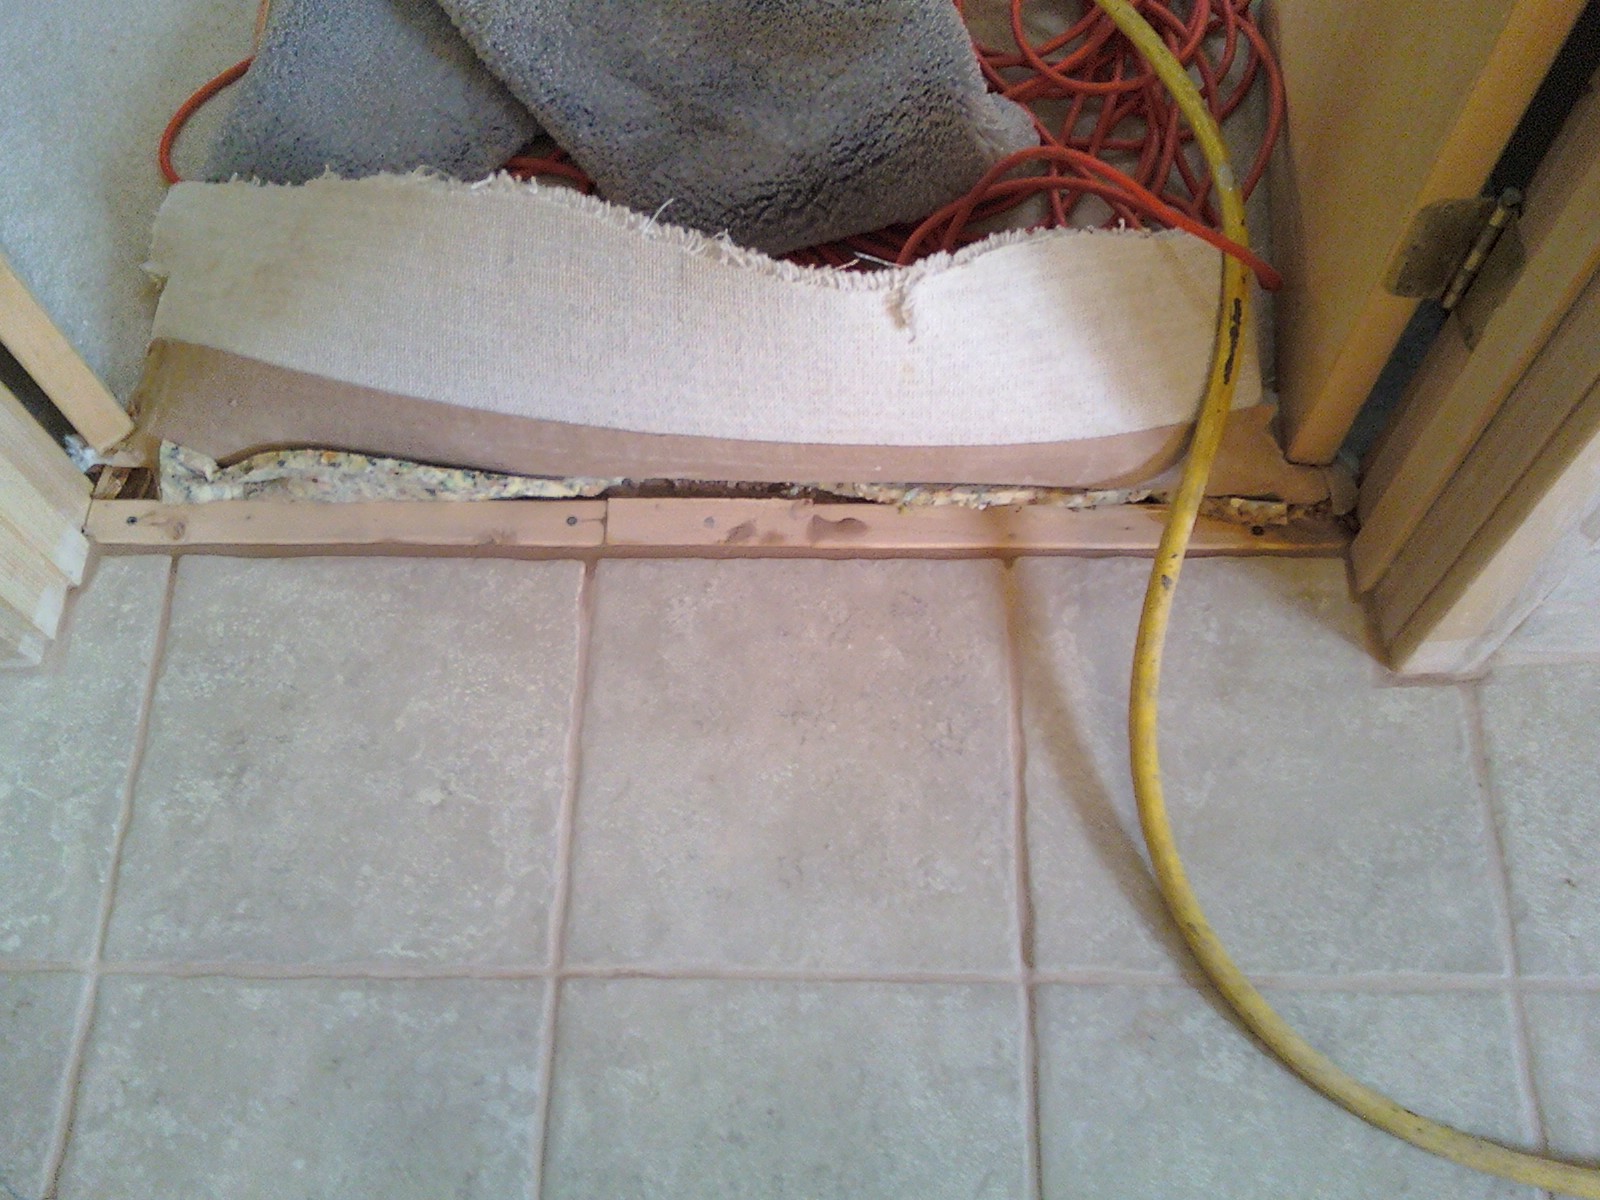
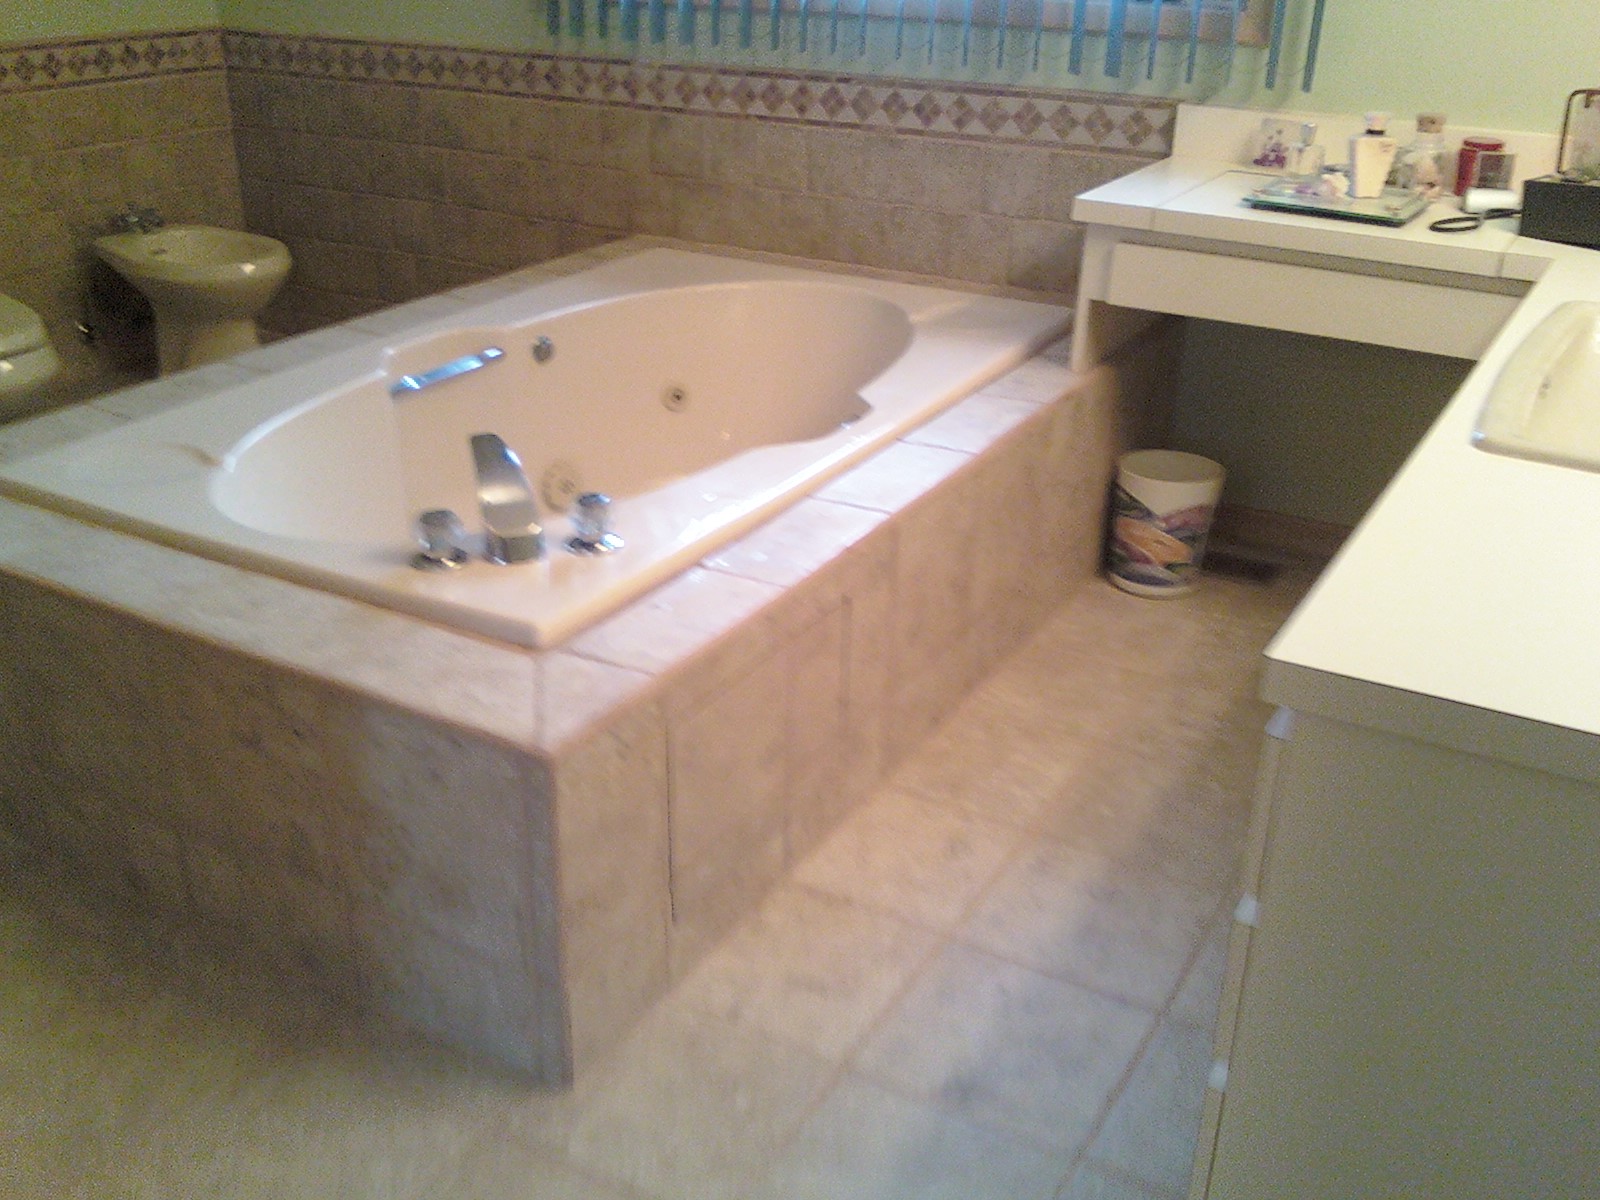
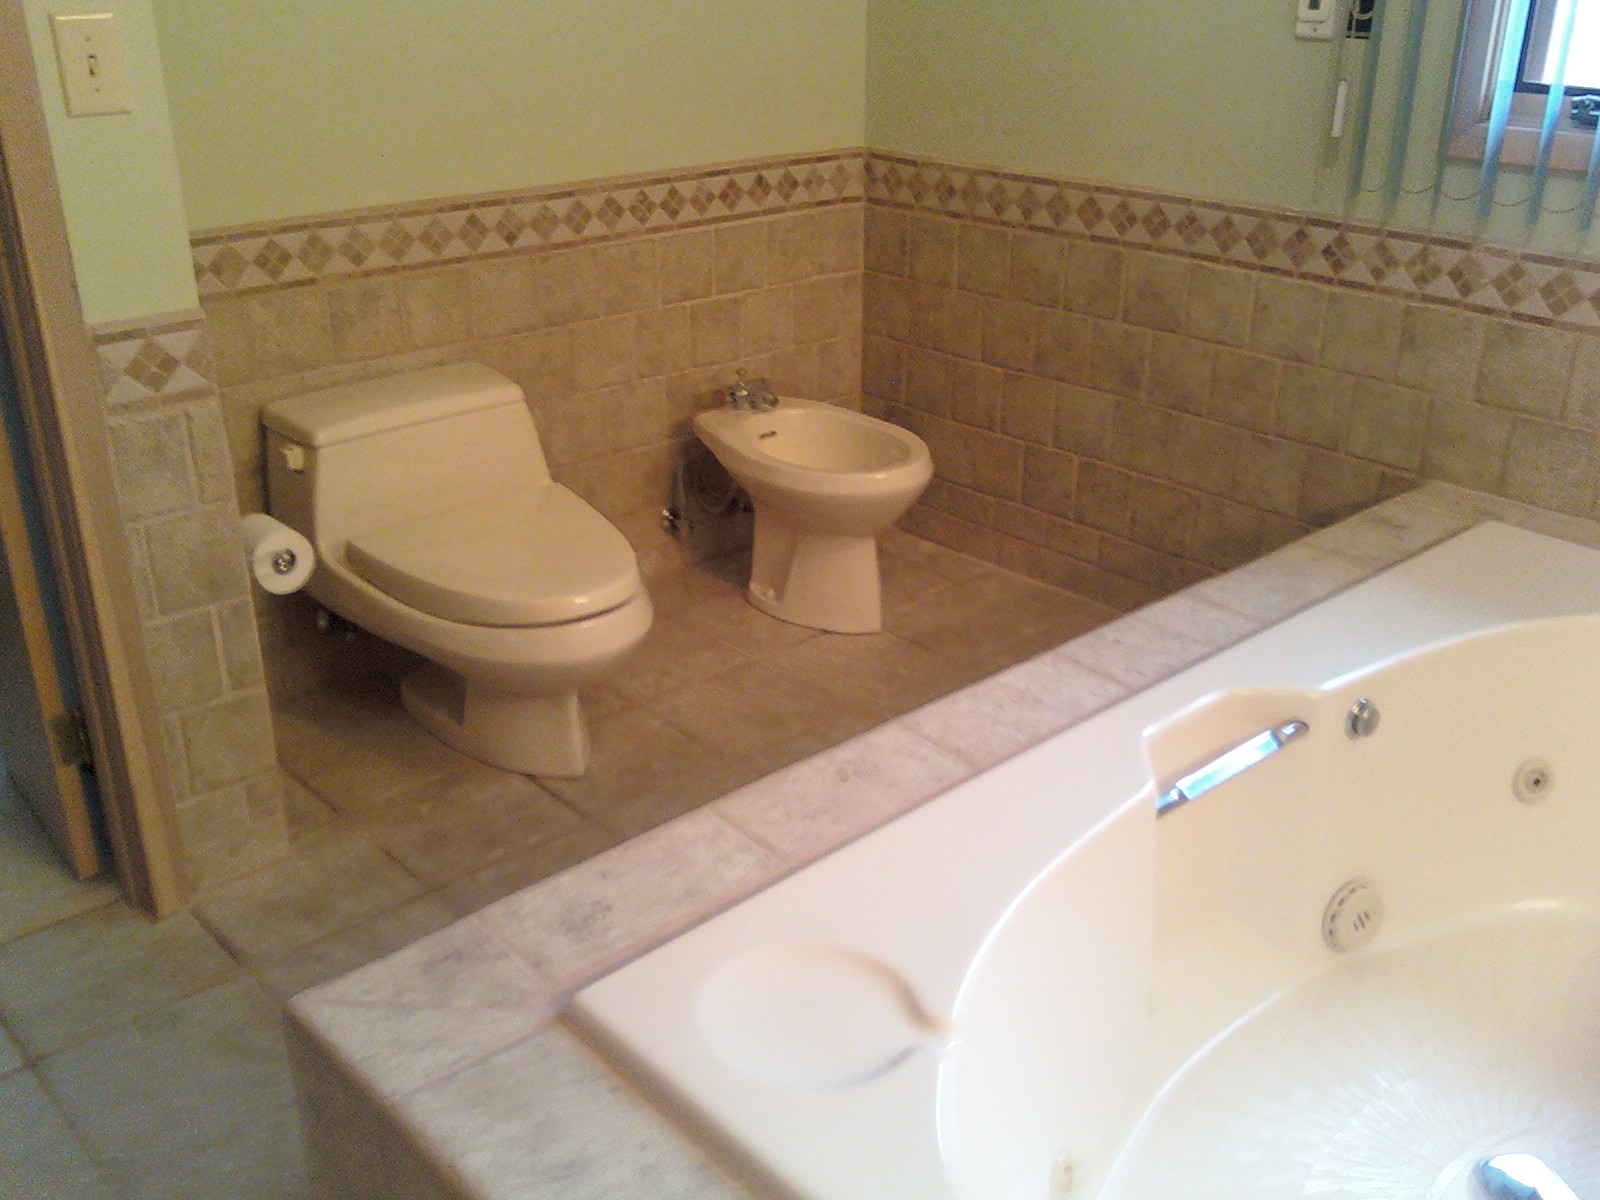
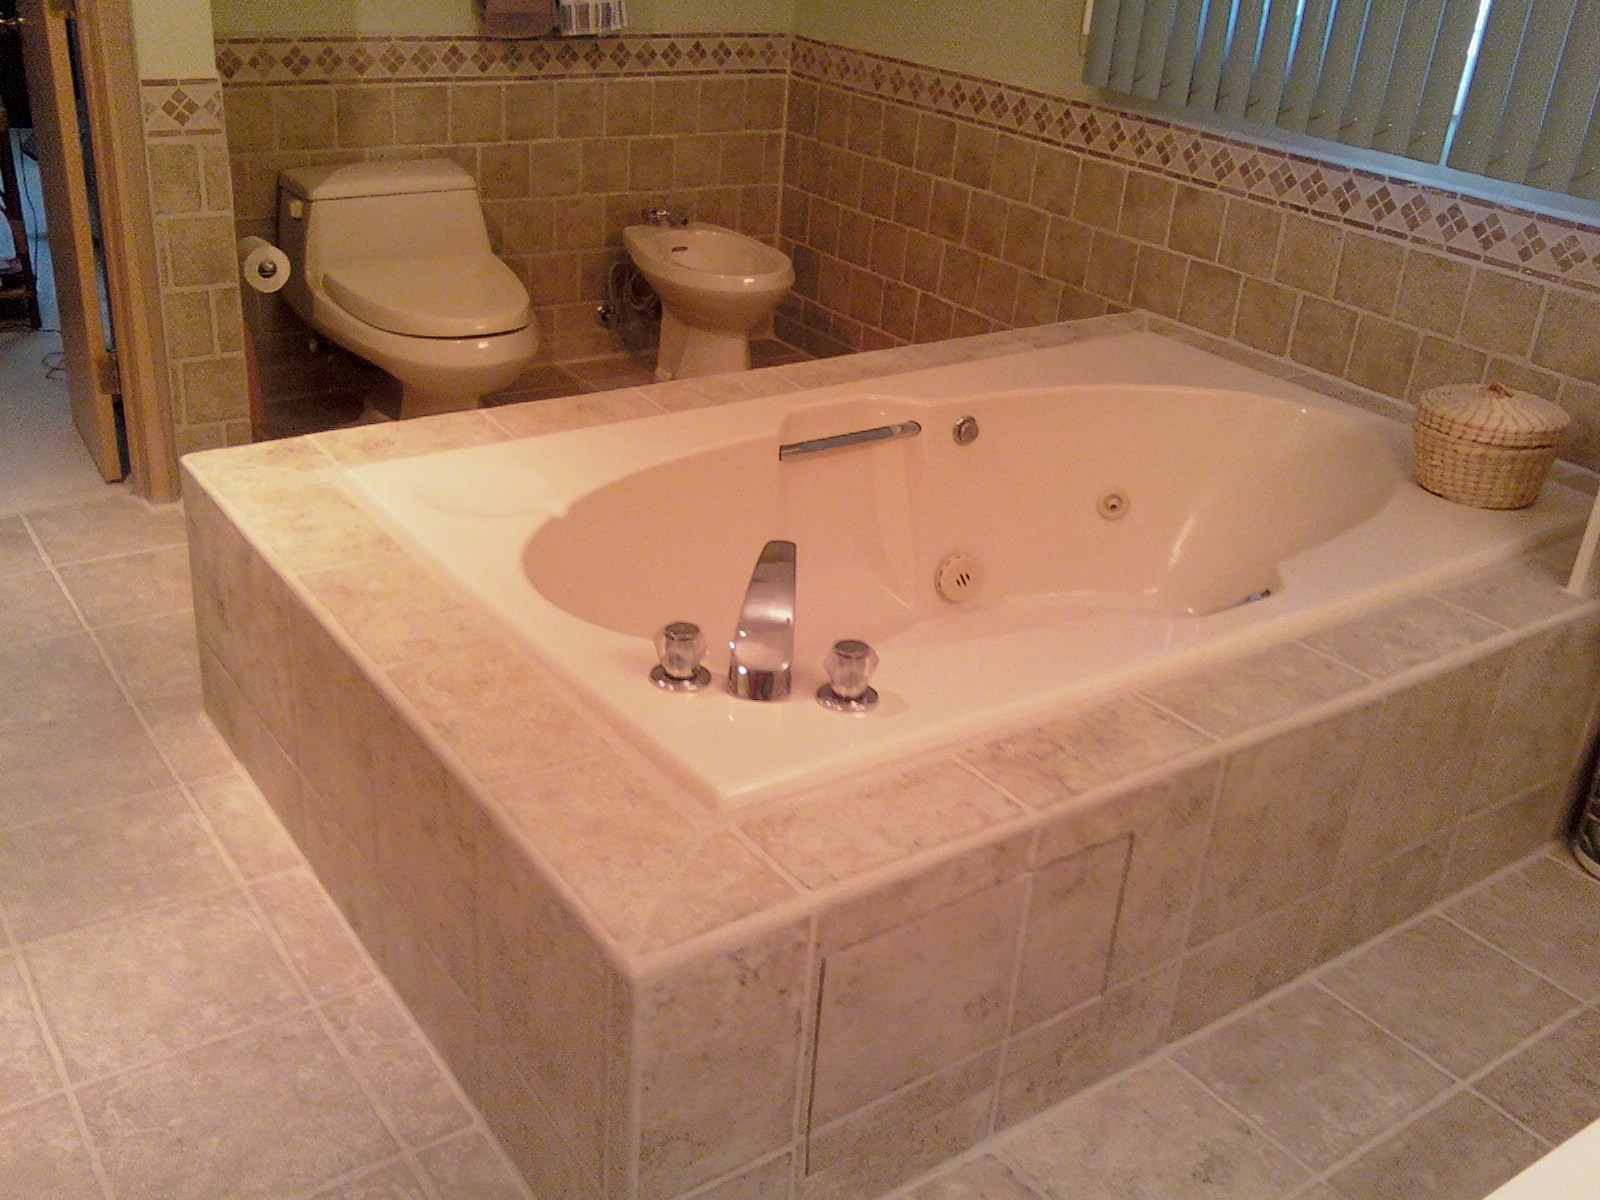
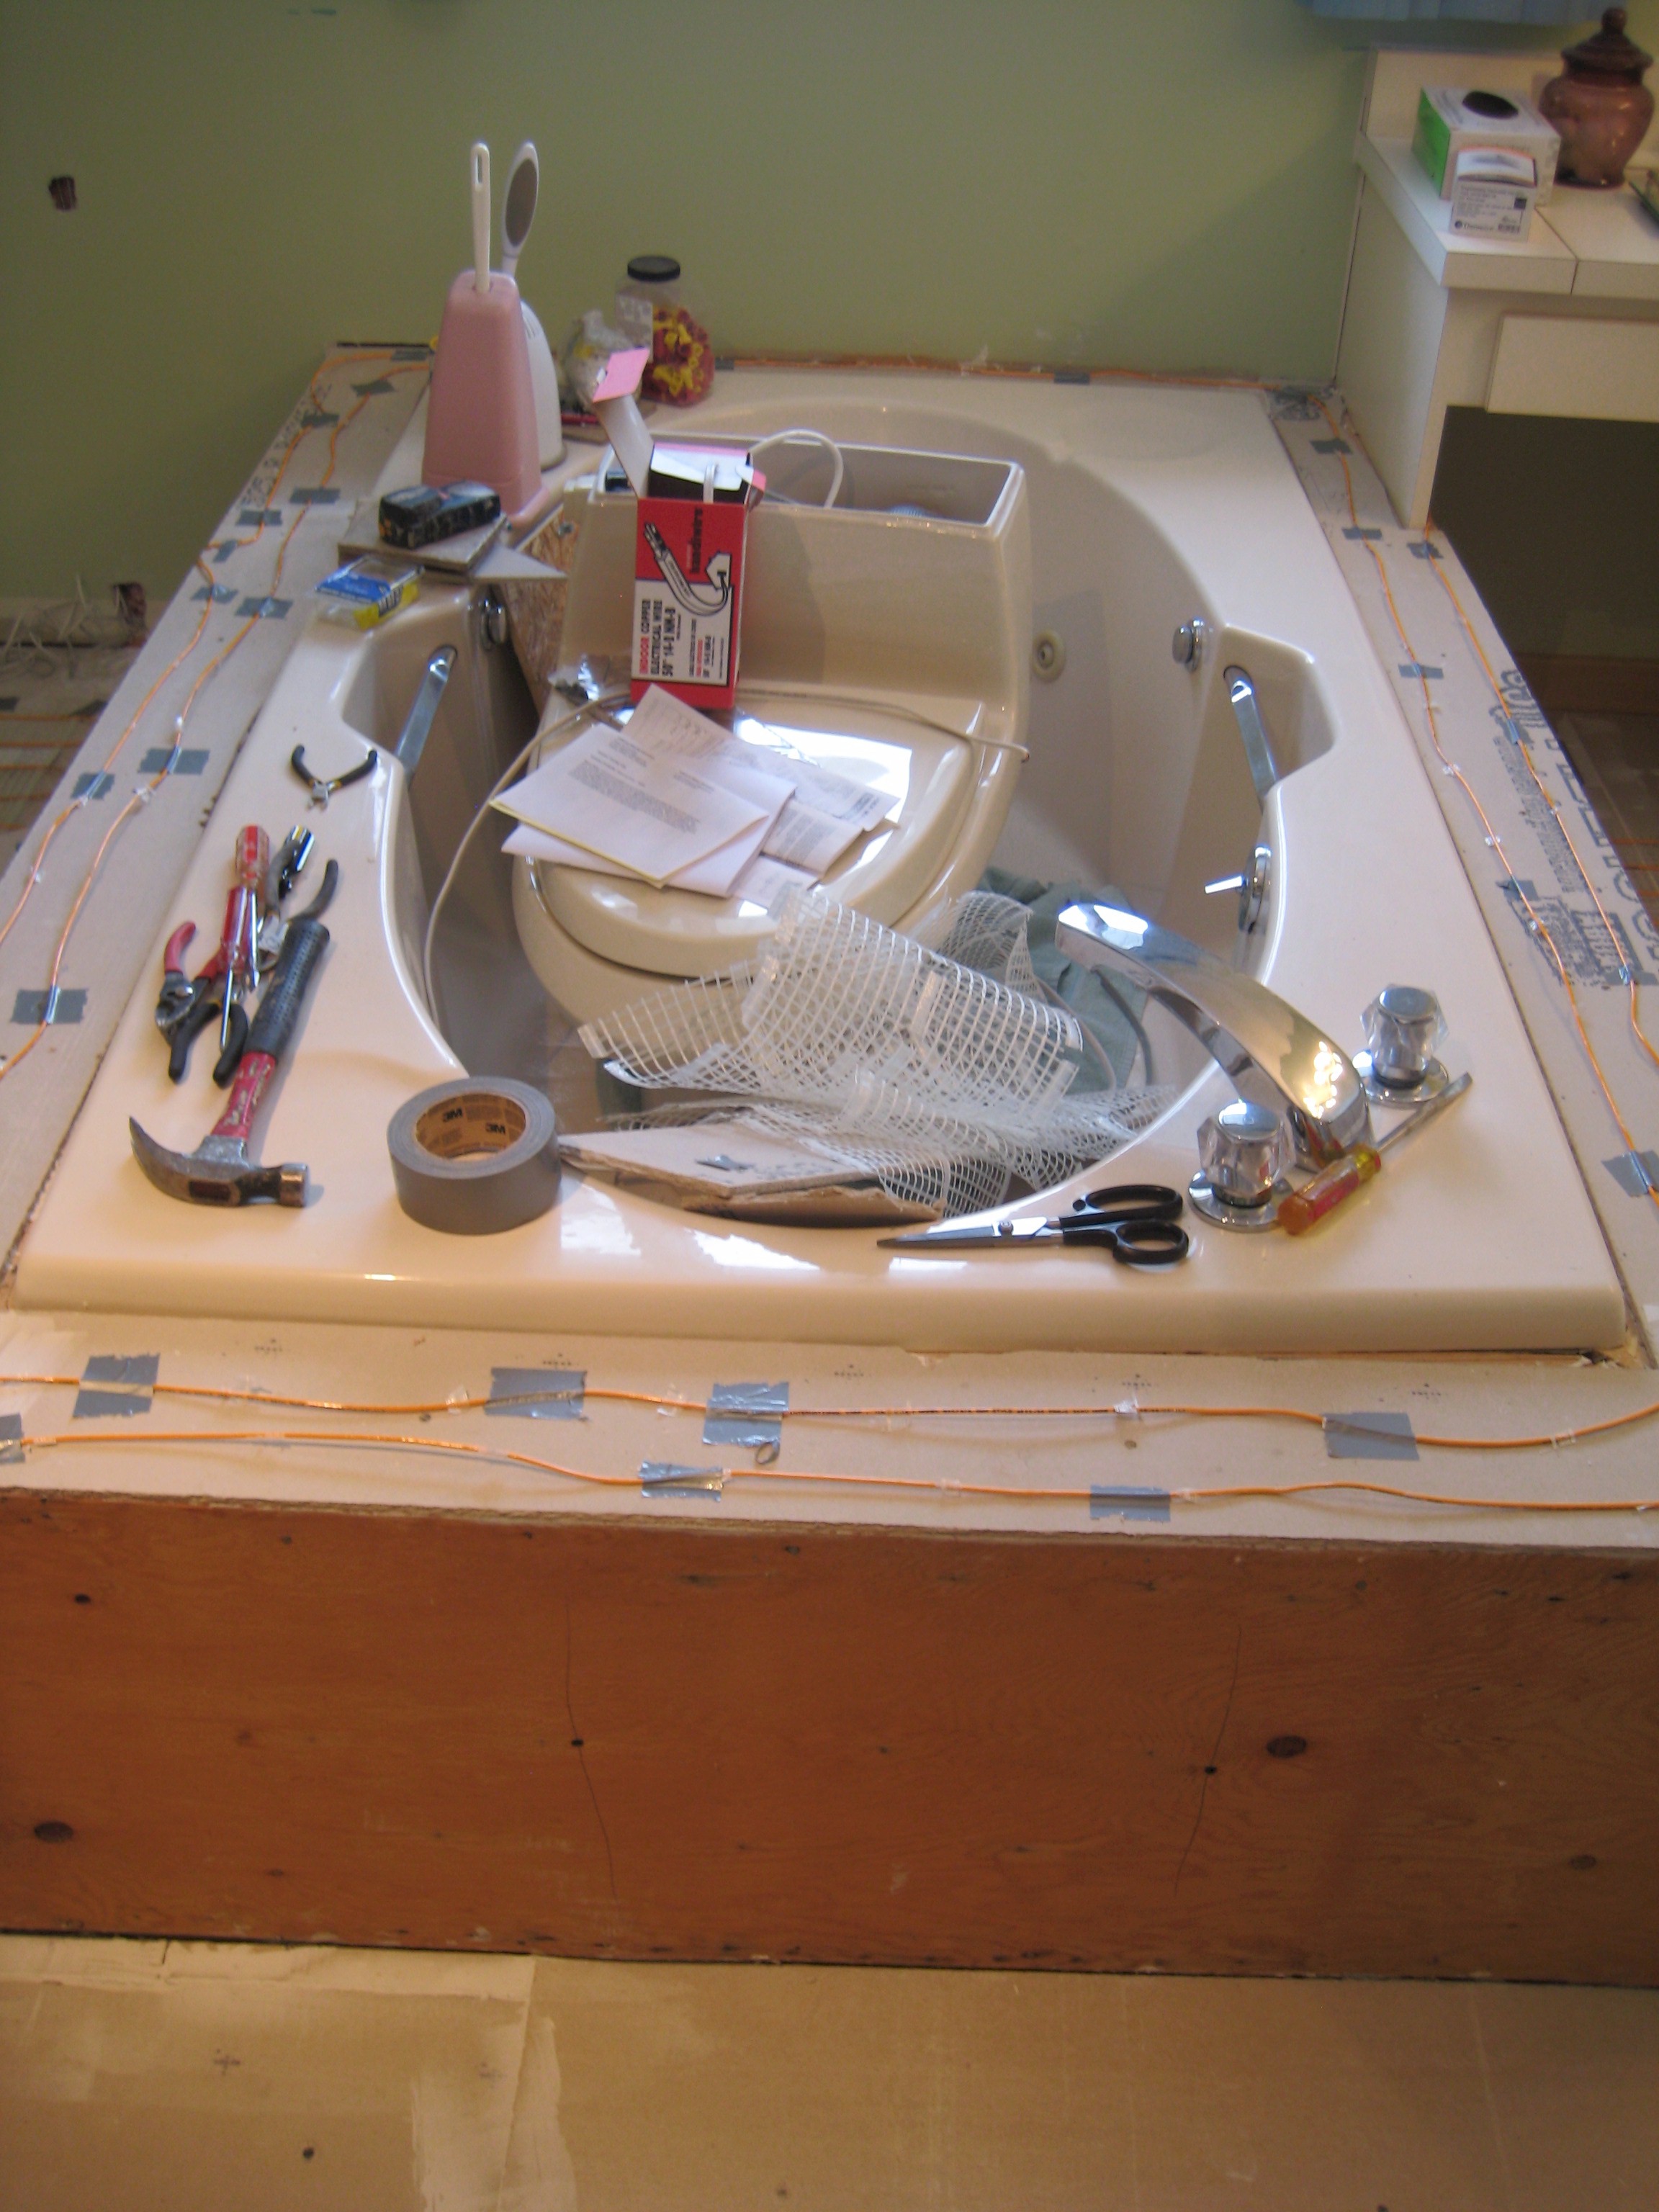
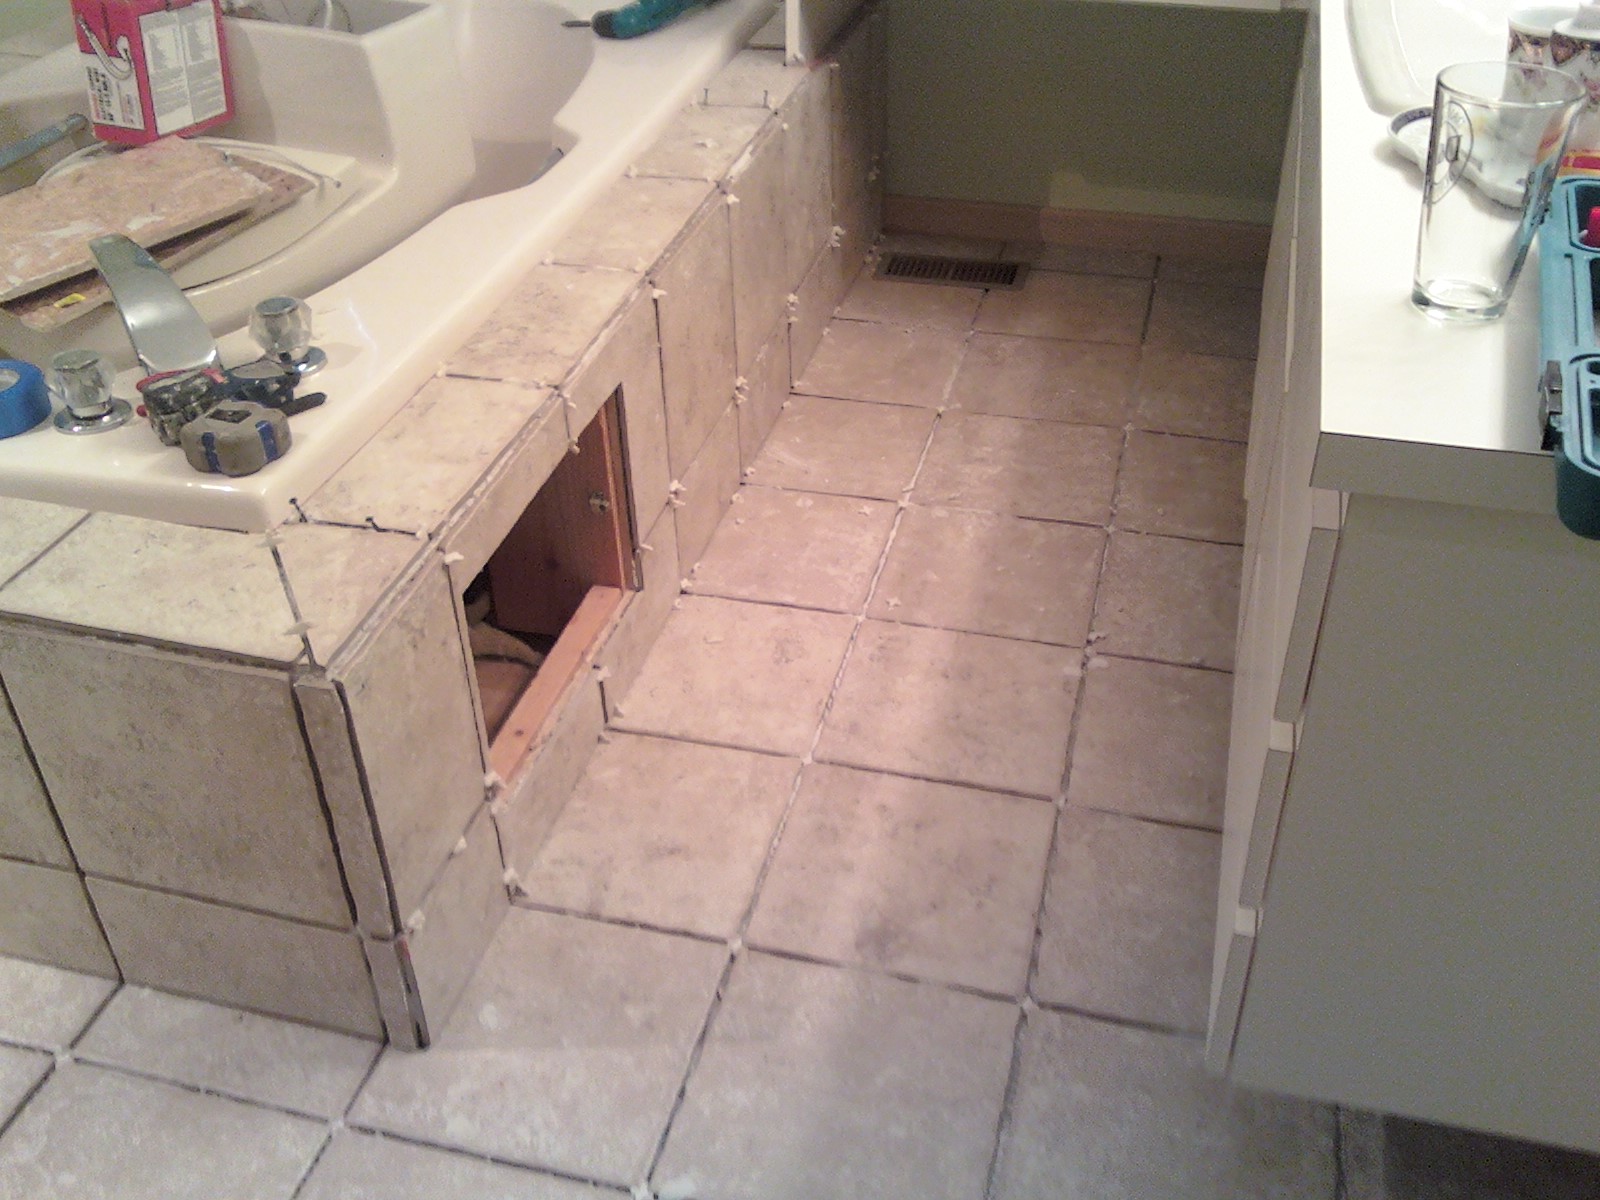
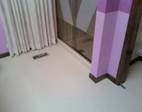
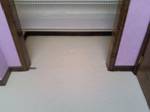
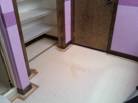
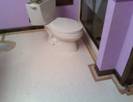
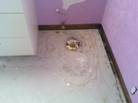
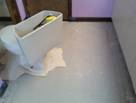
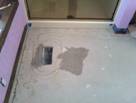
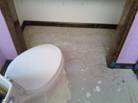
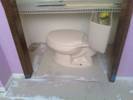
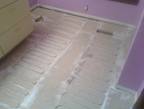
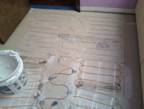
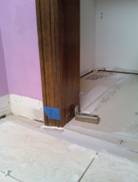
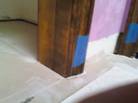
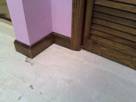
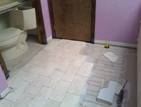
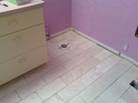
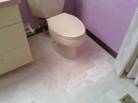
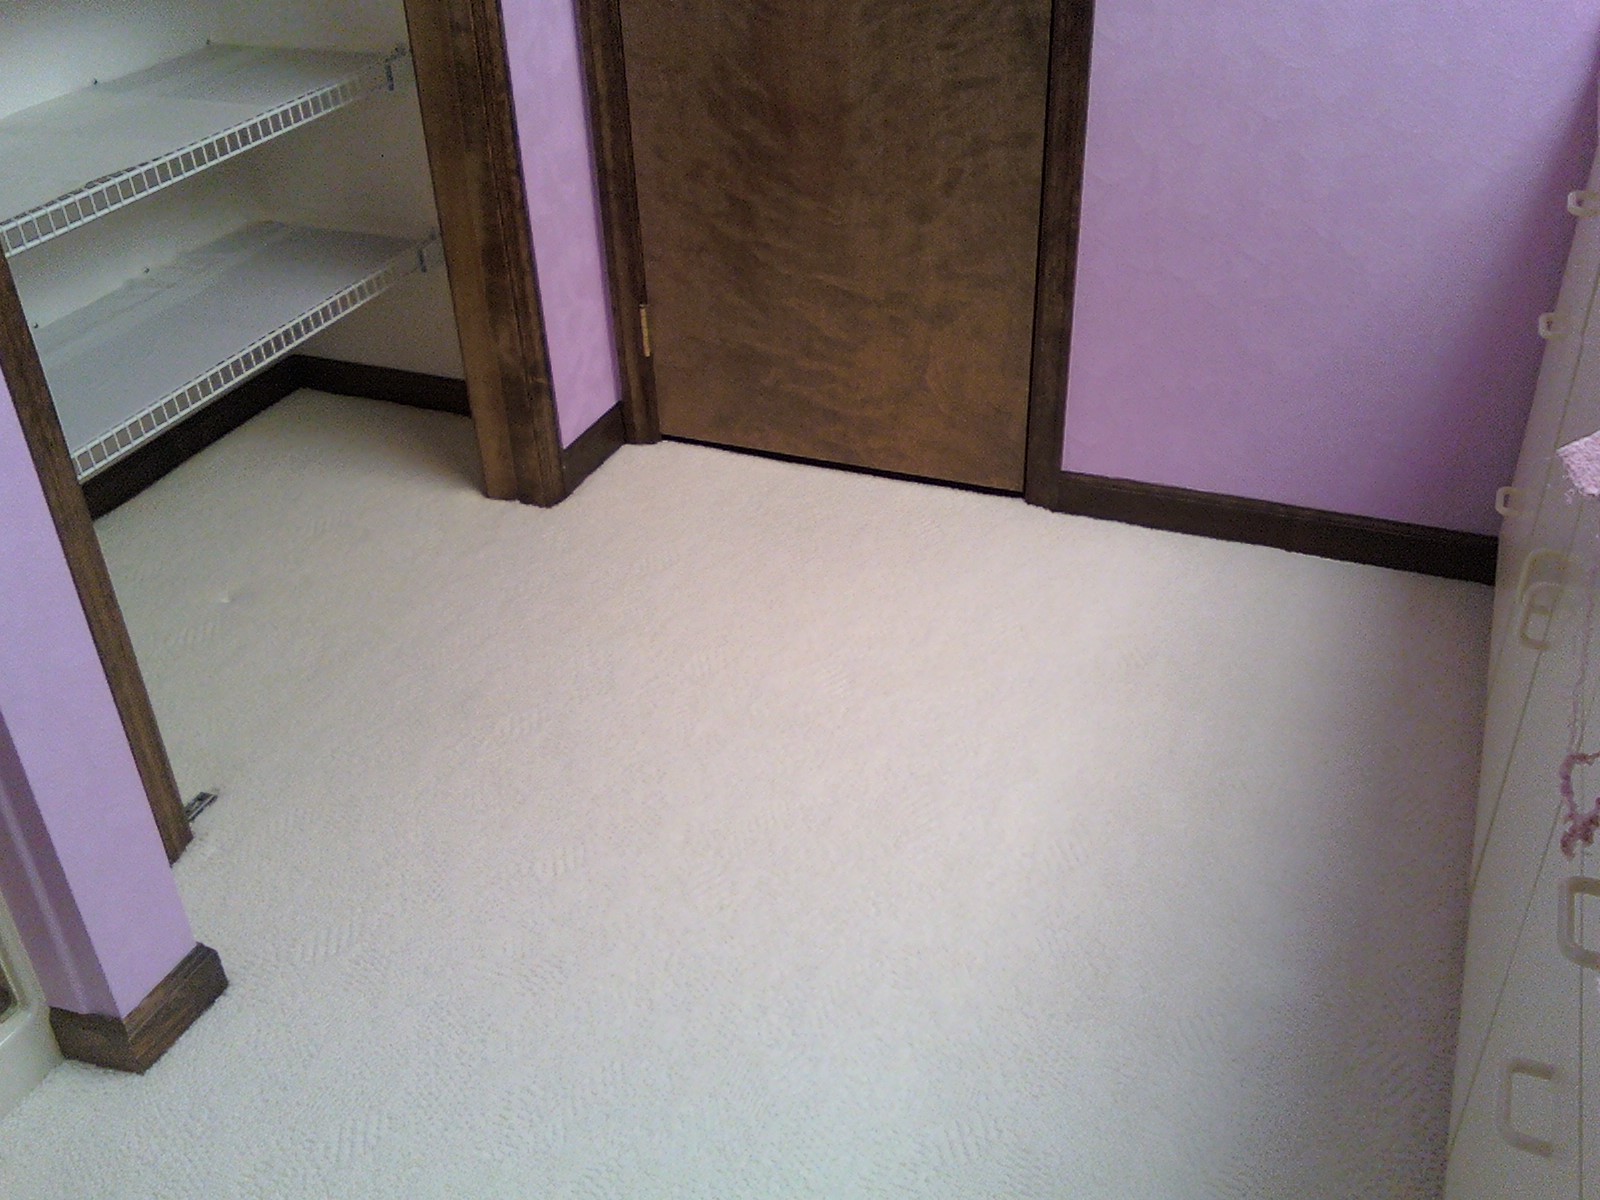
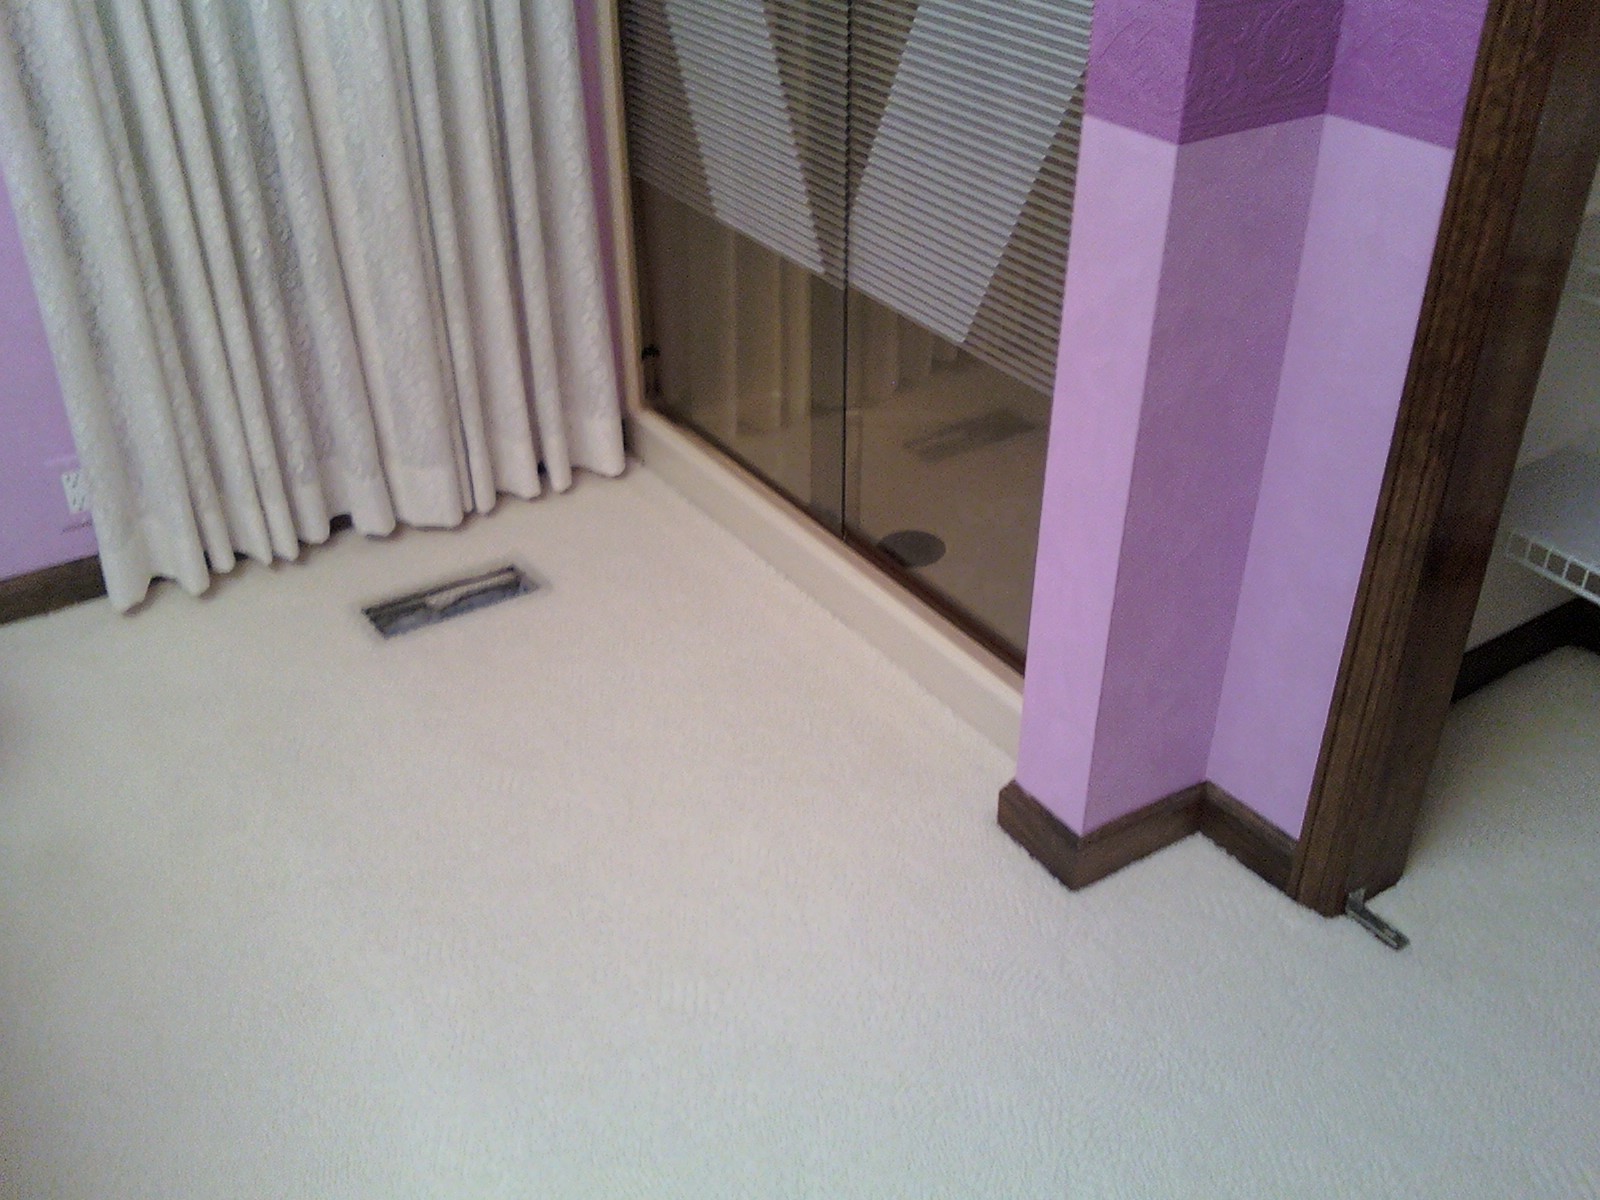
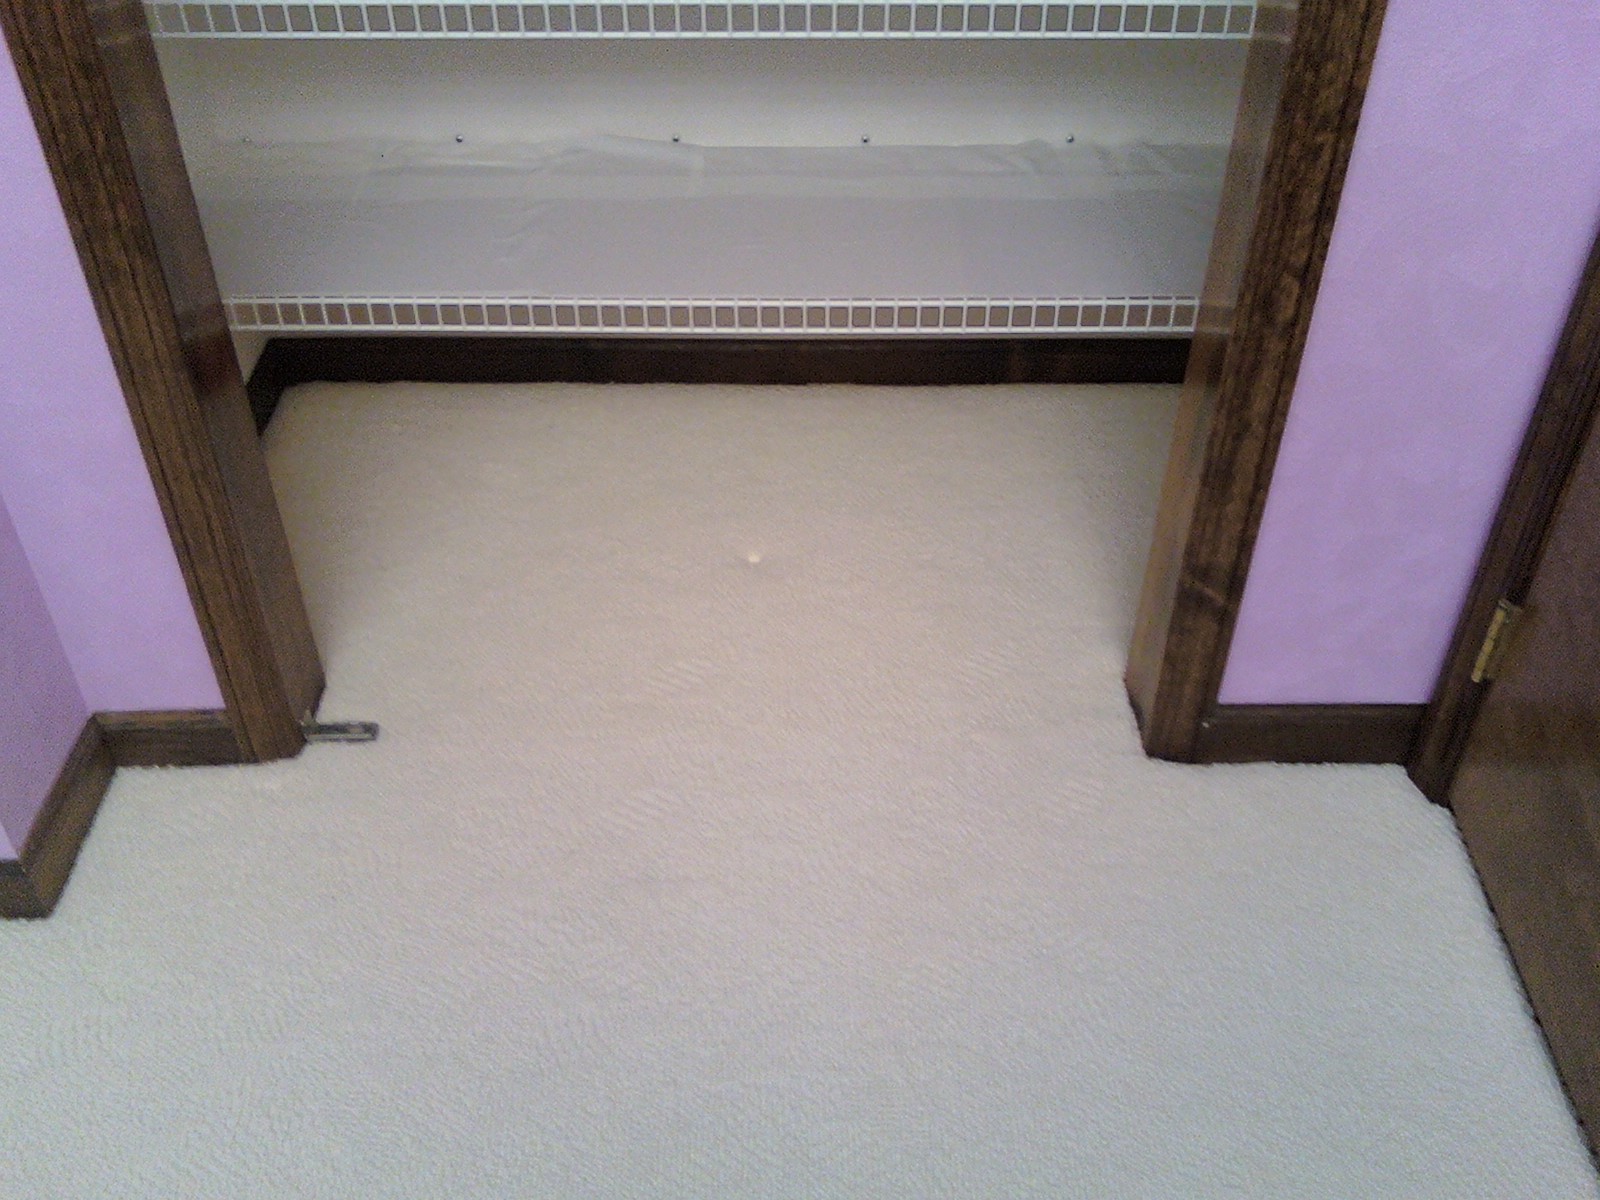
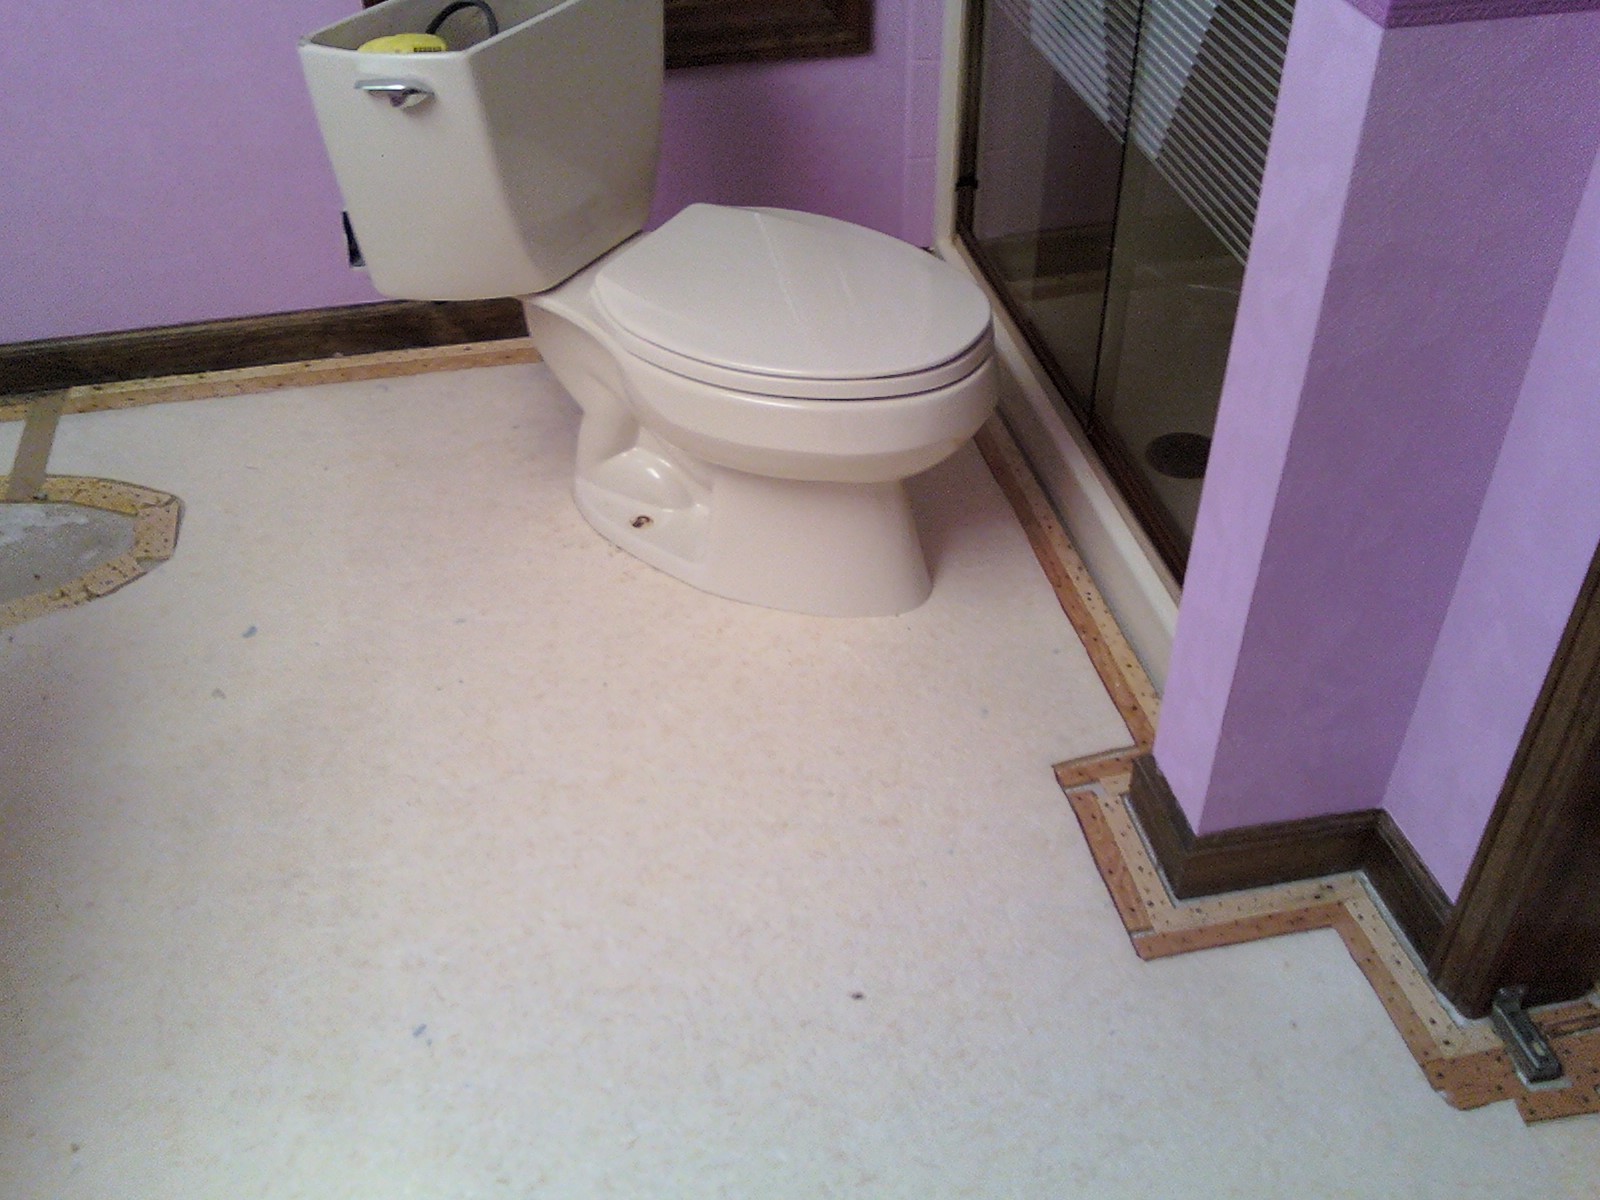
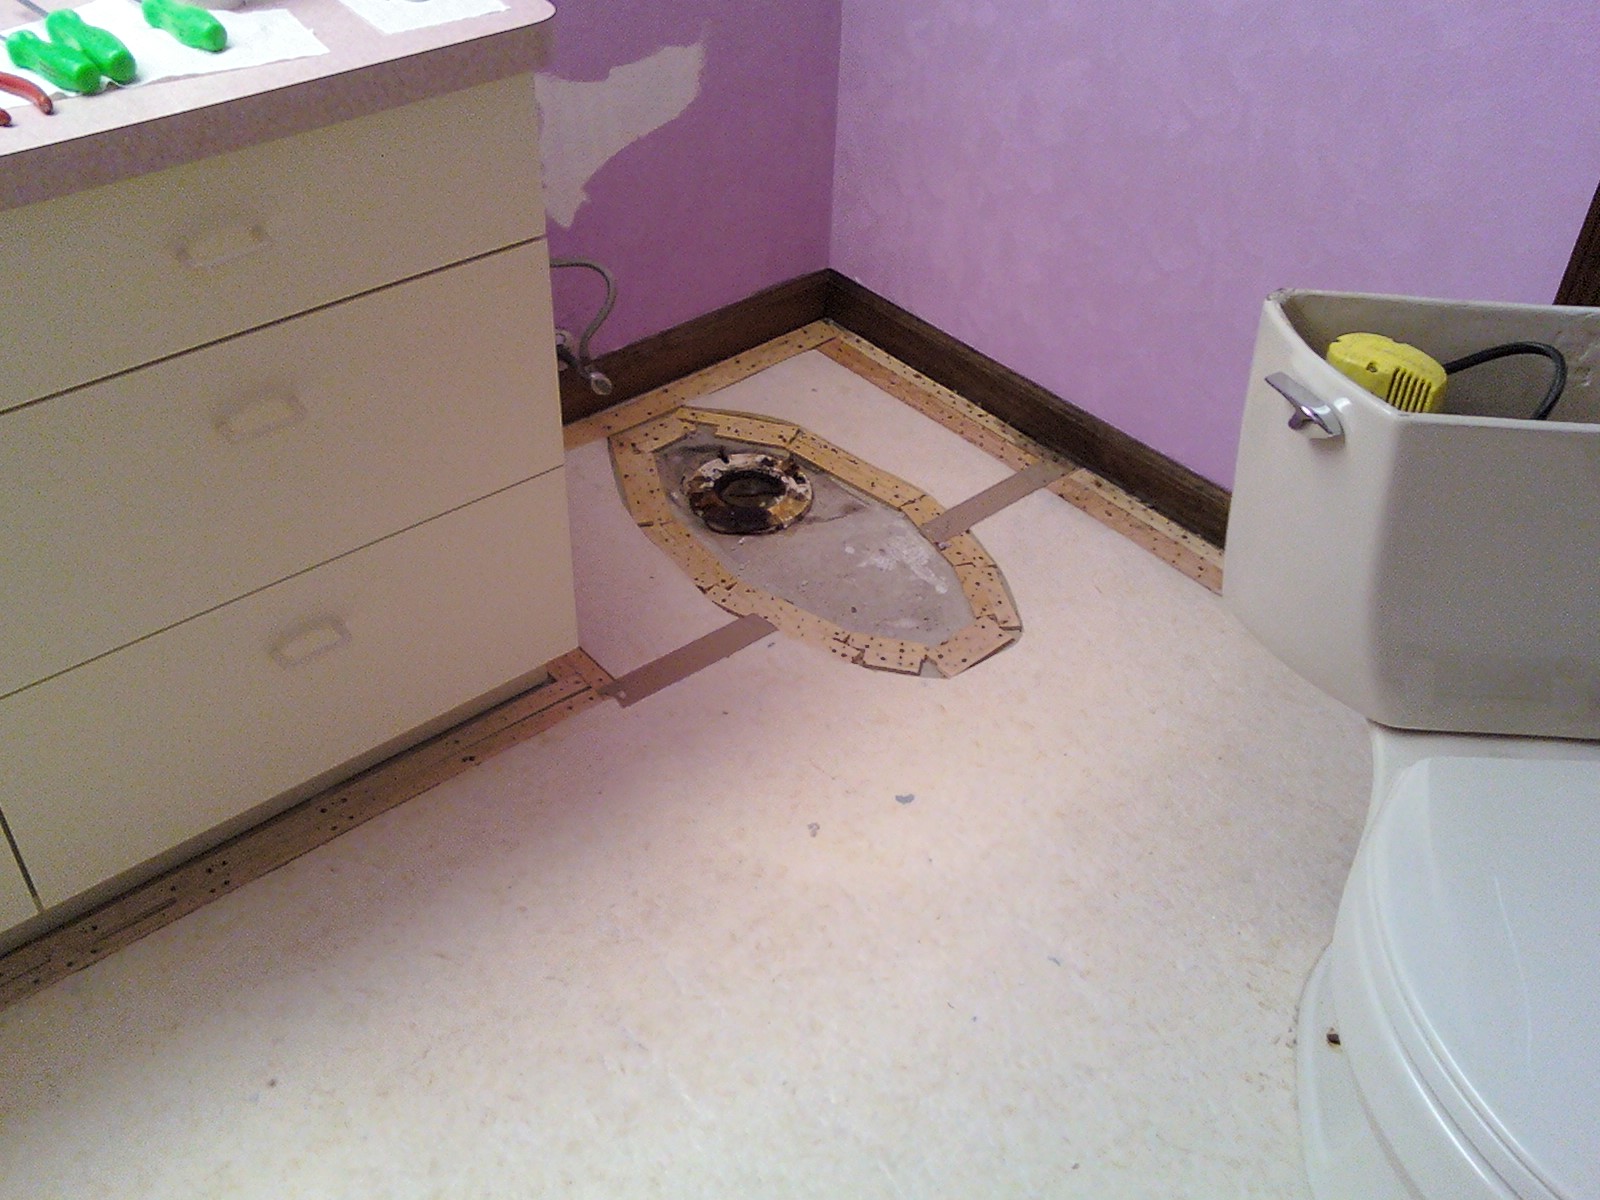
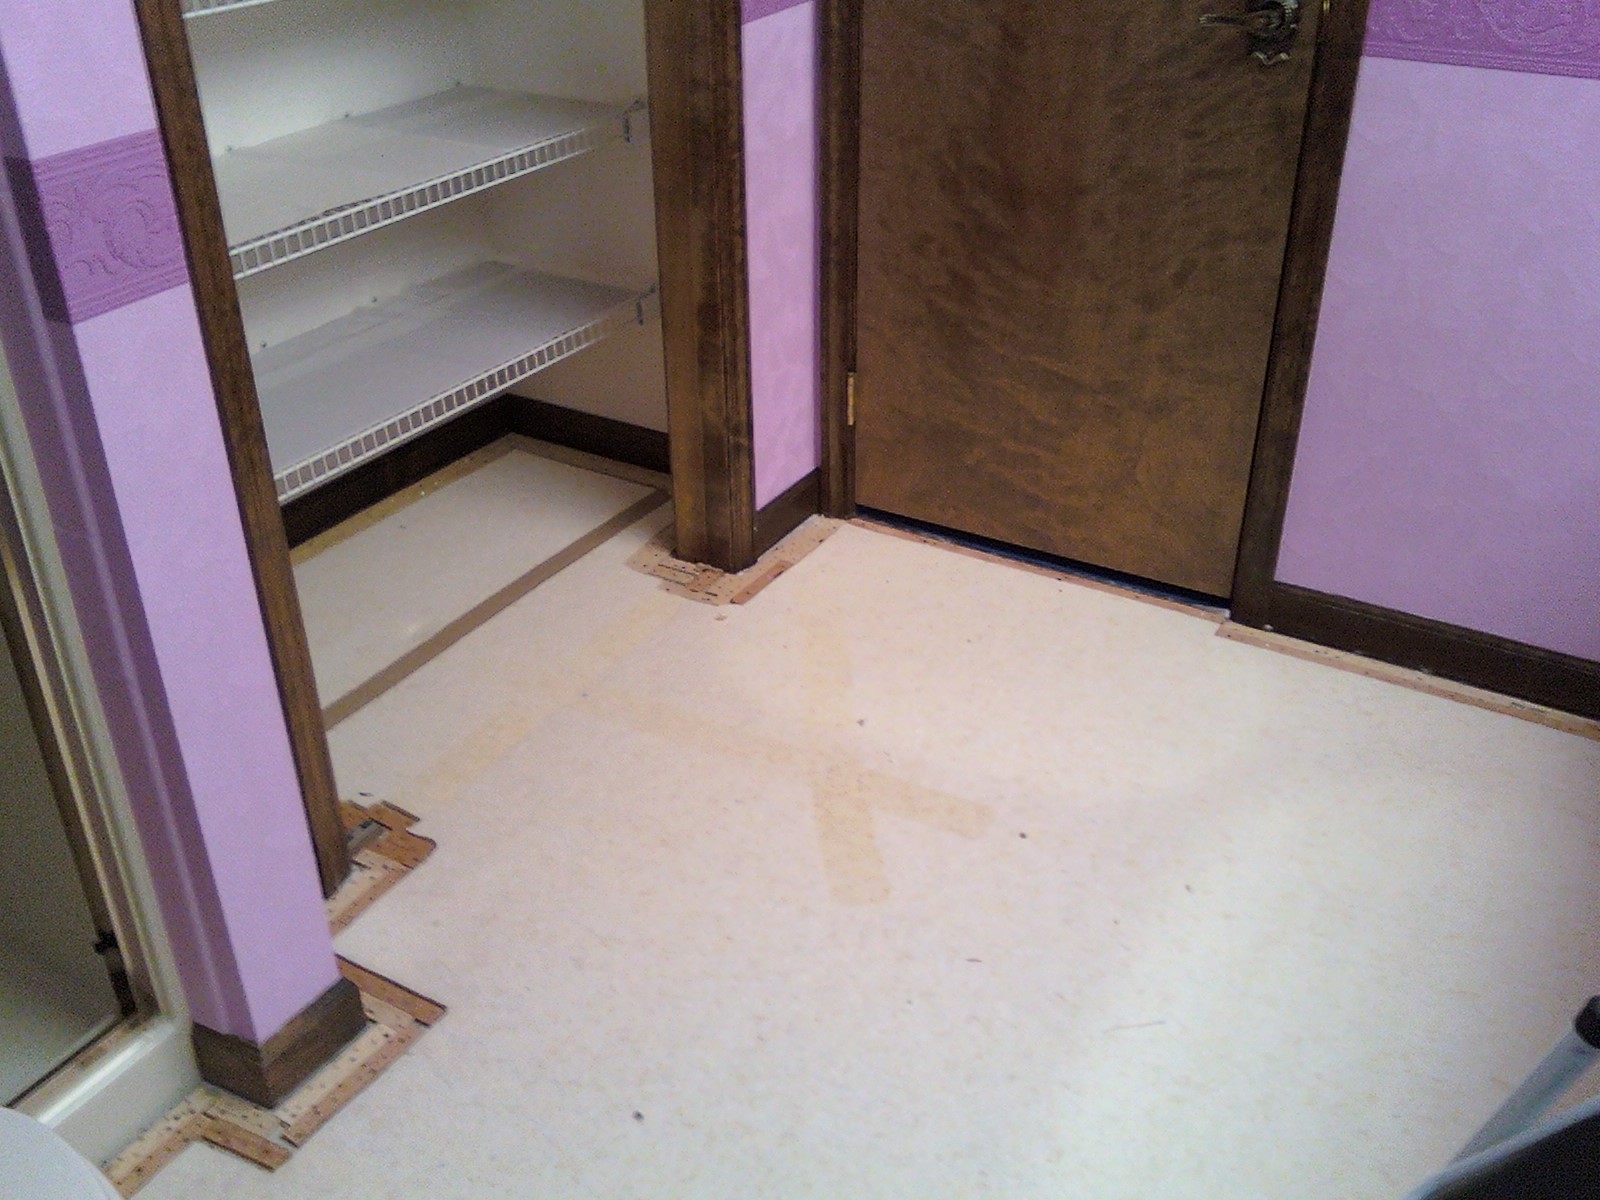
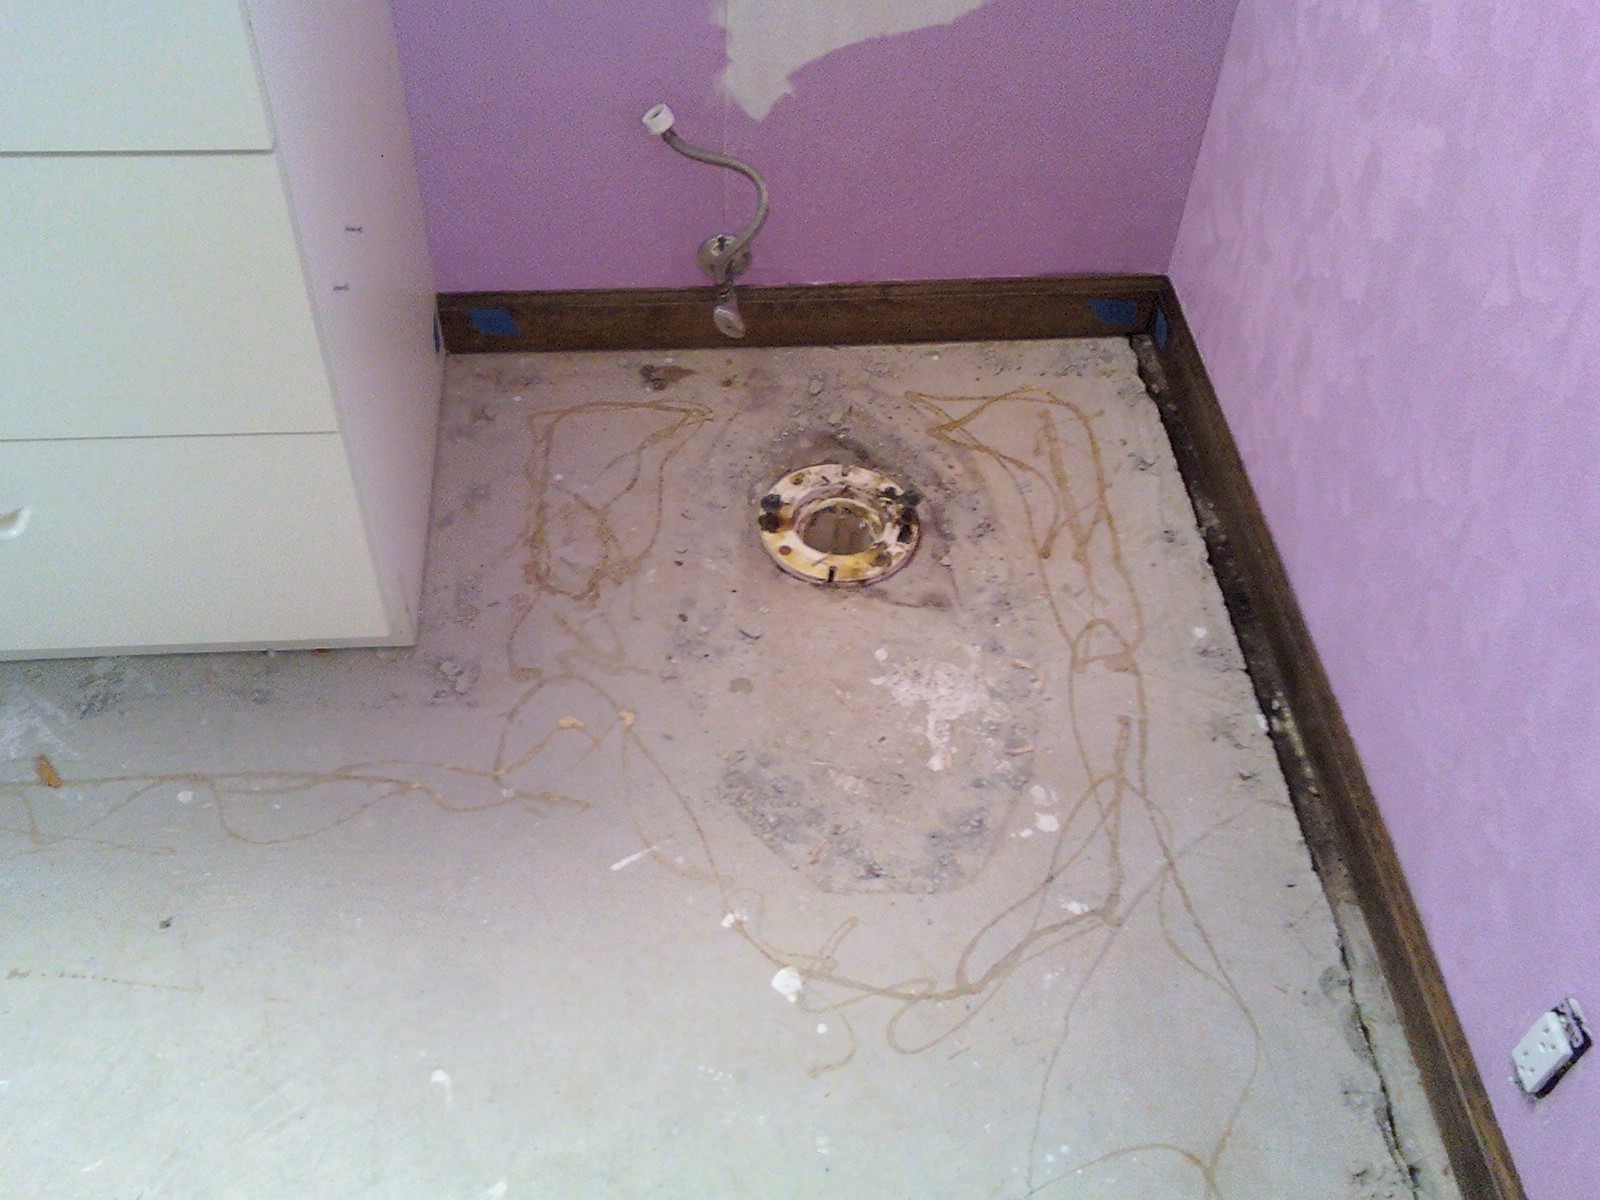
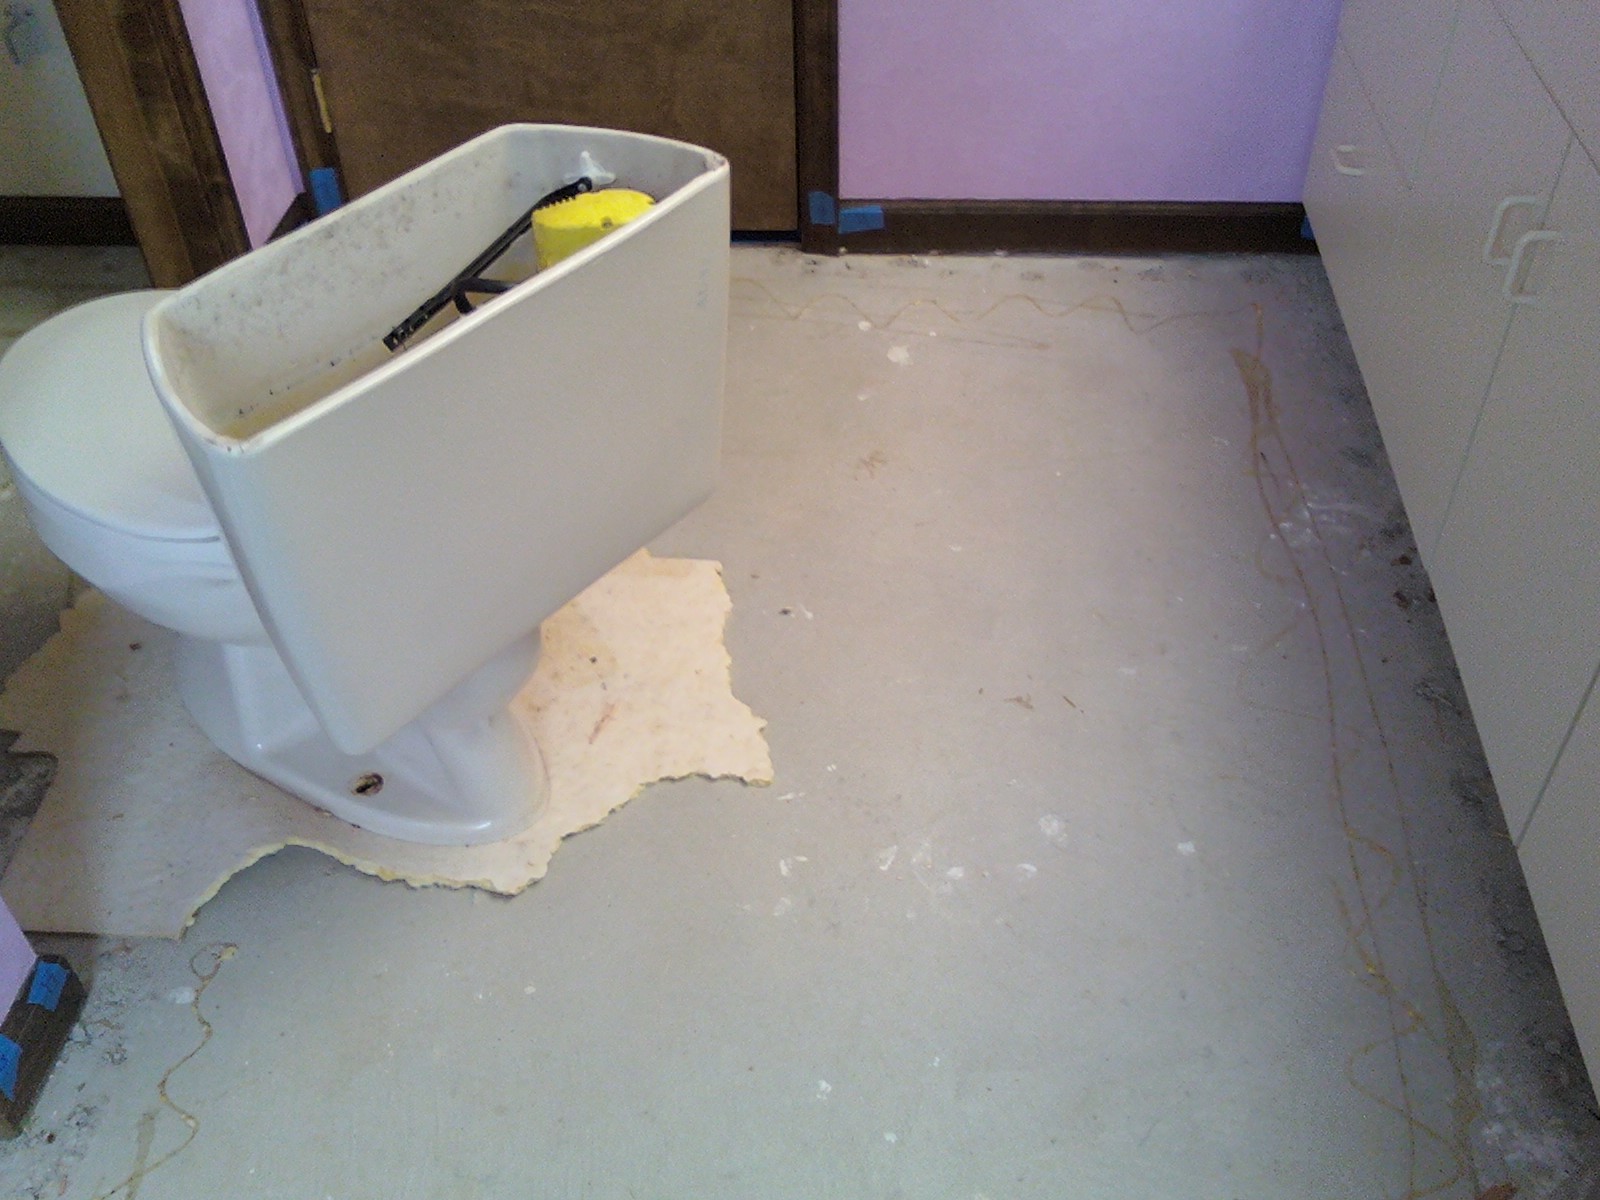
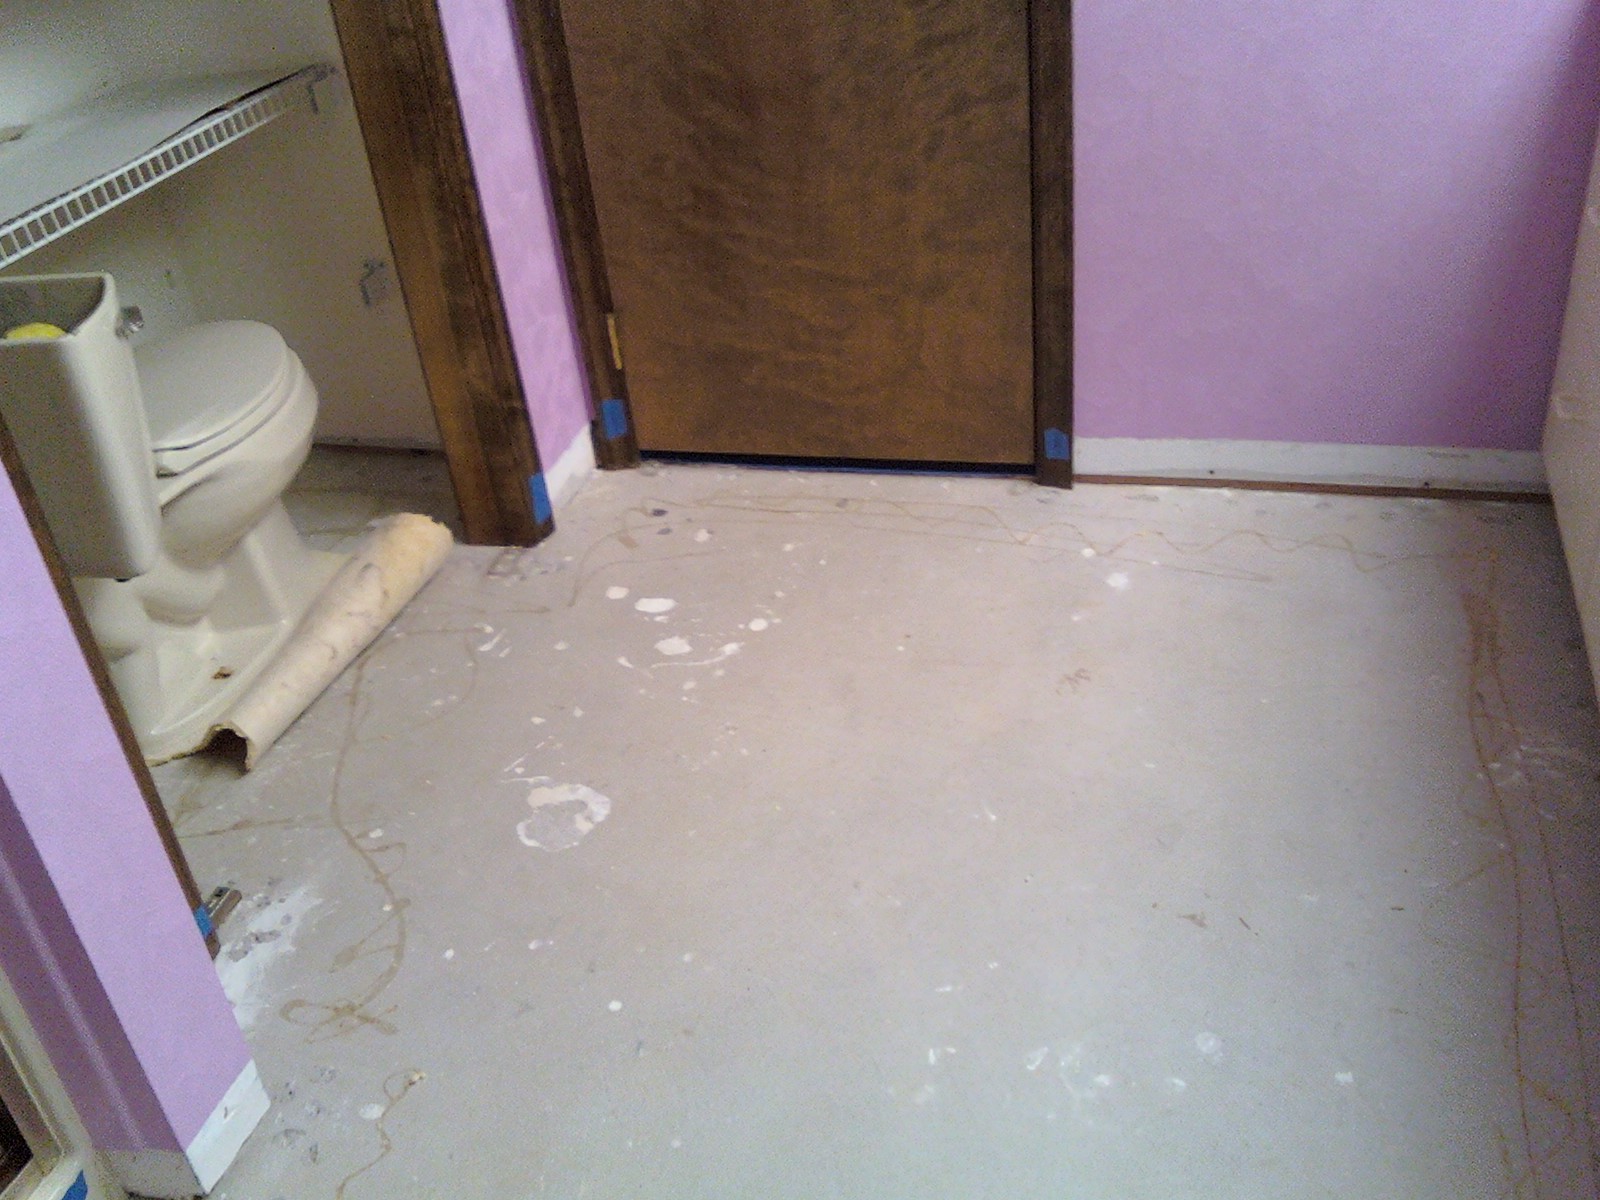
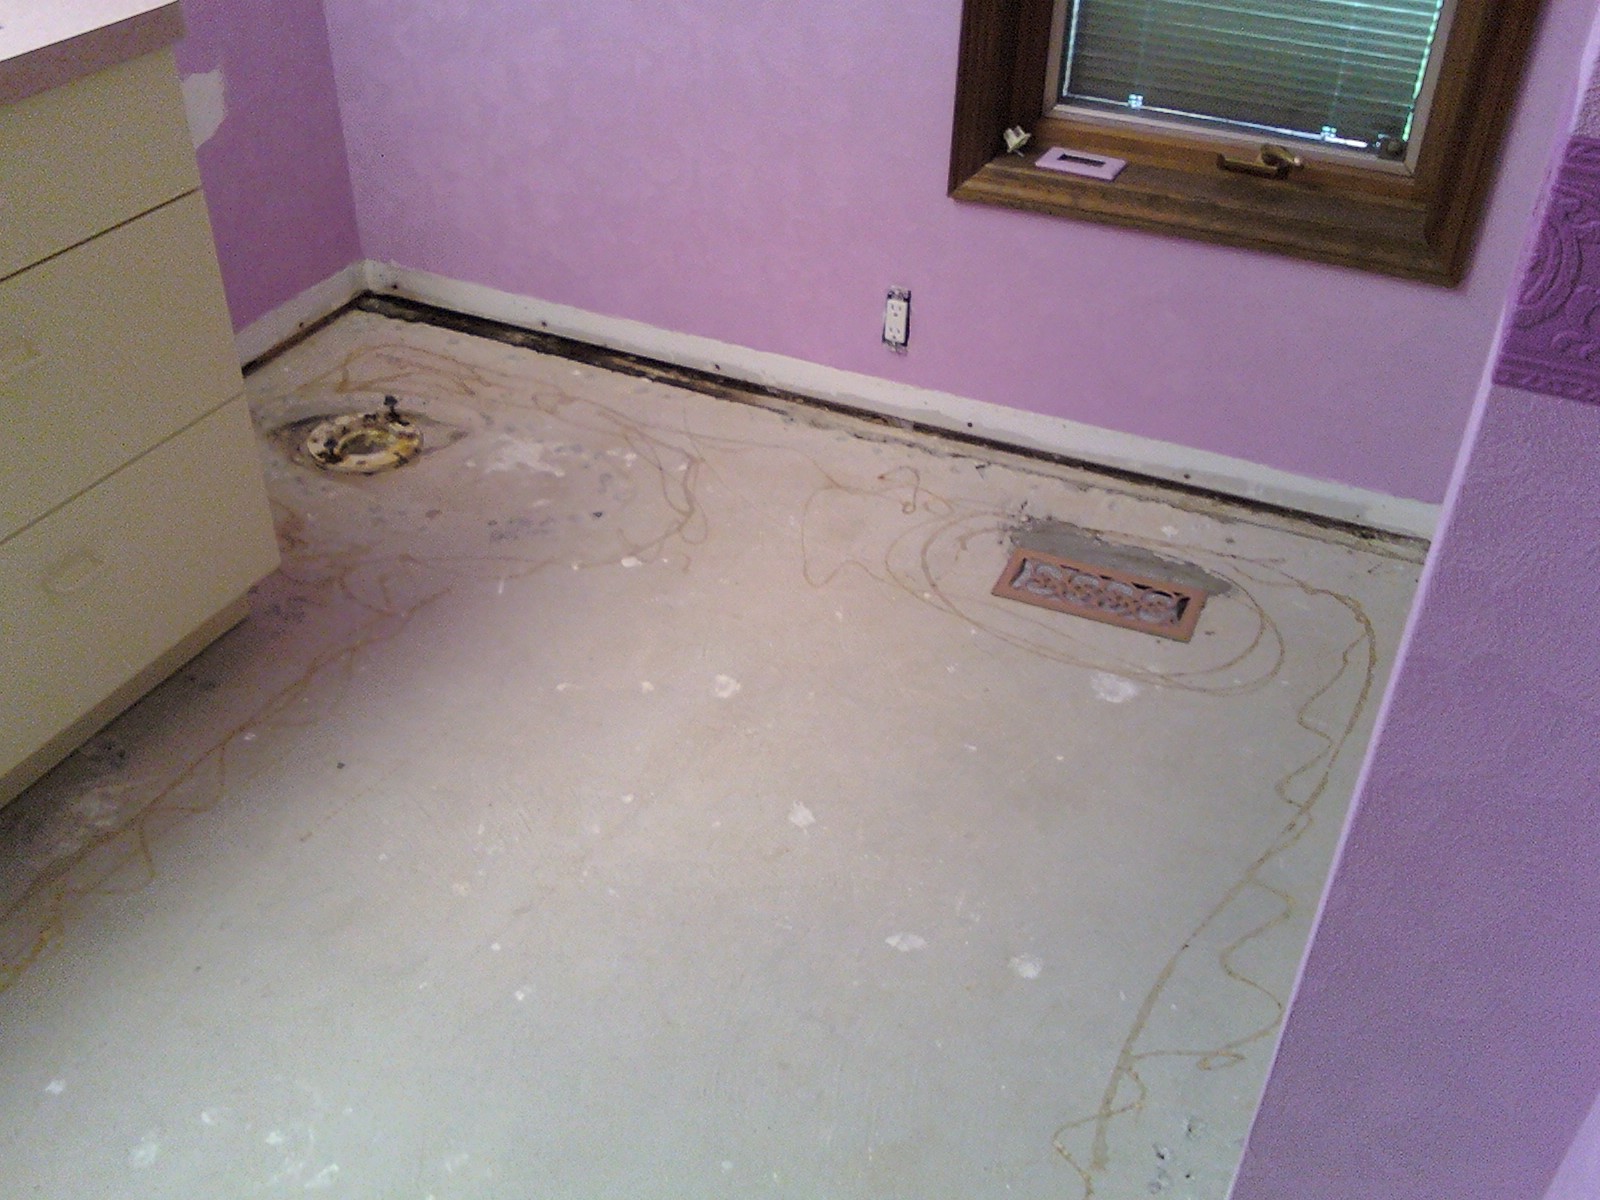
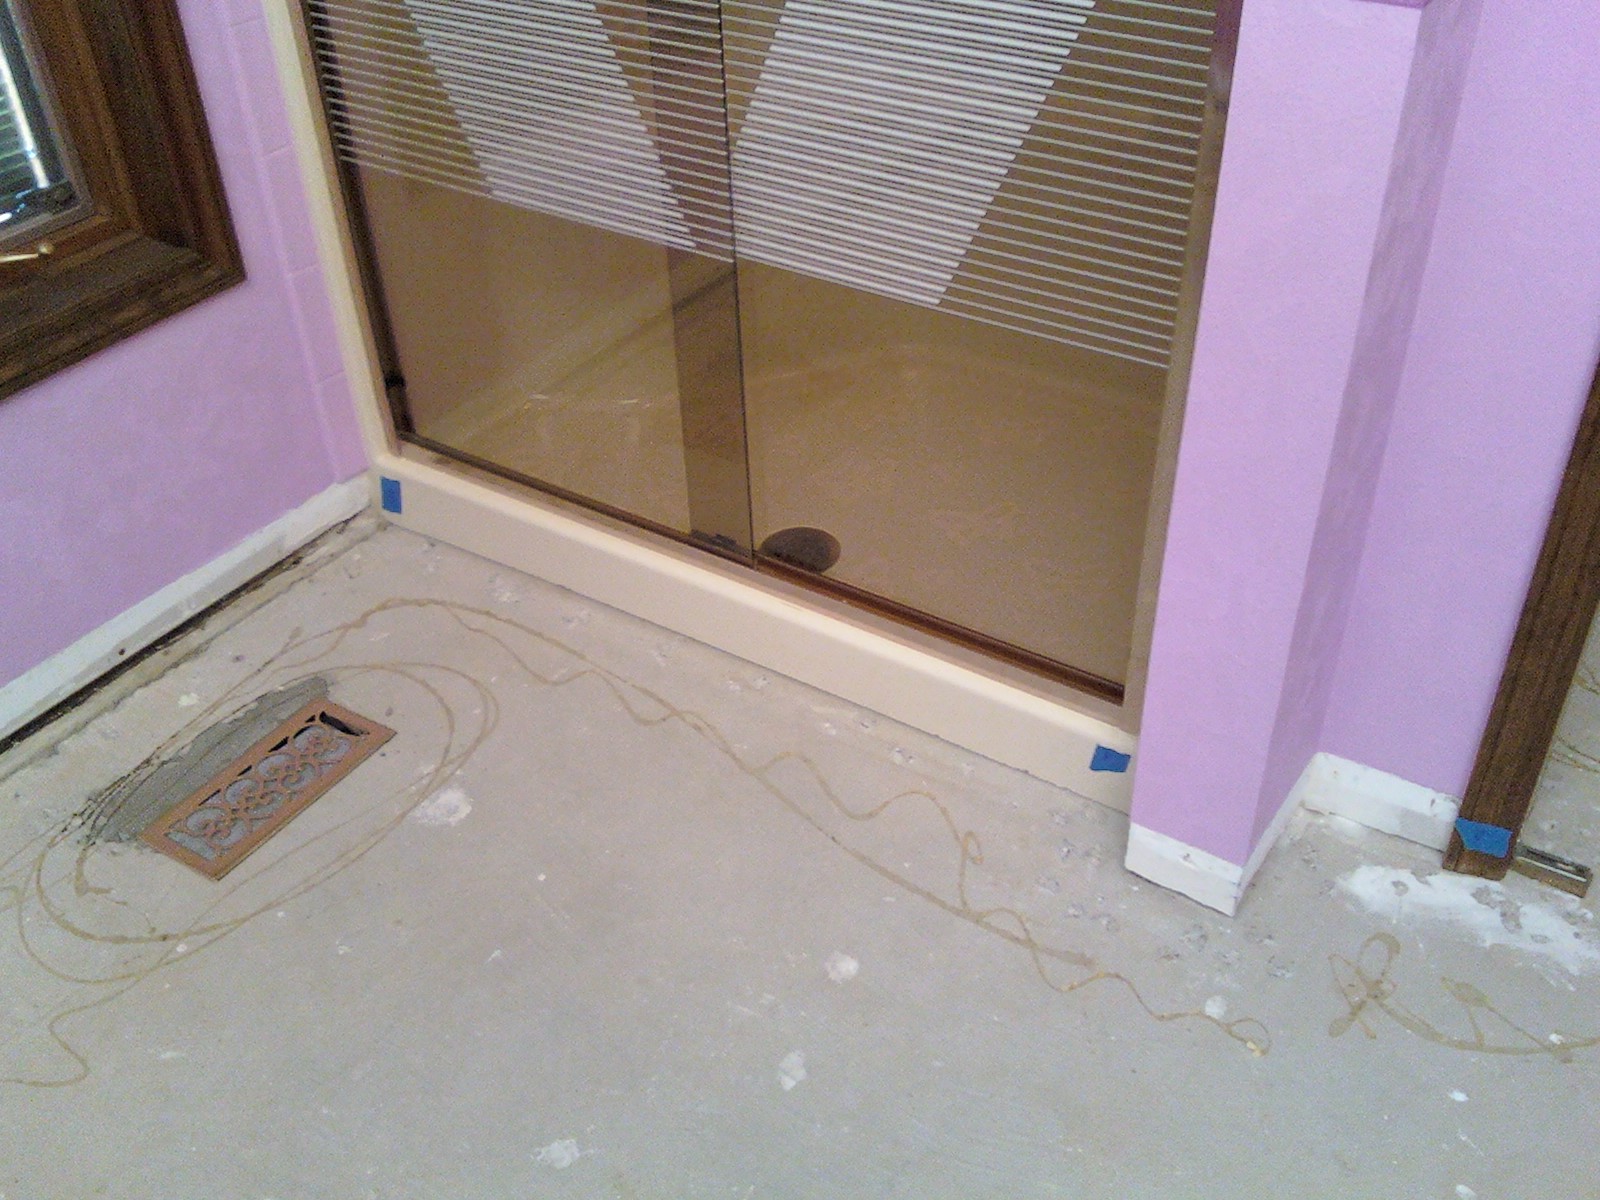
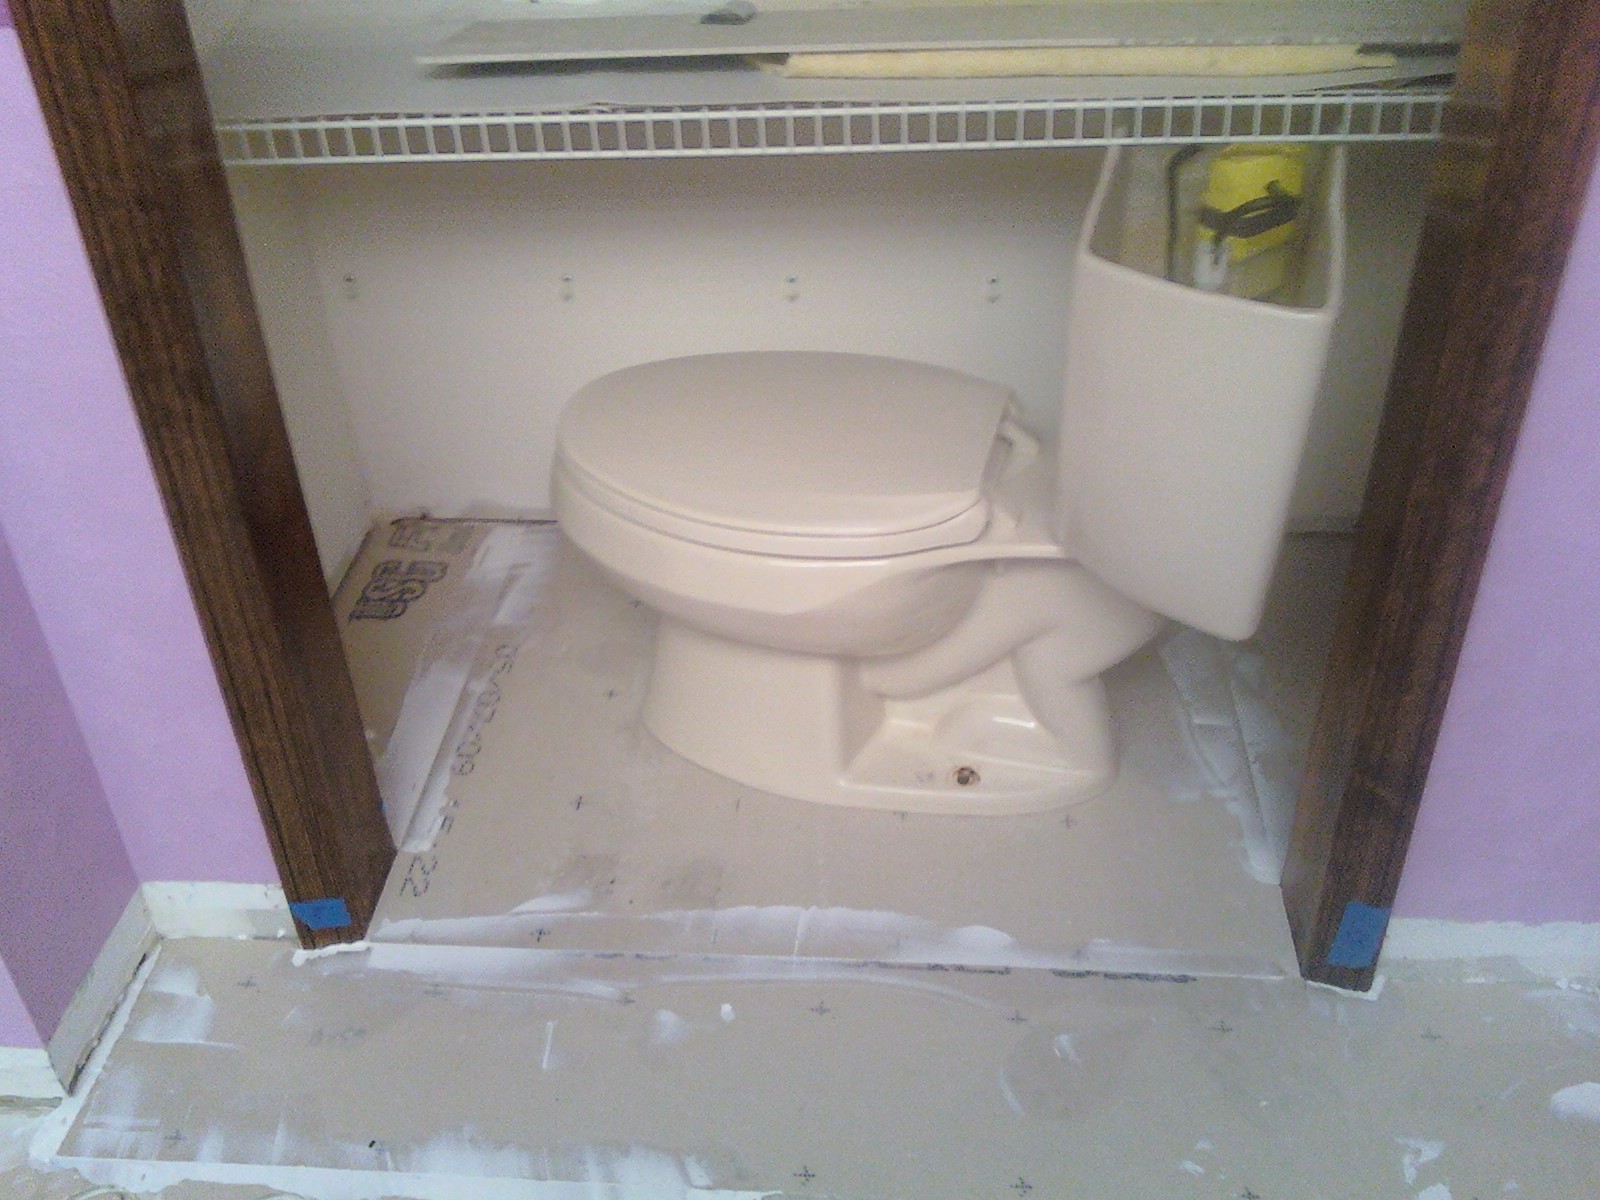
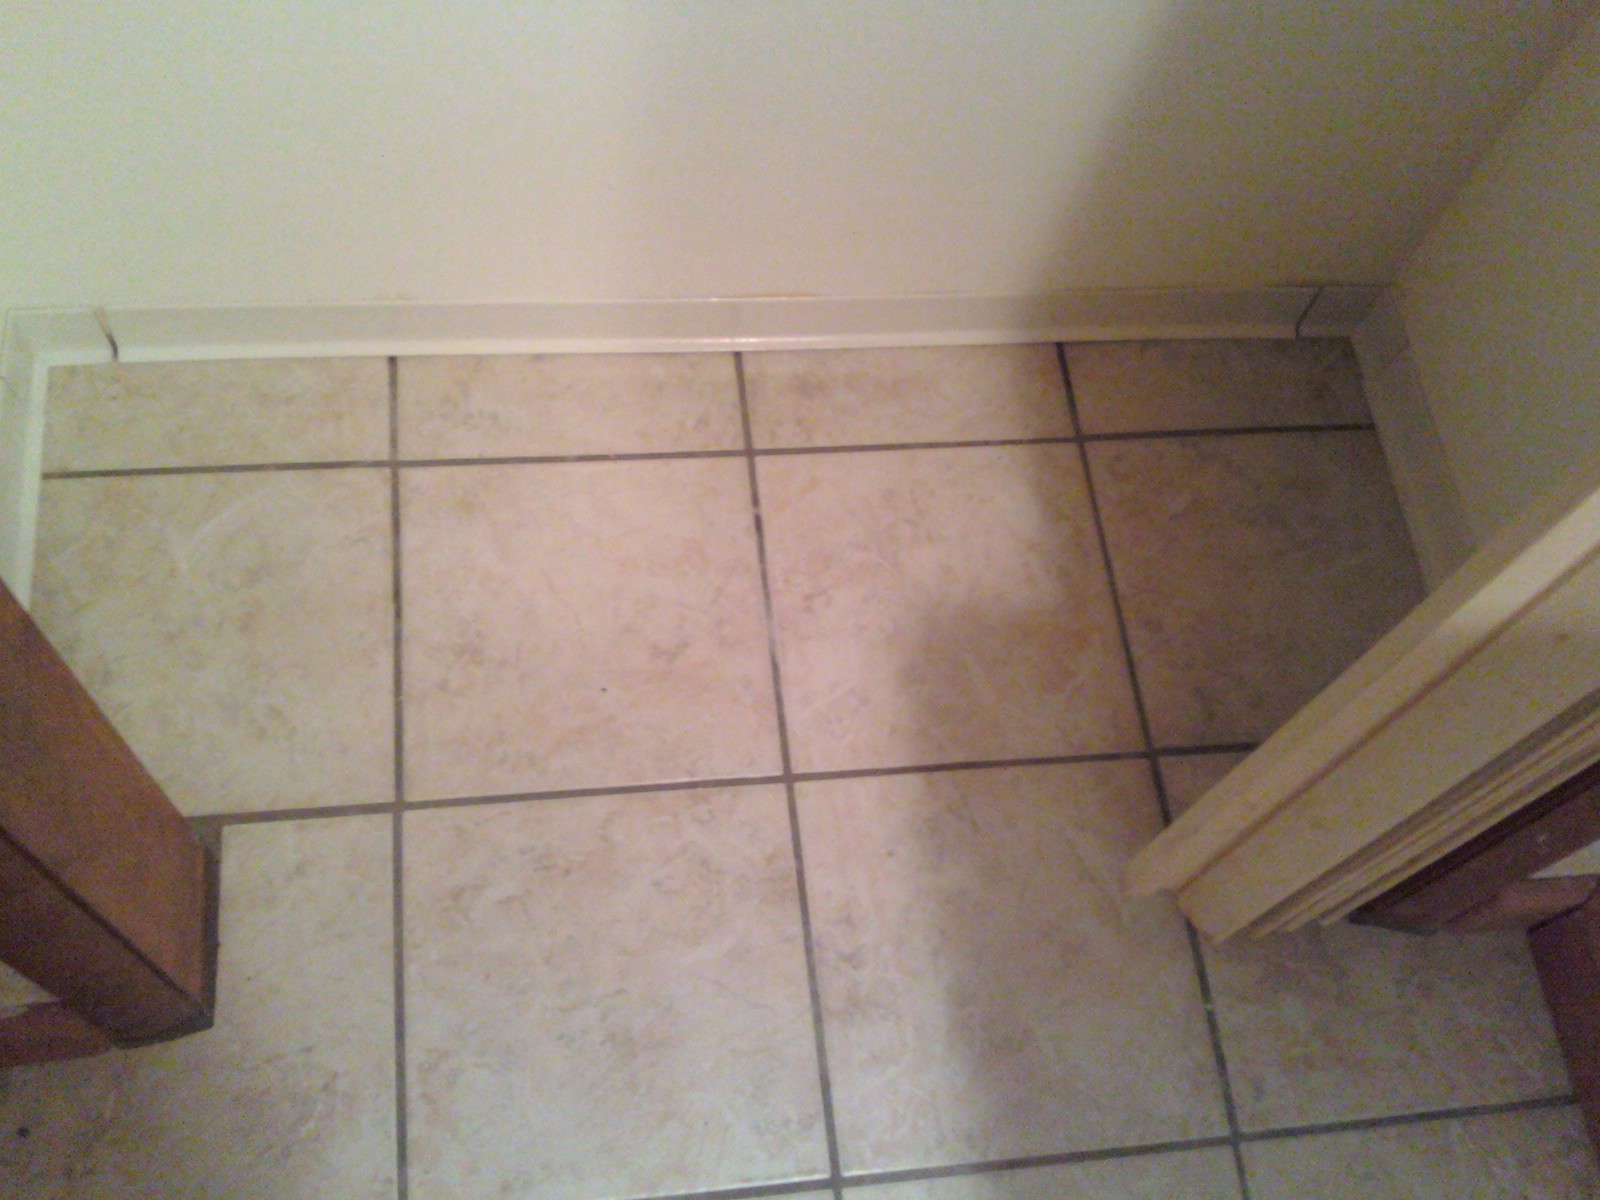
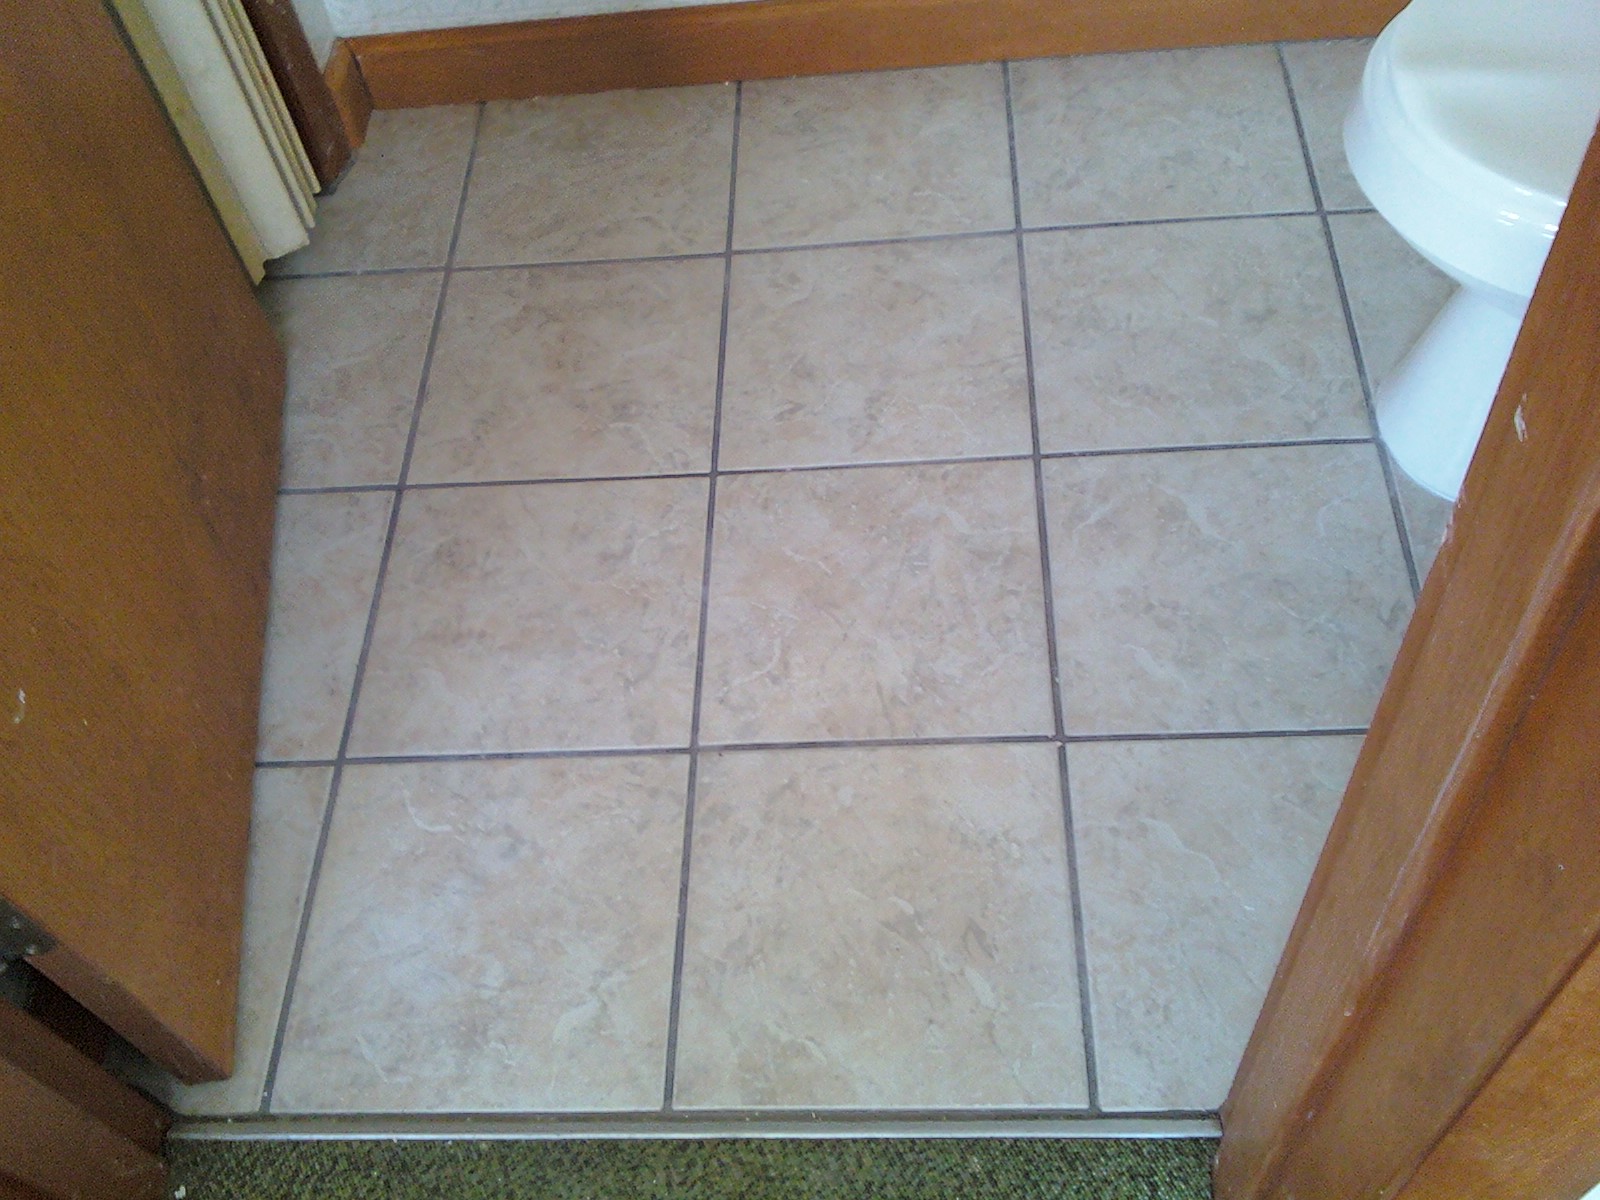
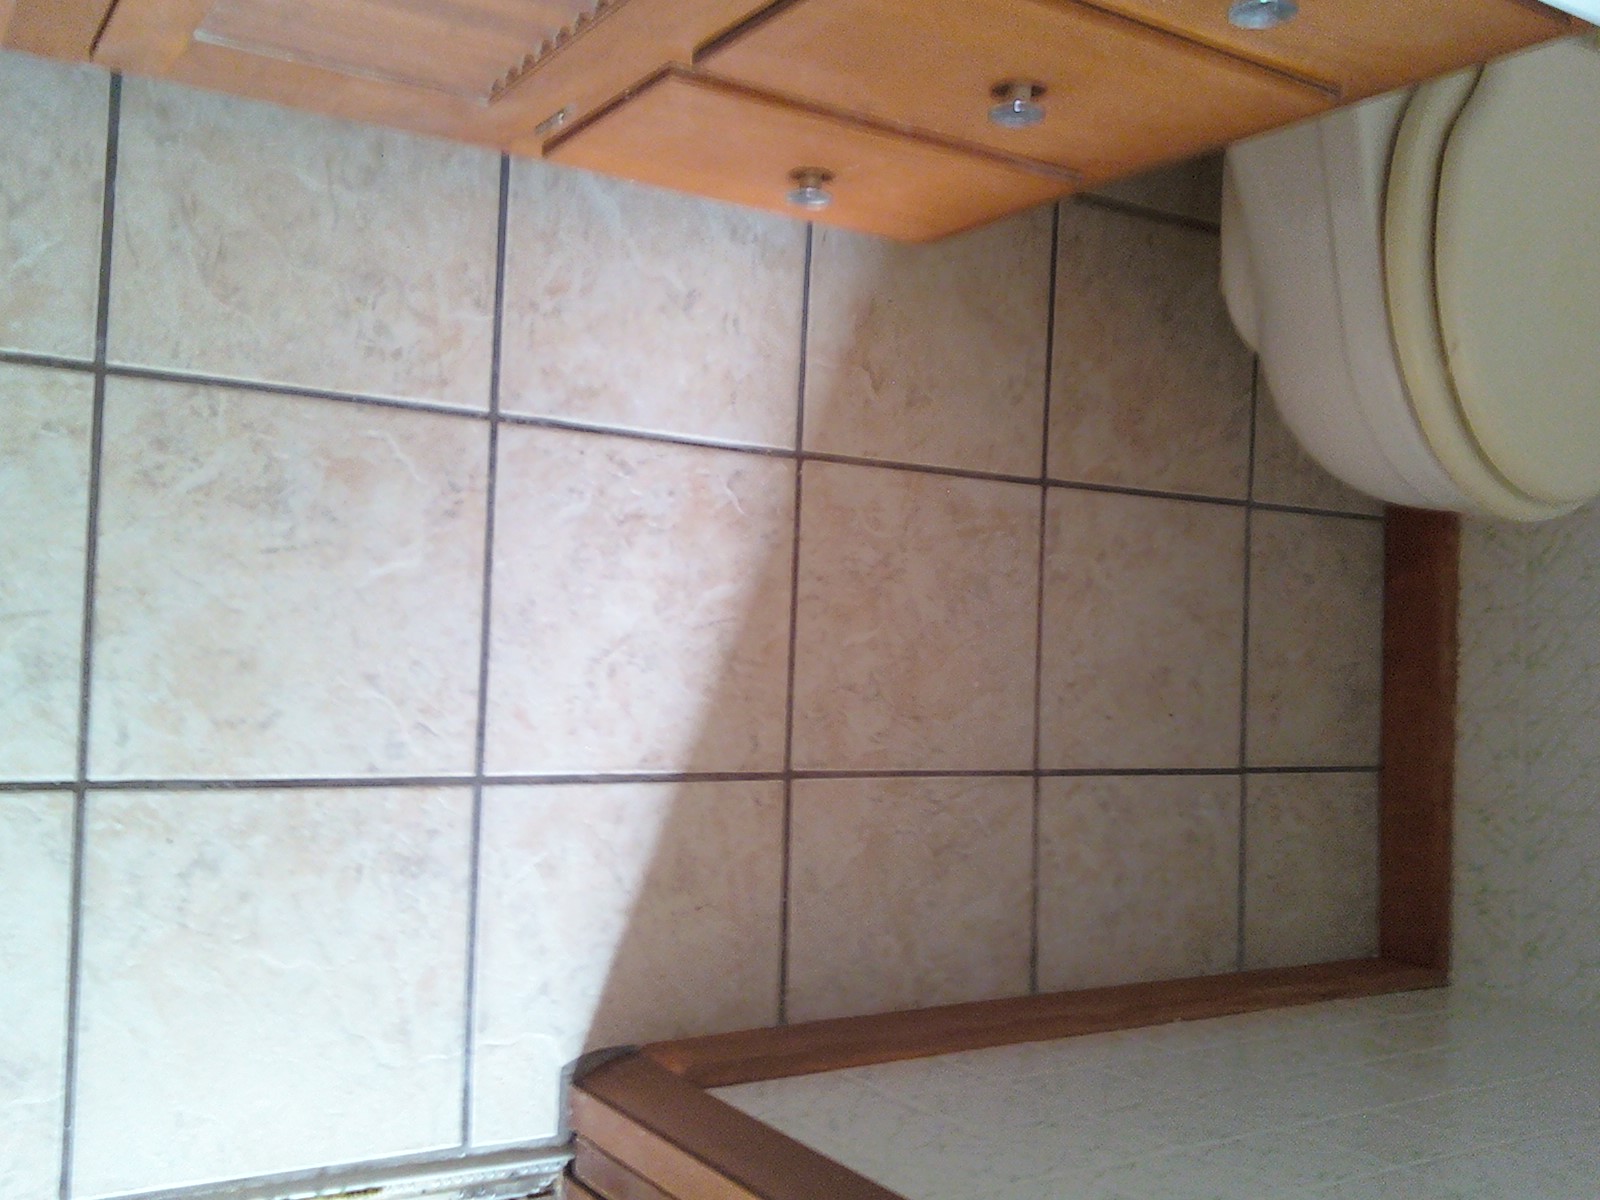
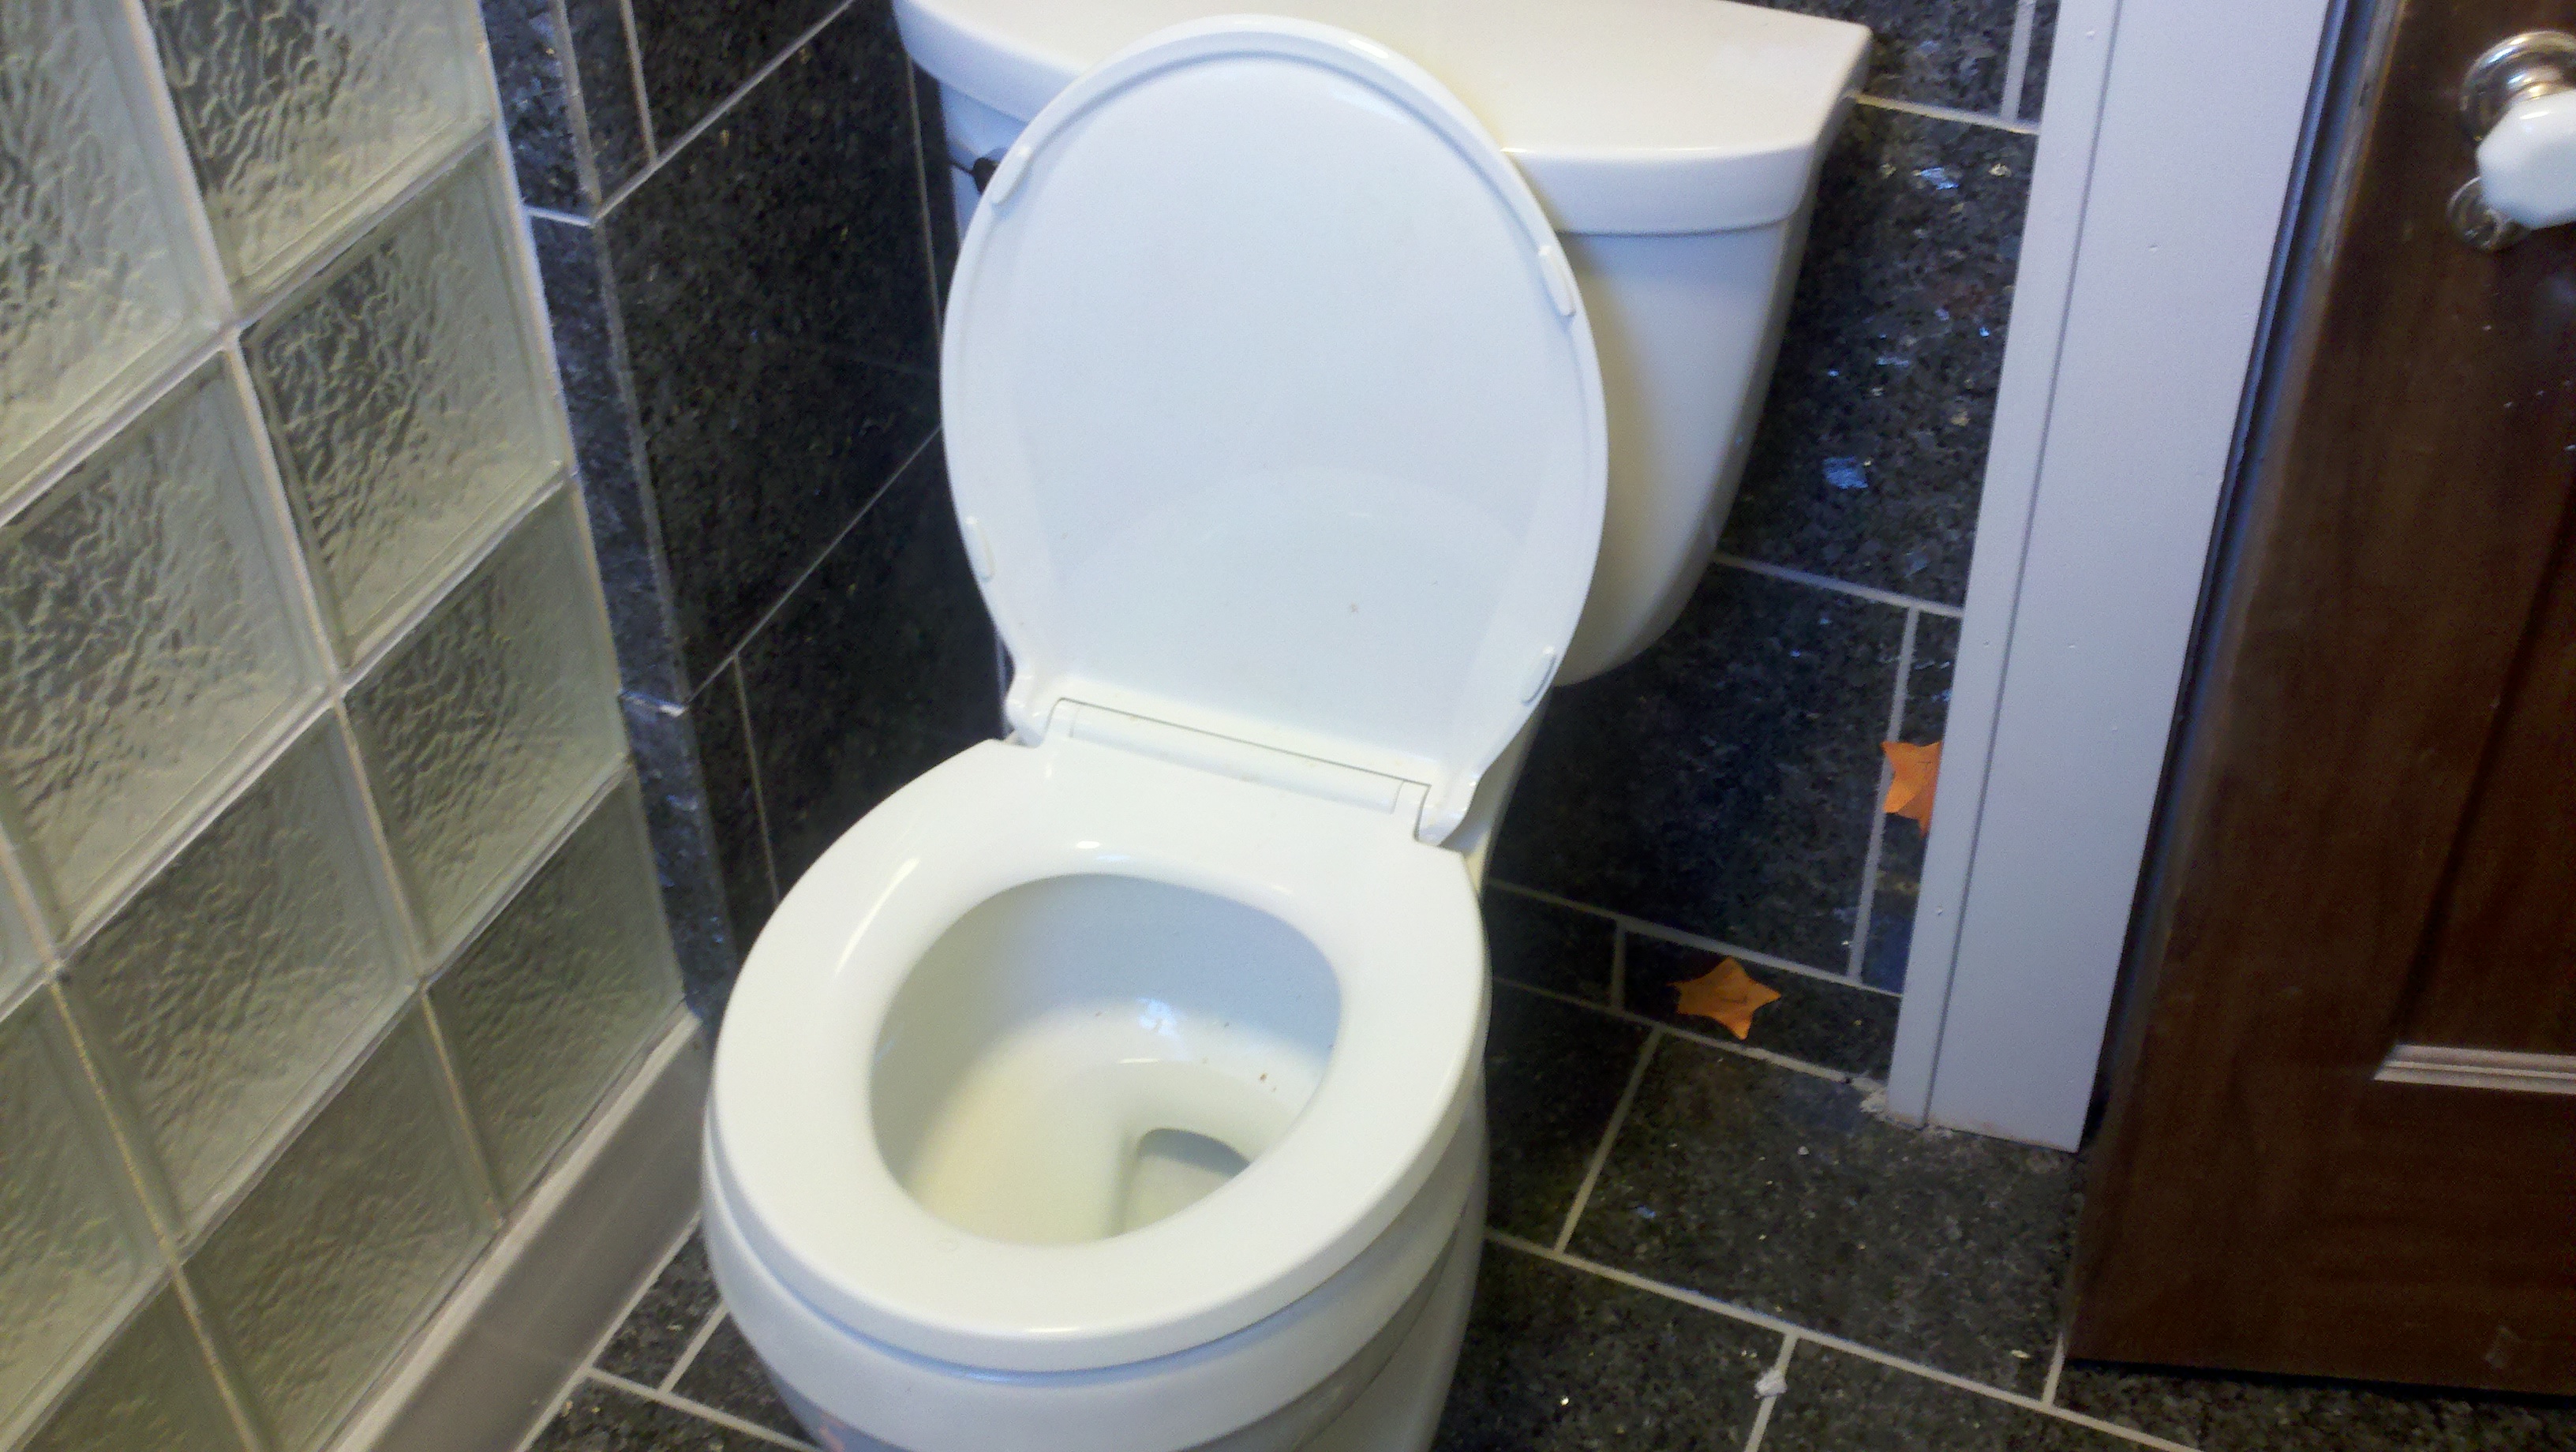
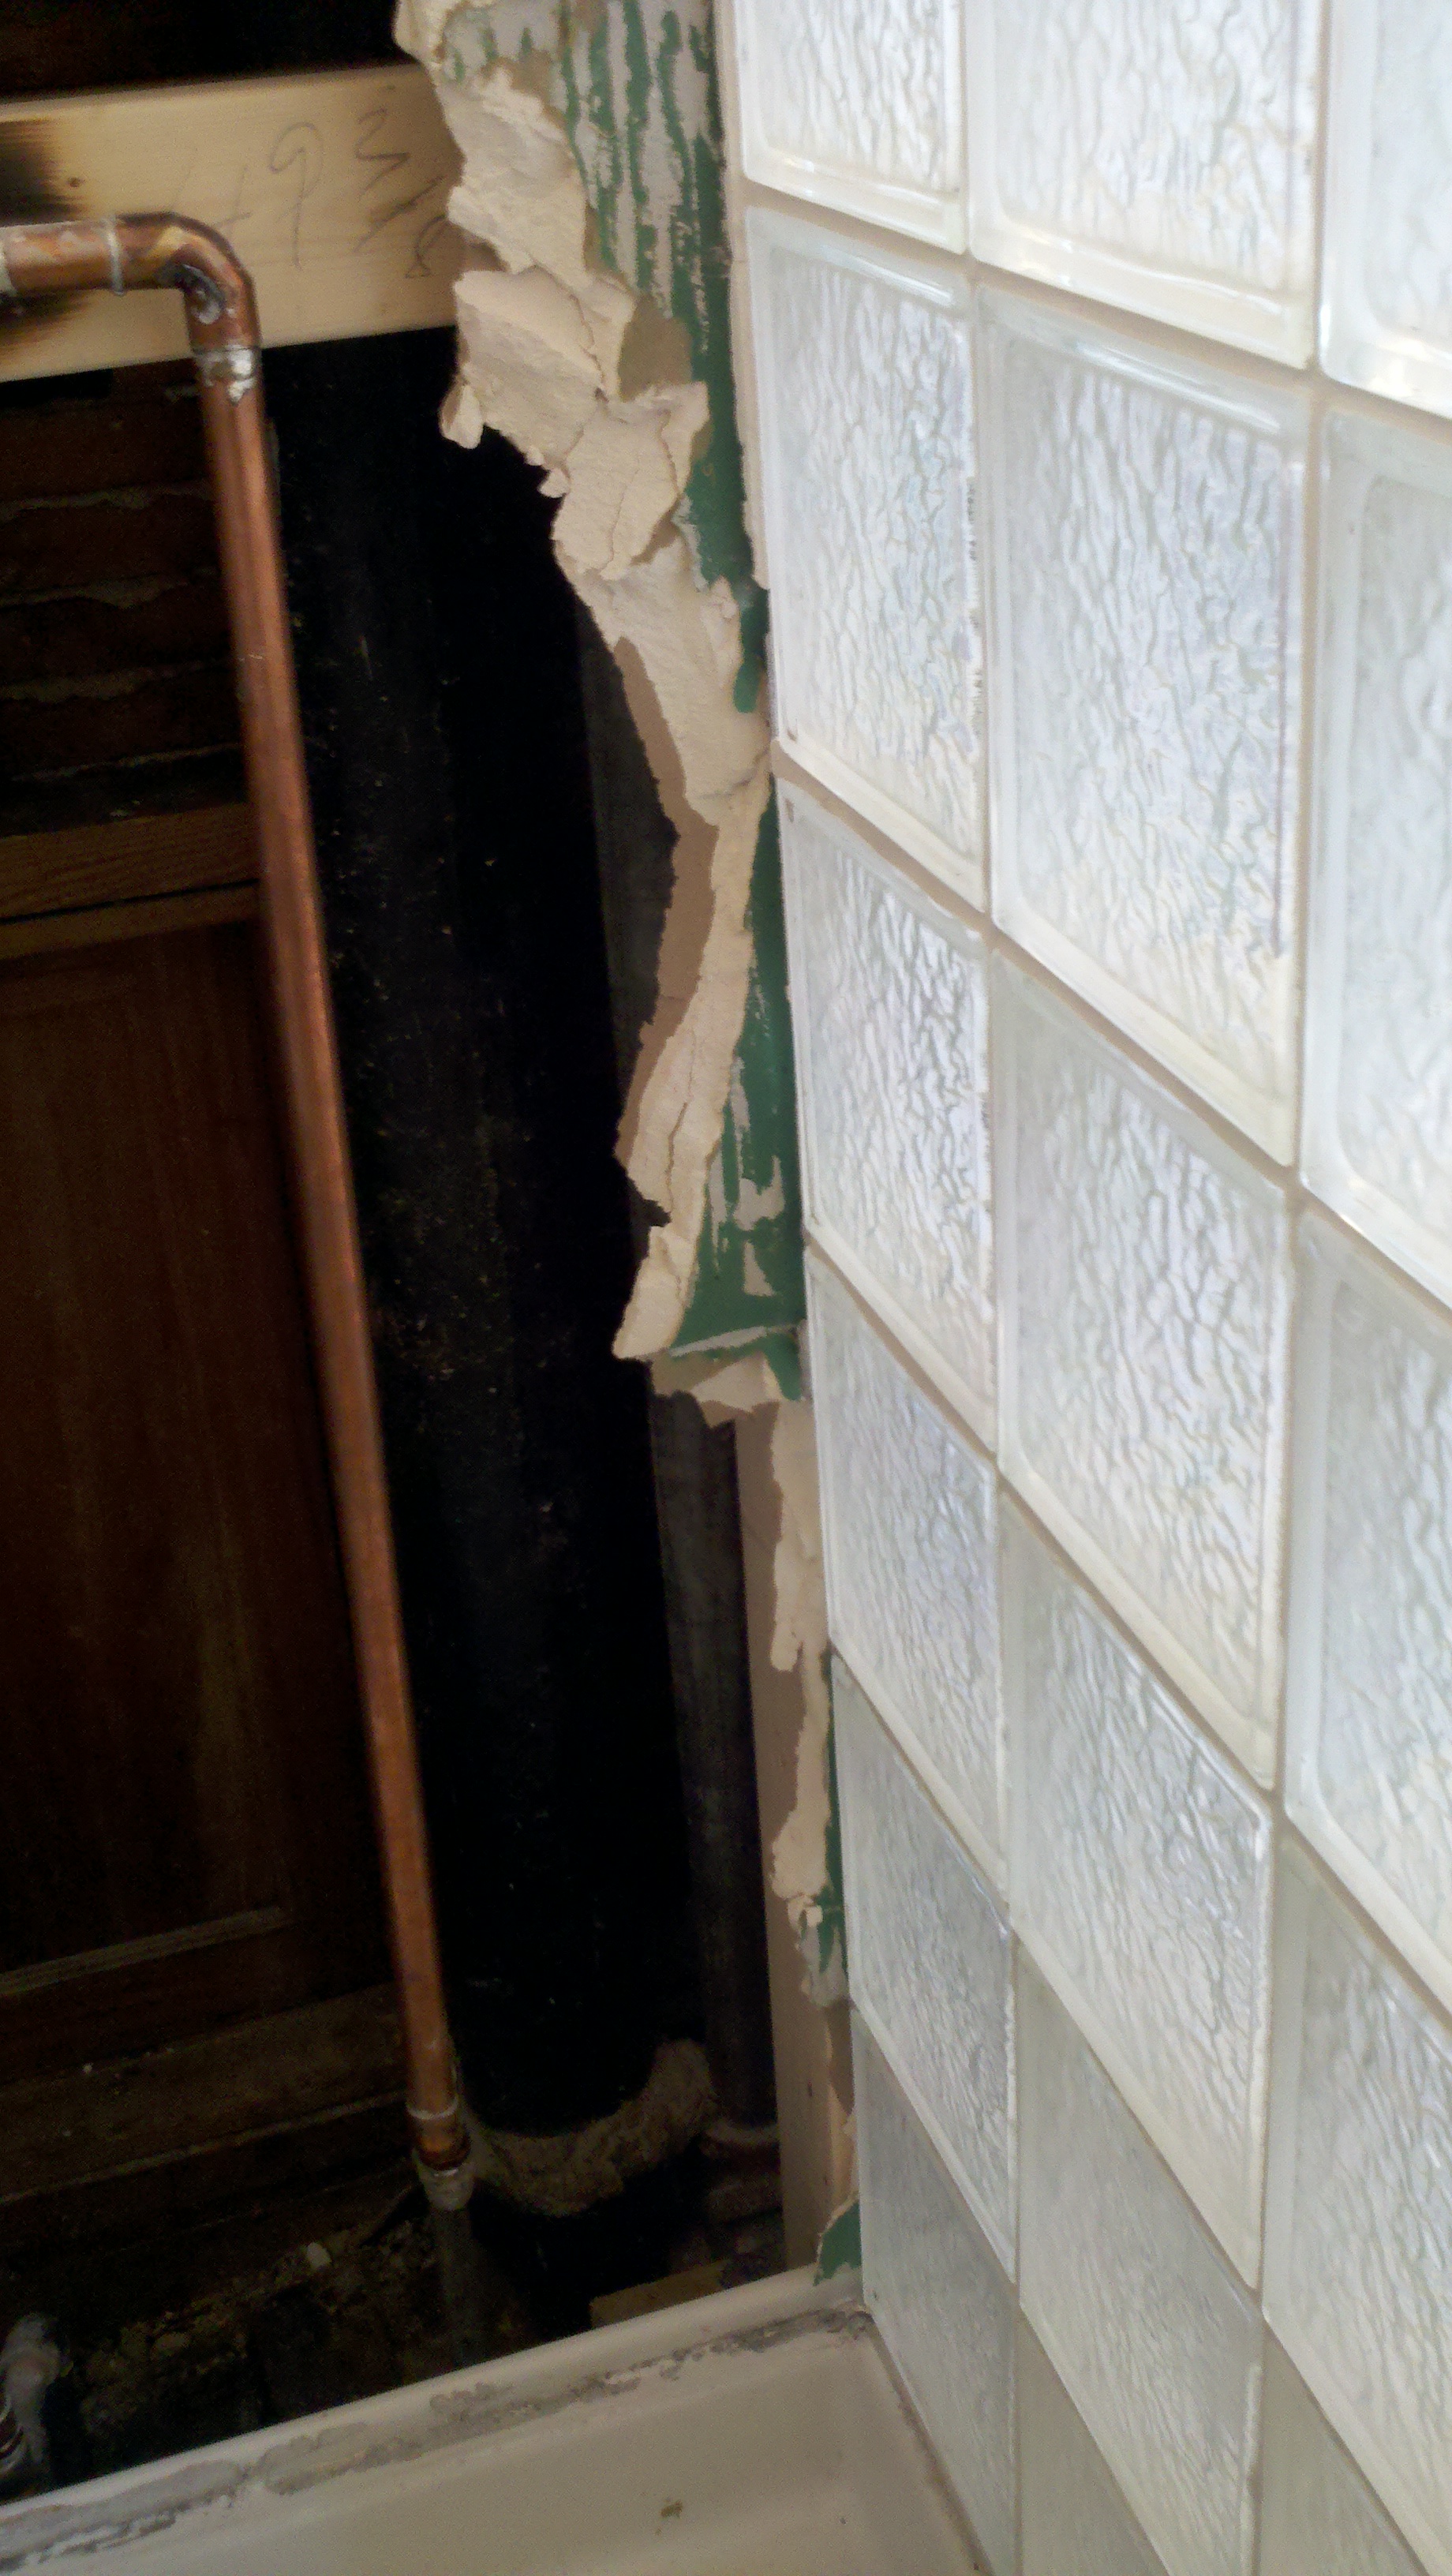
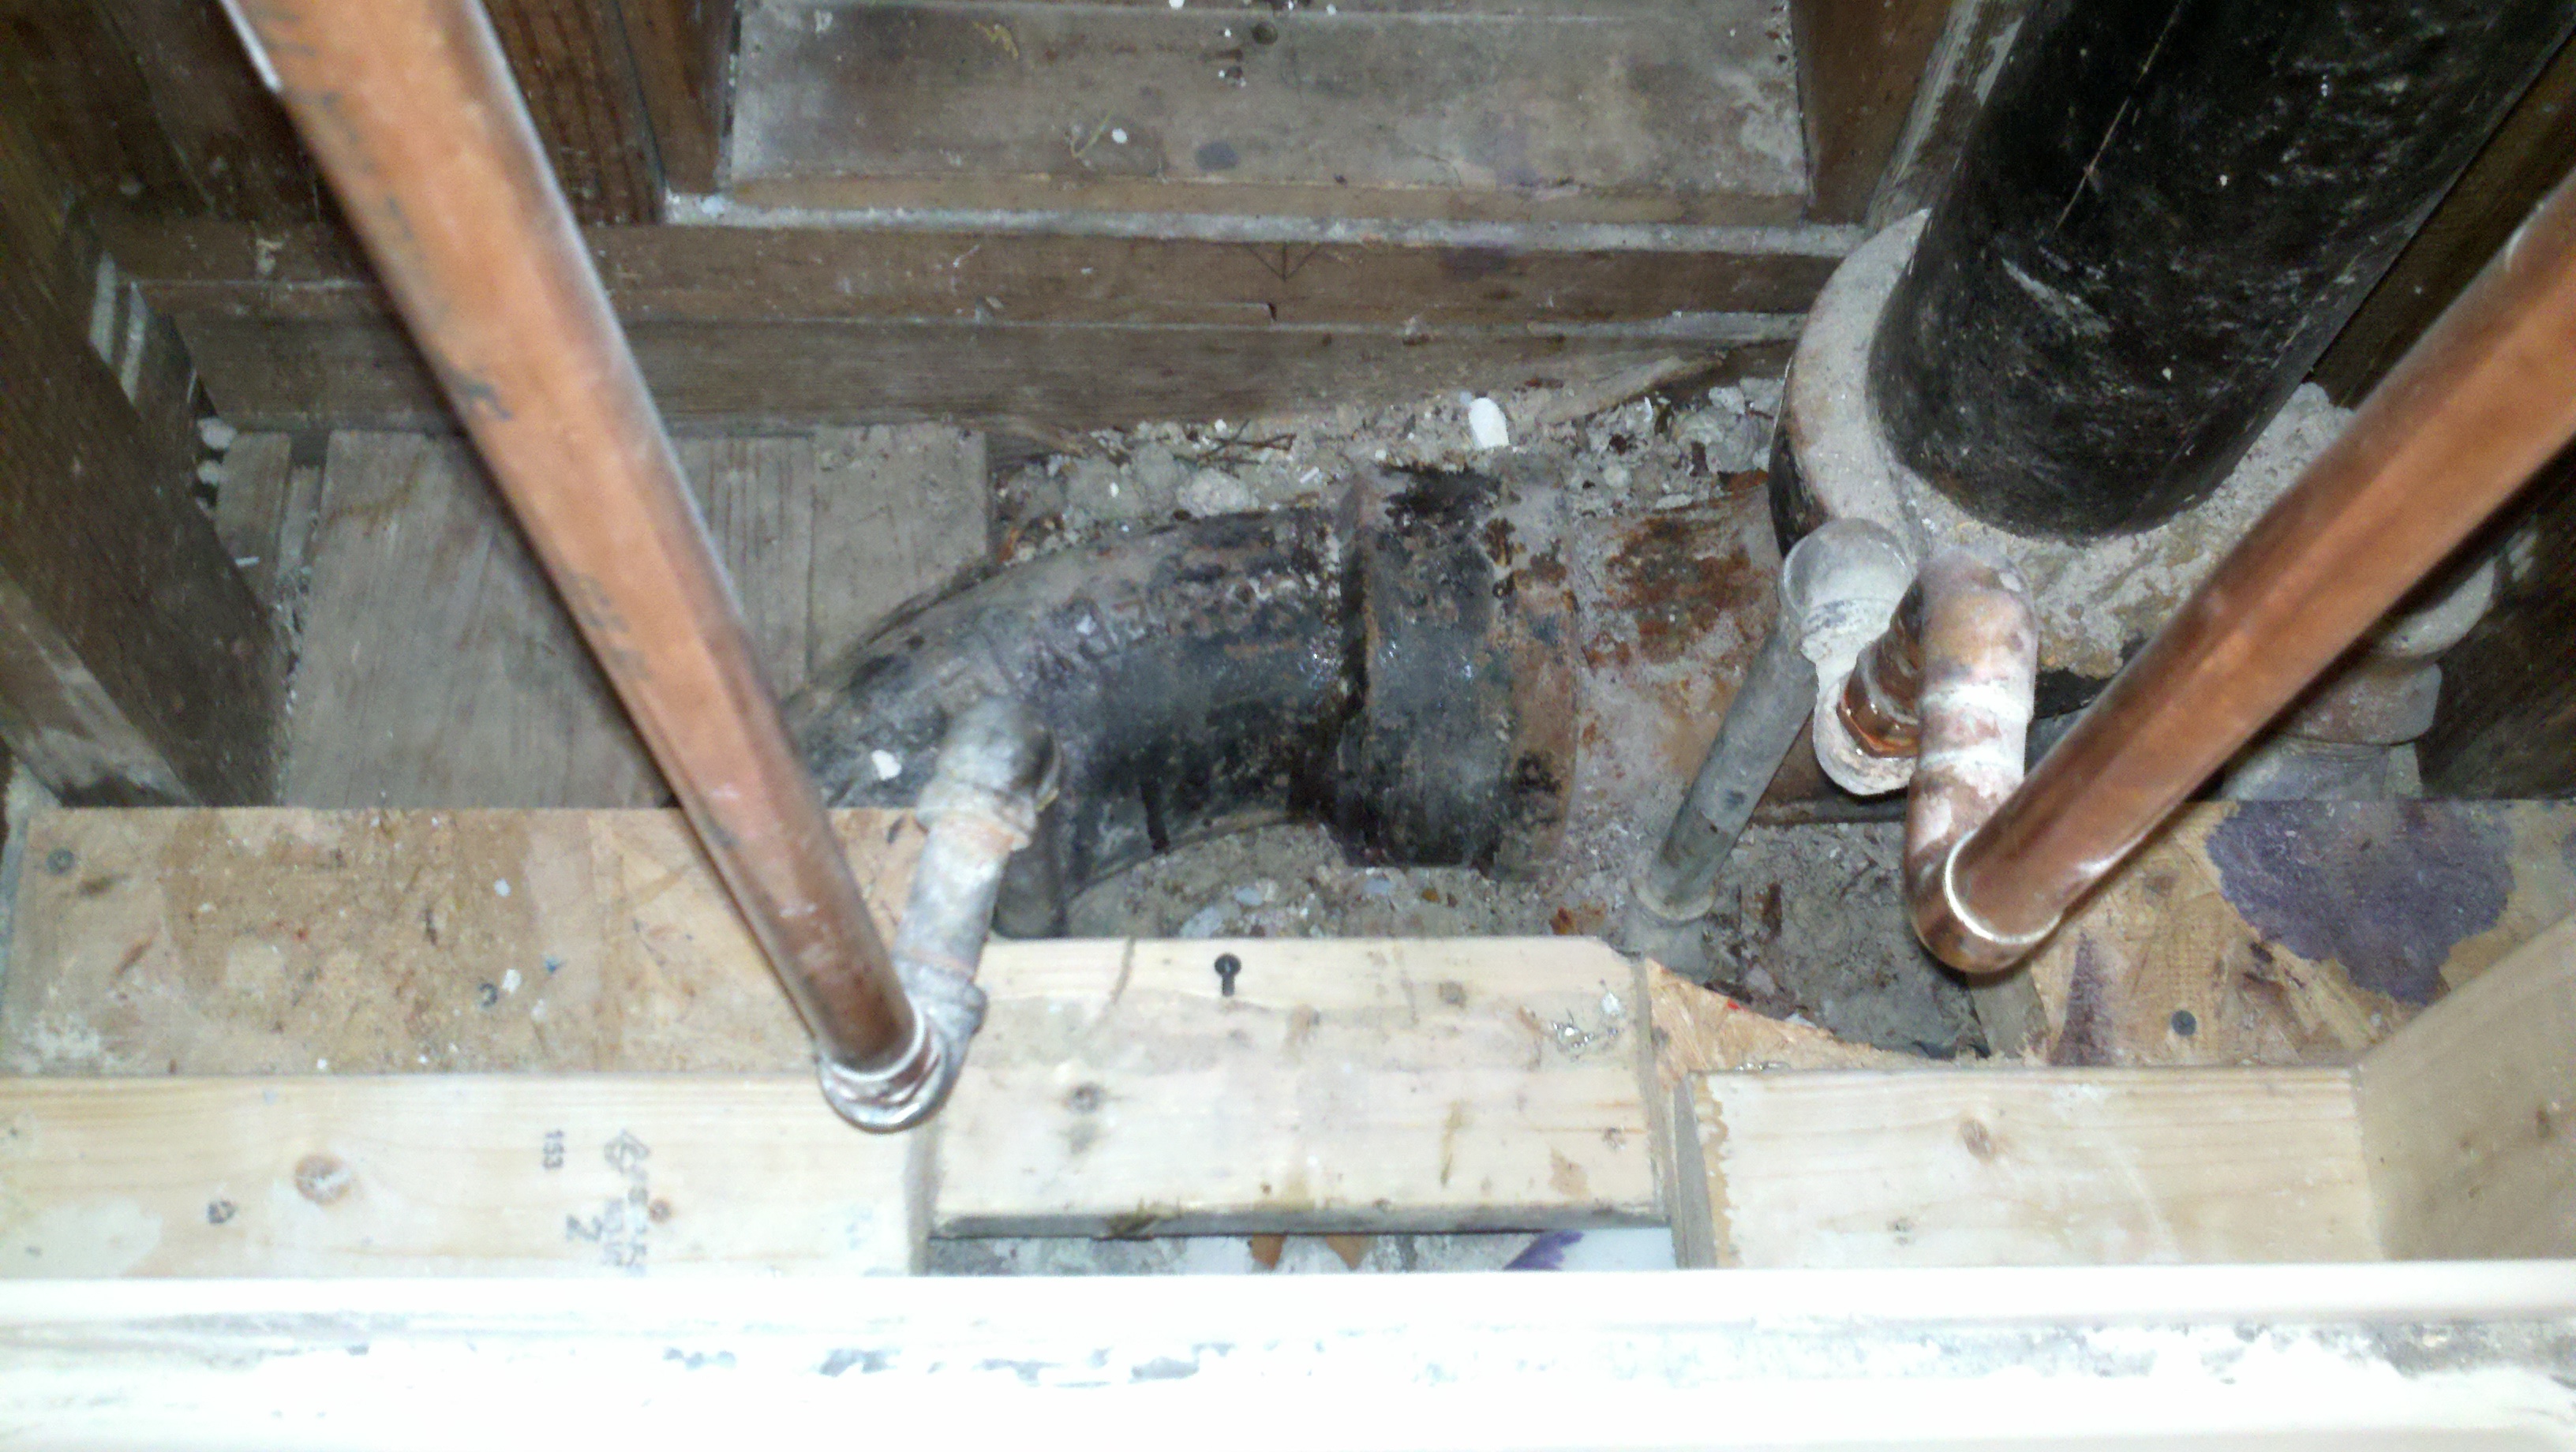
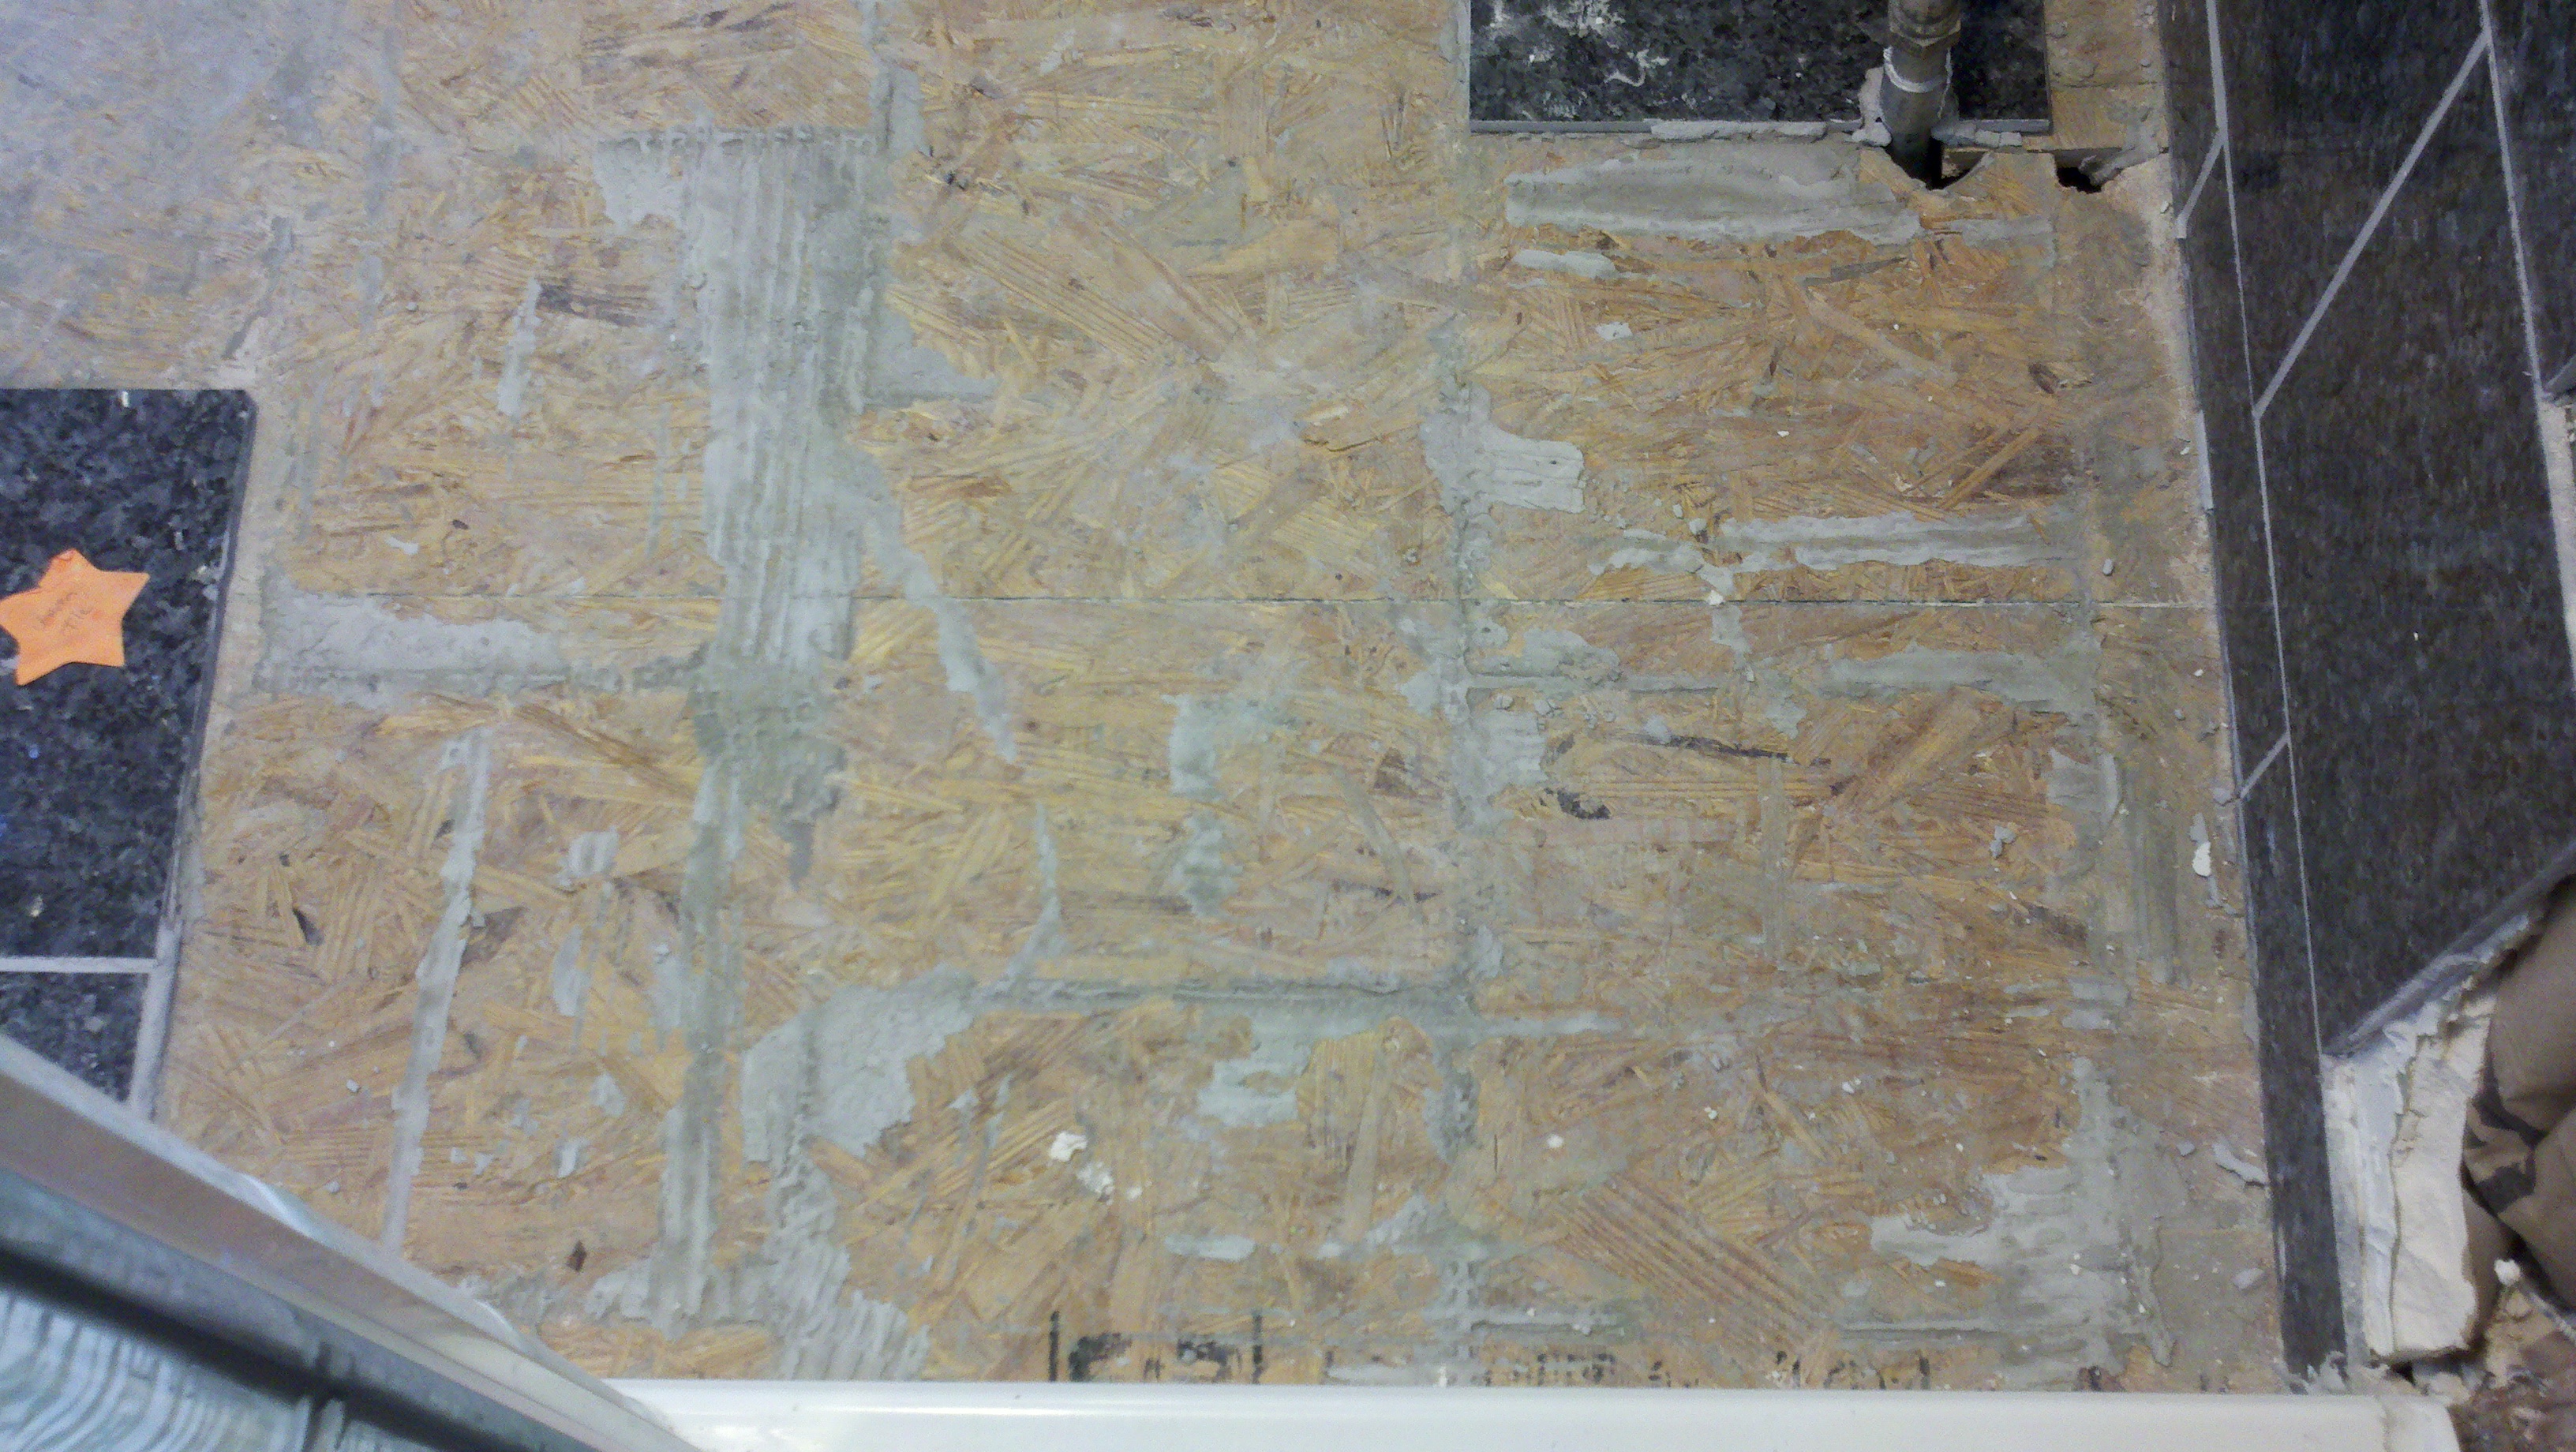
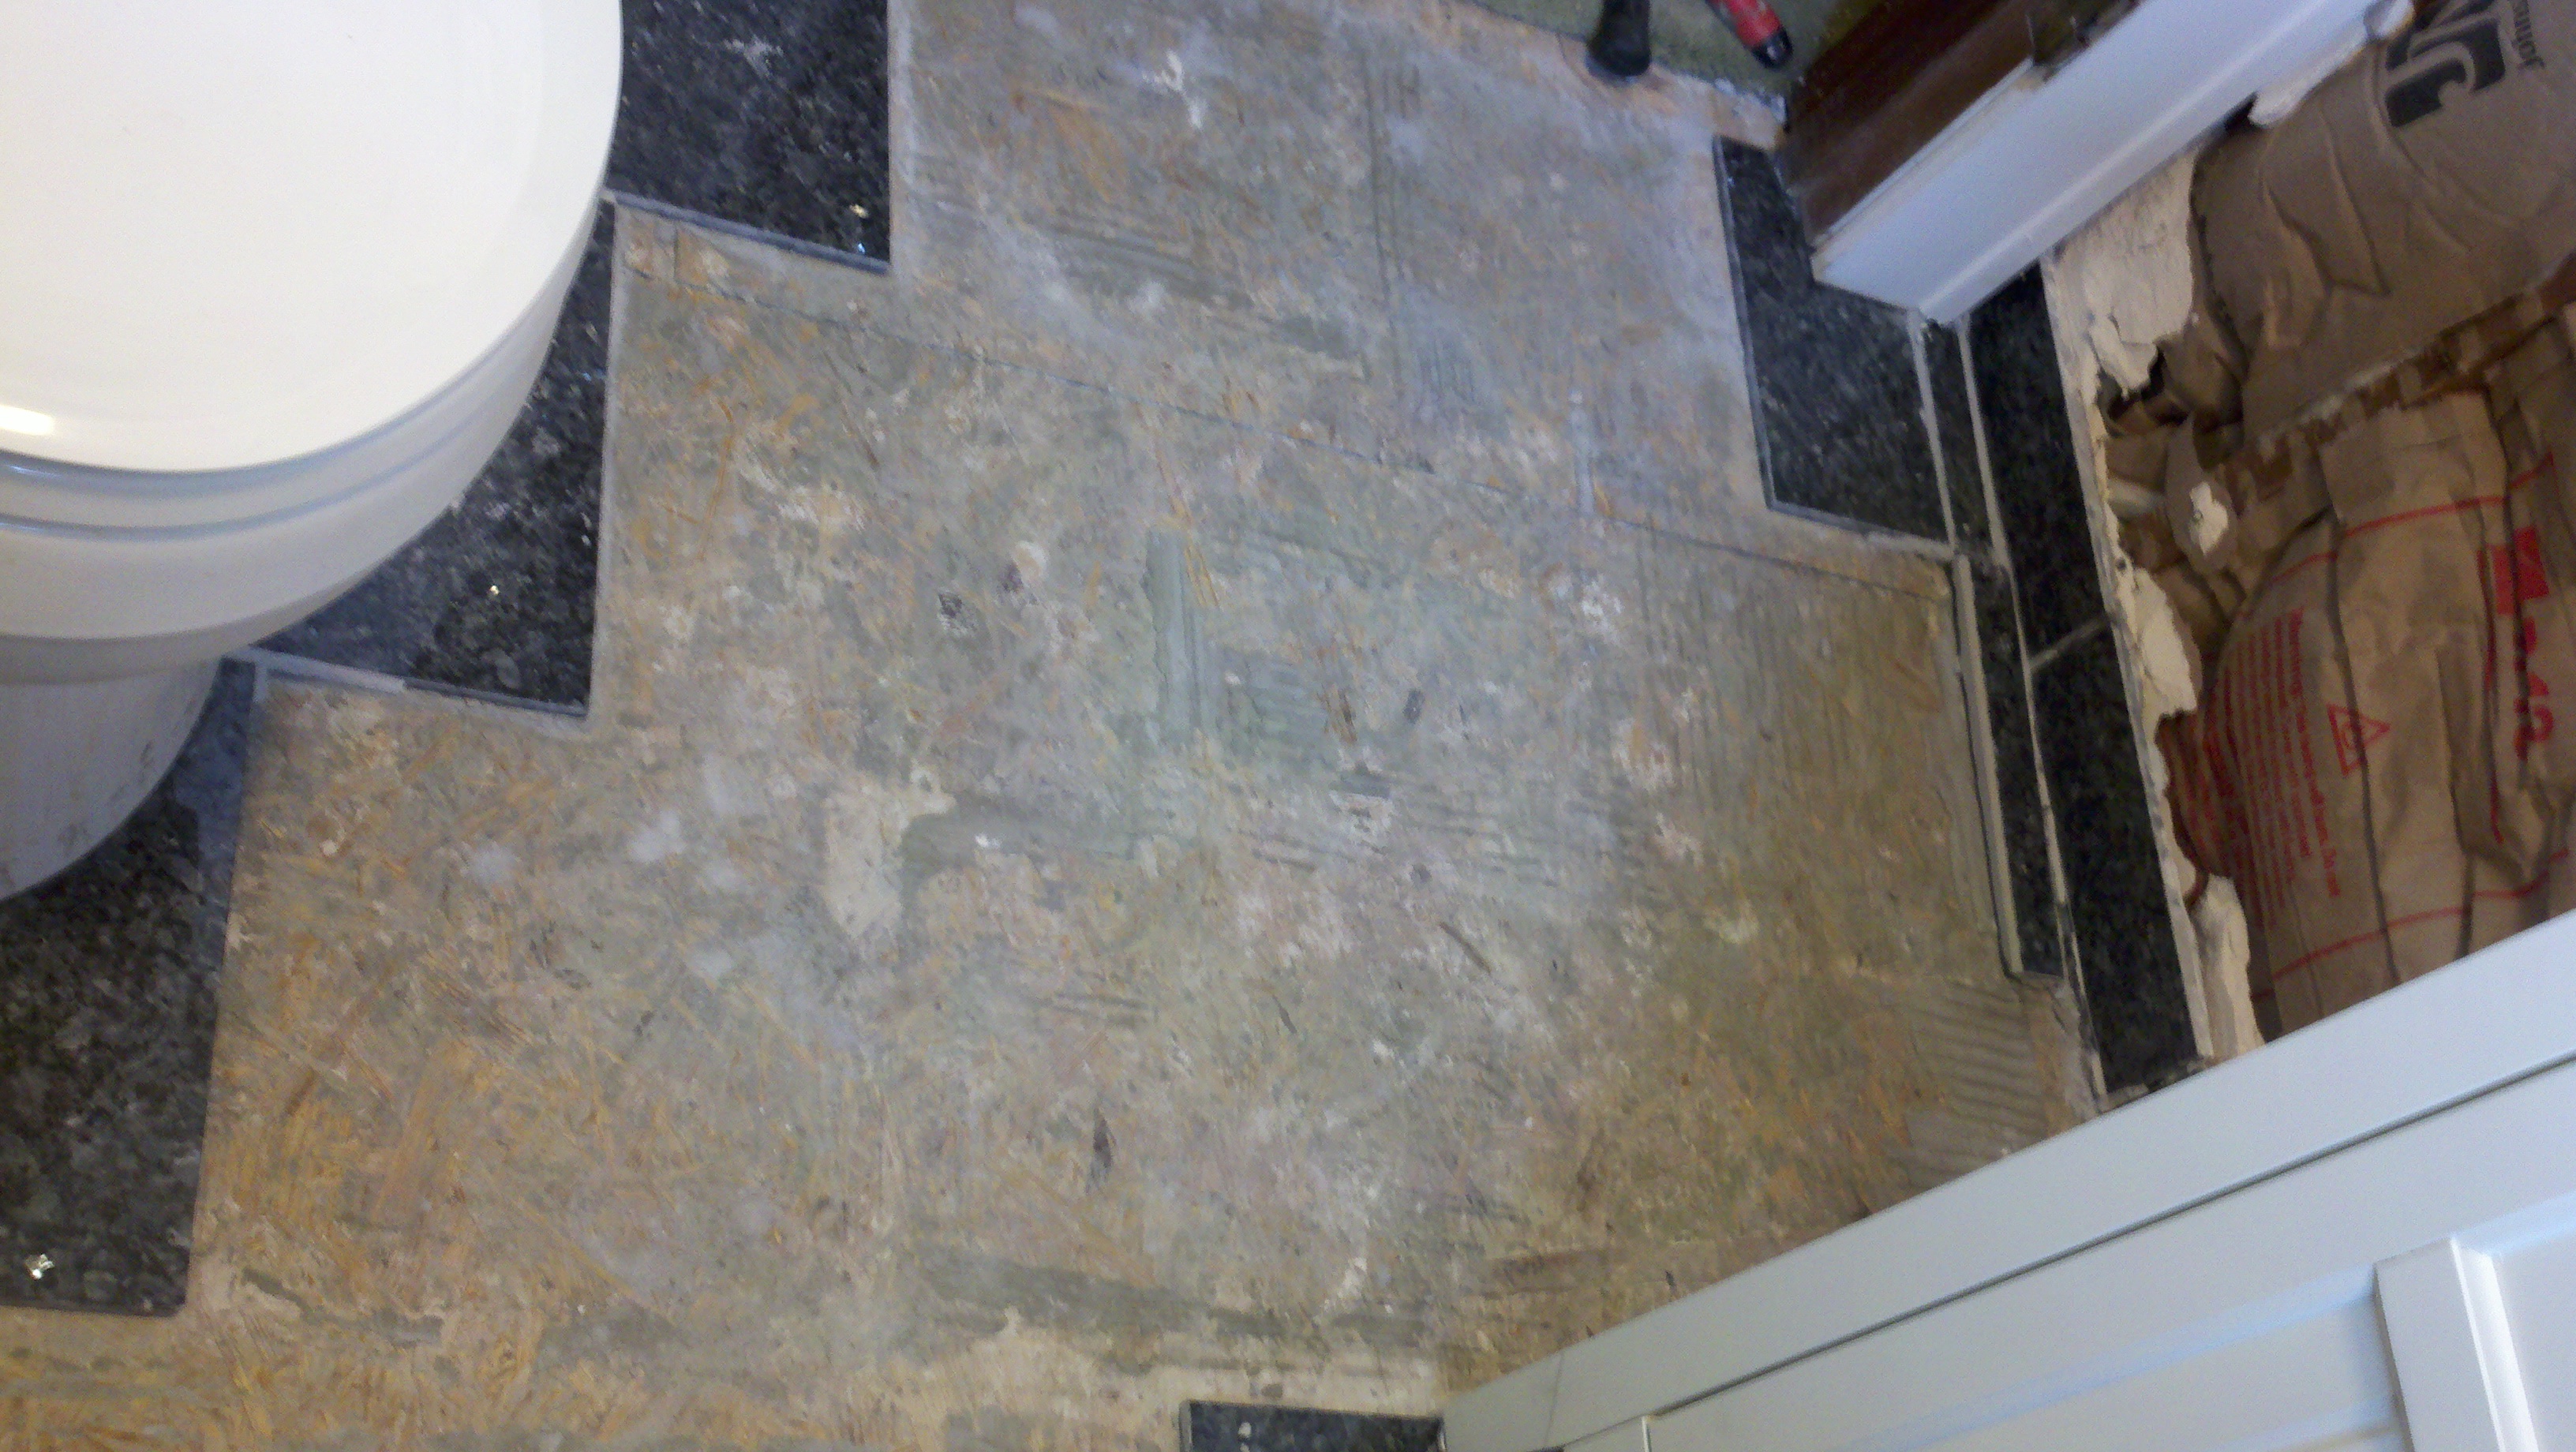
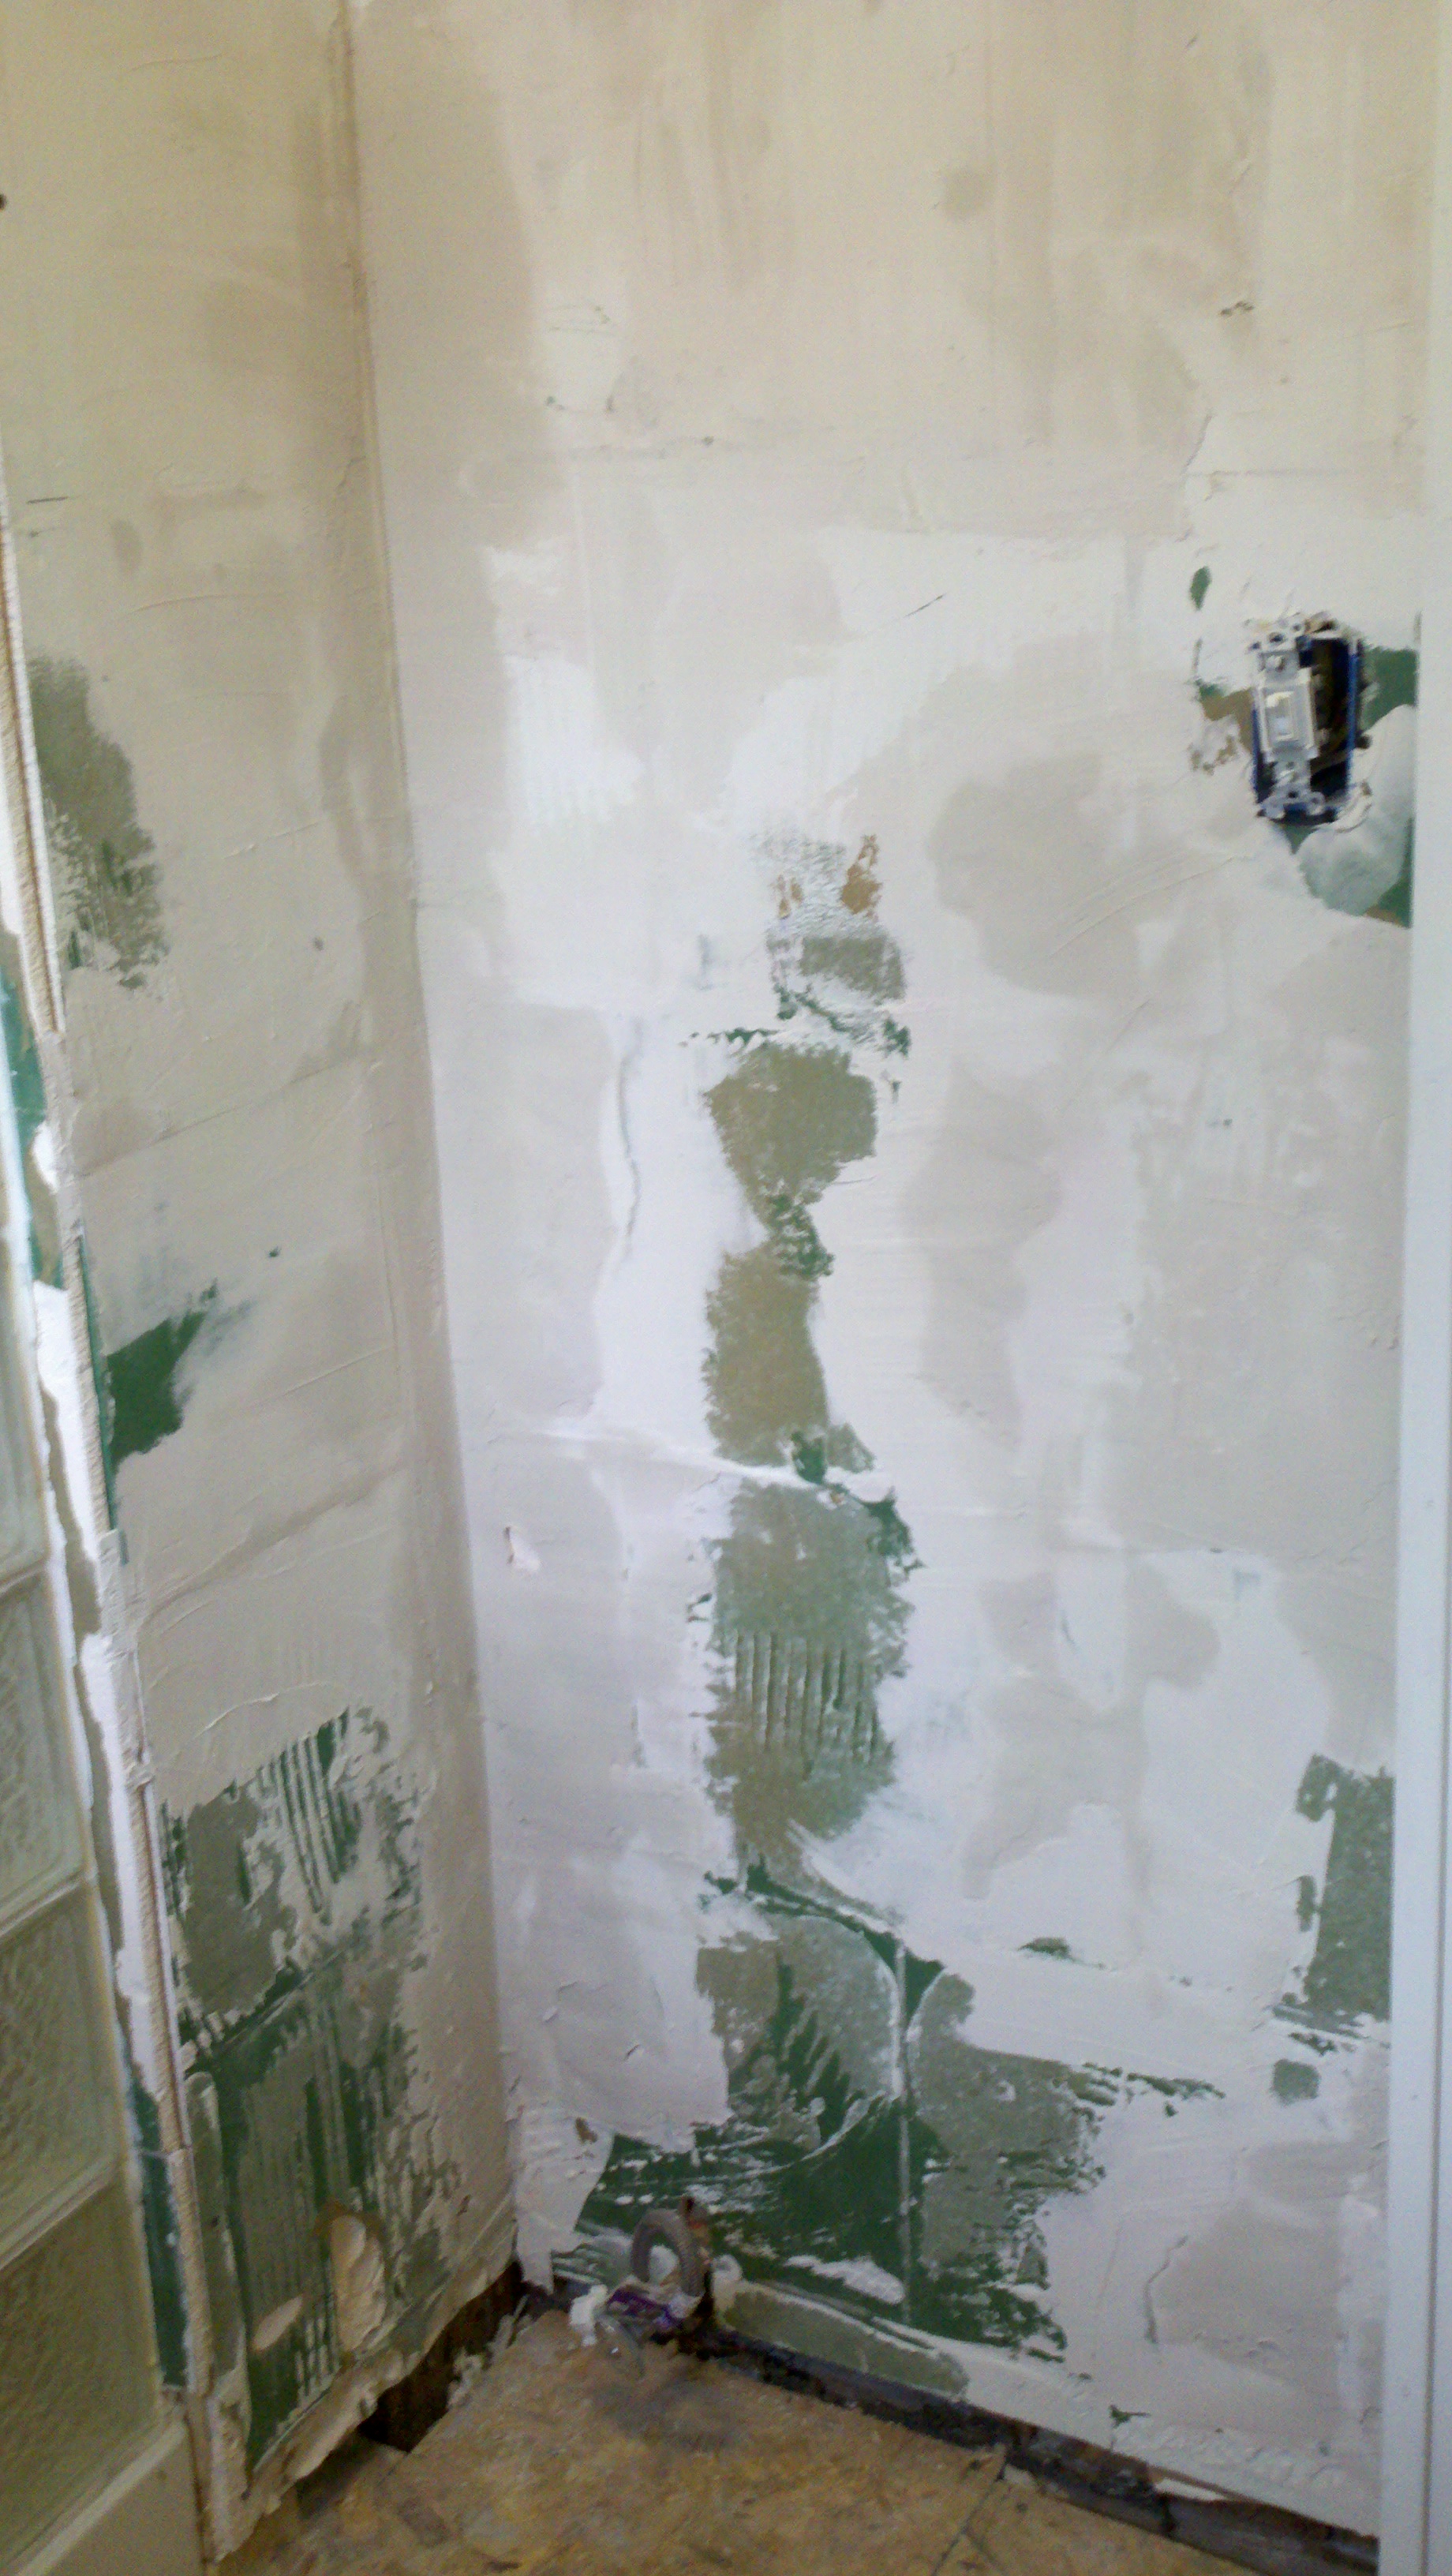
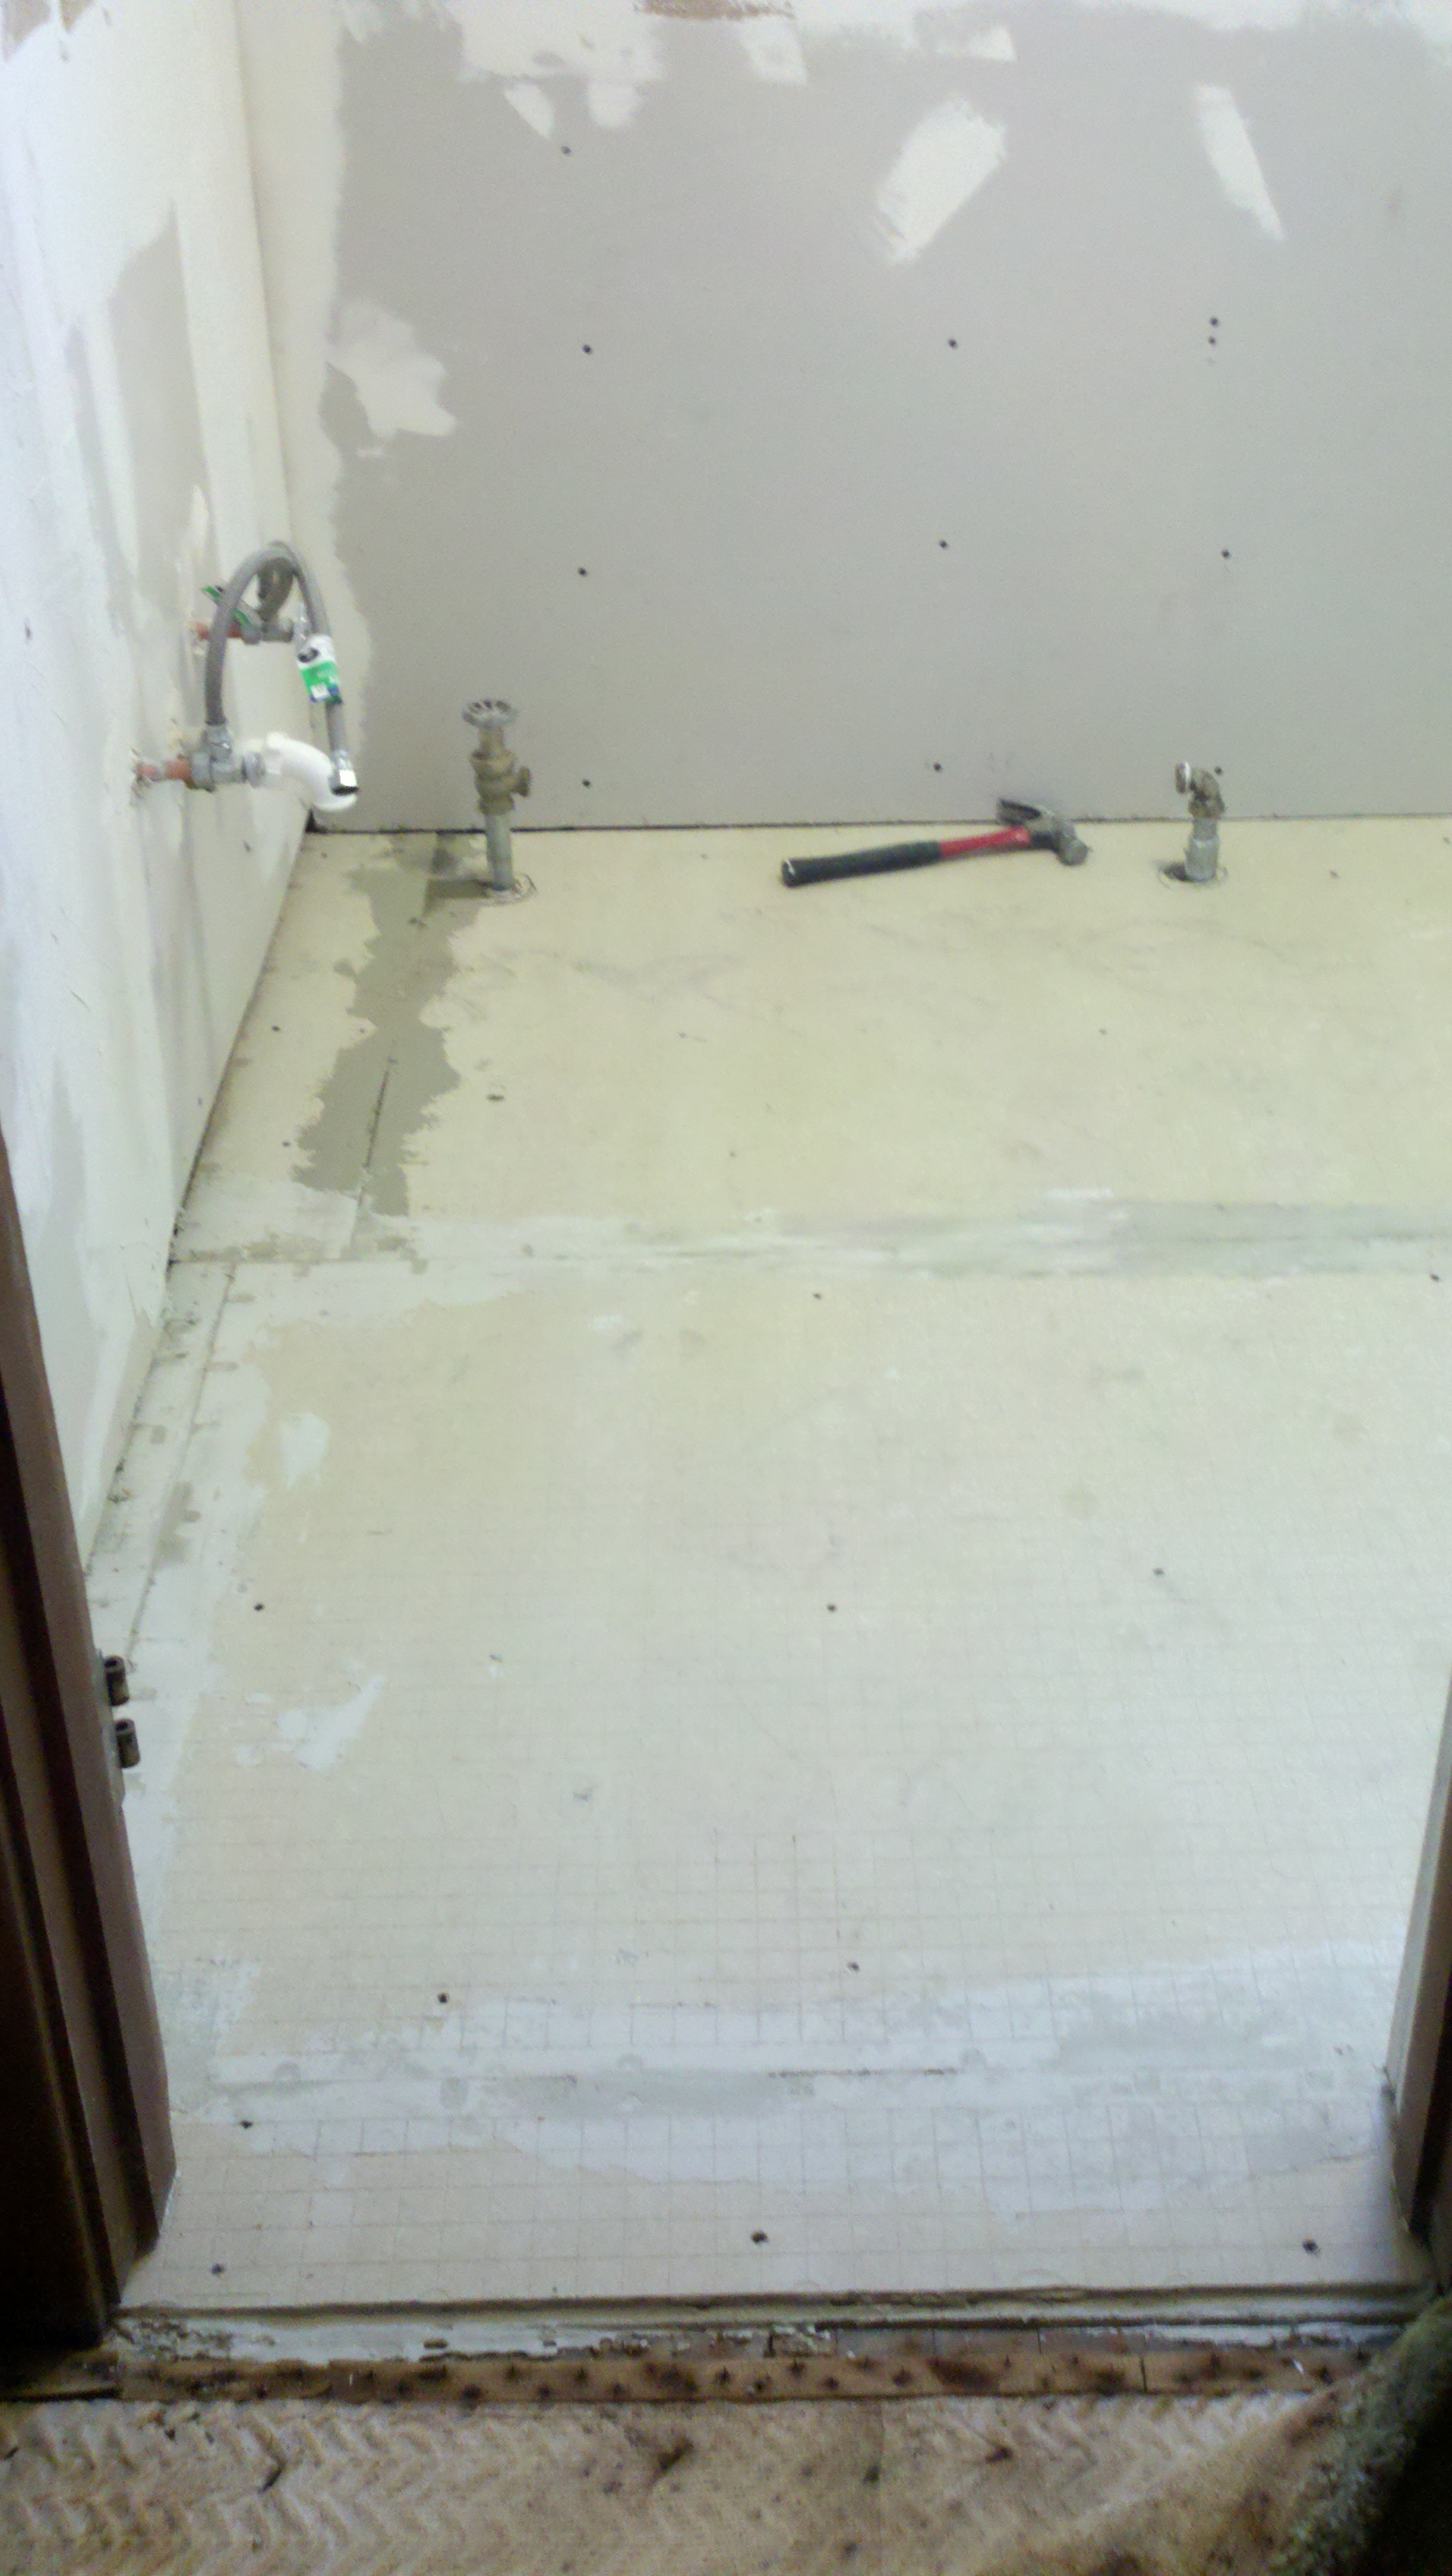
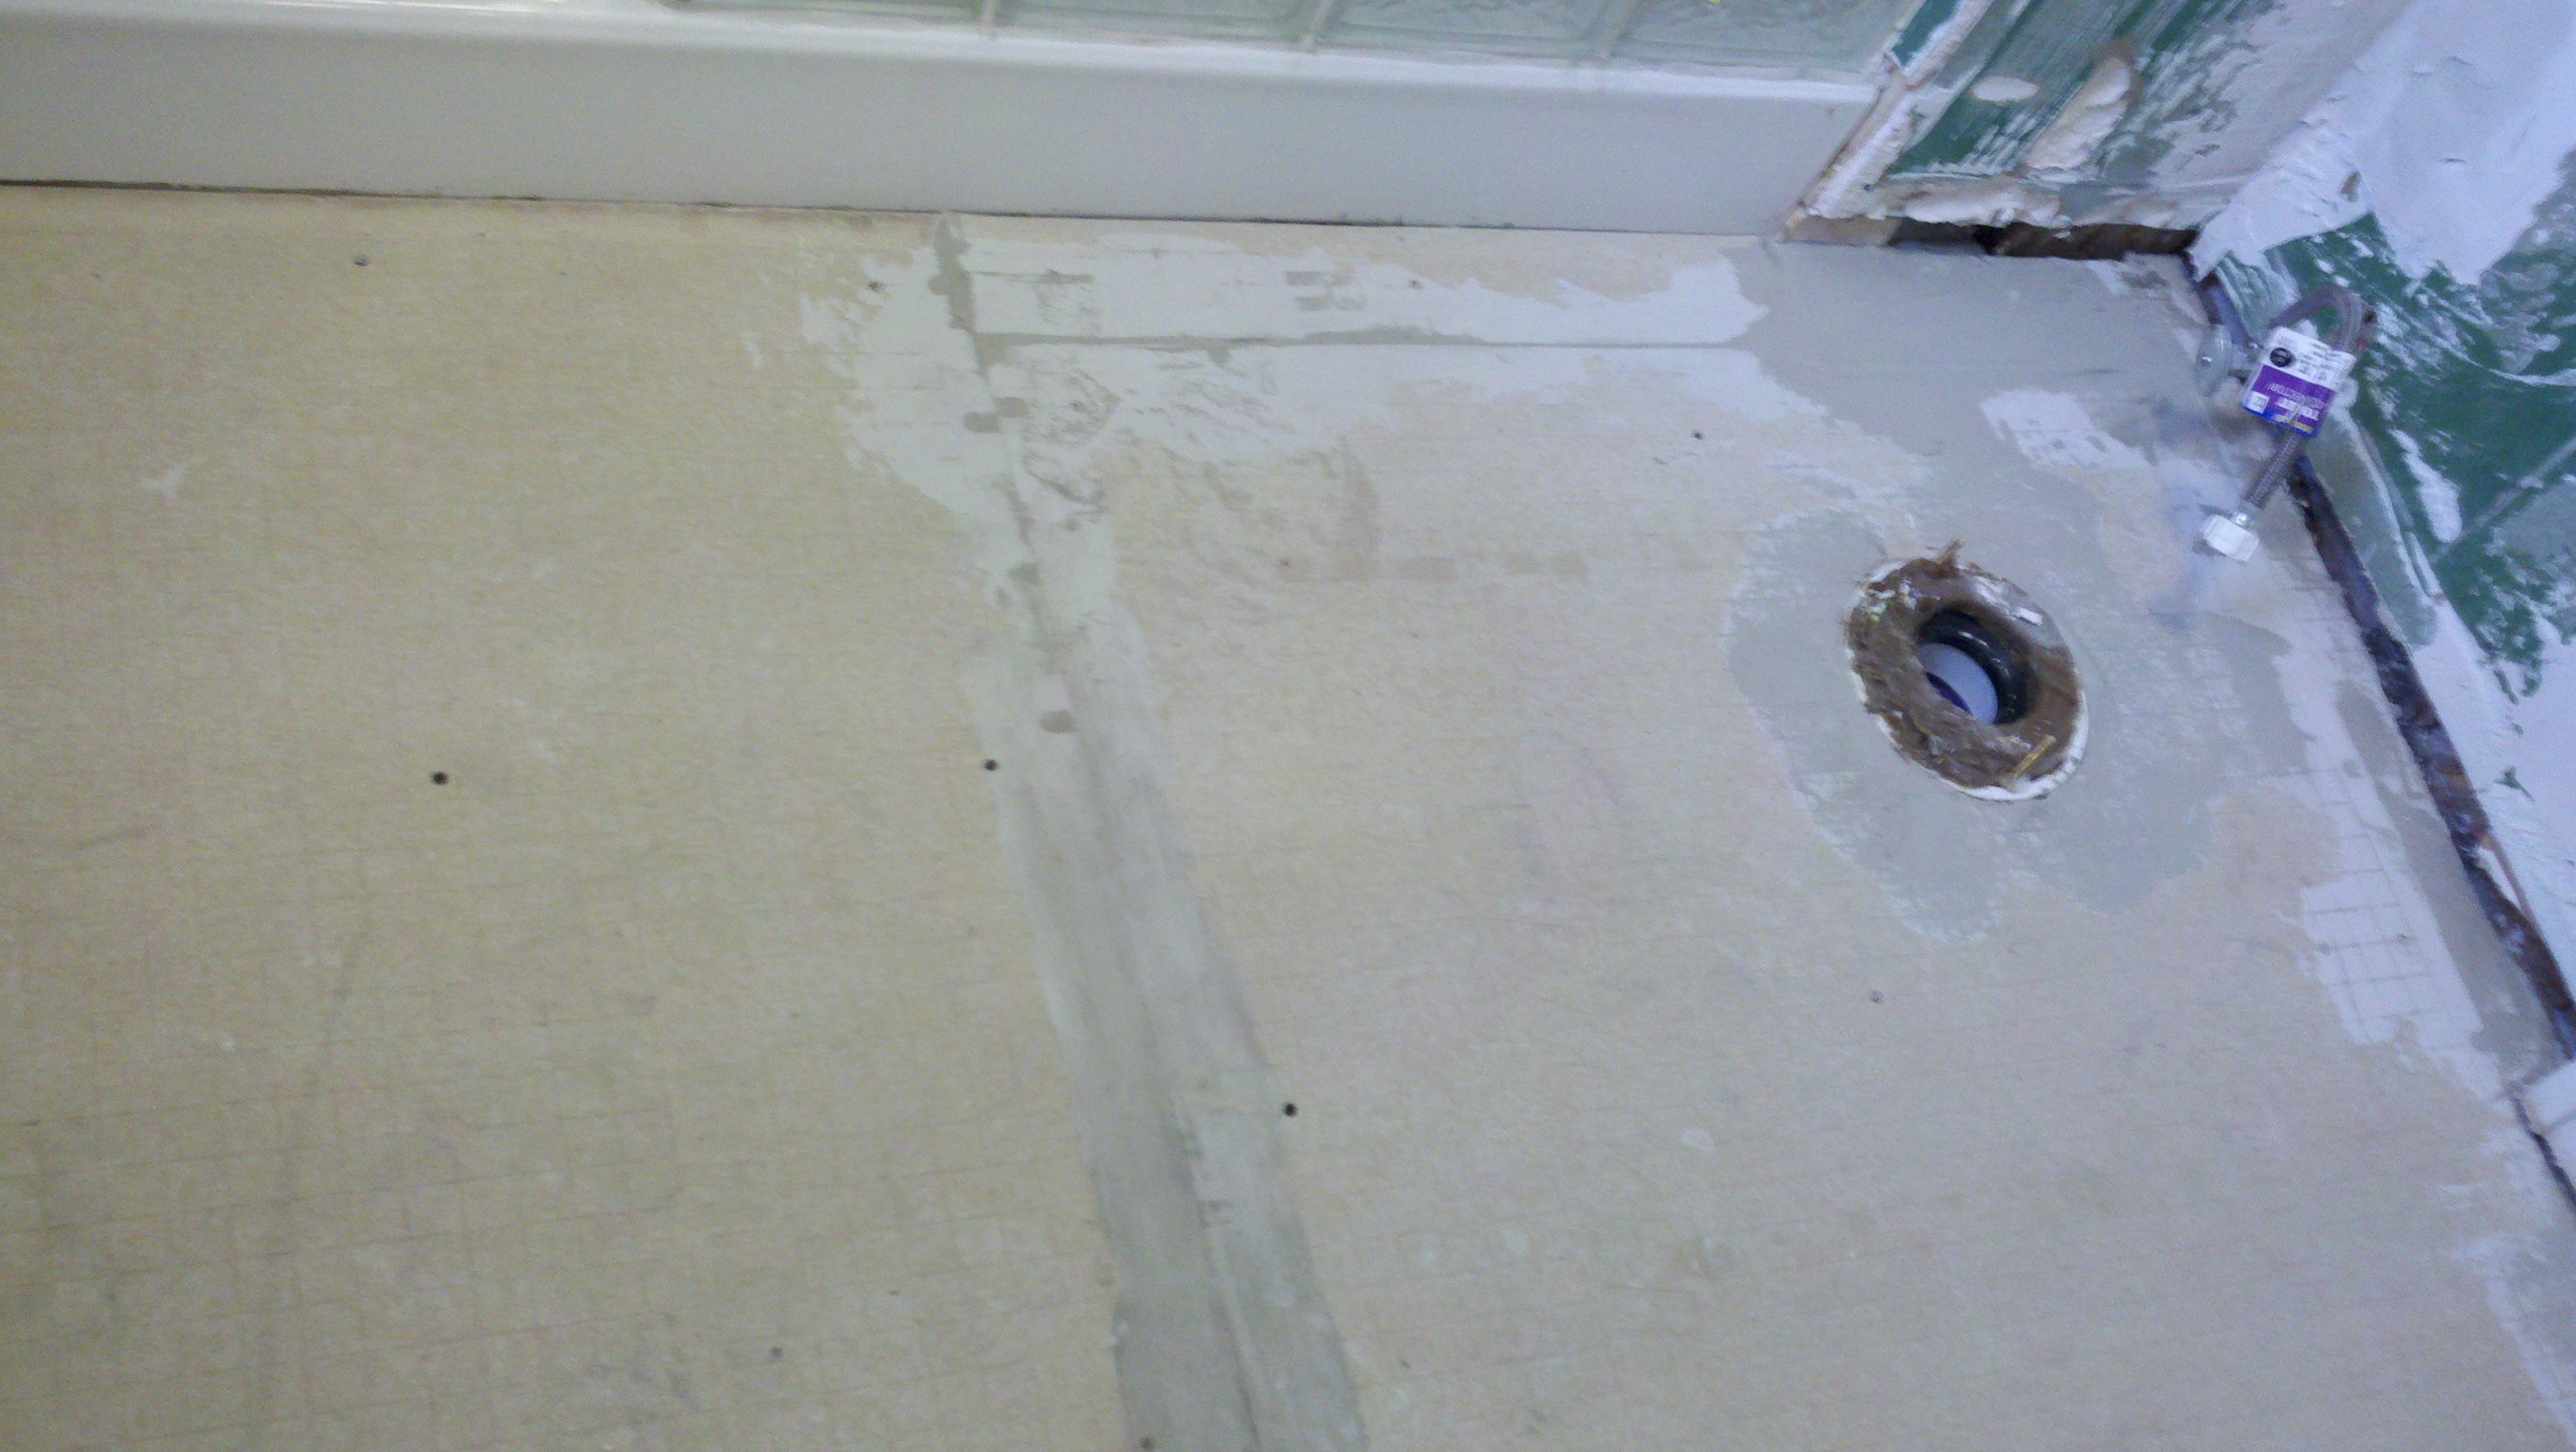
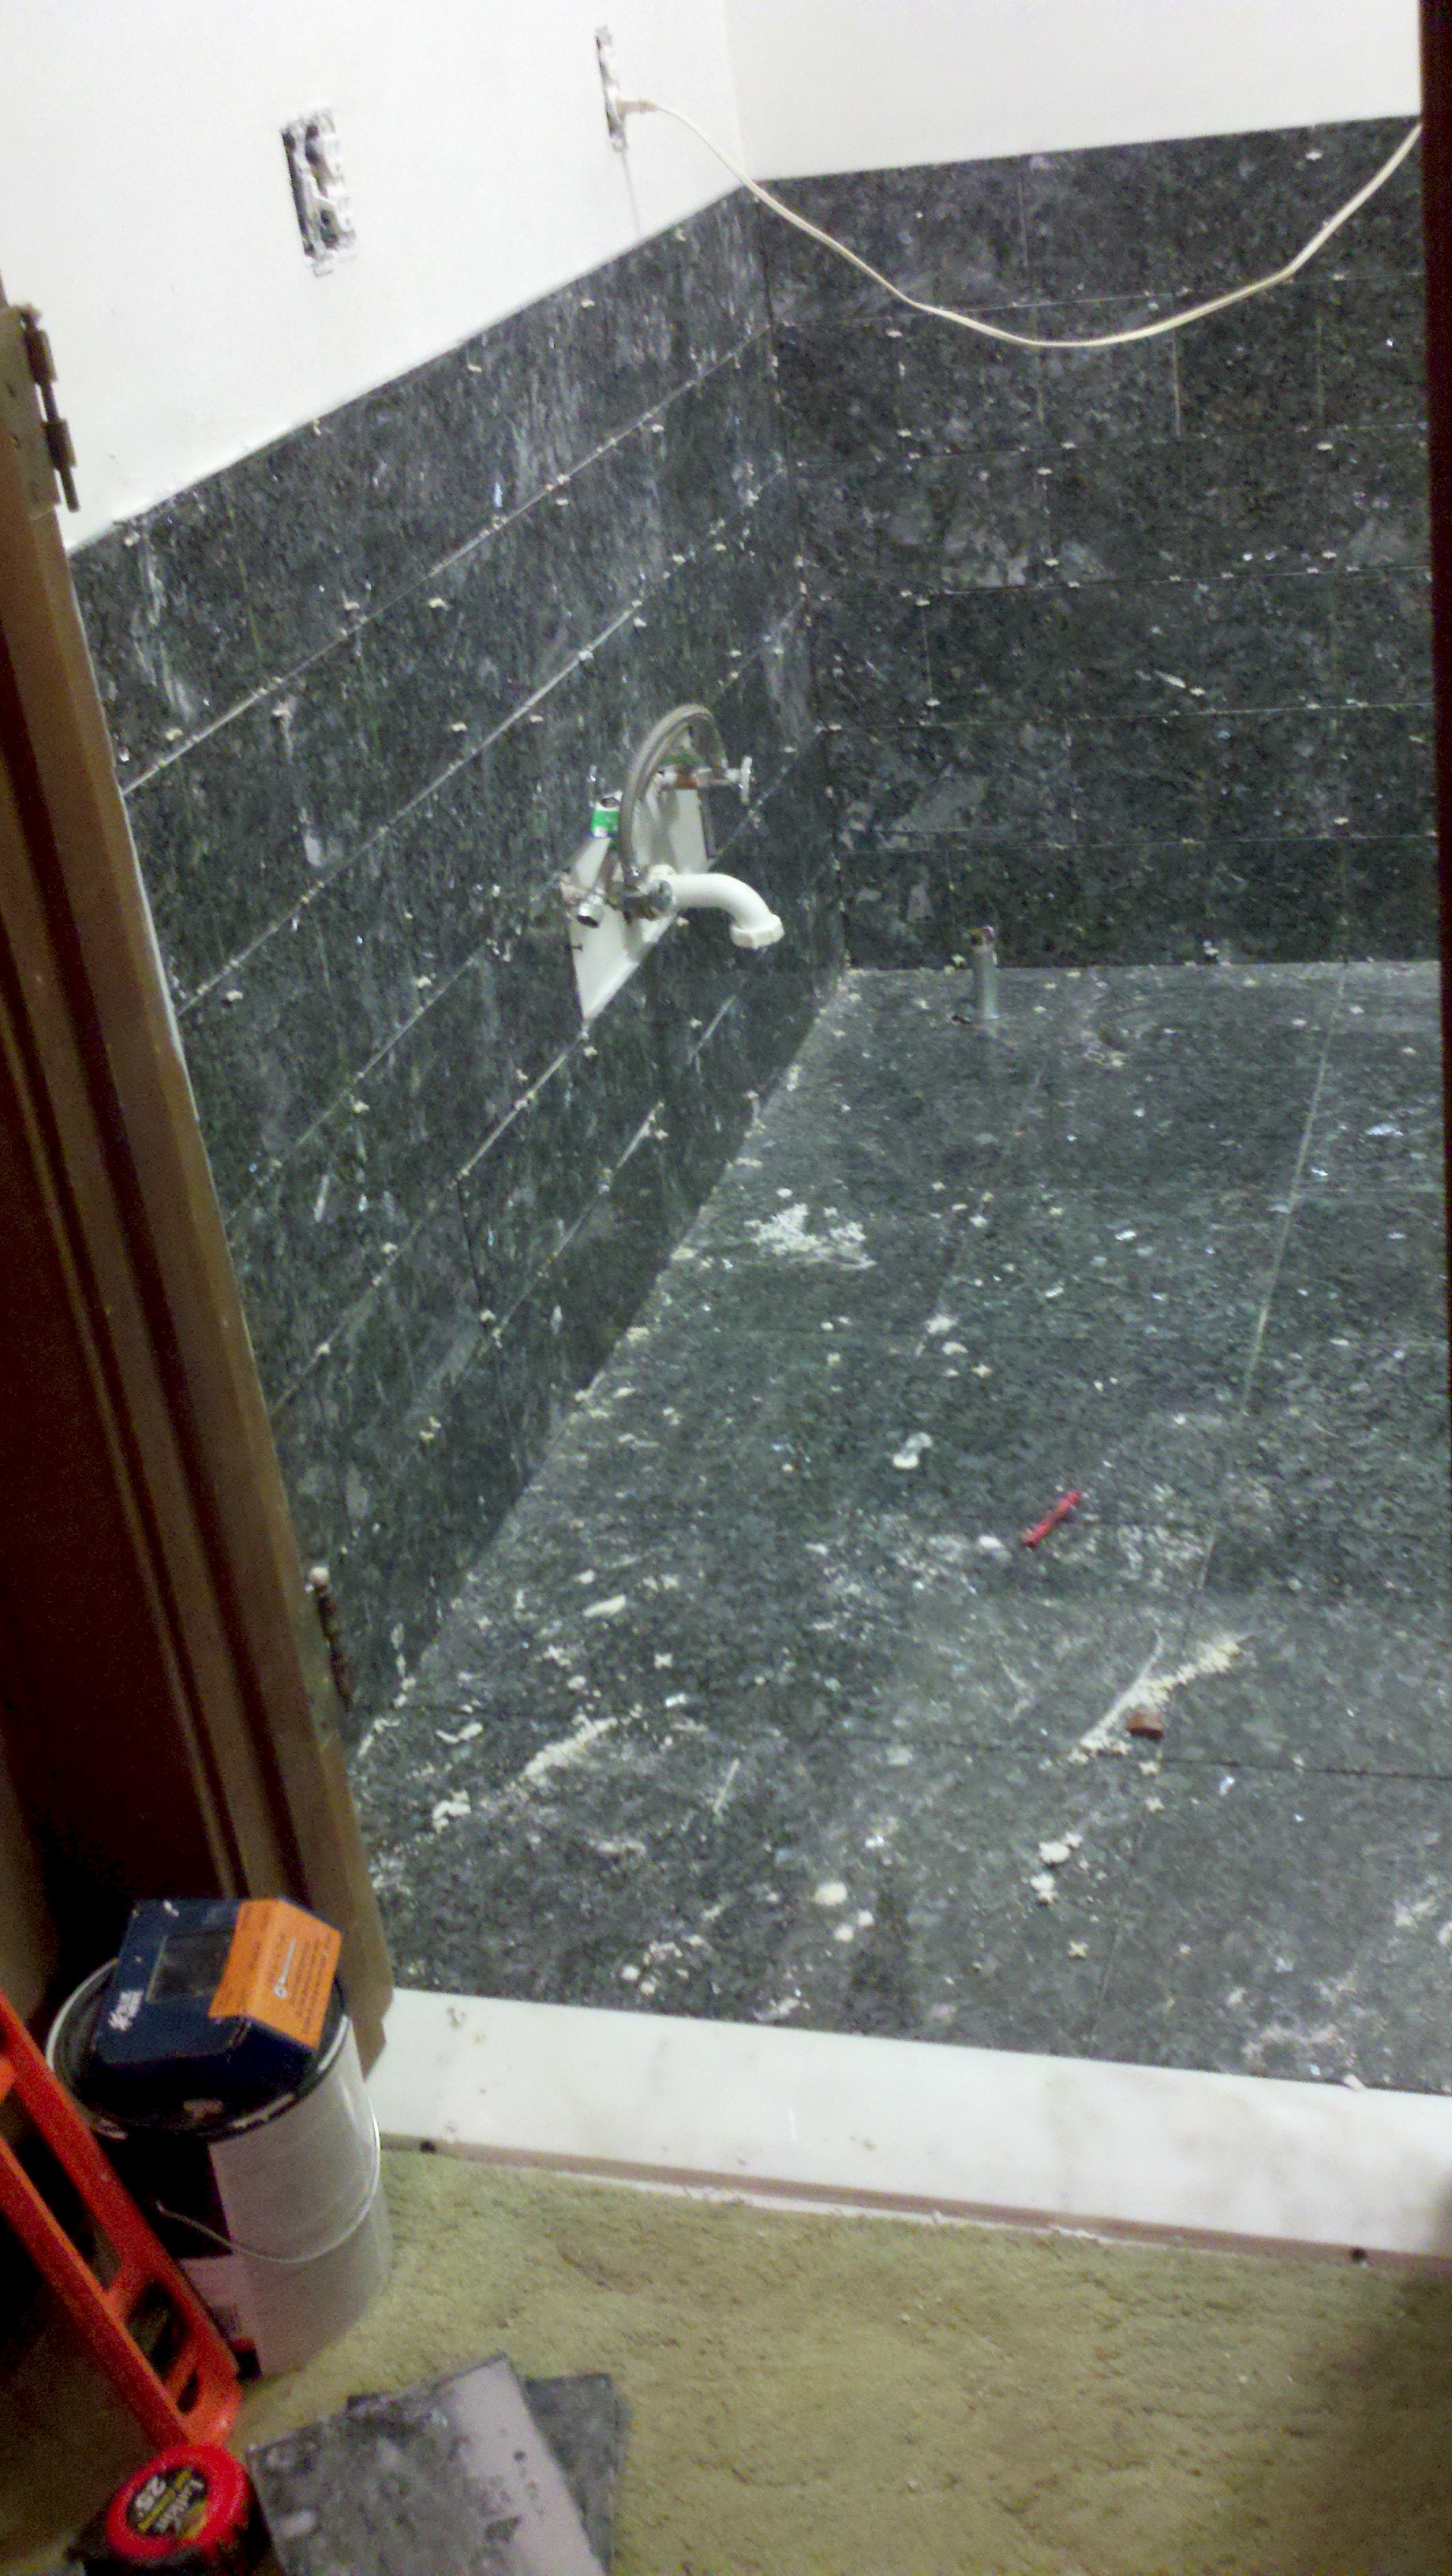
5137 Pebble Brook Drive Electric Floor Heat & Tile Installation Tile and electric heat was a product that Stanley & Carolyn Matthews desired to be installed in her master bathroom. The process consumed approximately 21 working days to complete. The installation method required numerous steps for tile laying preparation, process, and completion. Information and depictions are provided through a process of method explanation and product placement reference. Changing the bathroom floor to tile, from carpet, is a process that will prevent water absorption and stain tribulations. The pictures labeled one through three, shown below, provide depictions of the original floor, after removal of removal of the toilet, pad, doors, and carpet introduced a blank slate for the addition of heated coils and tile.
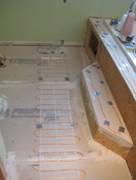
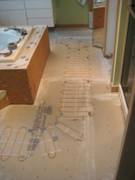
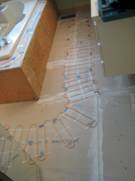
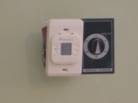
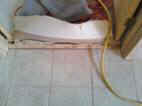
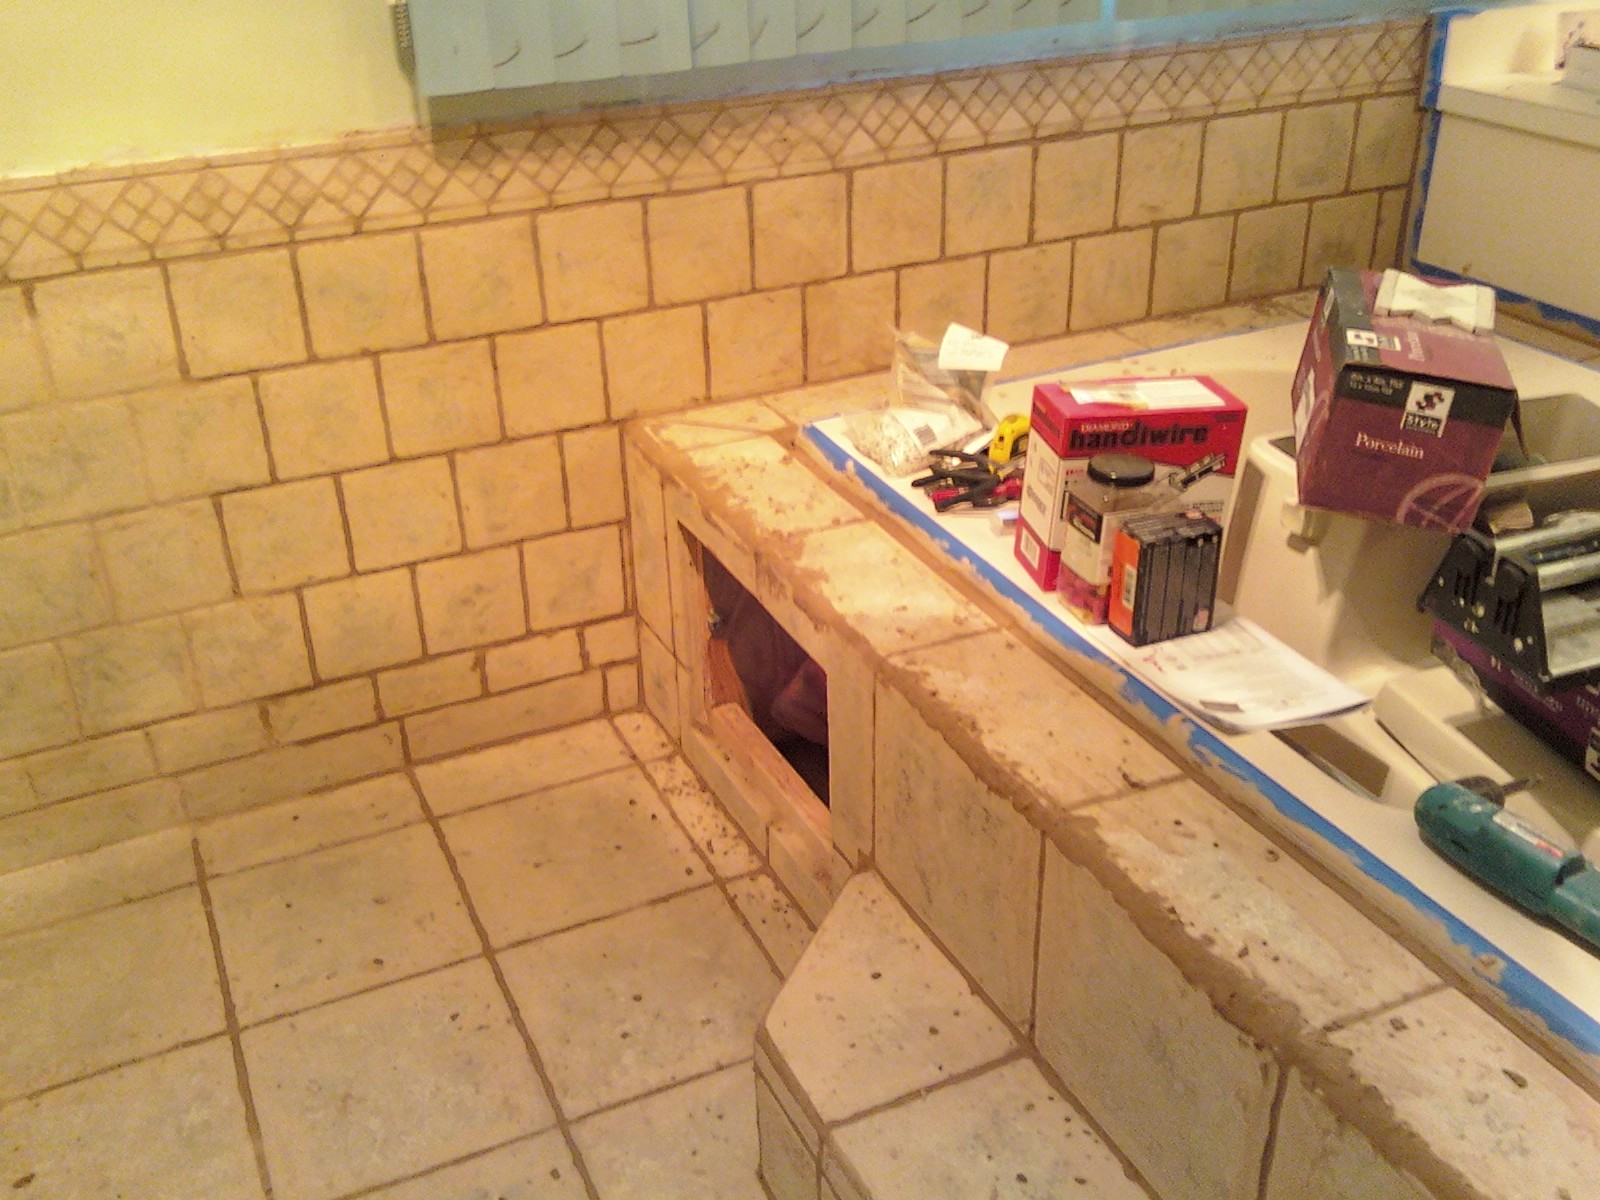
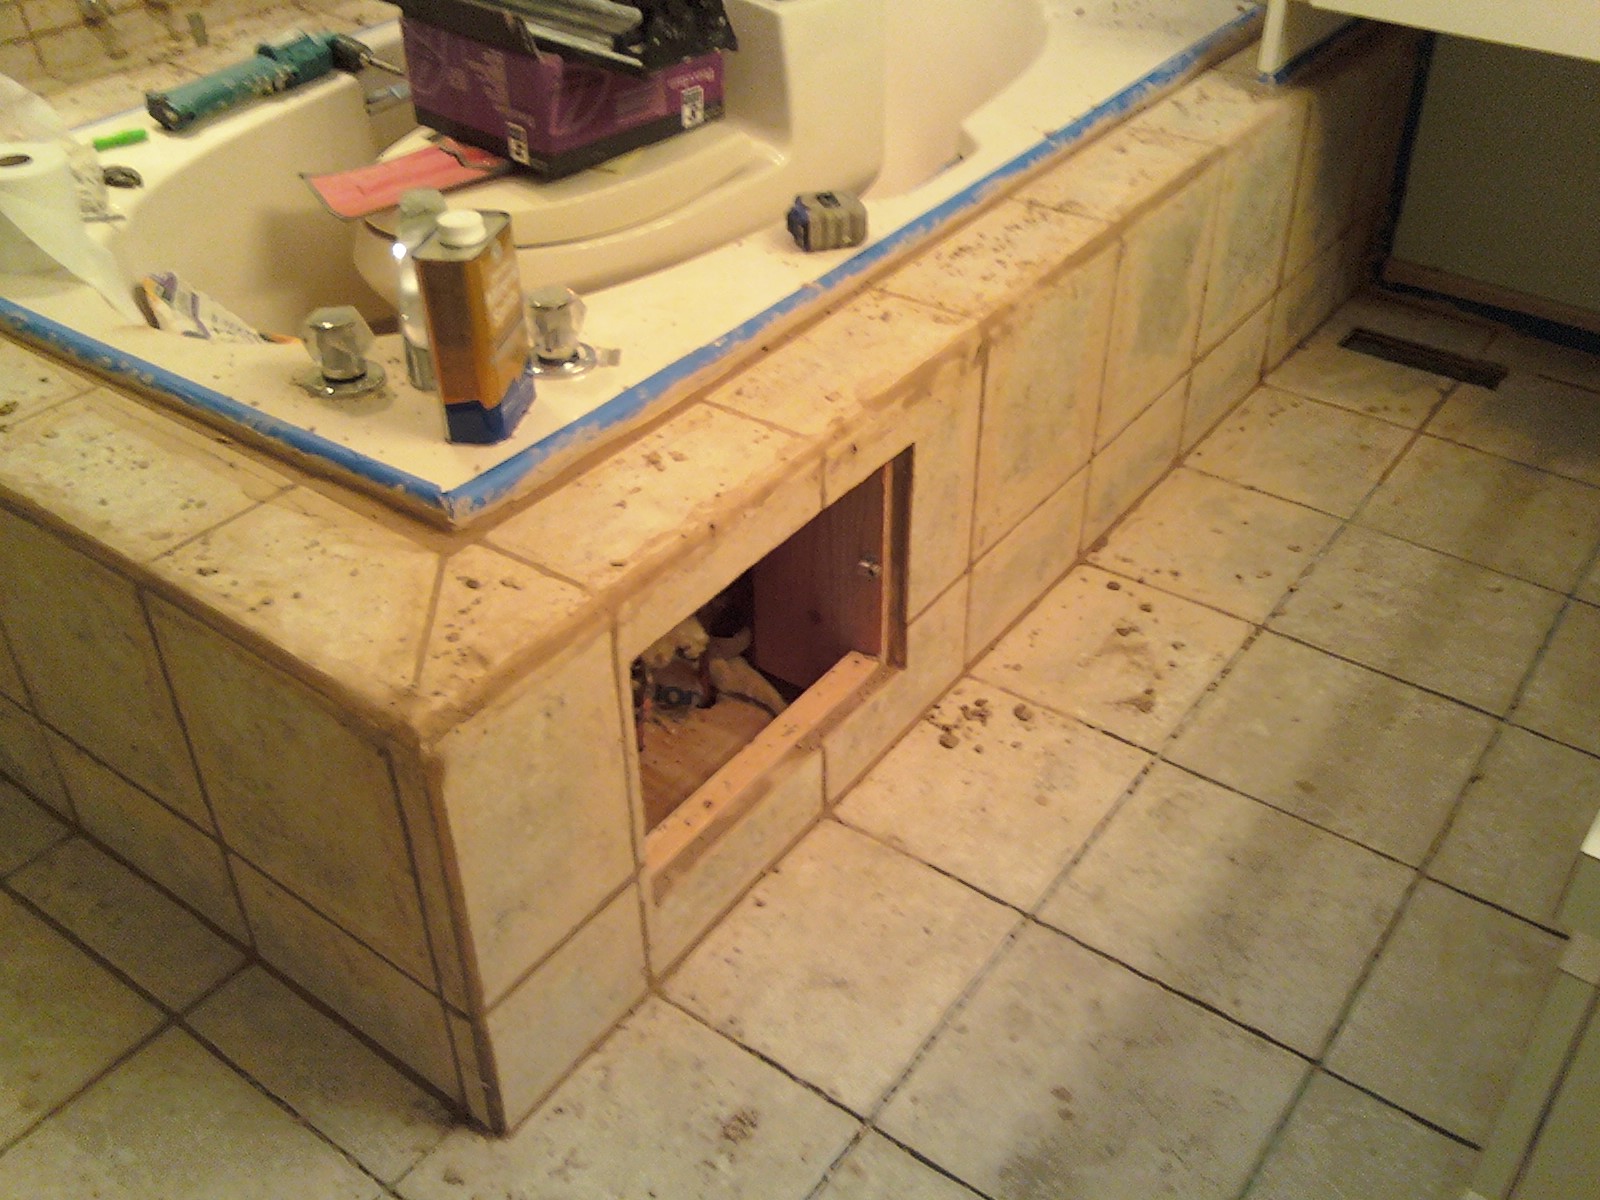
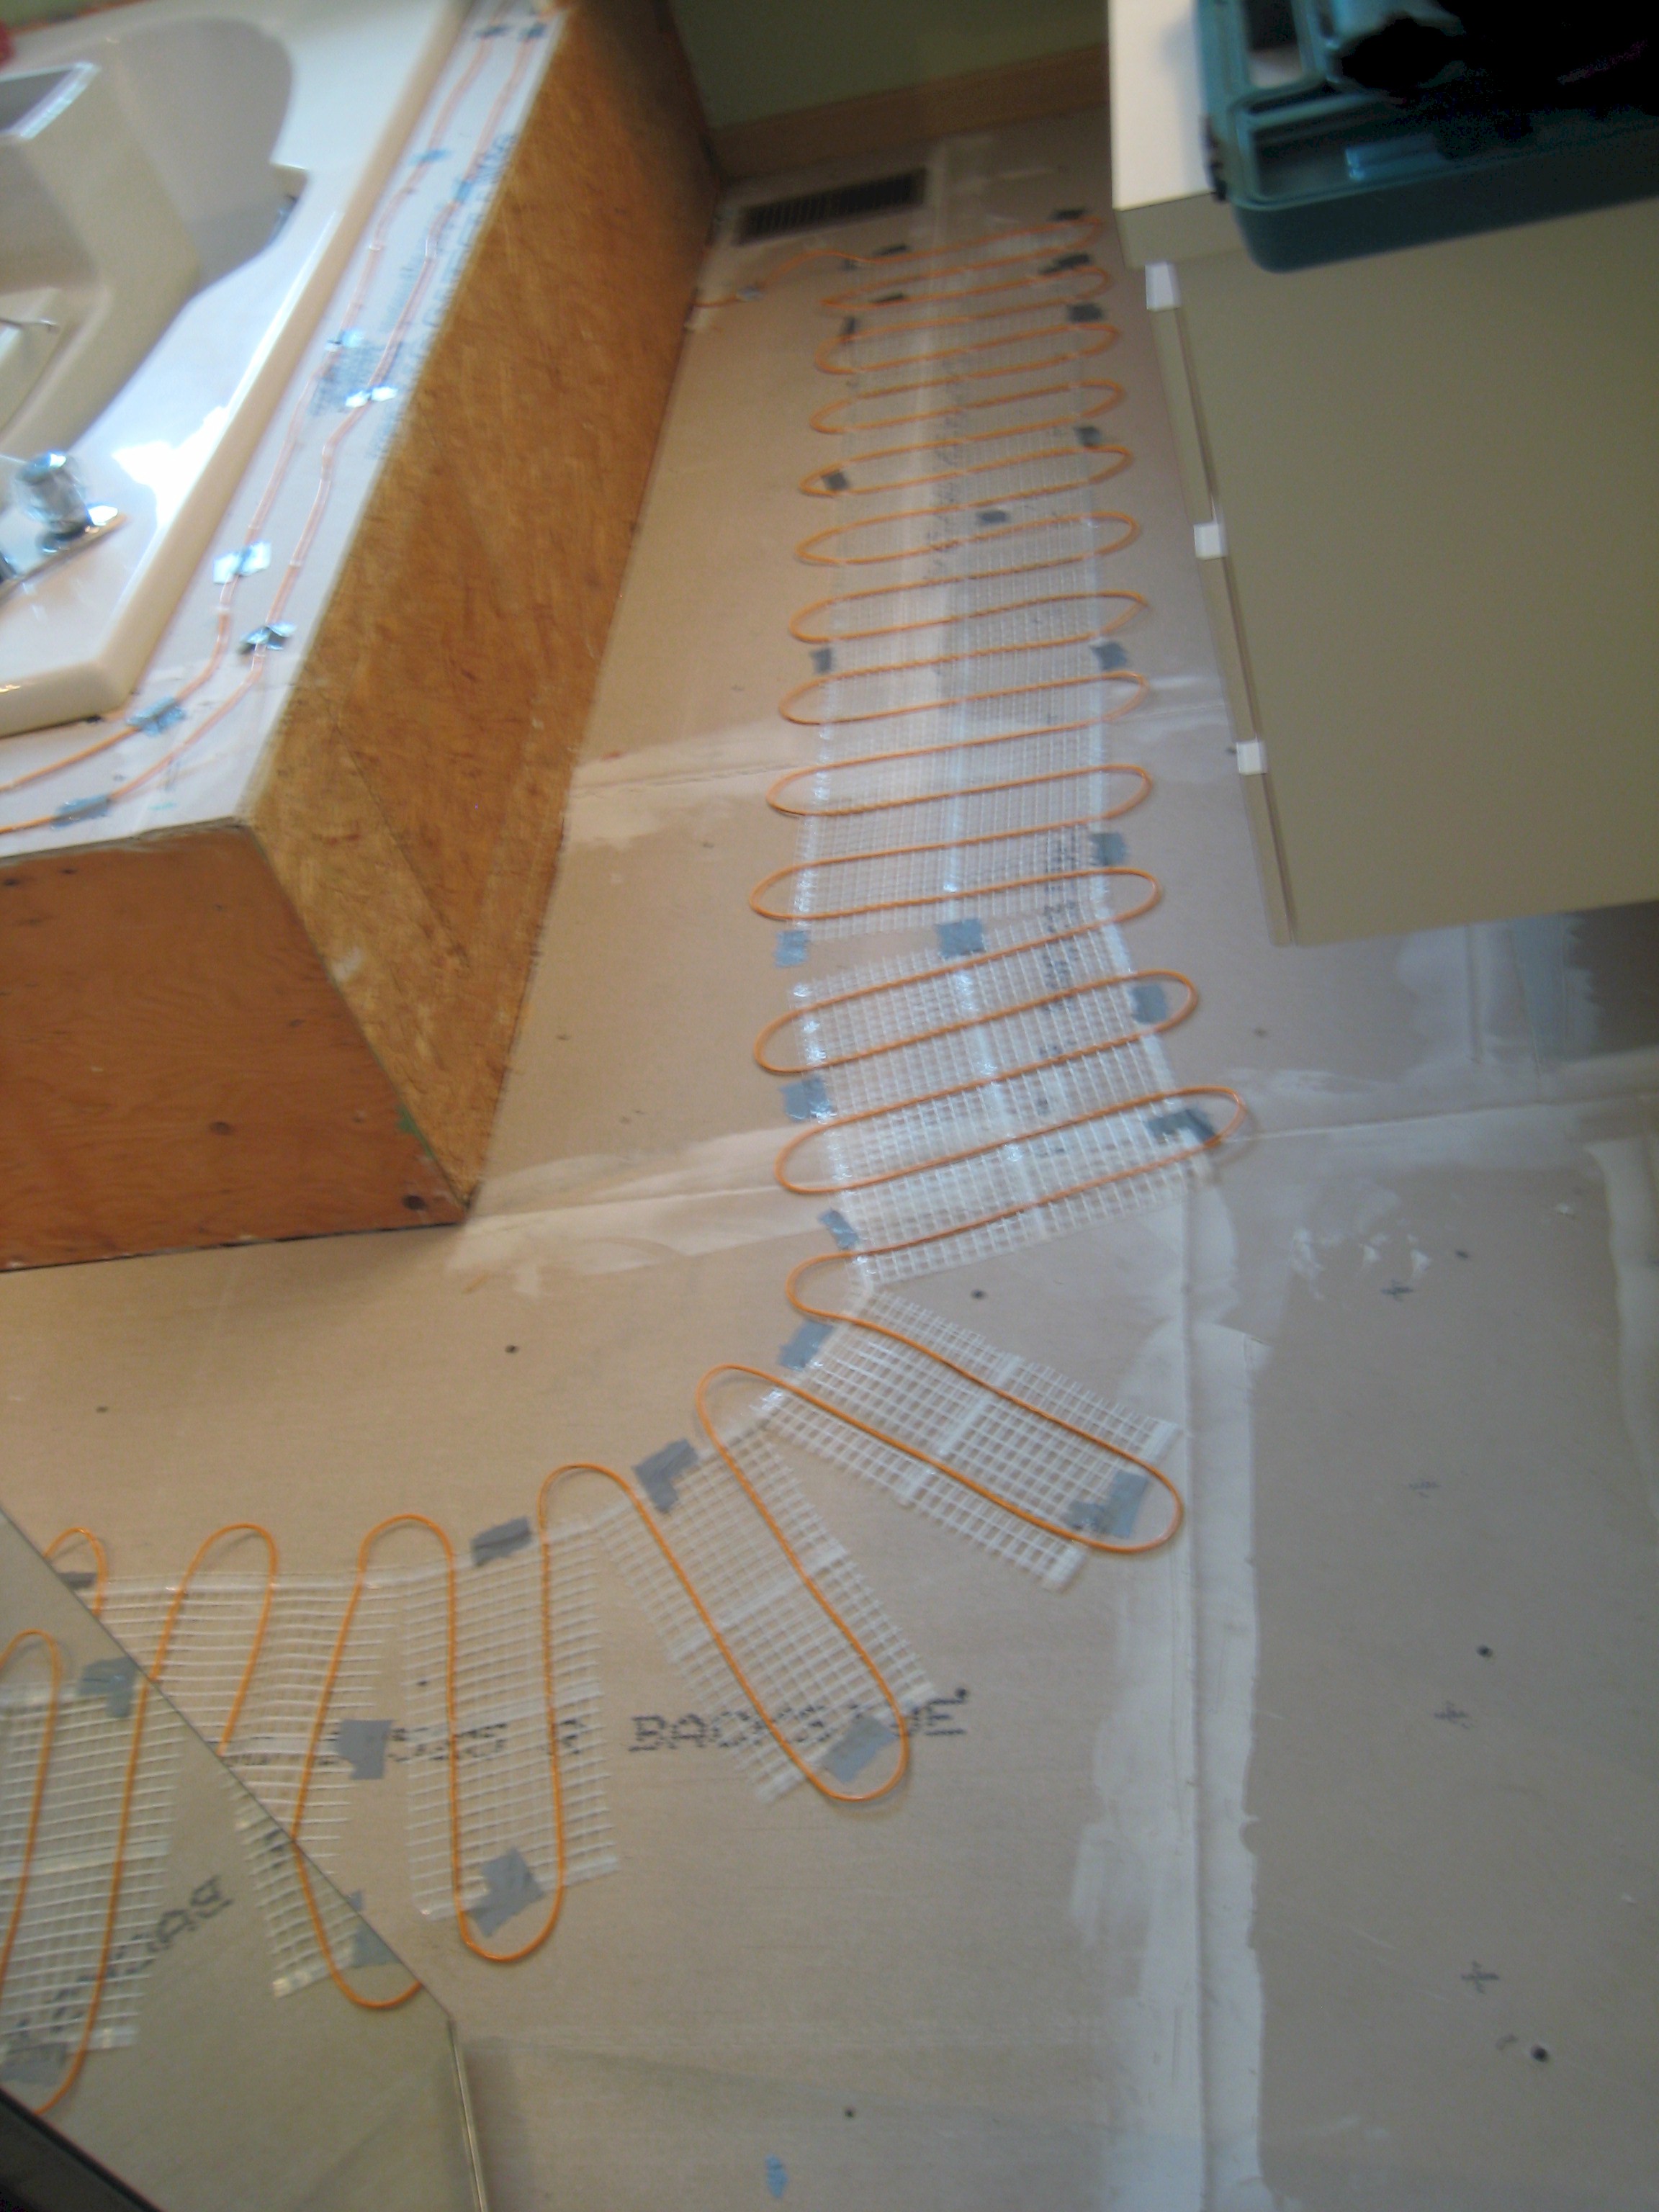
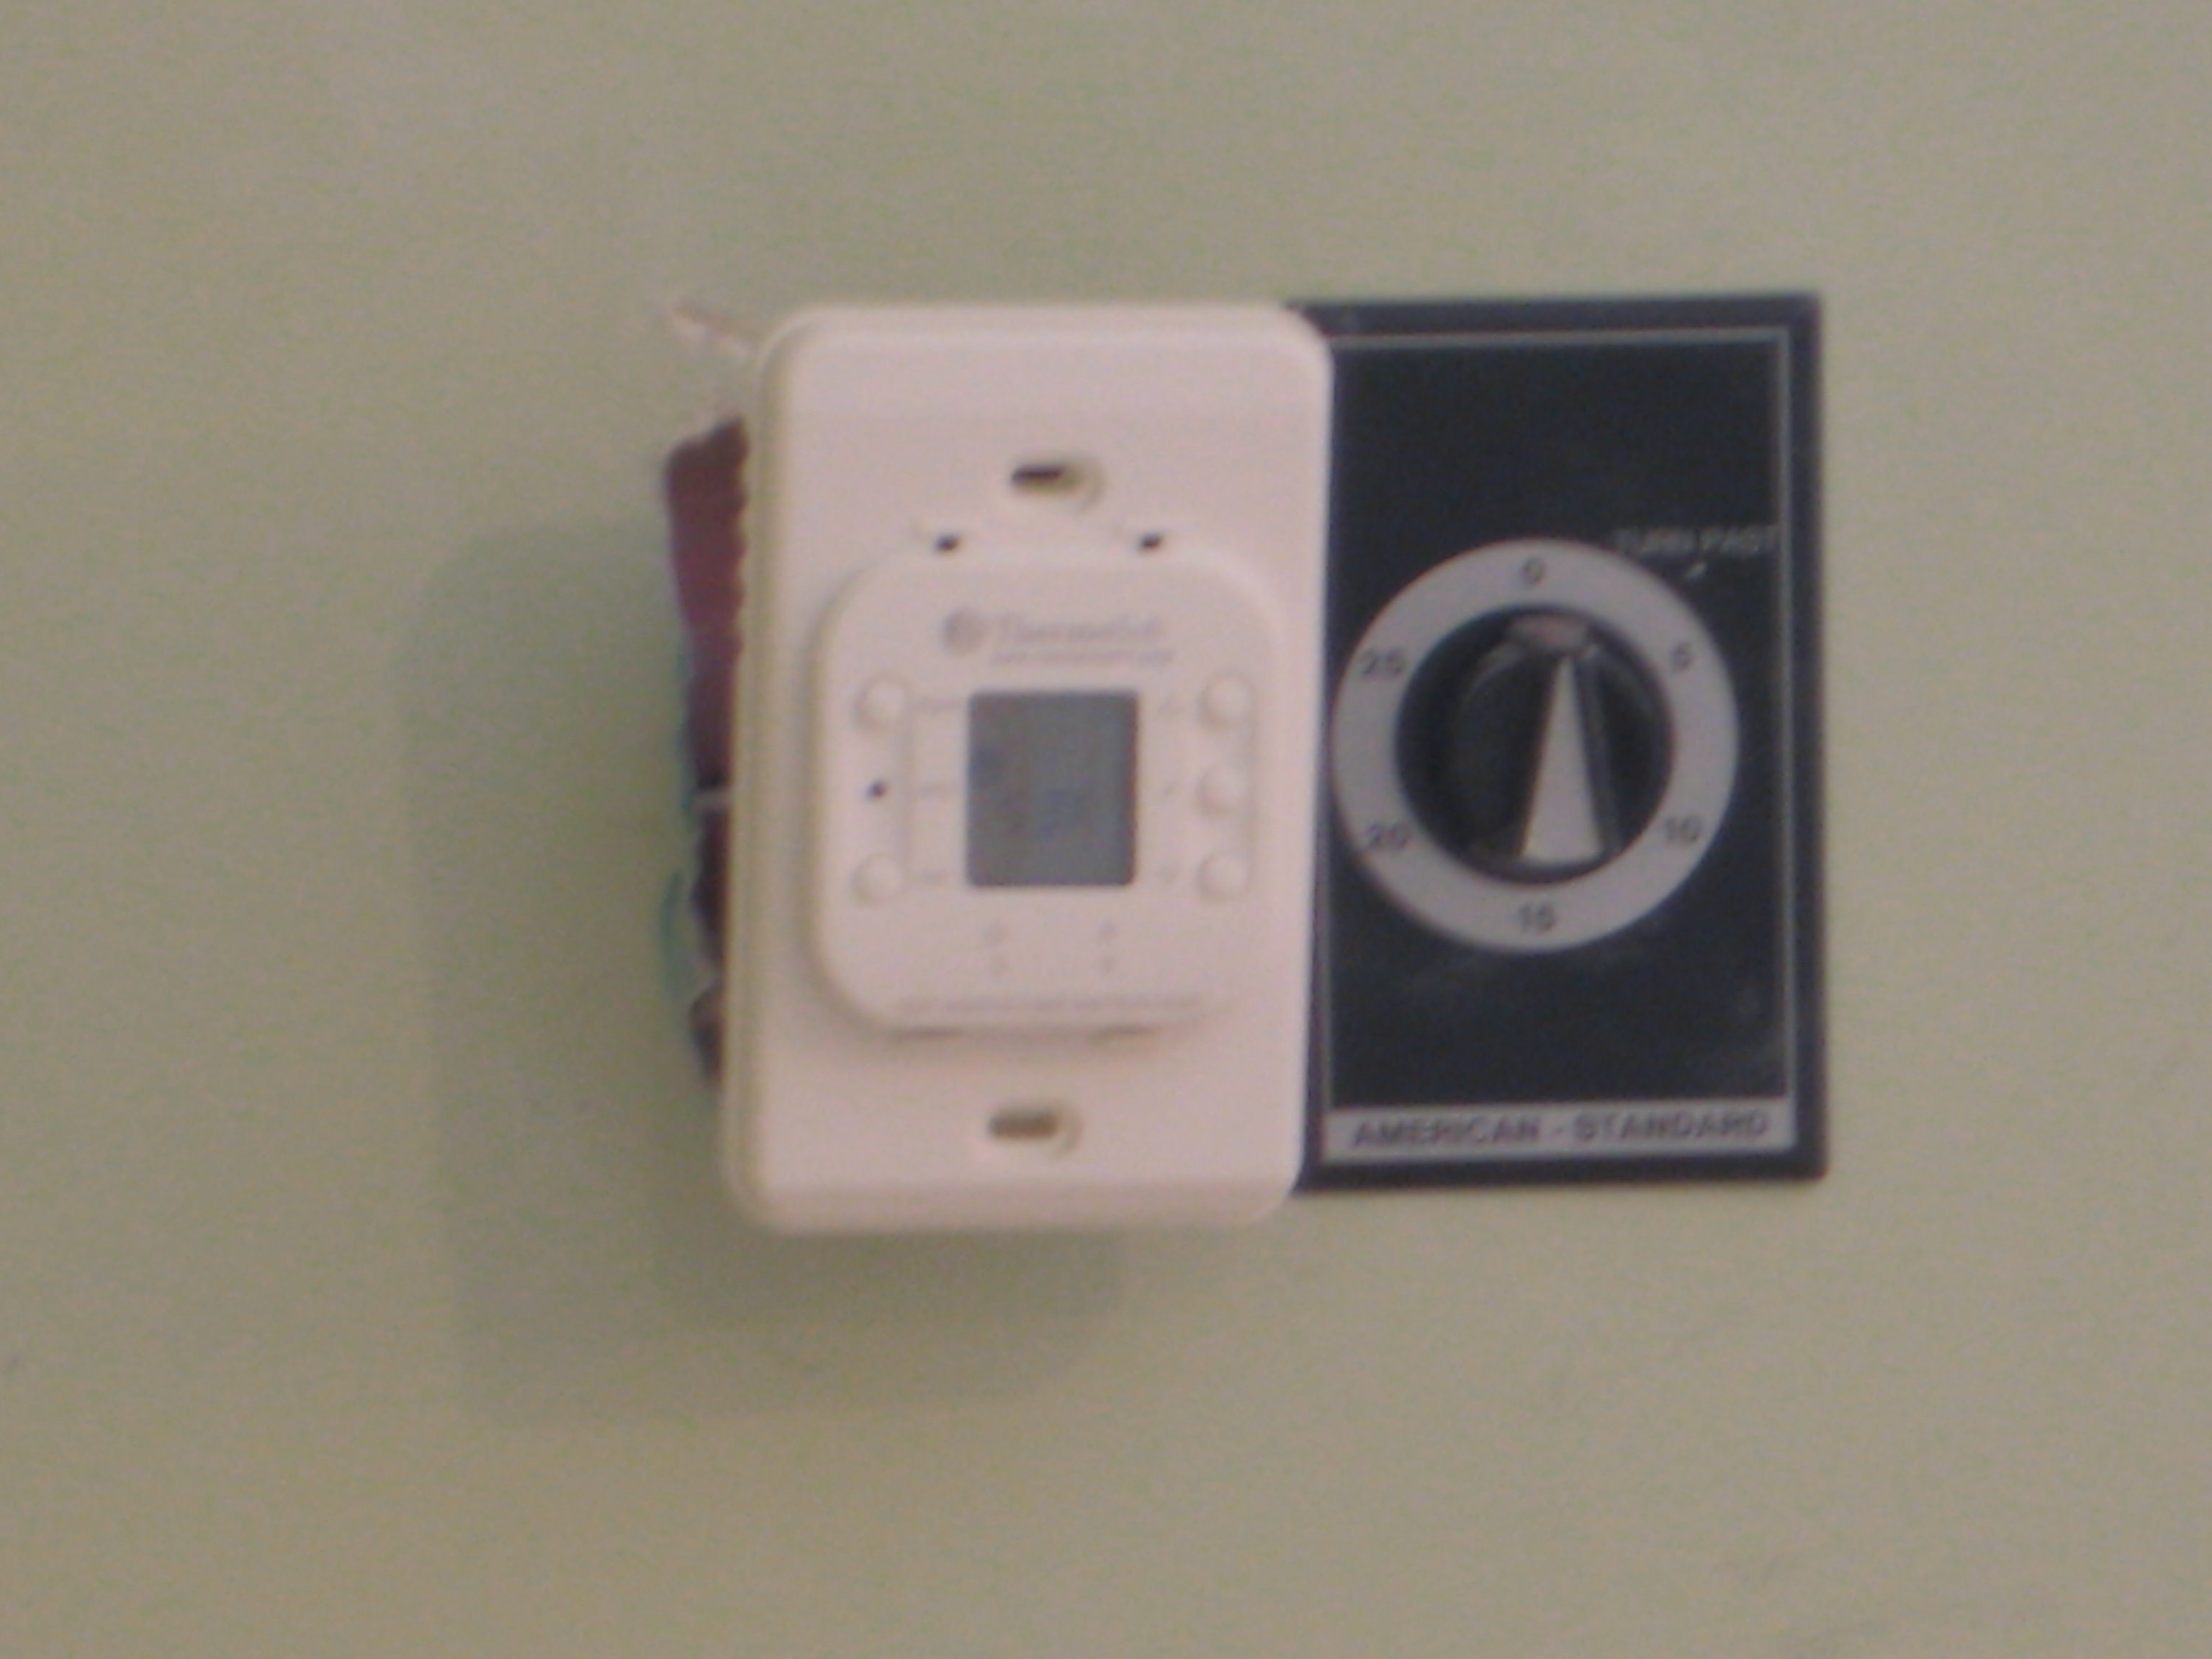
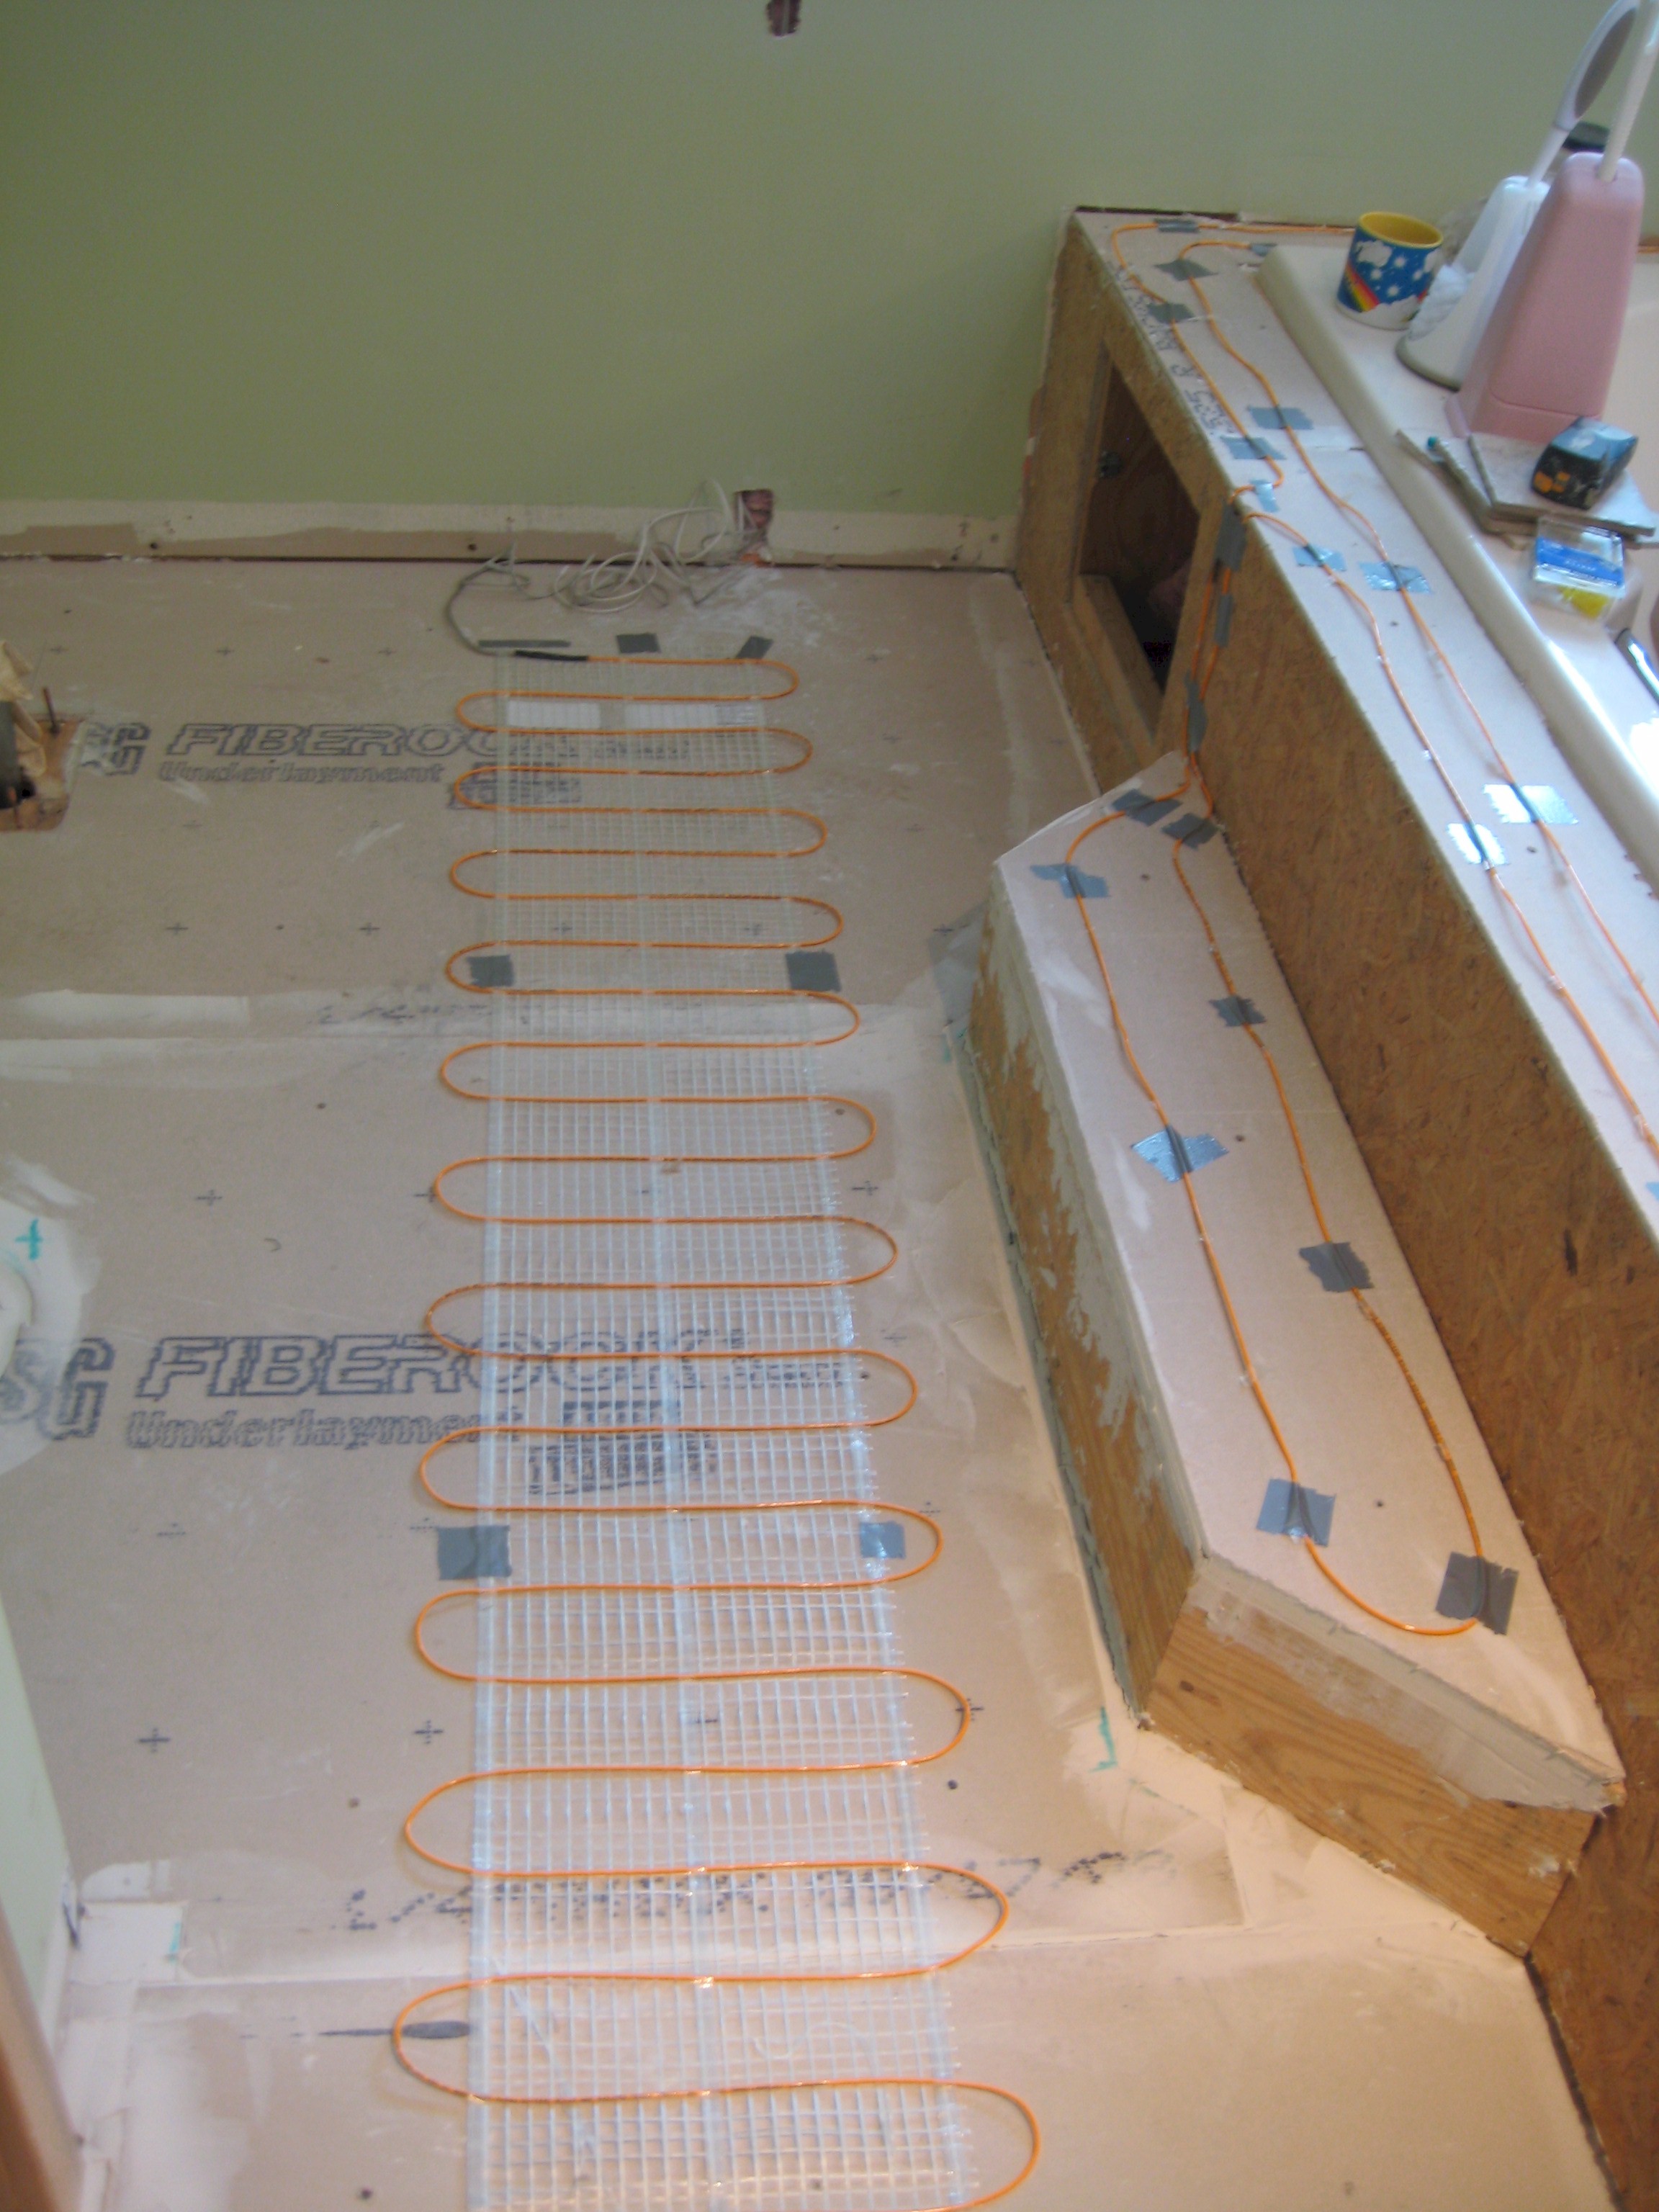
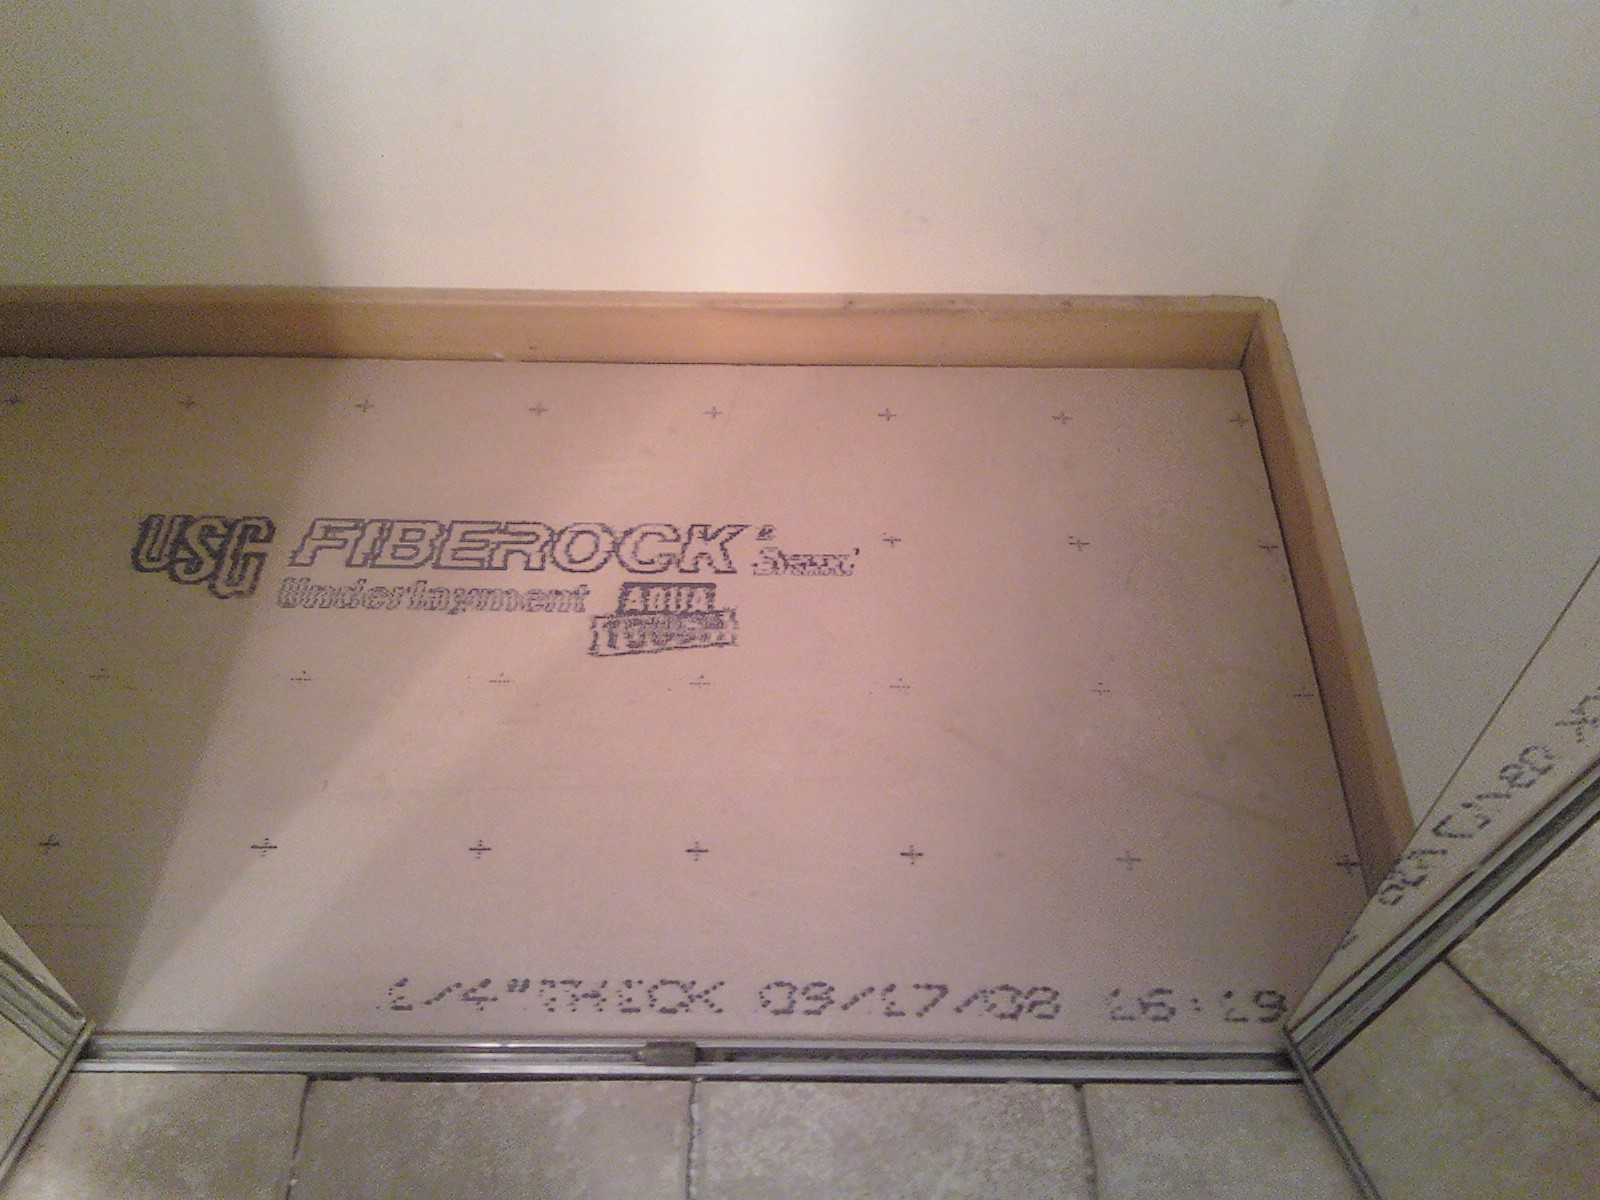
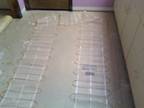
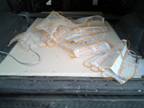
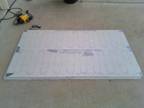
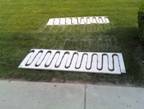
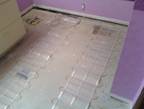
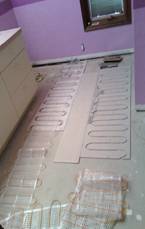
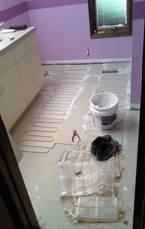
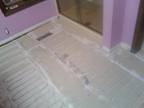
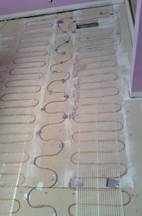
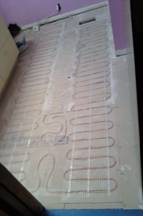
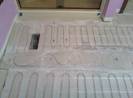
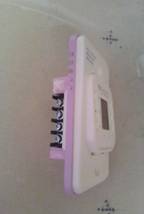
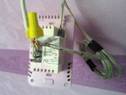
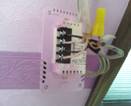
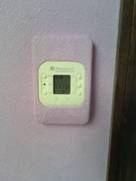
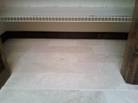
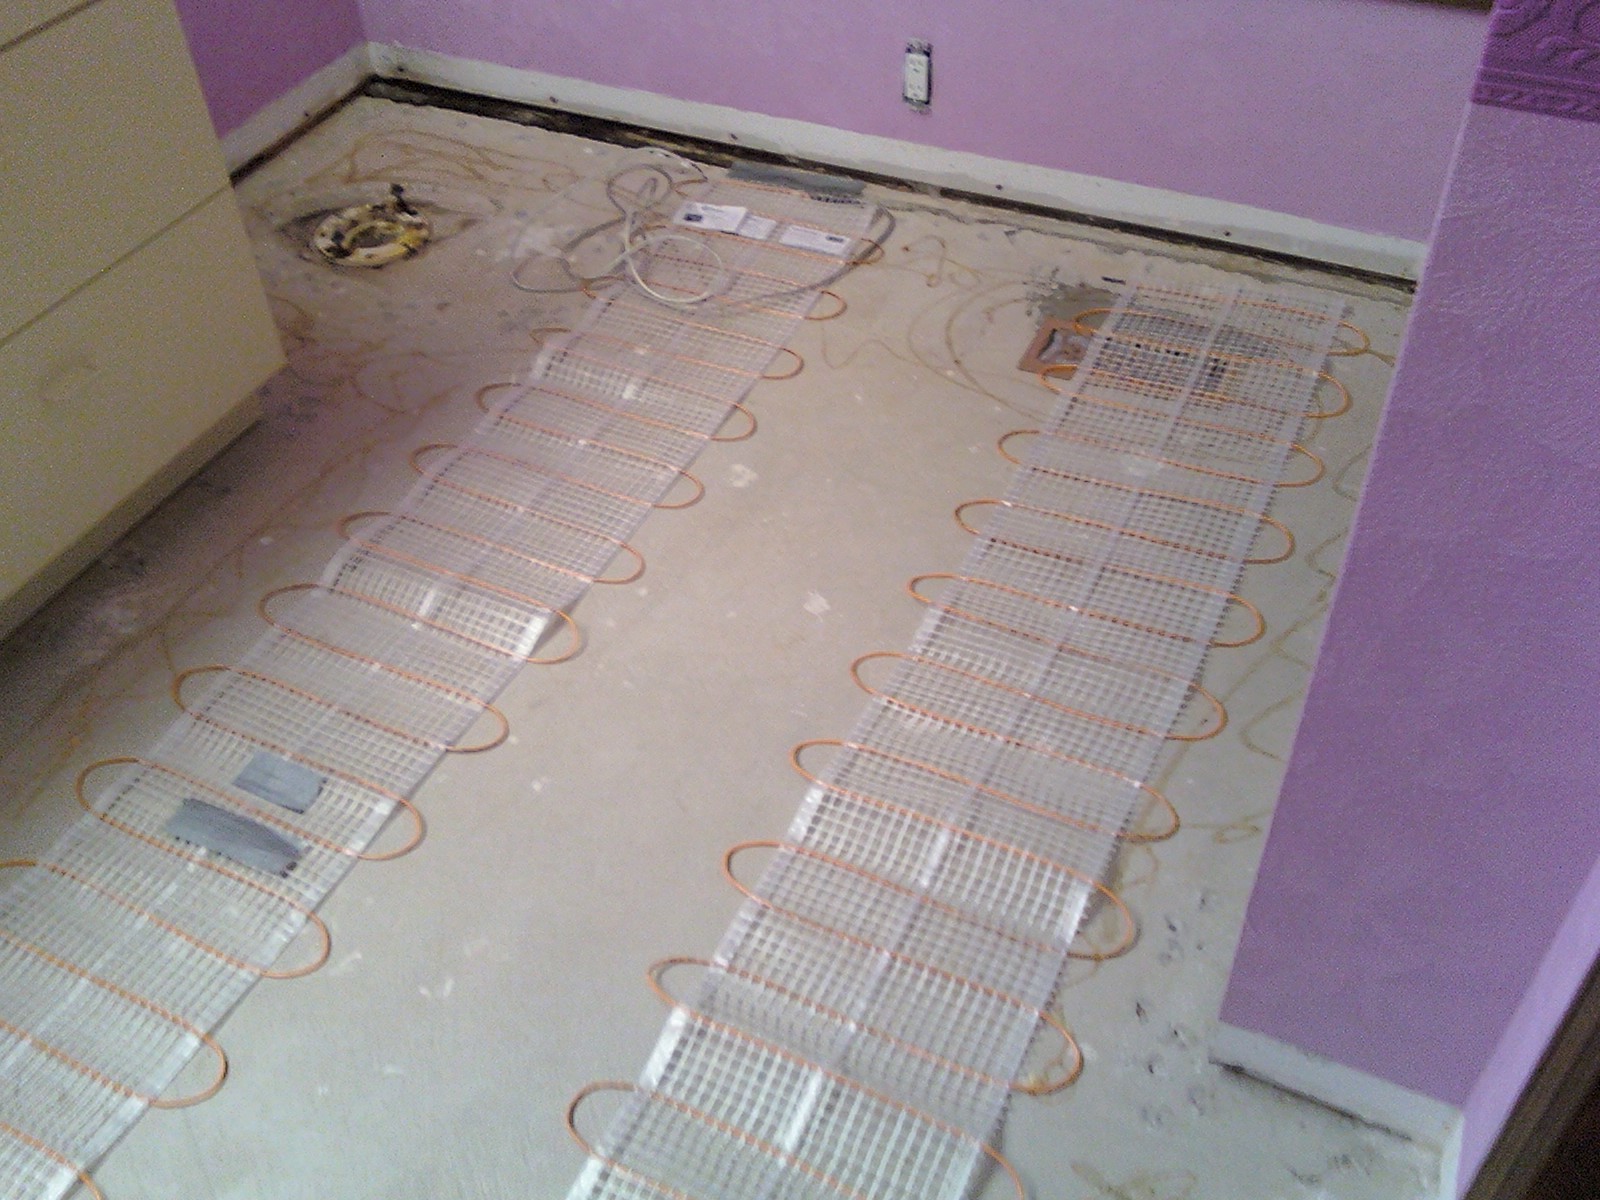
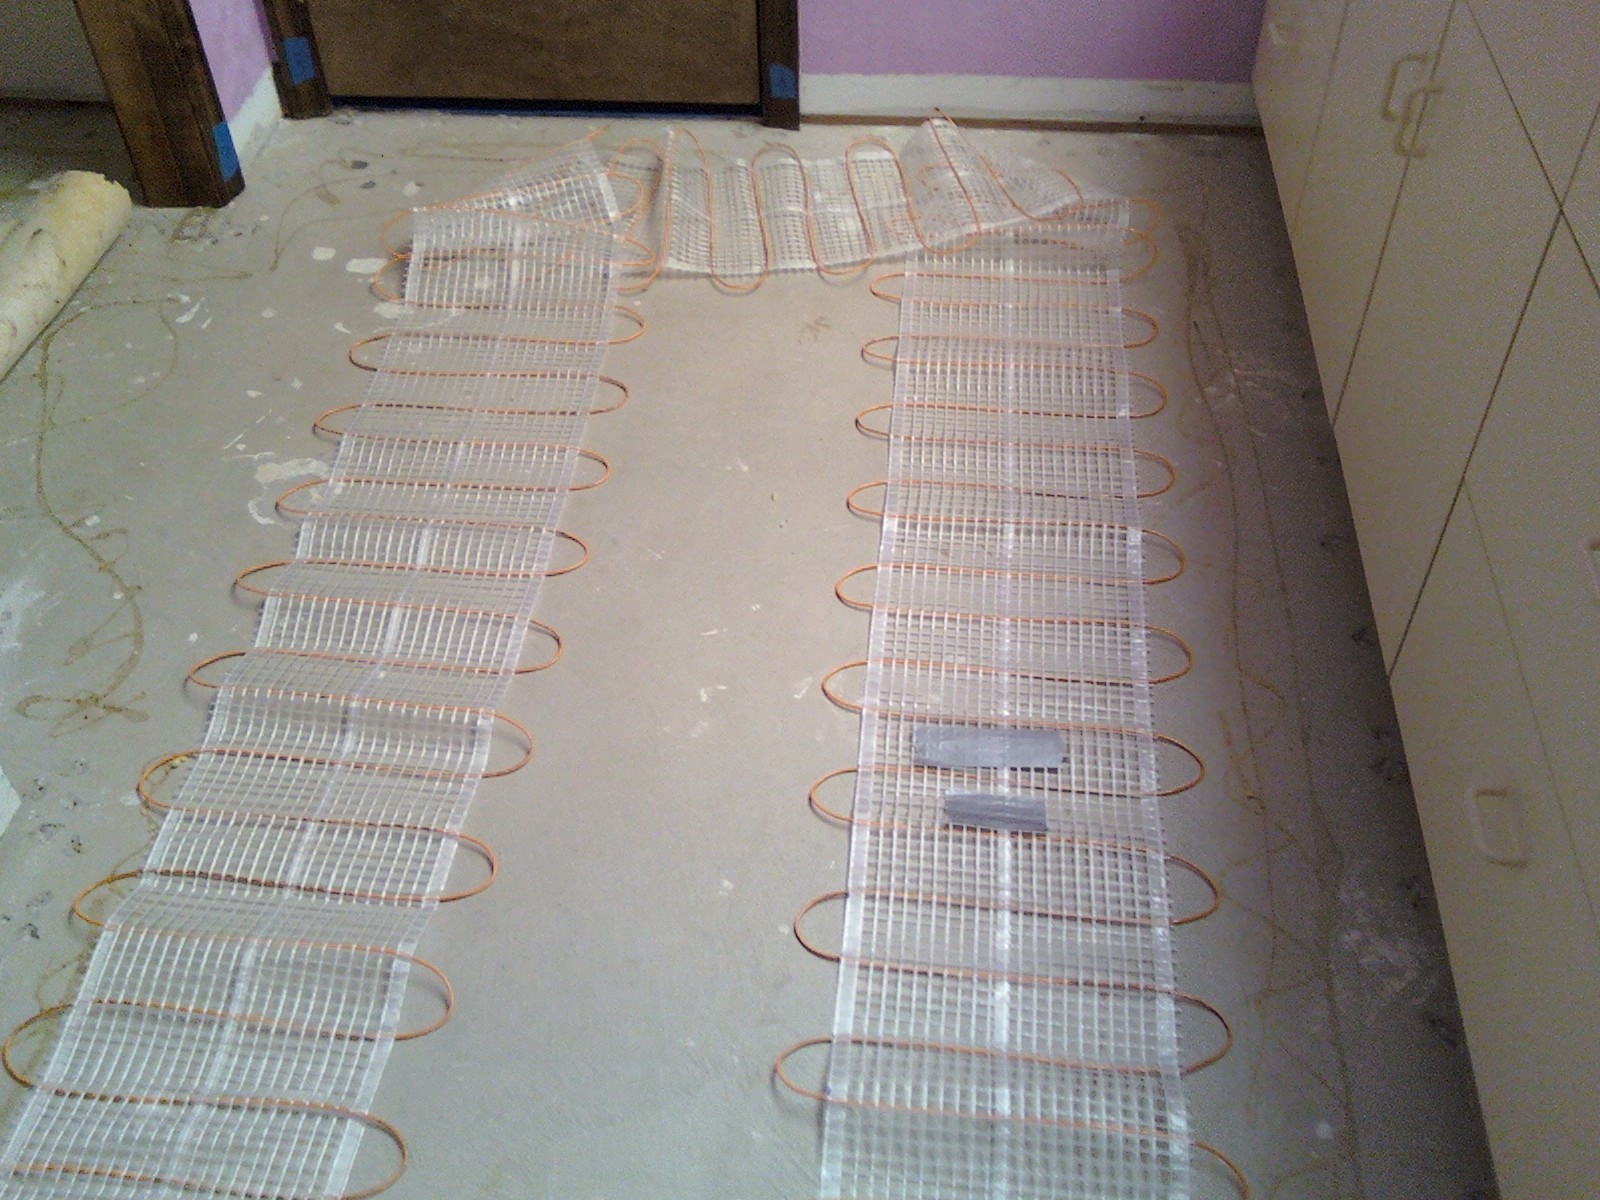
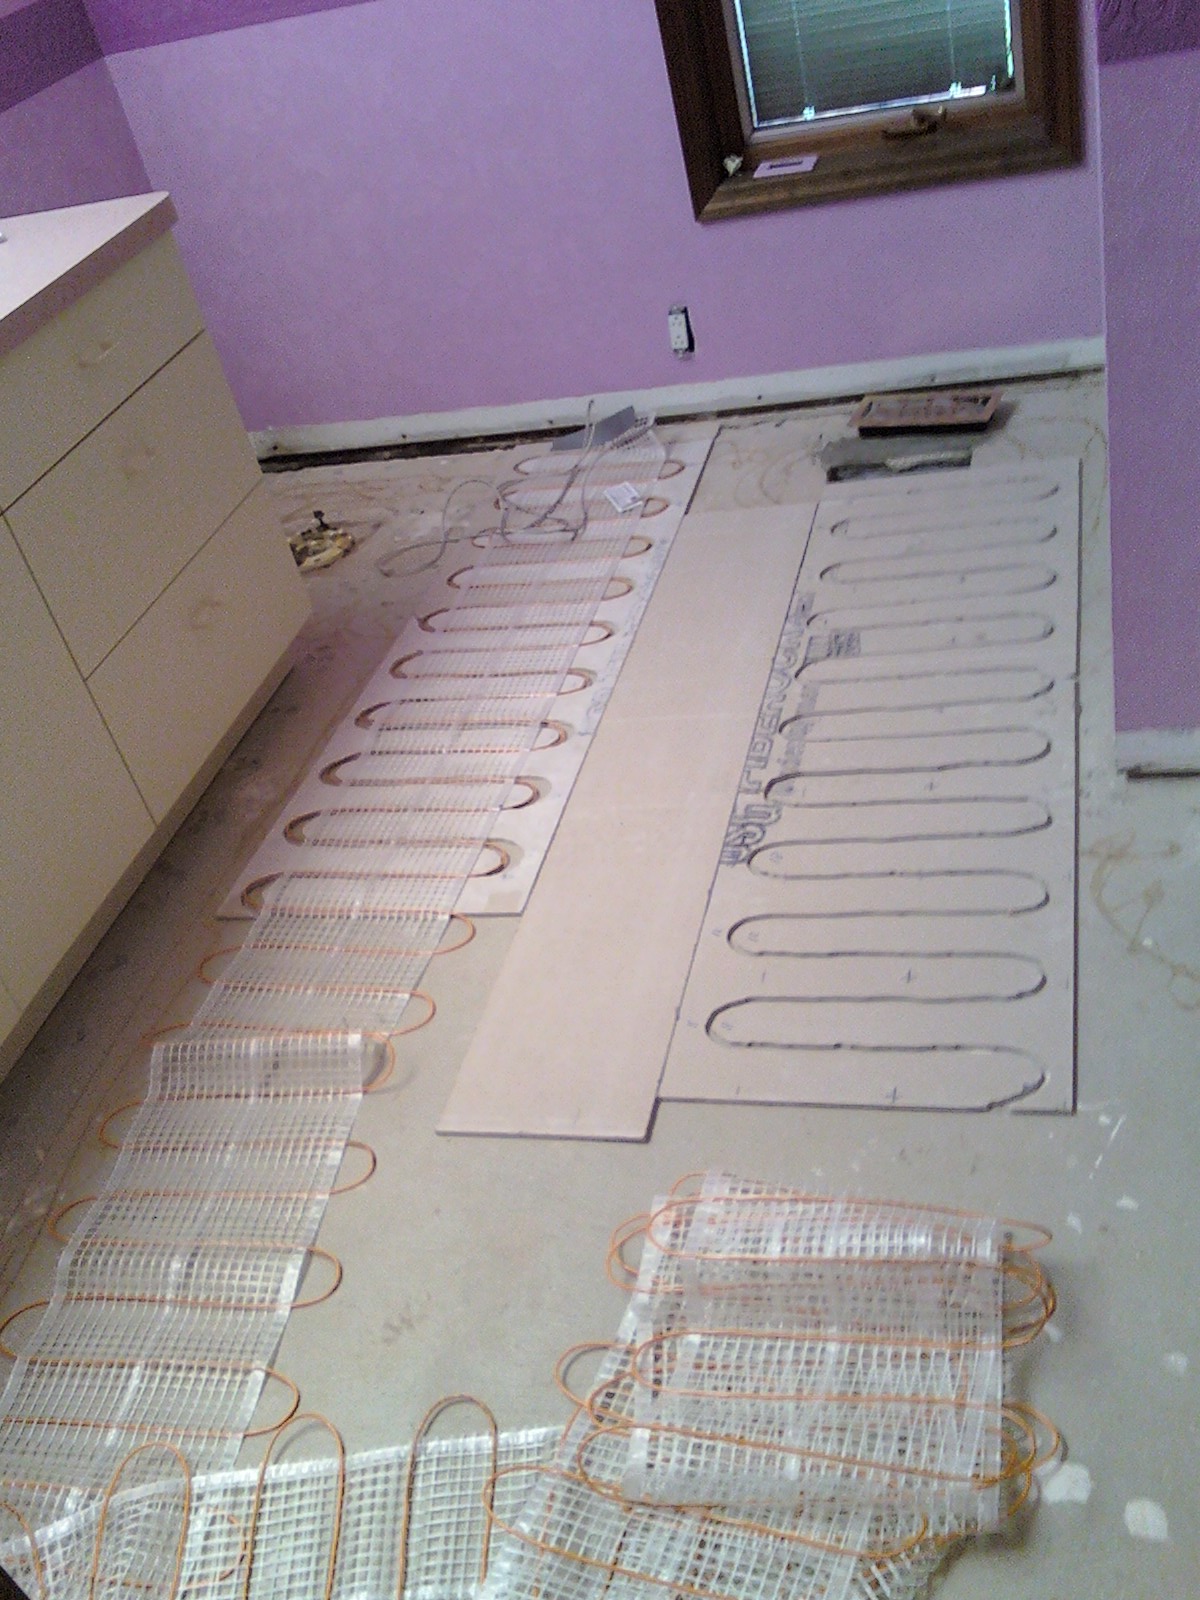
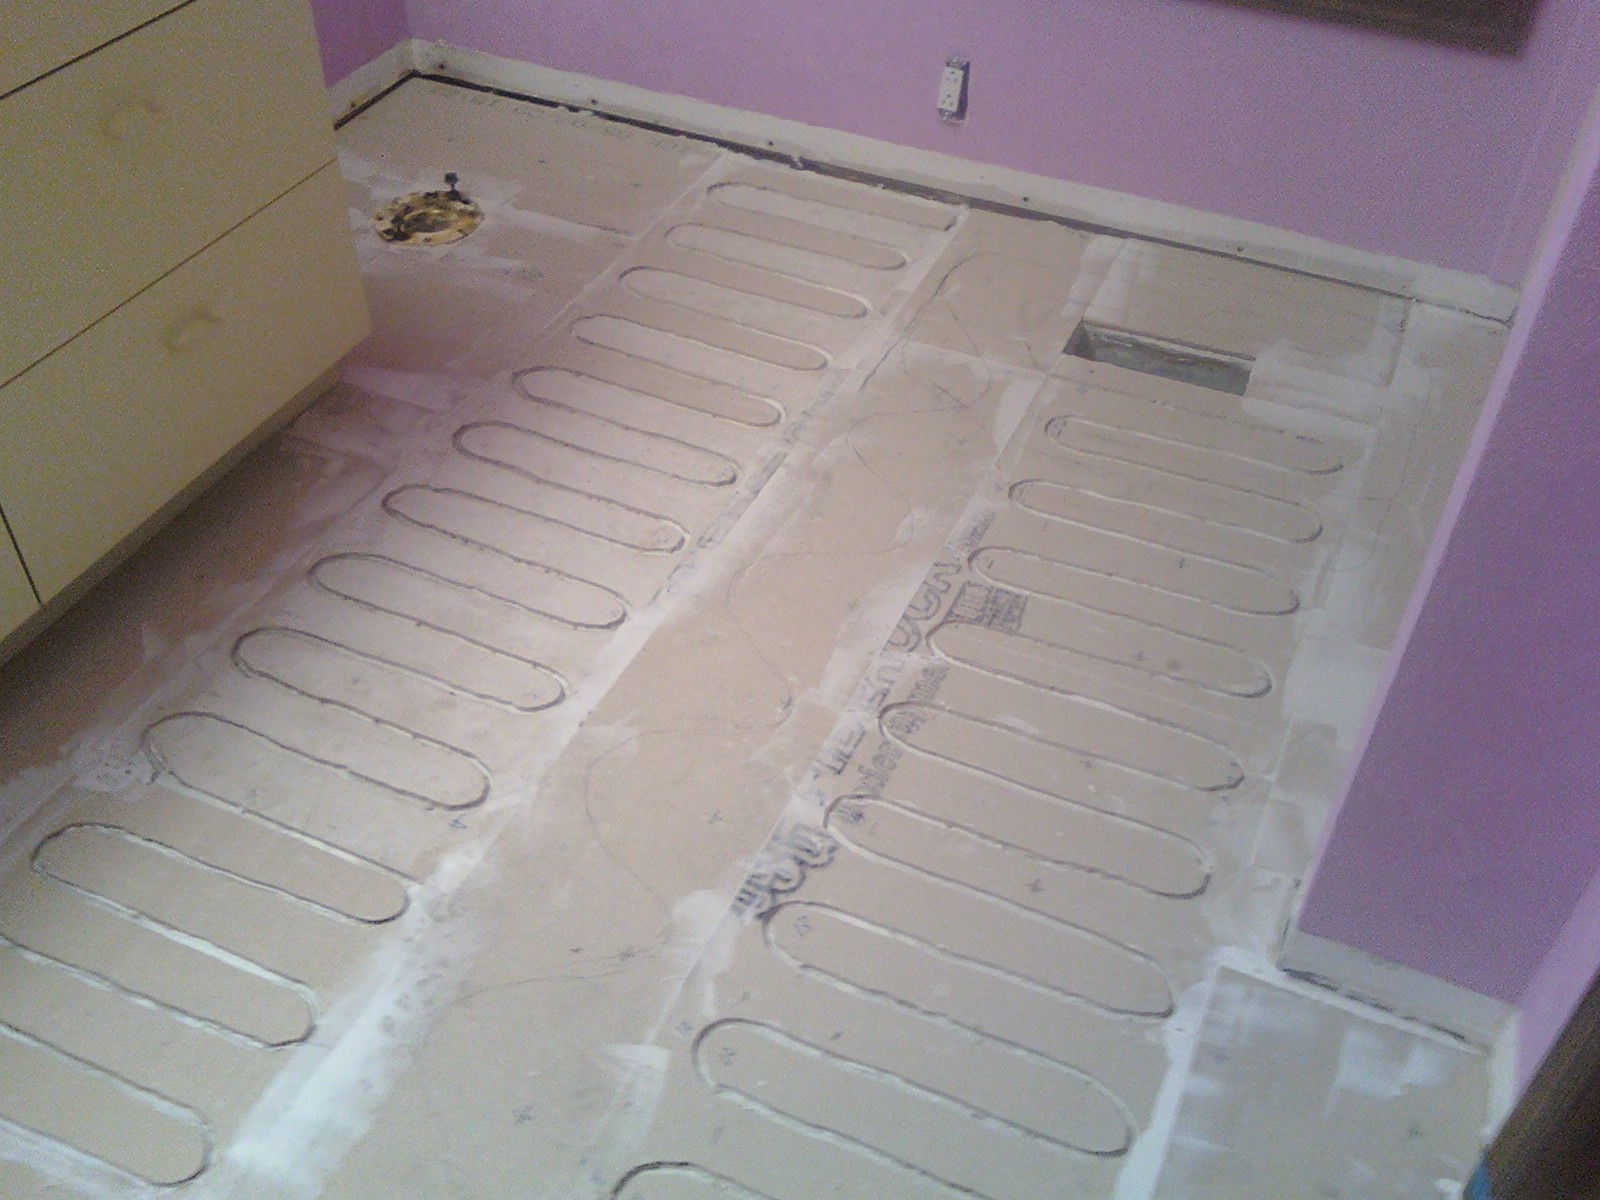
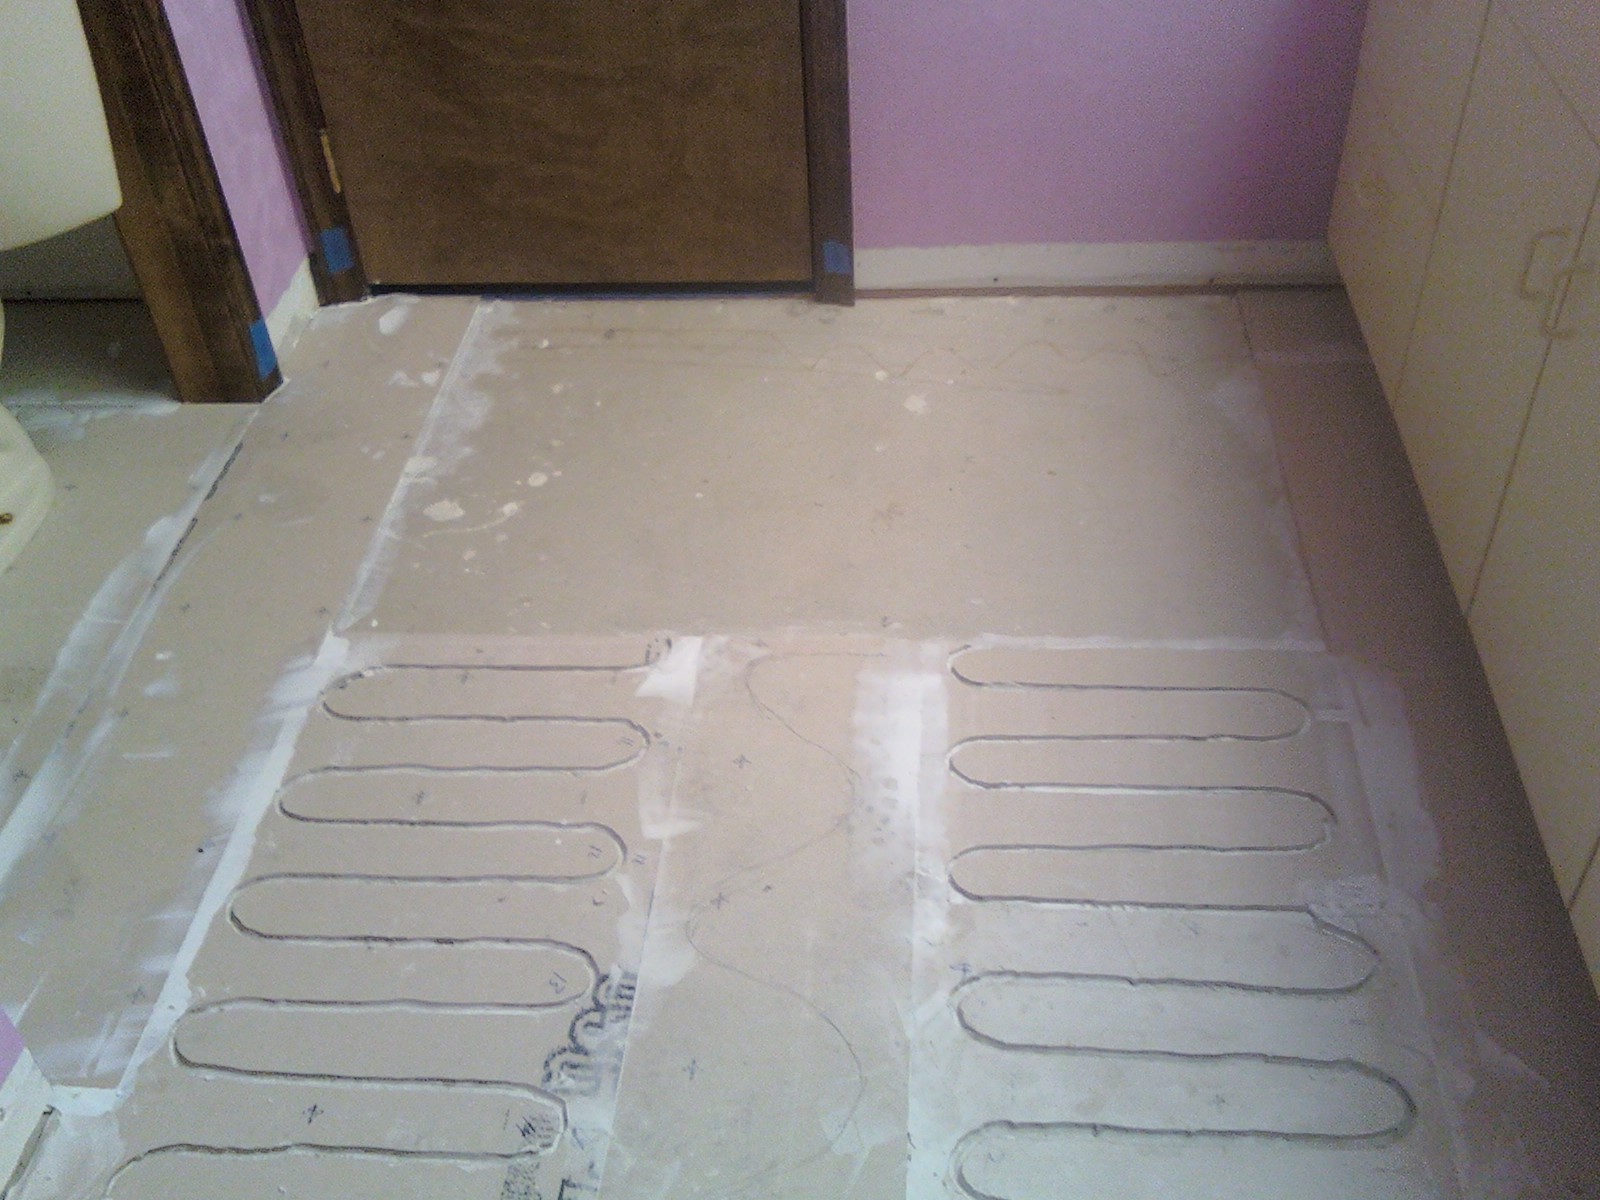
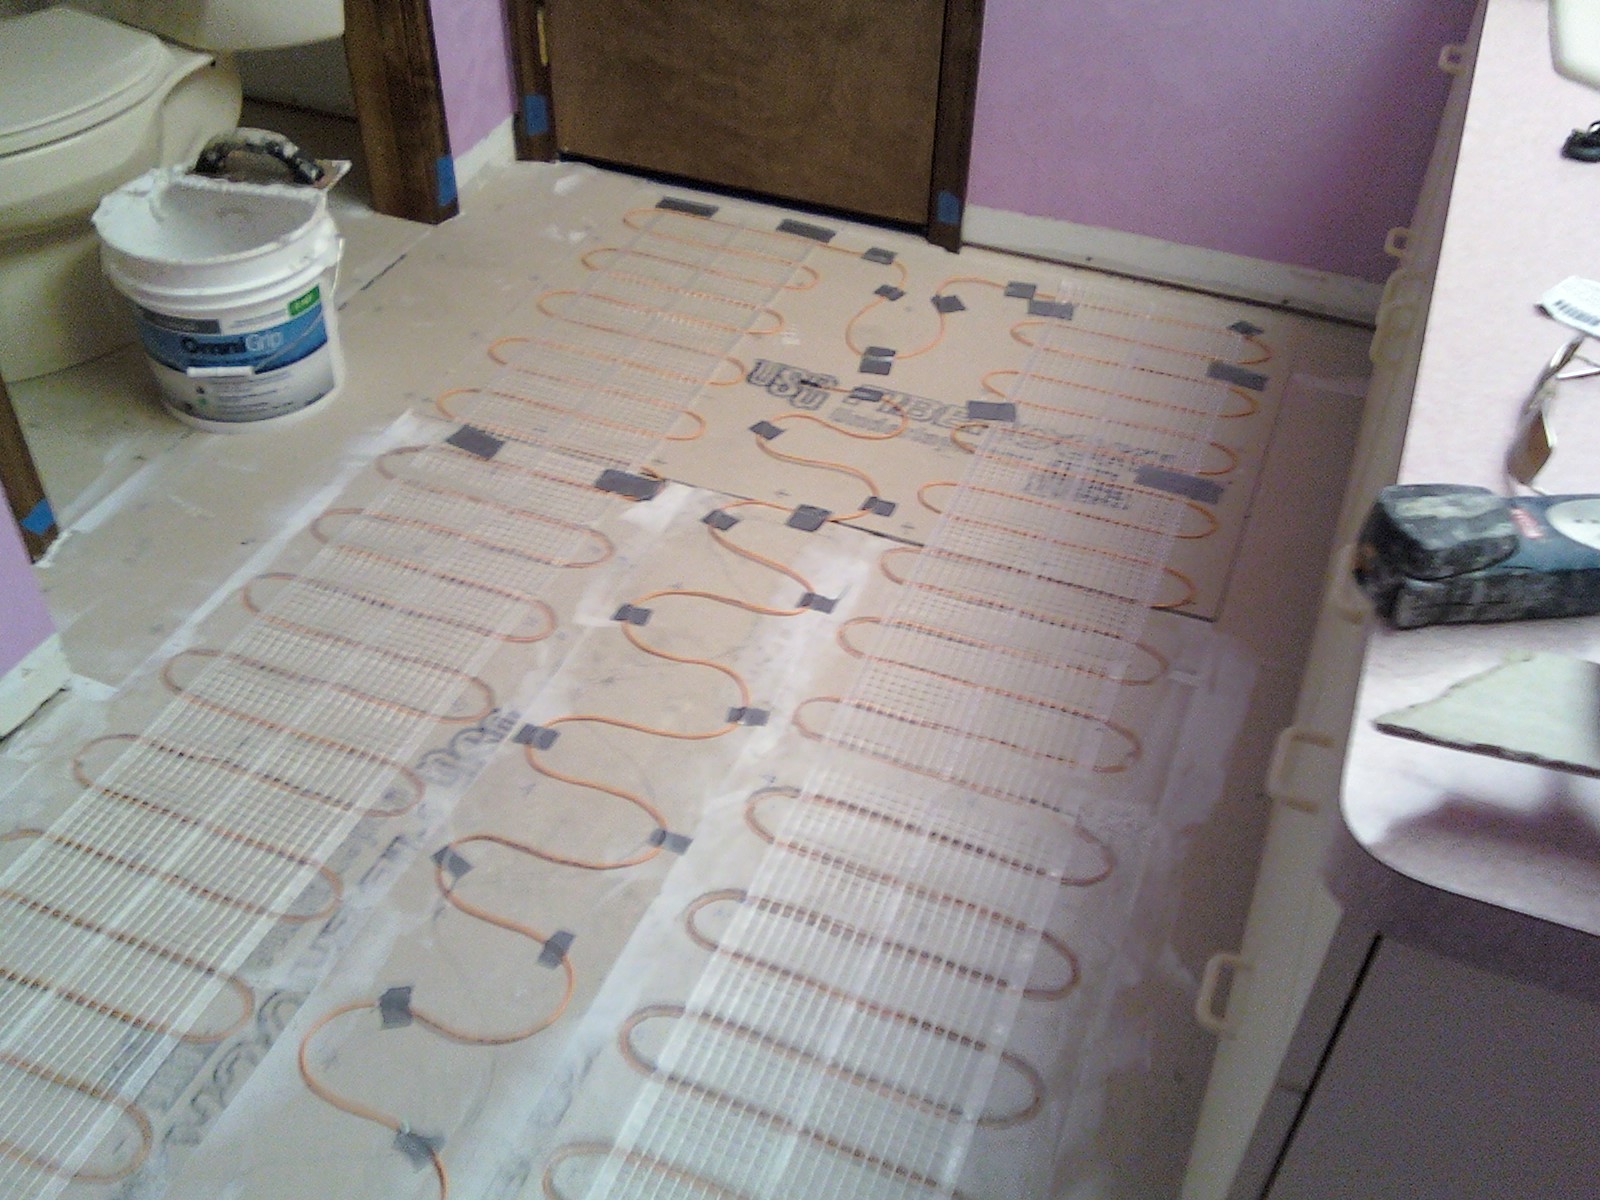
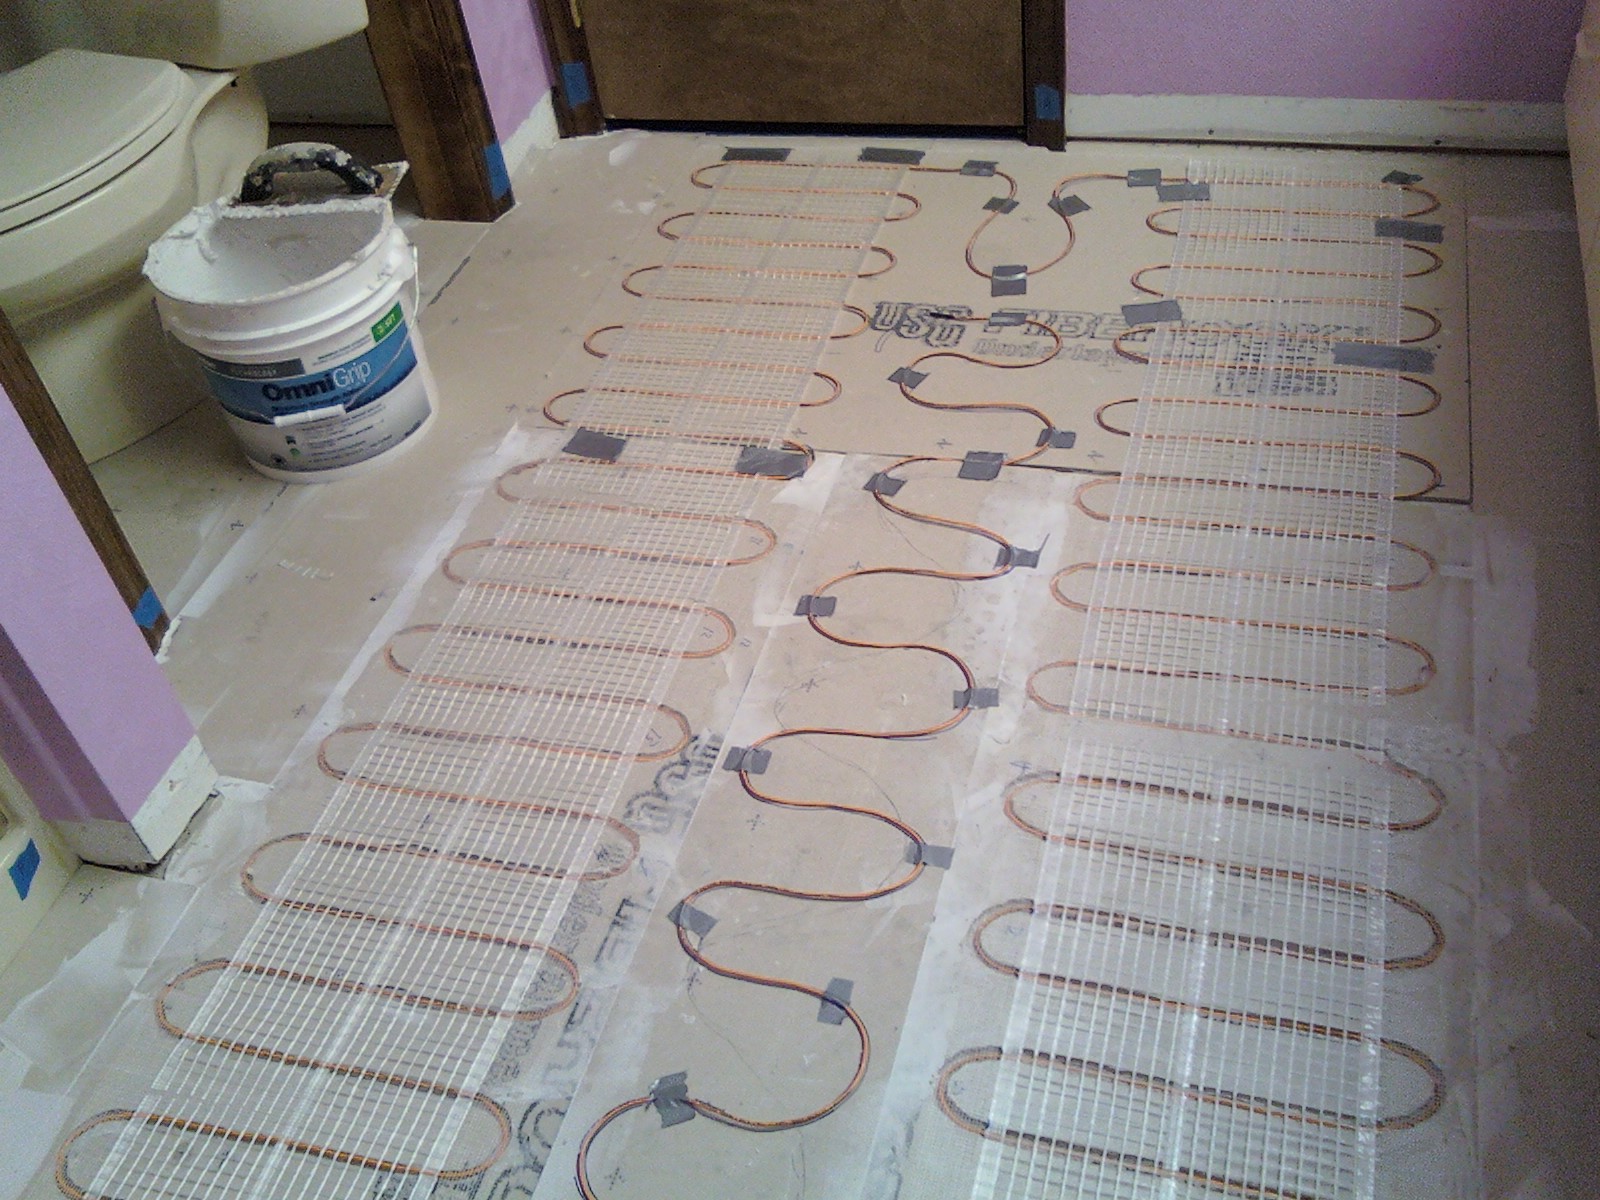
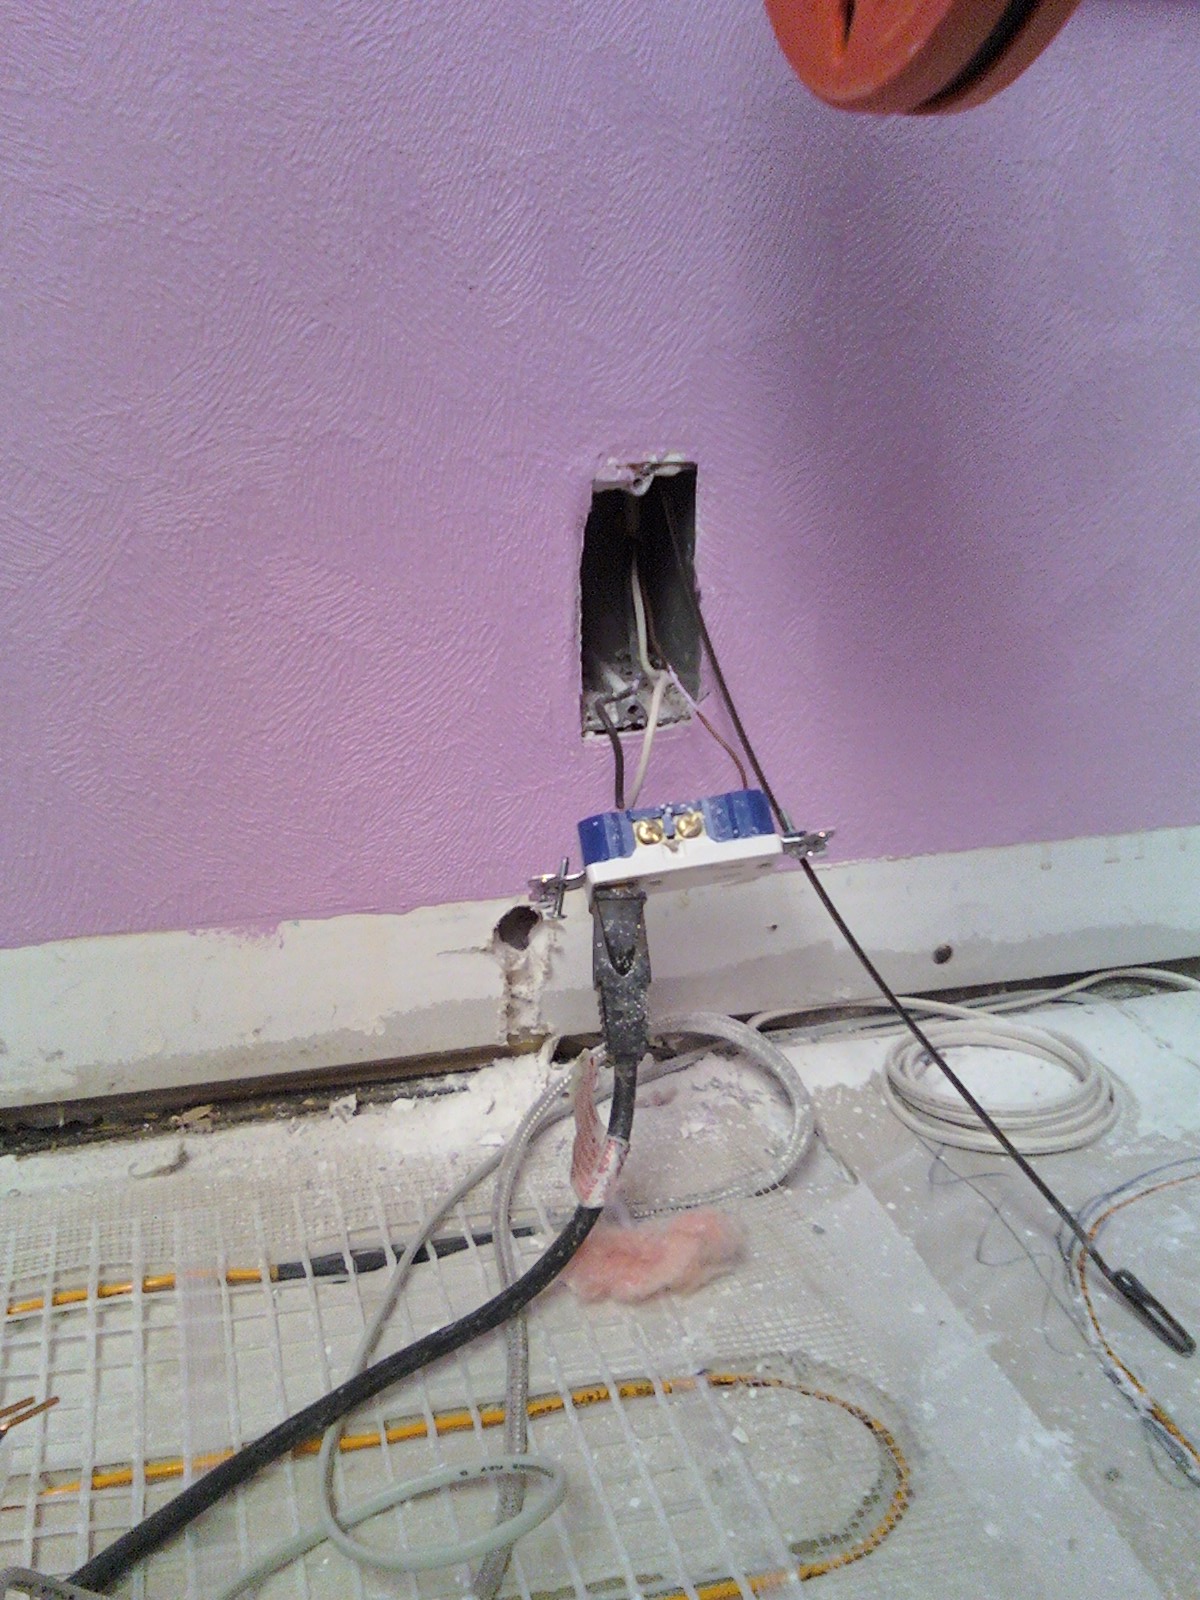
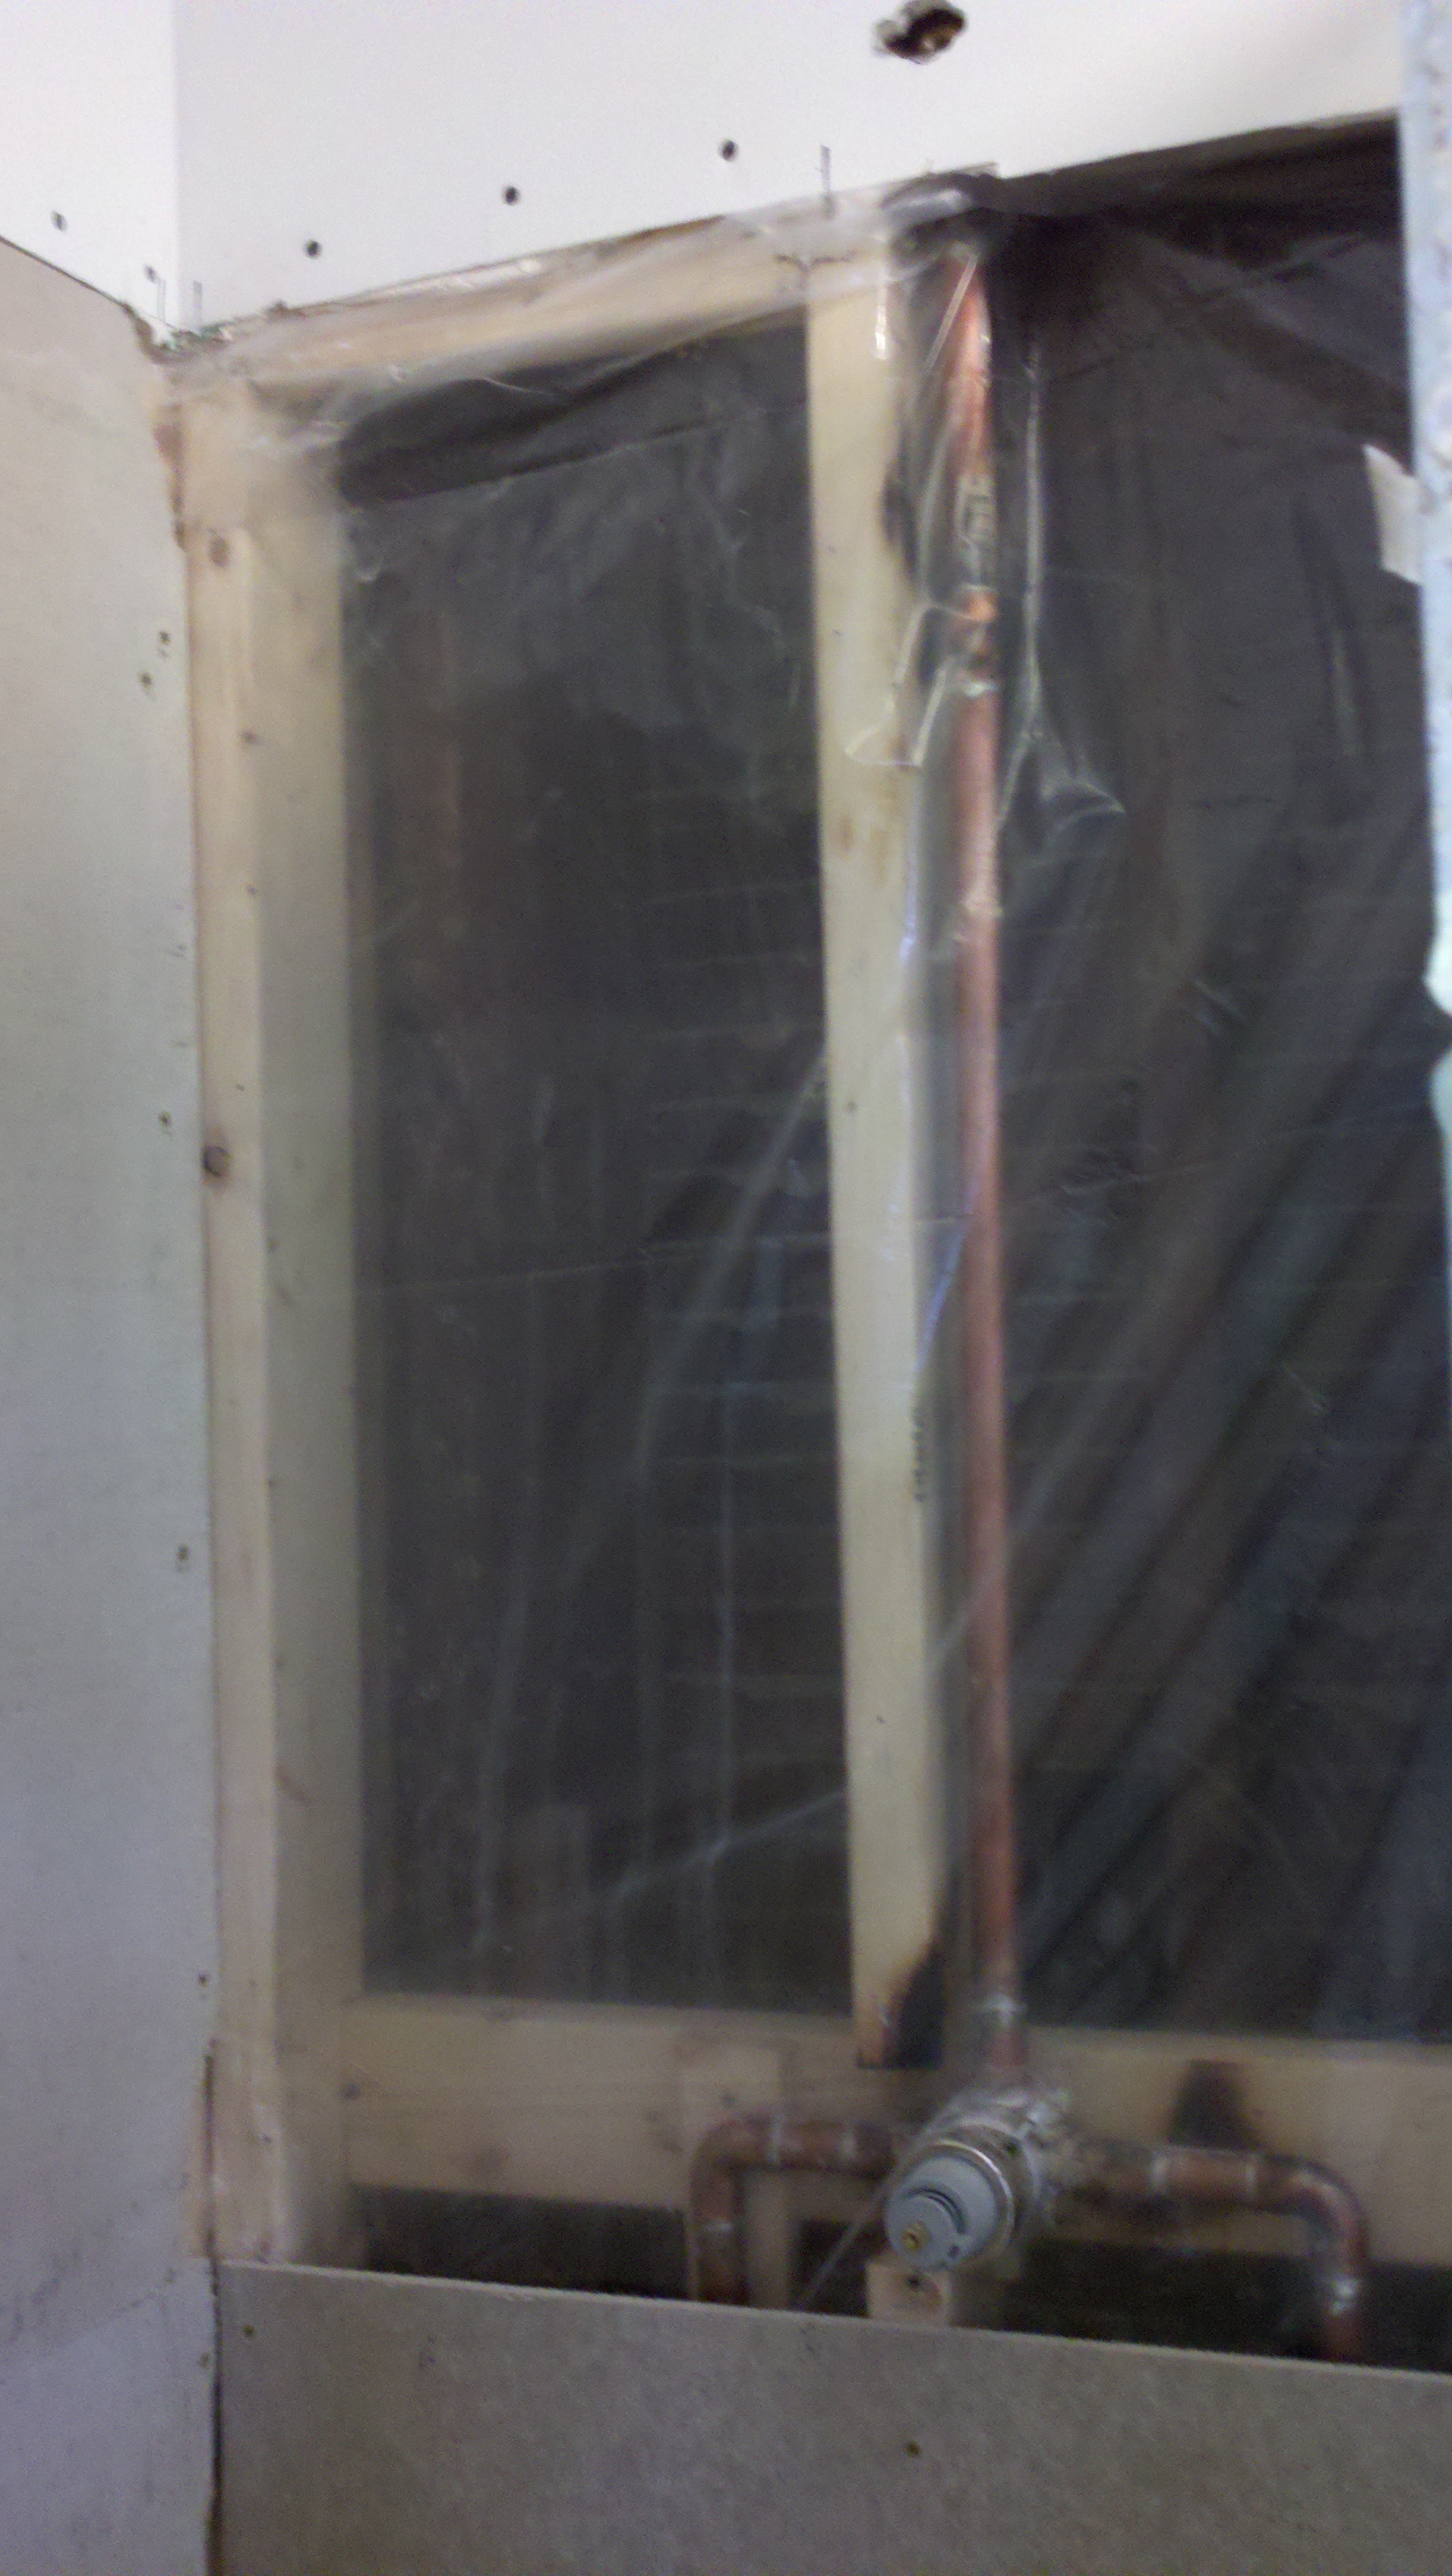
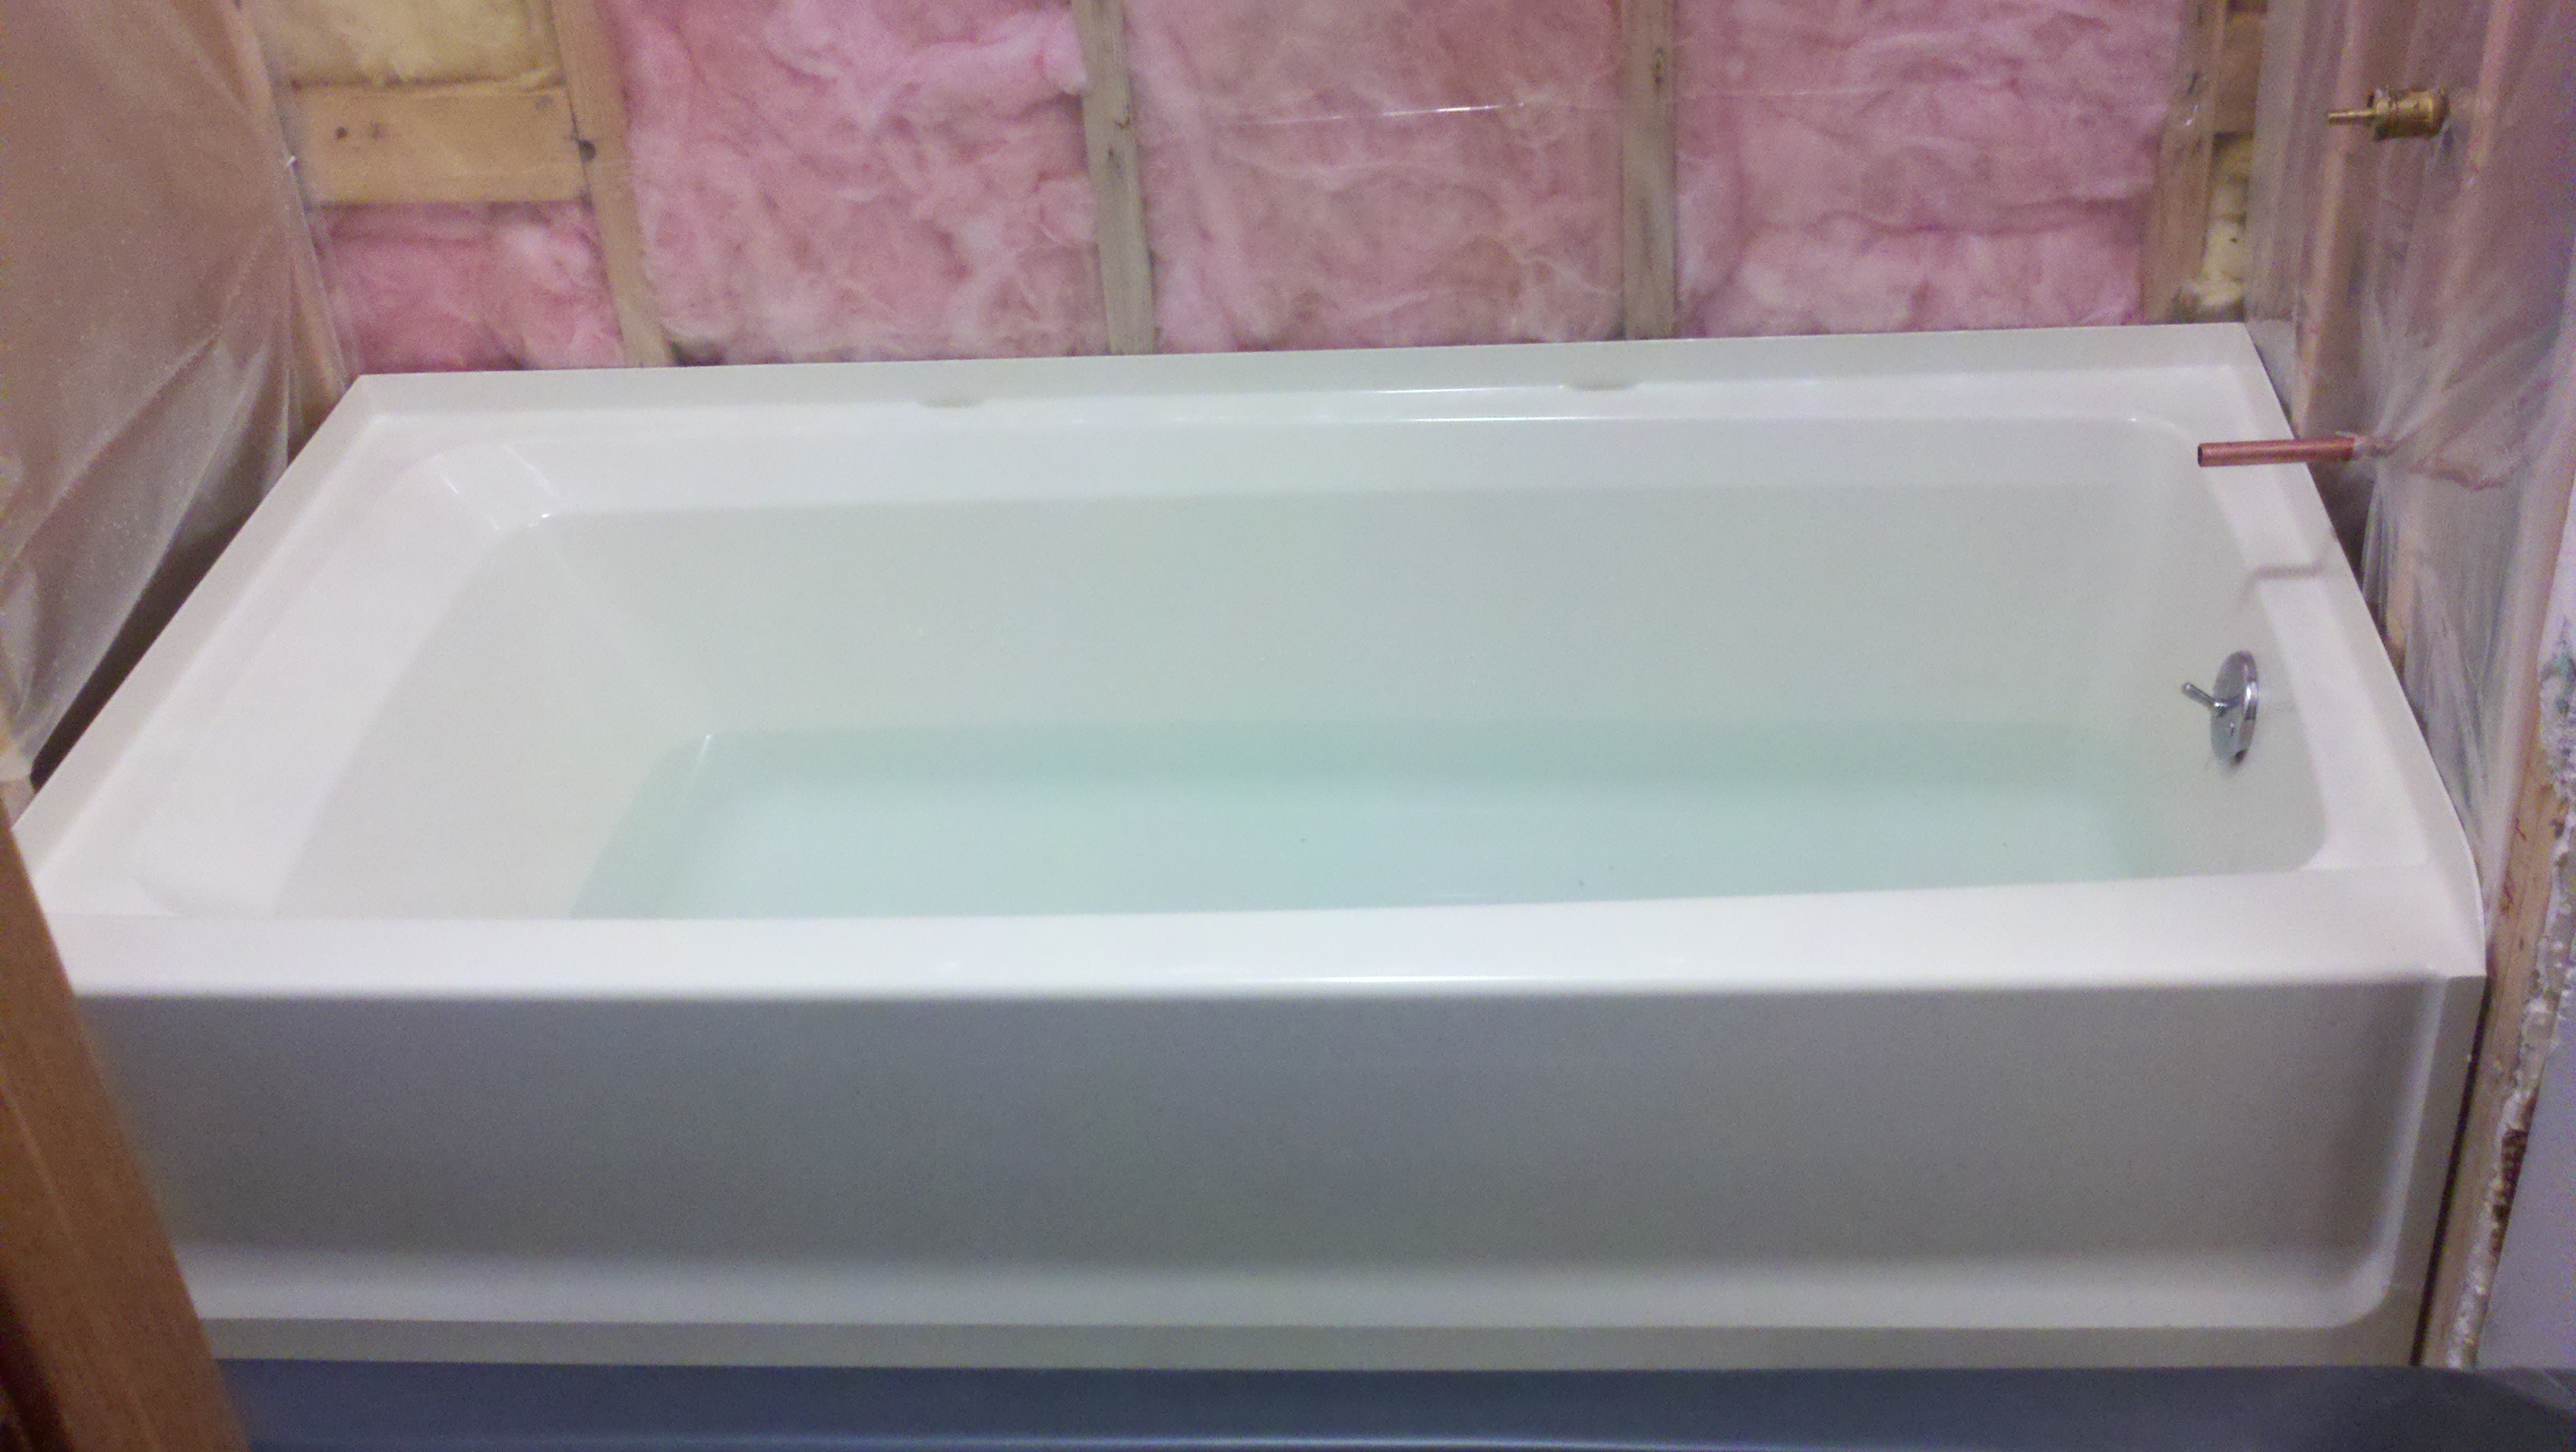
After the floor was clear of all types of restrictive debris, ¼” fiberock was chosen to strengthen the wood floor and provide an insulating barrier for the heat coils. The fiberock laying process provided some additional insight into the possible additional locations which could provide additional pleasure and use for the heat coils. The Thermosoft heat coil configuration provided versatile possibilities for installation. The coils had innovative engineering and design to allow for disassembles into a single flexible heat wire. The single wire could be route around small ledges and steps. The decision was made to install the coil around the power tub. Following the installation of the fiberock and Thermosoft coil routing, the programmable thermostat needed to be installed. The thermostat was chosen to be installed next to the power tub timer control. The thermostat required the installation of a thermometer to regulate the temperature of the coils. An additional thermometer was installed next to the original for backup tactics on the floor below the thermostat. The 115 VAC power was connected to the tub power location, under the wood surround. The following five pictures provide additional insight to the completed tasks mentioned about the fiberock, Thermosoft, and thermostat.
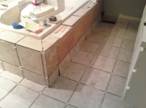
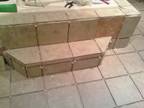
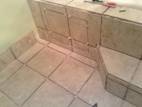
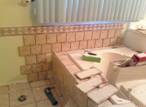
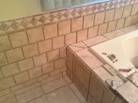
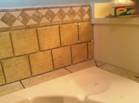
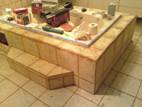
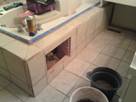
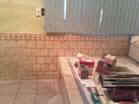
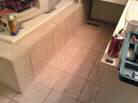
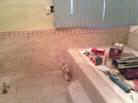
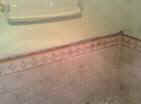
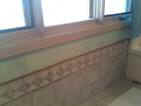
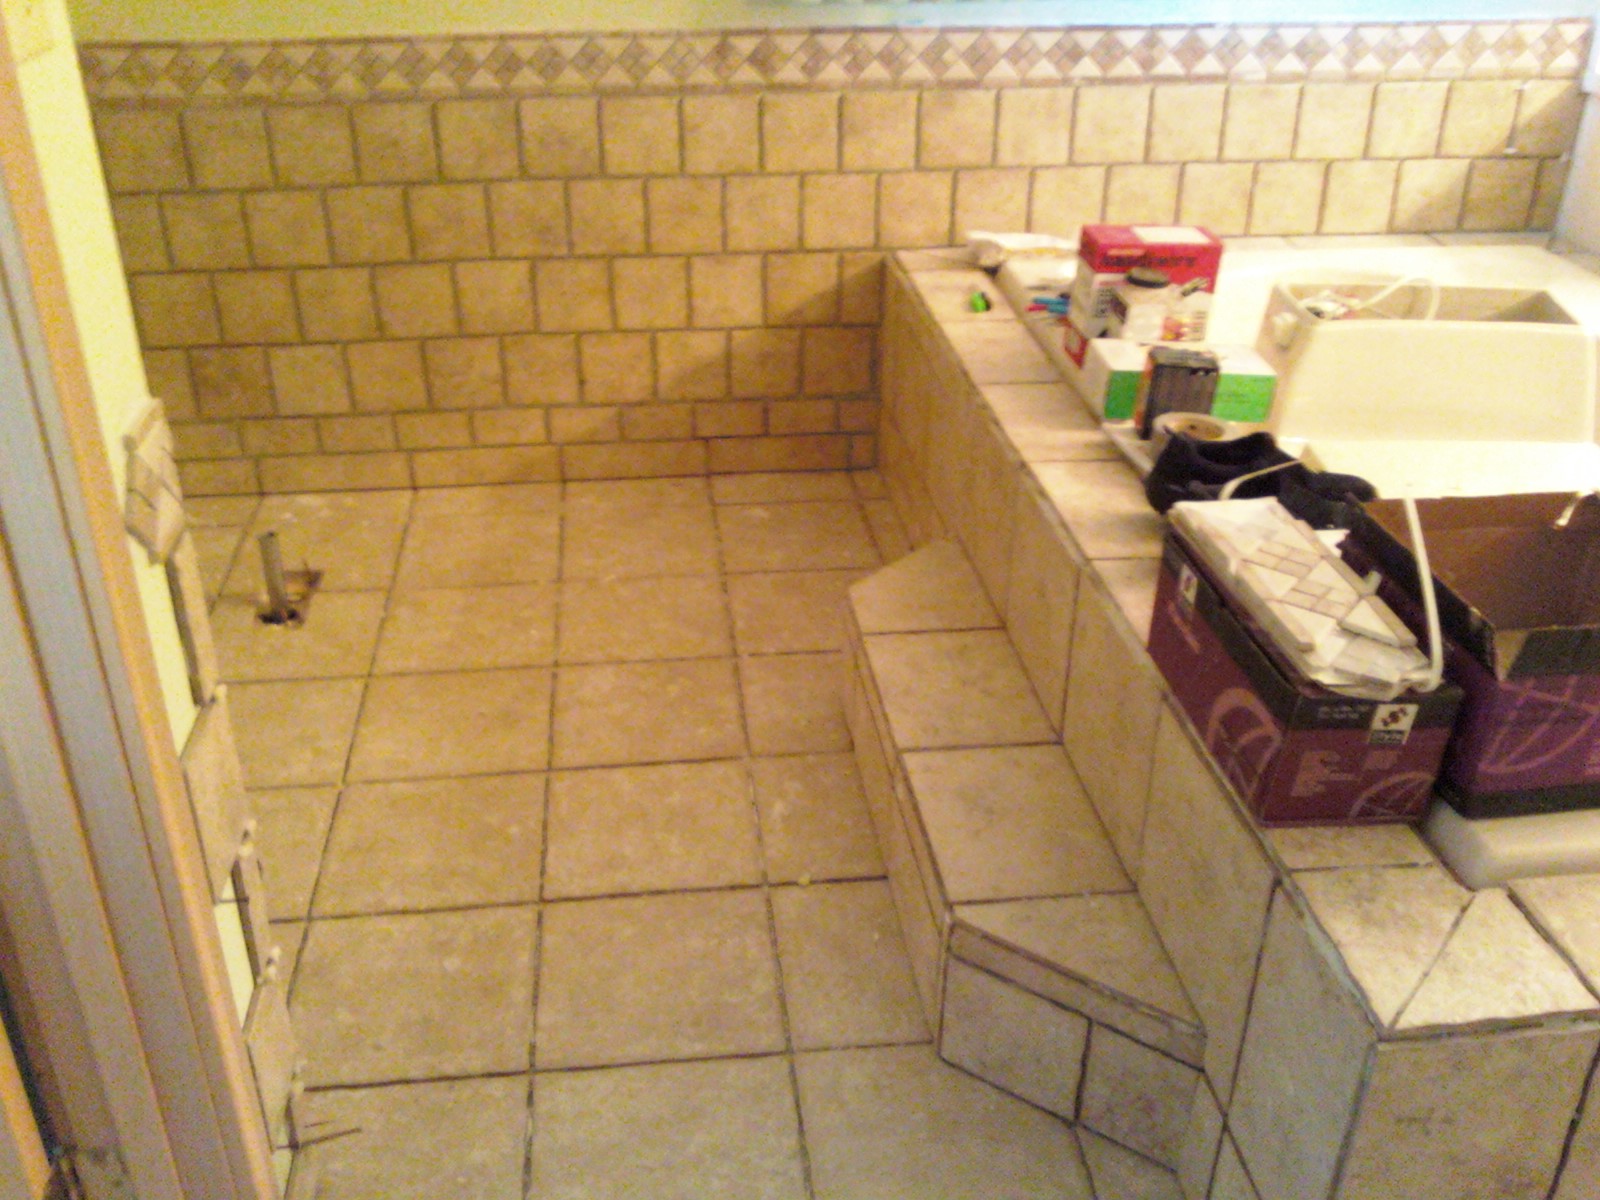
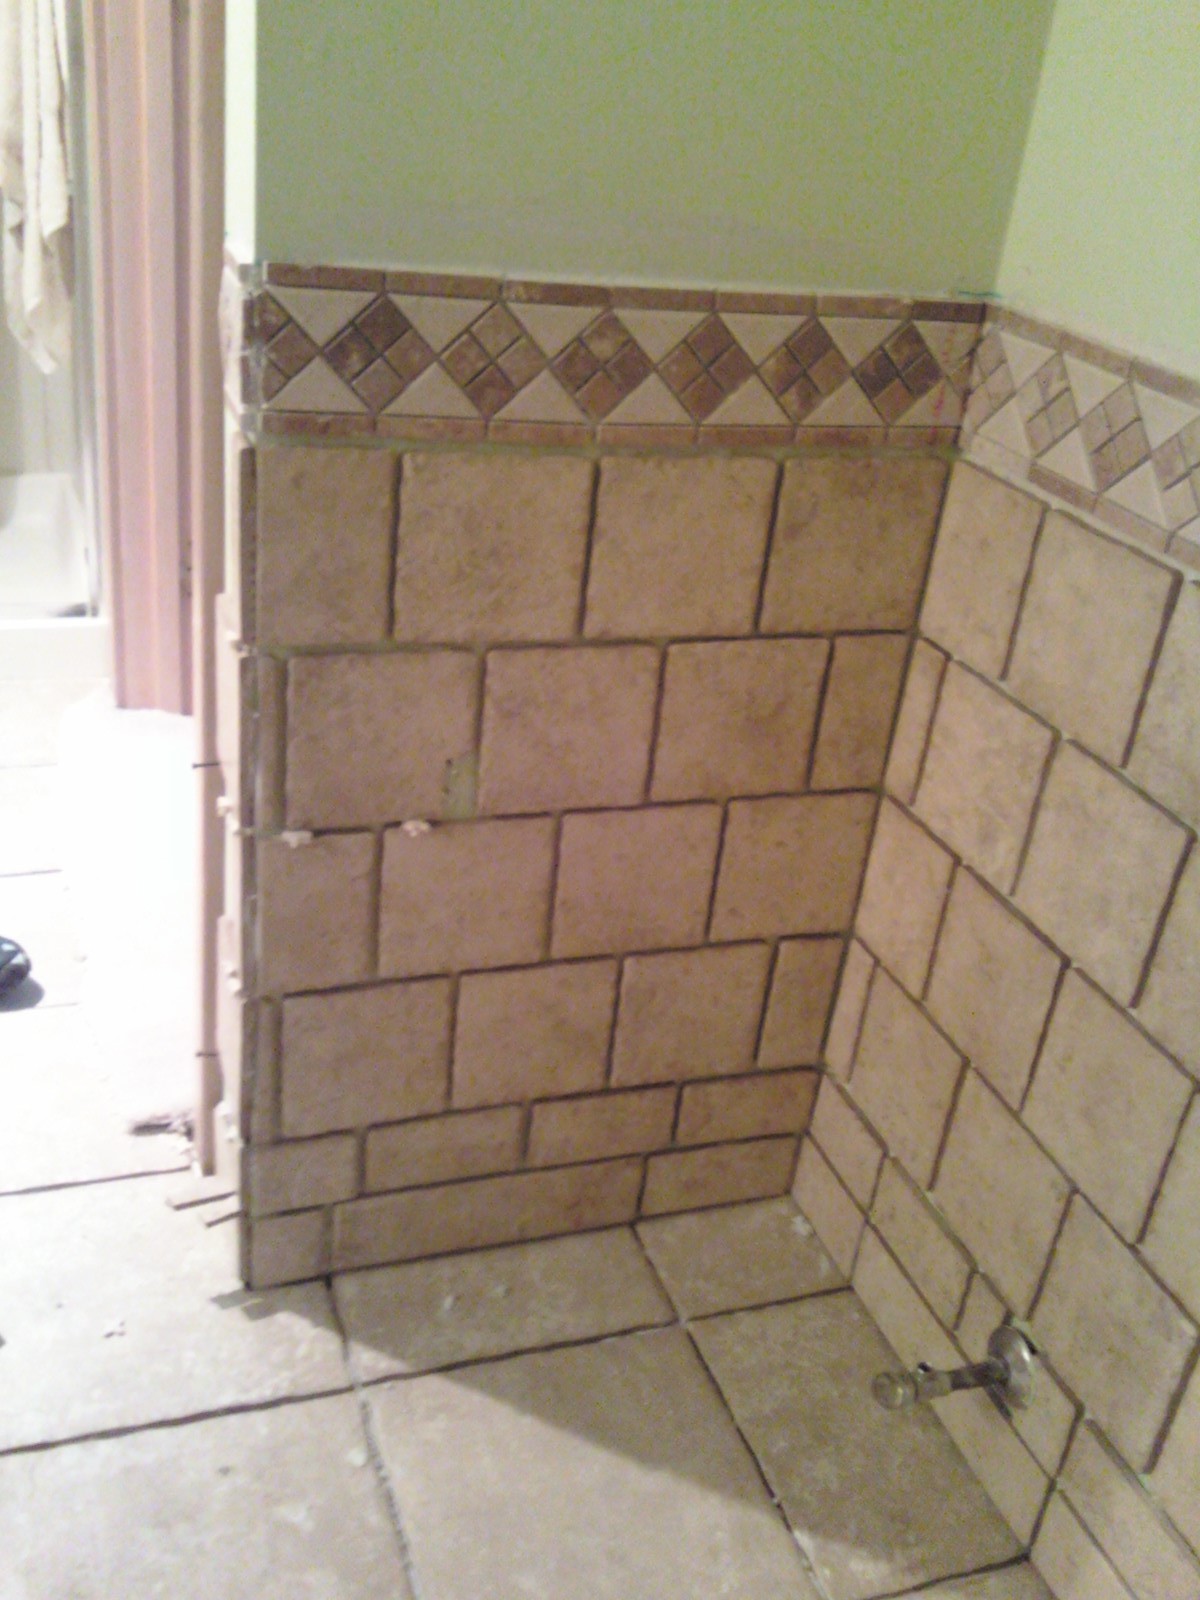
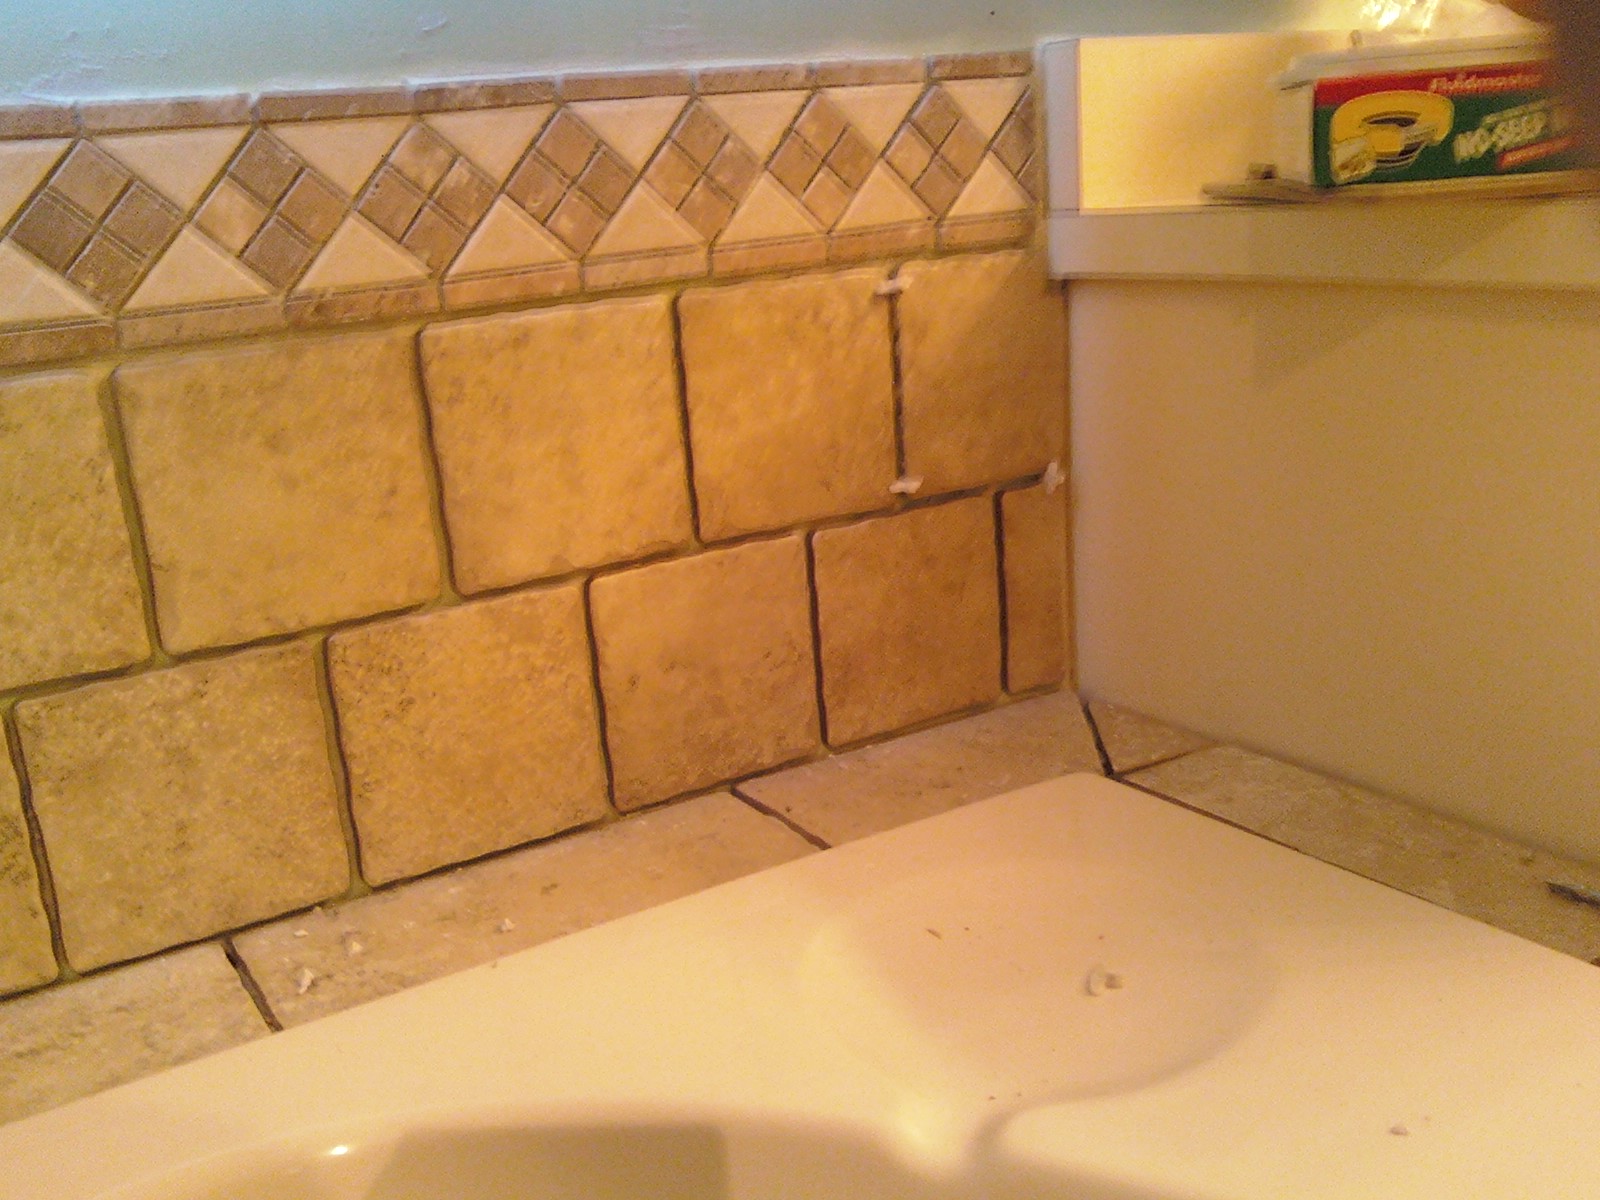
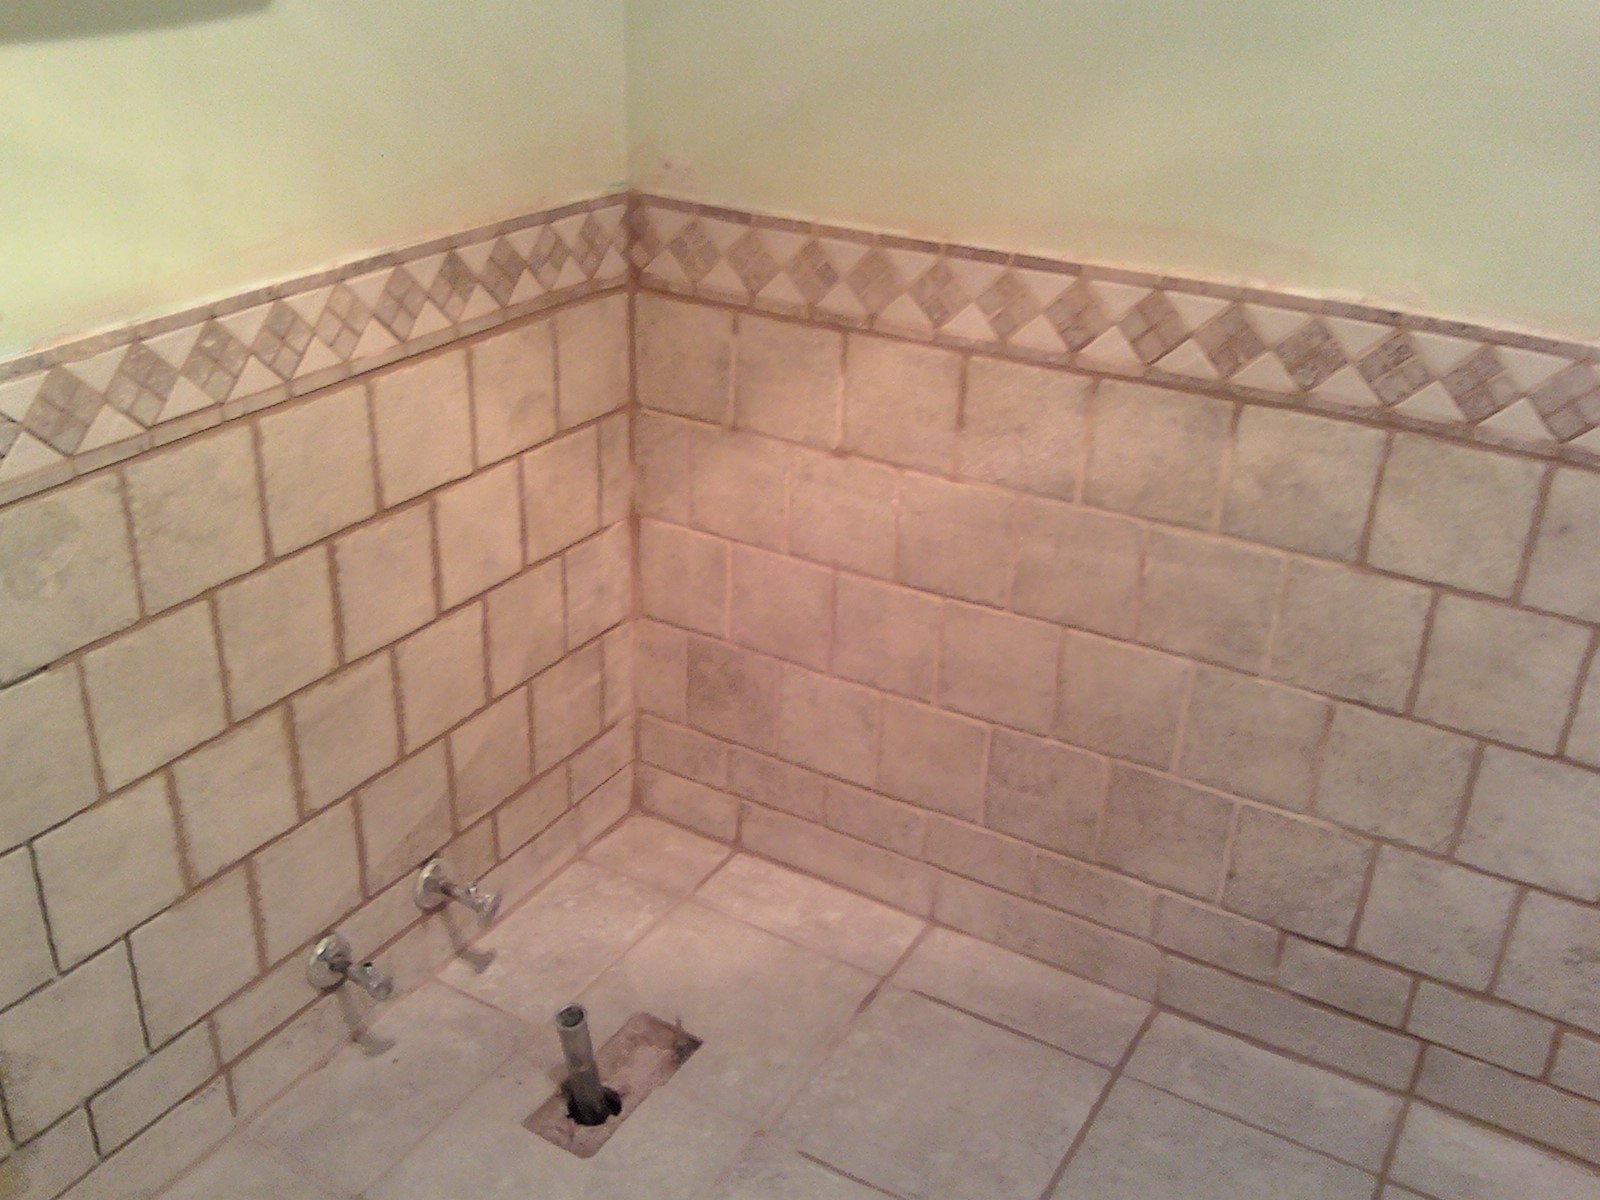
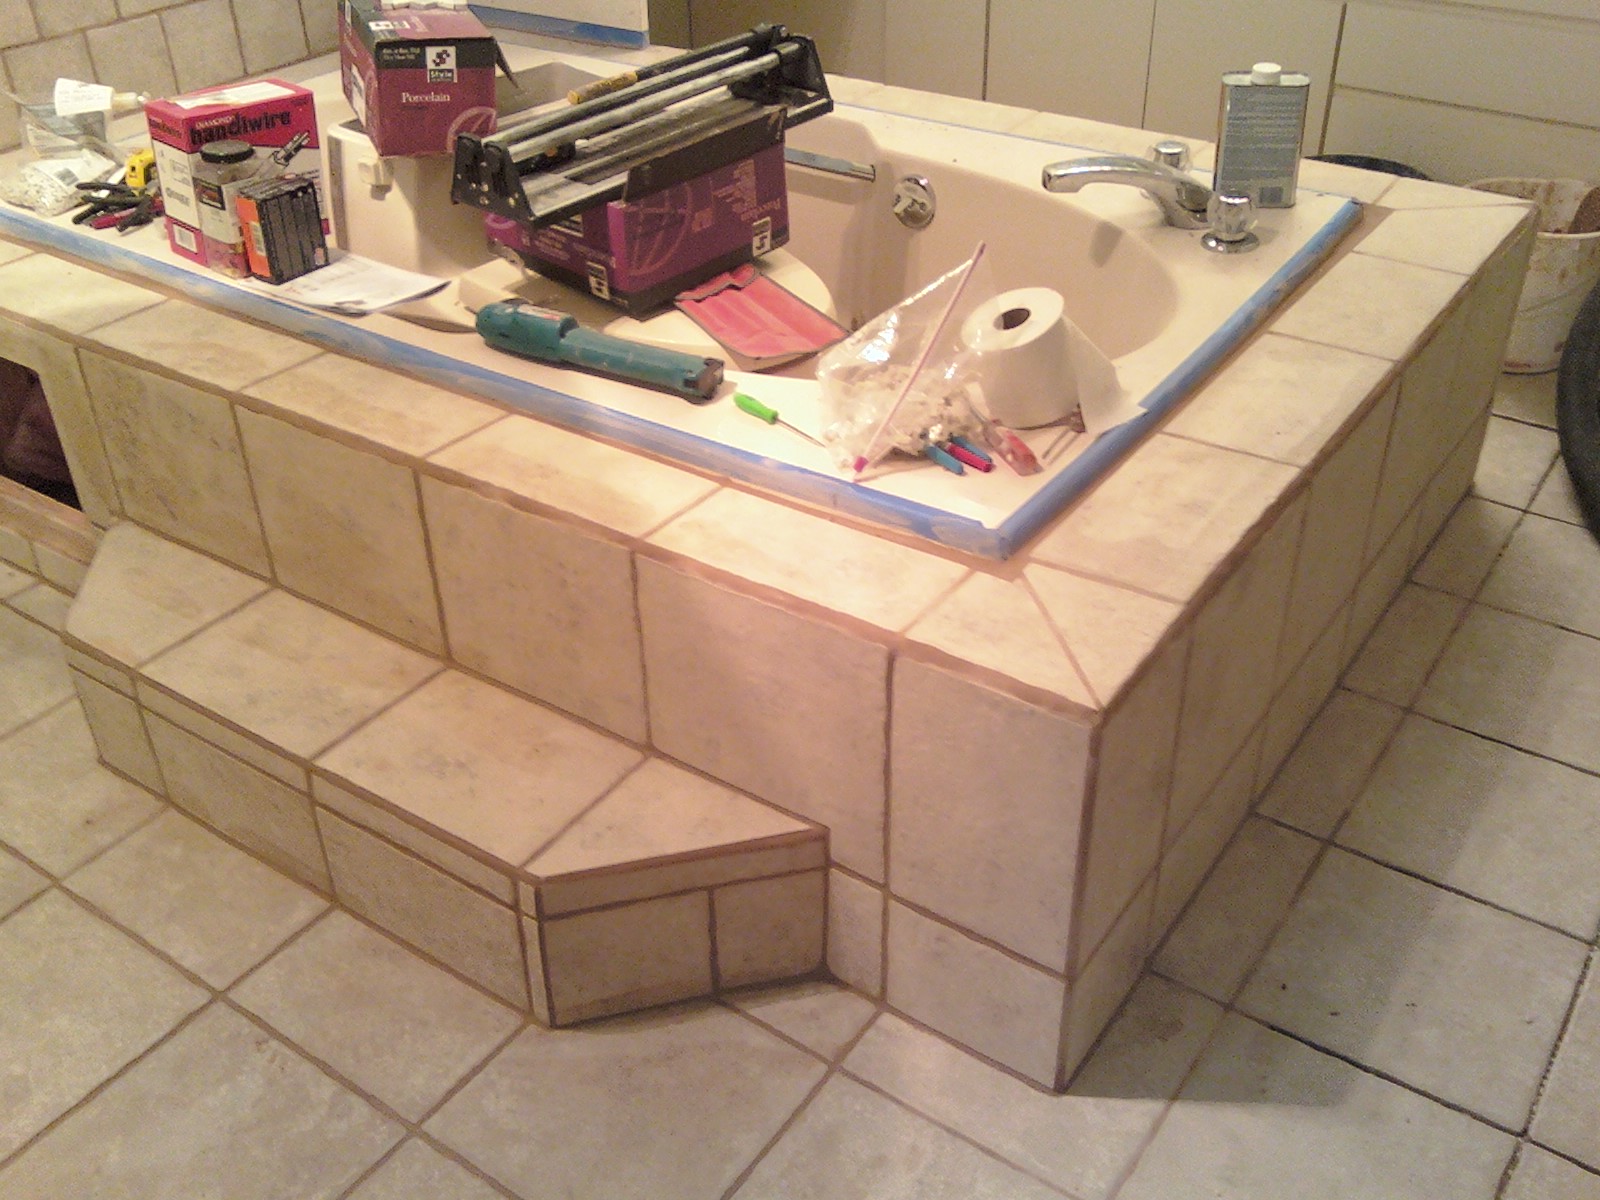
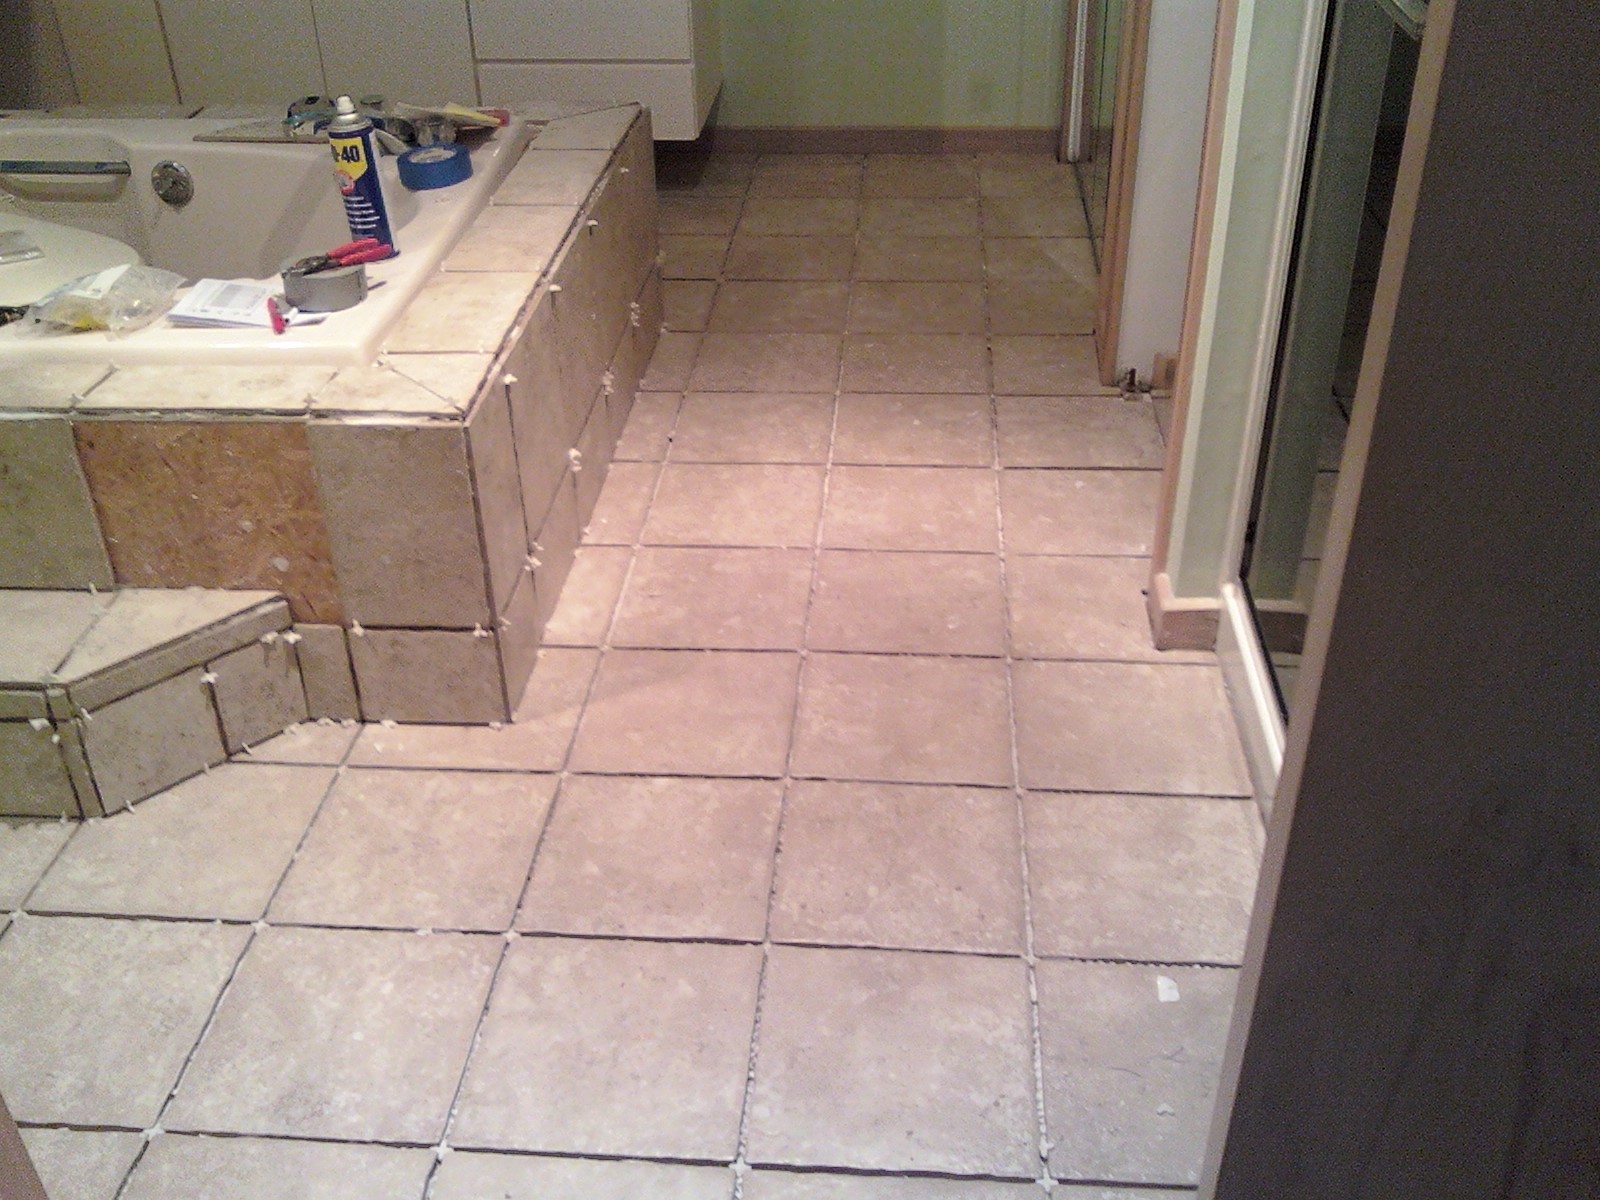
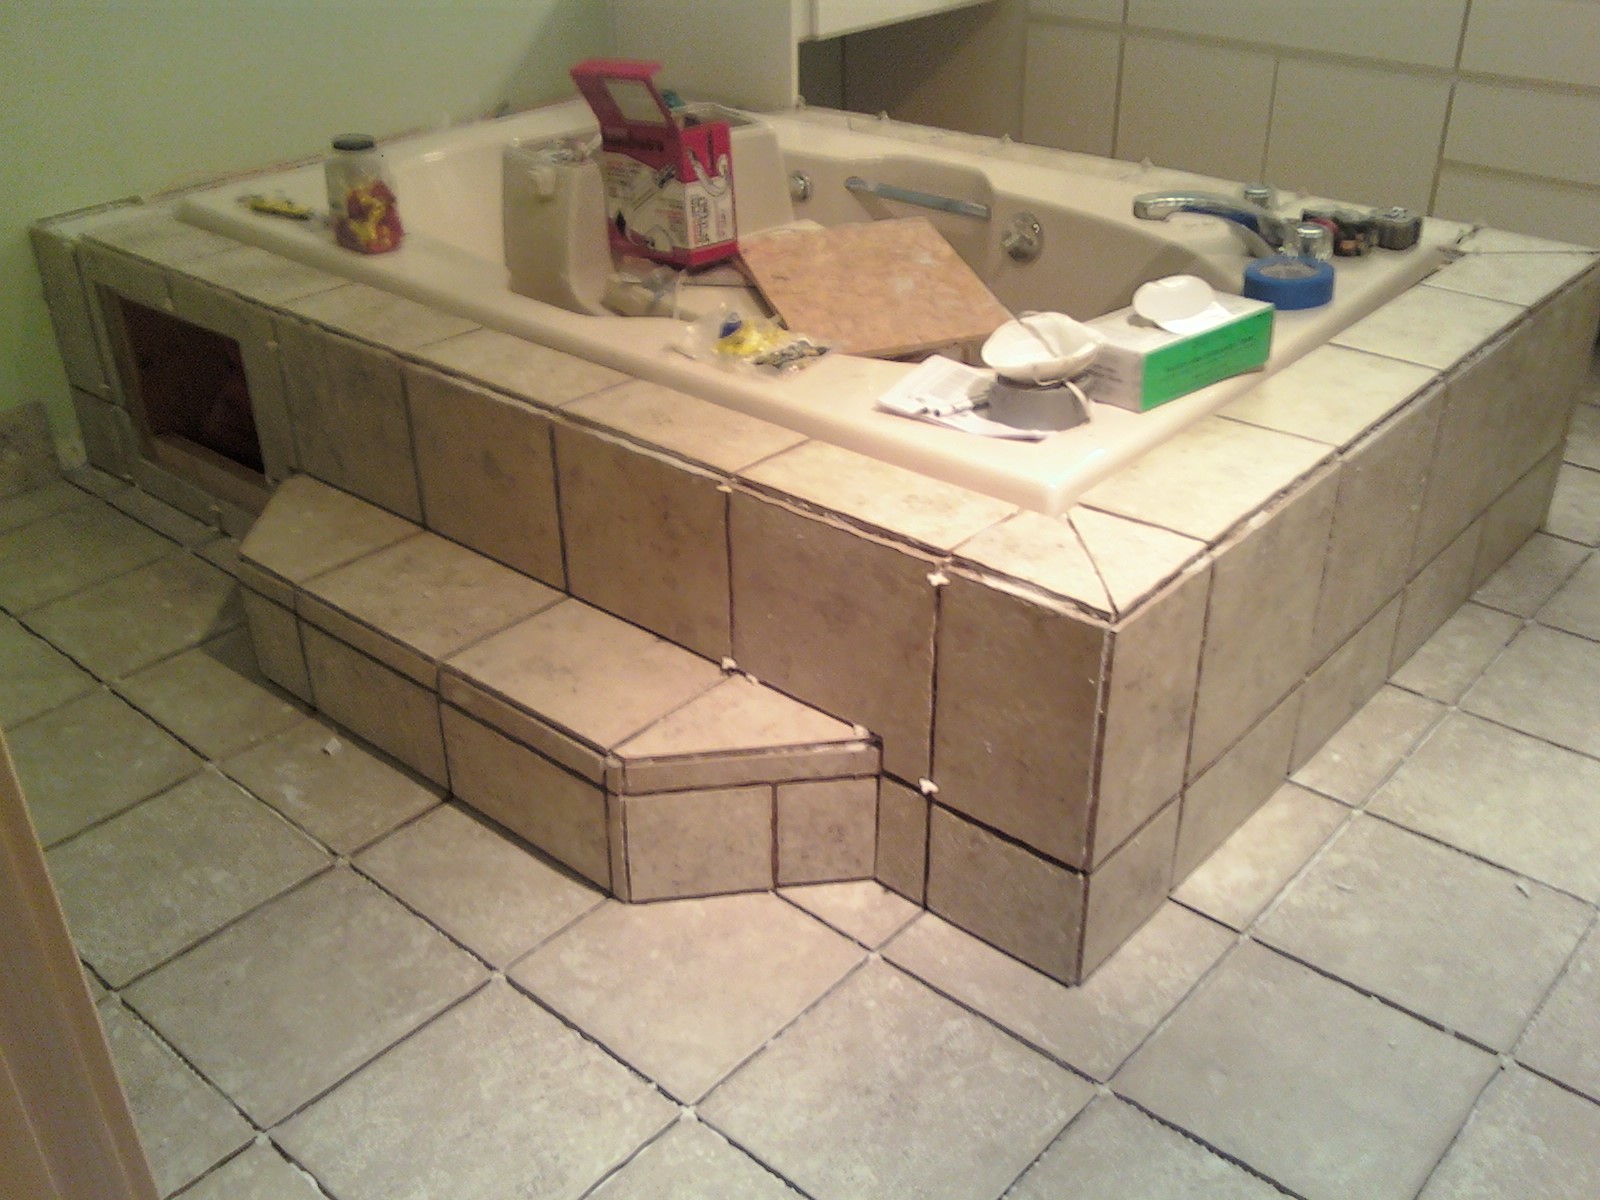
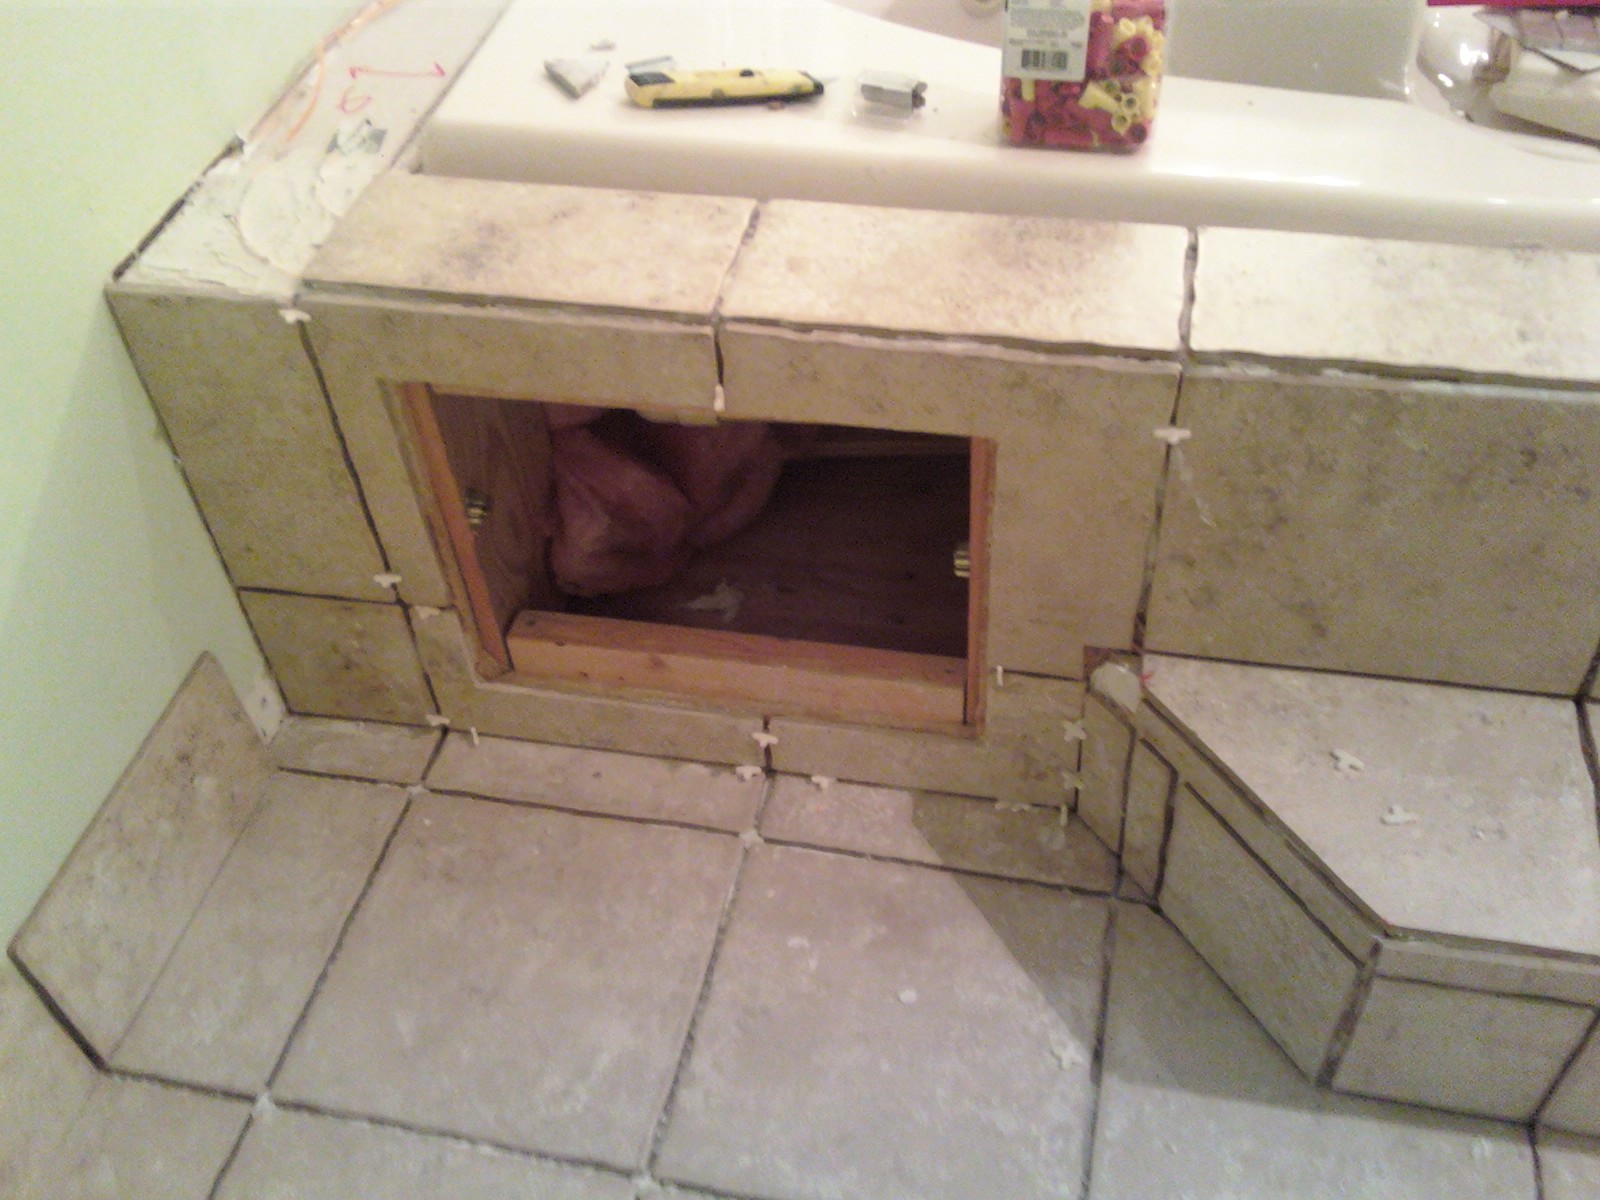
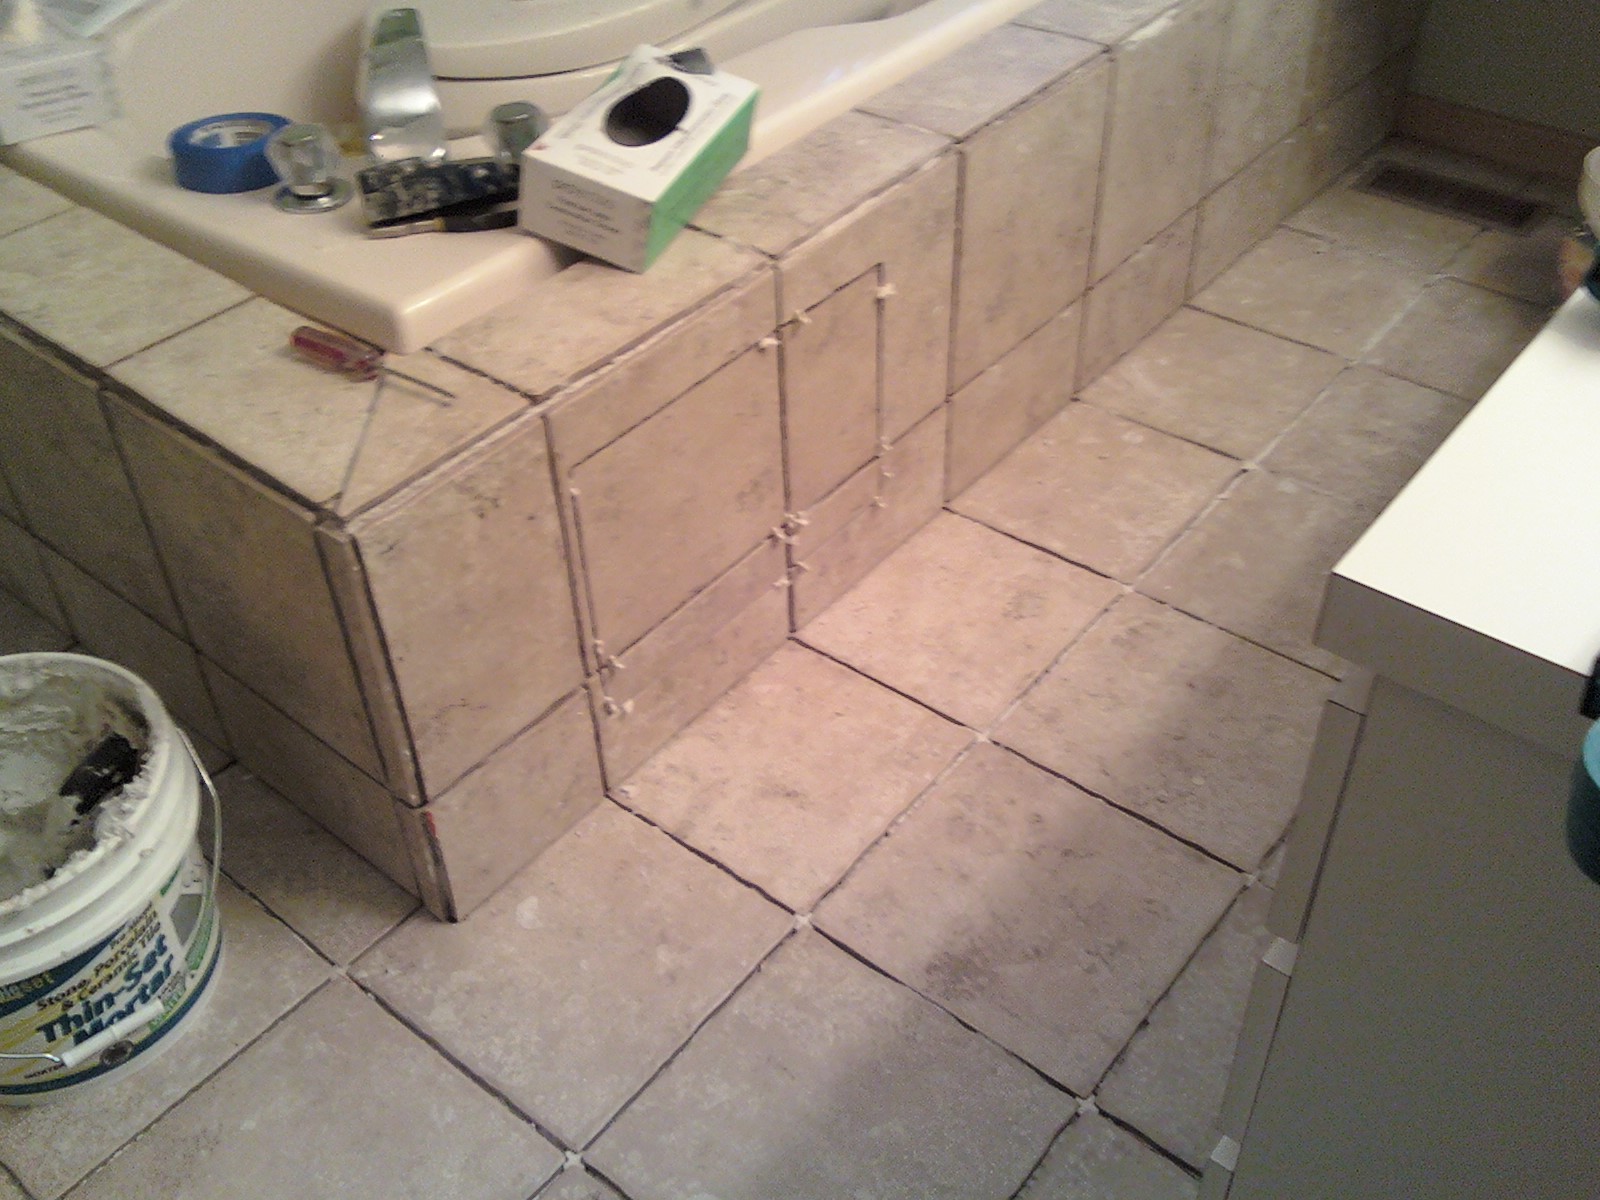
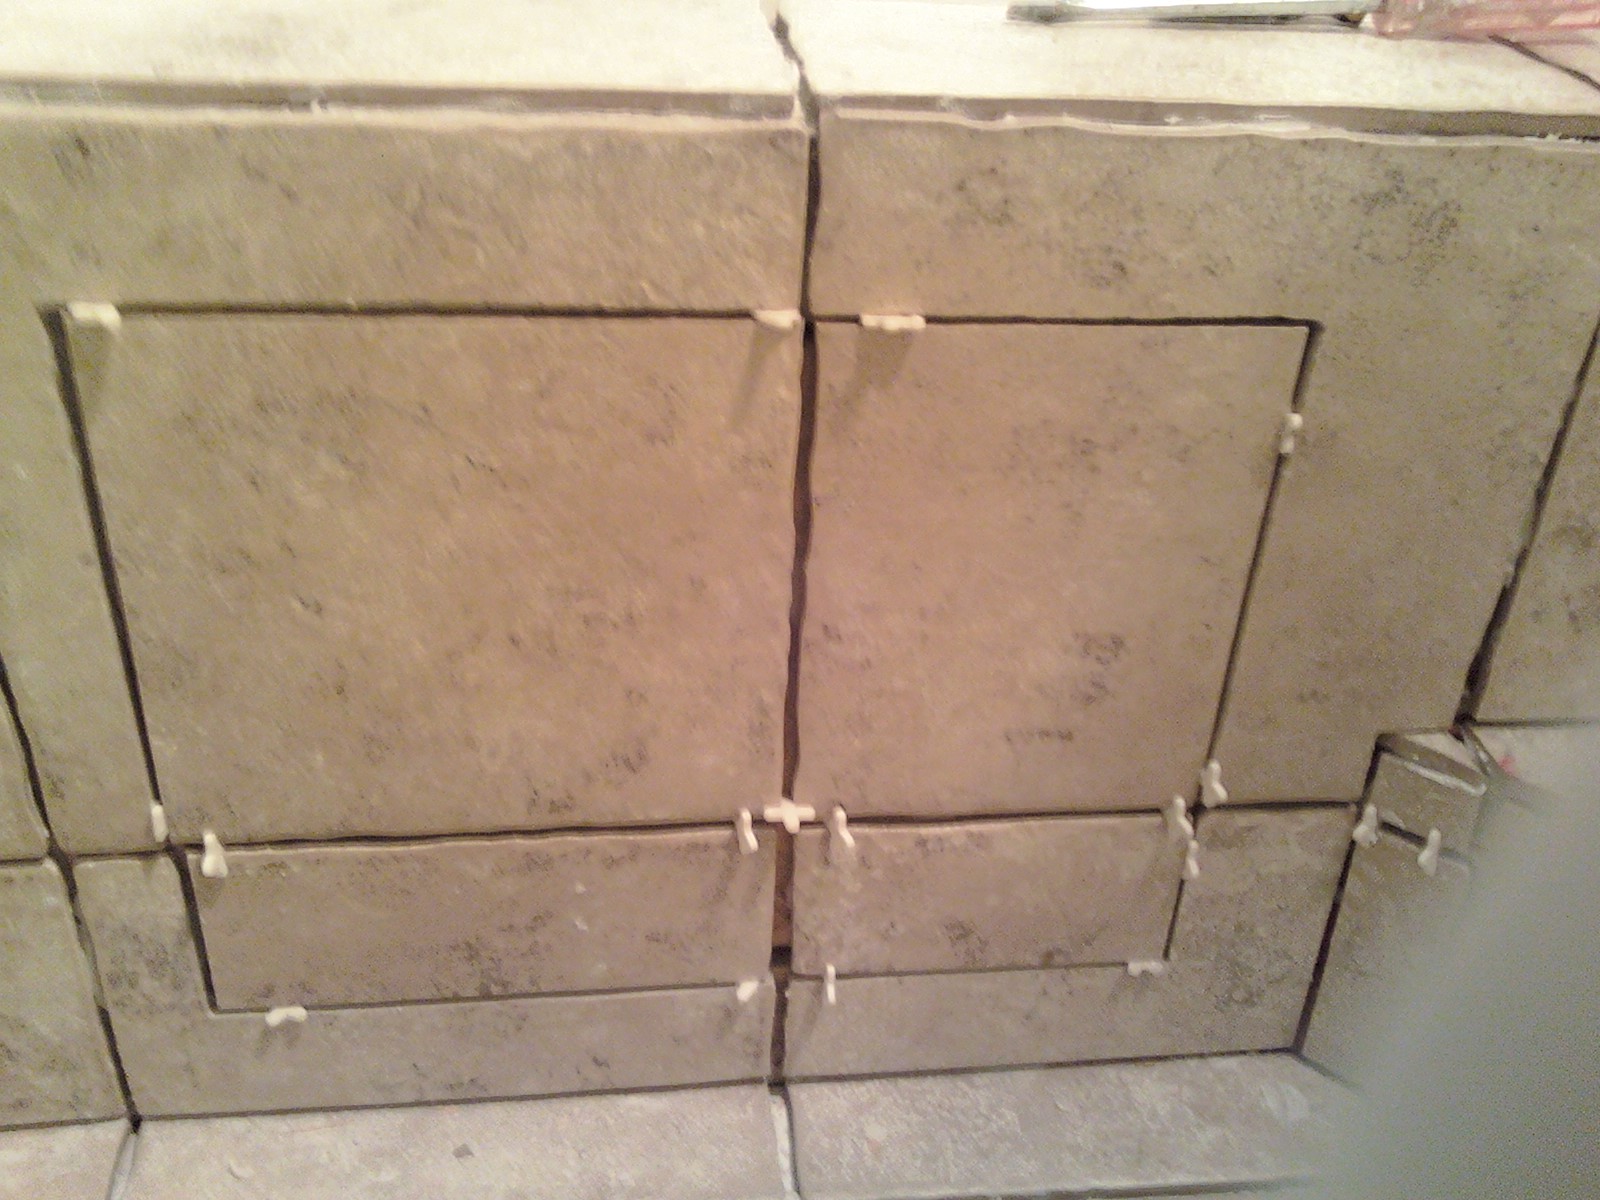
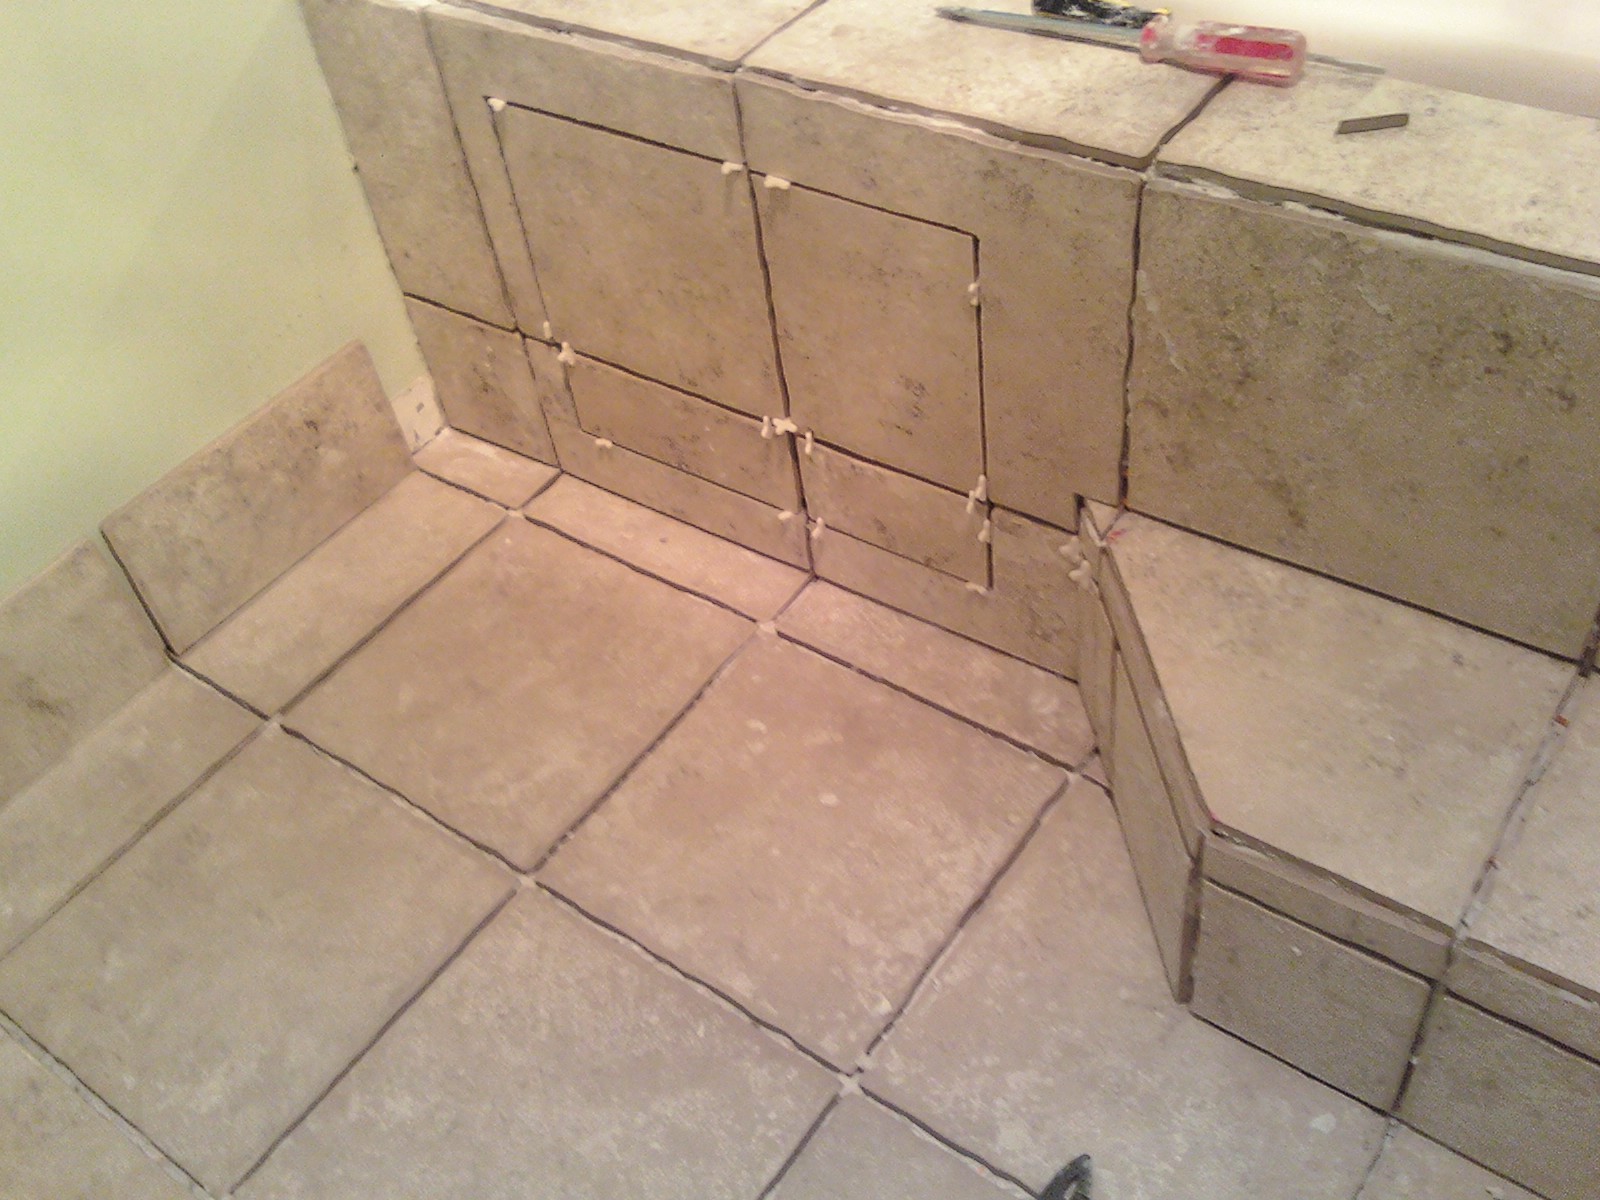
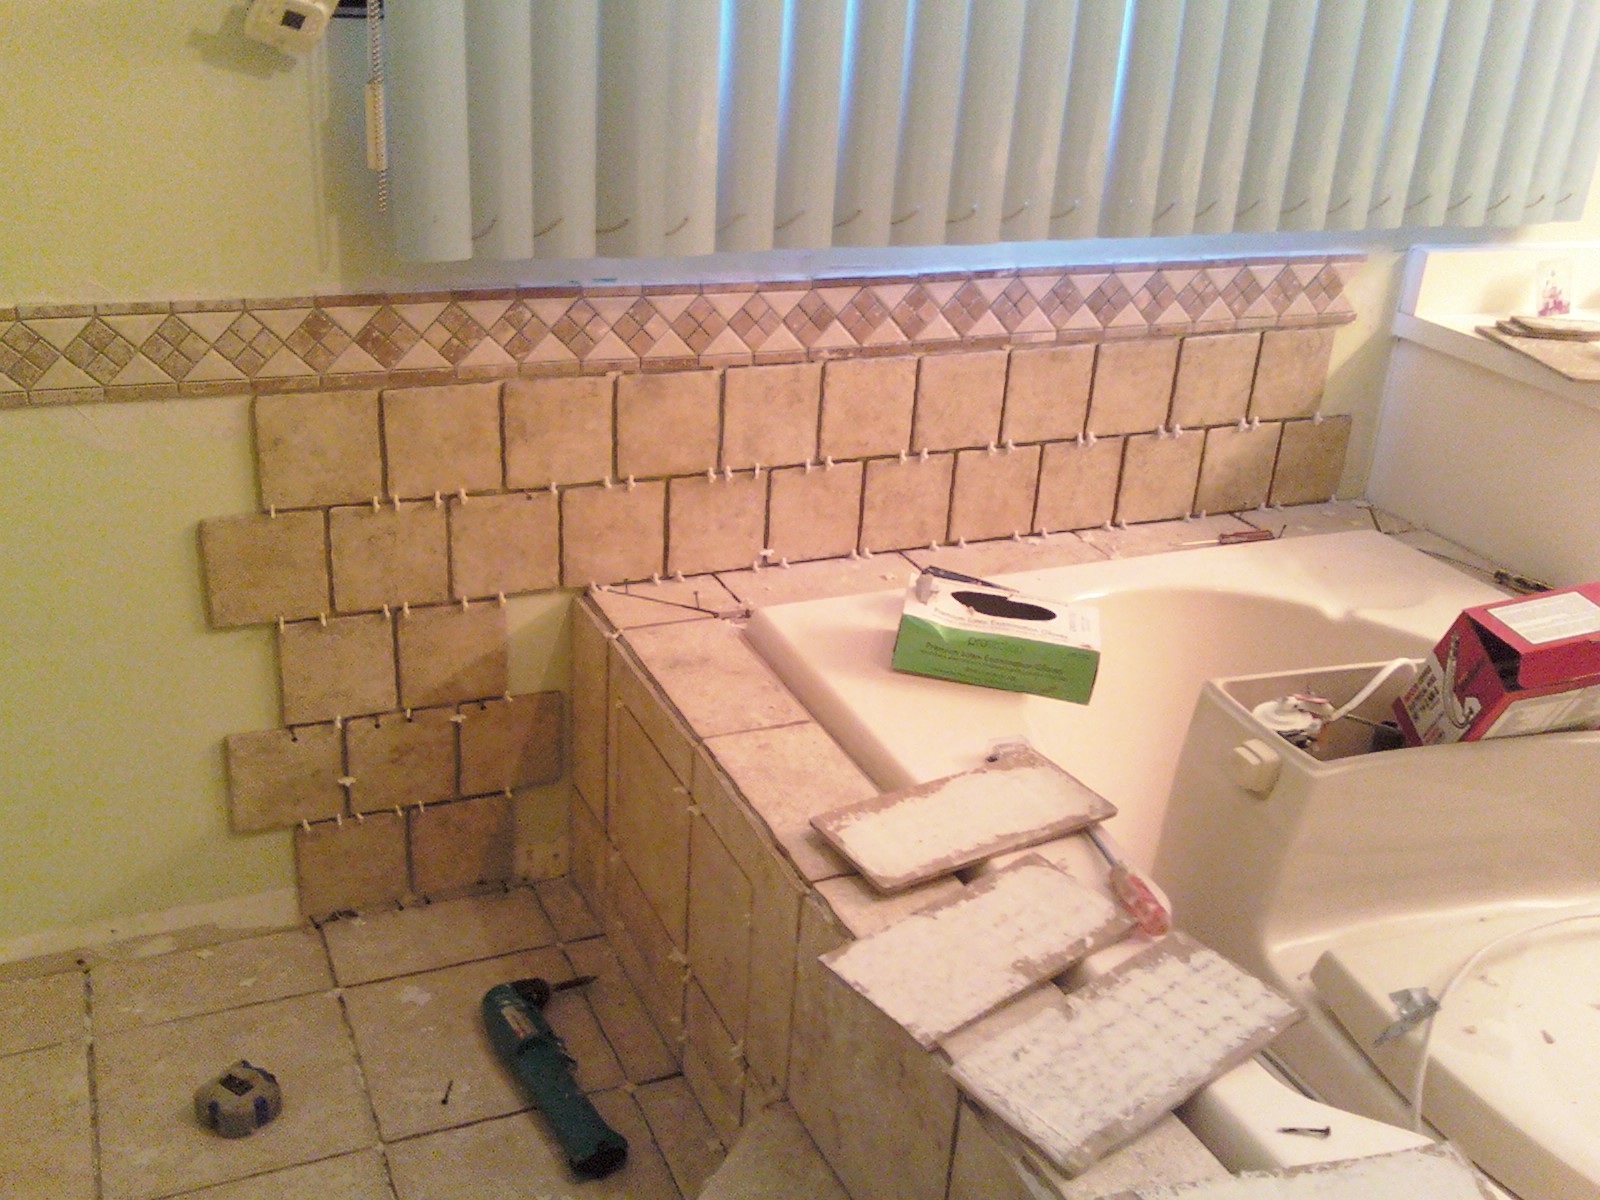
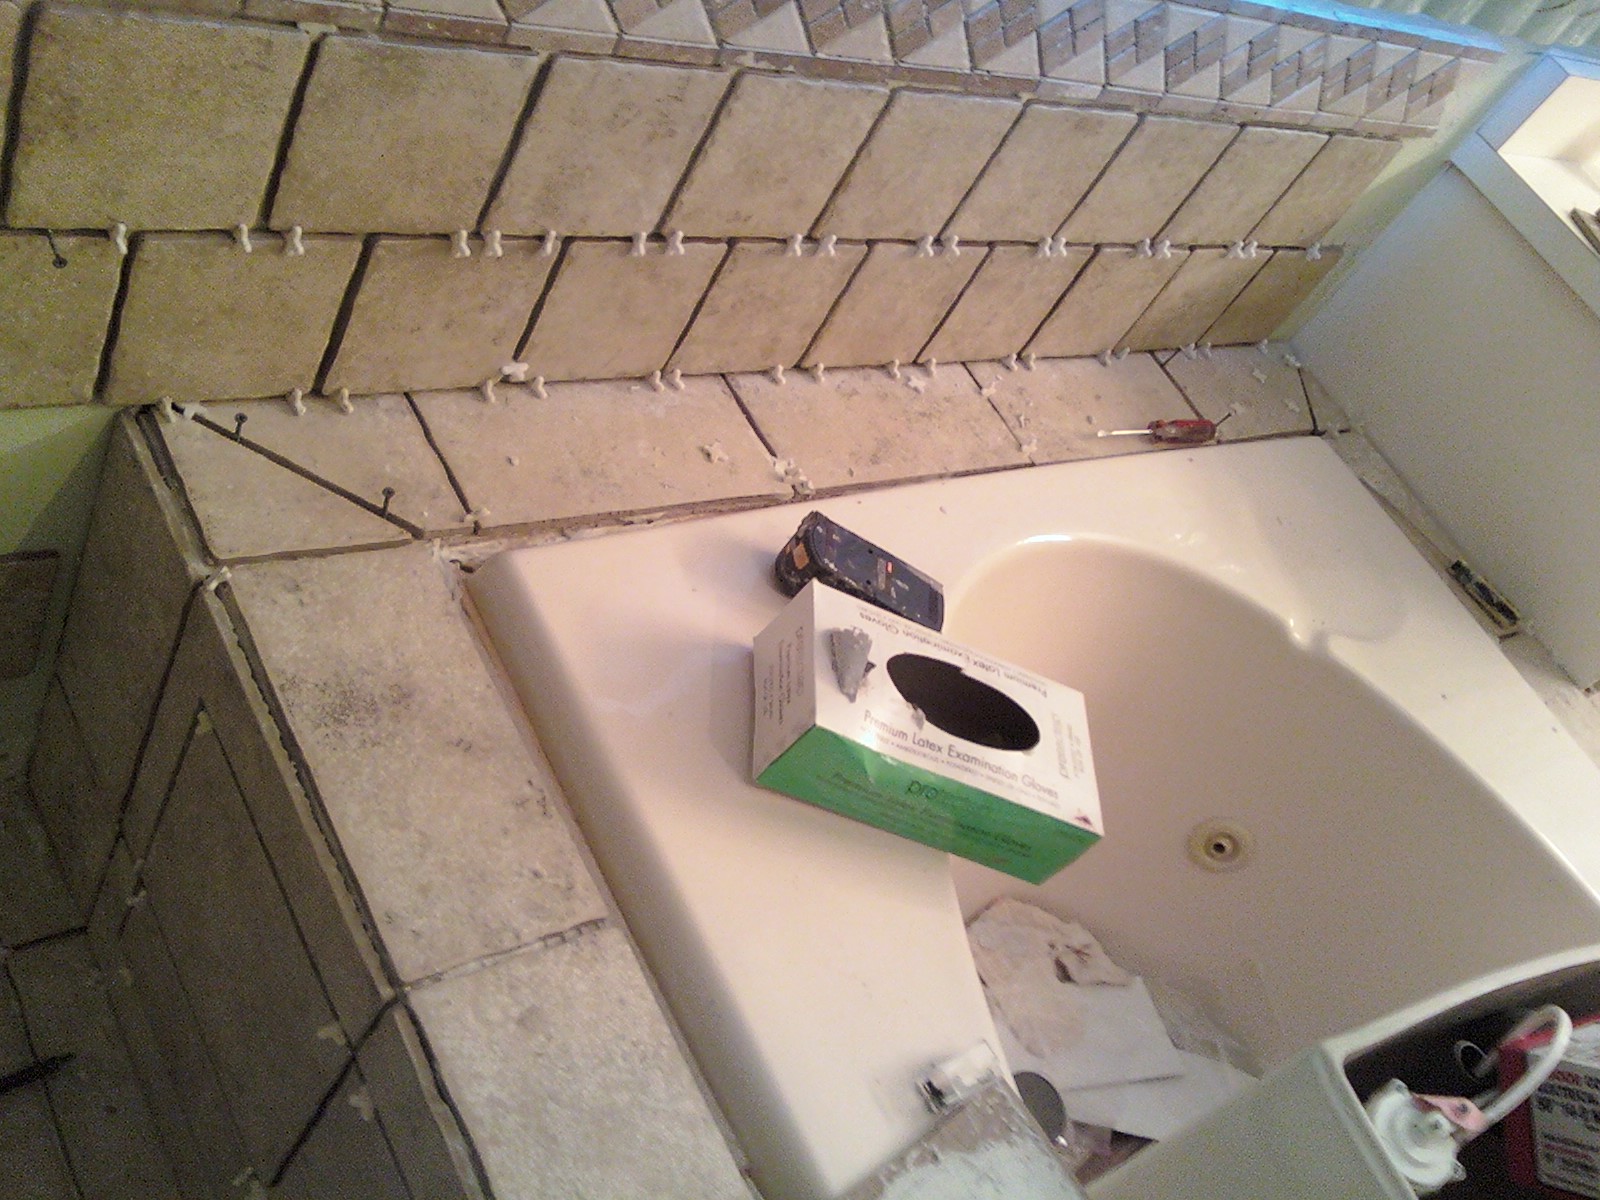
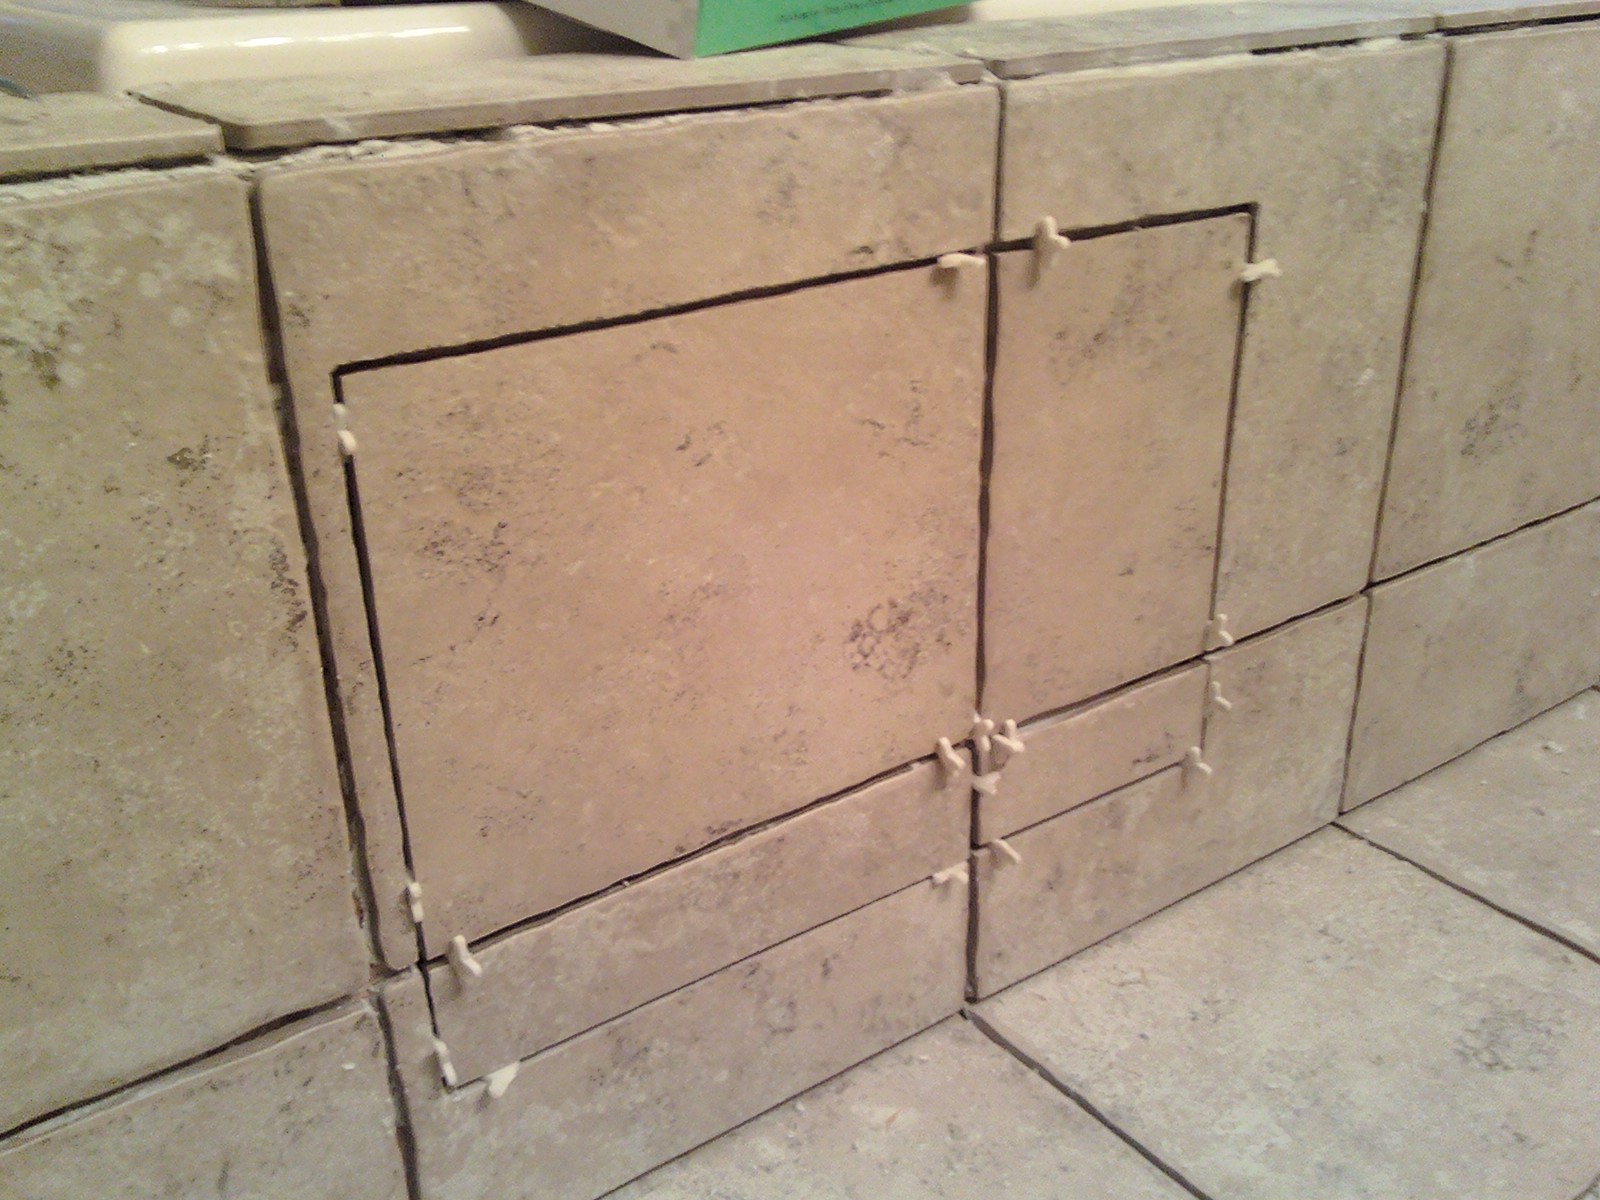
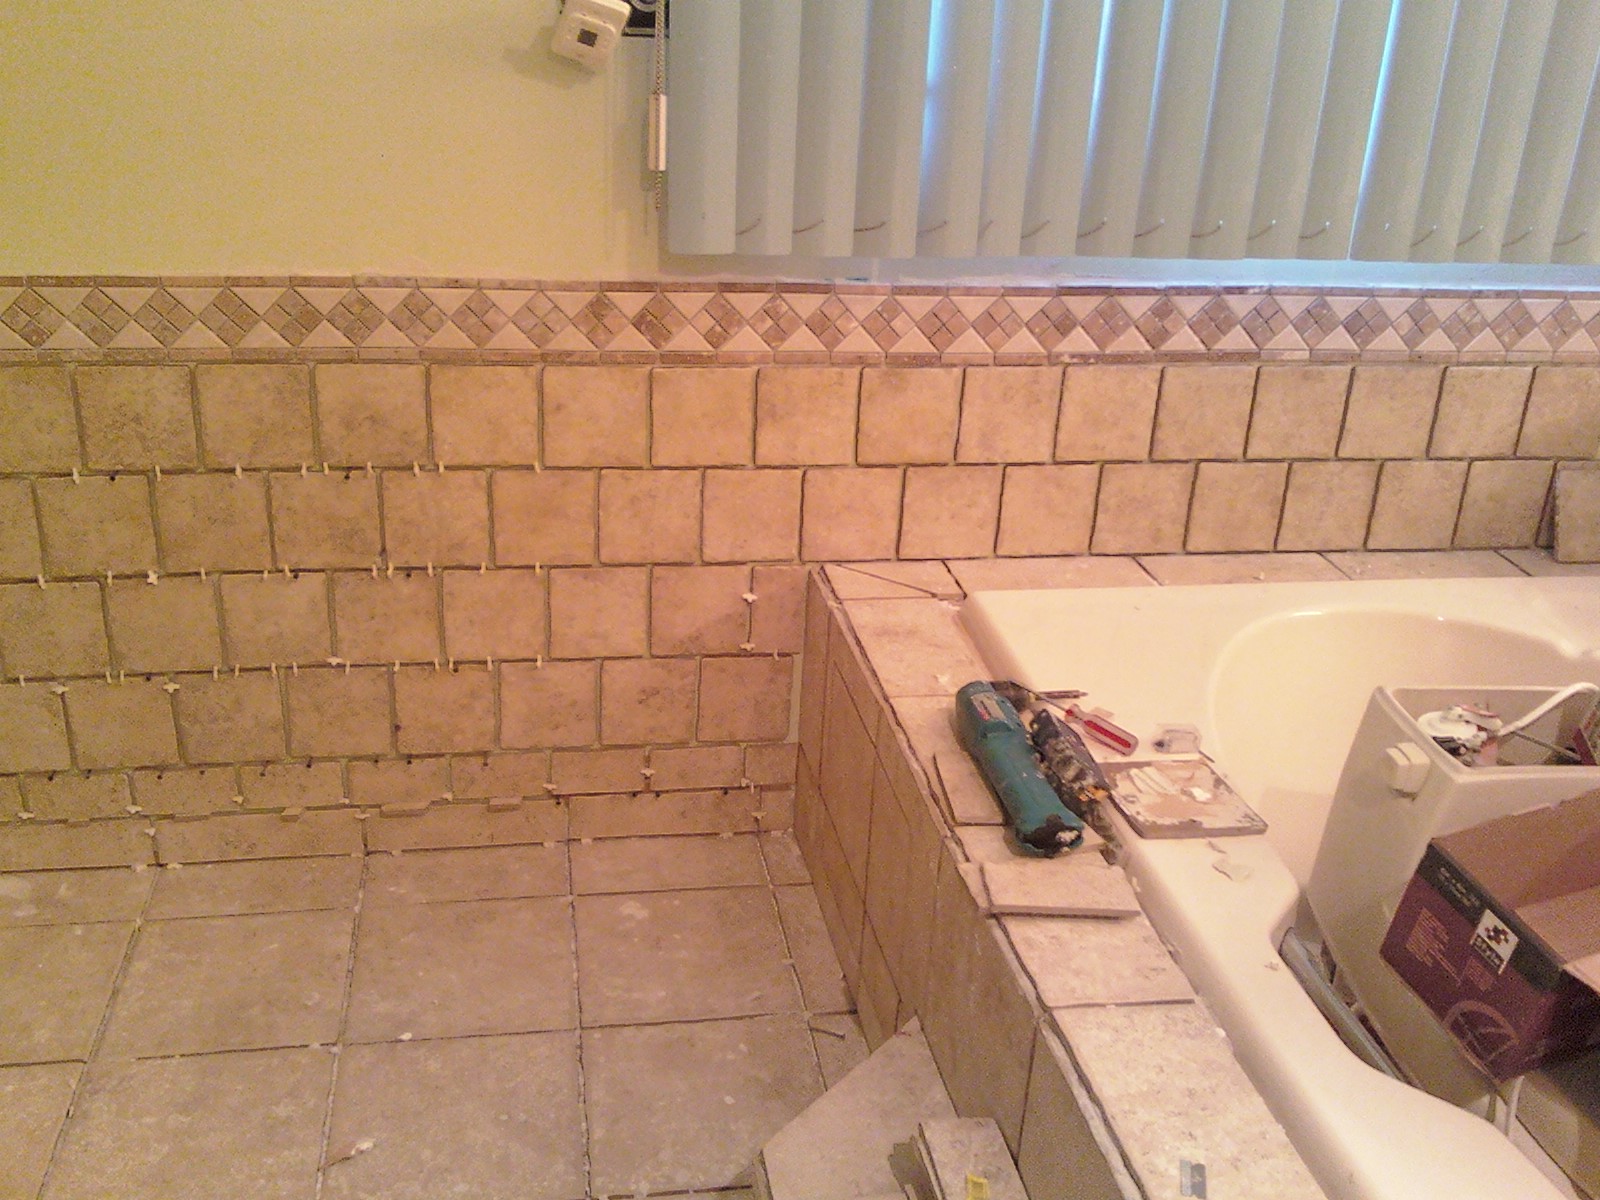
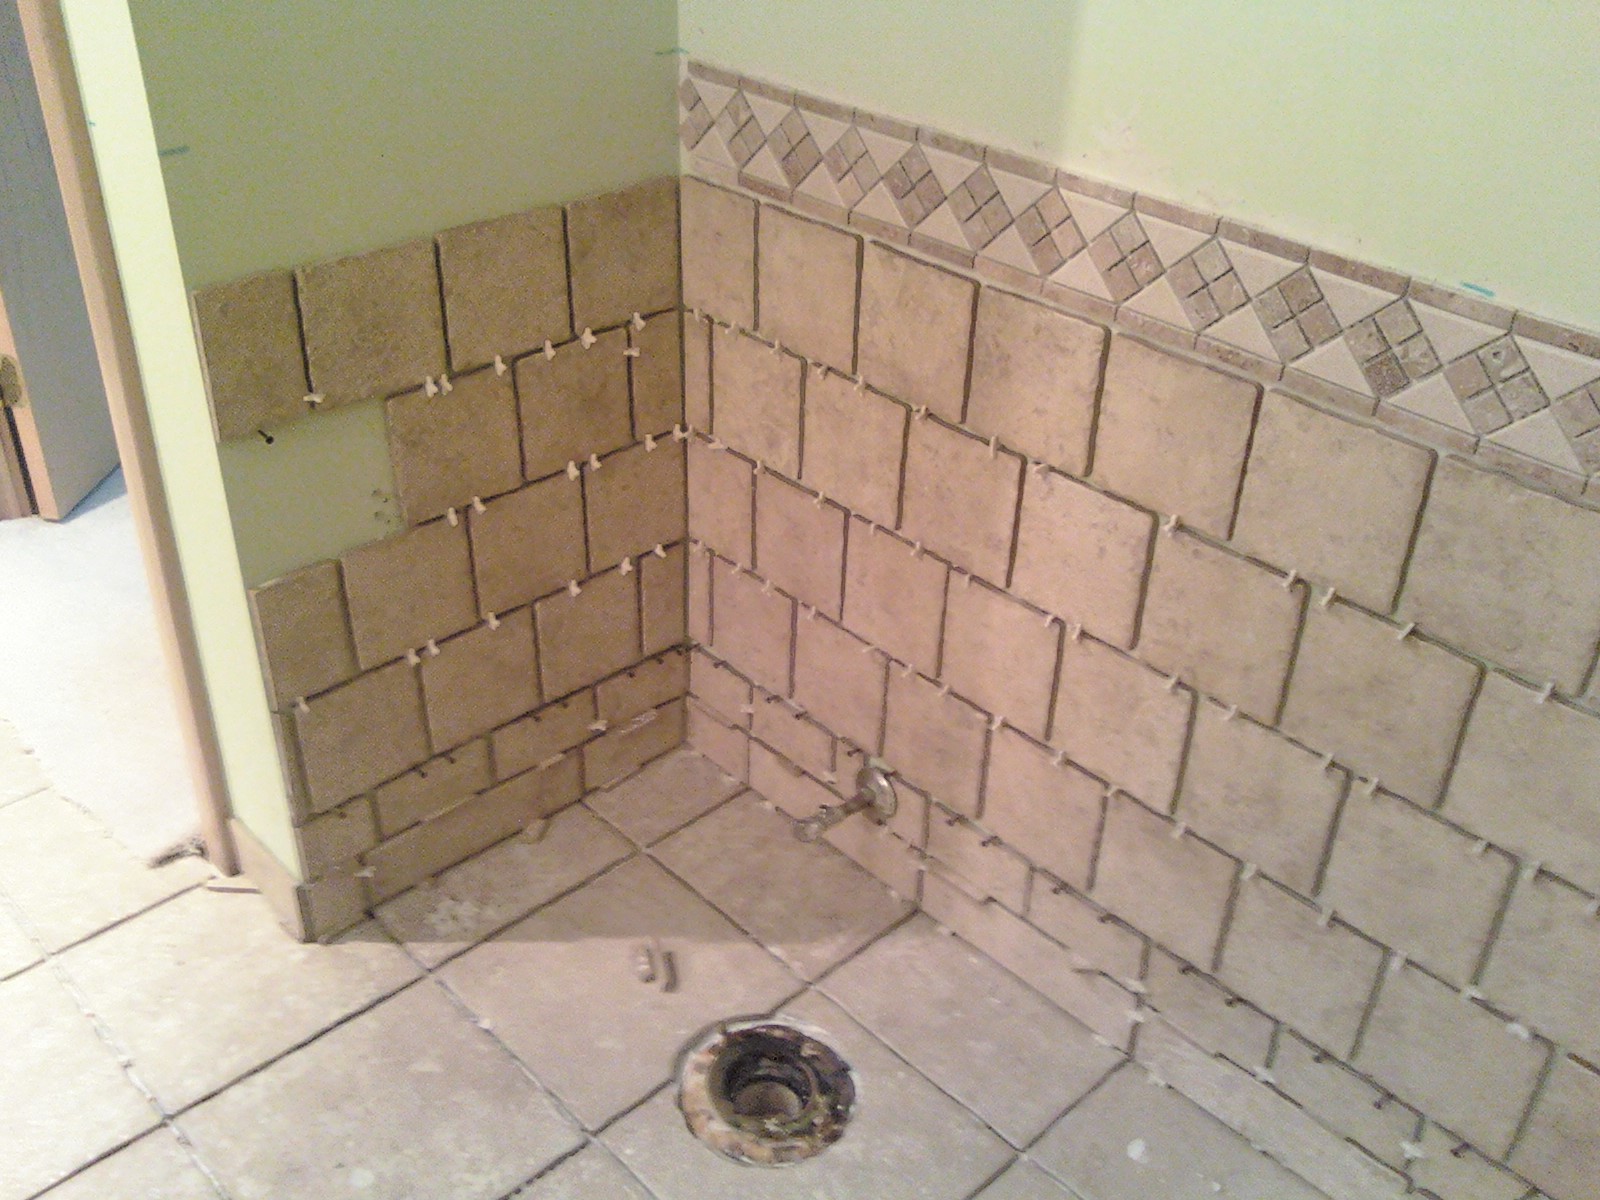
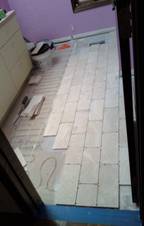
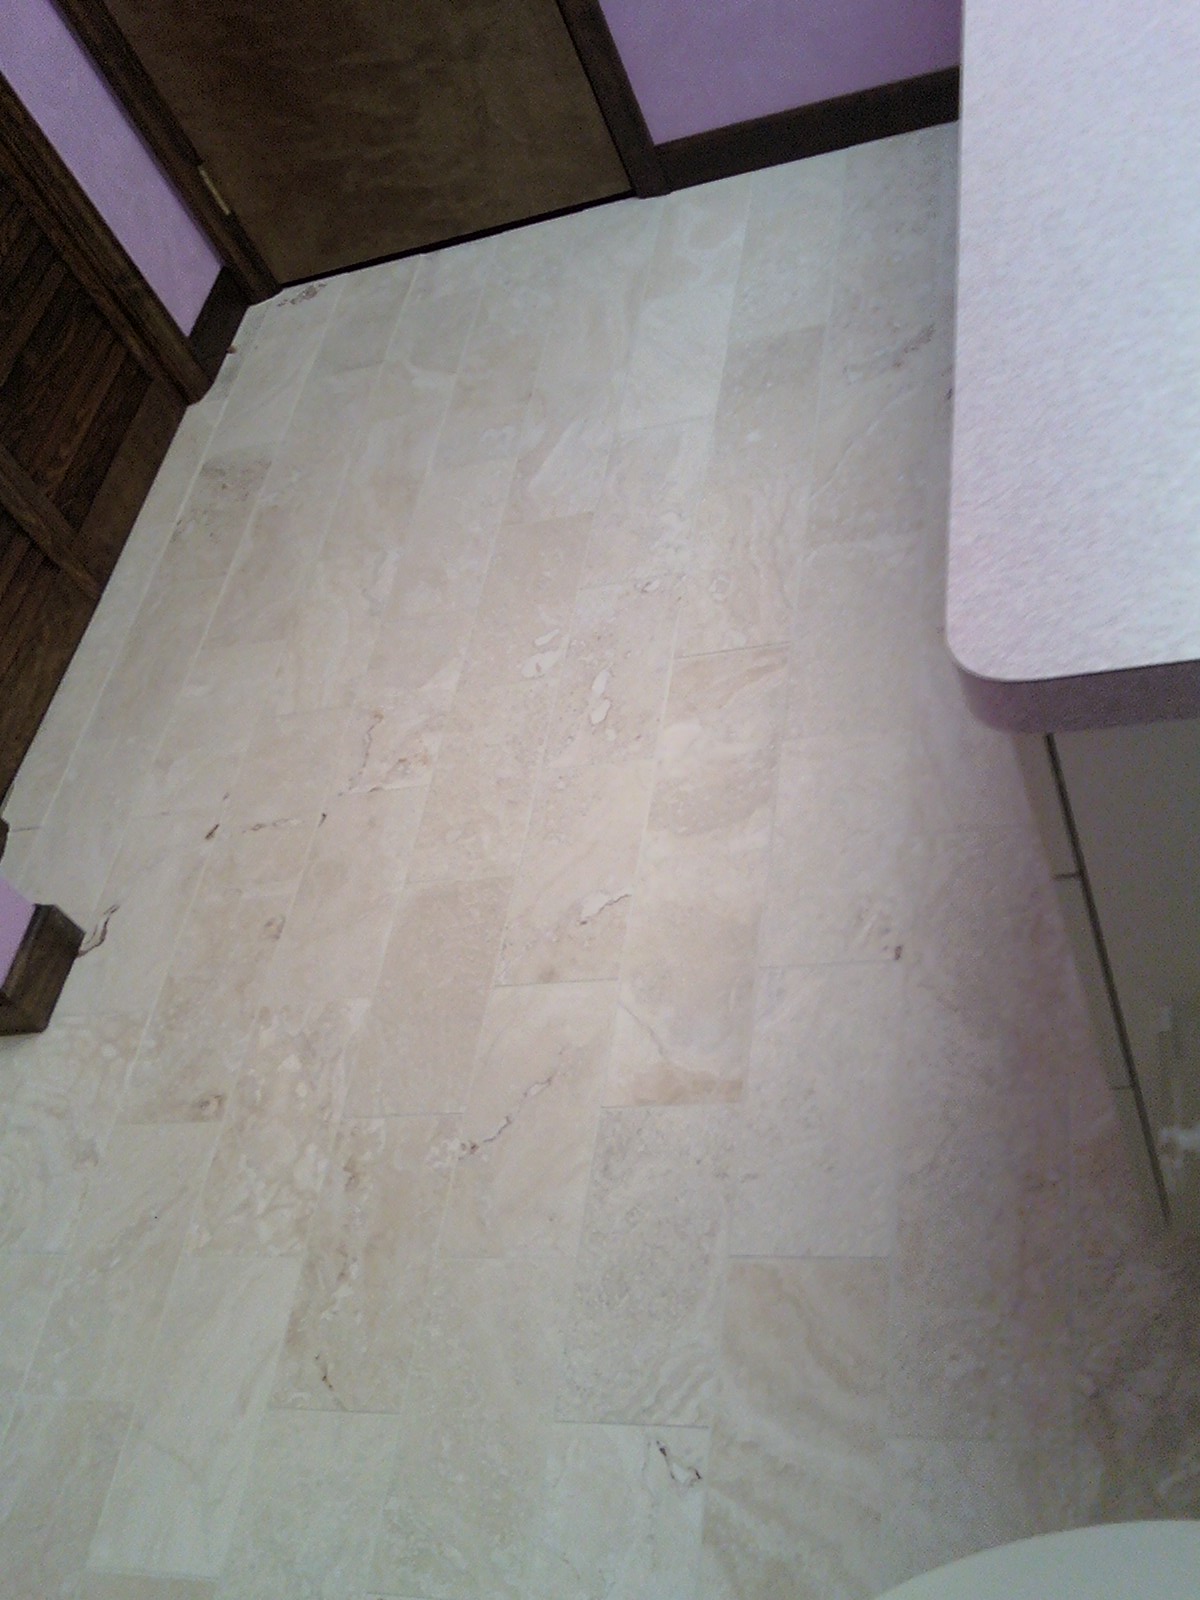
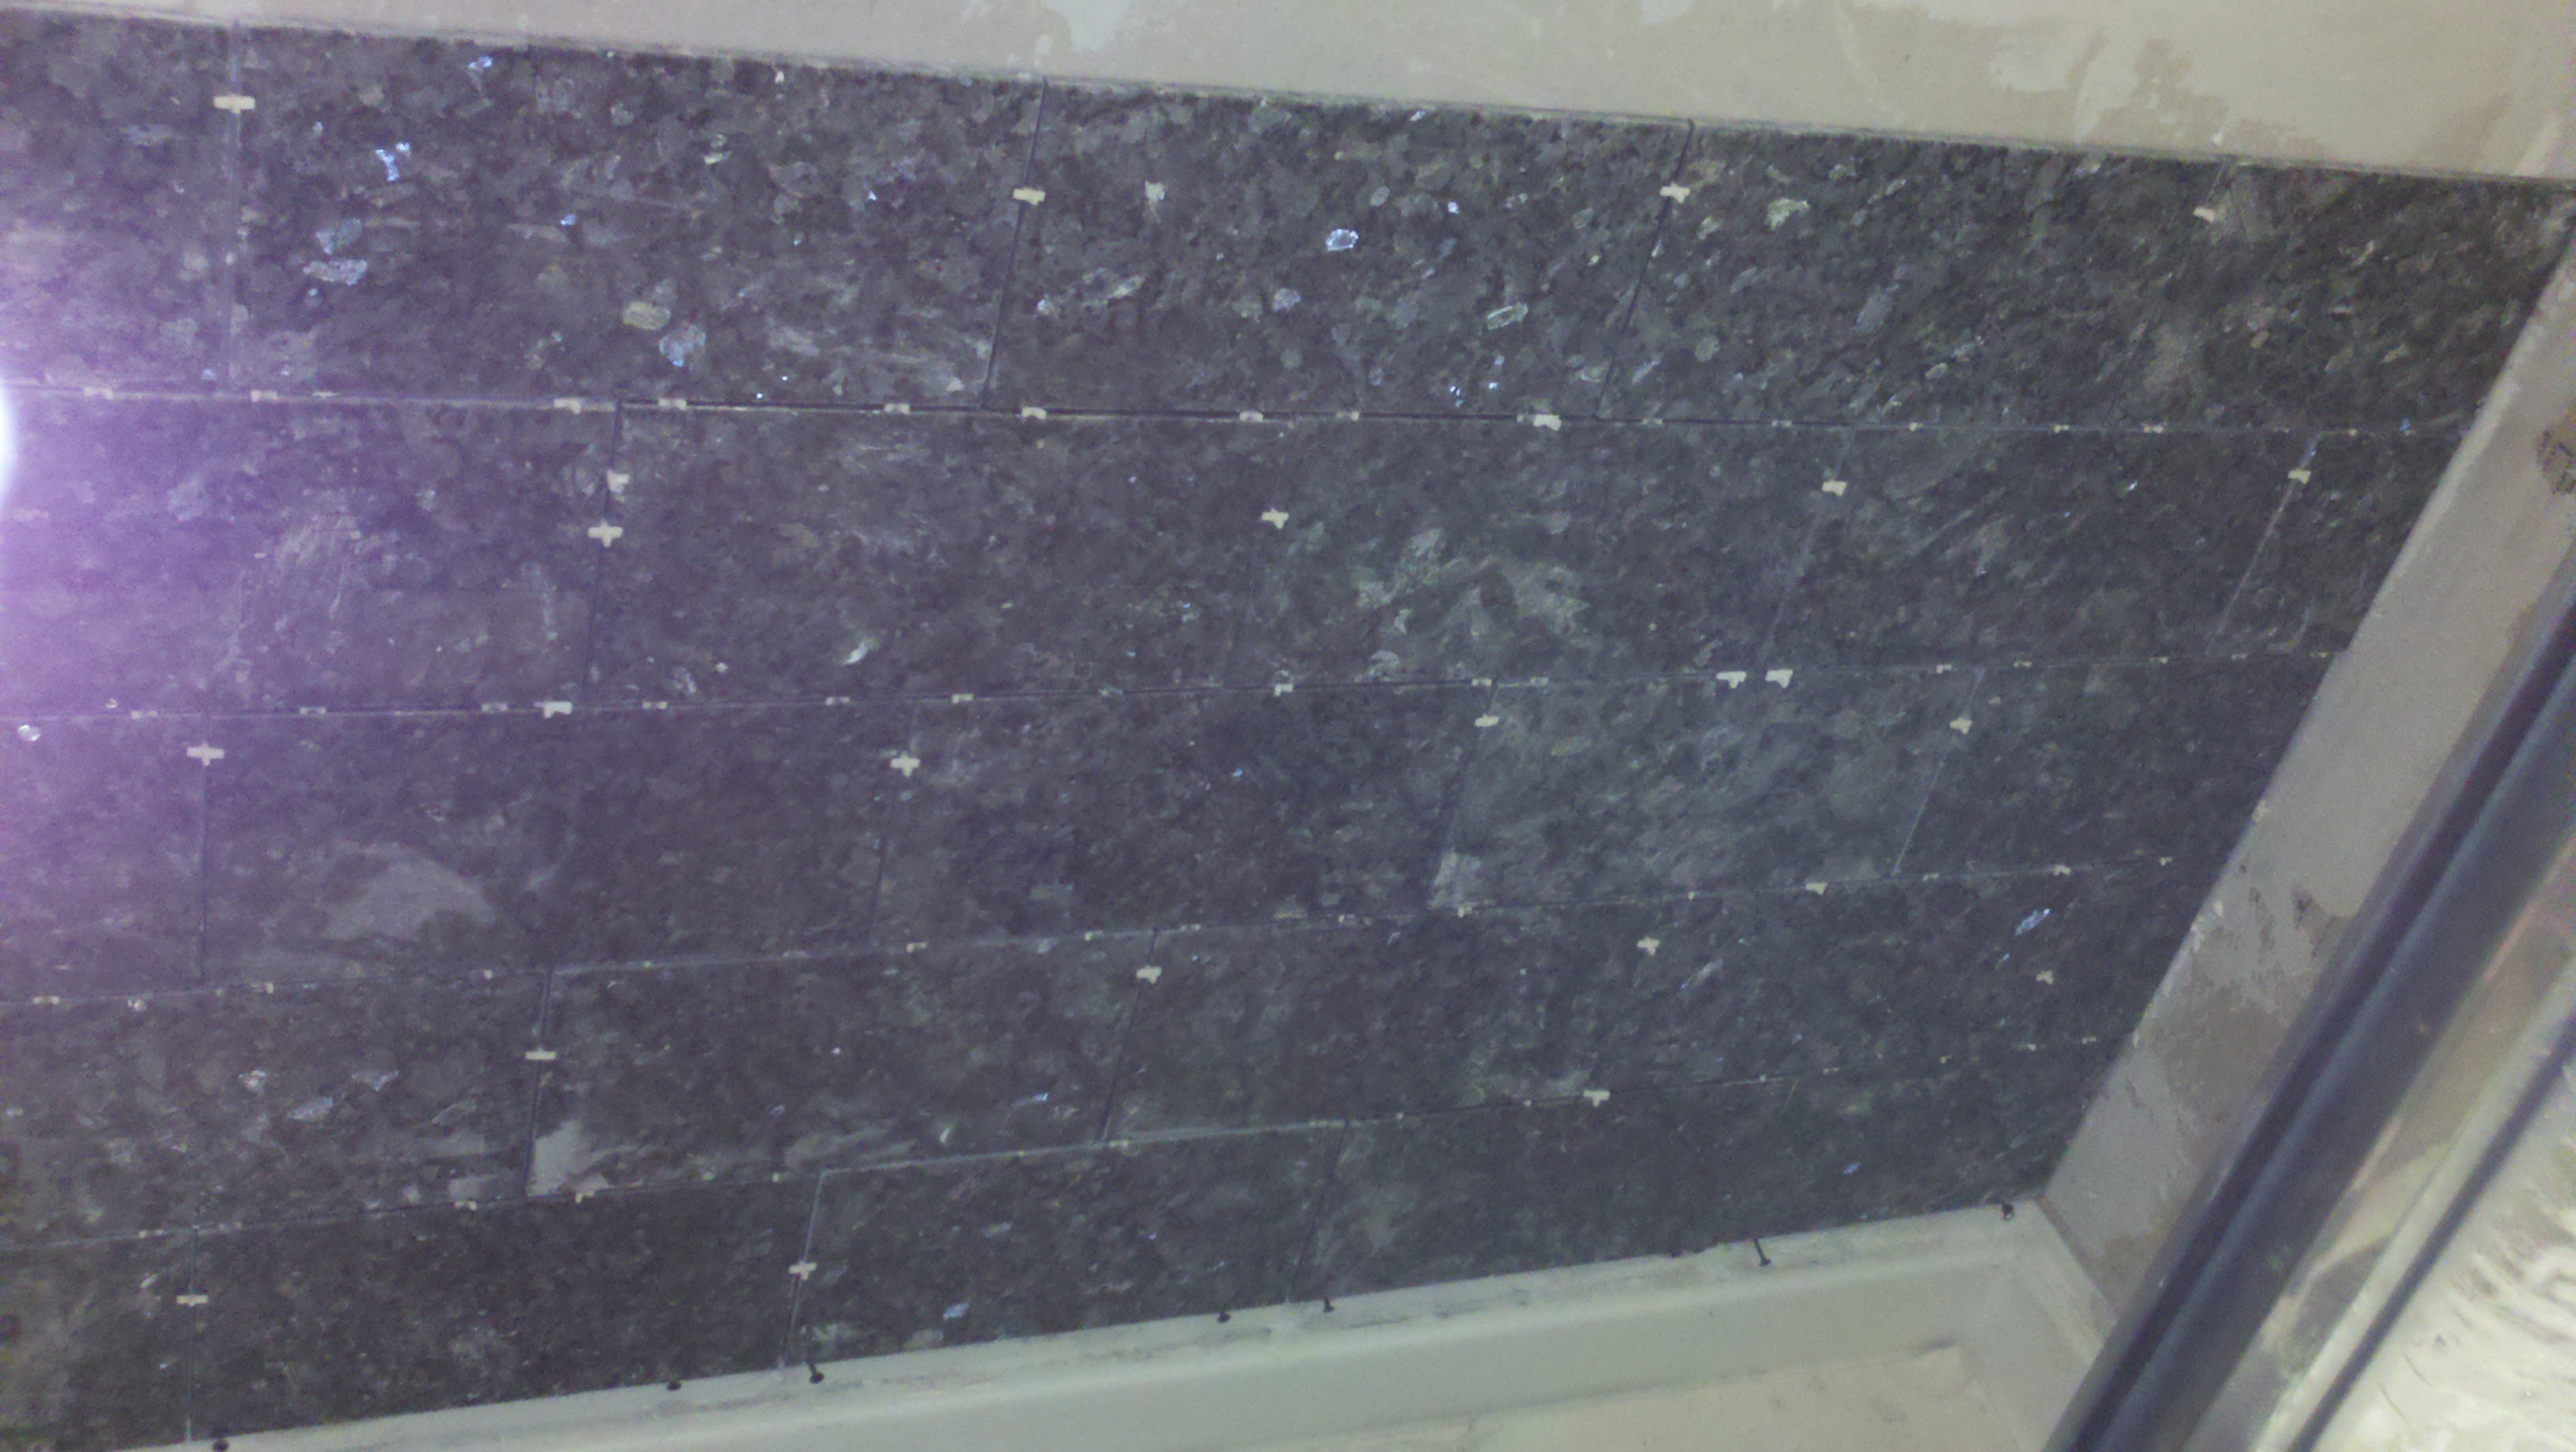
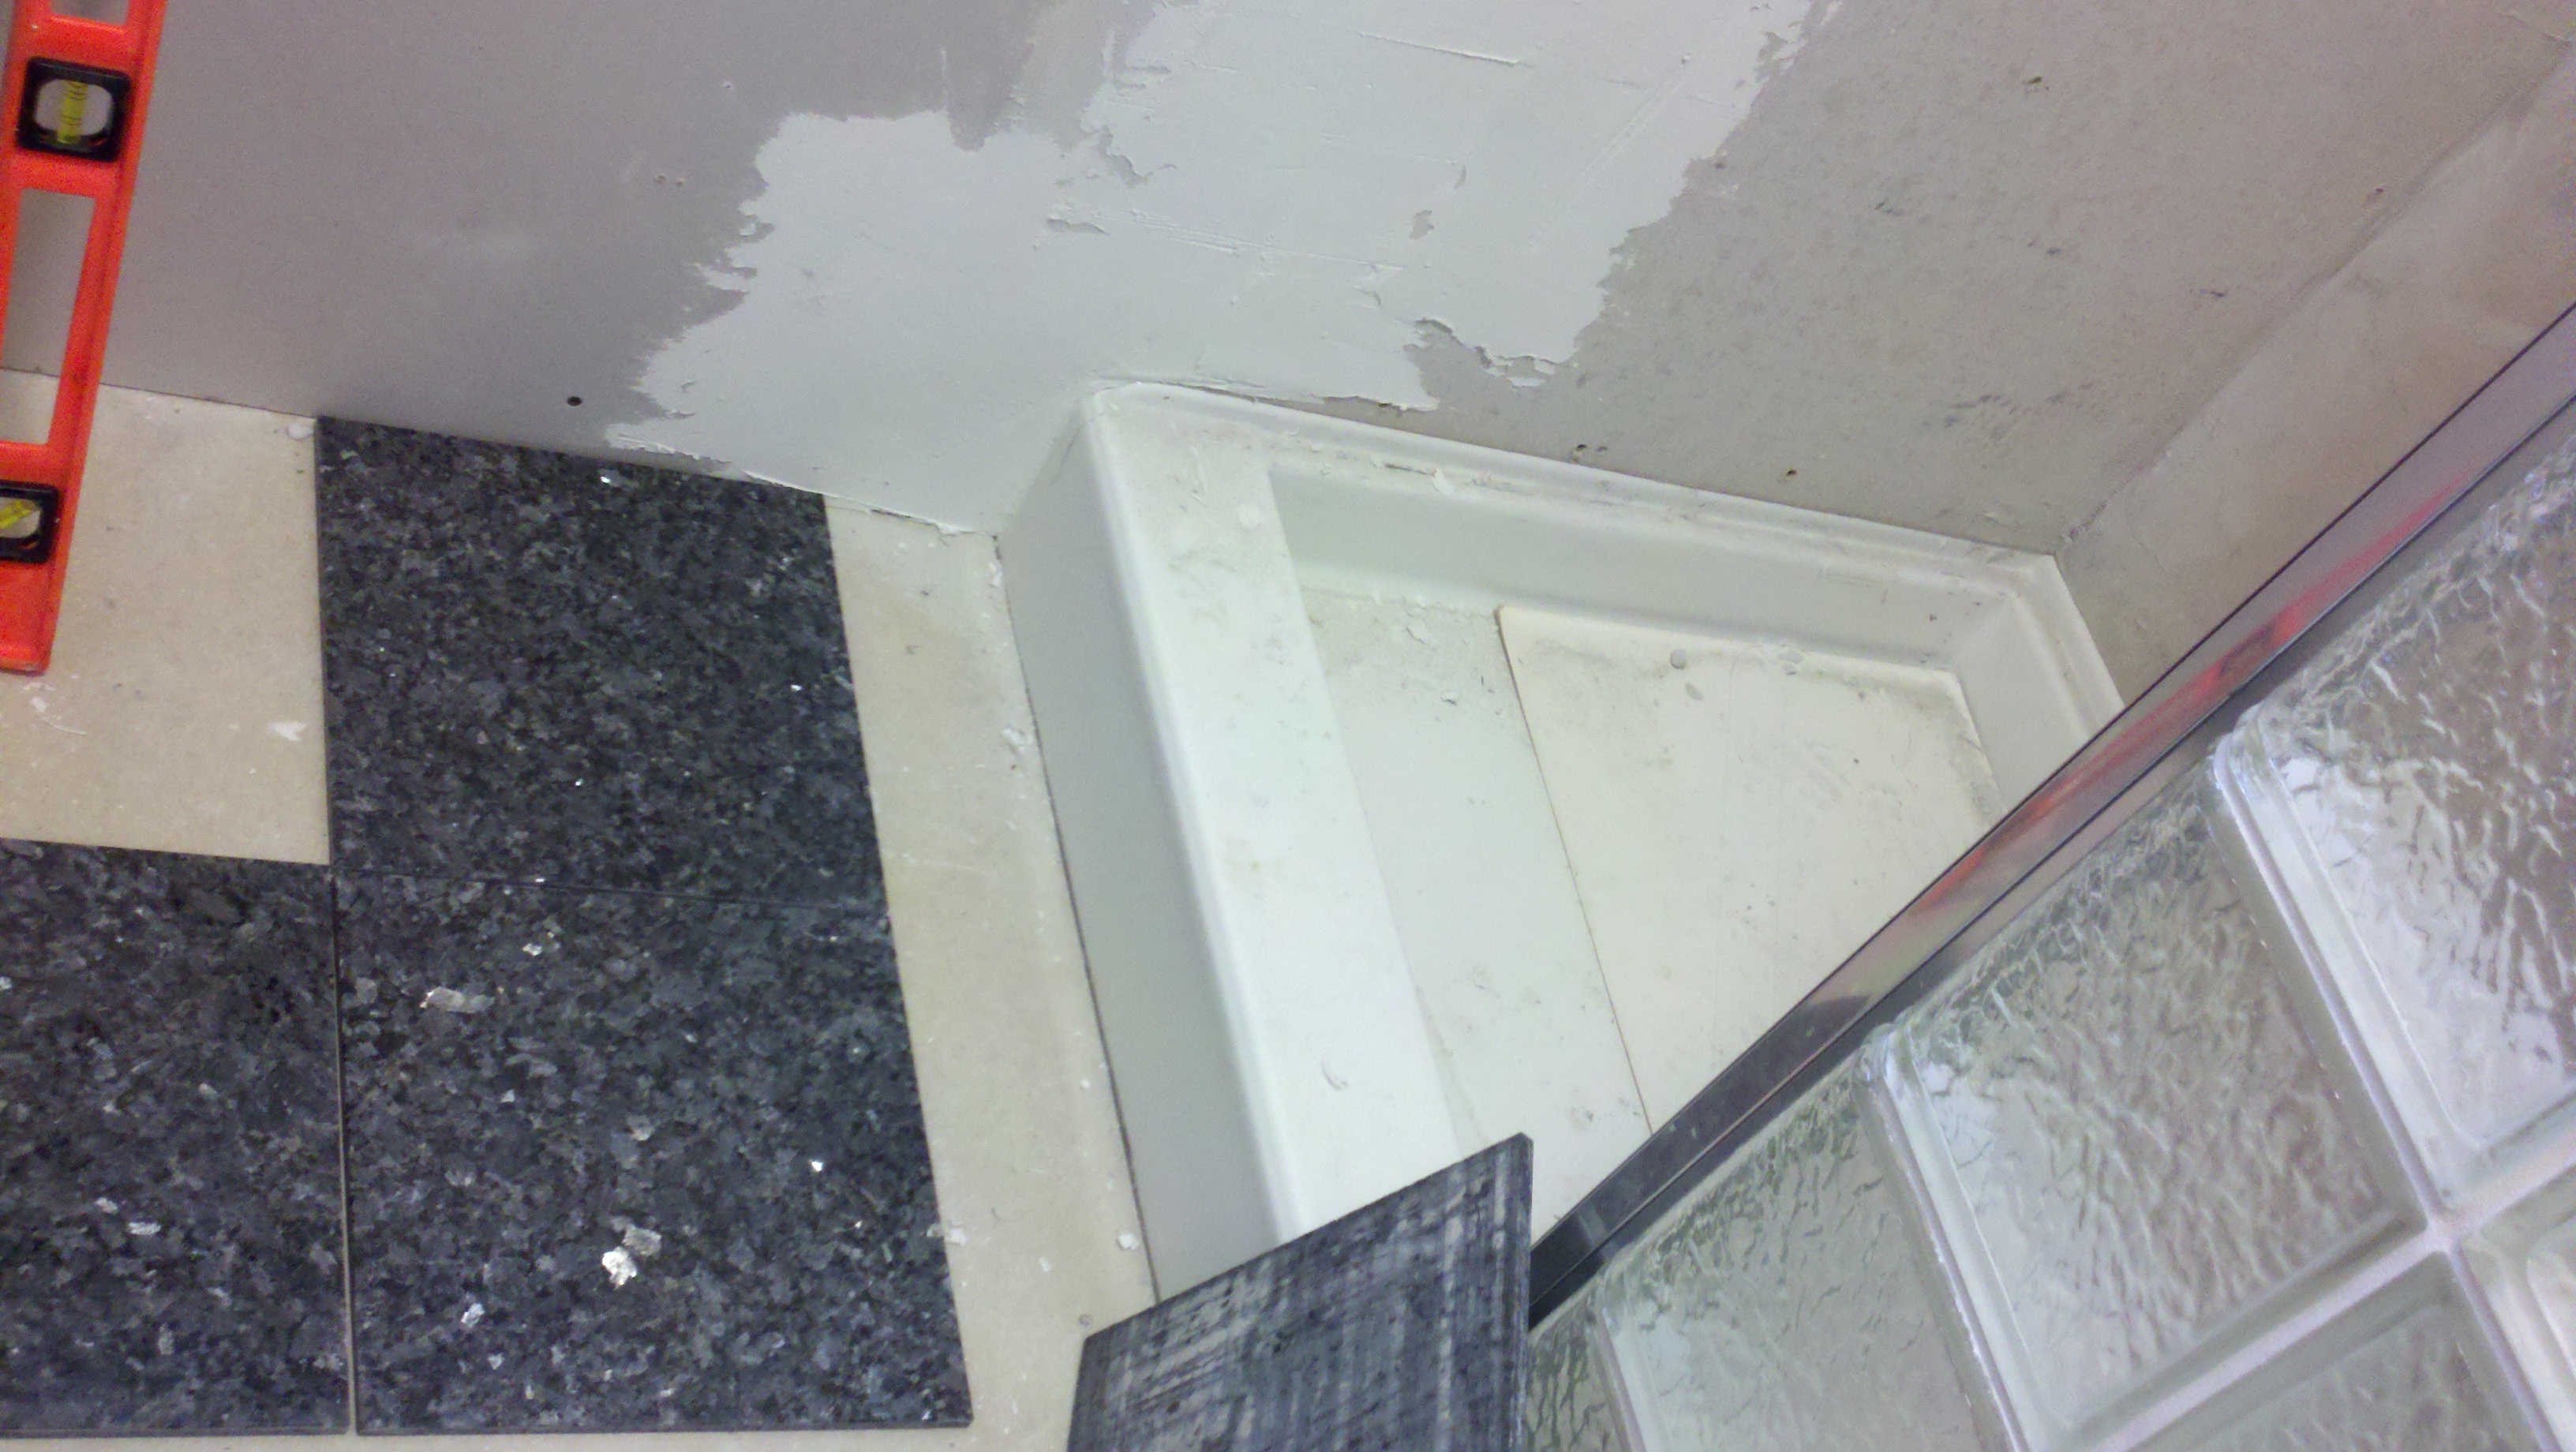
Following the completion of electric portion of the installation process, the mechanical process was initiated. The tile fitting an adhesion was a challenging and intense process to provide a pleasing and functional installation. Pictures ten through thirty-seven provide depiction of the complete tile lament process. The size of the bathroom floor was measured to be twelve by twelve feet, neglecting the power tub, washer/ dryer indention, and closet expansions. Additional six inch wall tile and decretive trim was used to surround the water cycling fixtures. Added attention was also provided for the step attached to the power tub enclosure, toilet down spout holes, and power tub access covers.
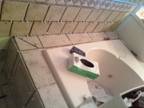
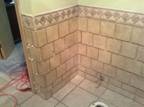
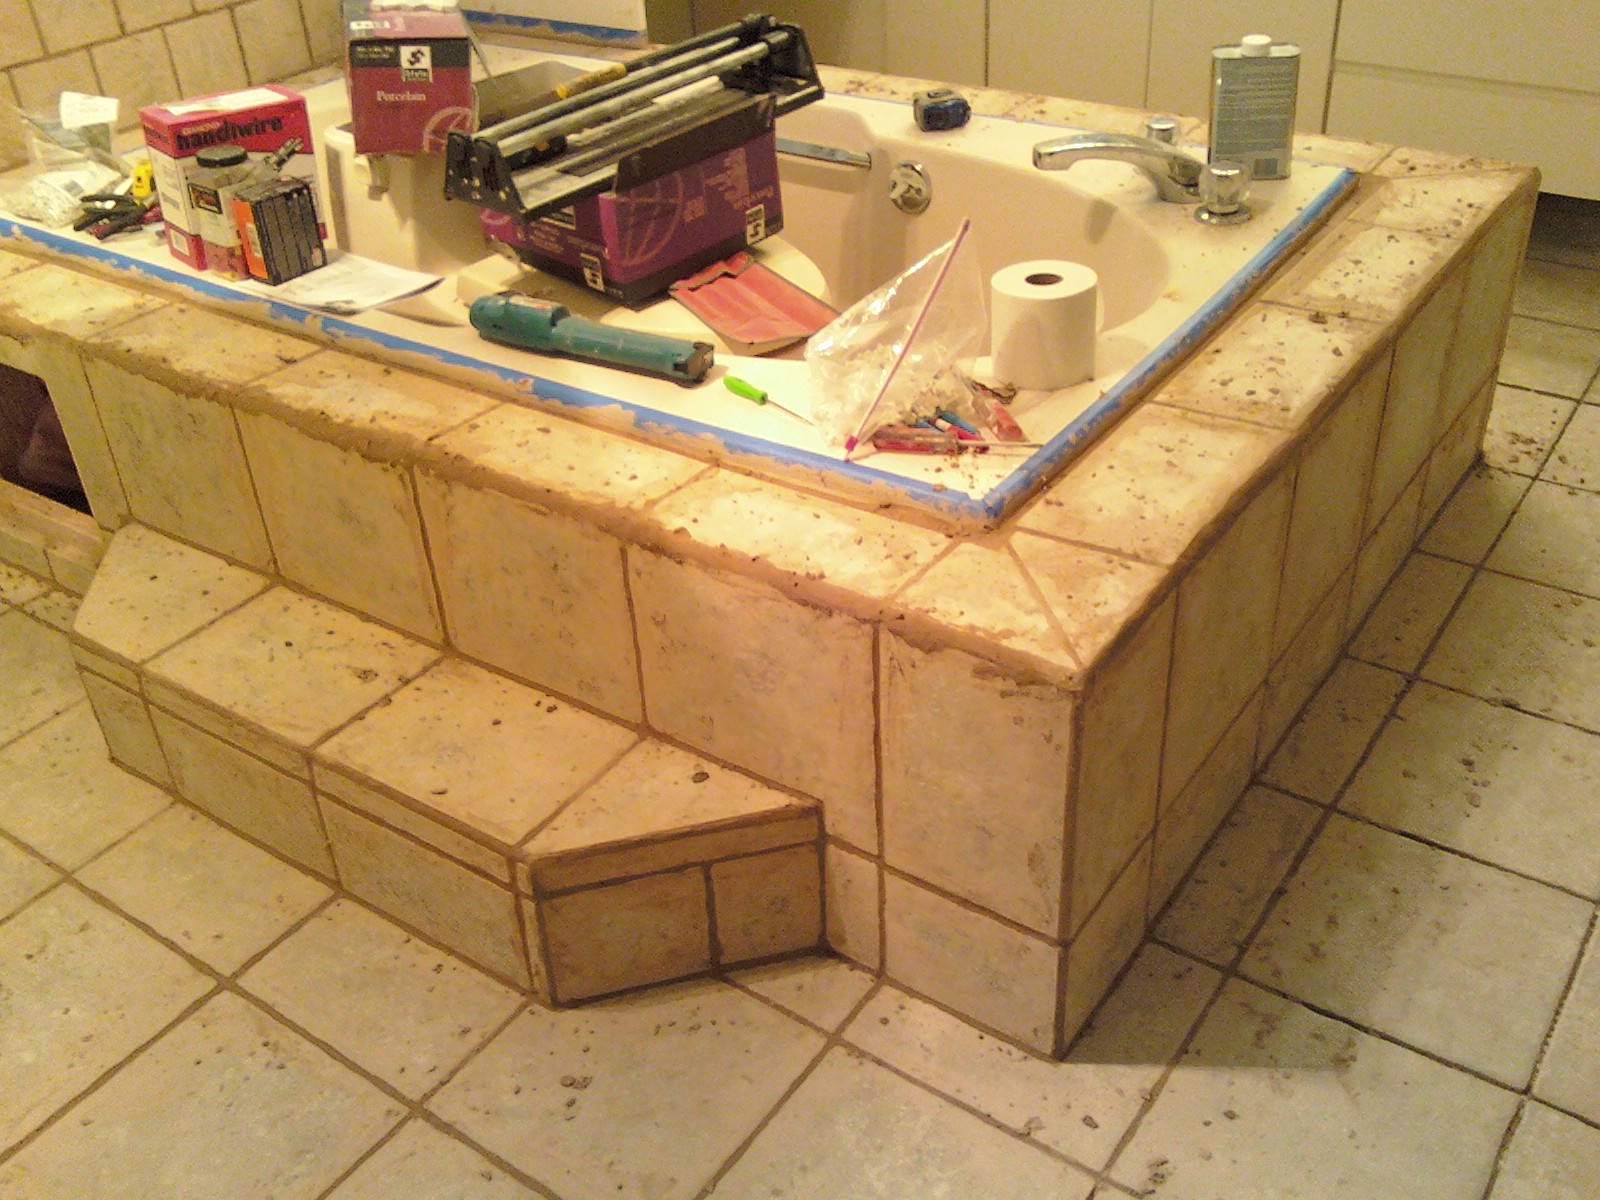
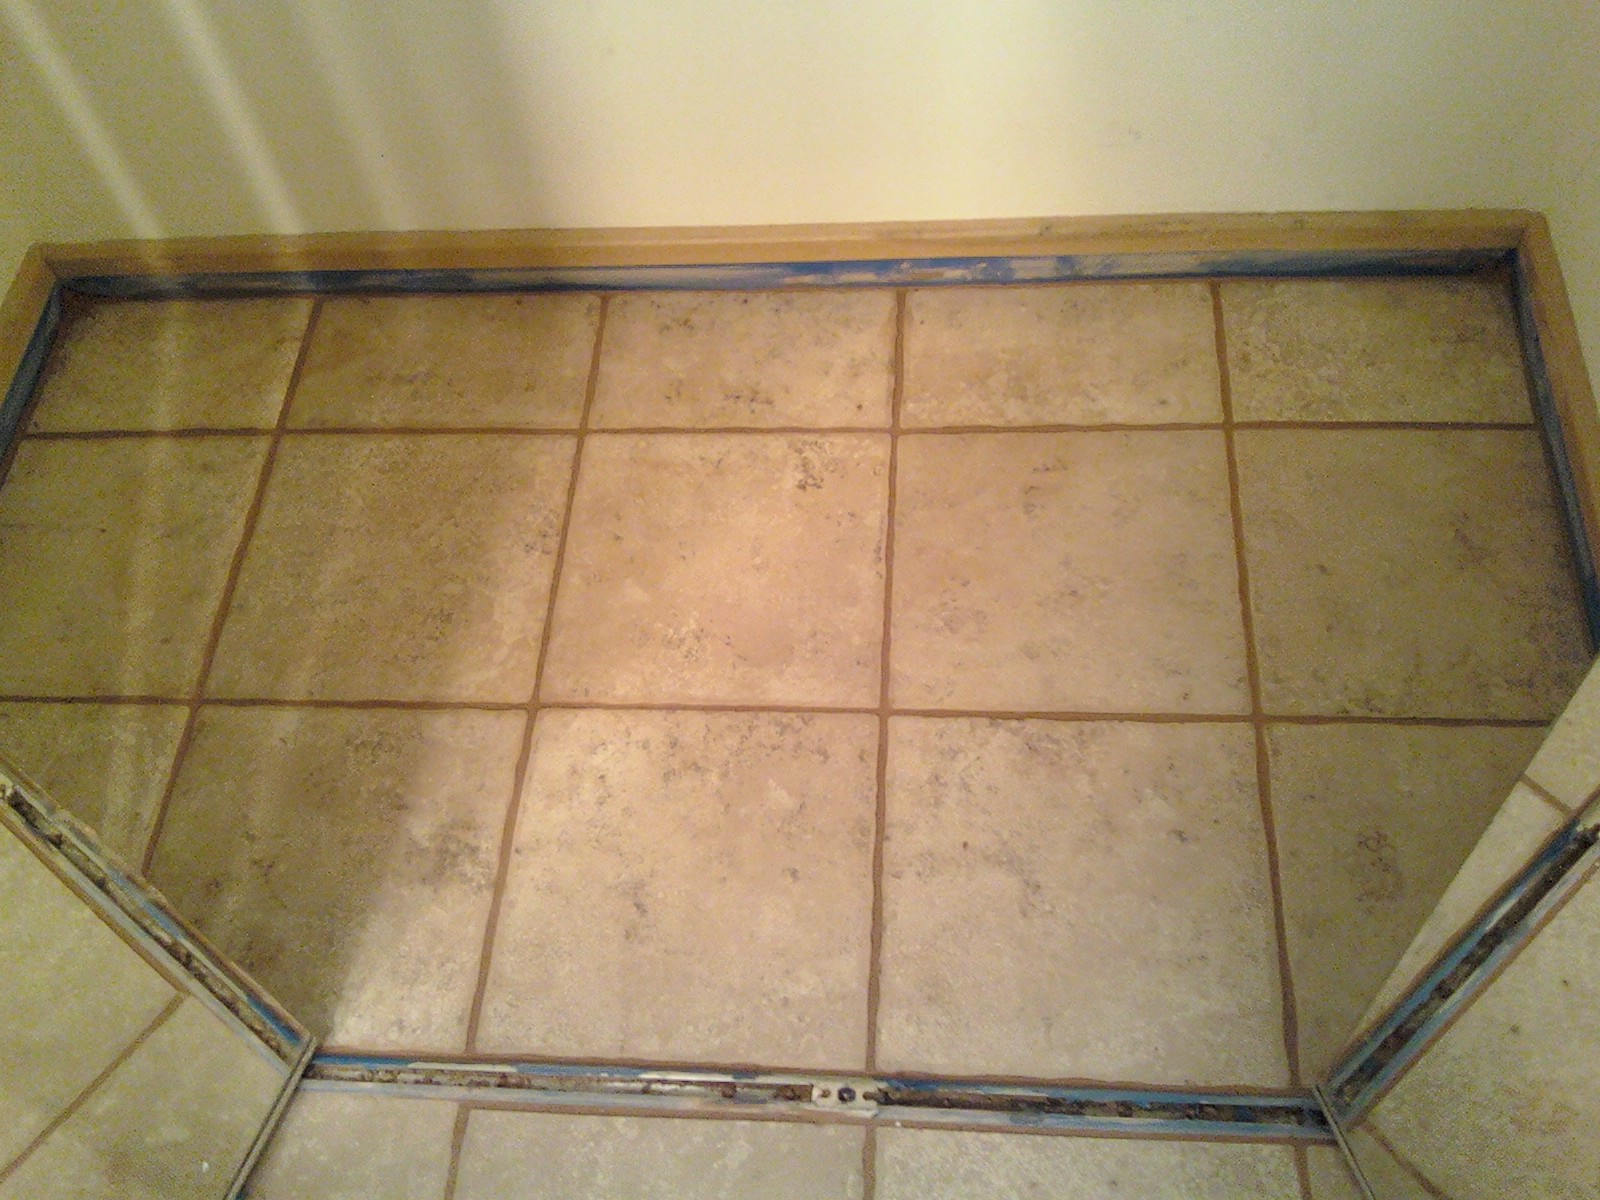
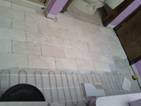
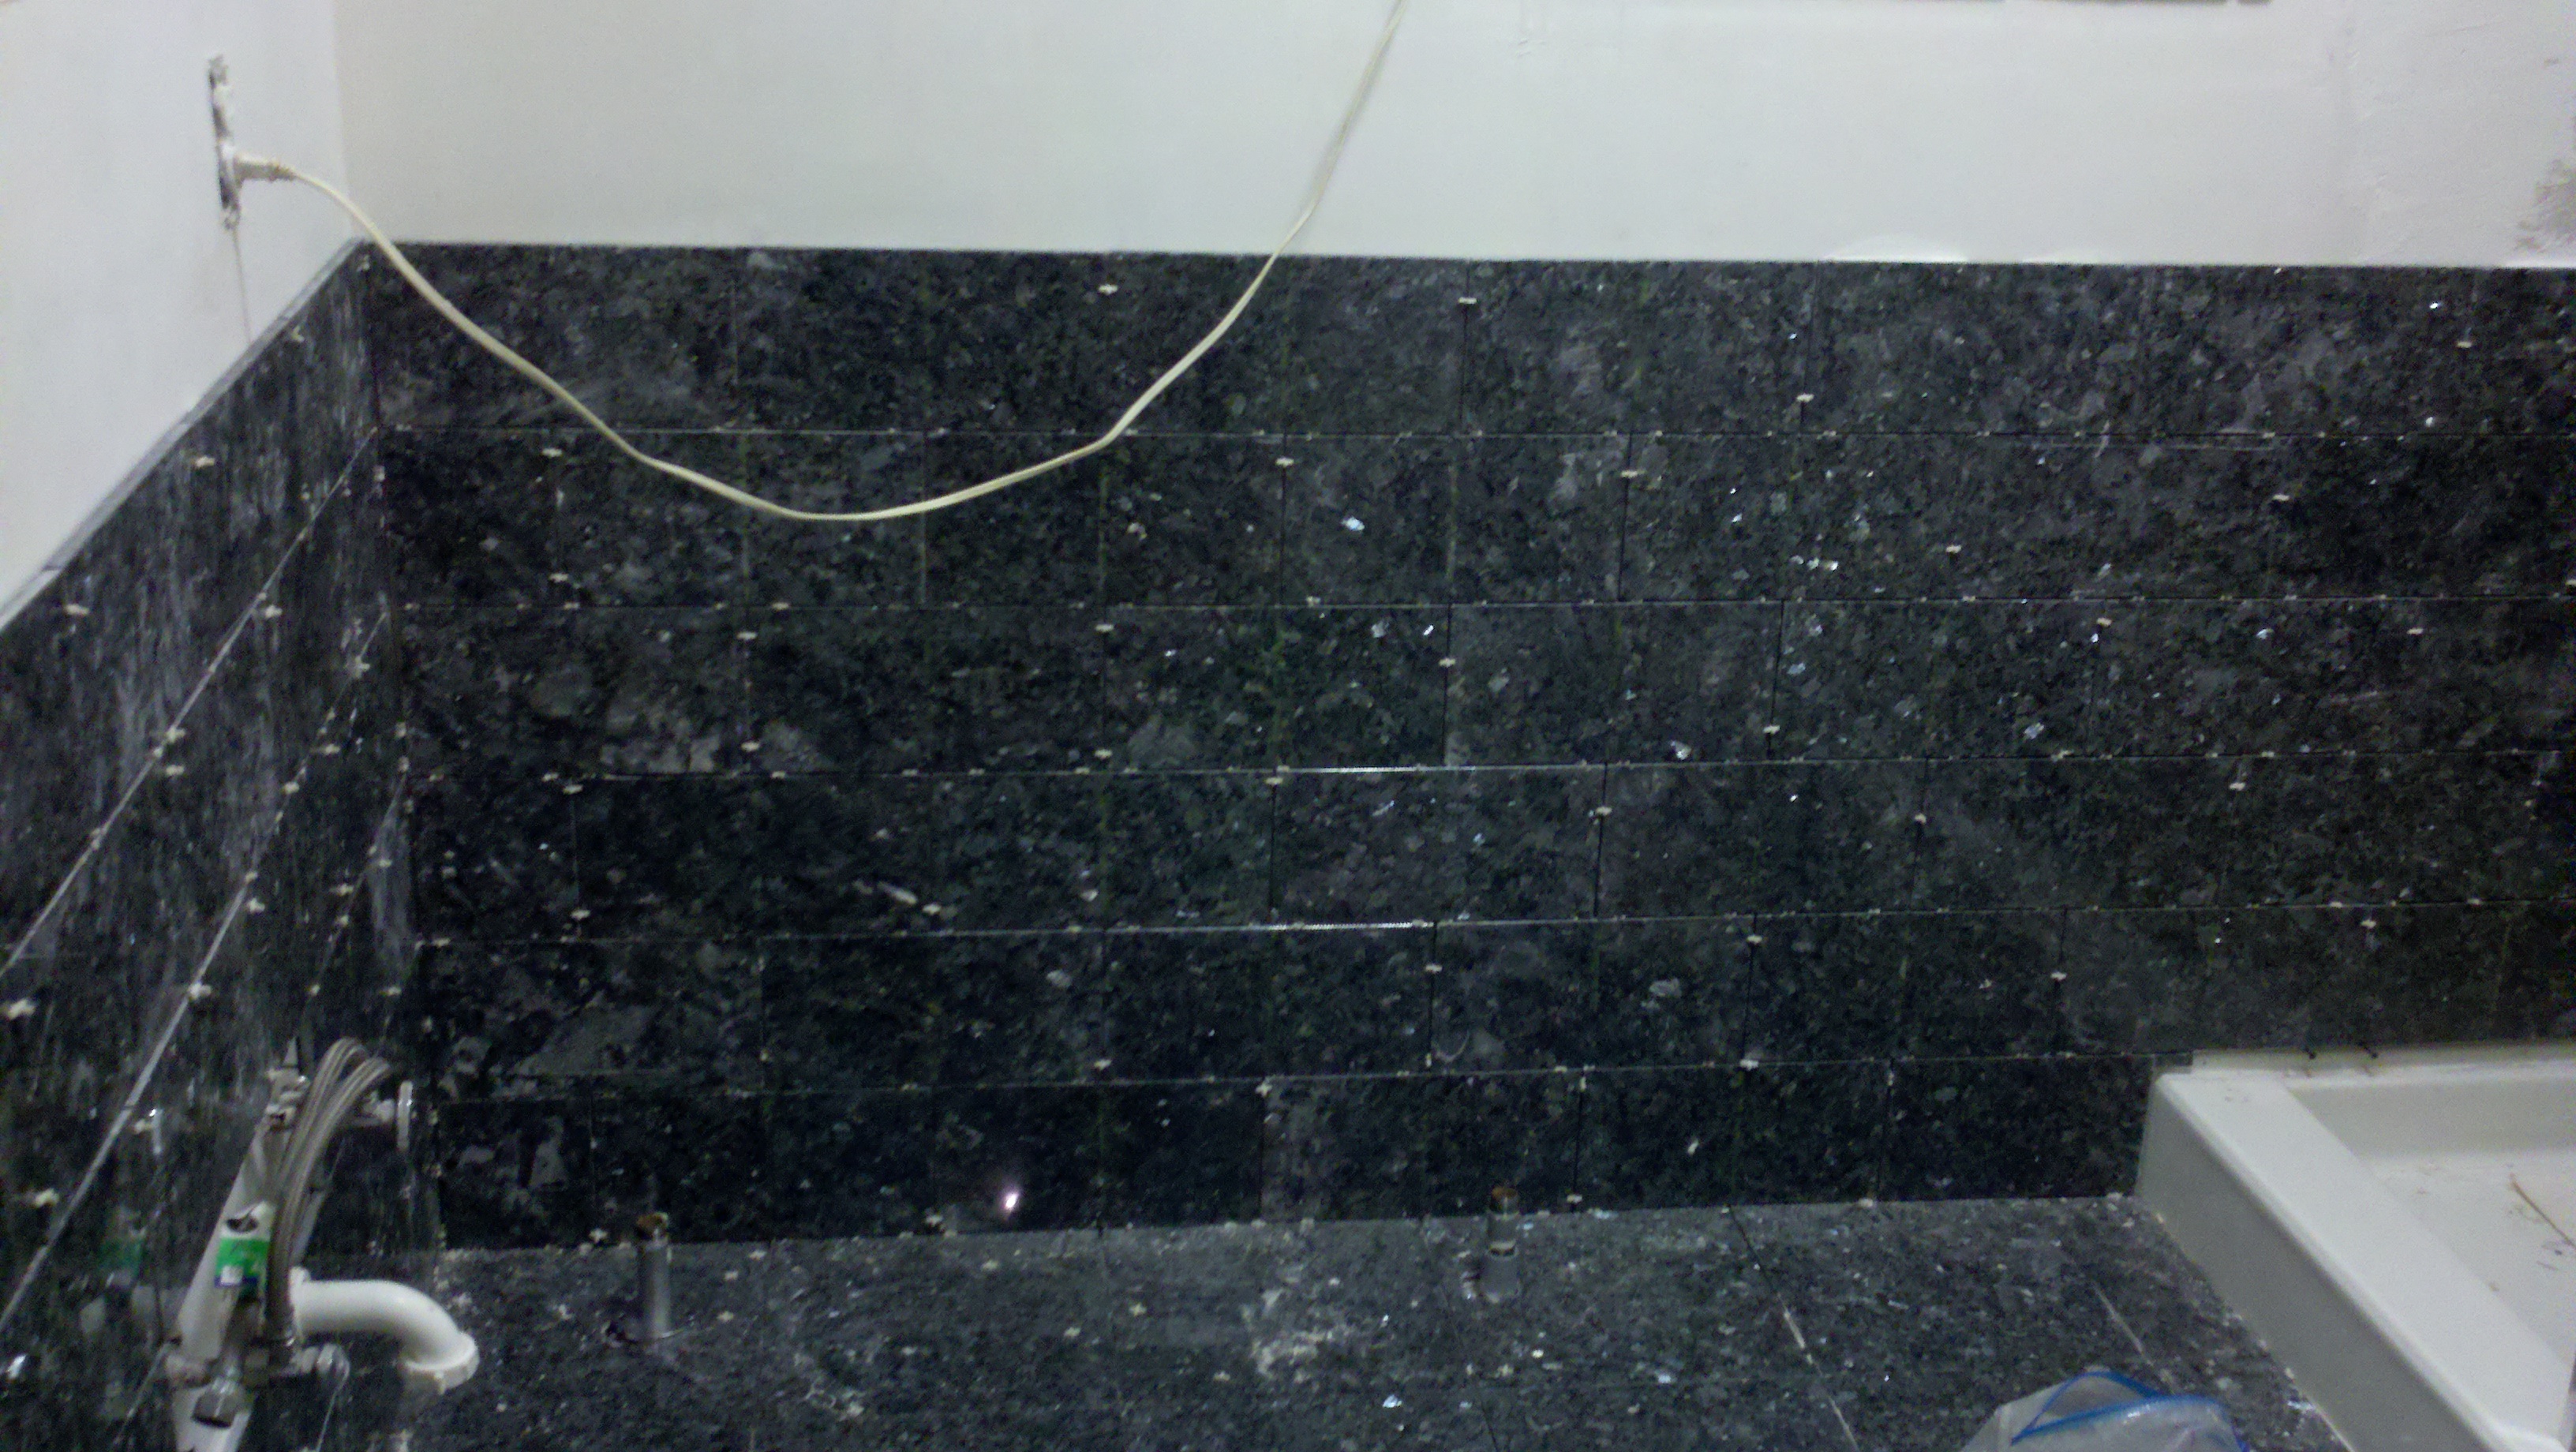
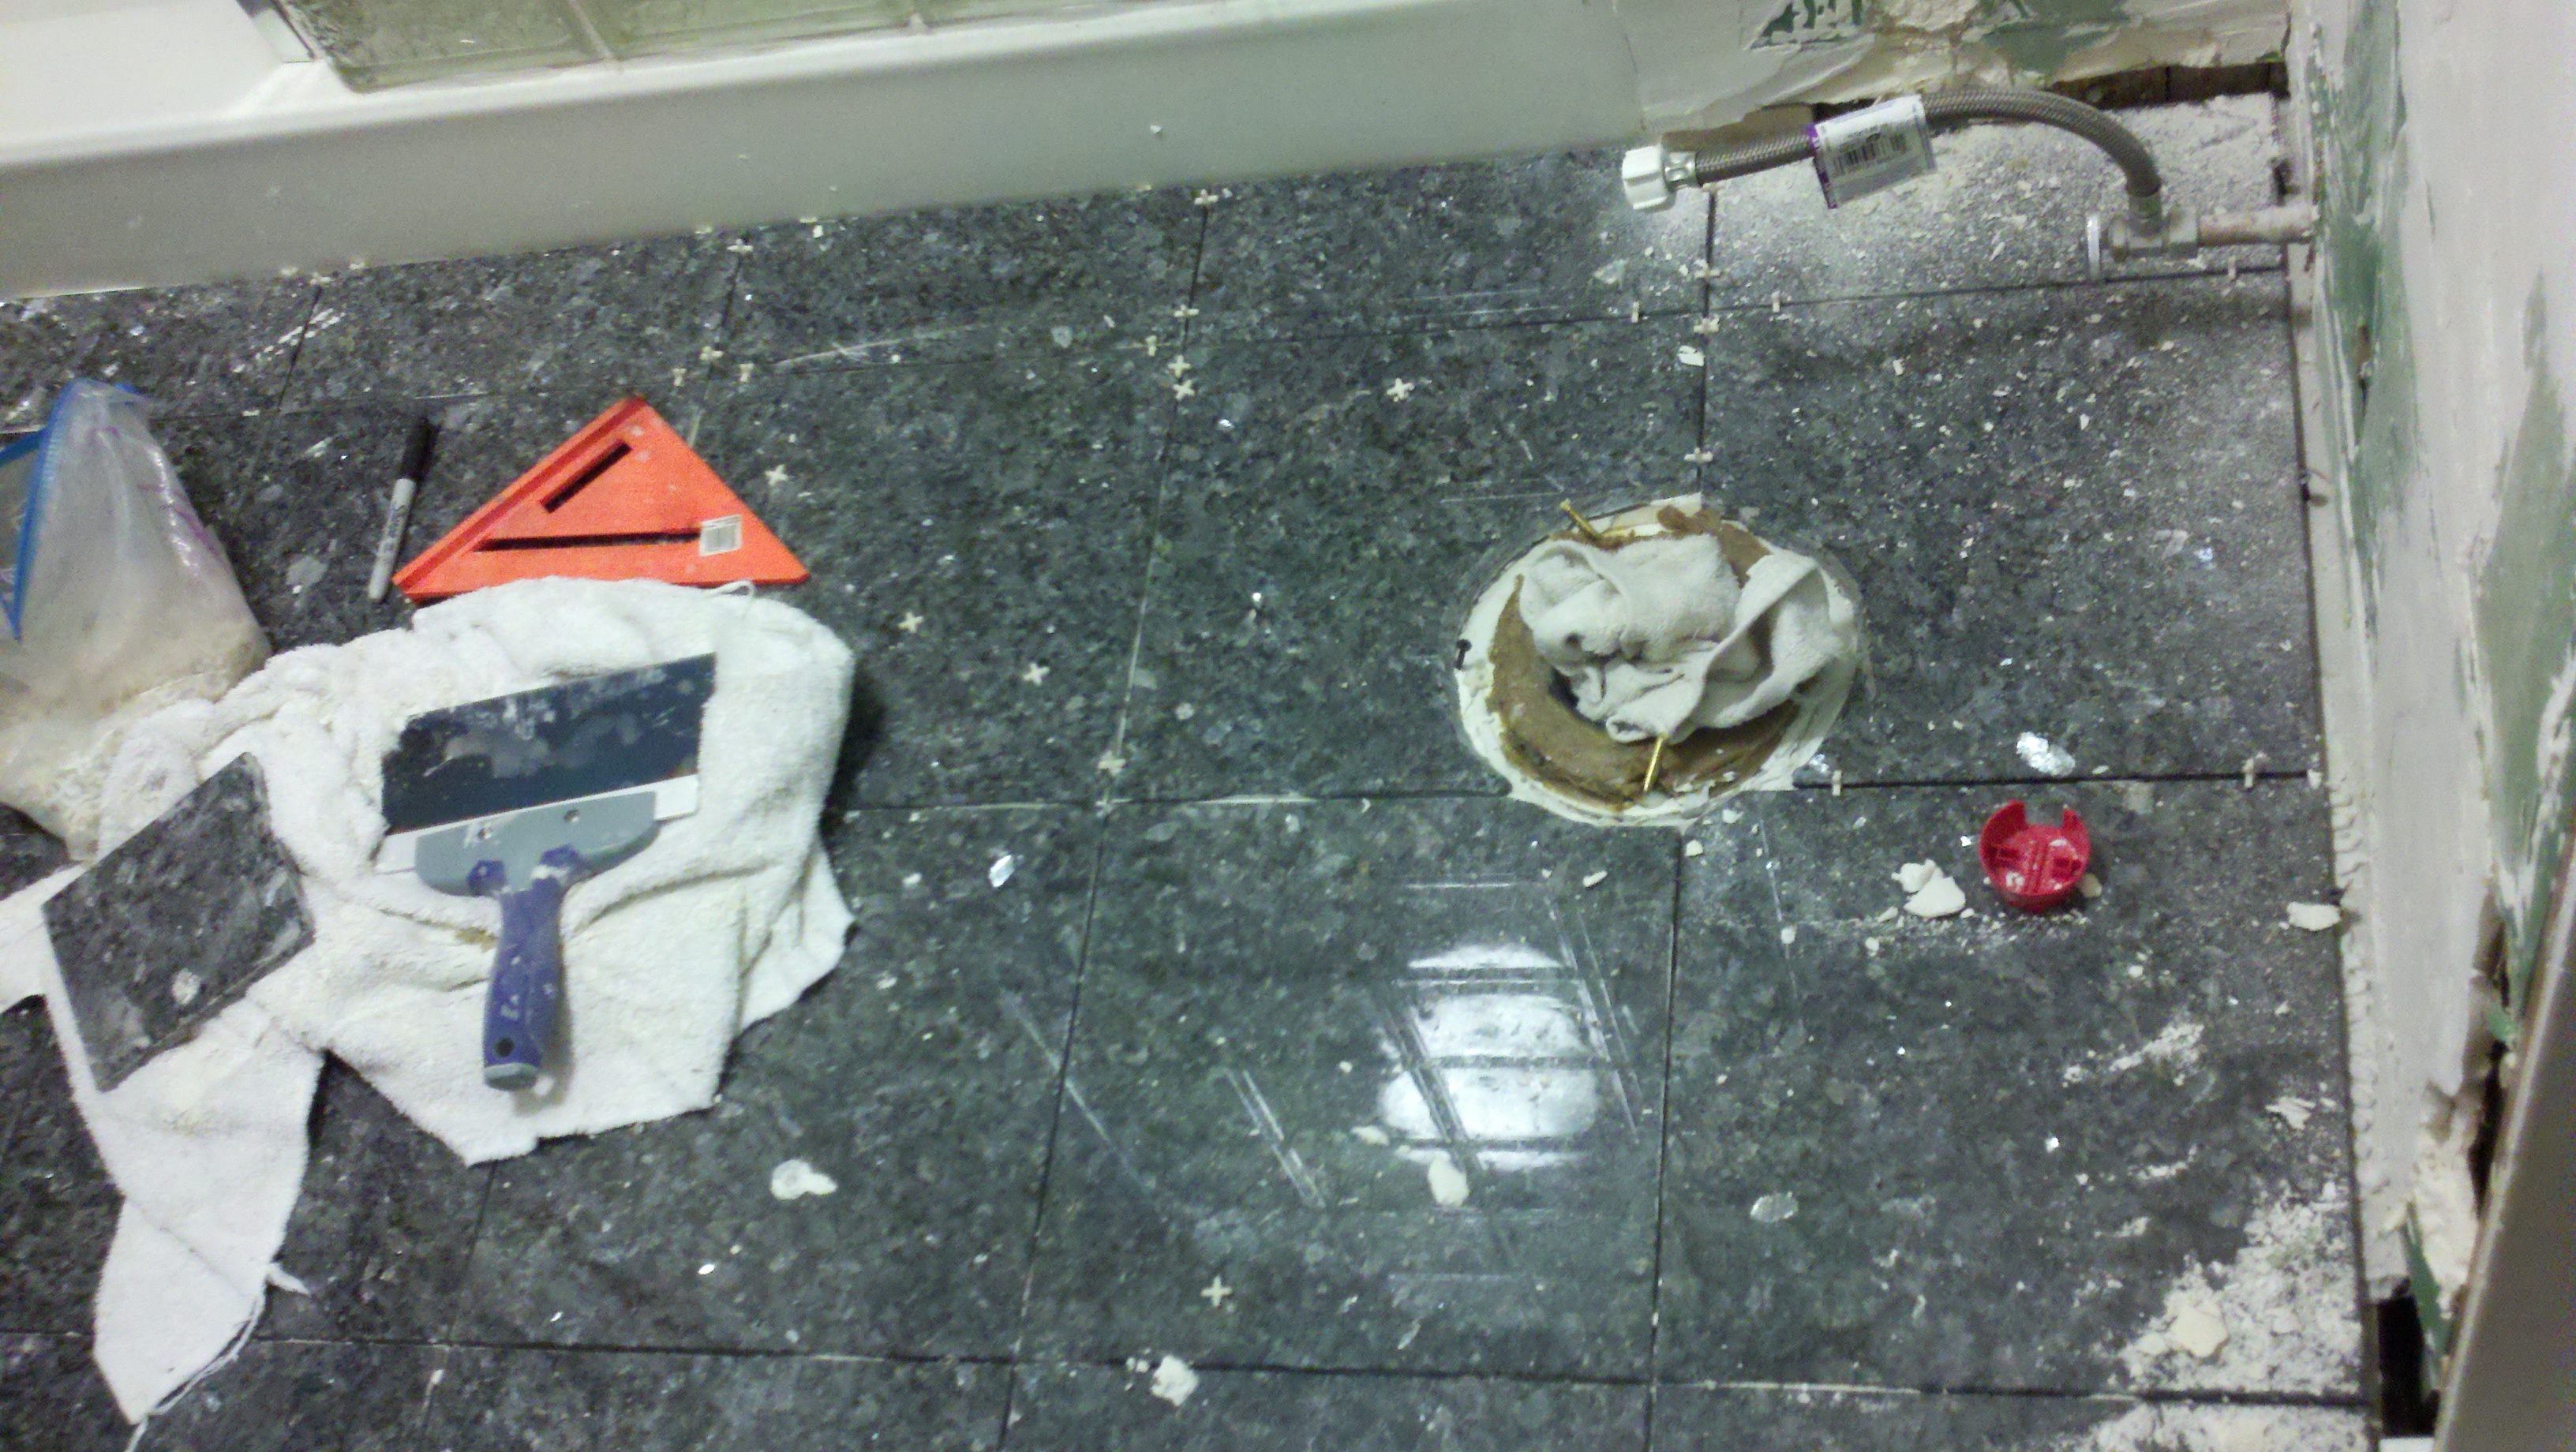
Connecting the tile through application of mortar provided the desired finish appearance. The application of grout provided many tasks and problems that needed to be conquered. Edges of the power tub enclosure and at top of the wall tile needed to be sculptured to a round shape, by hand and friction oriented tools. The following pictures provide some supplementary information about the dirty process.
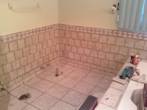
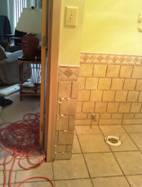
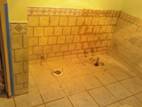
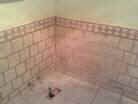
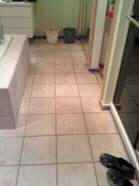
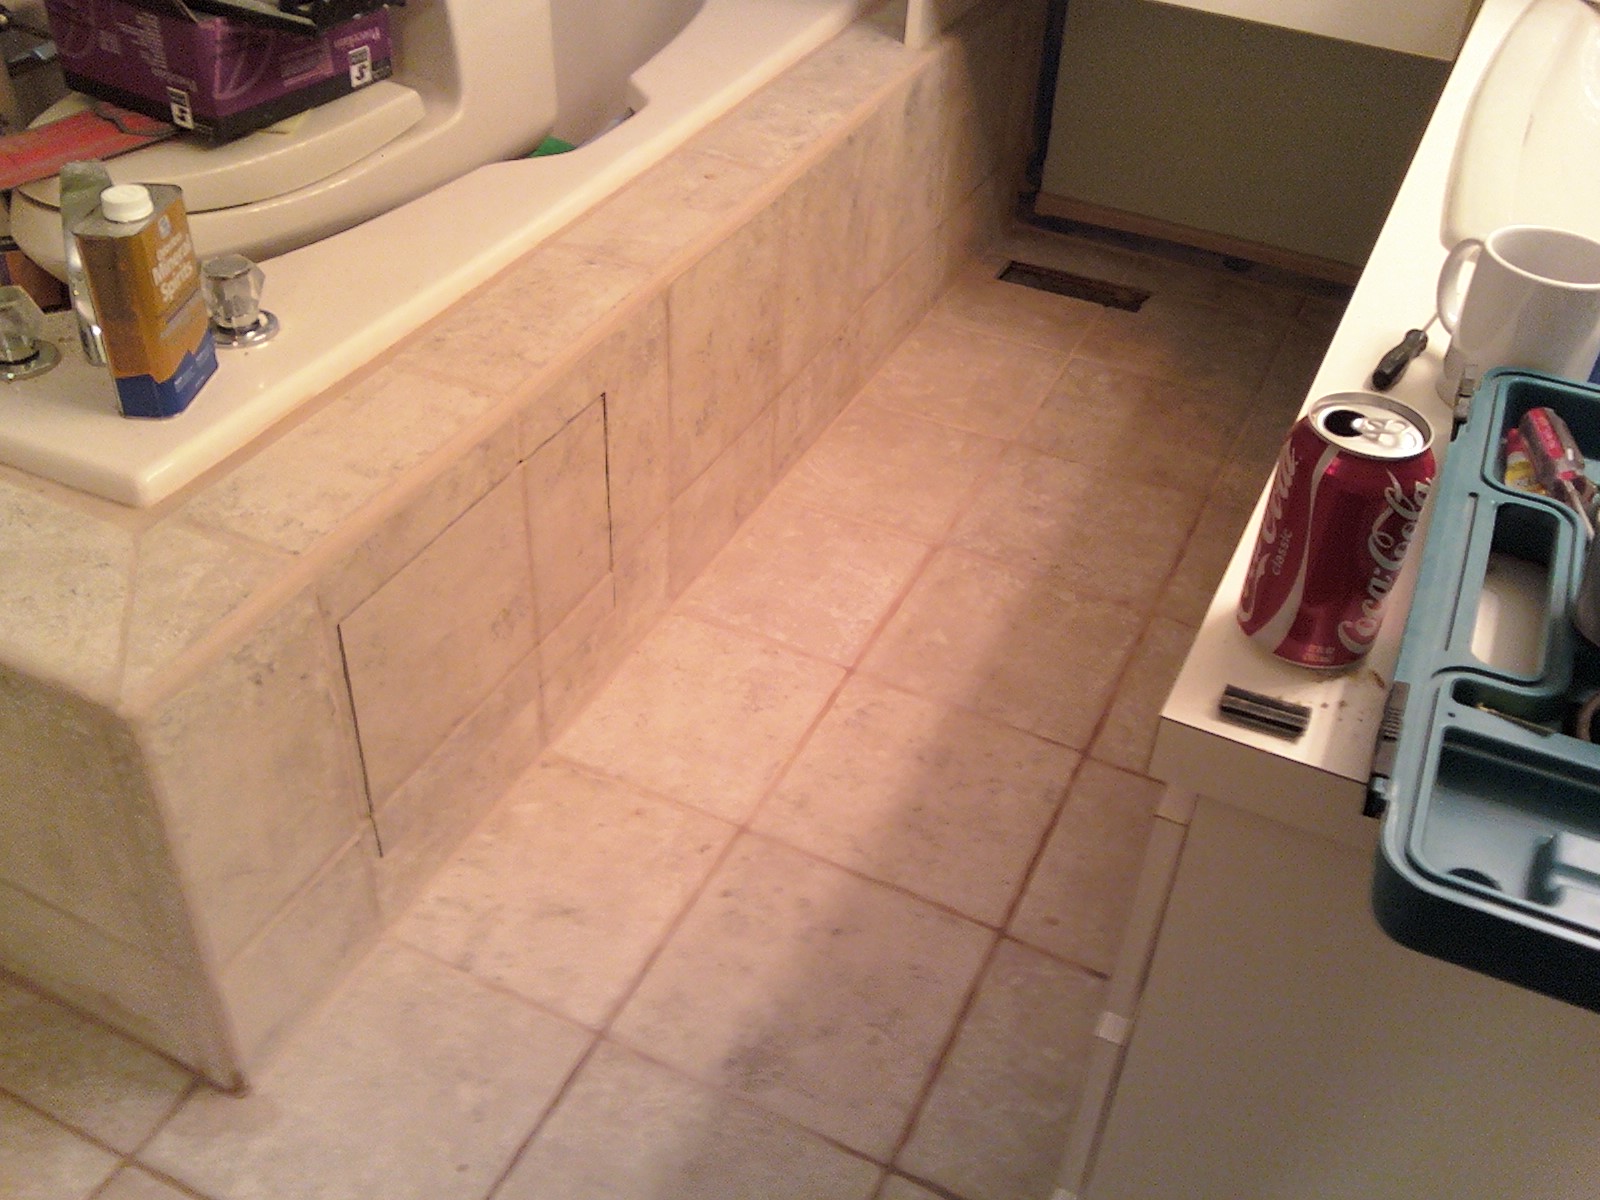
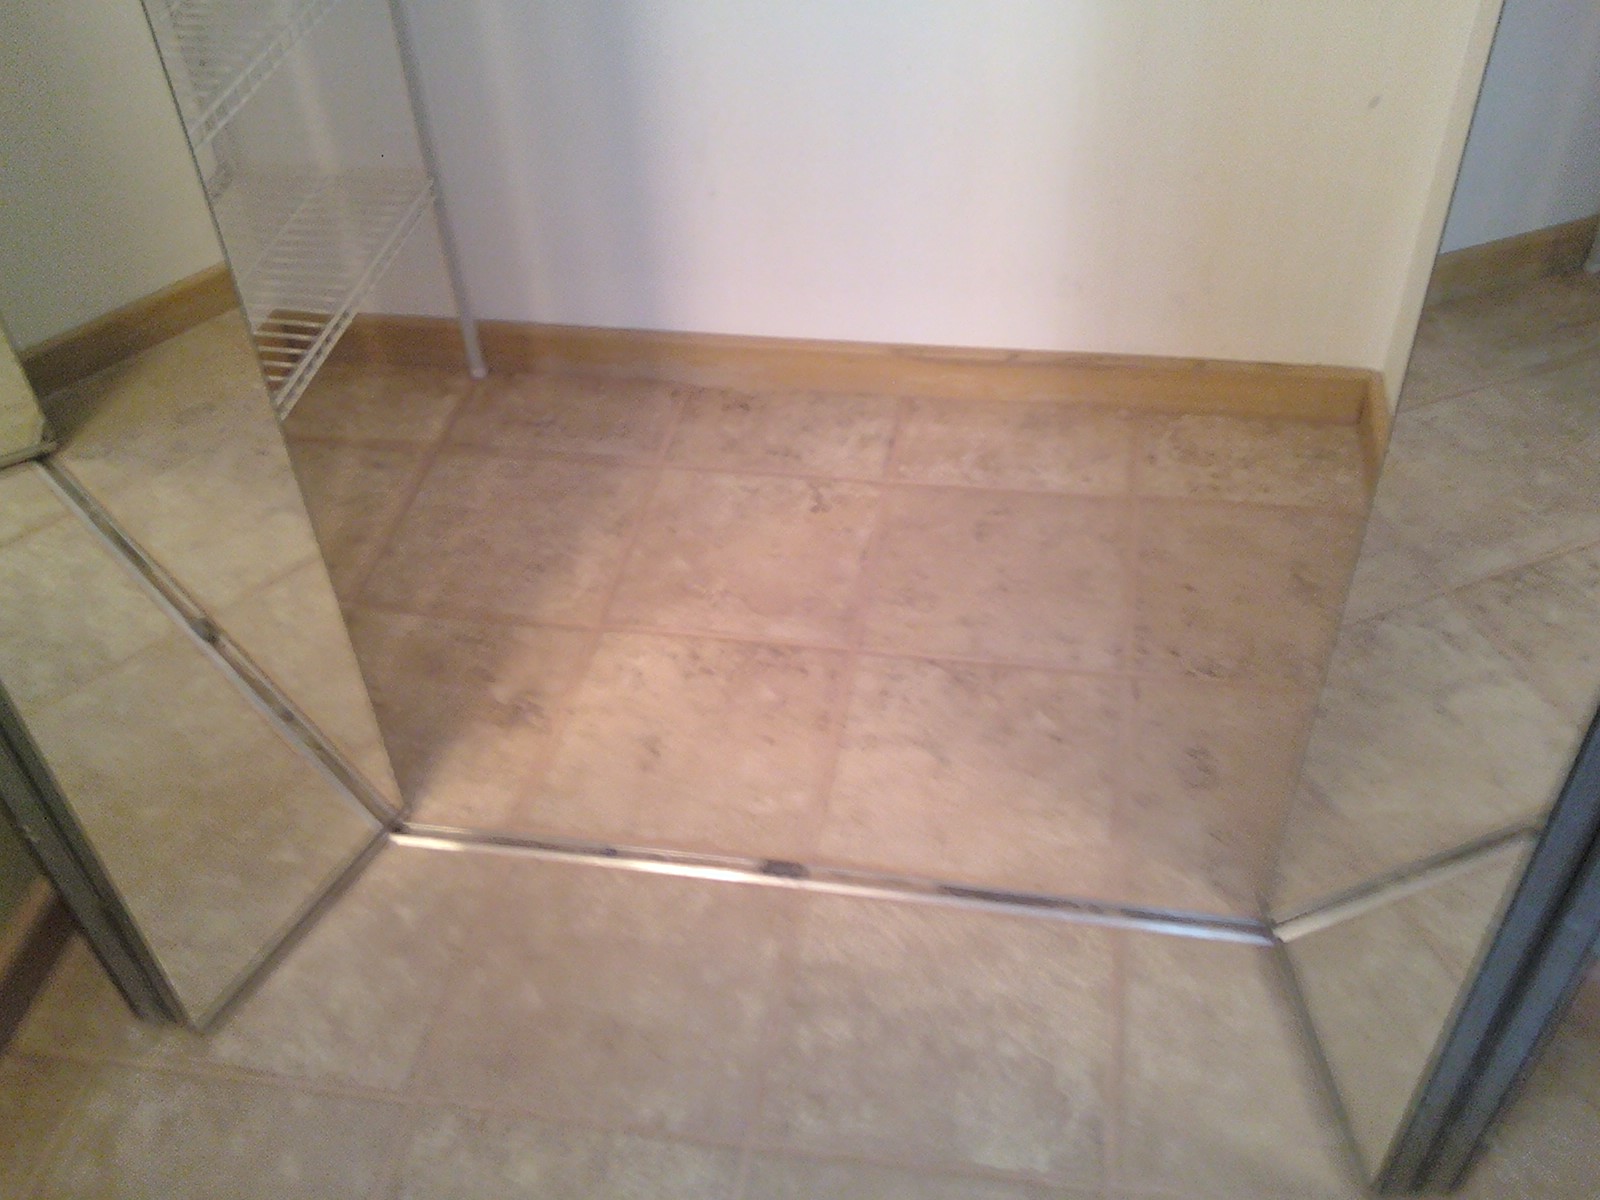
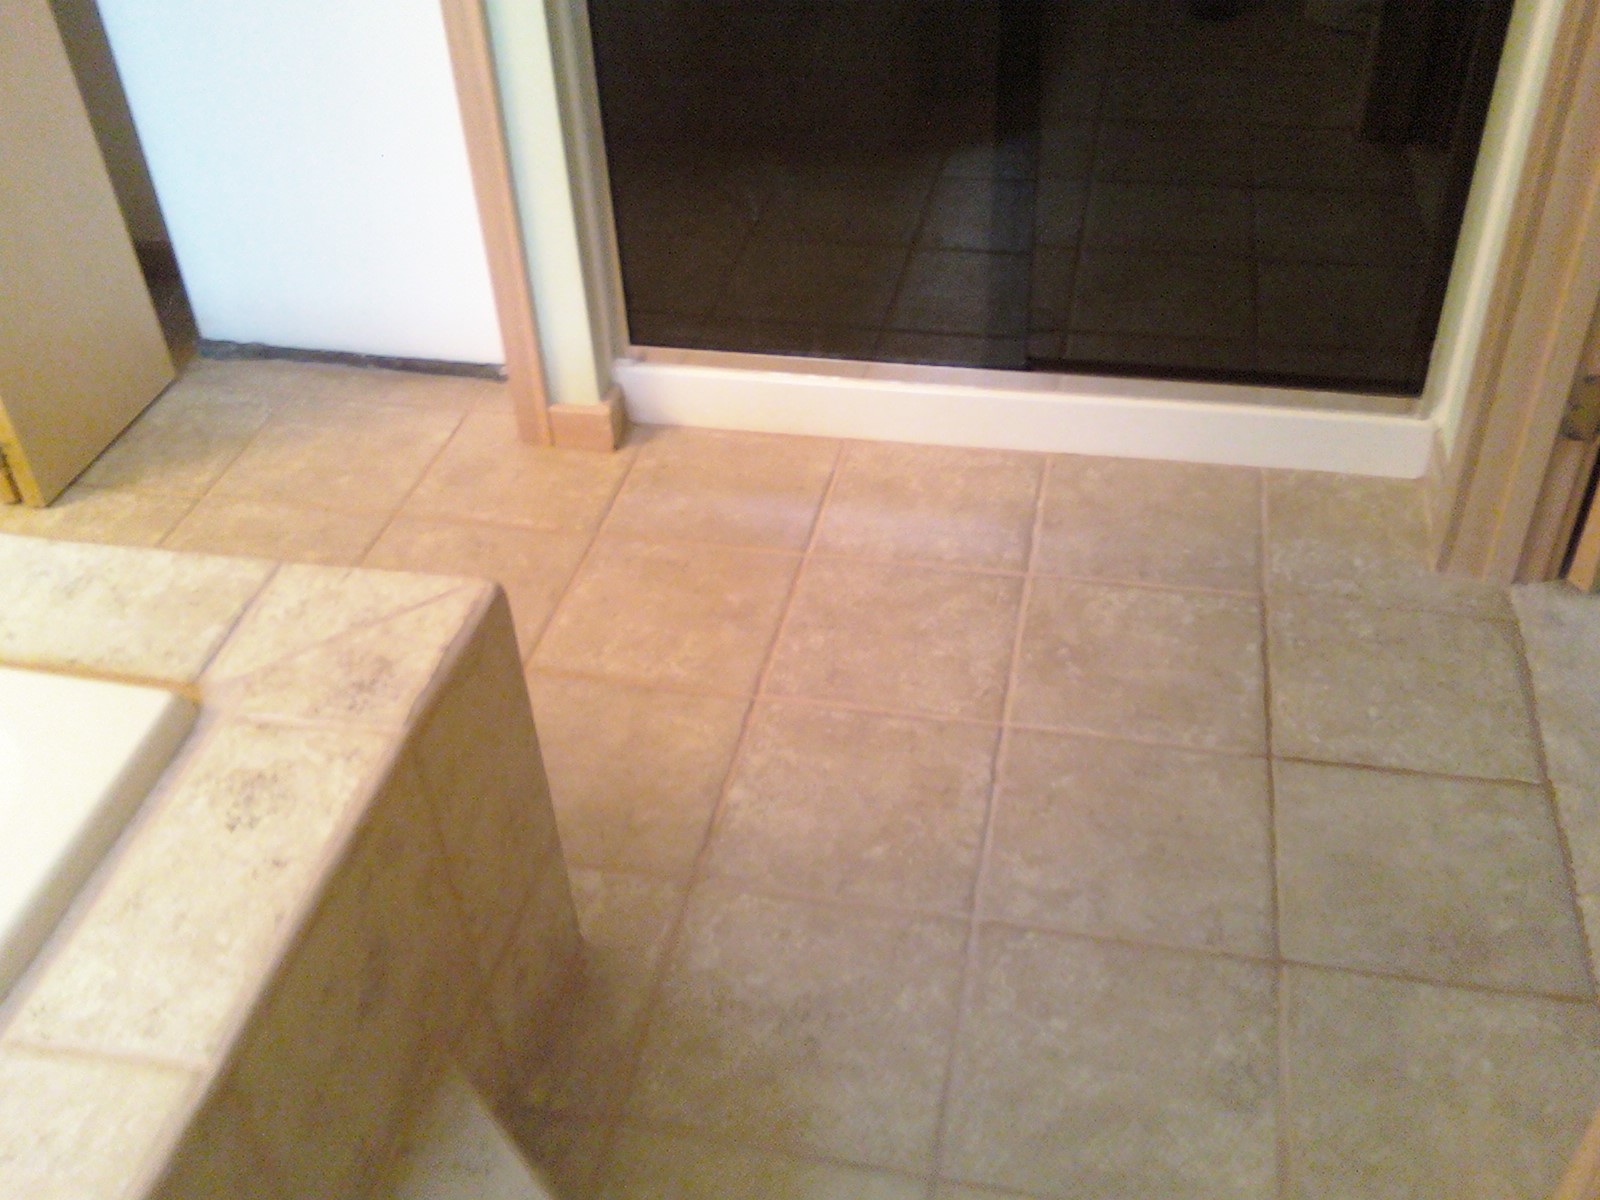
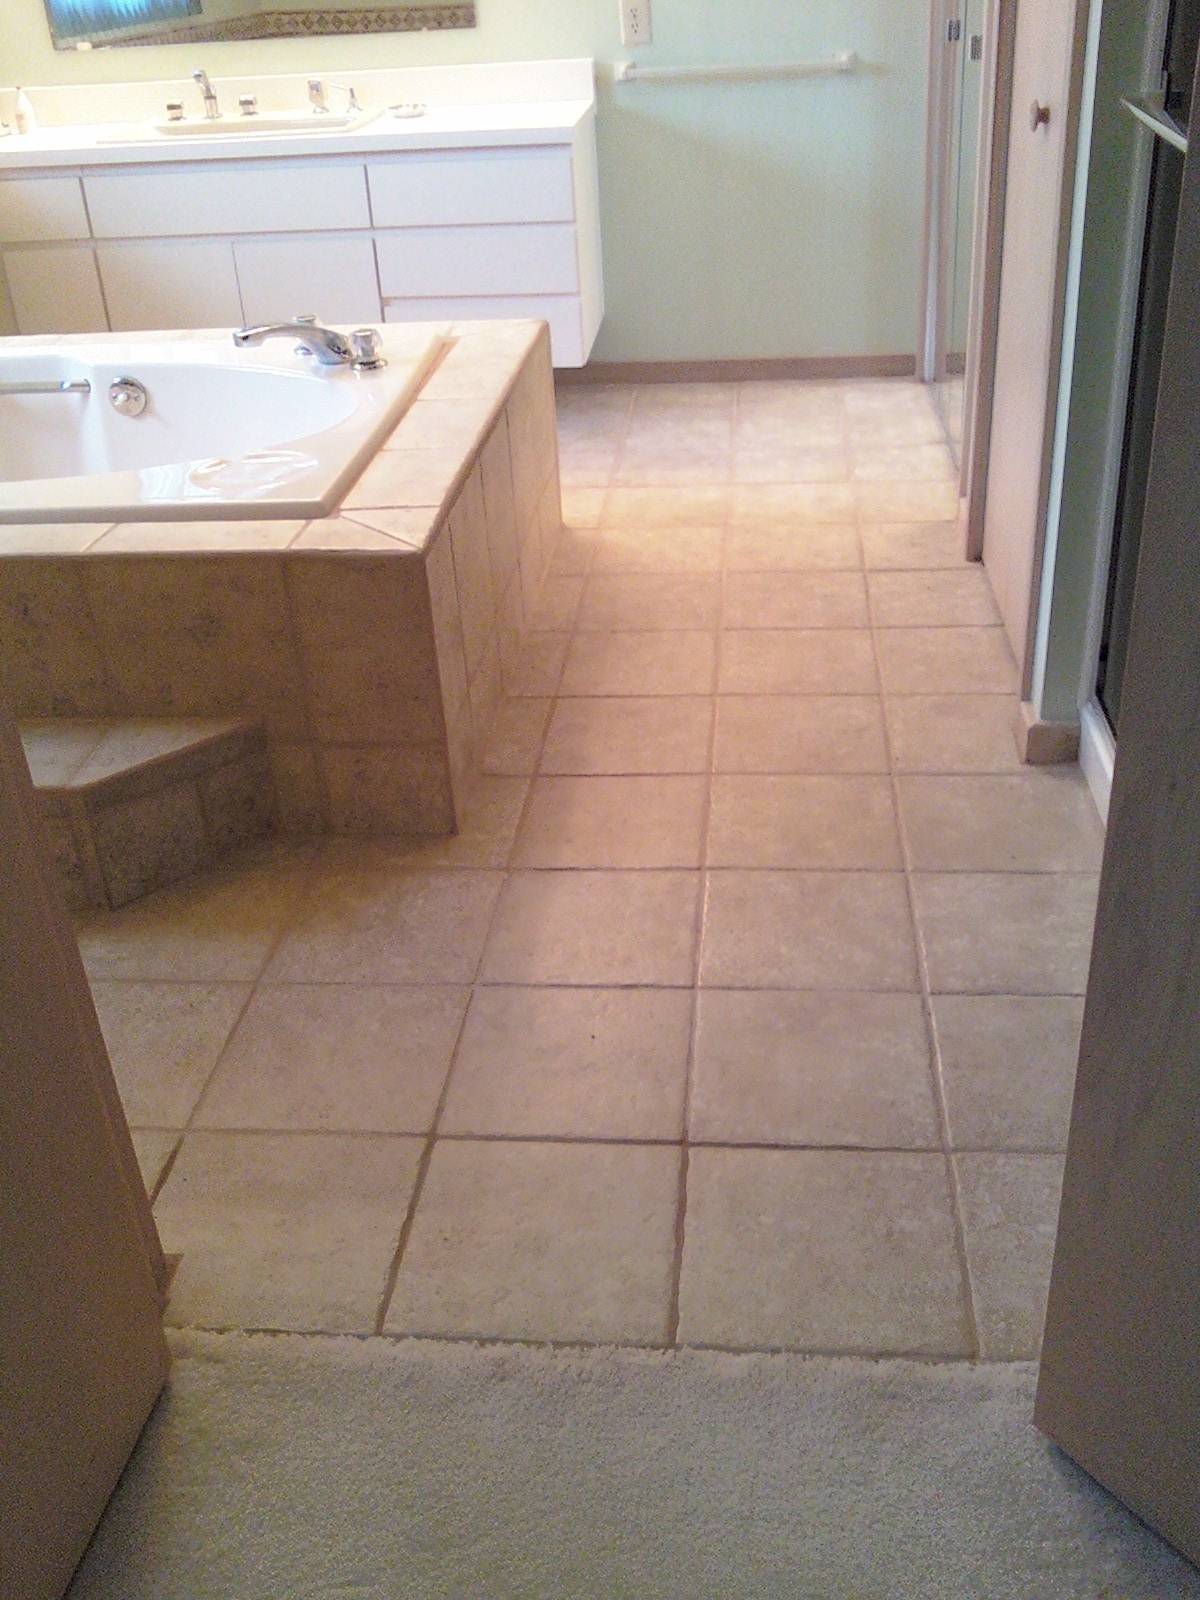
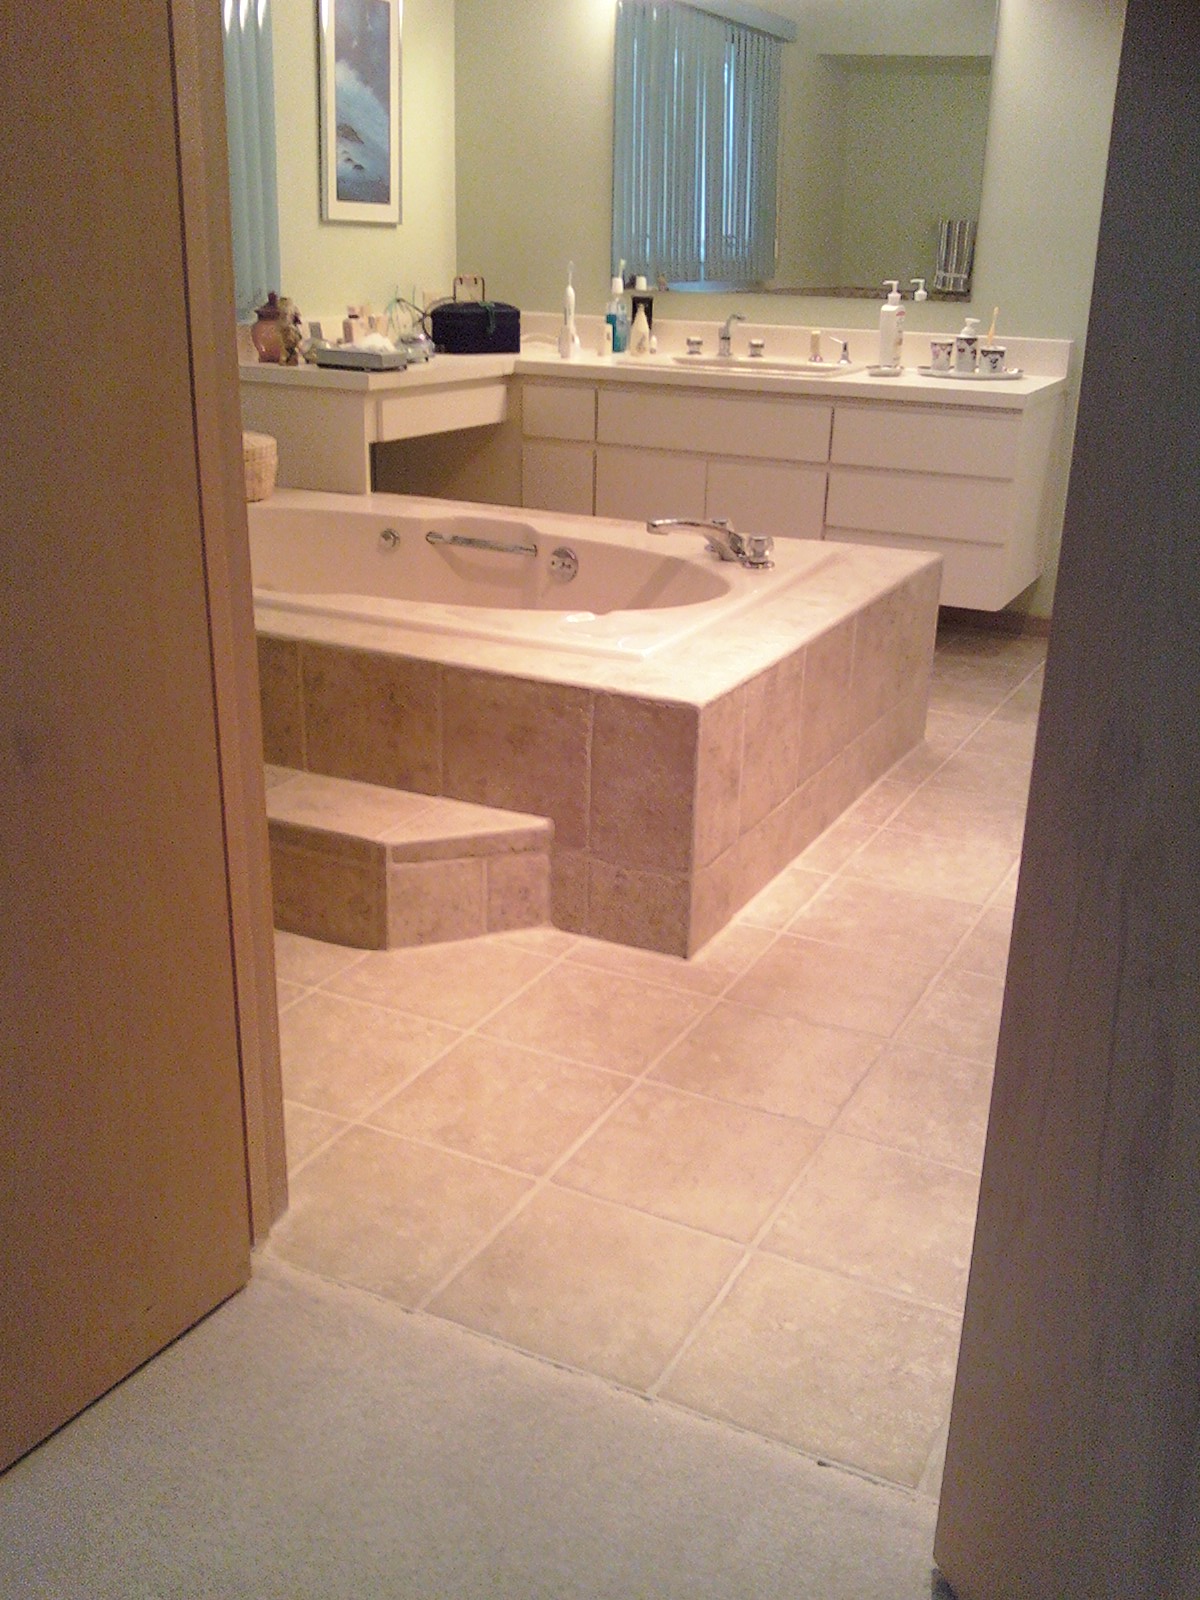
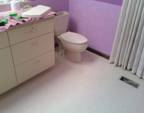
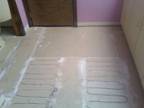
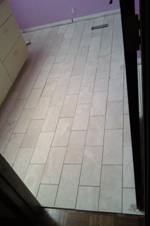
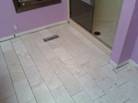
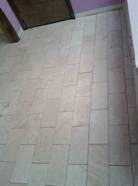
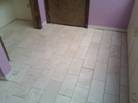
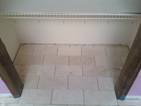
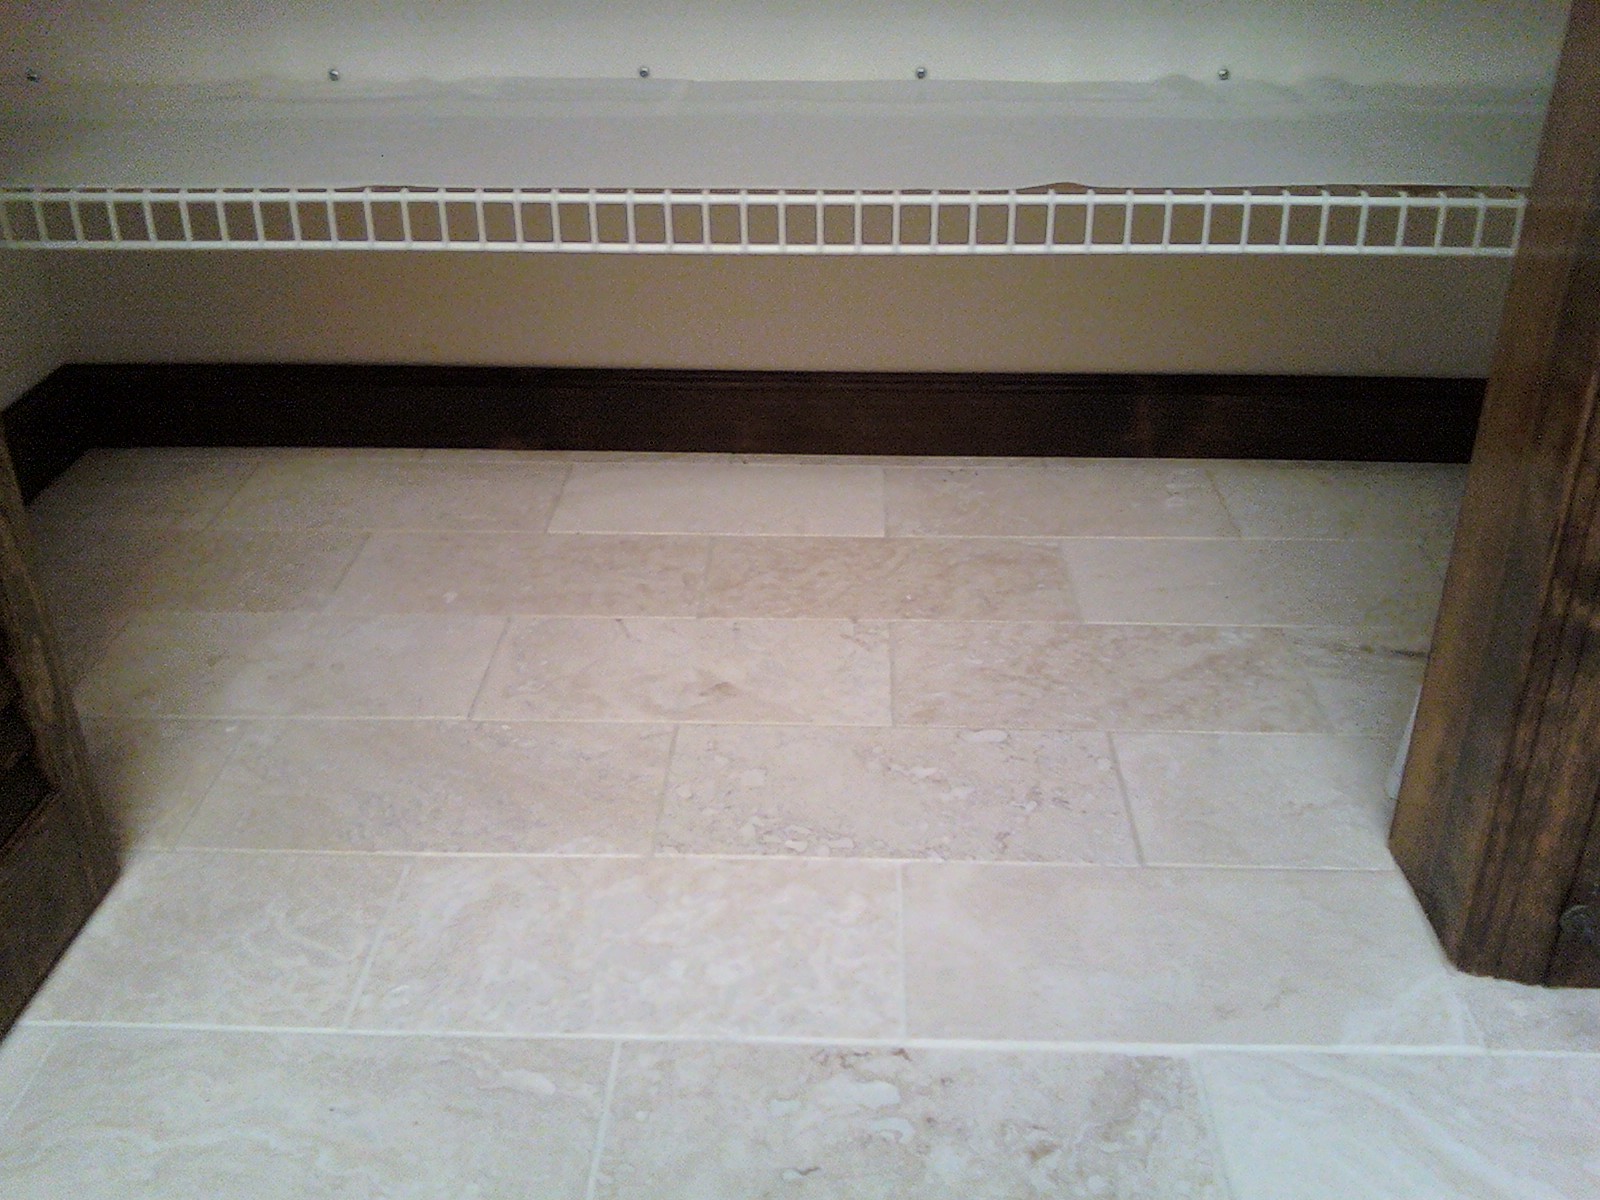
The final pictures show the completion of the electric heat floor and tile installation. Doors were installed back to the original specifications. Final cleaning was performed and considered to be acceptable by Stanley & Carolyn. The remaining pictures are labeled fifty-seven through sixty-three.
A few months past the completion date, a change in grout color was chosen to apply a thin layer over the original selection. The remaining pictures provide the final appearance of the bathroom.
|
|
|
|
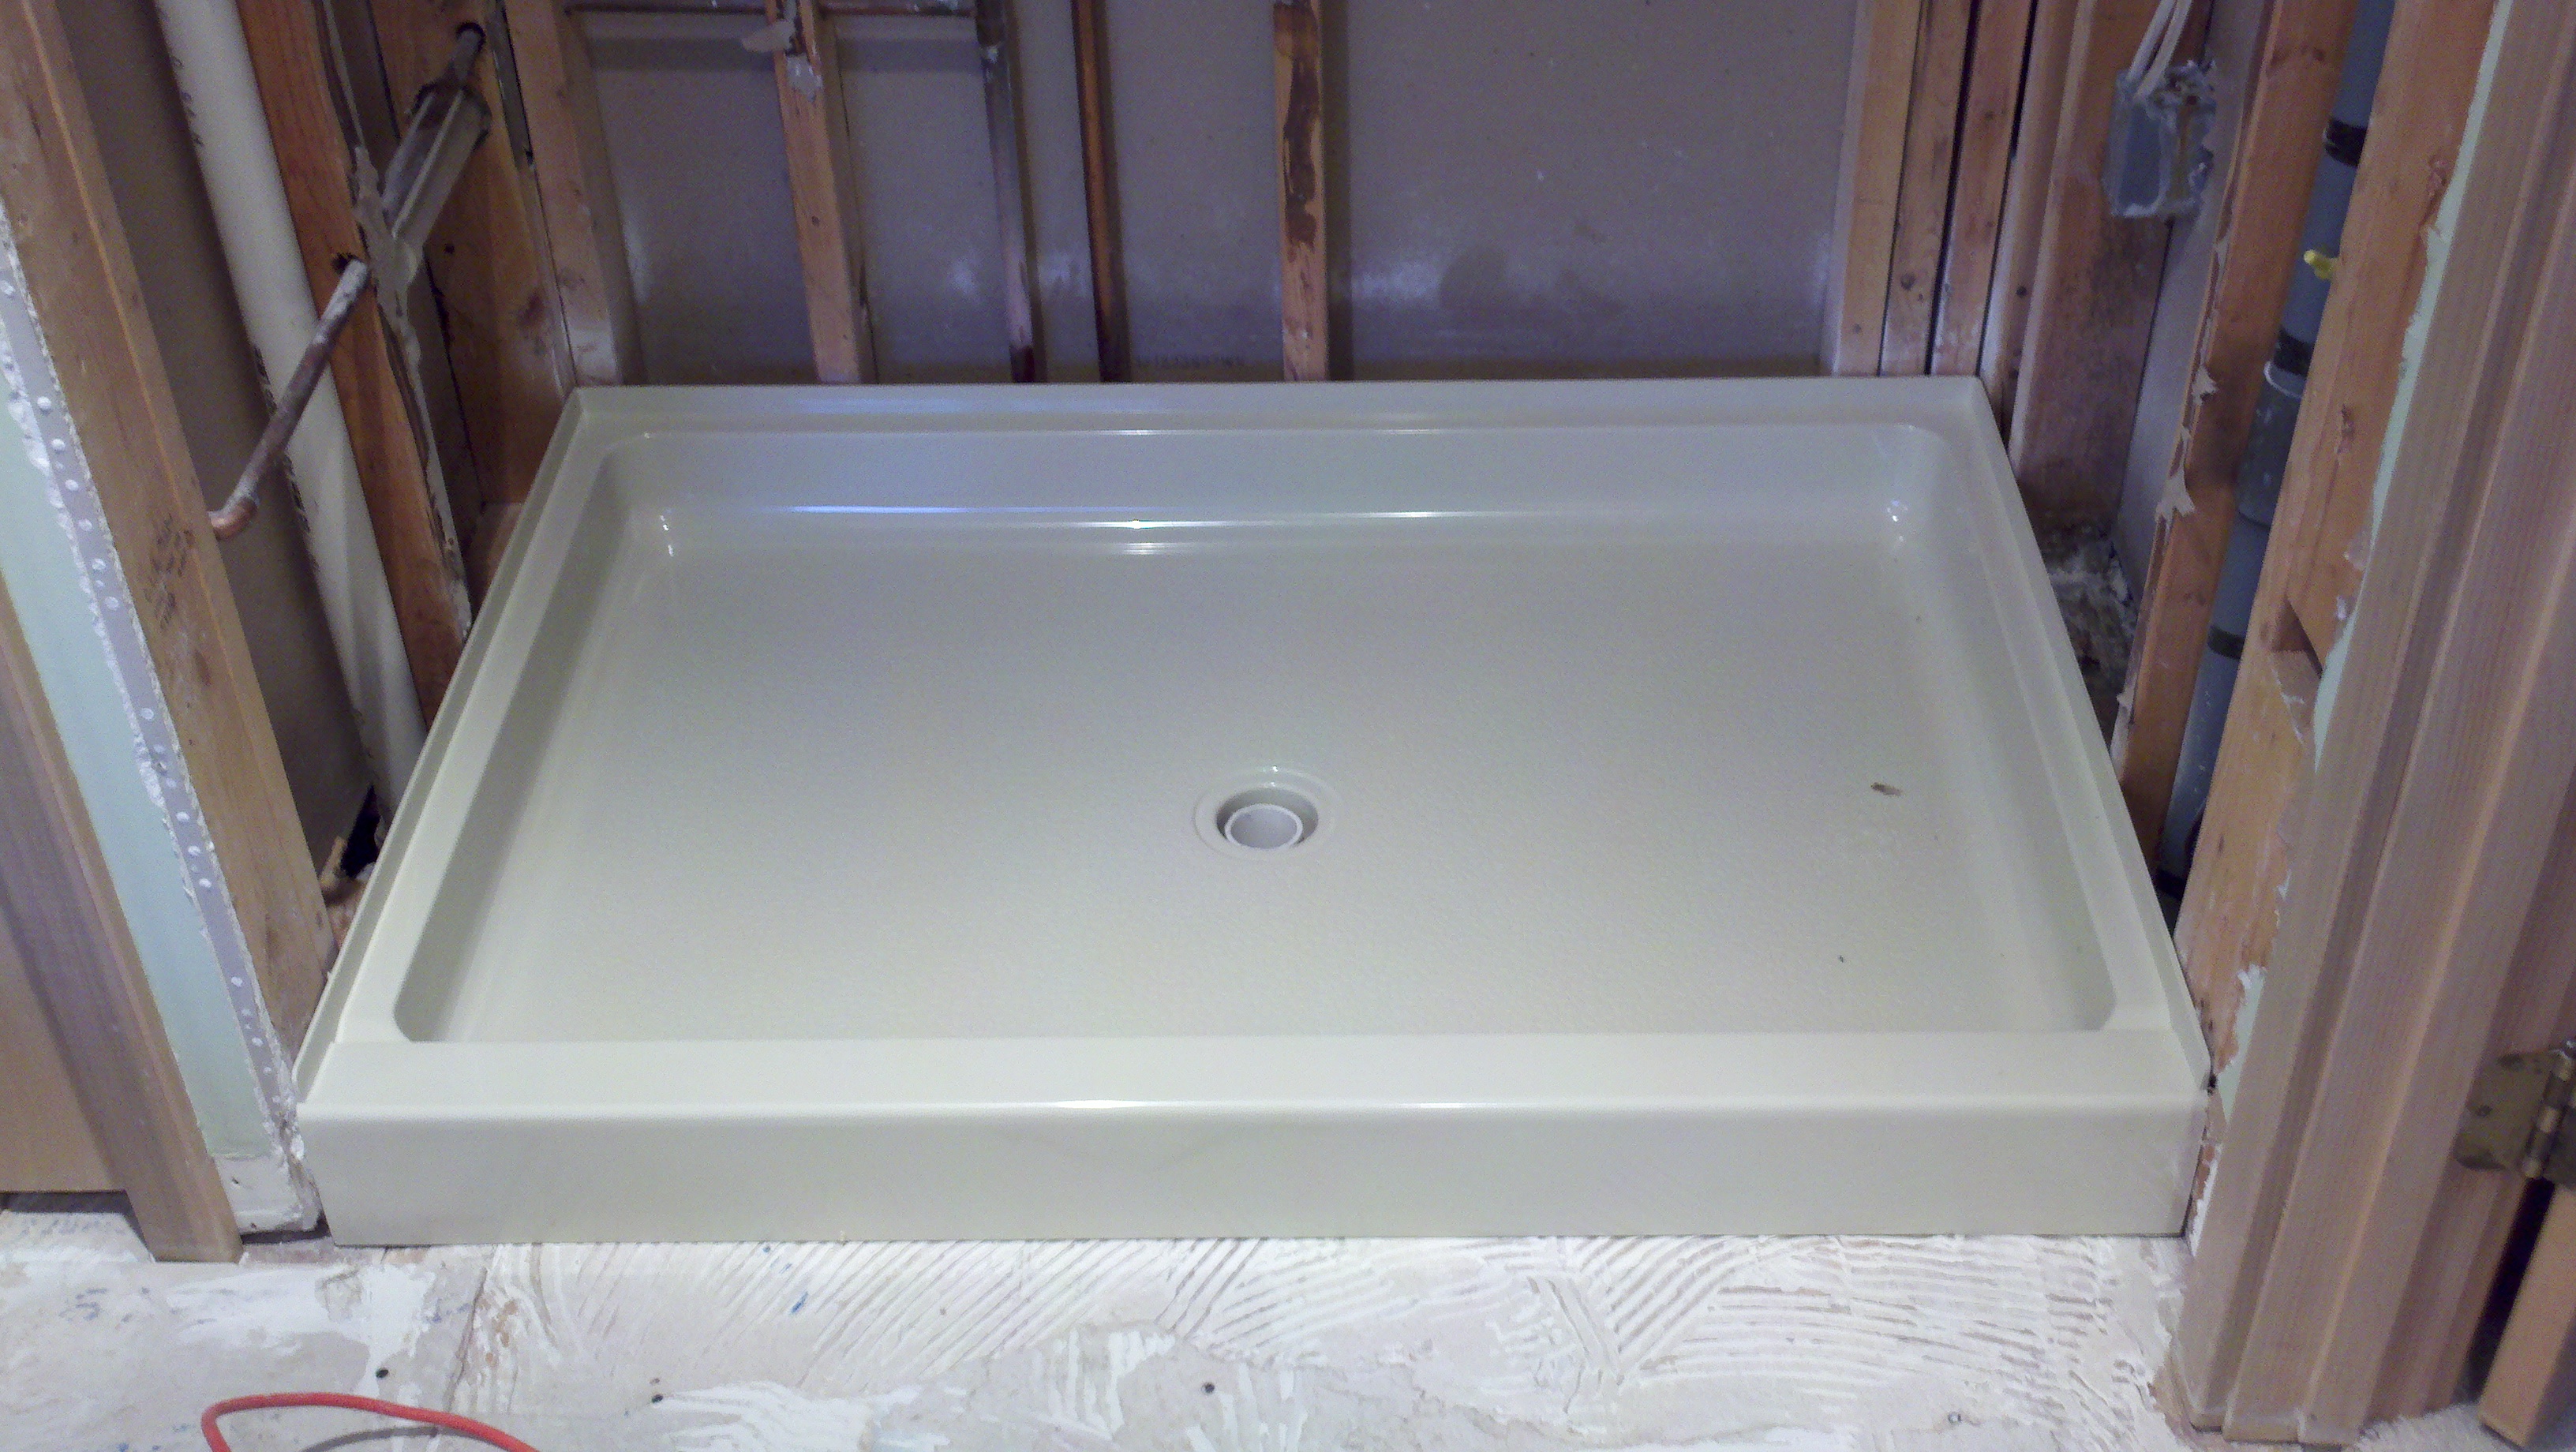
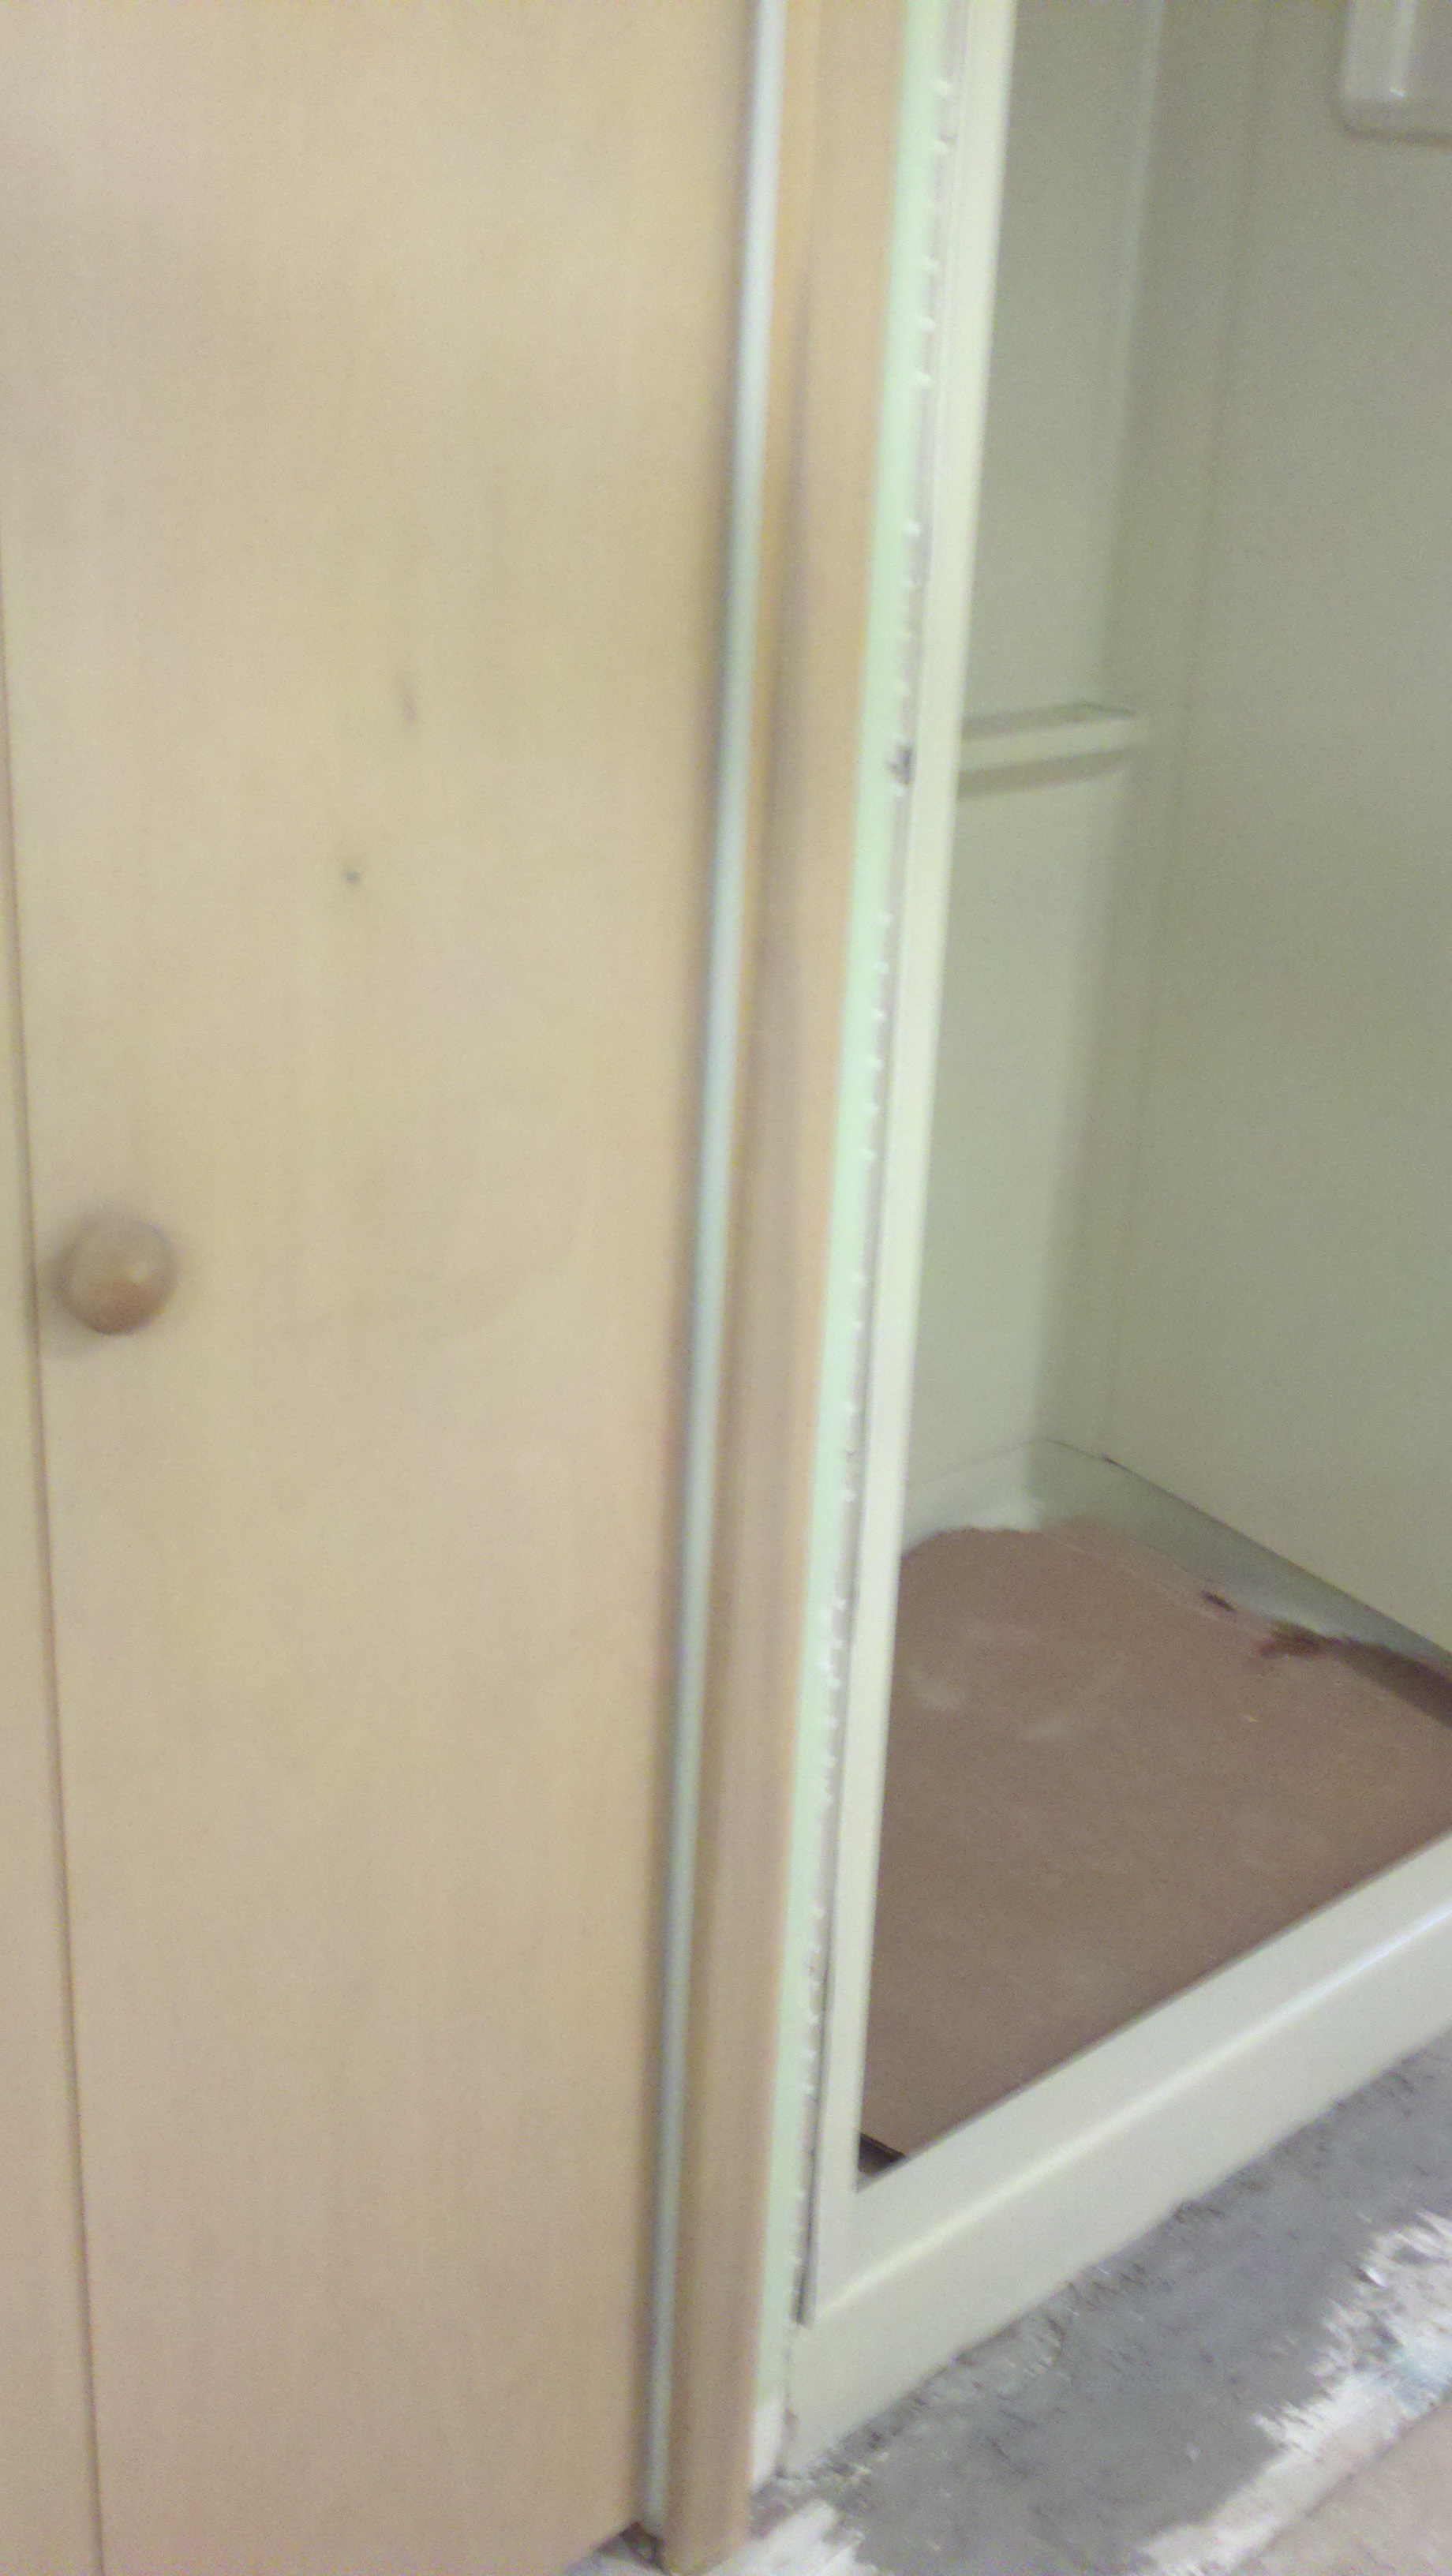
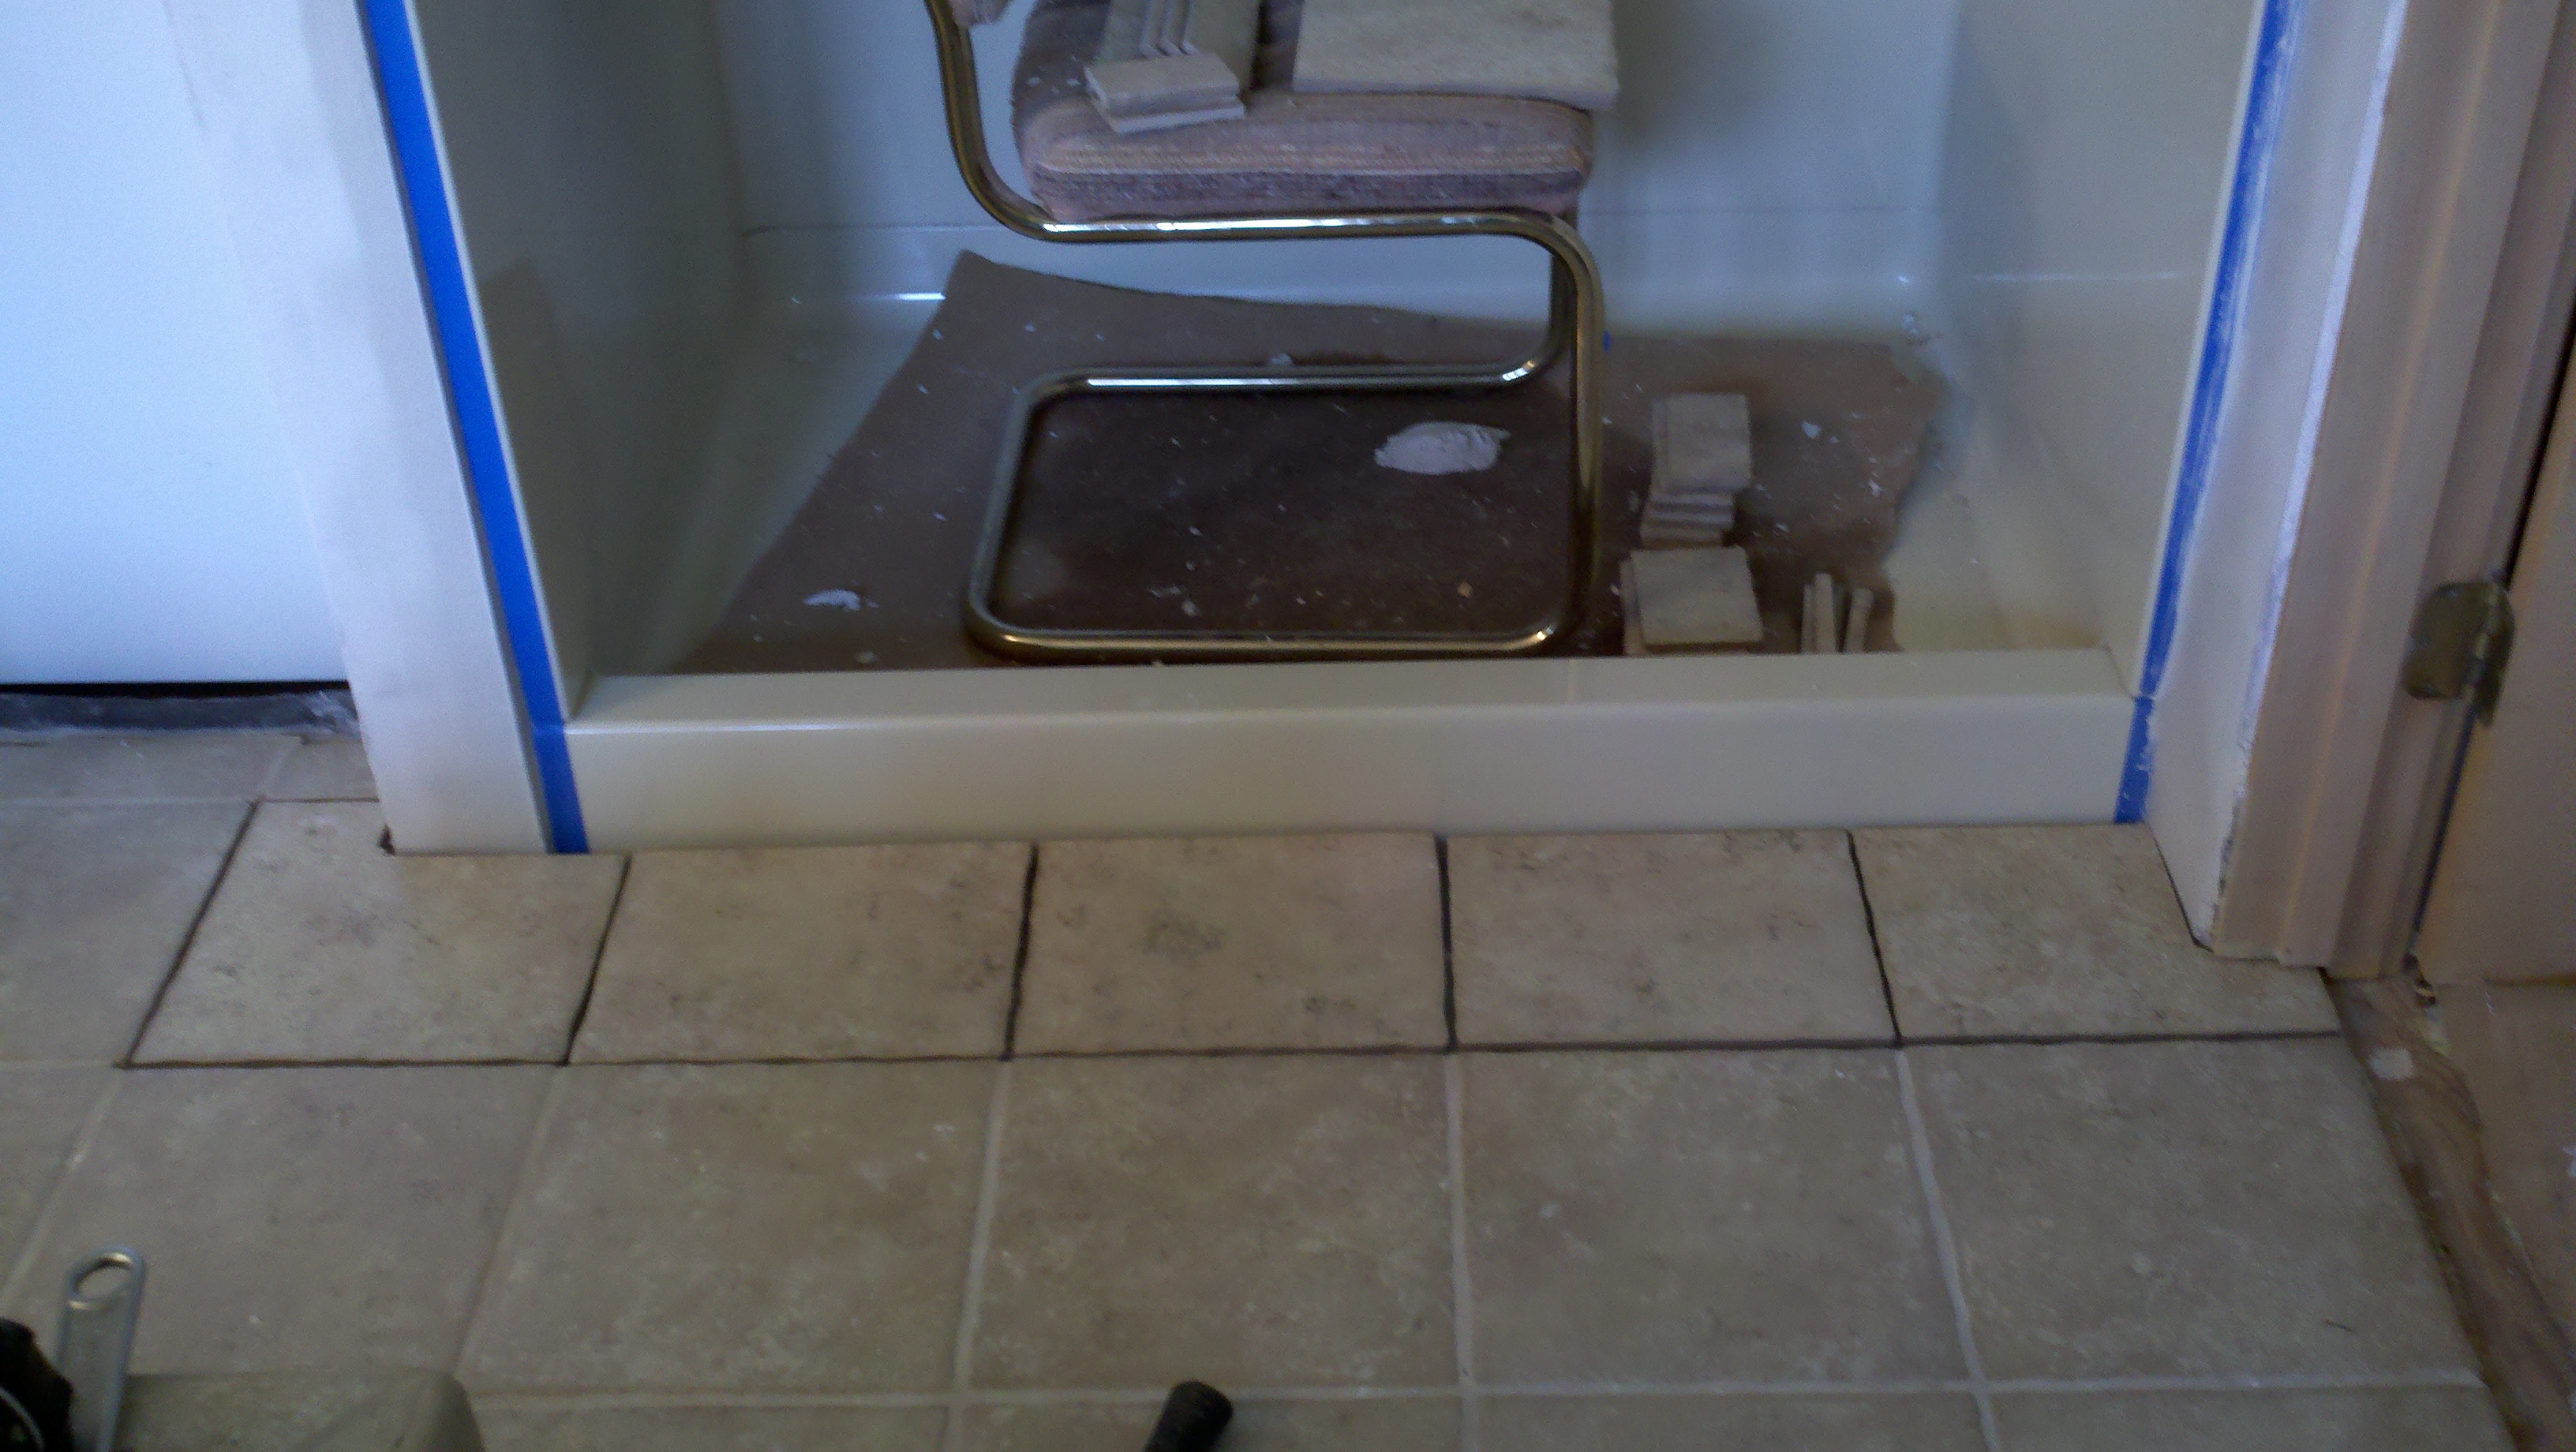
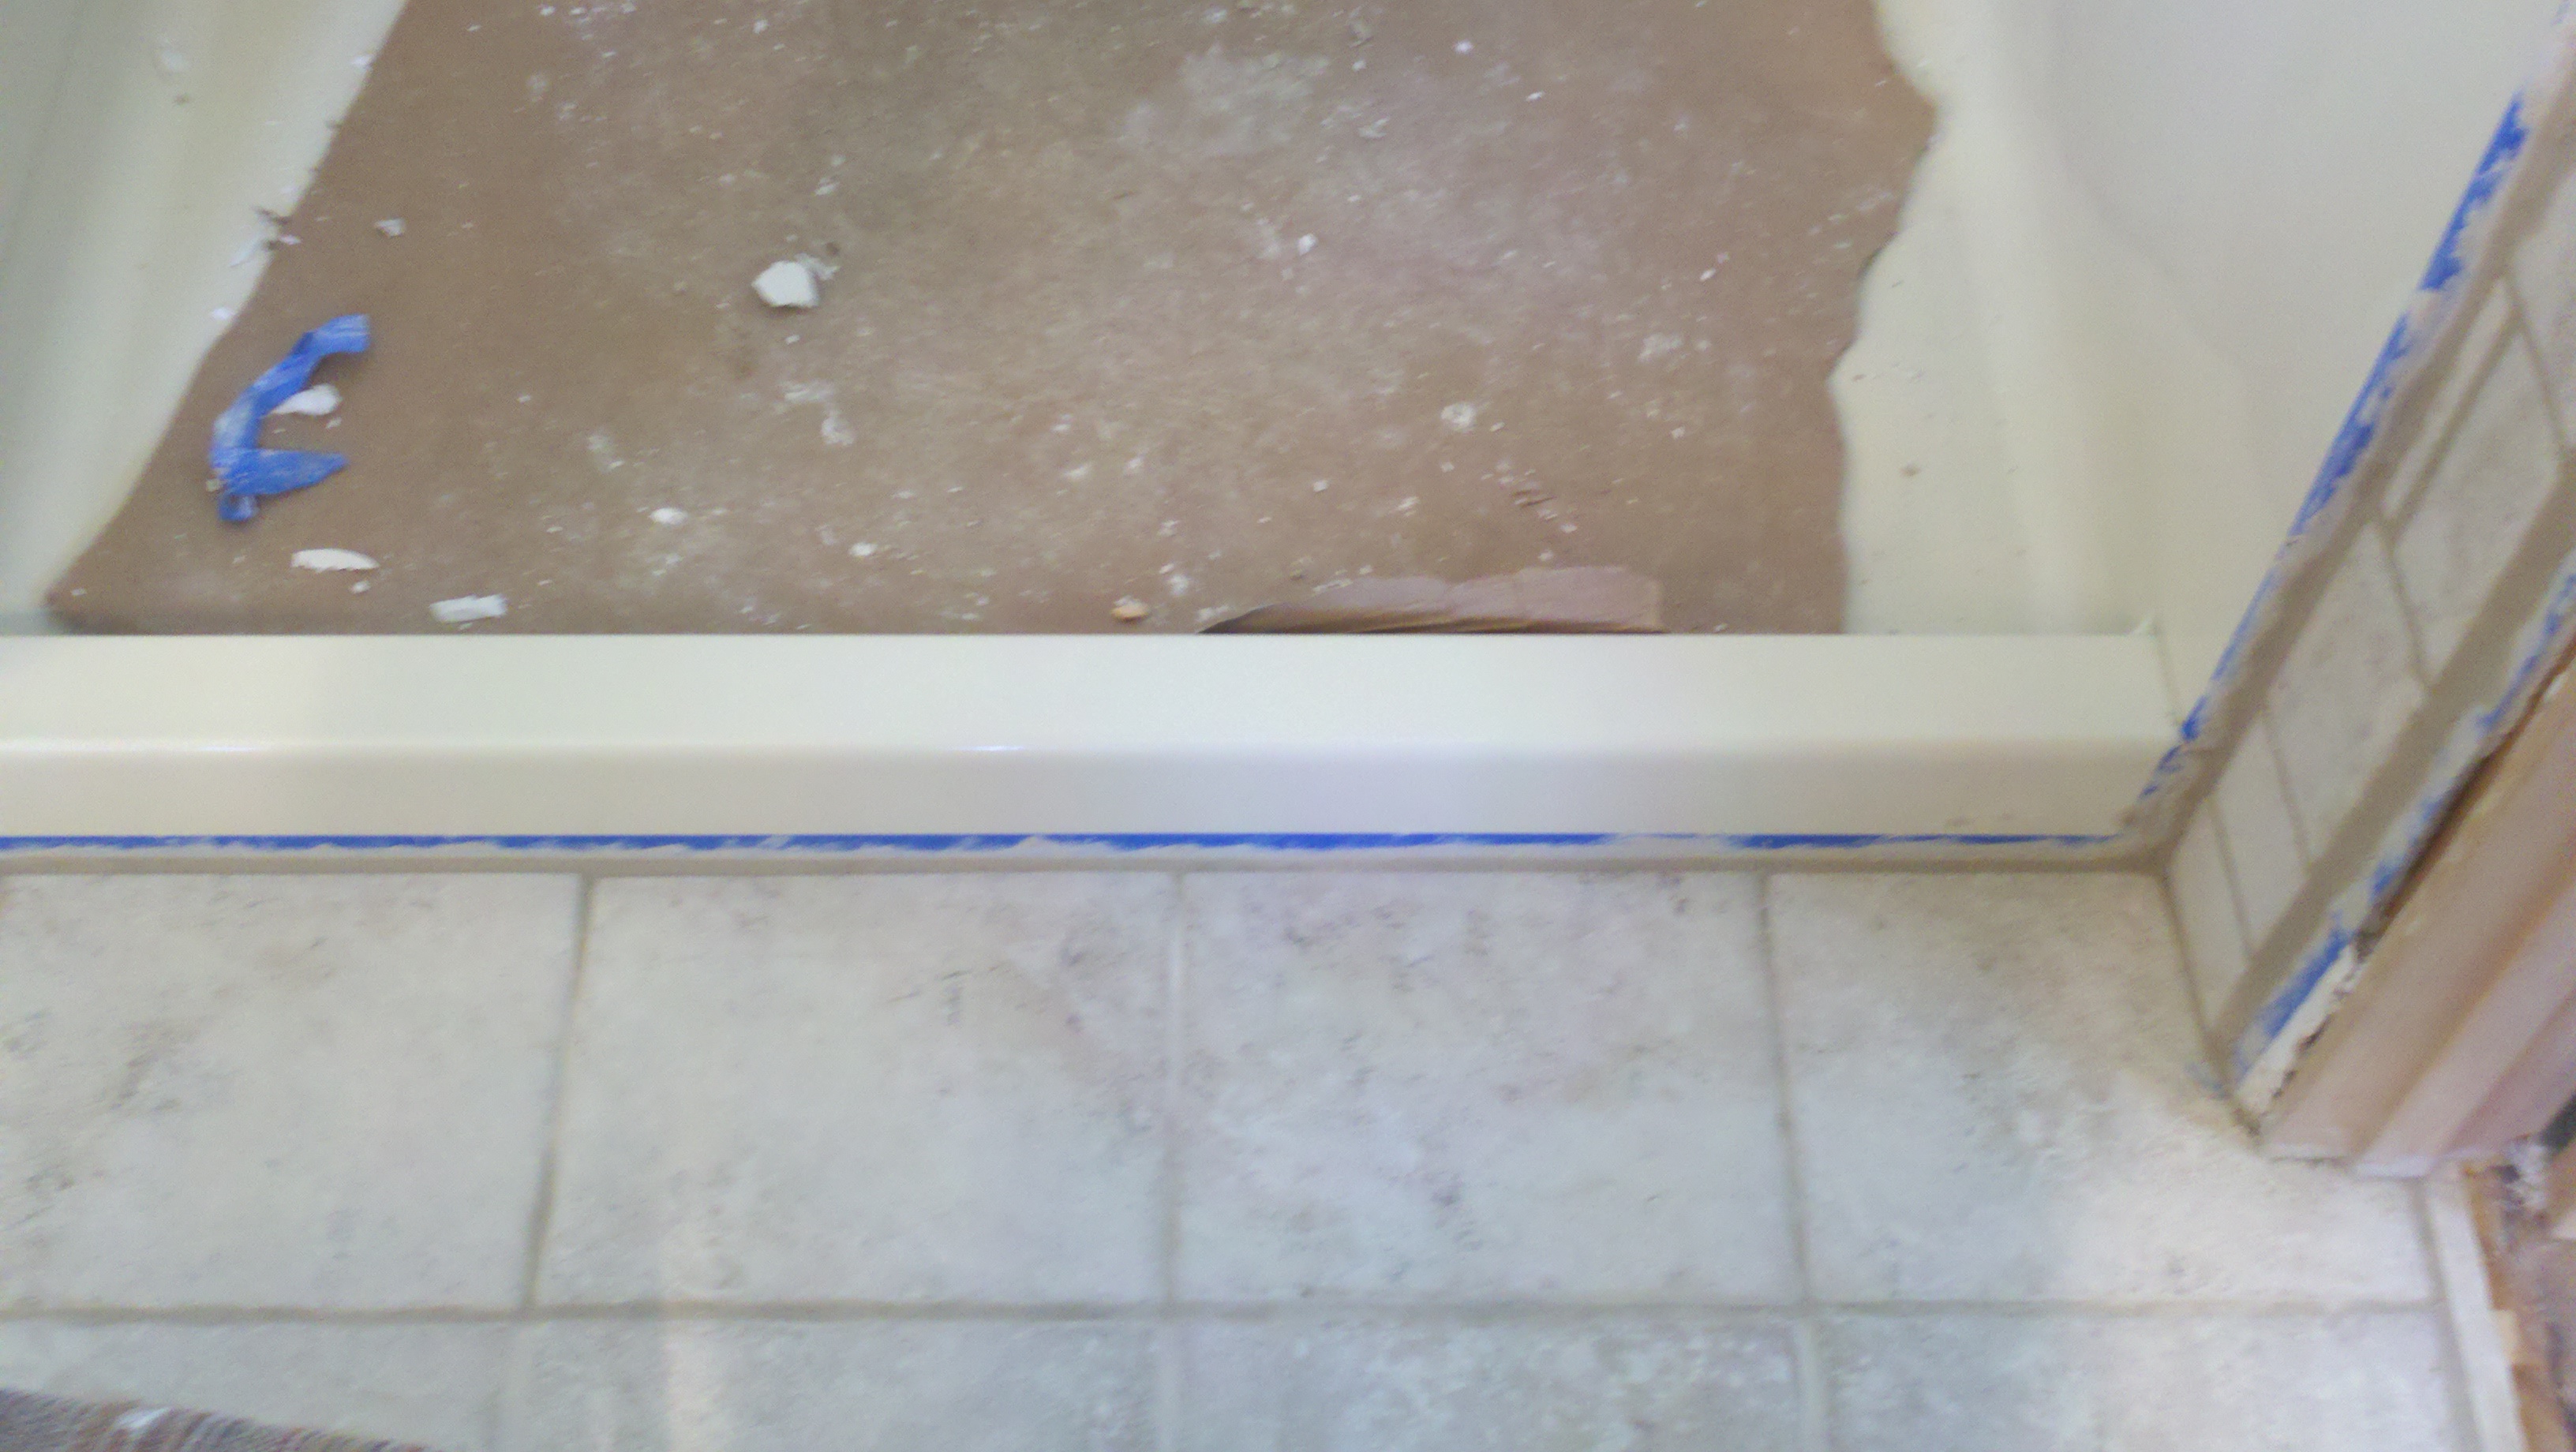
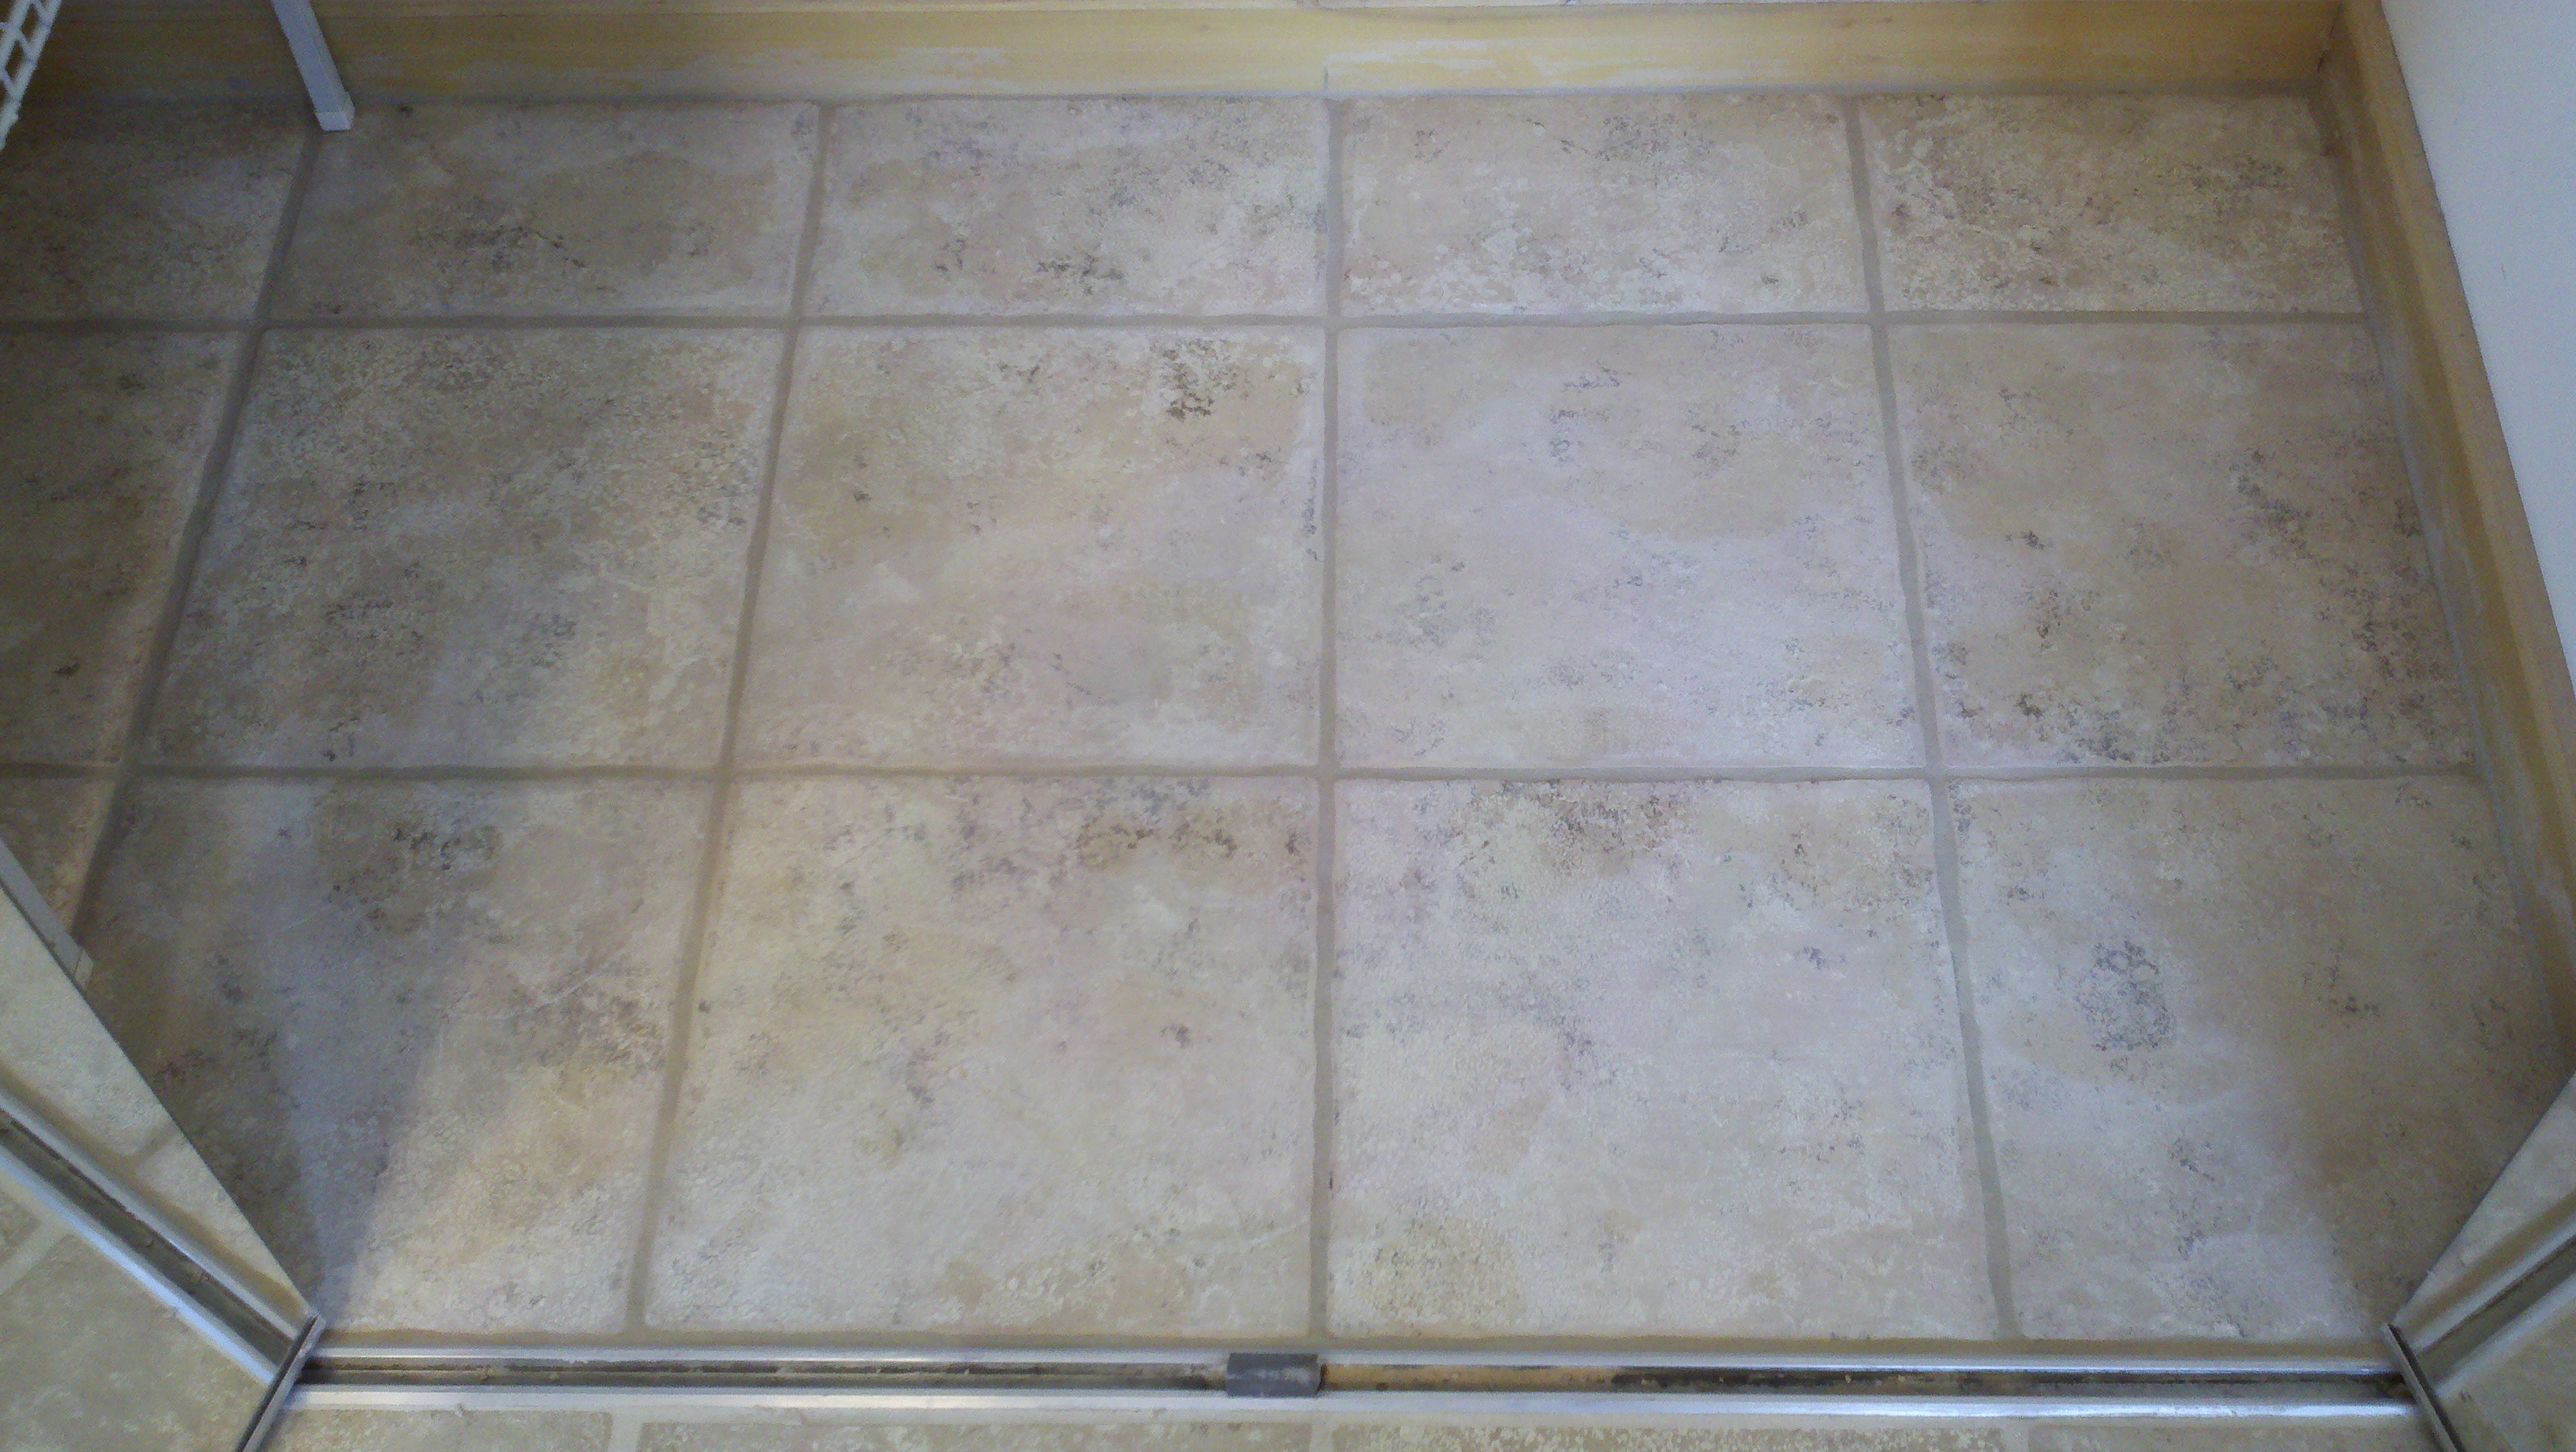
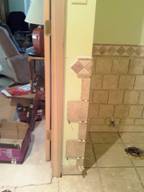
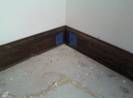
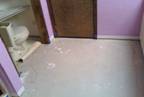
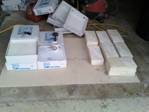
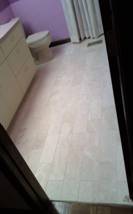
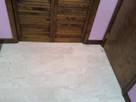
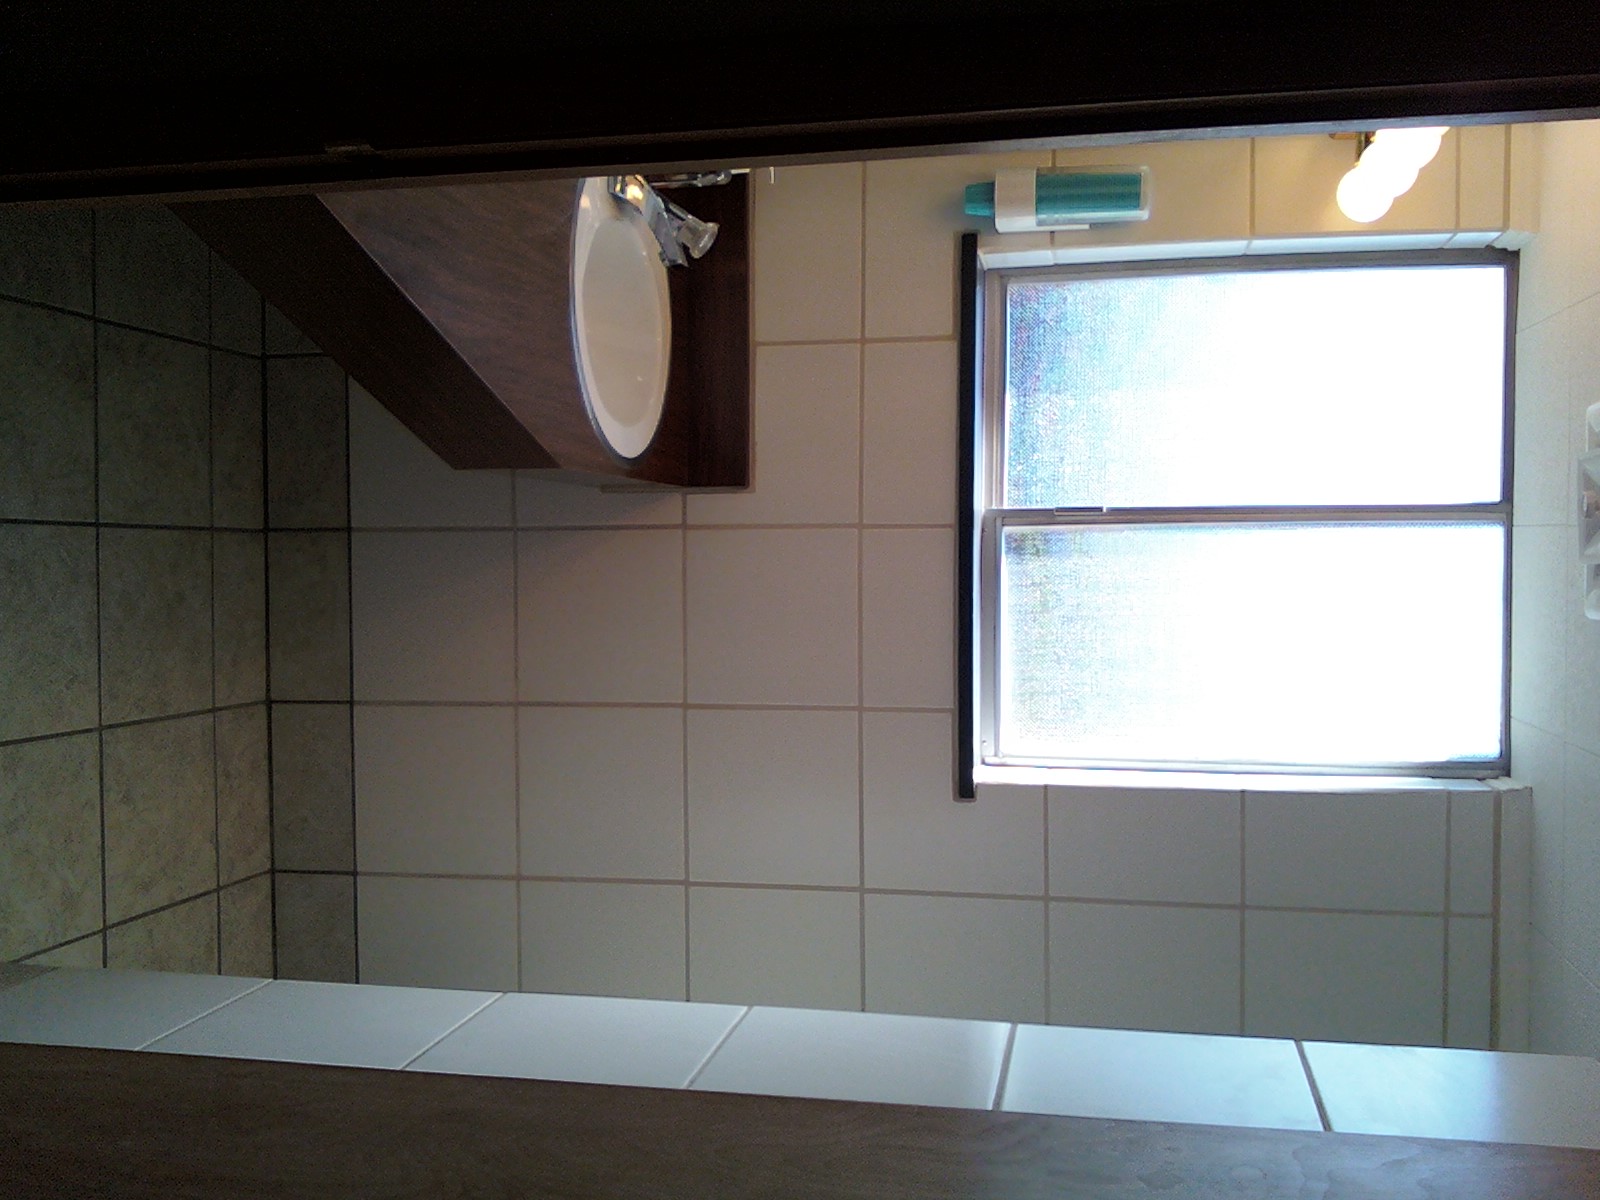
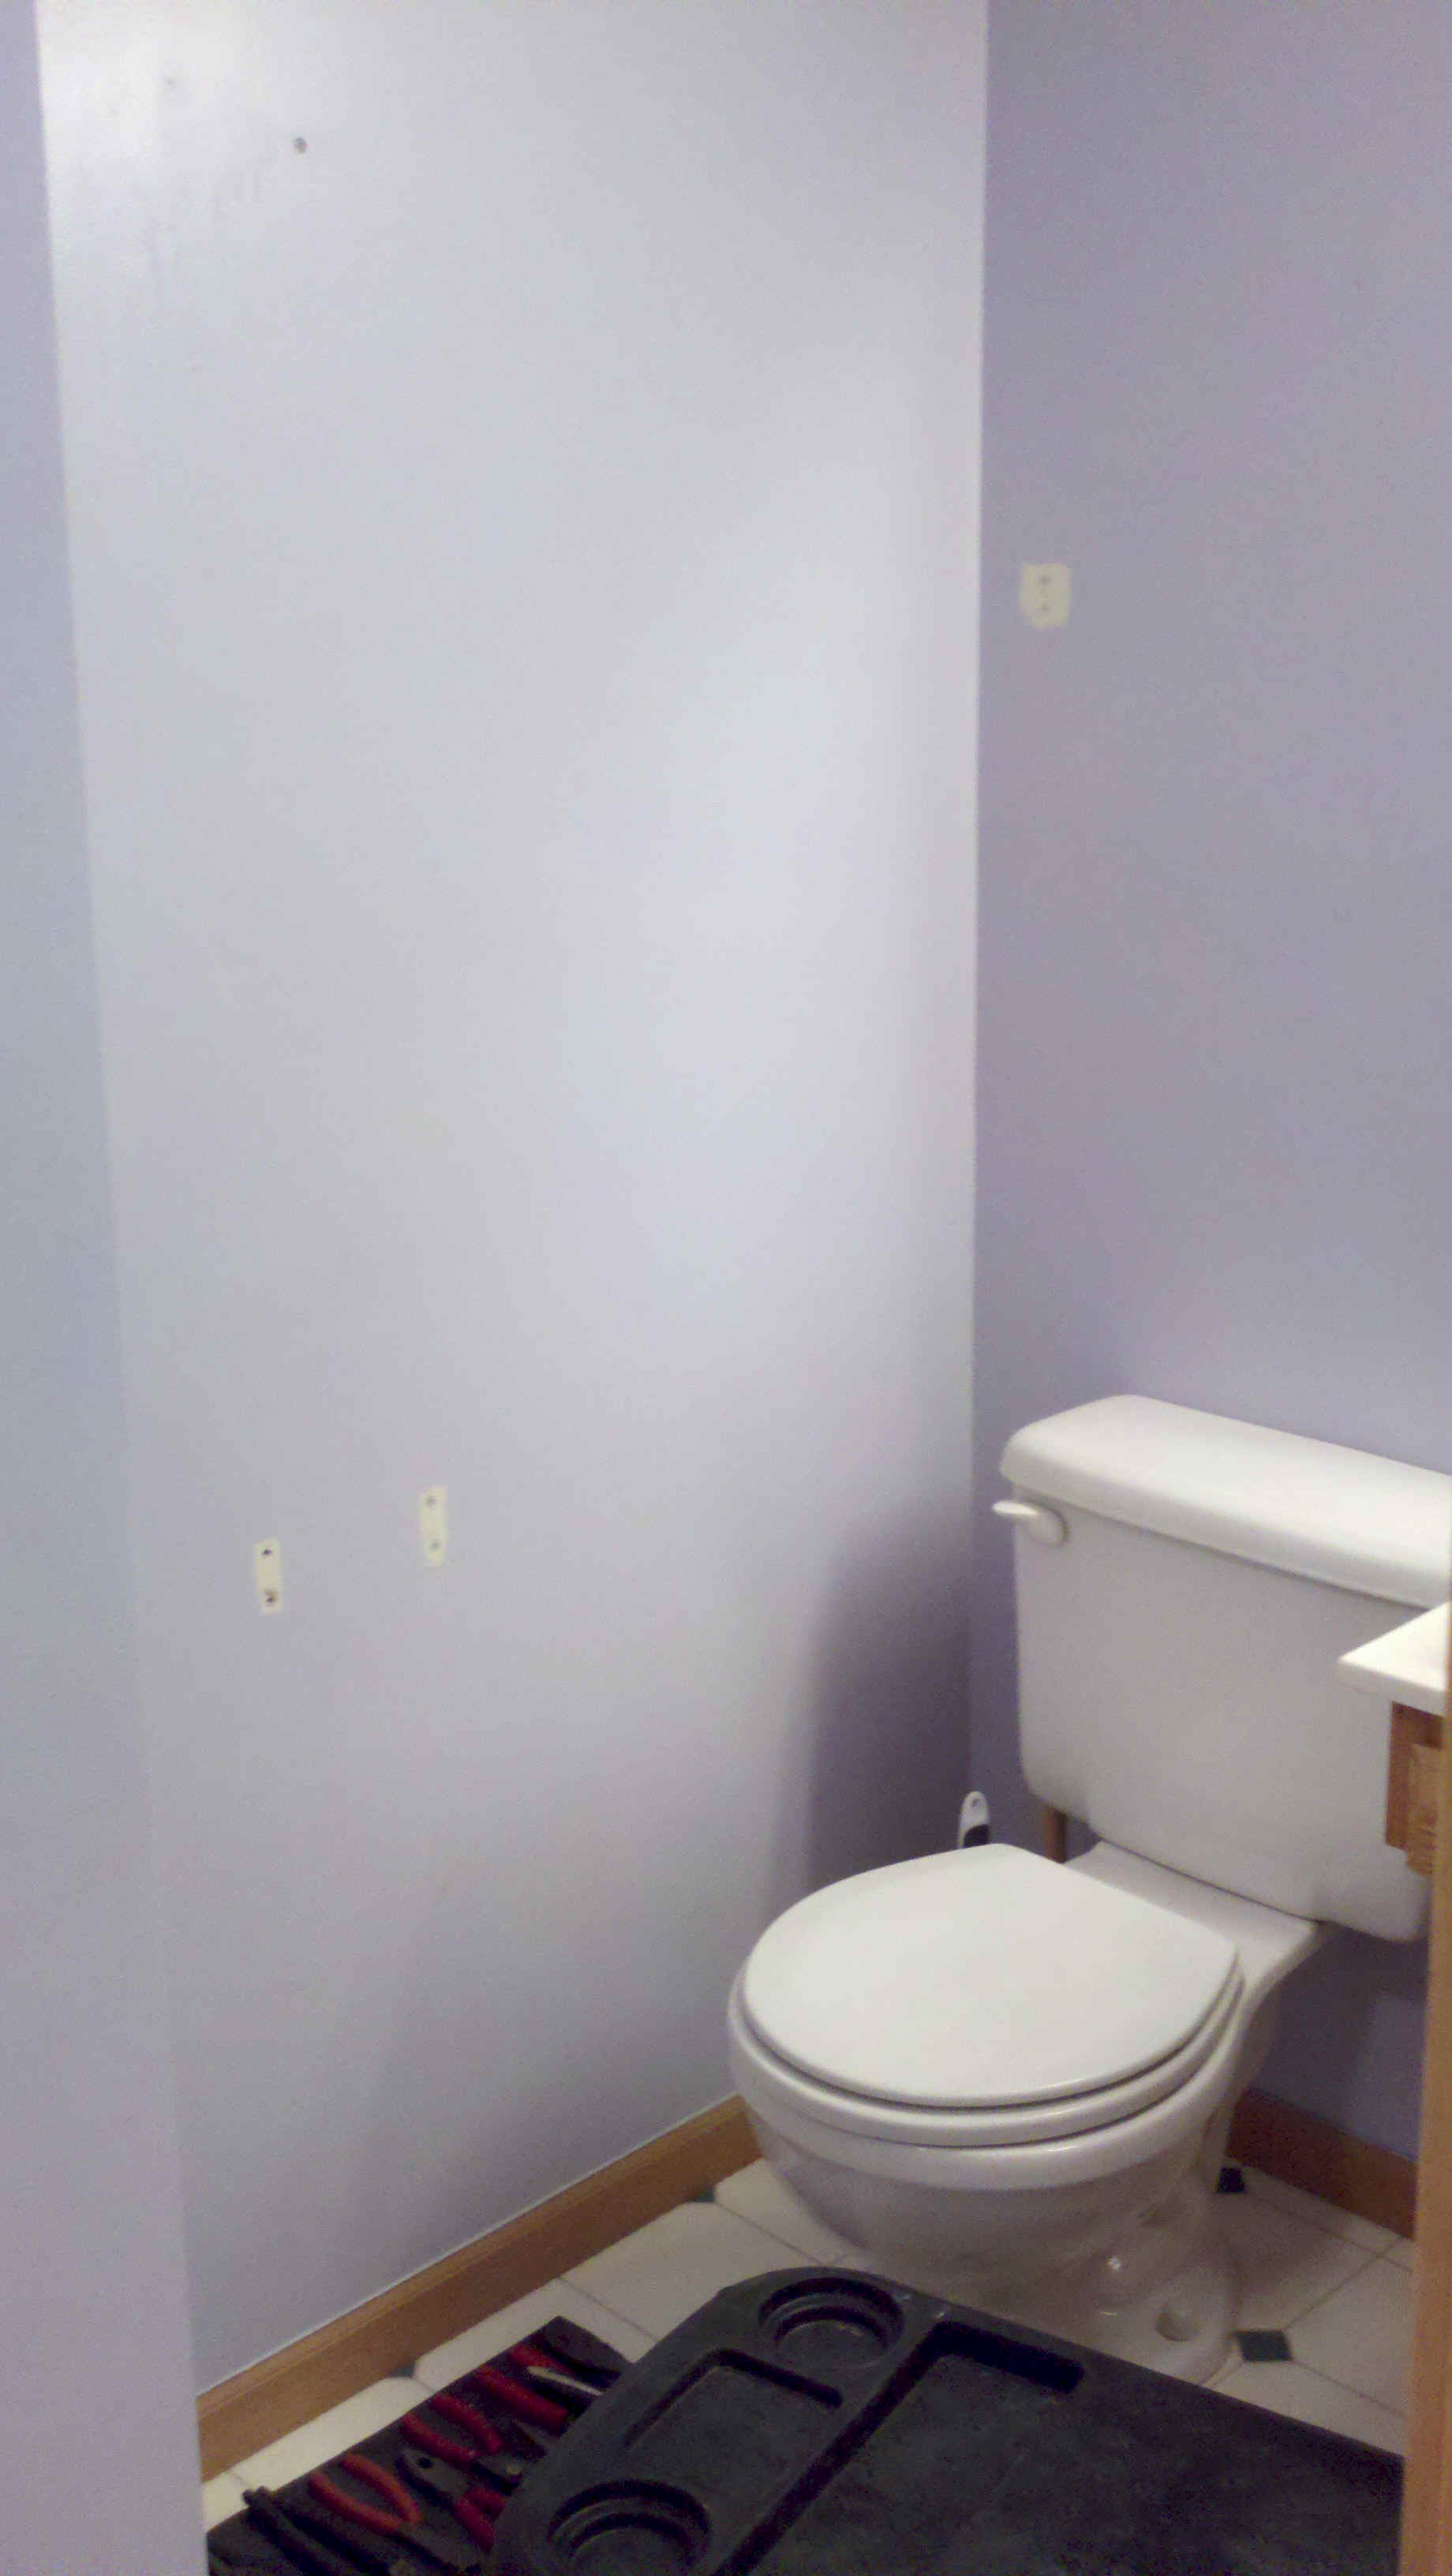
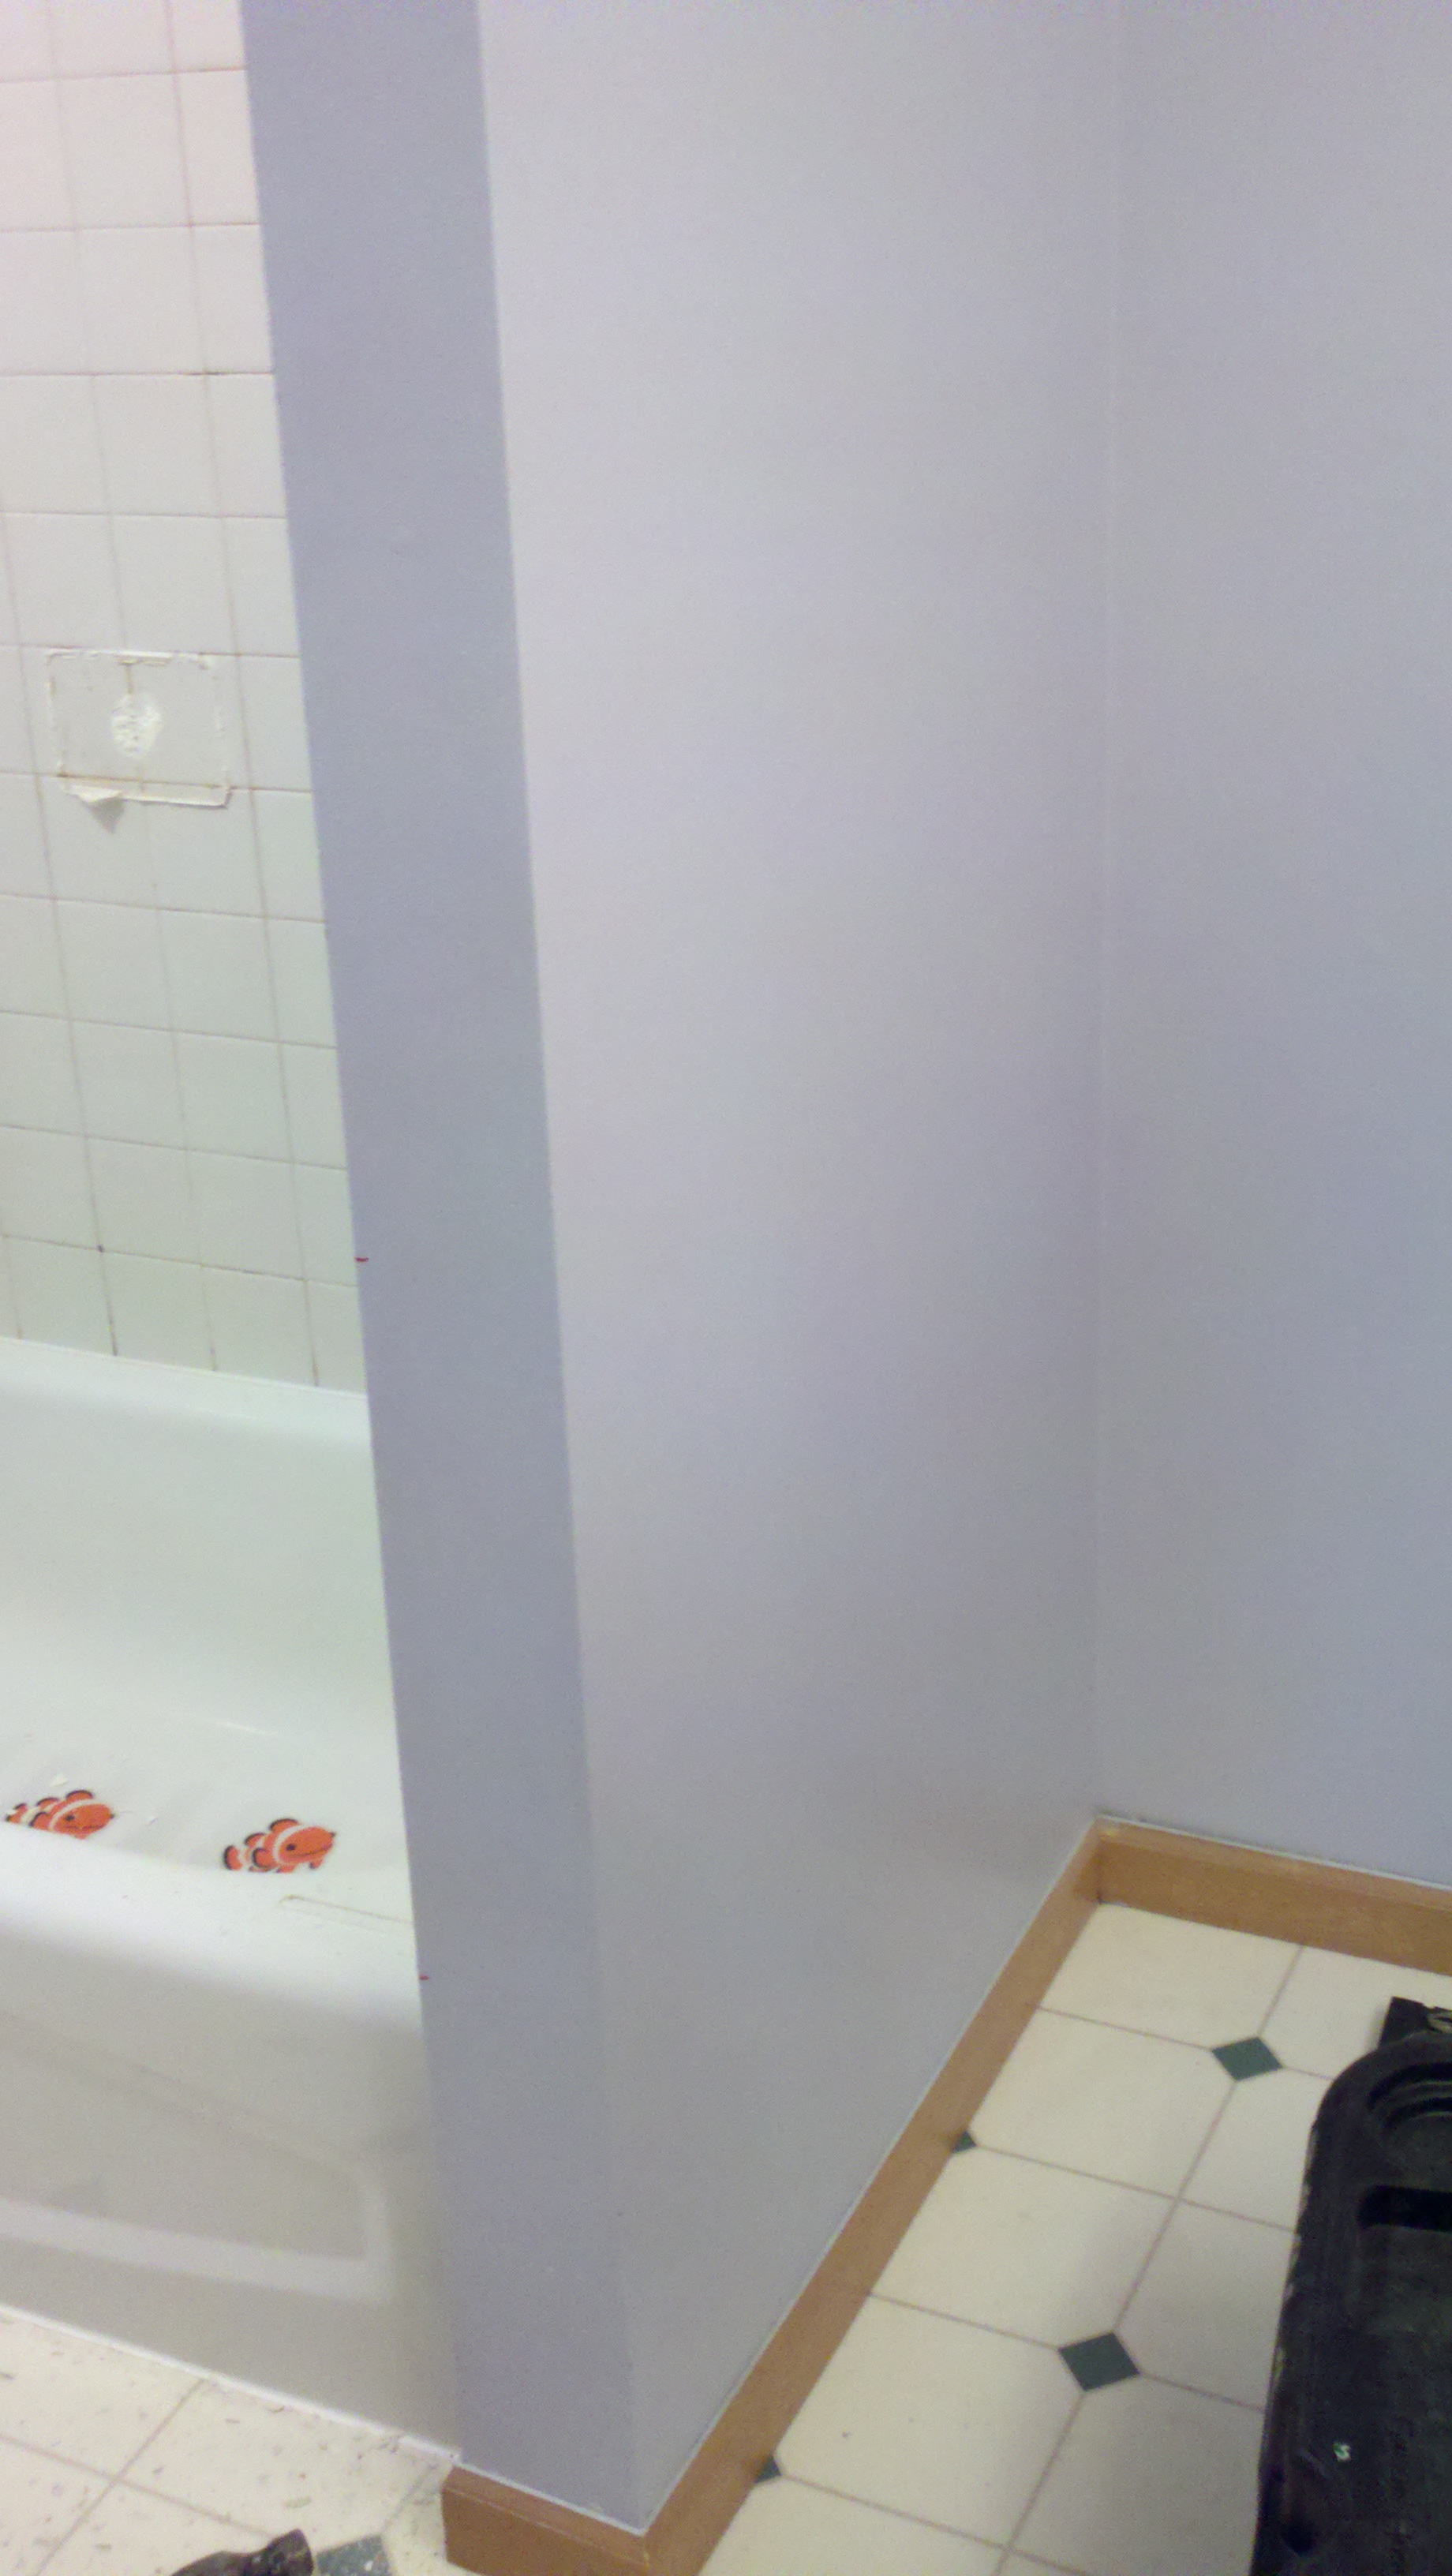
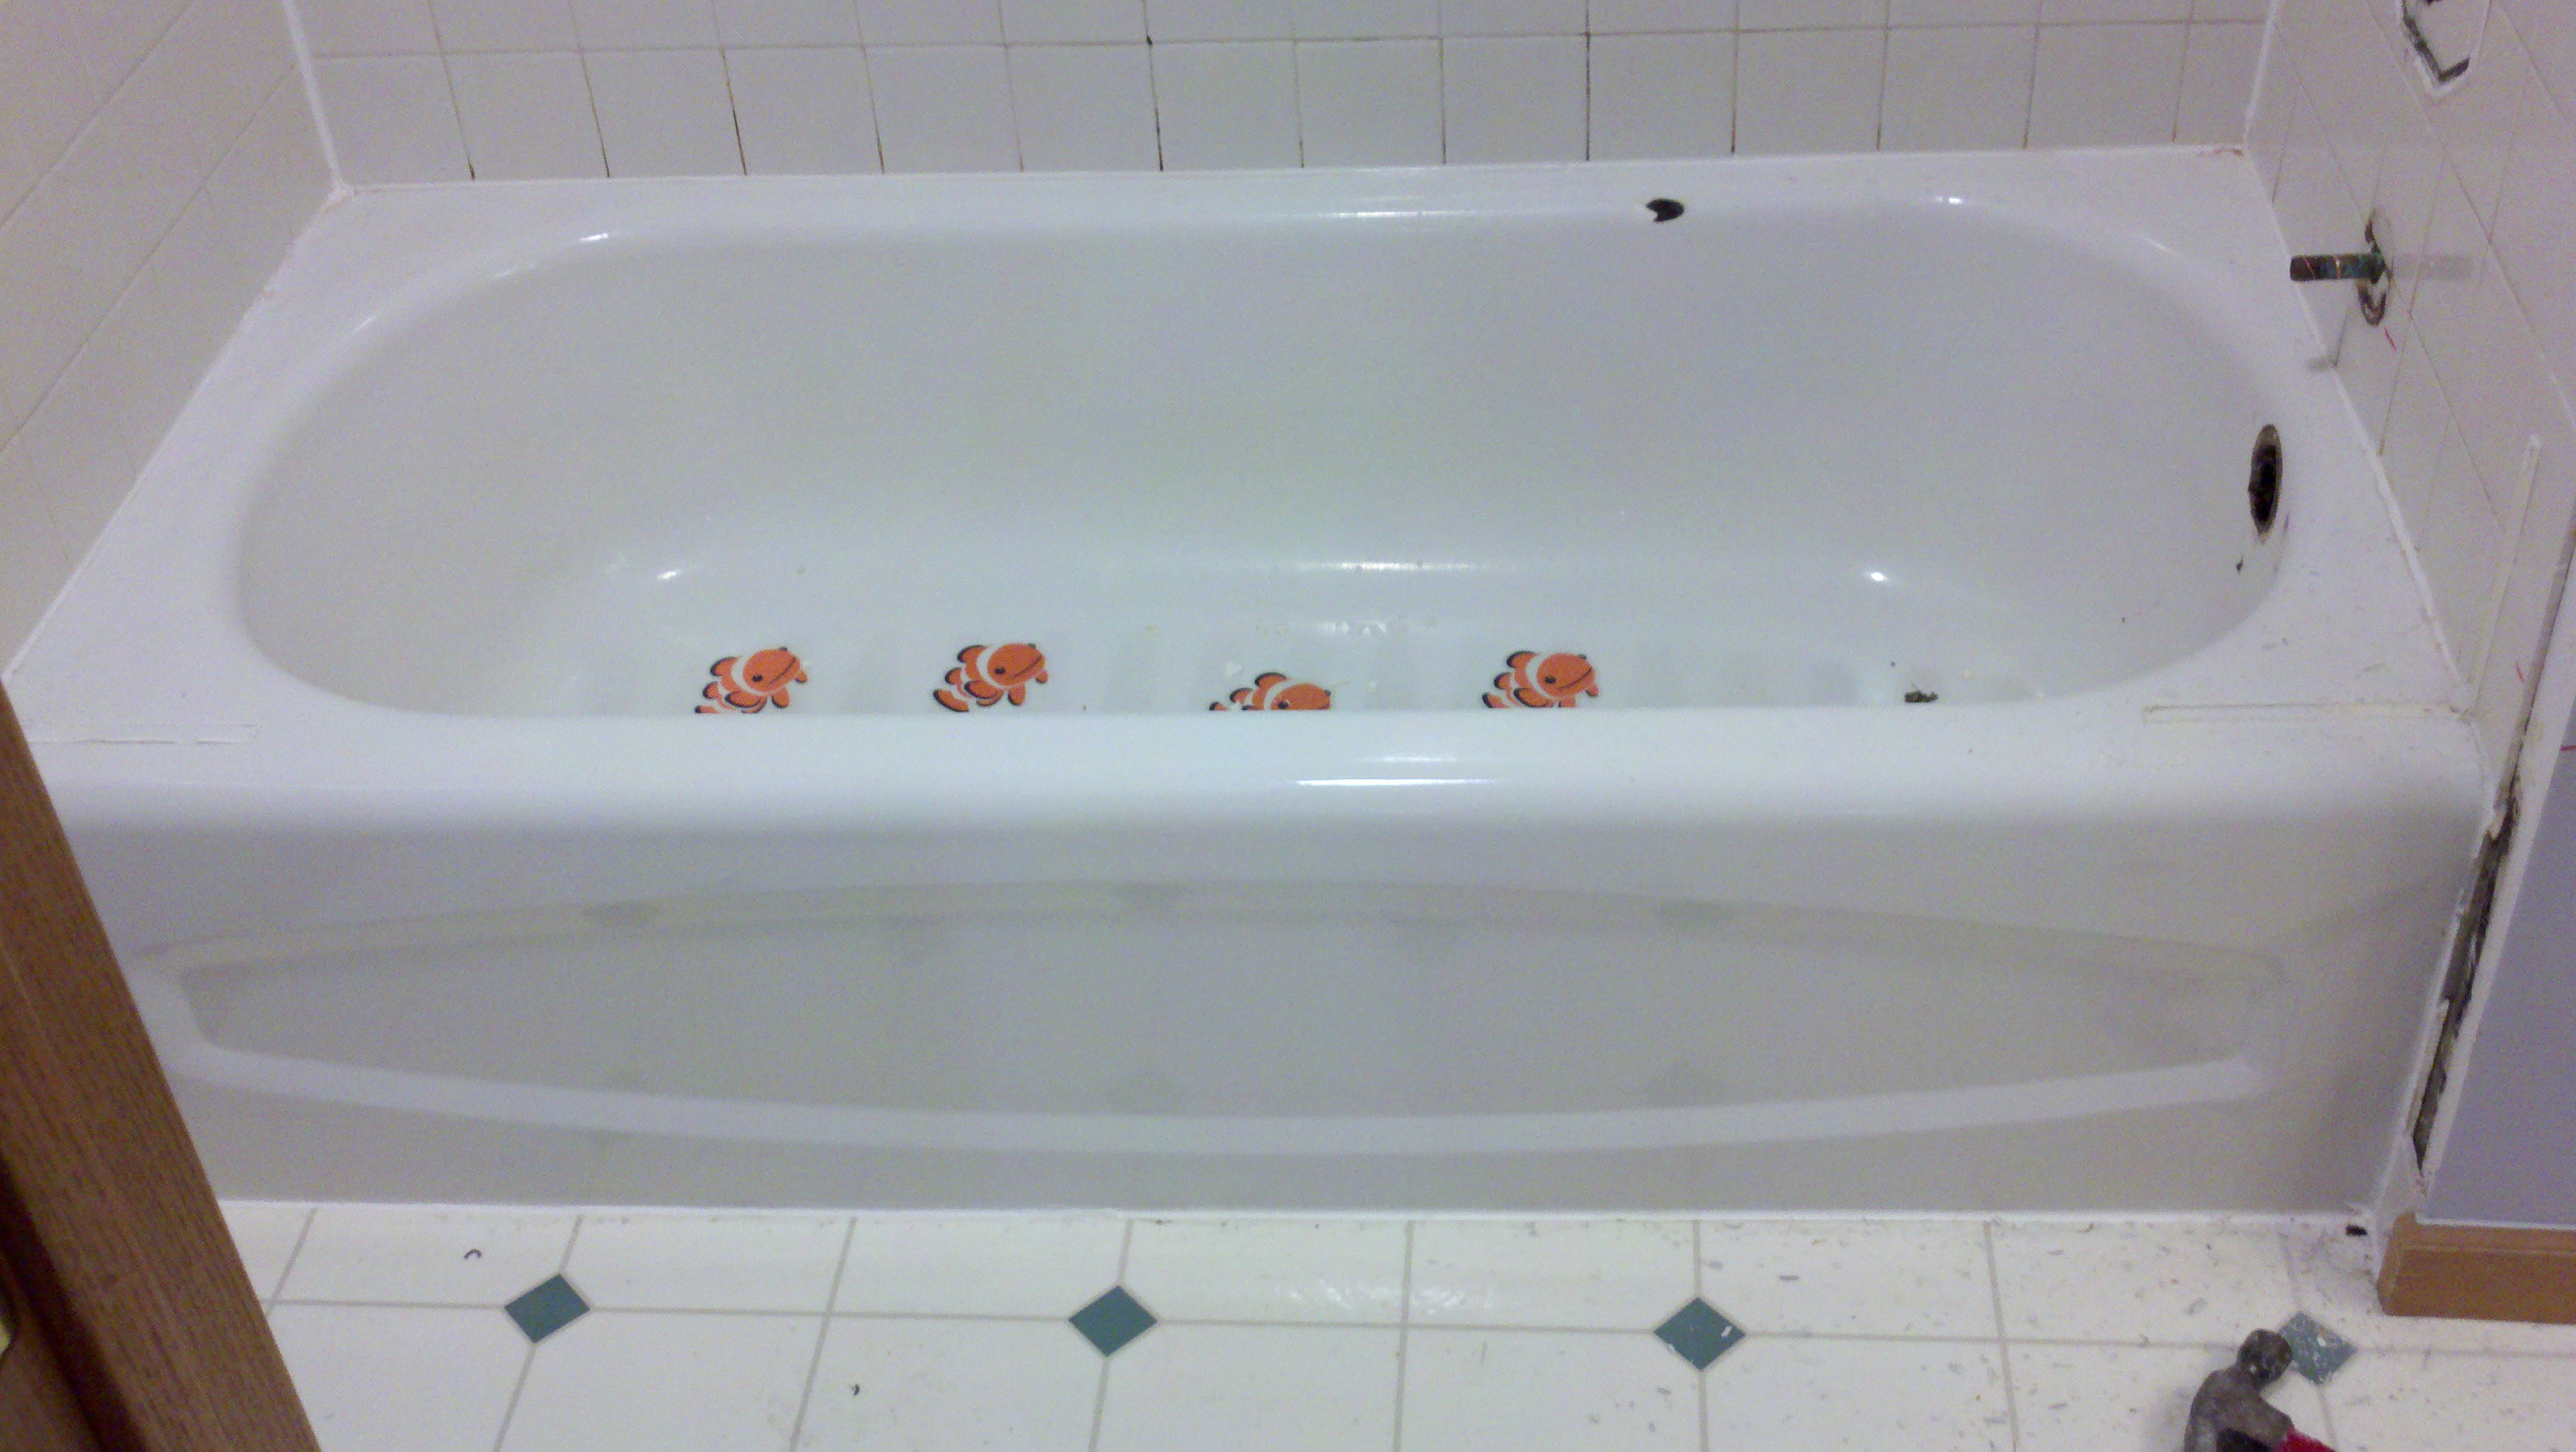
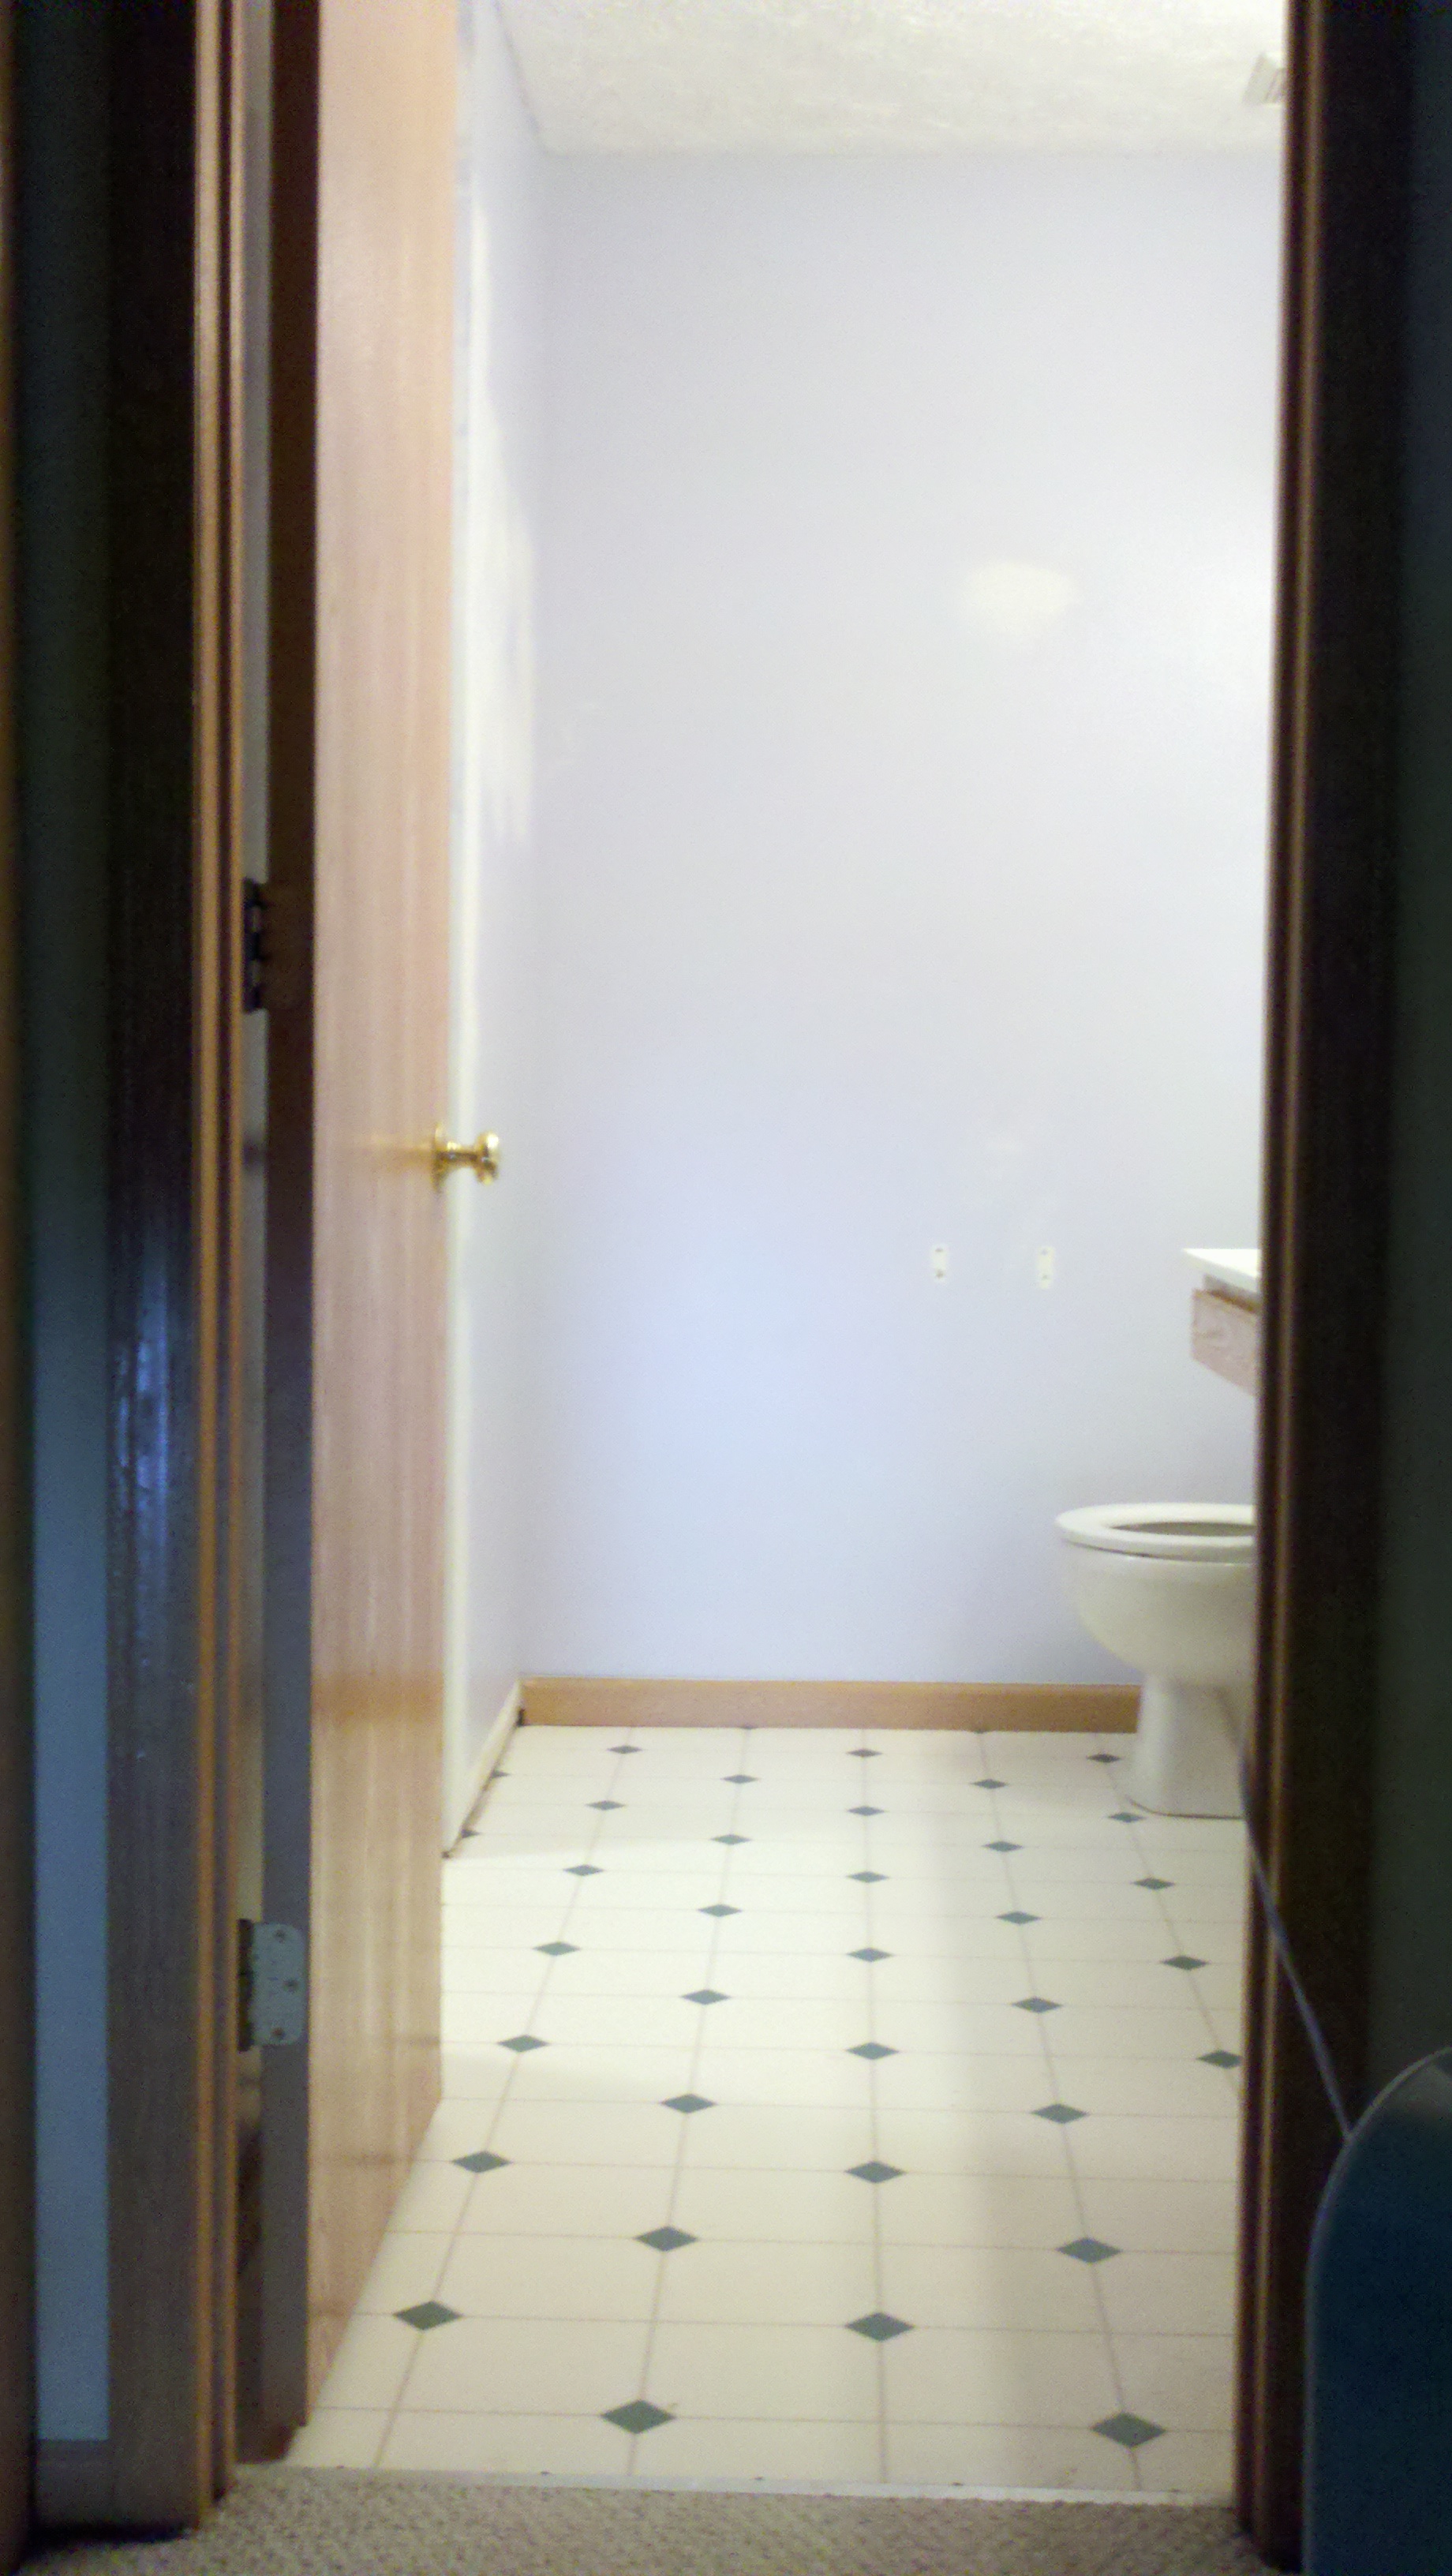
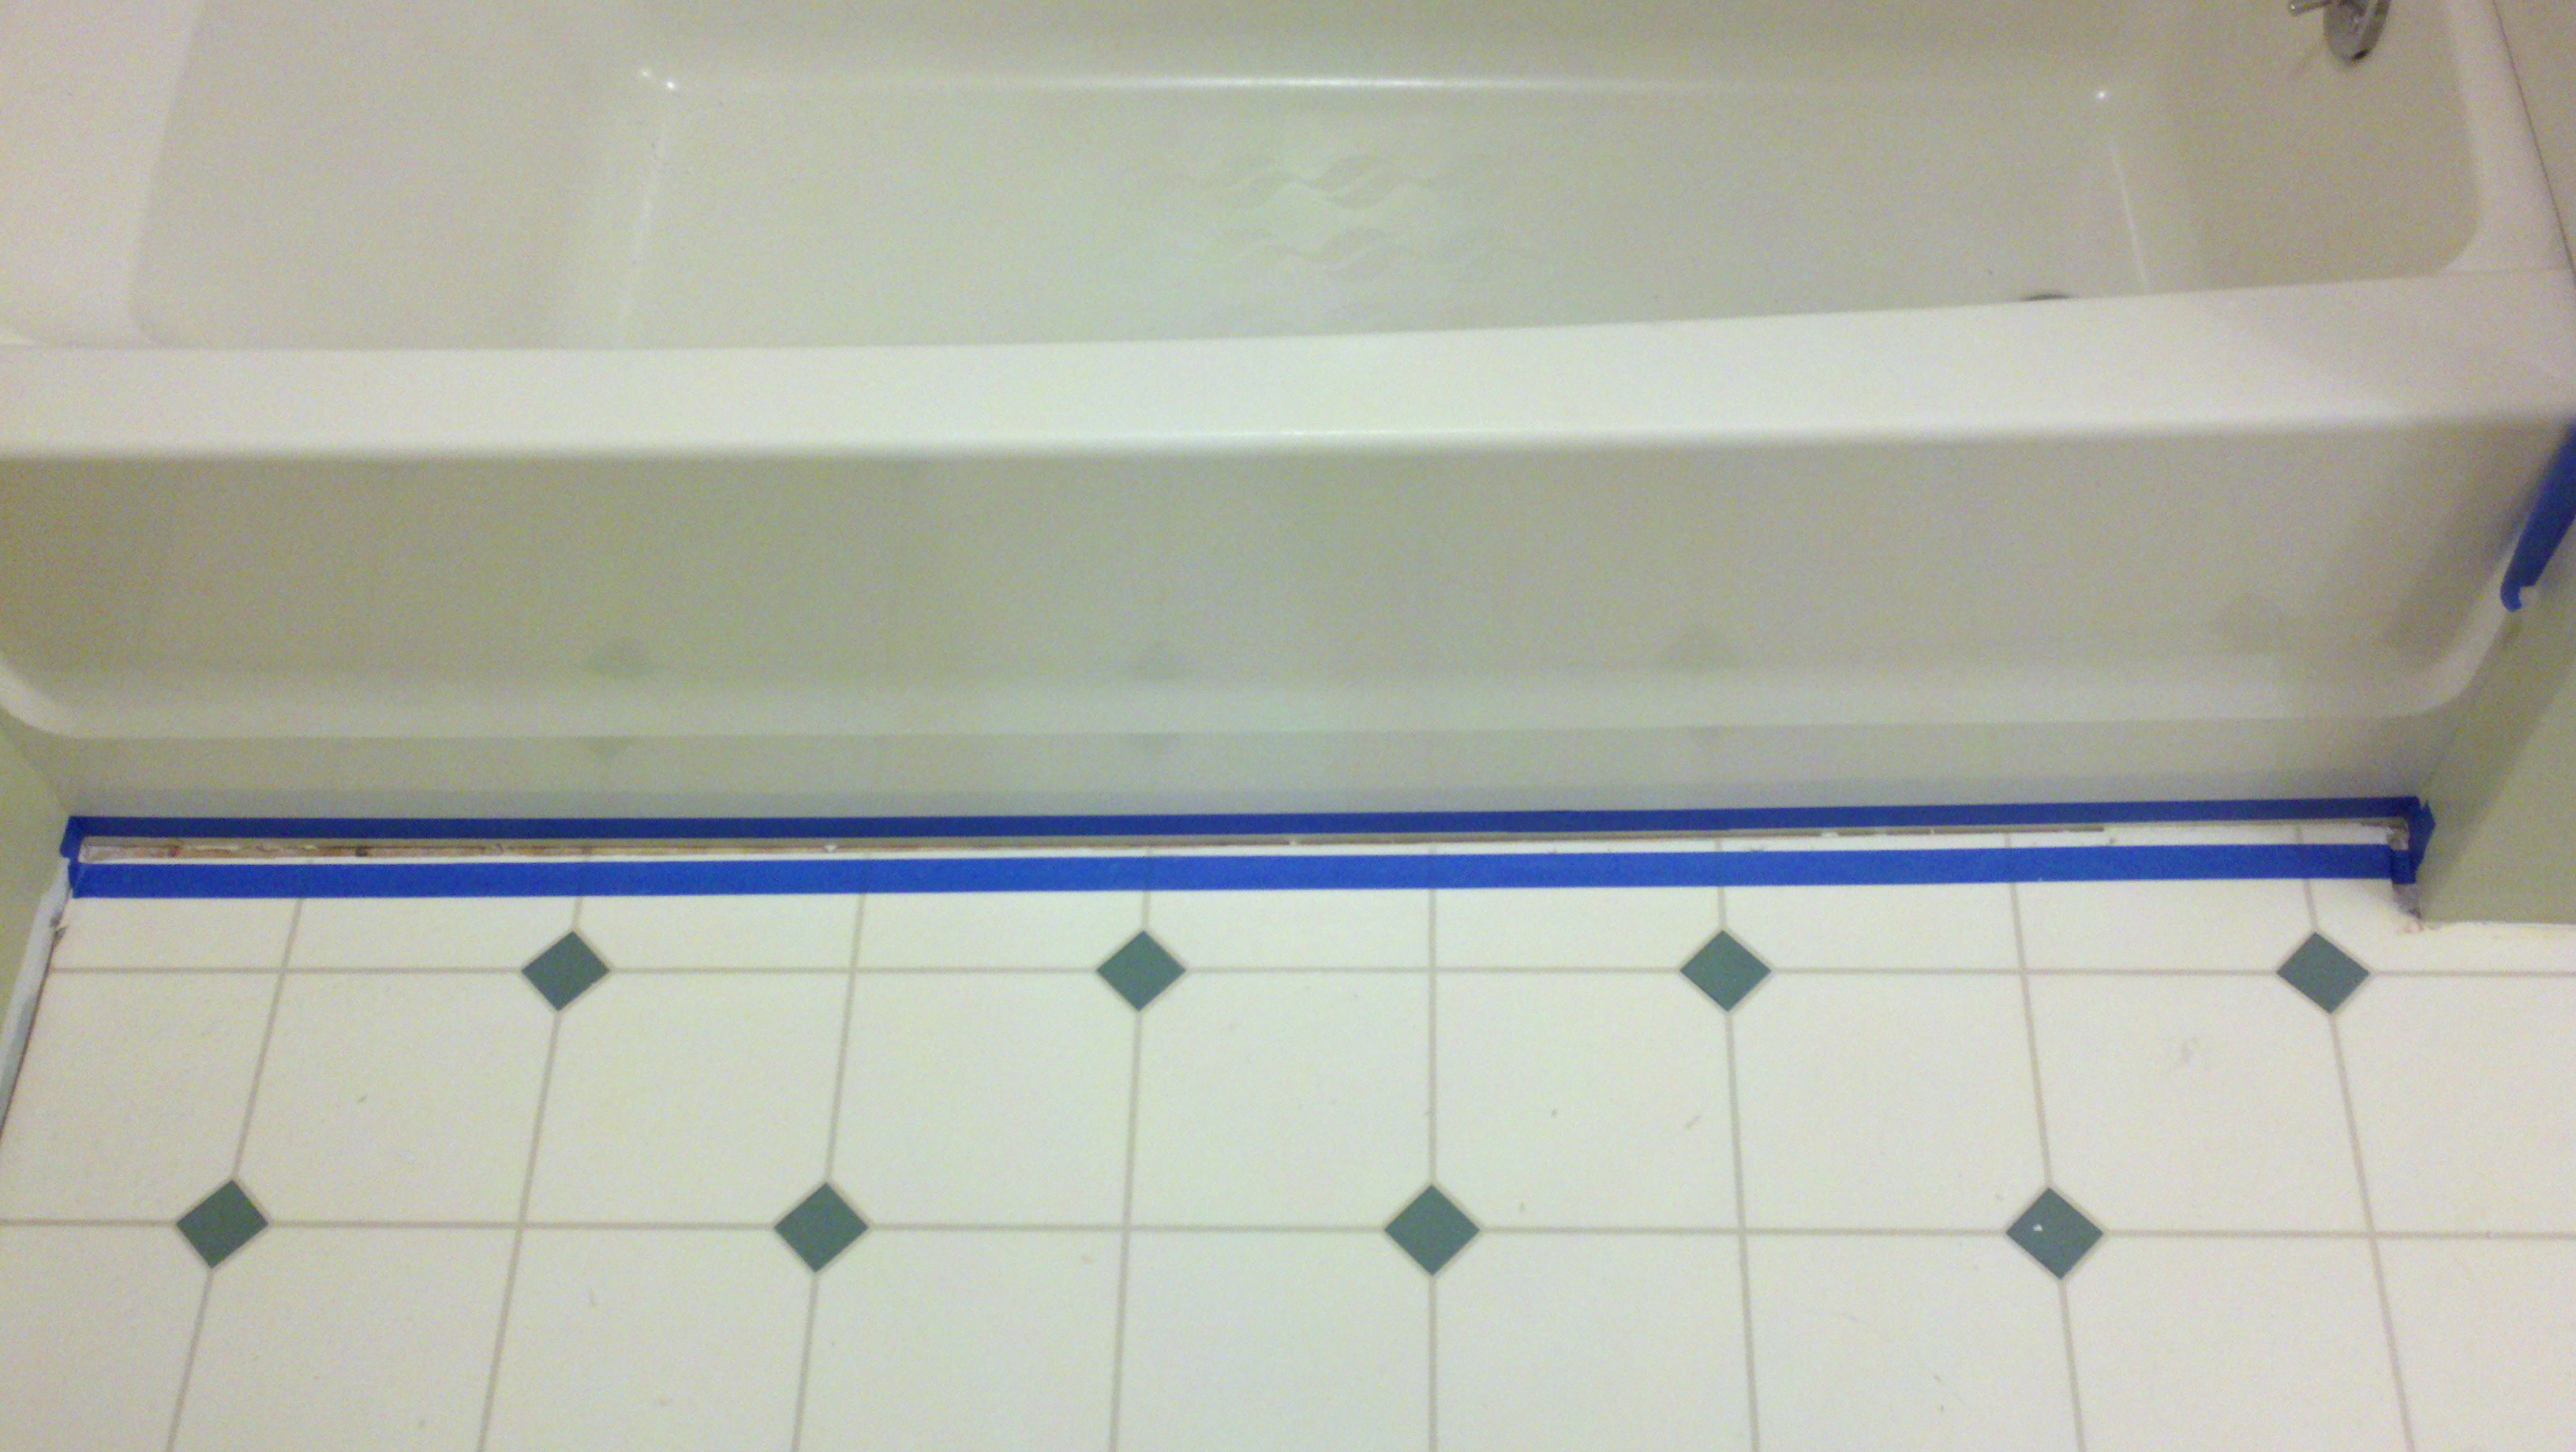
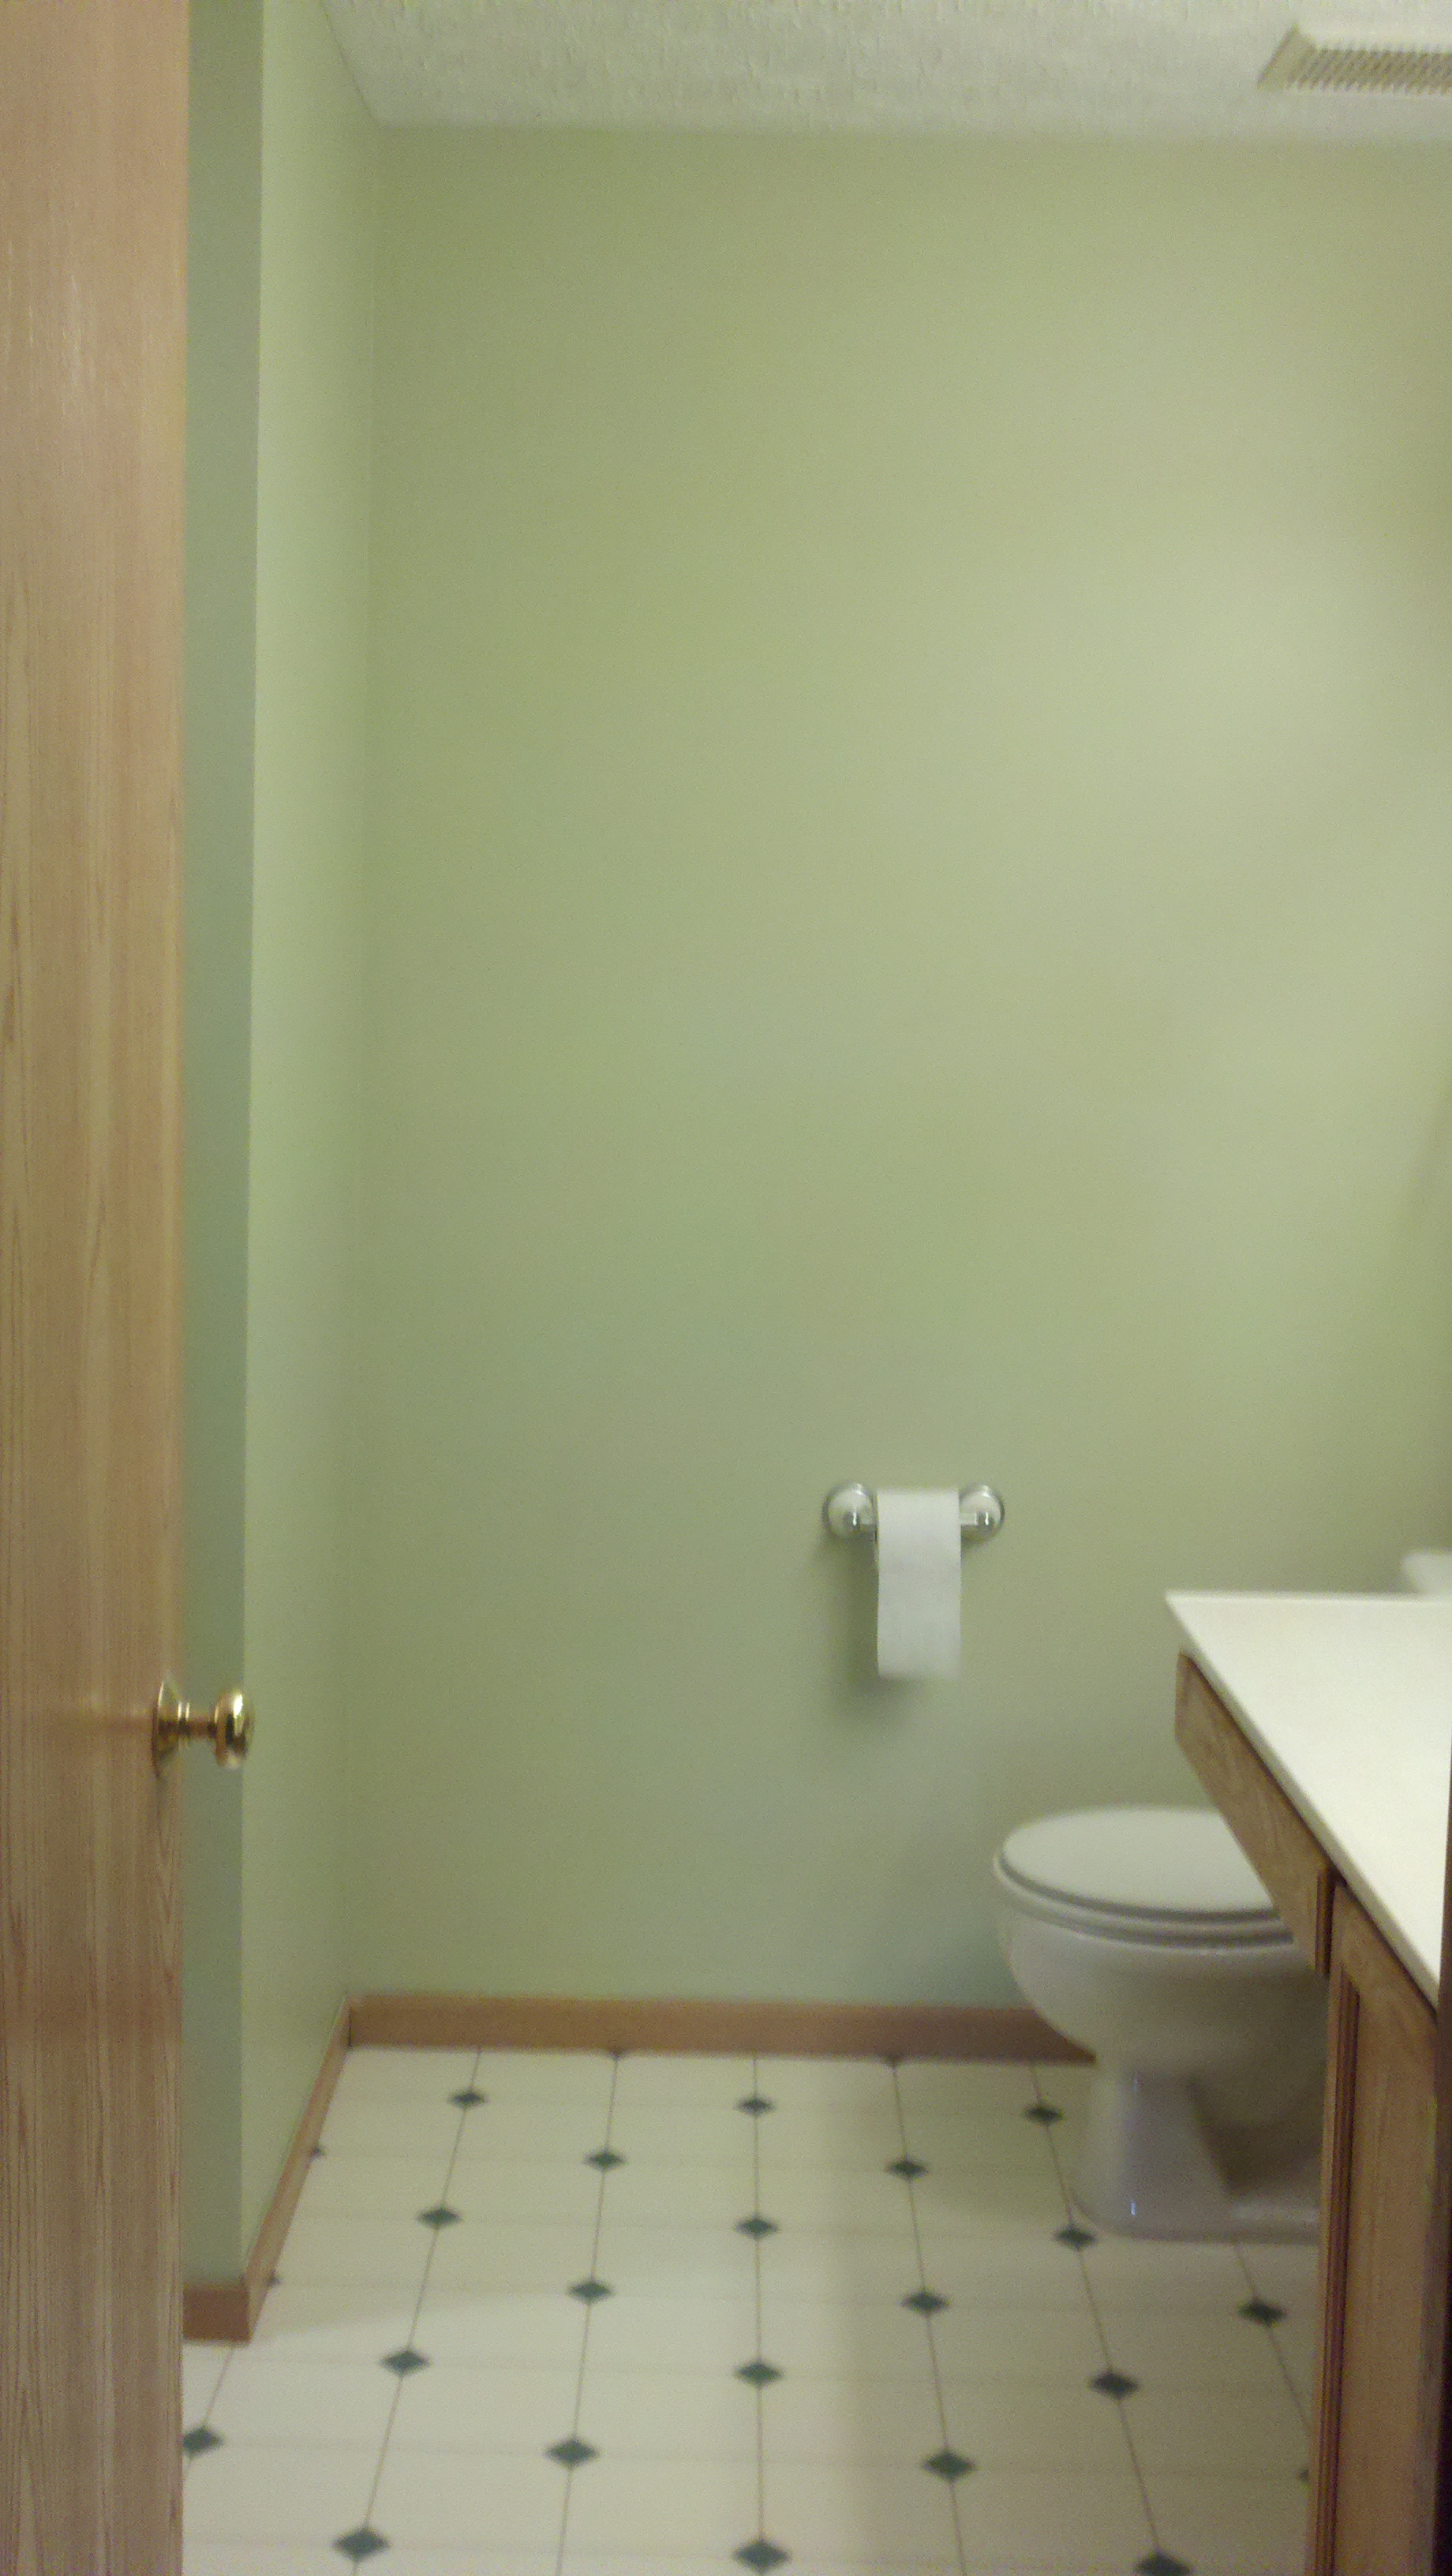
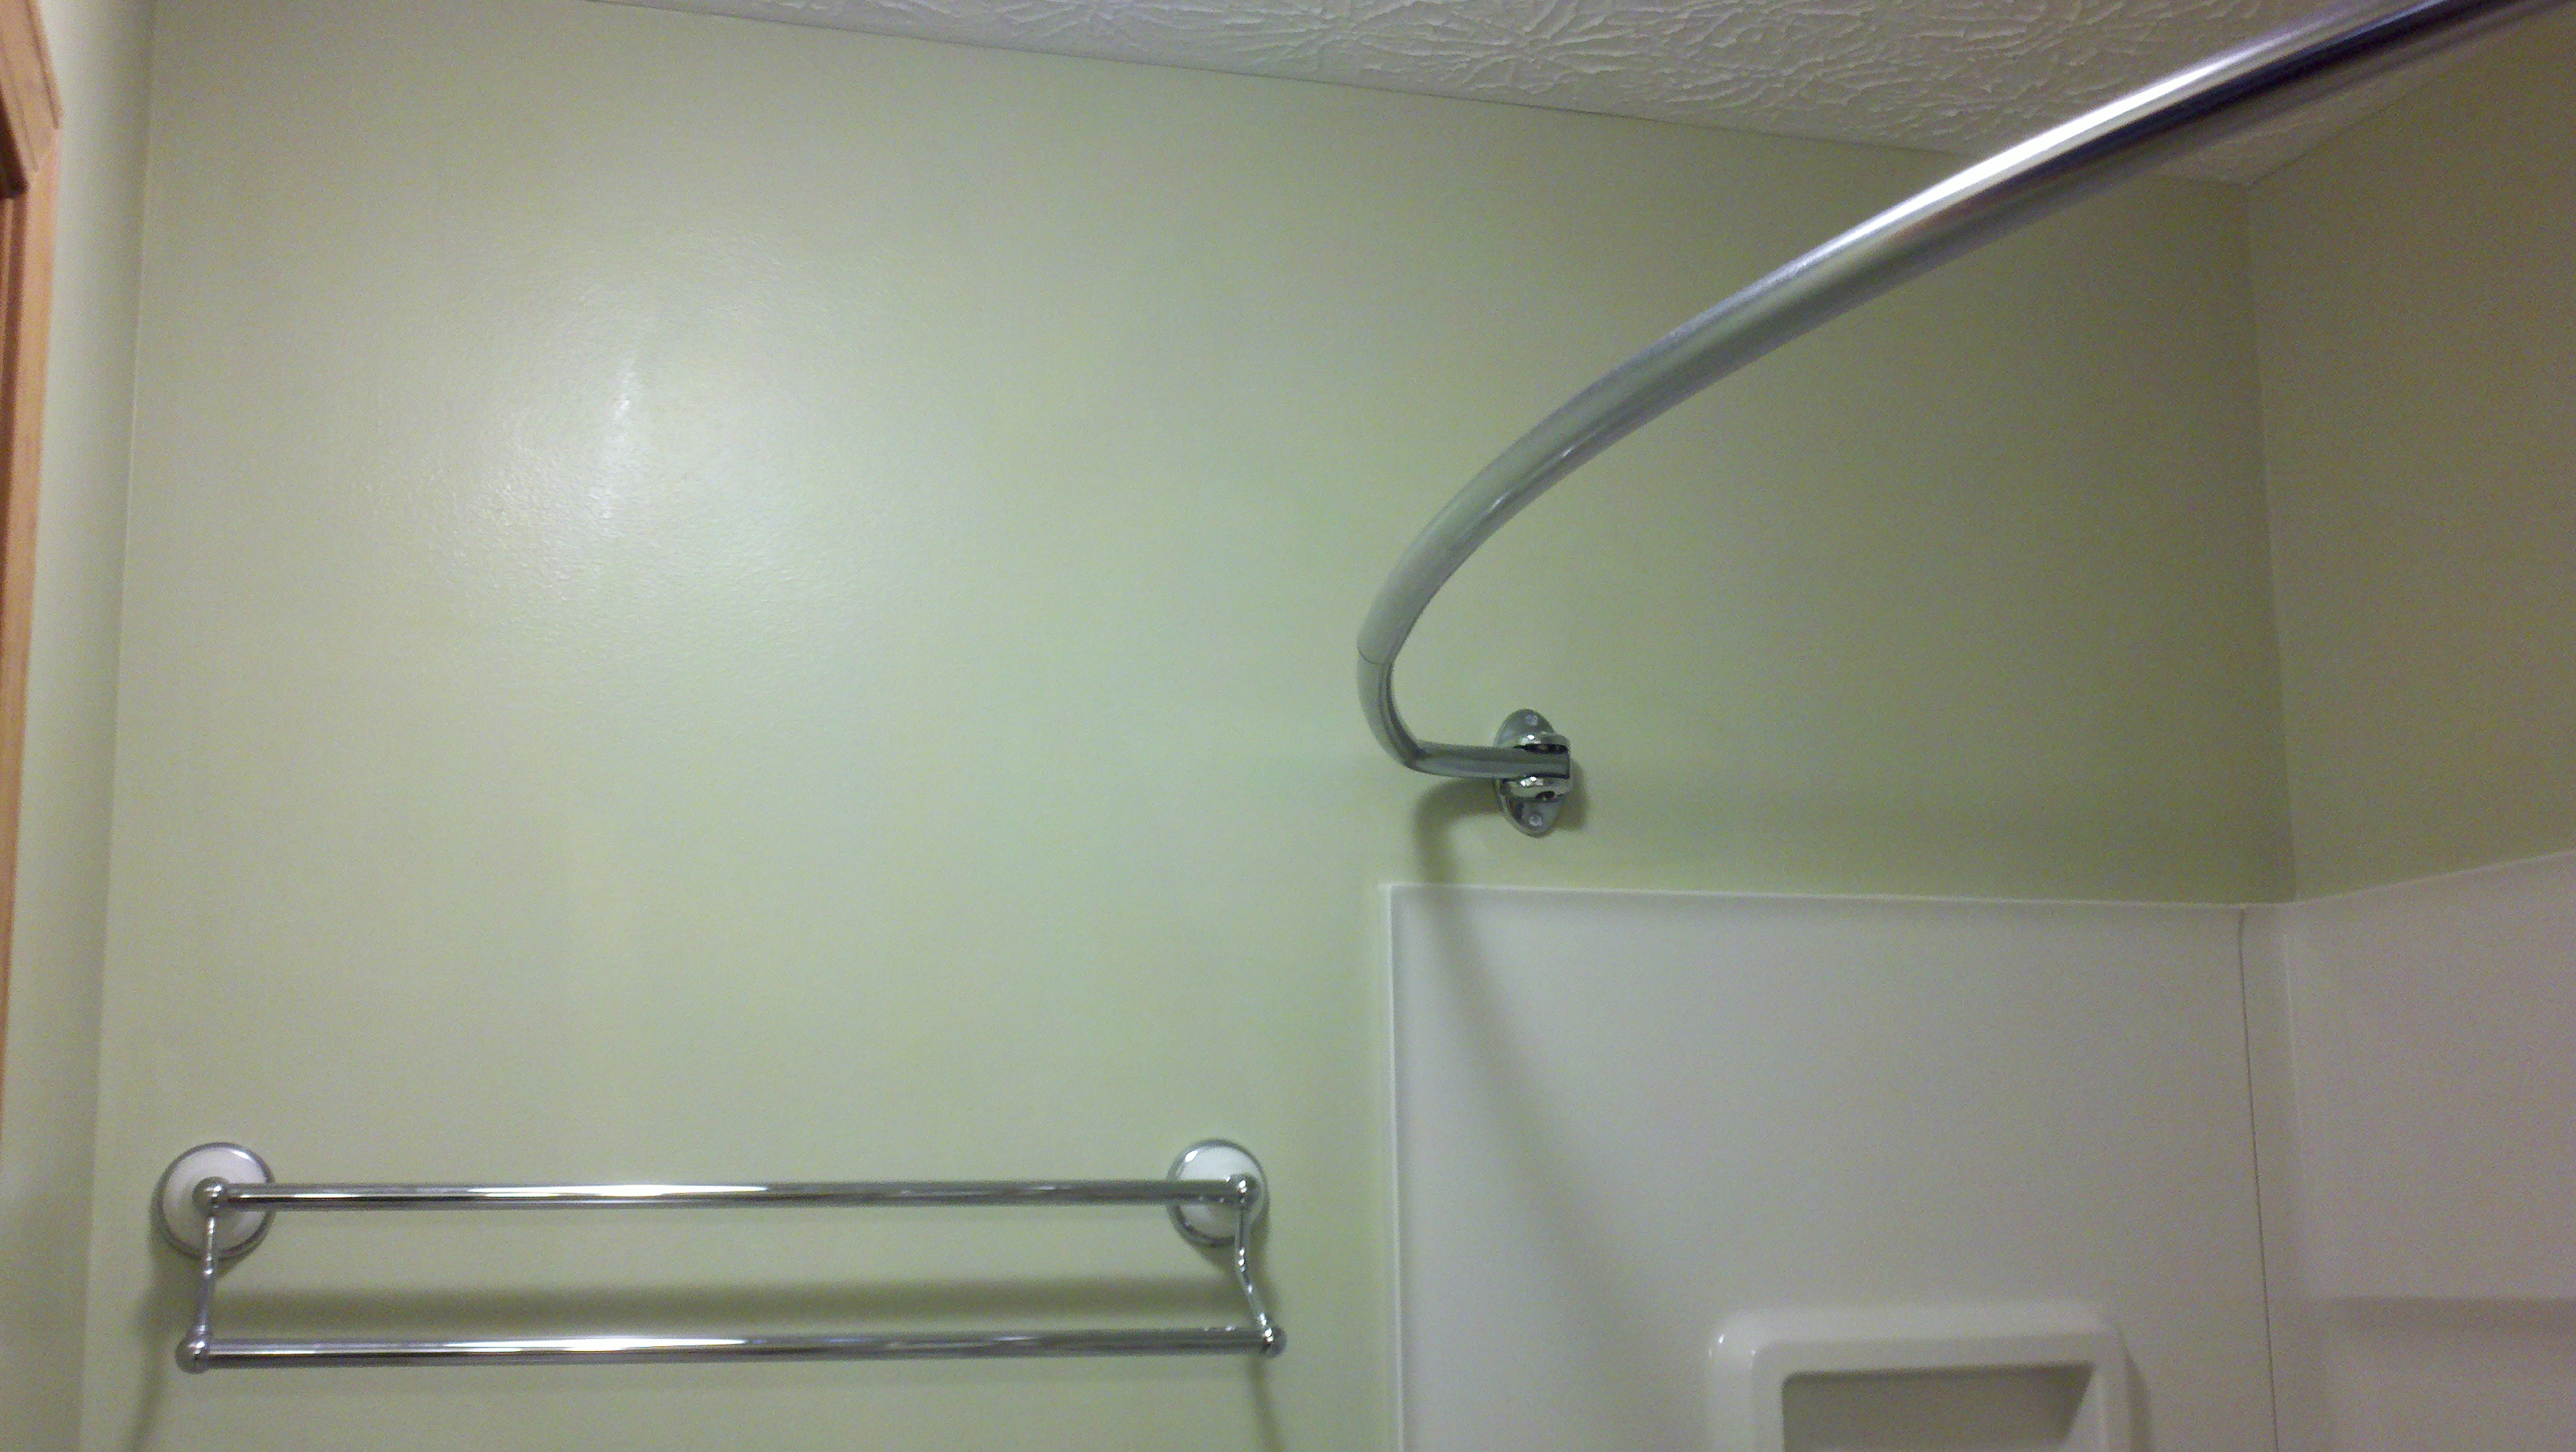
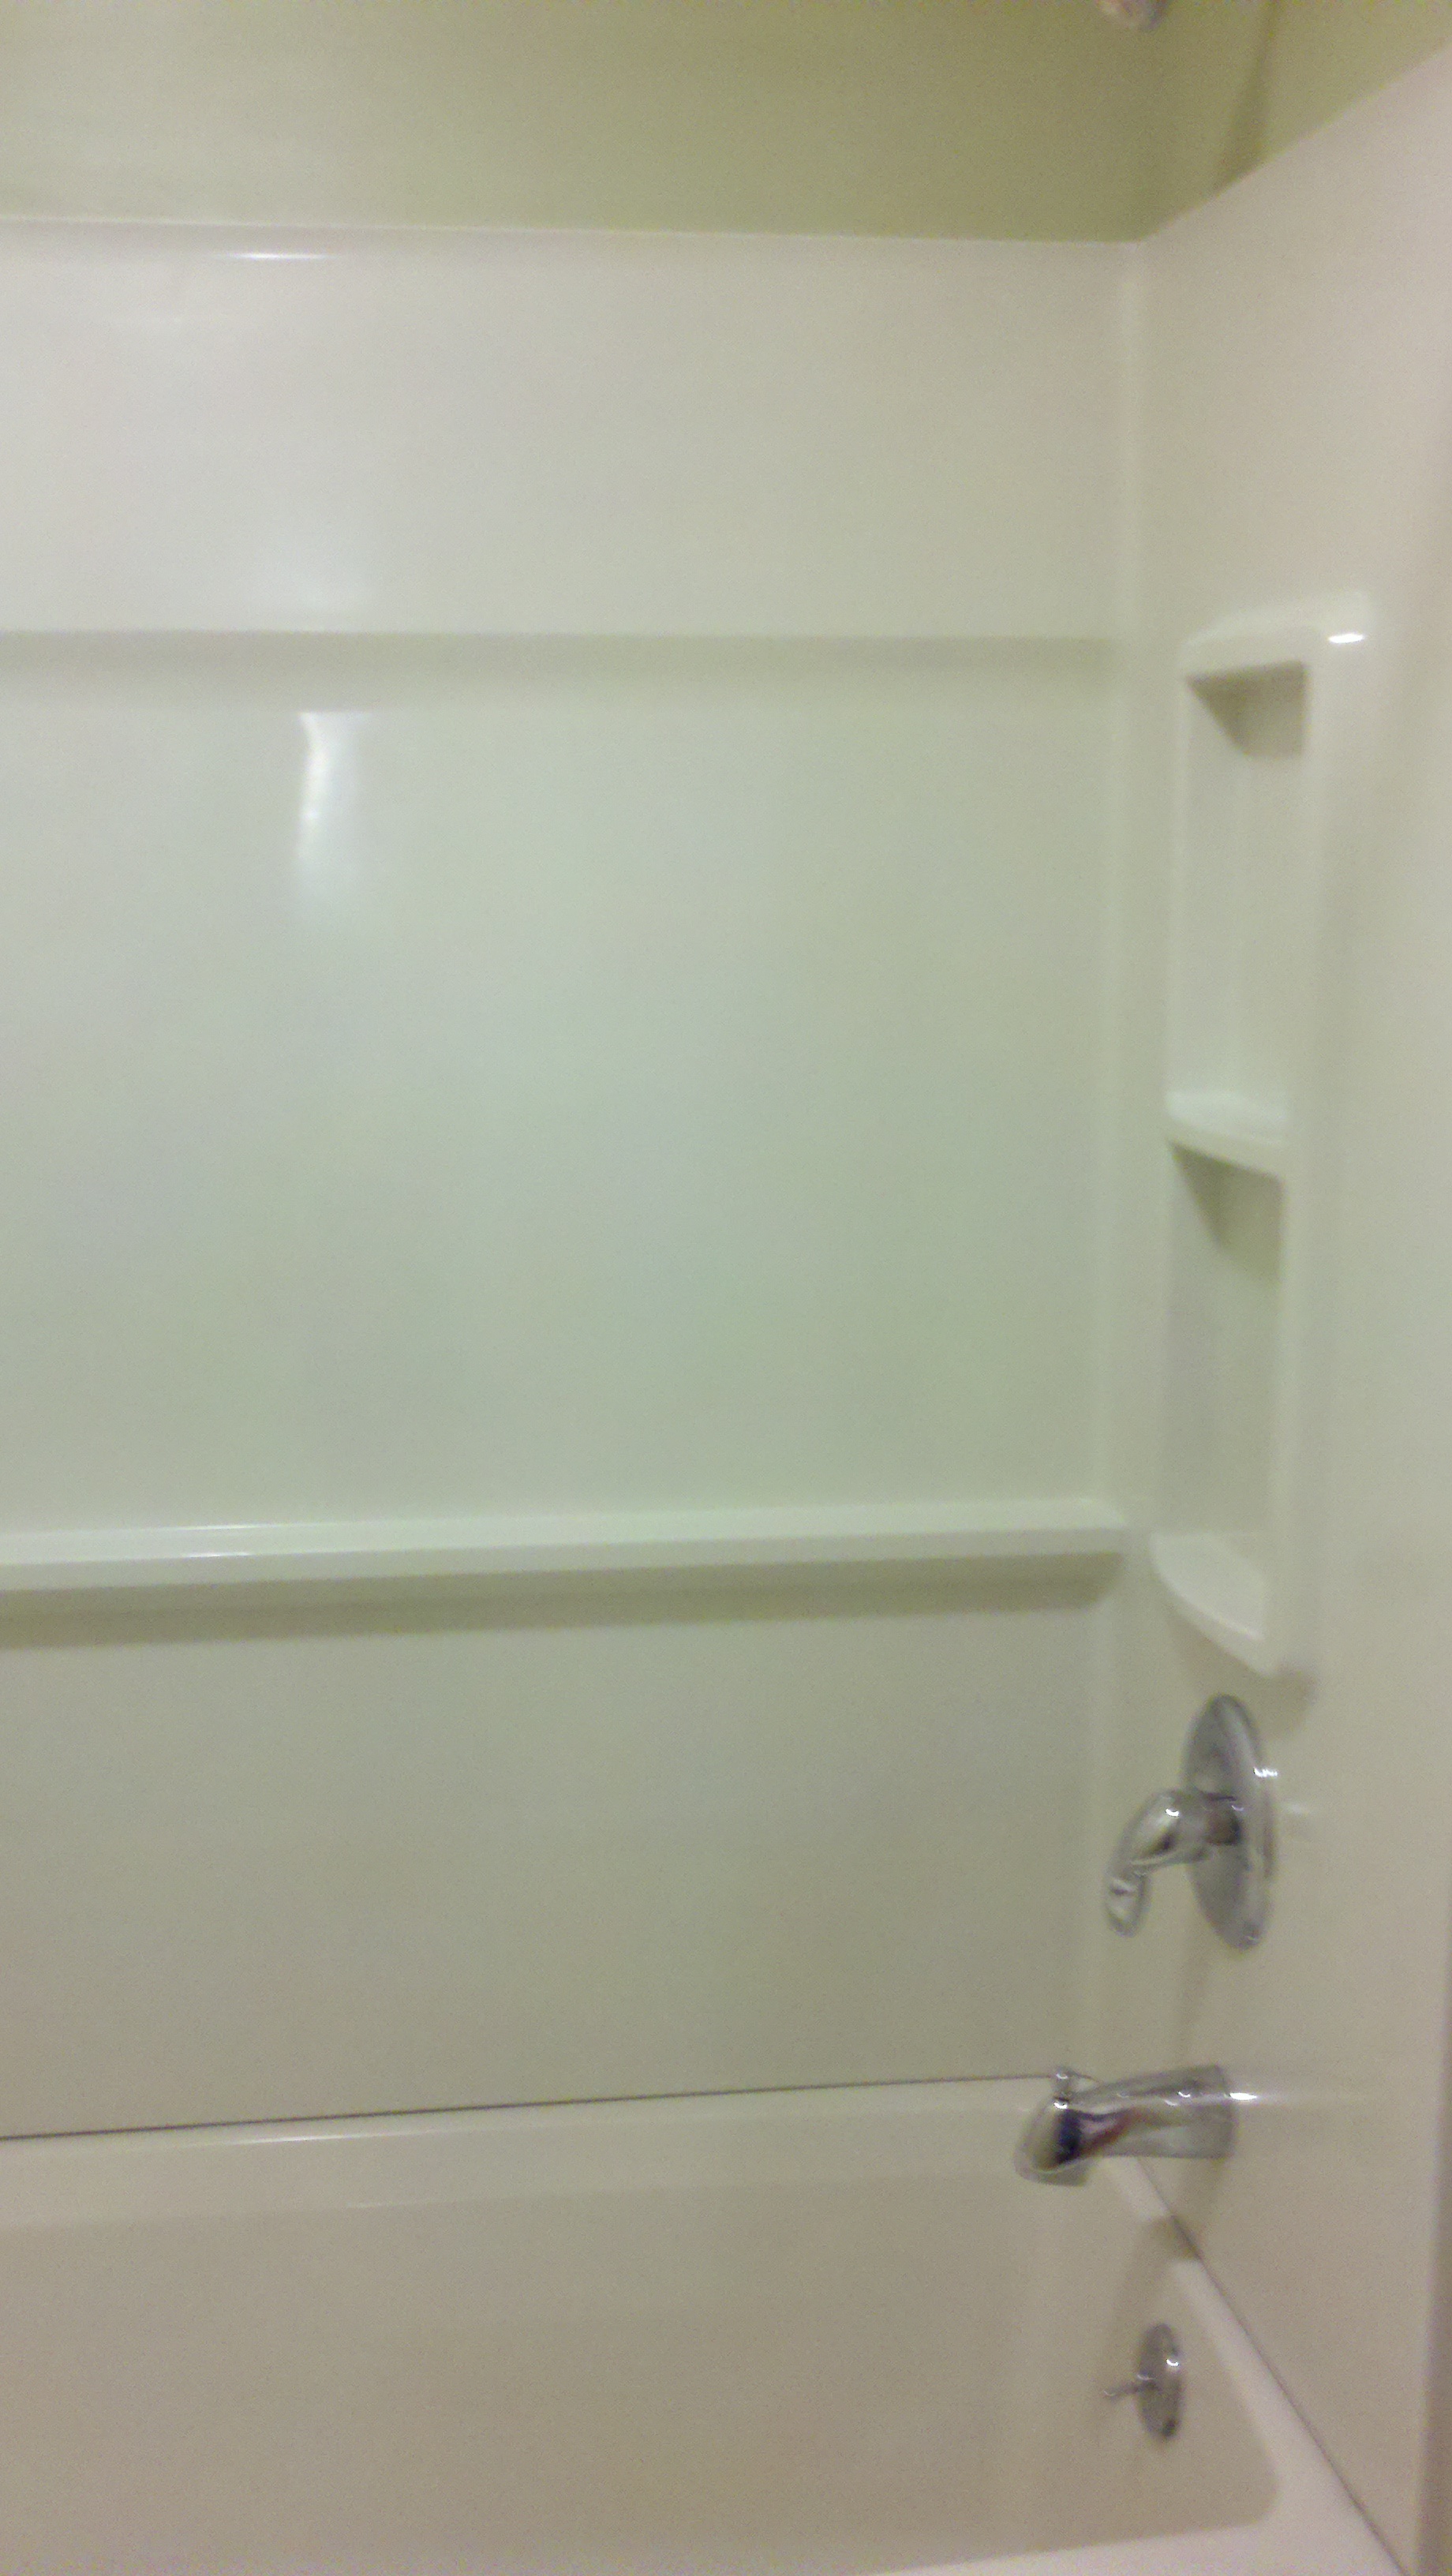
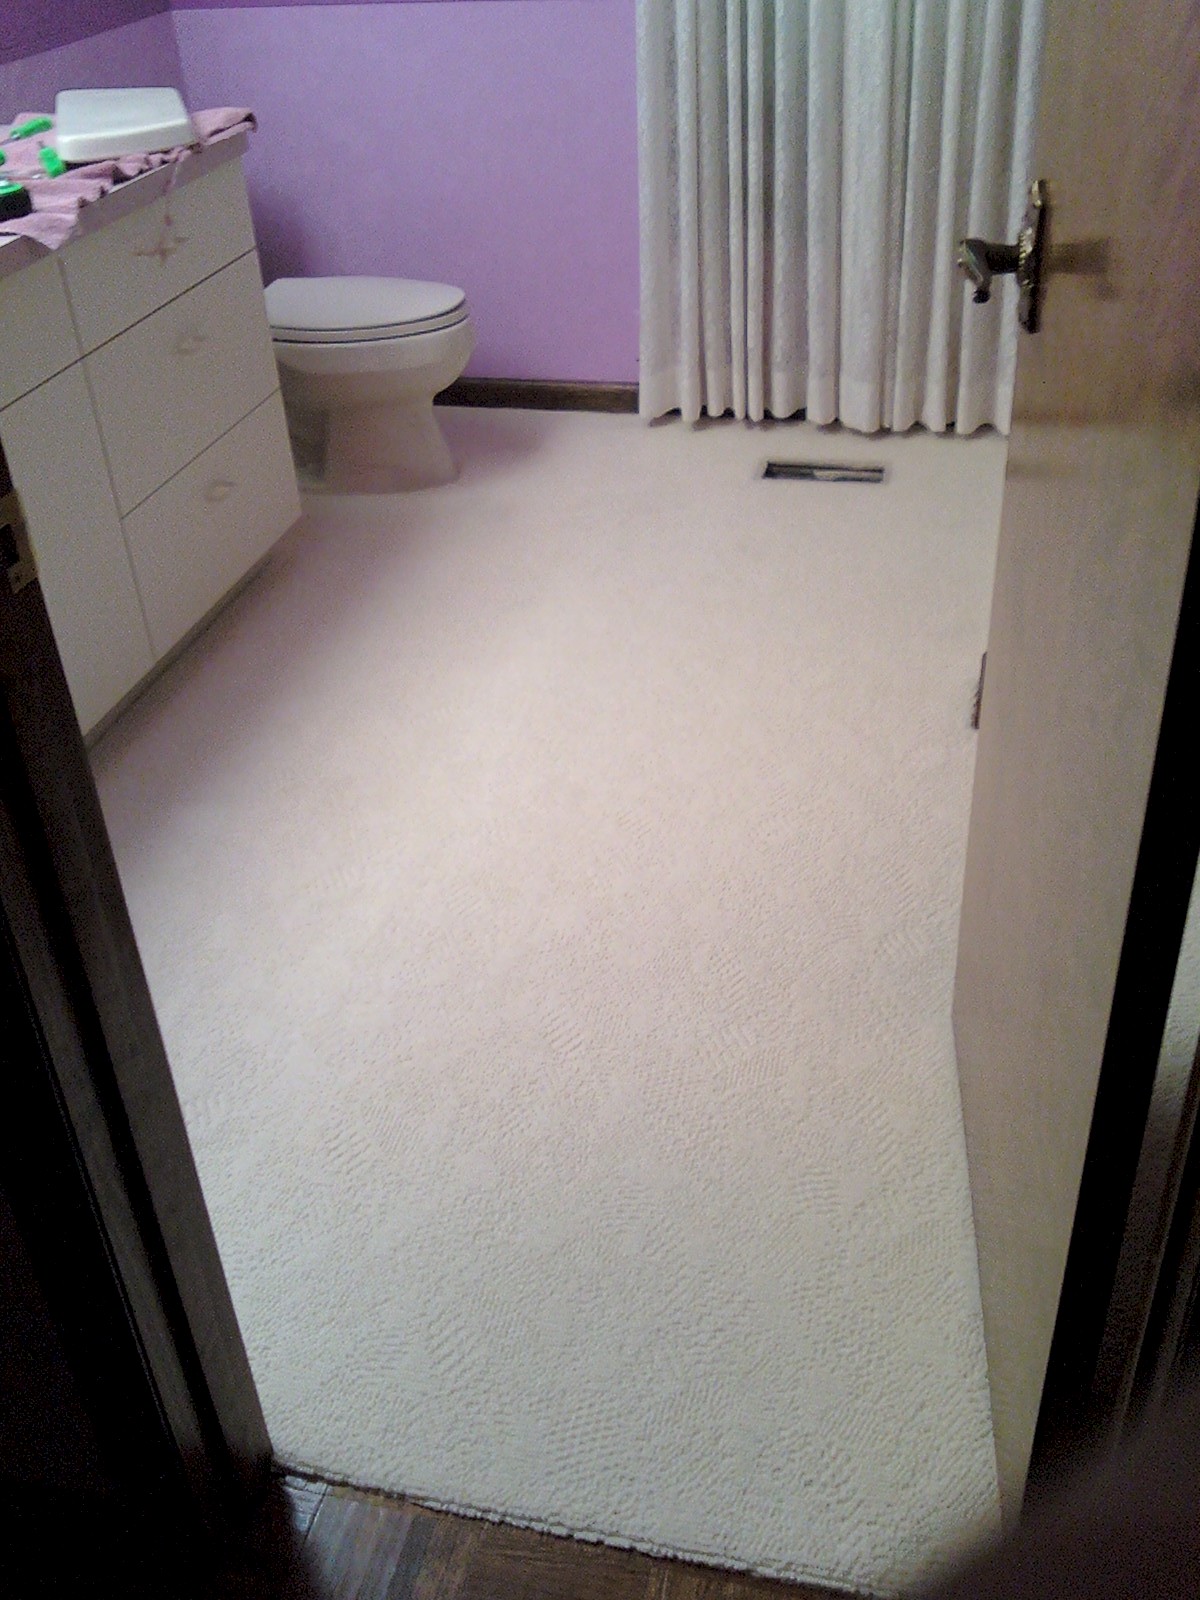
5157 Pebble Brook Drive Electric Floor Heat & Tile Installation Tile and electric heat was a product that Helen LaBelle desired to be installed in her secondary bathroom. The process consumed approximately seven working days to complete. The installation method required numerous steps for tile laying preparation, process, and completion. Information and depictions are provided through a process of method explanation and product placement reference. Changing the bathroom floor to tile, from carpet, is a process that will prevent water absorption and stain tribulations. The pictures labeled one through five, shown below, provide depictions of the original carpeted floor.
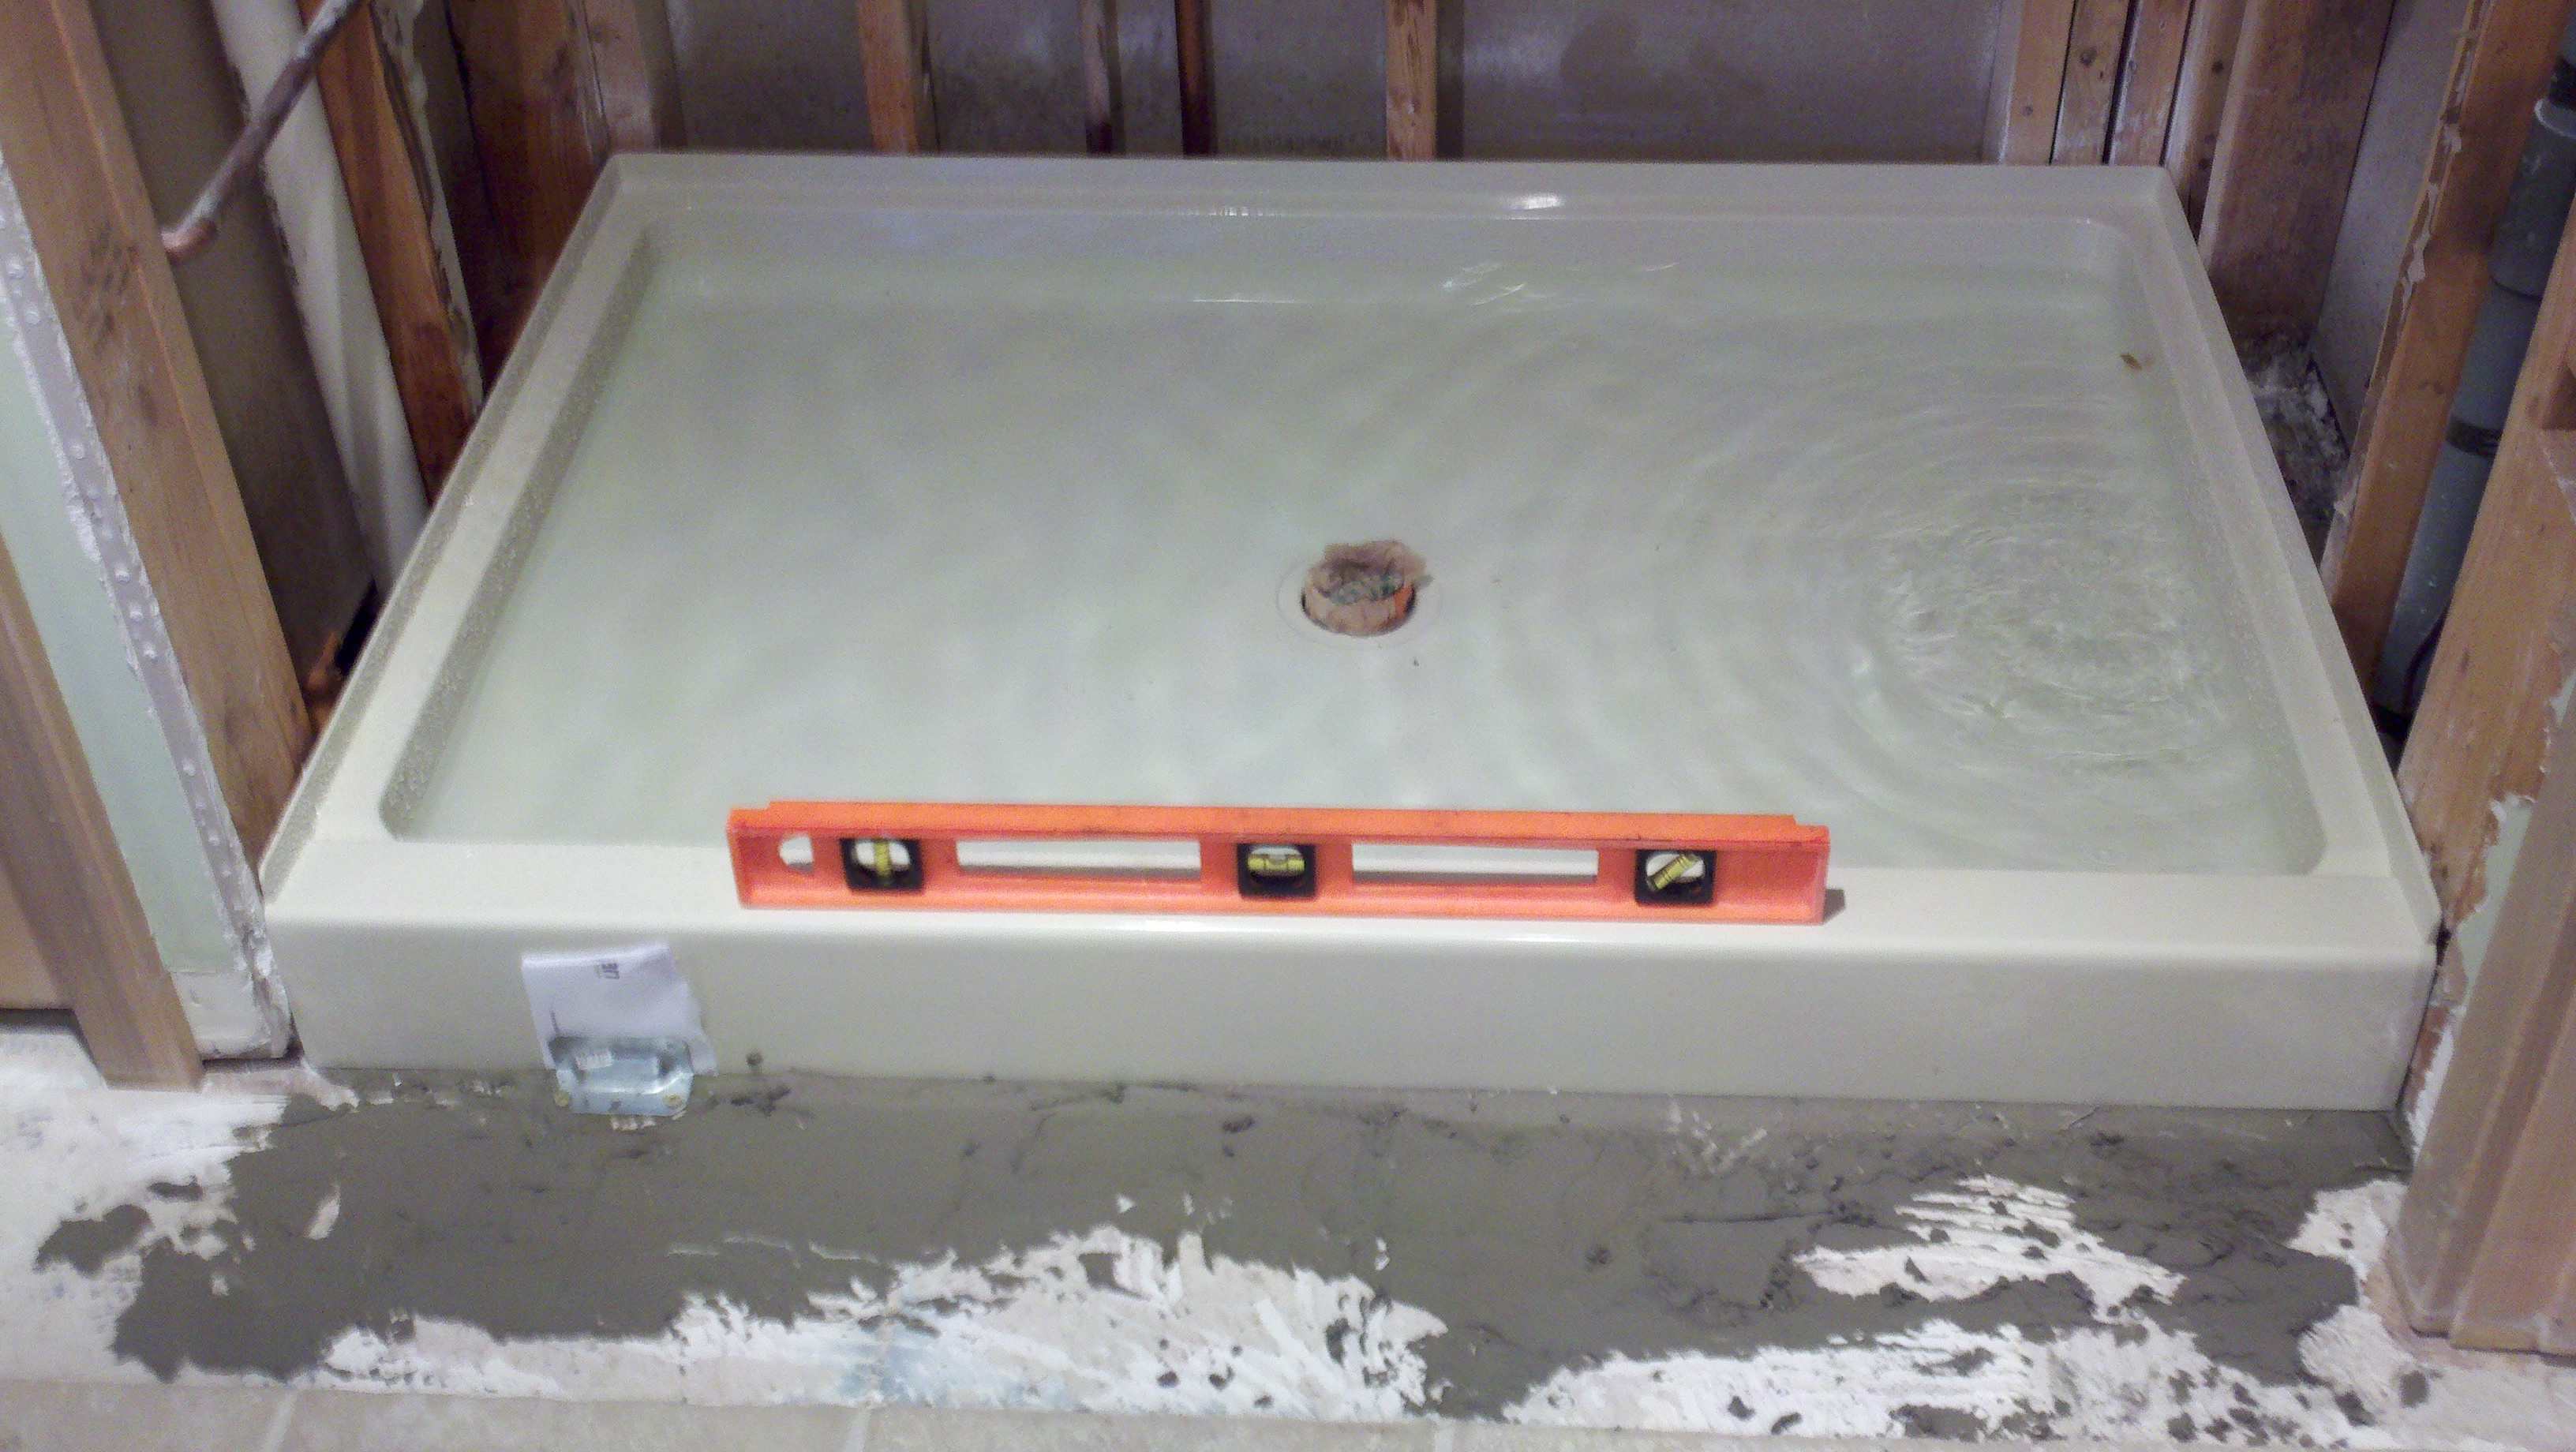
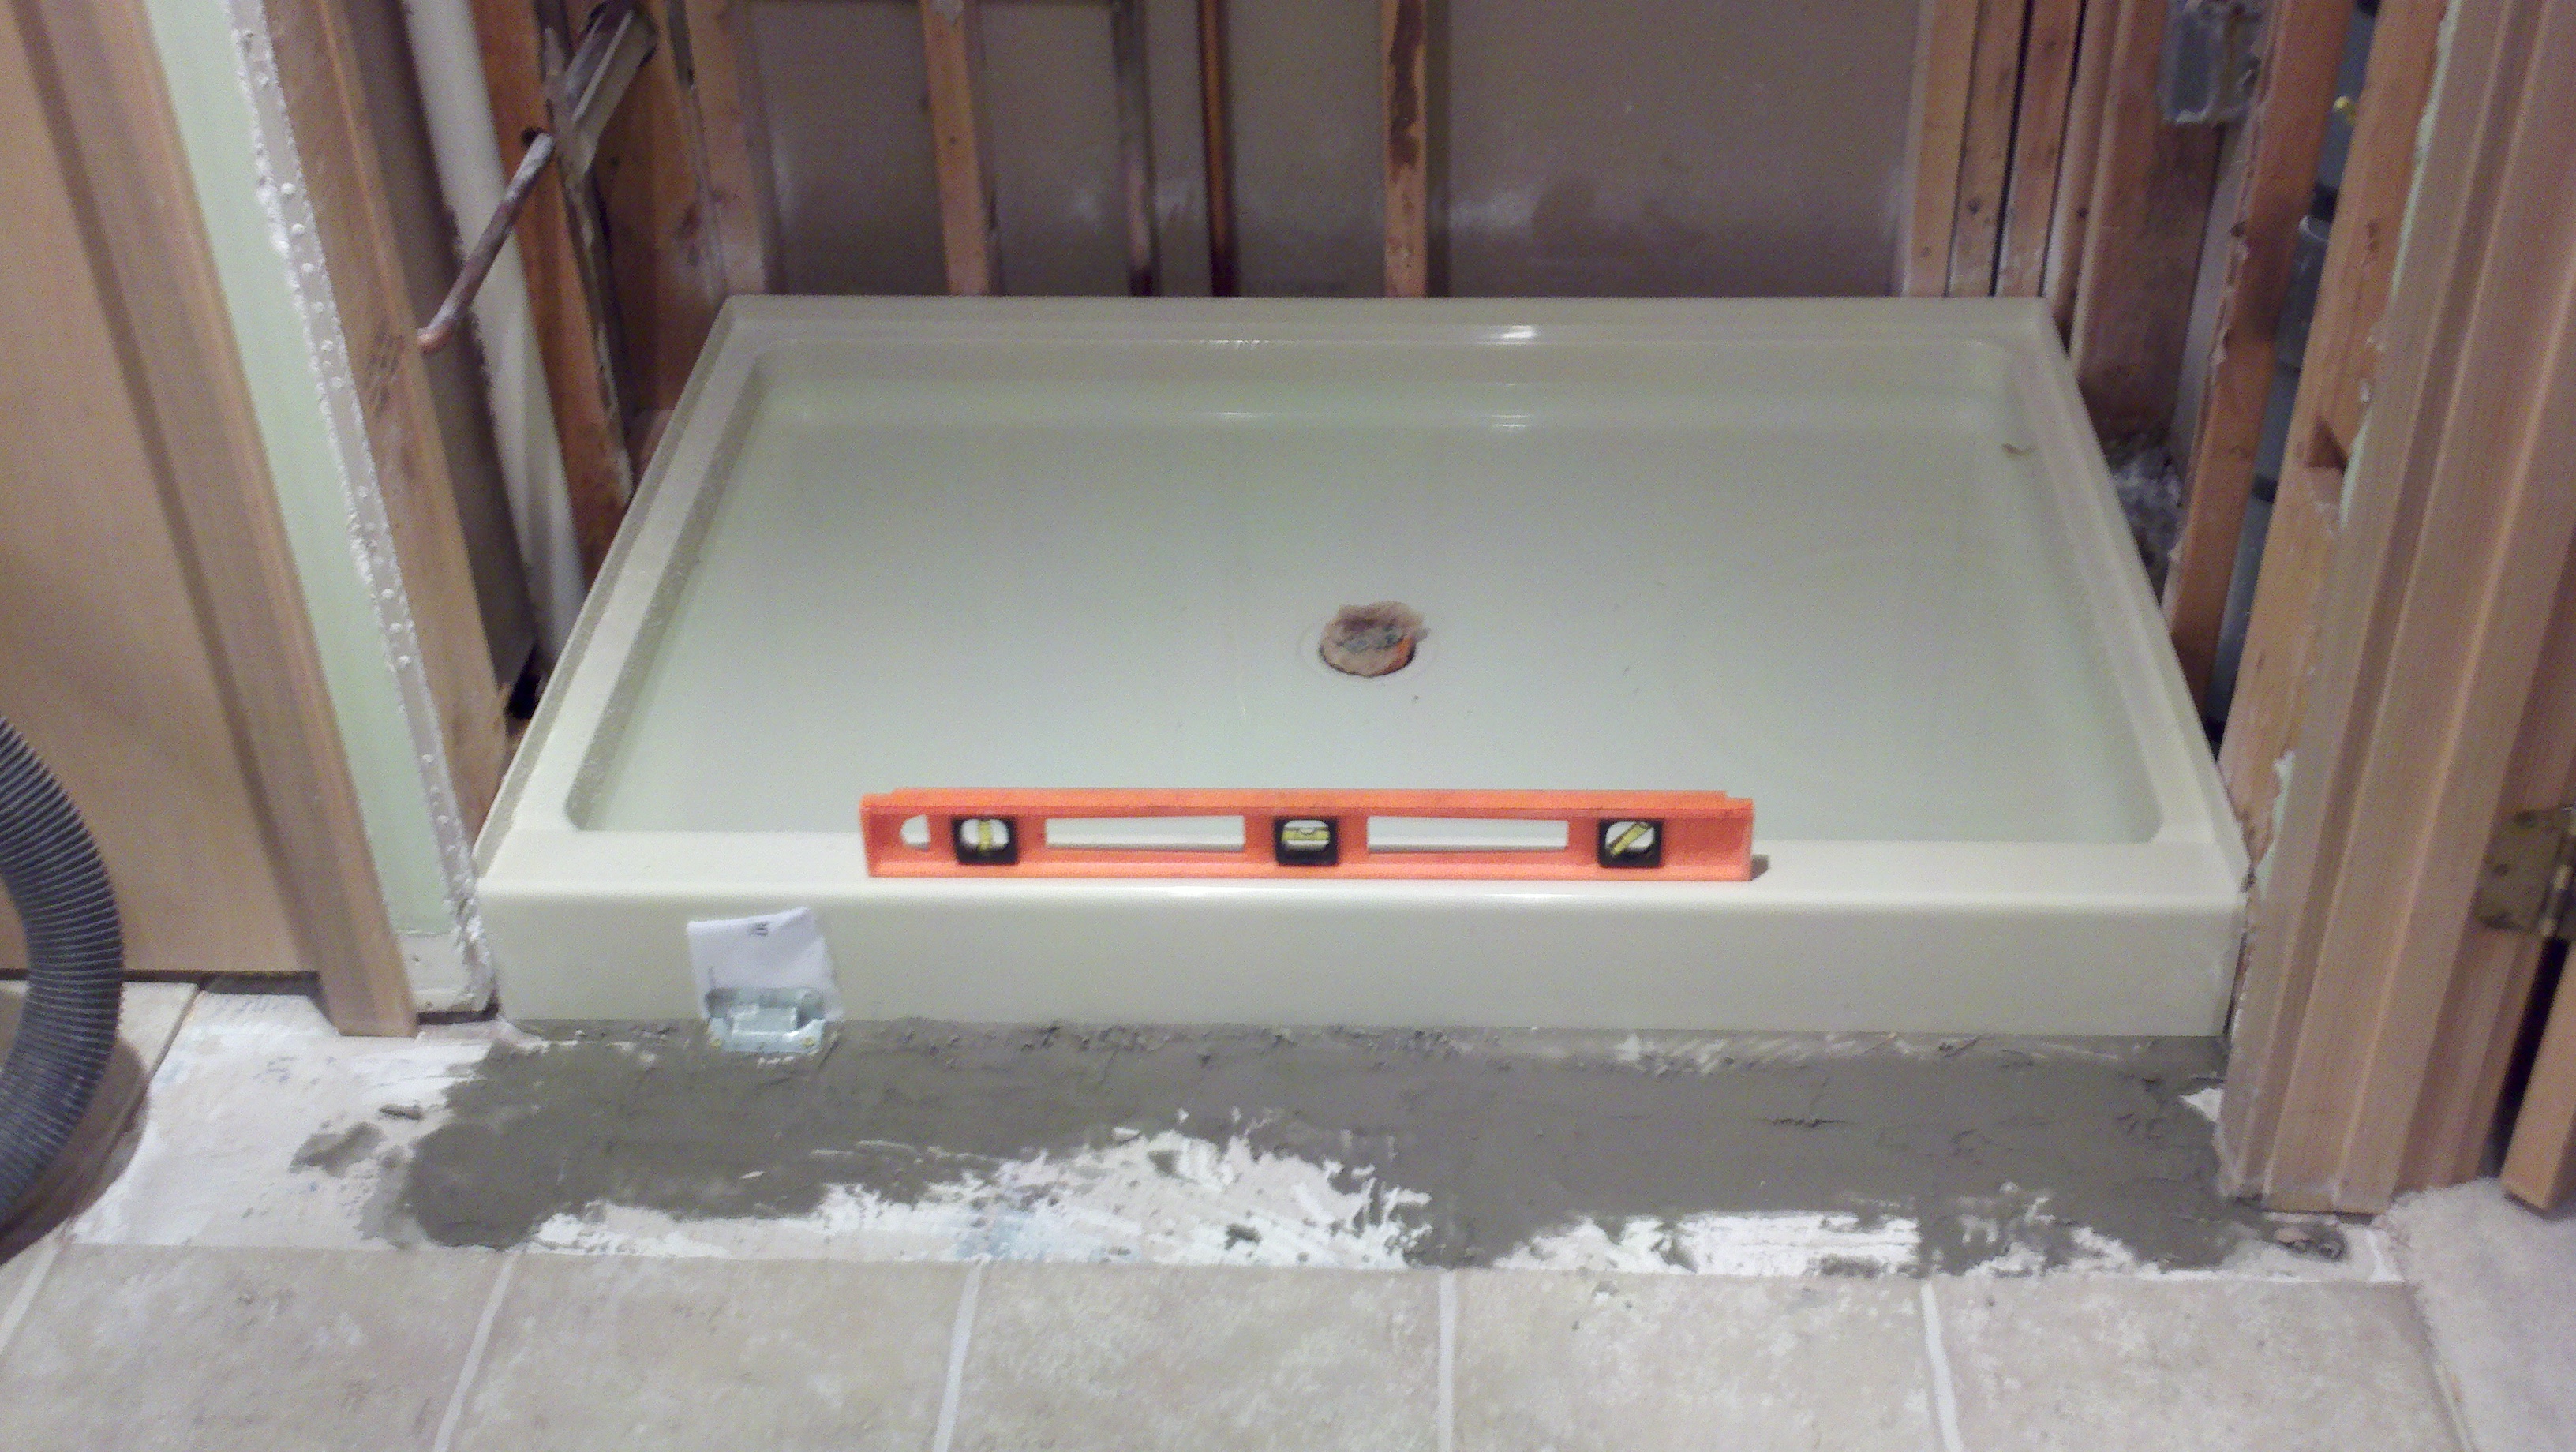
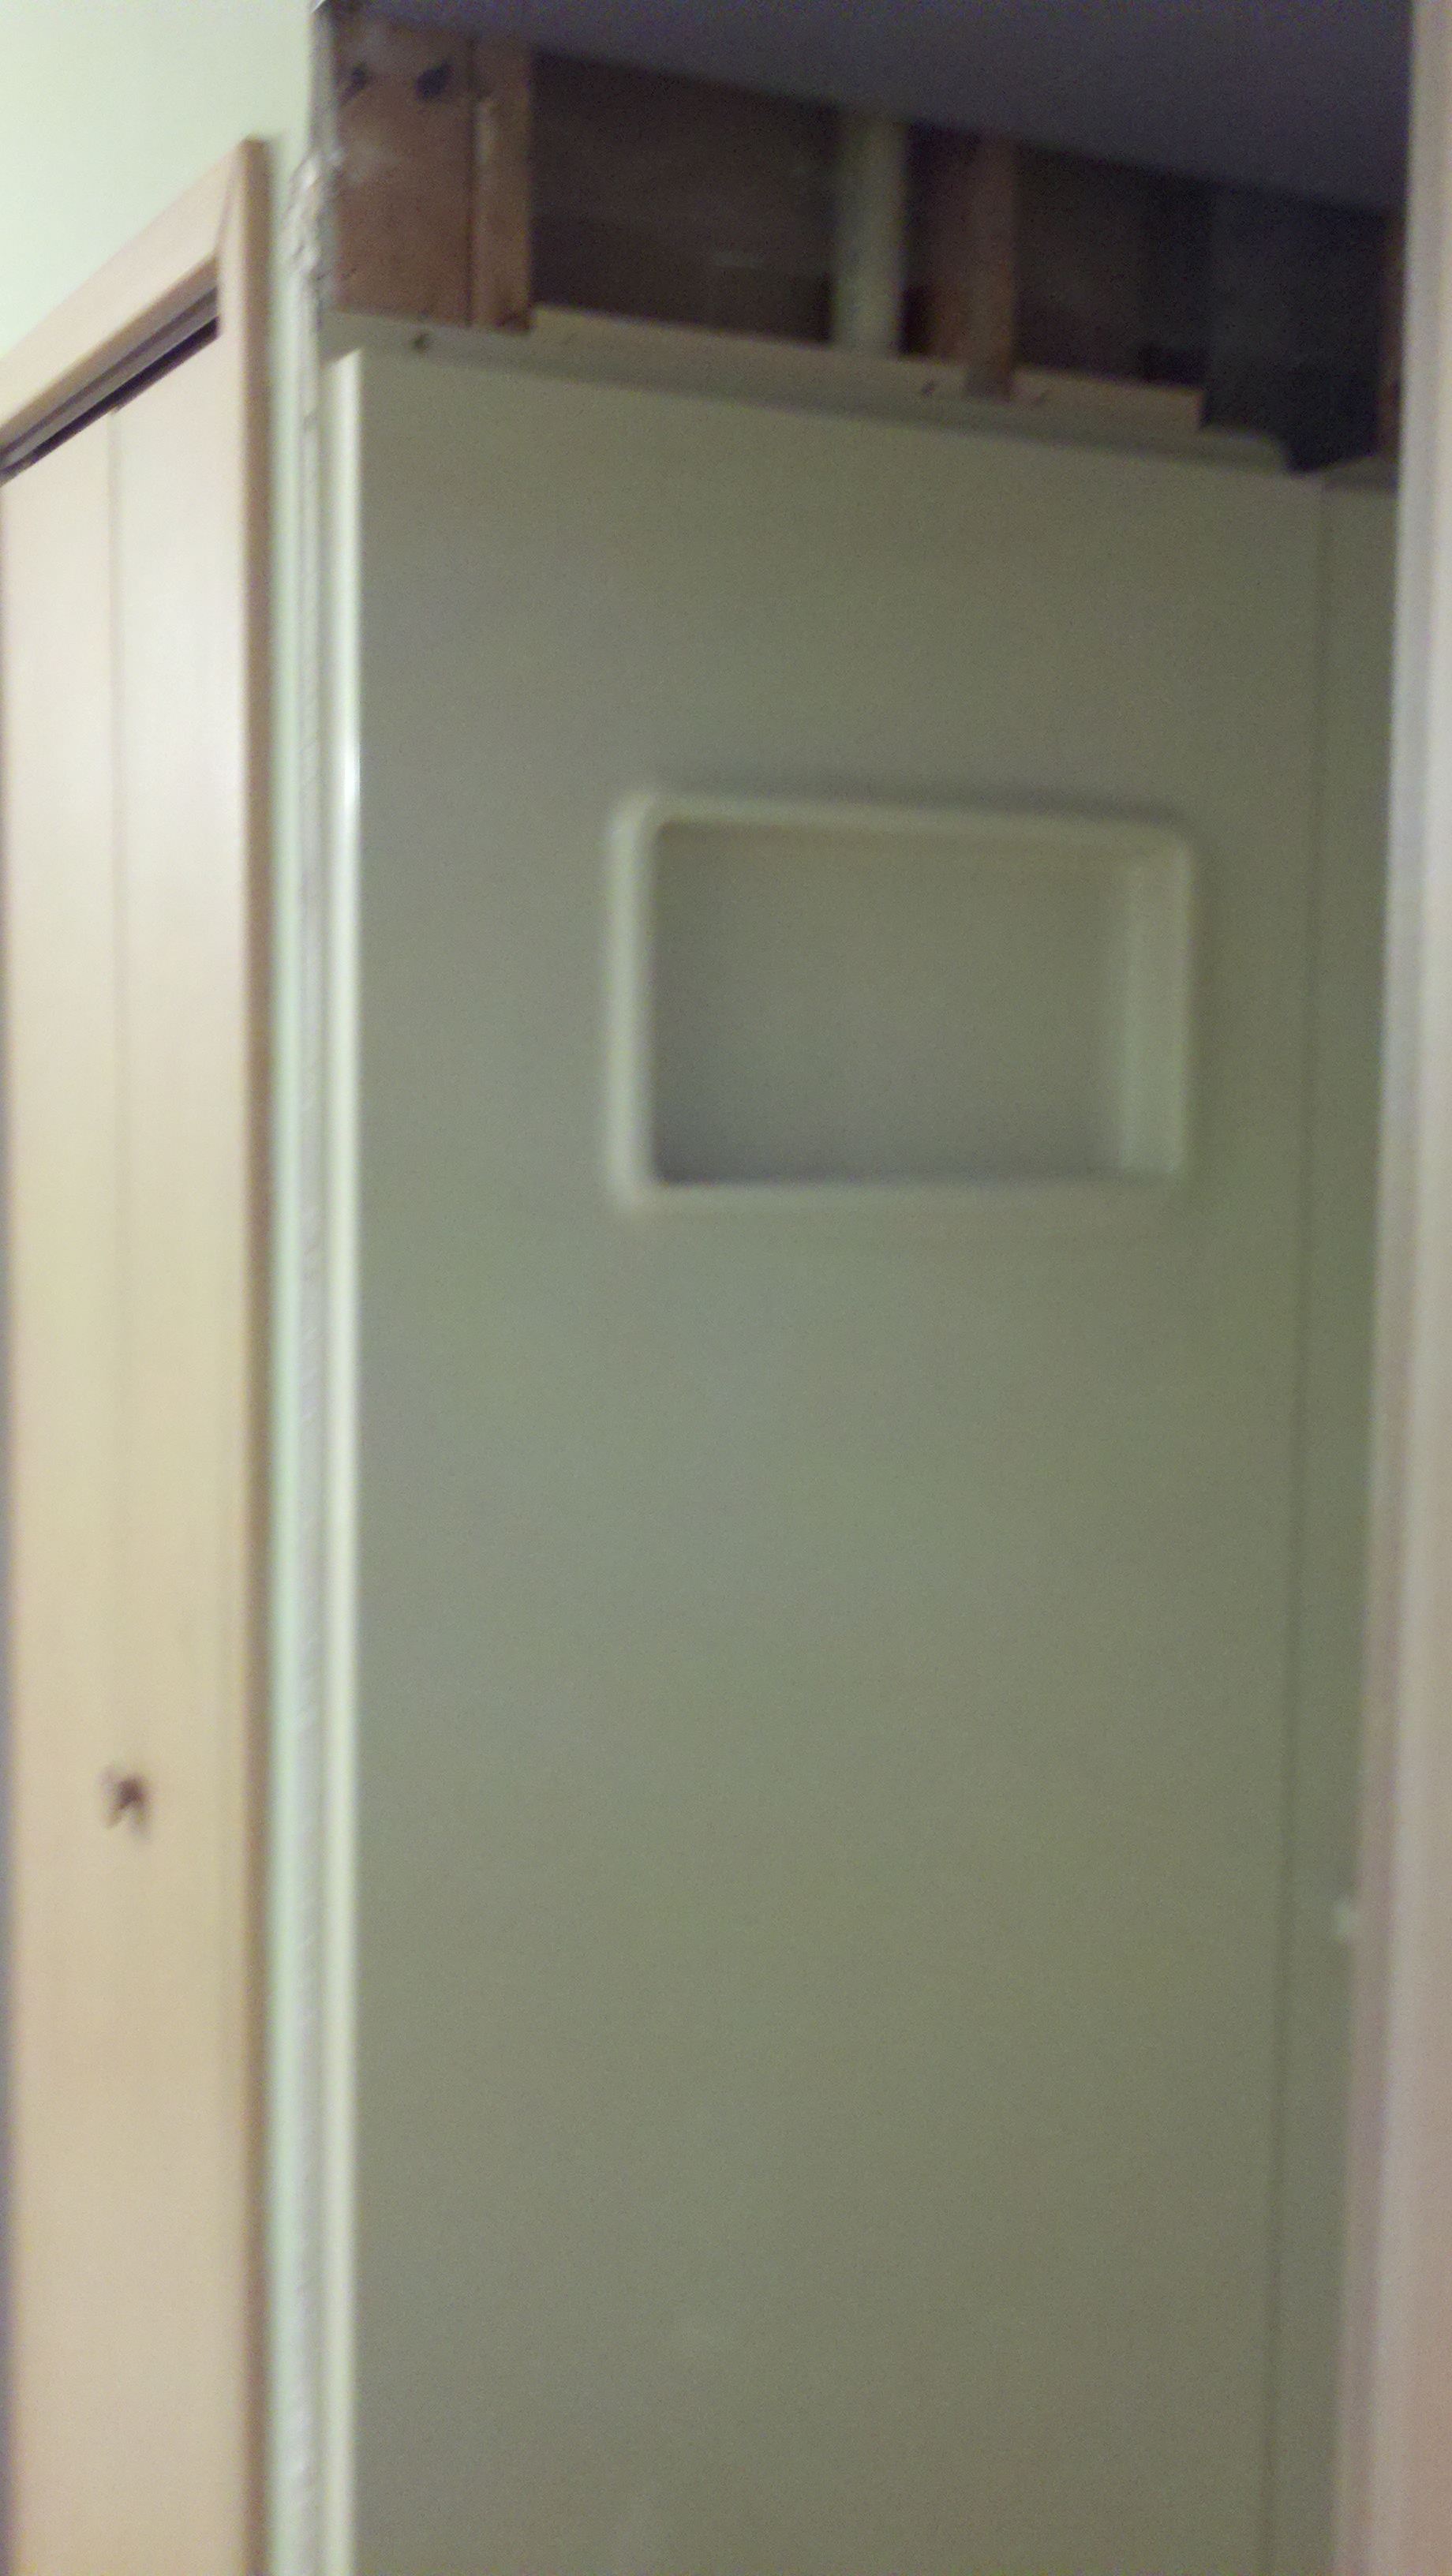
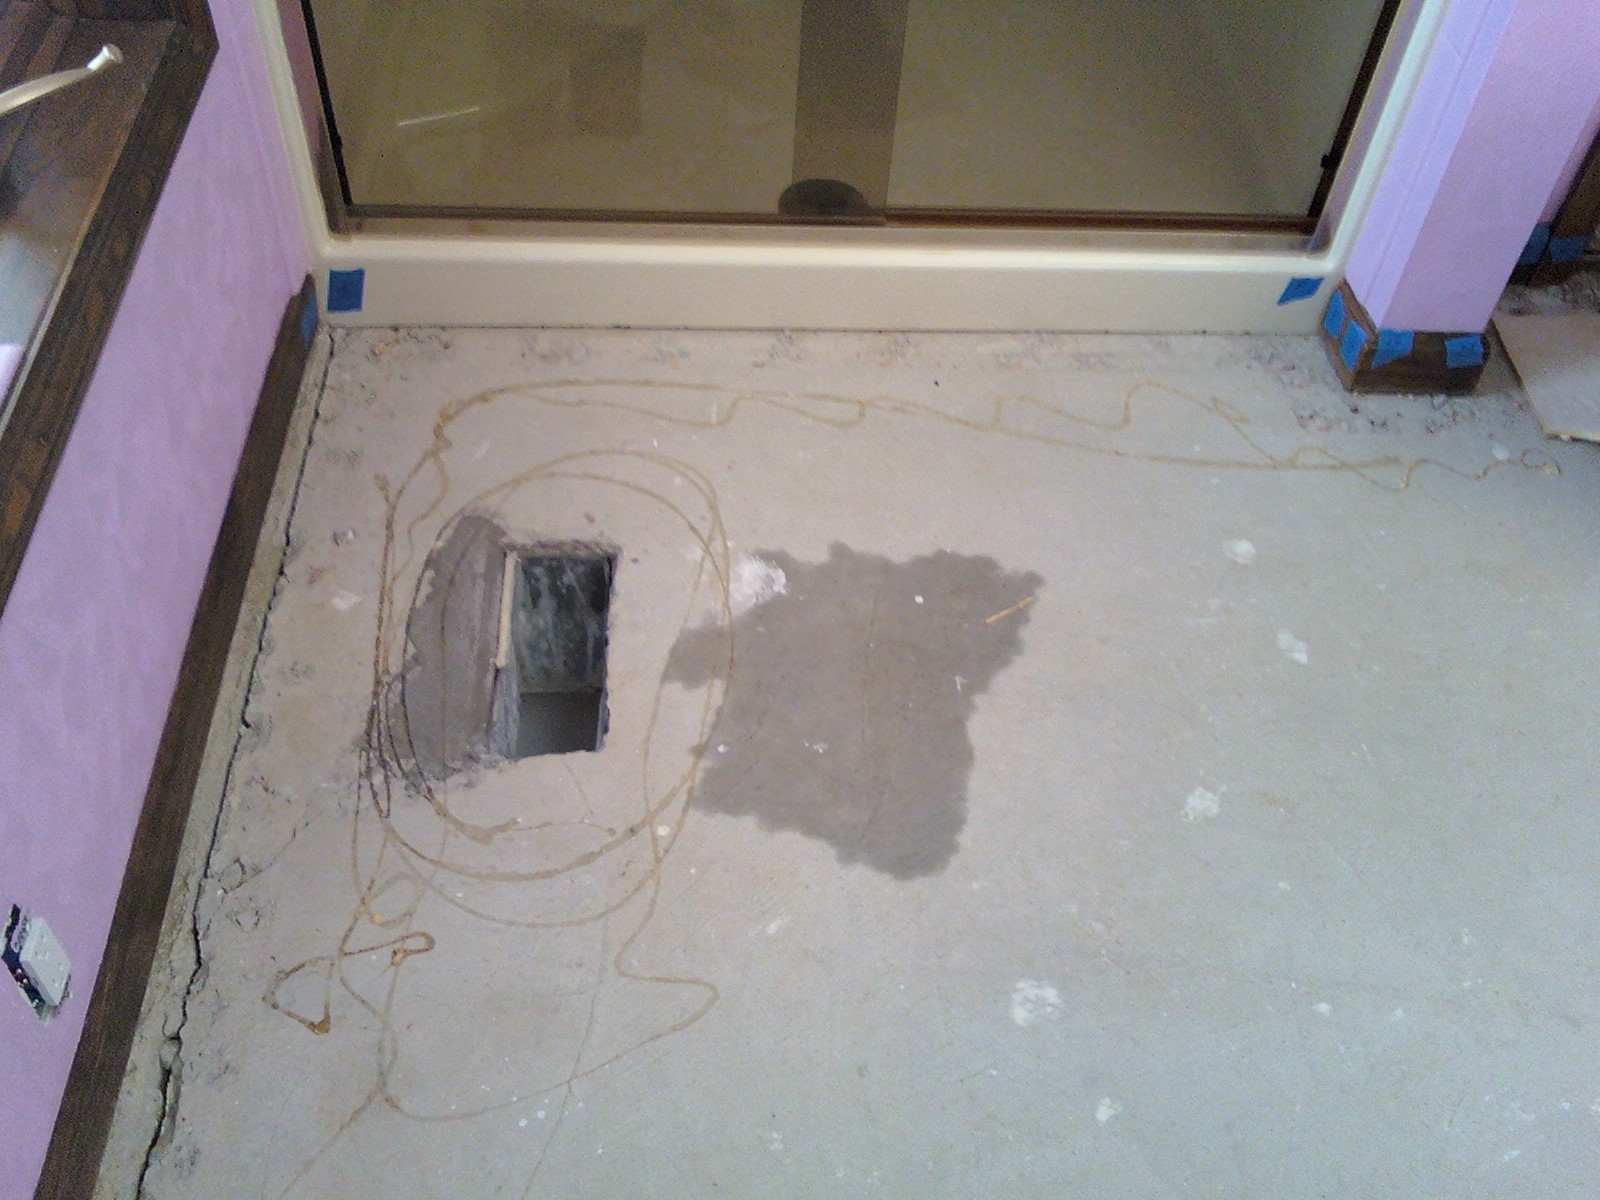
Removal of the toilet, pad, doors, and carpet introduced a blank slate for the addition of heated coils and tile. Pictures five through twelve represent visual representation of the floor stripped down to the cement slab.
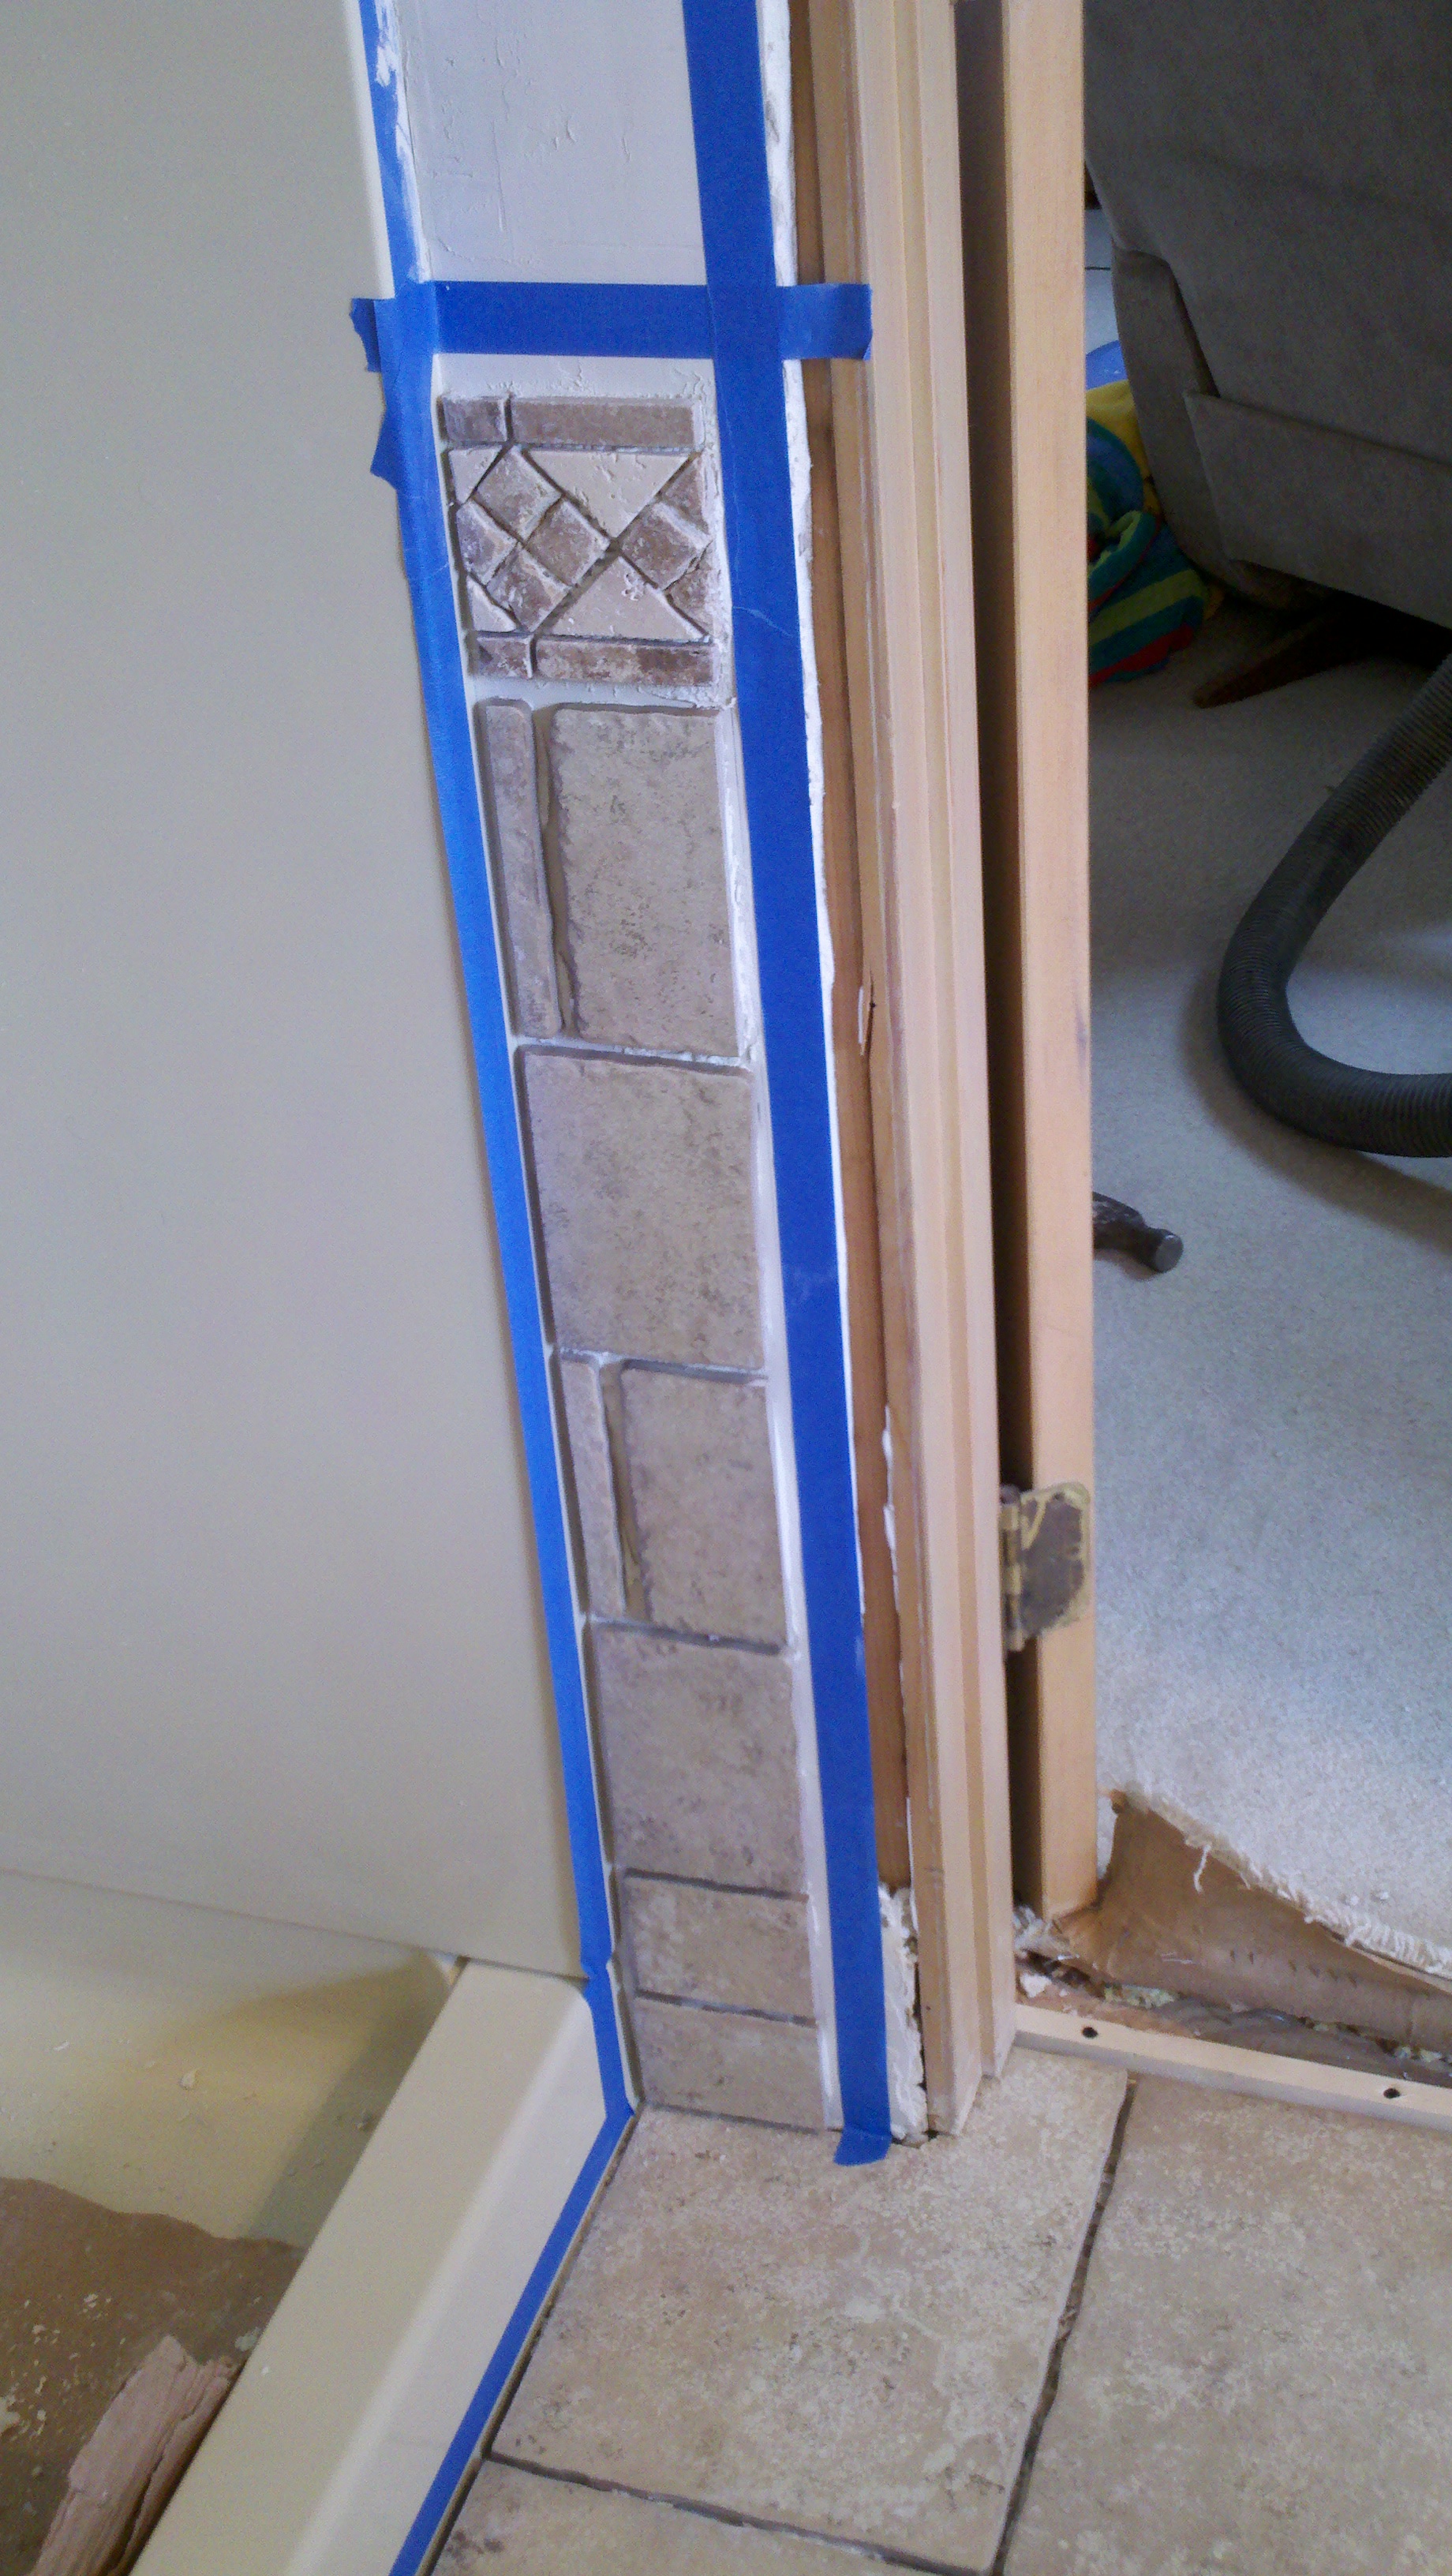
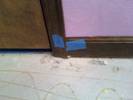
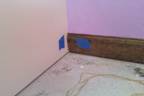
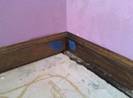
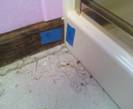
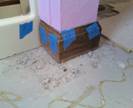
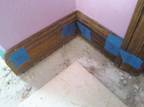
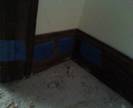
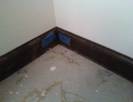
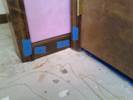
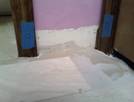
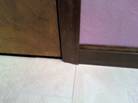
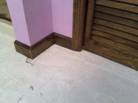
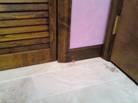
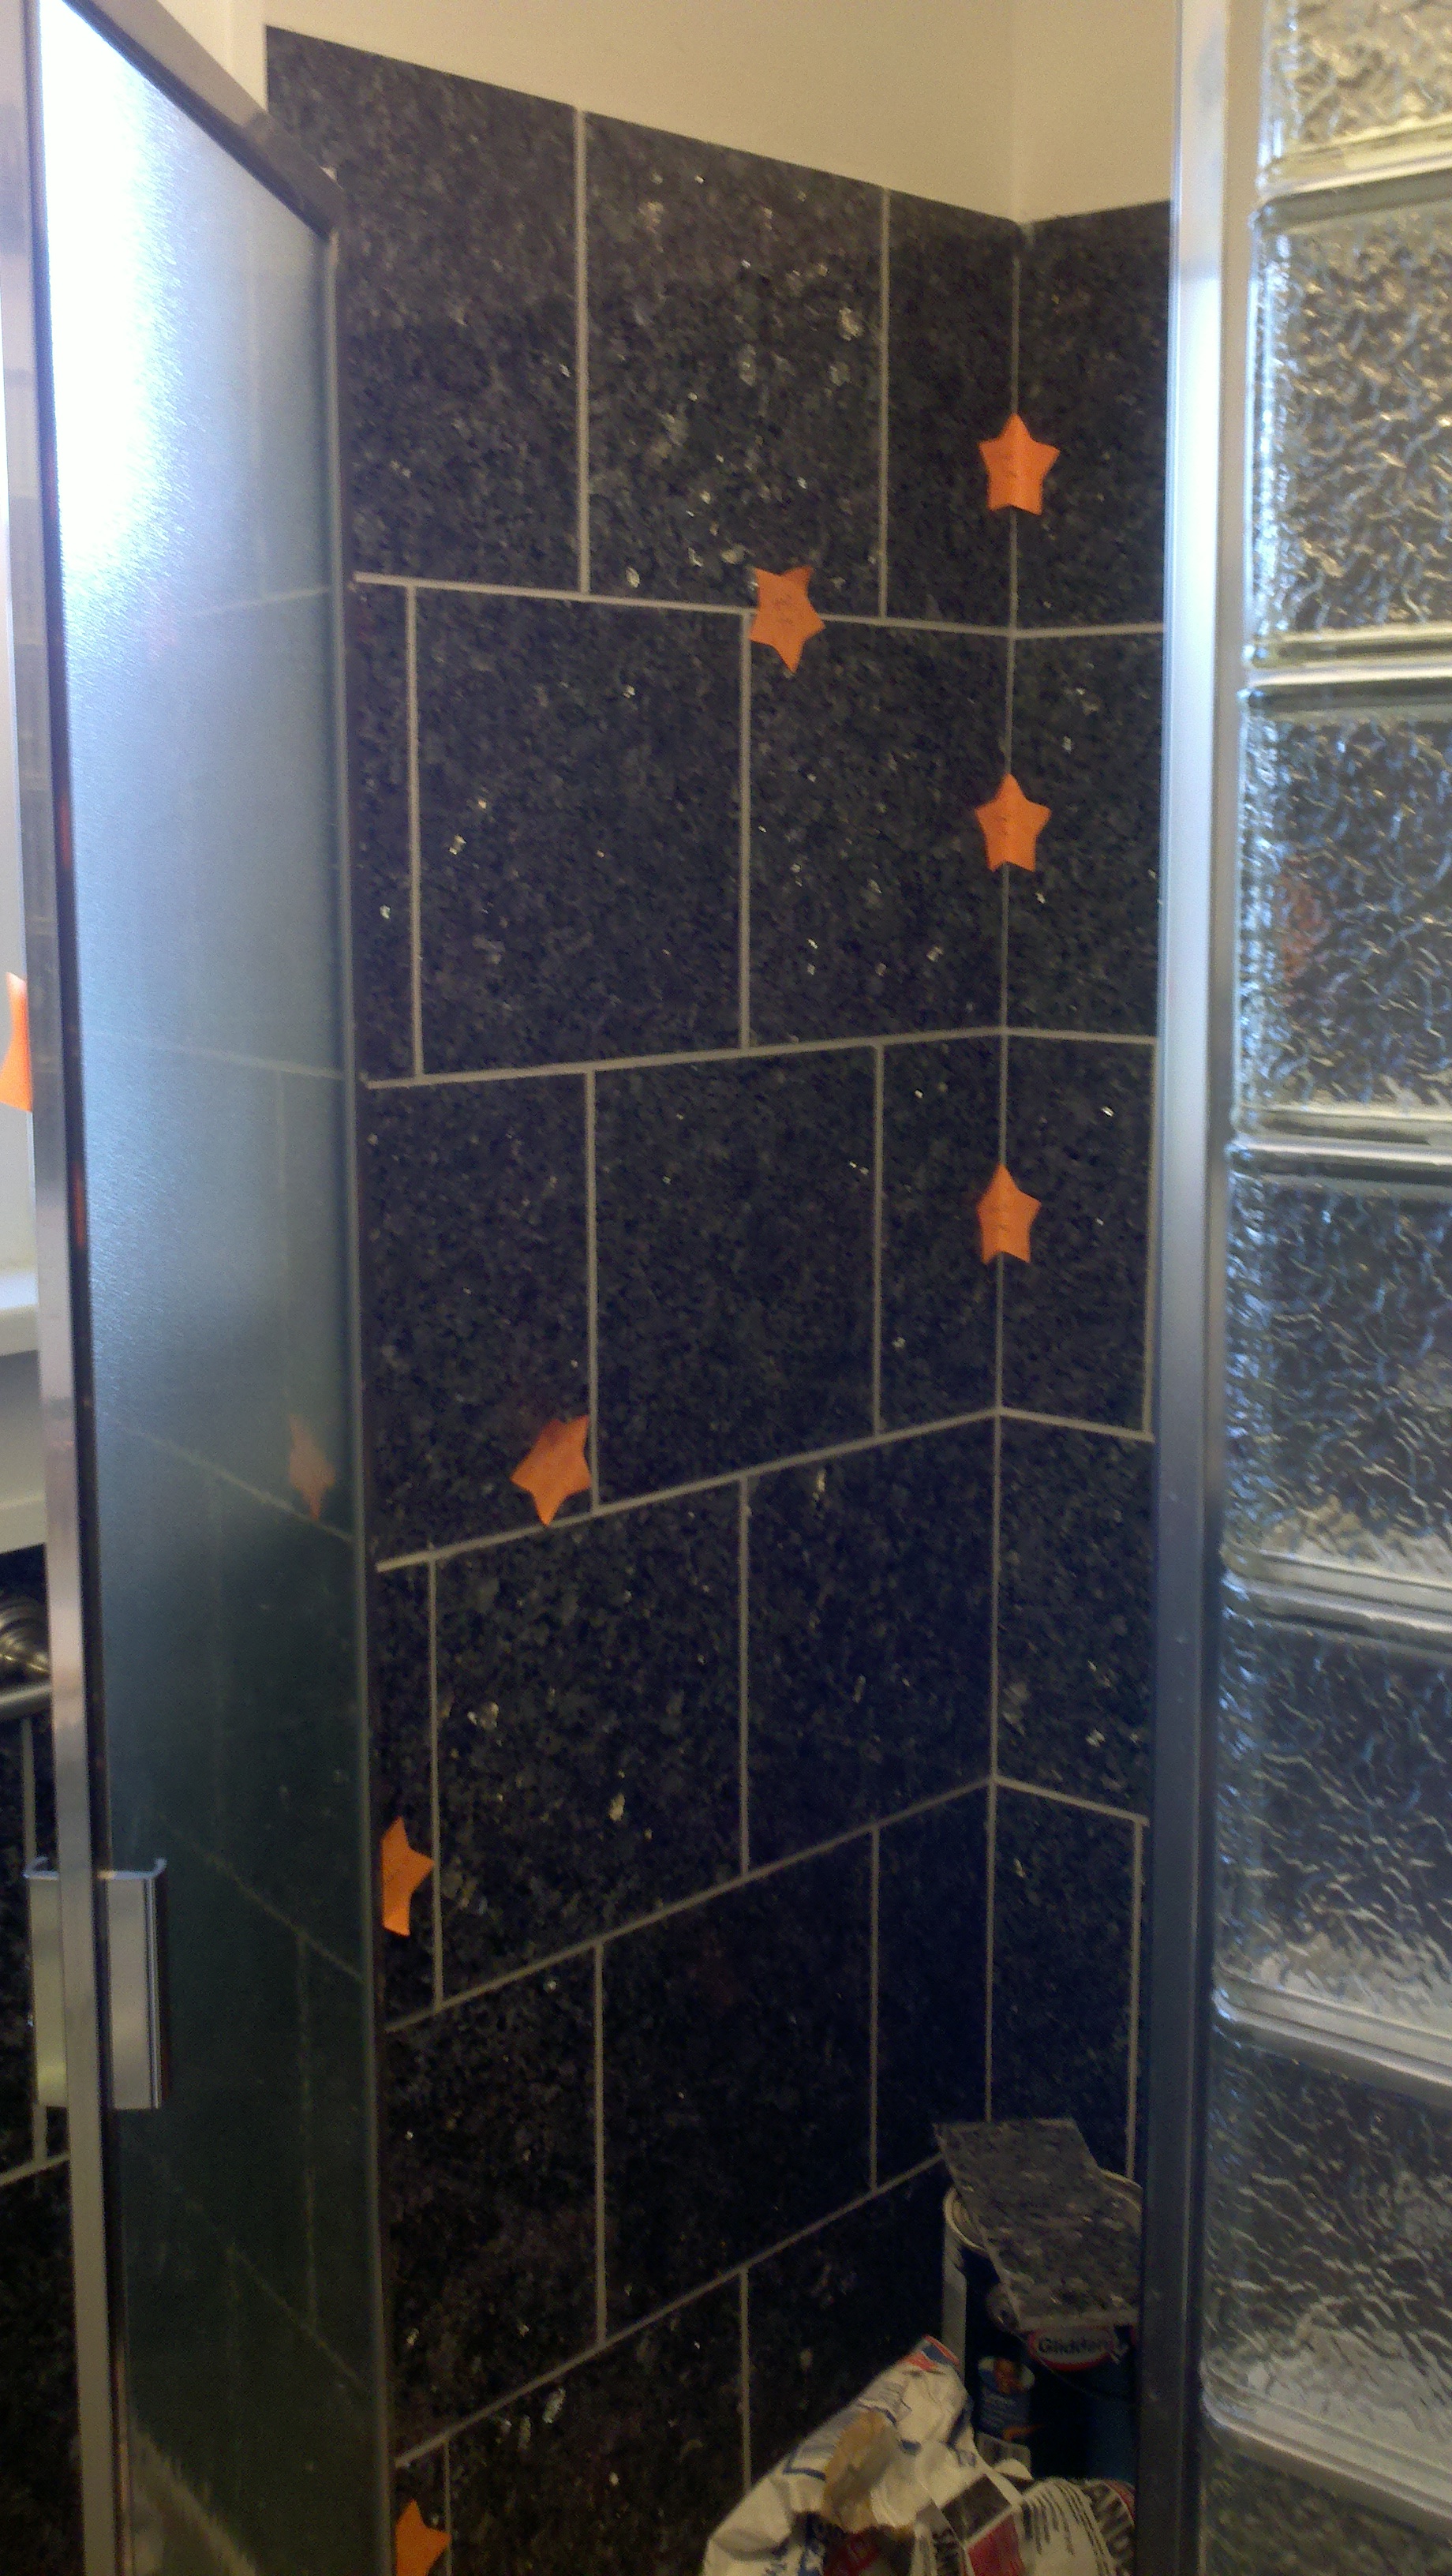
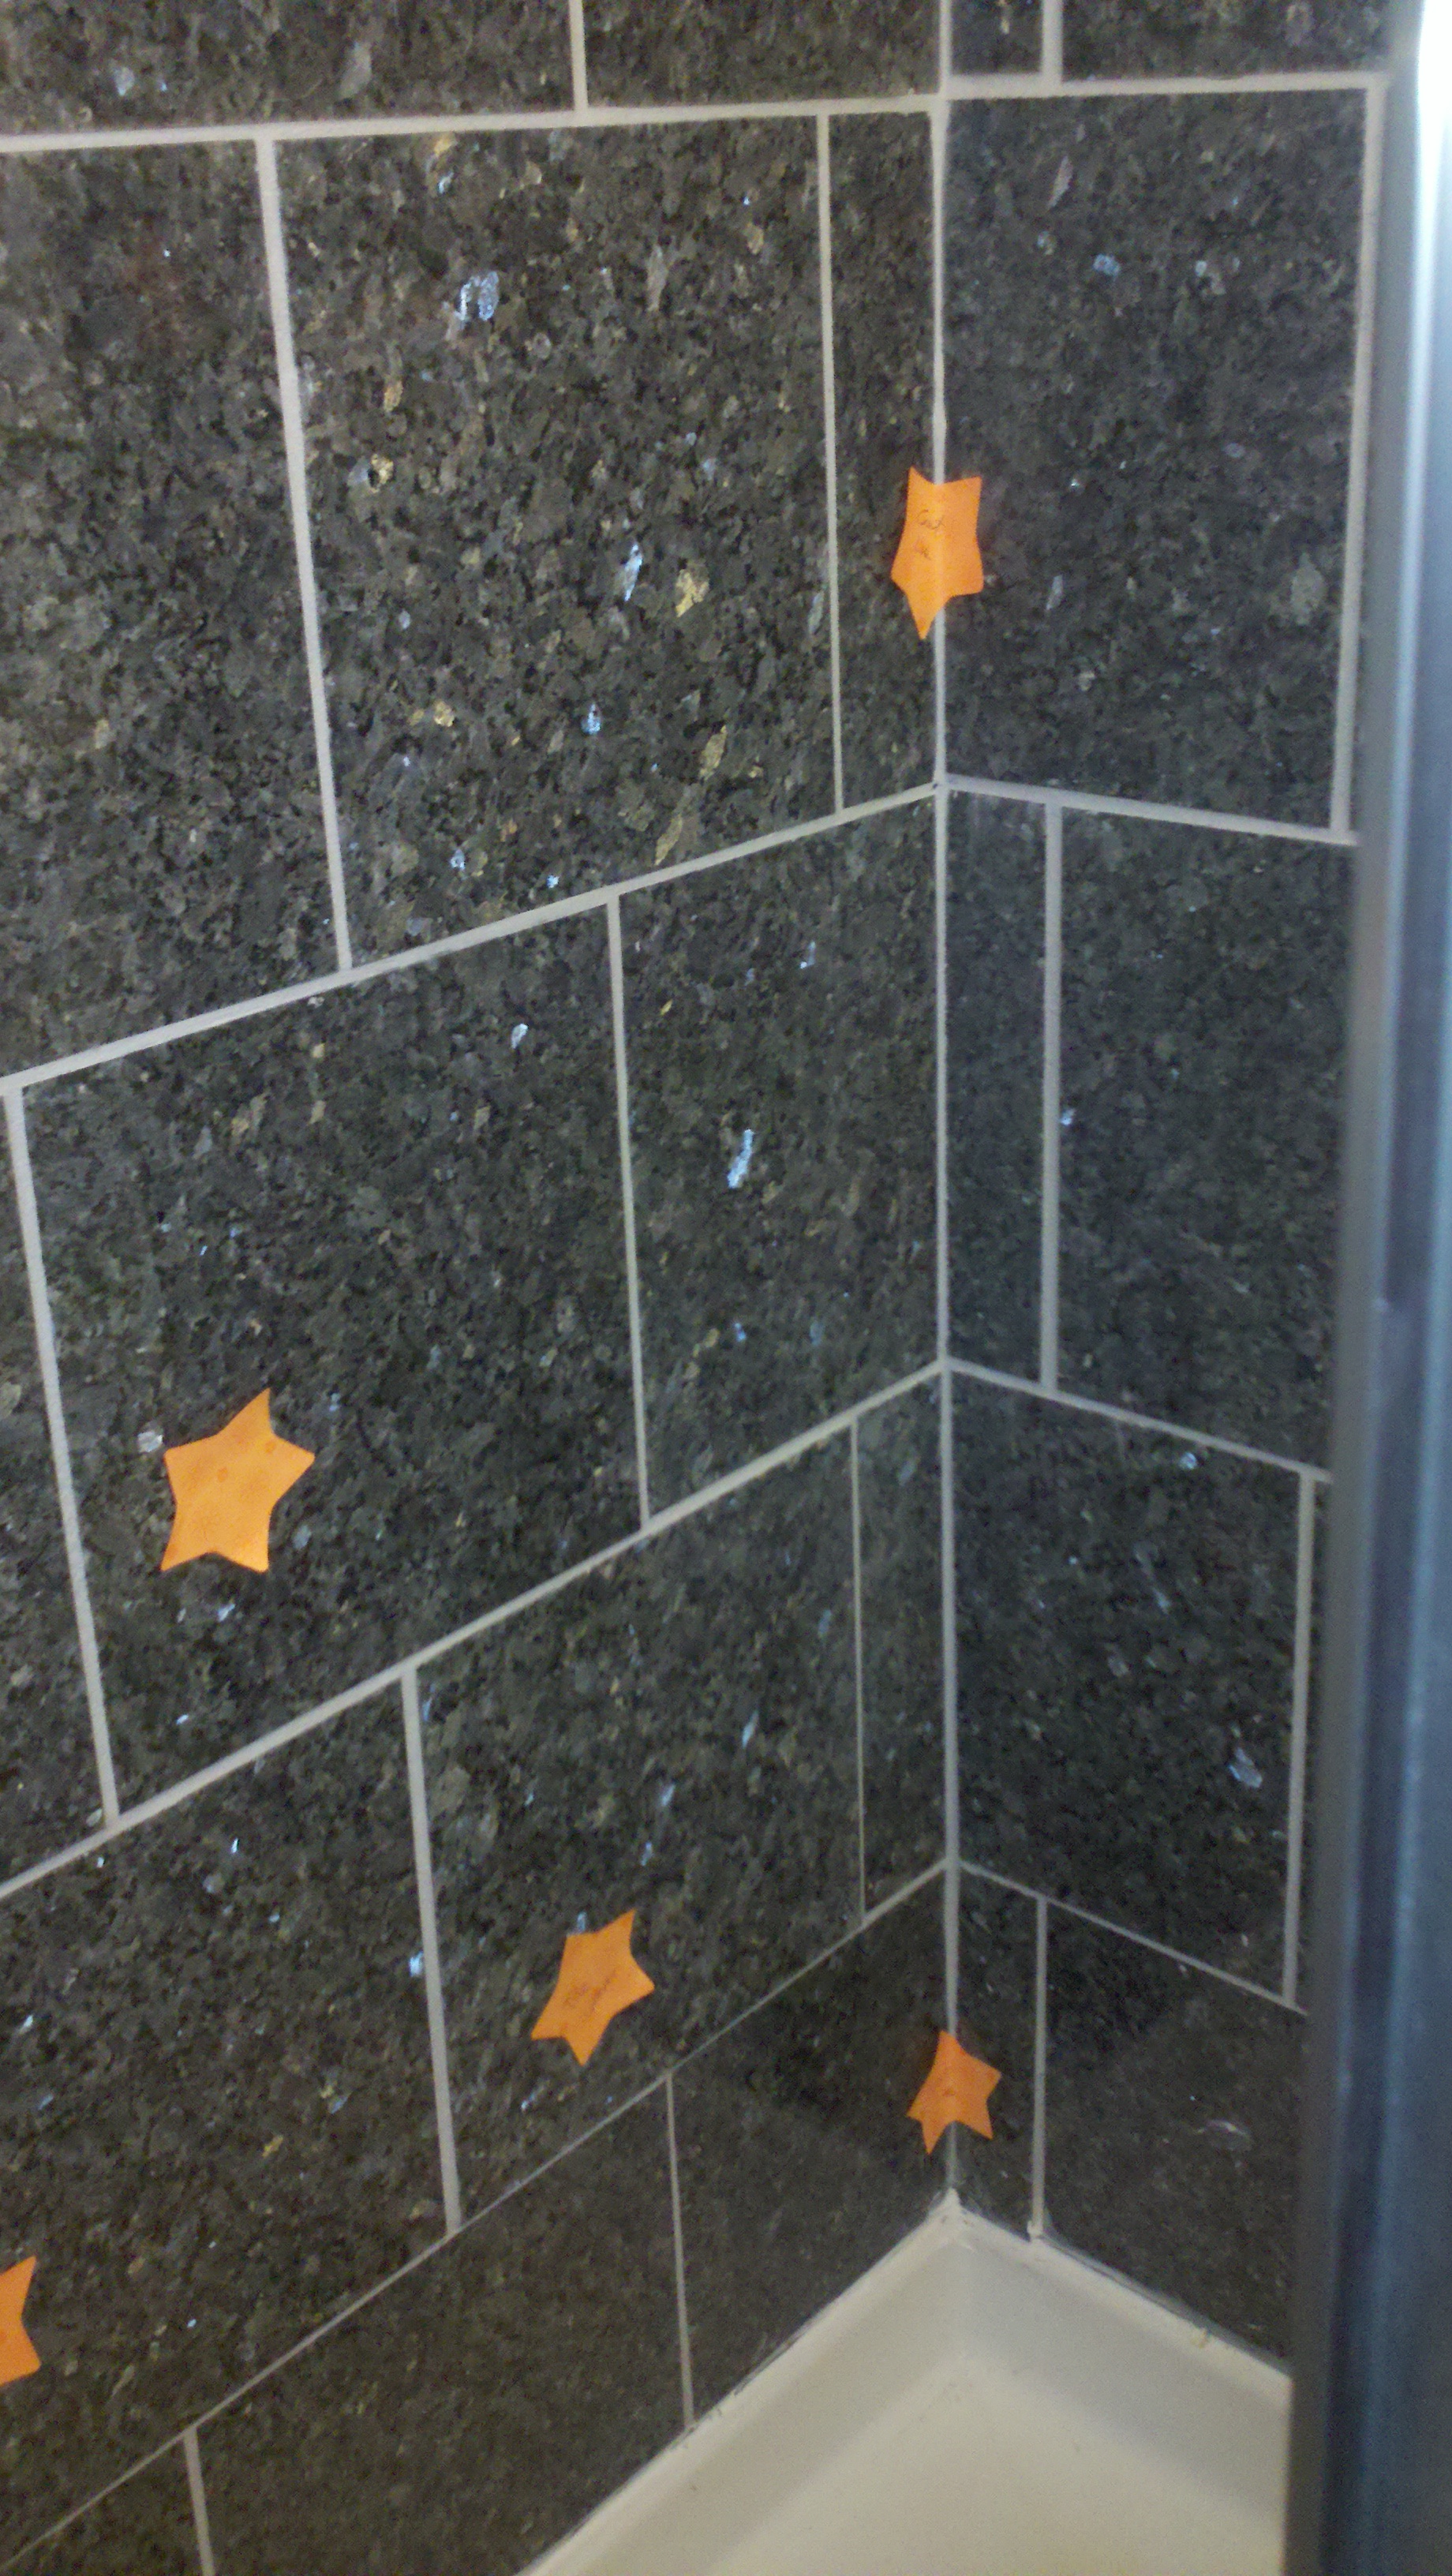
Removal of the floor trim allows for a cleaner installation of the tile and allows for compensation of the additional increase of height for the cement board, heat coils, and tile. A label system was the chosen method for trim removal. Painters tape labeled with letters of the alphabet provided directions for reinstallation following tile installation. The labels are revealed with pictures thirteen up to twenty-four.
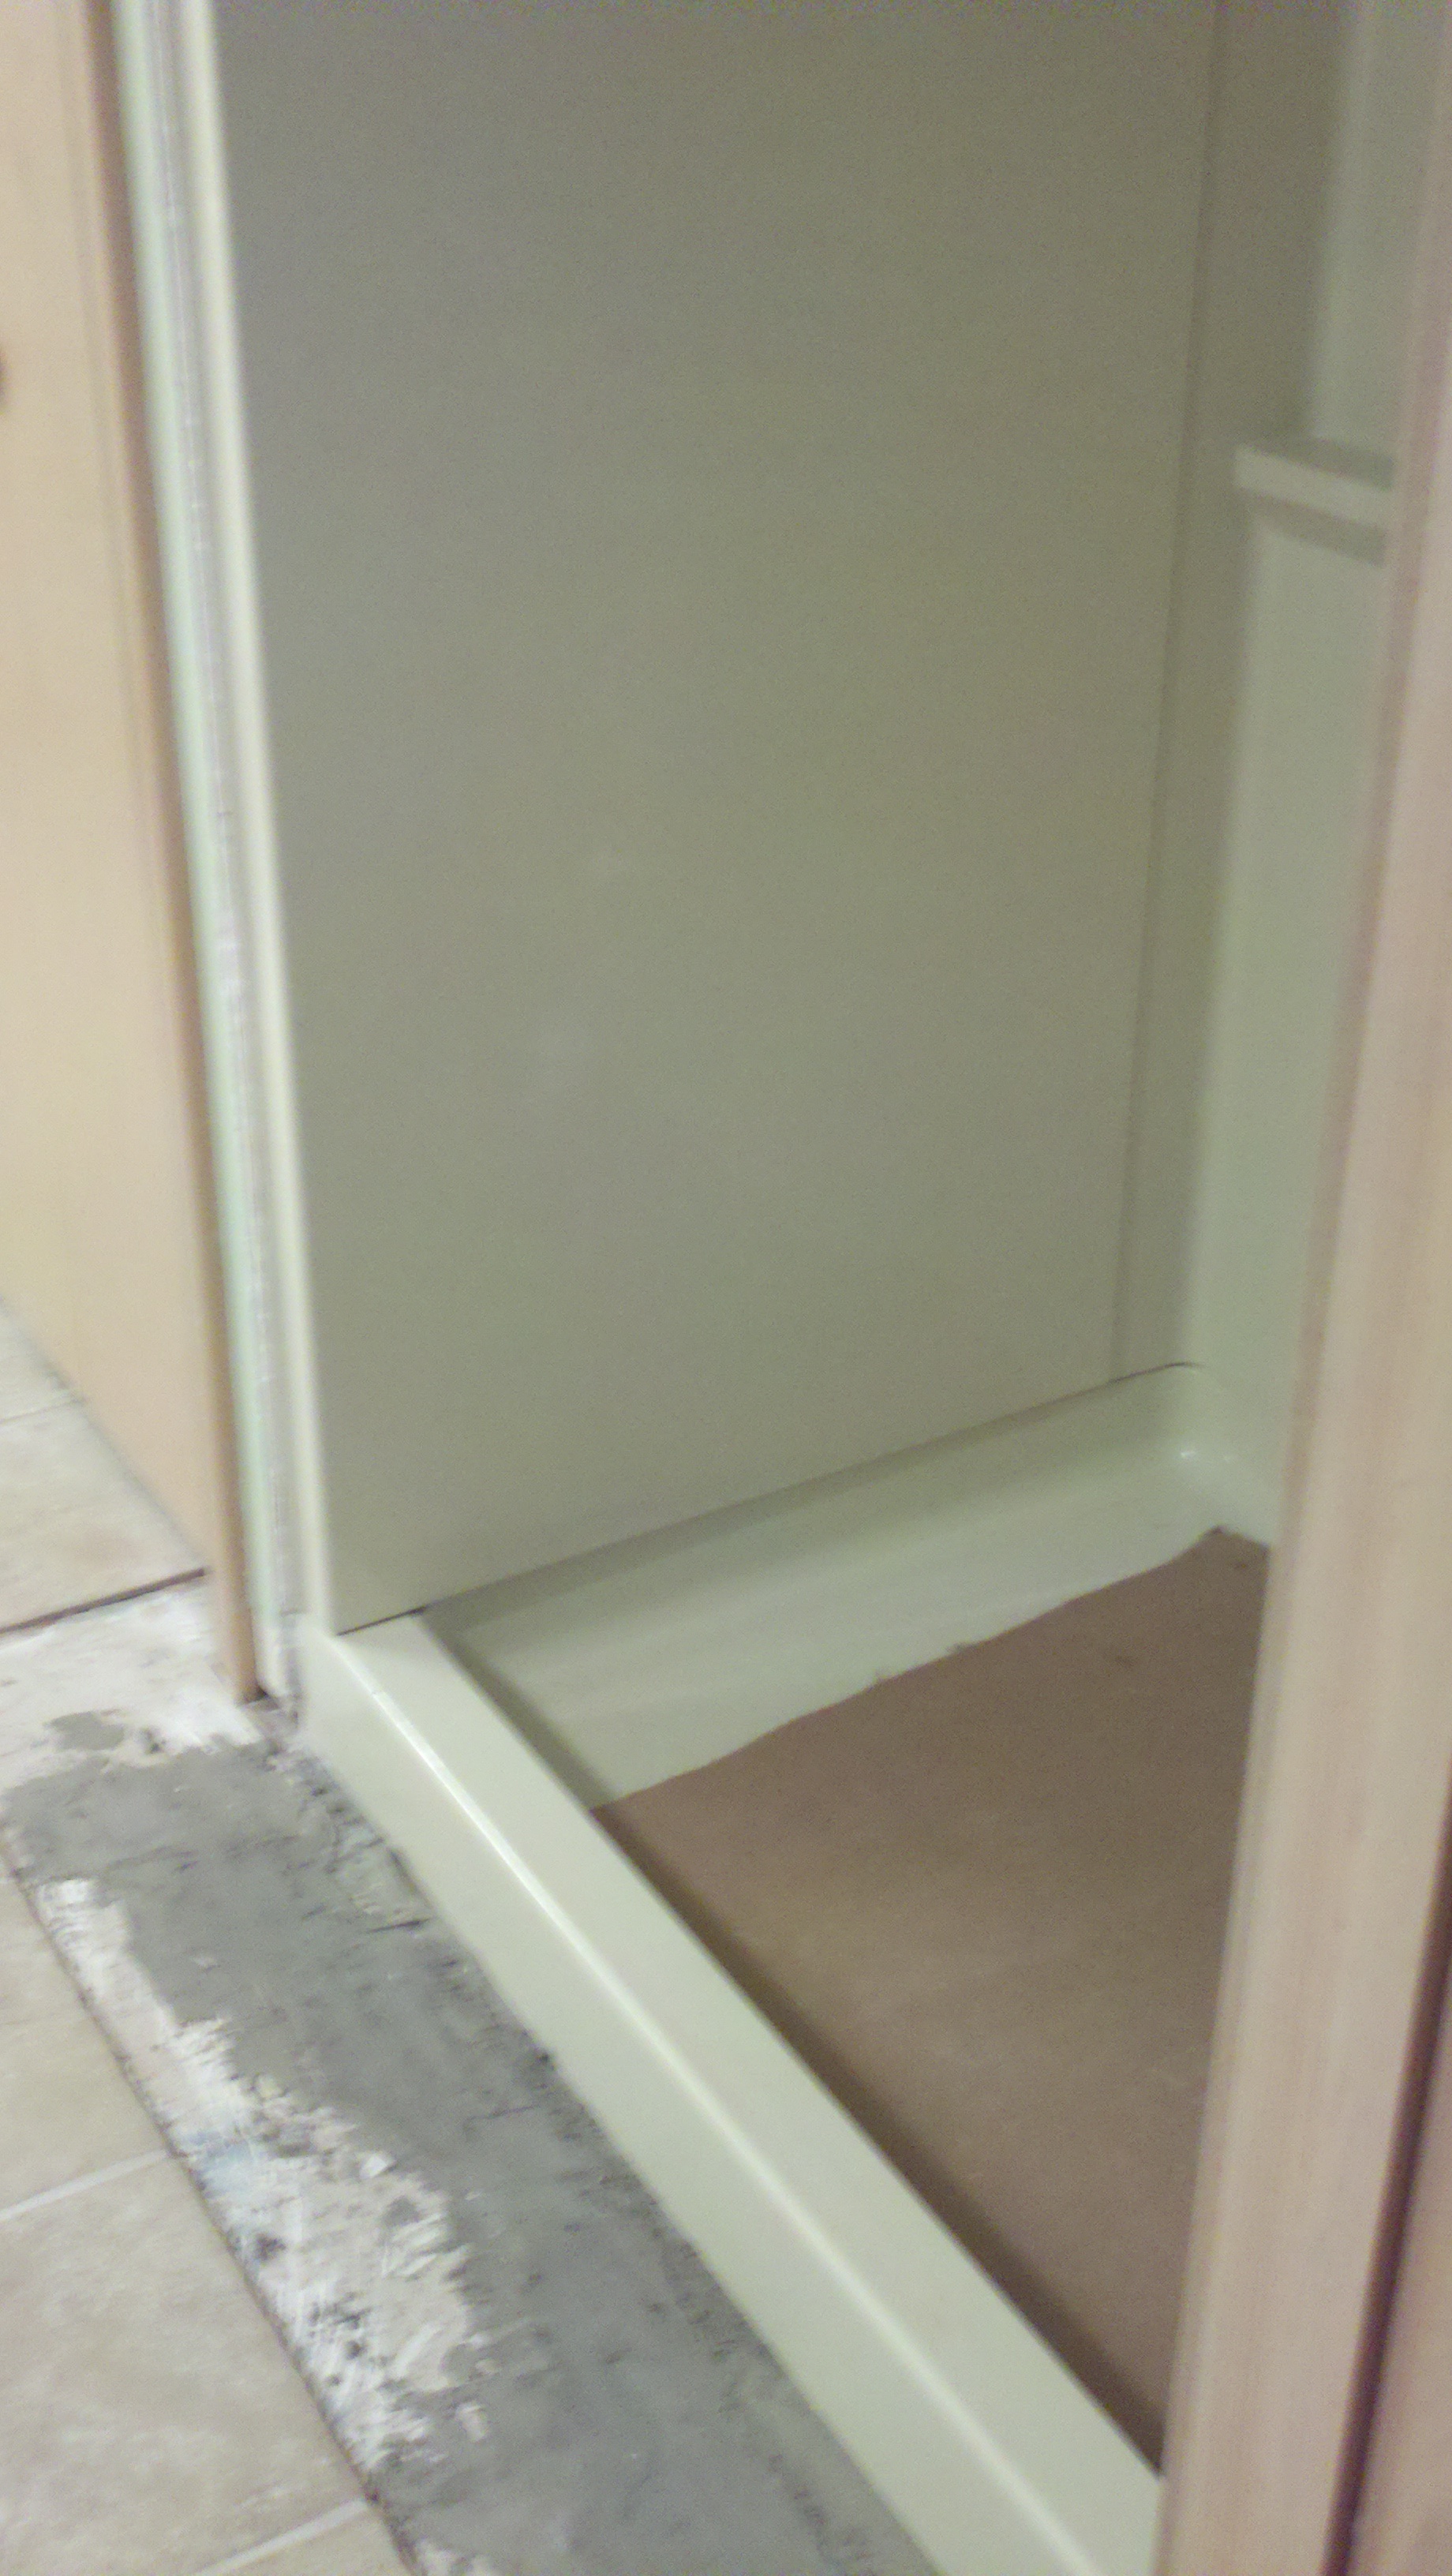
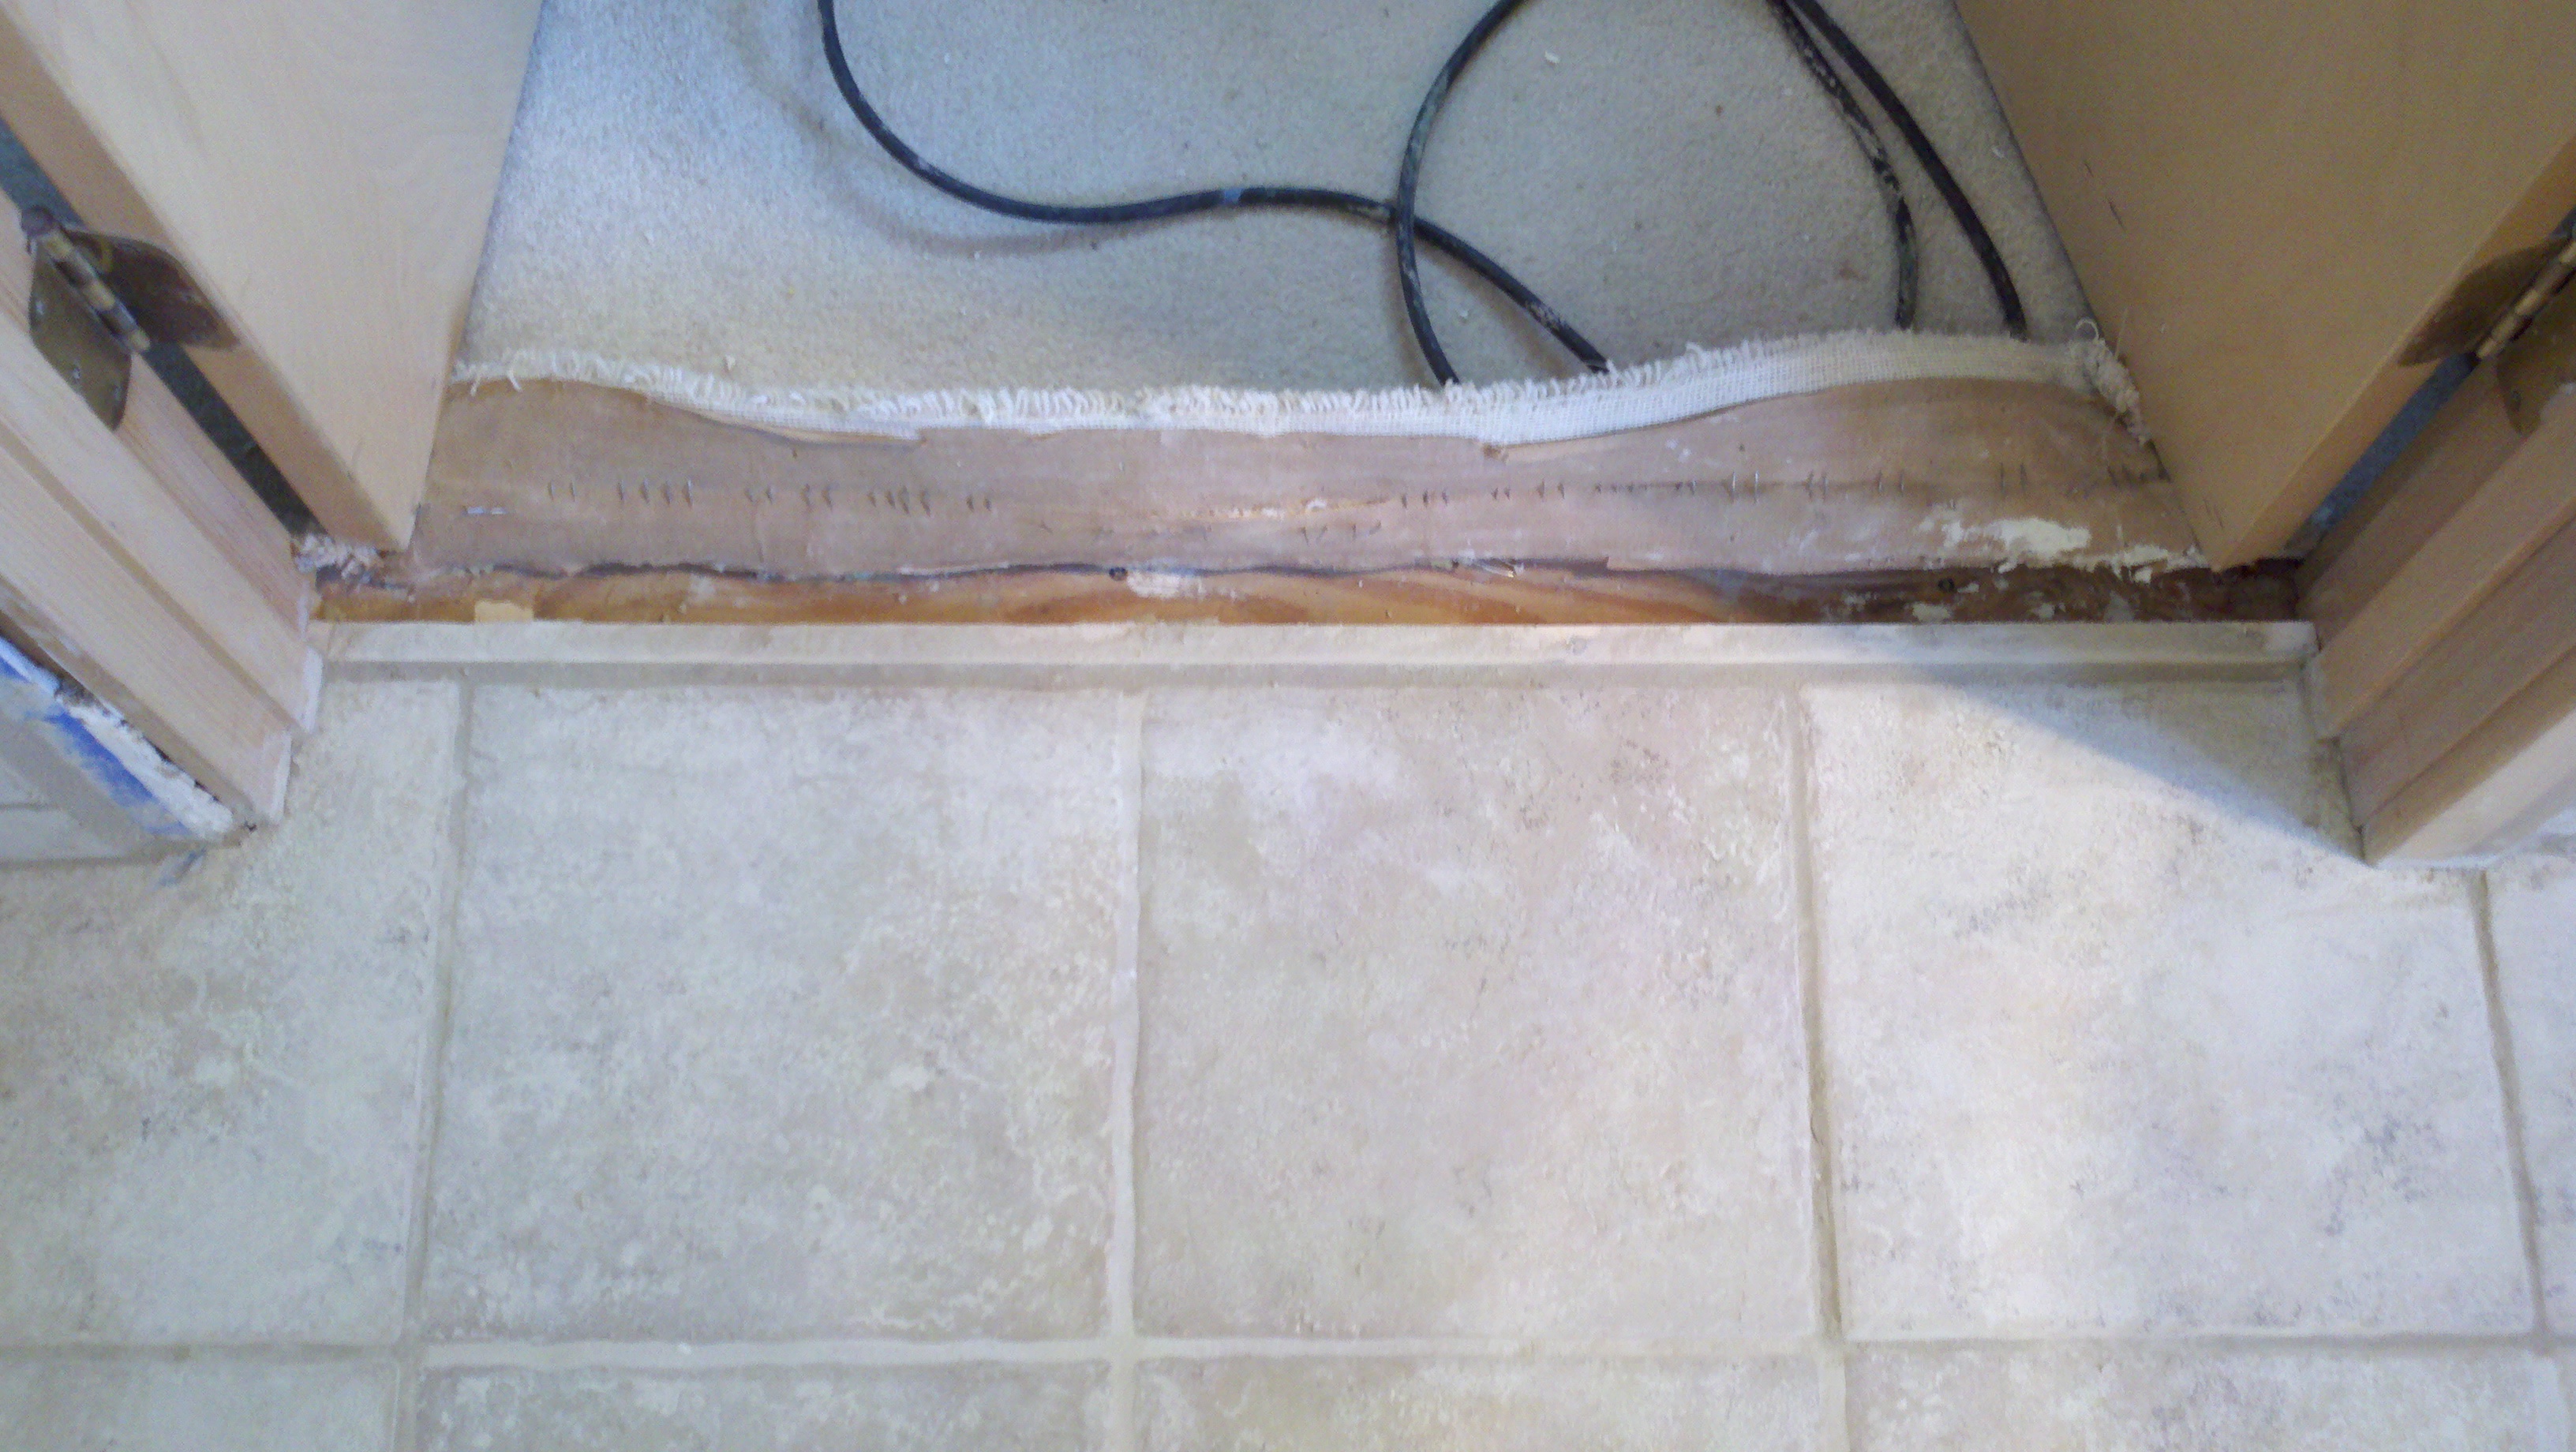
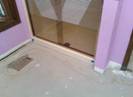
Removal of the trim was accomplished with a crow bar, hammer, and patience. Pictures twenty-five through twenty-eight provide visual copies of the floor without trim.
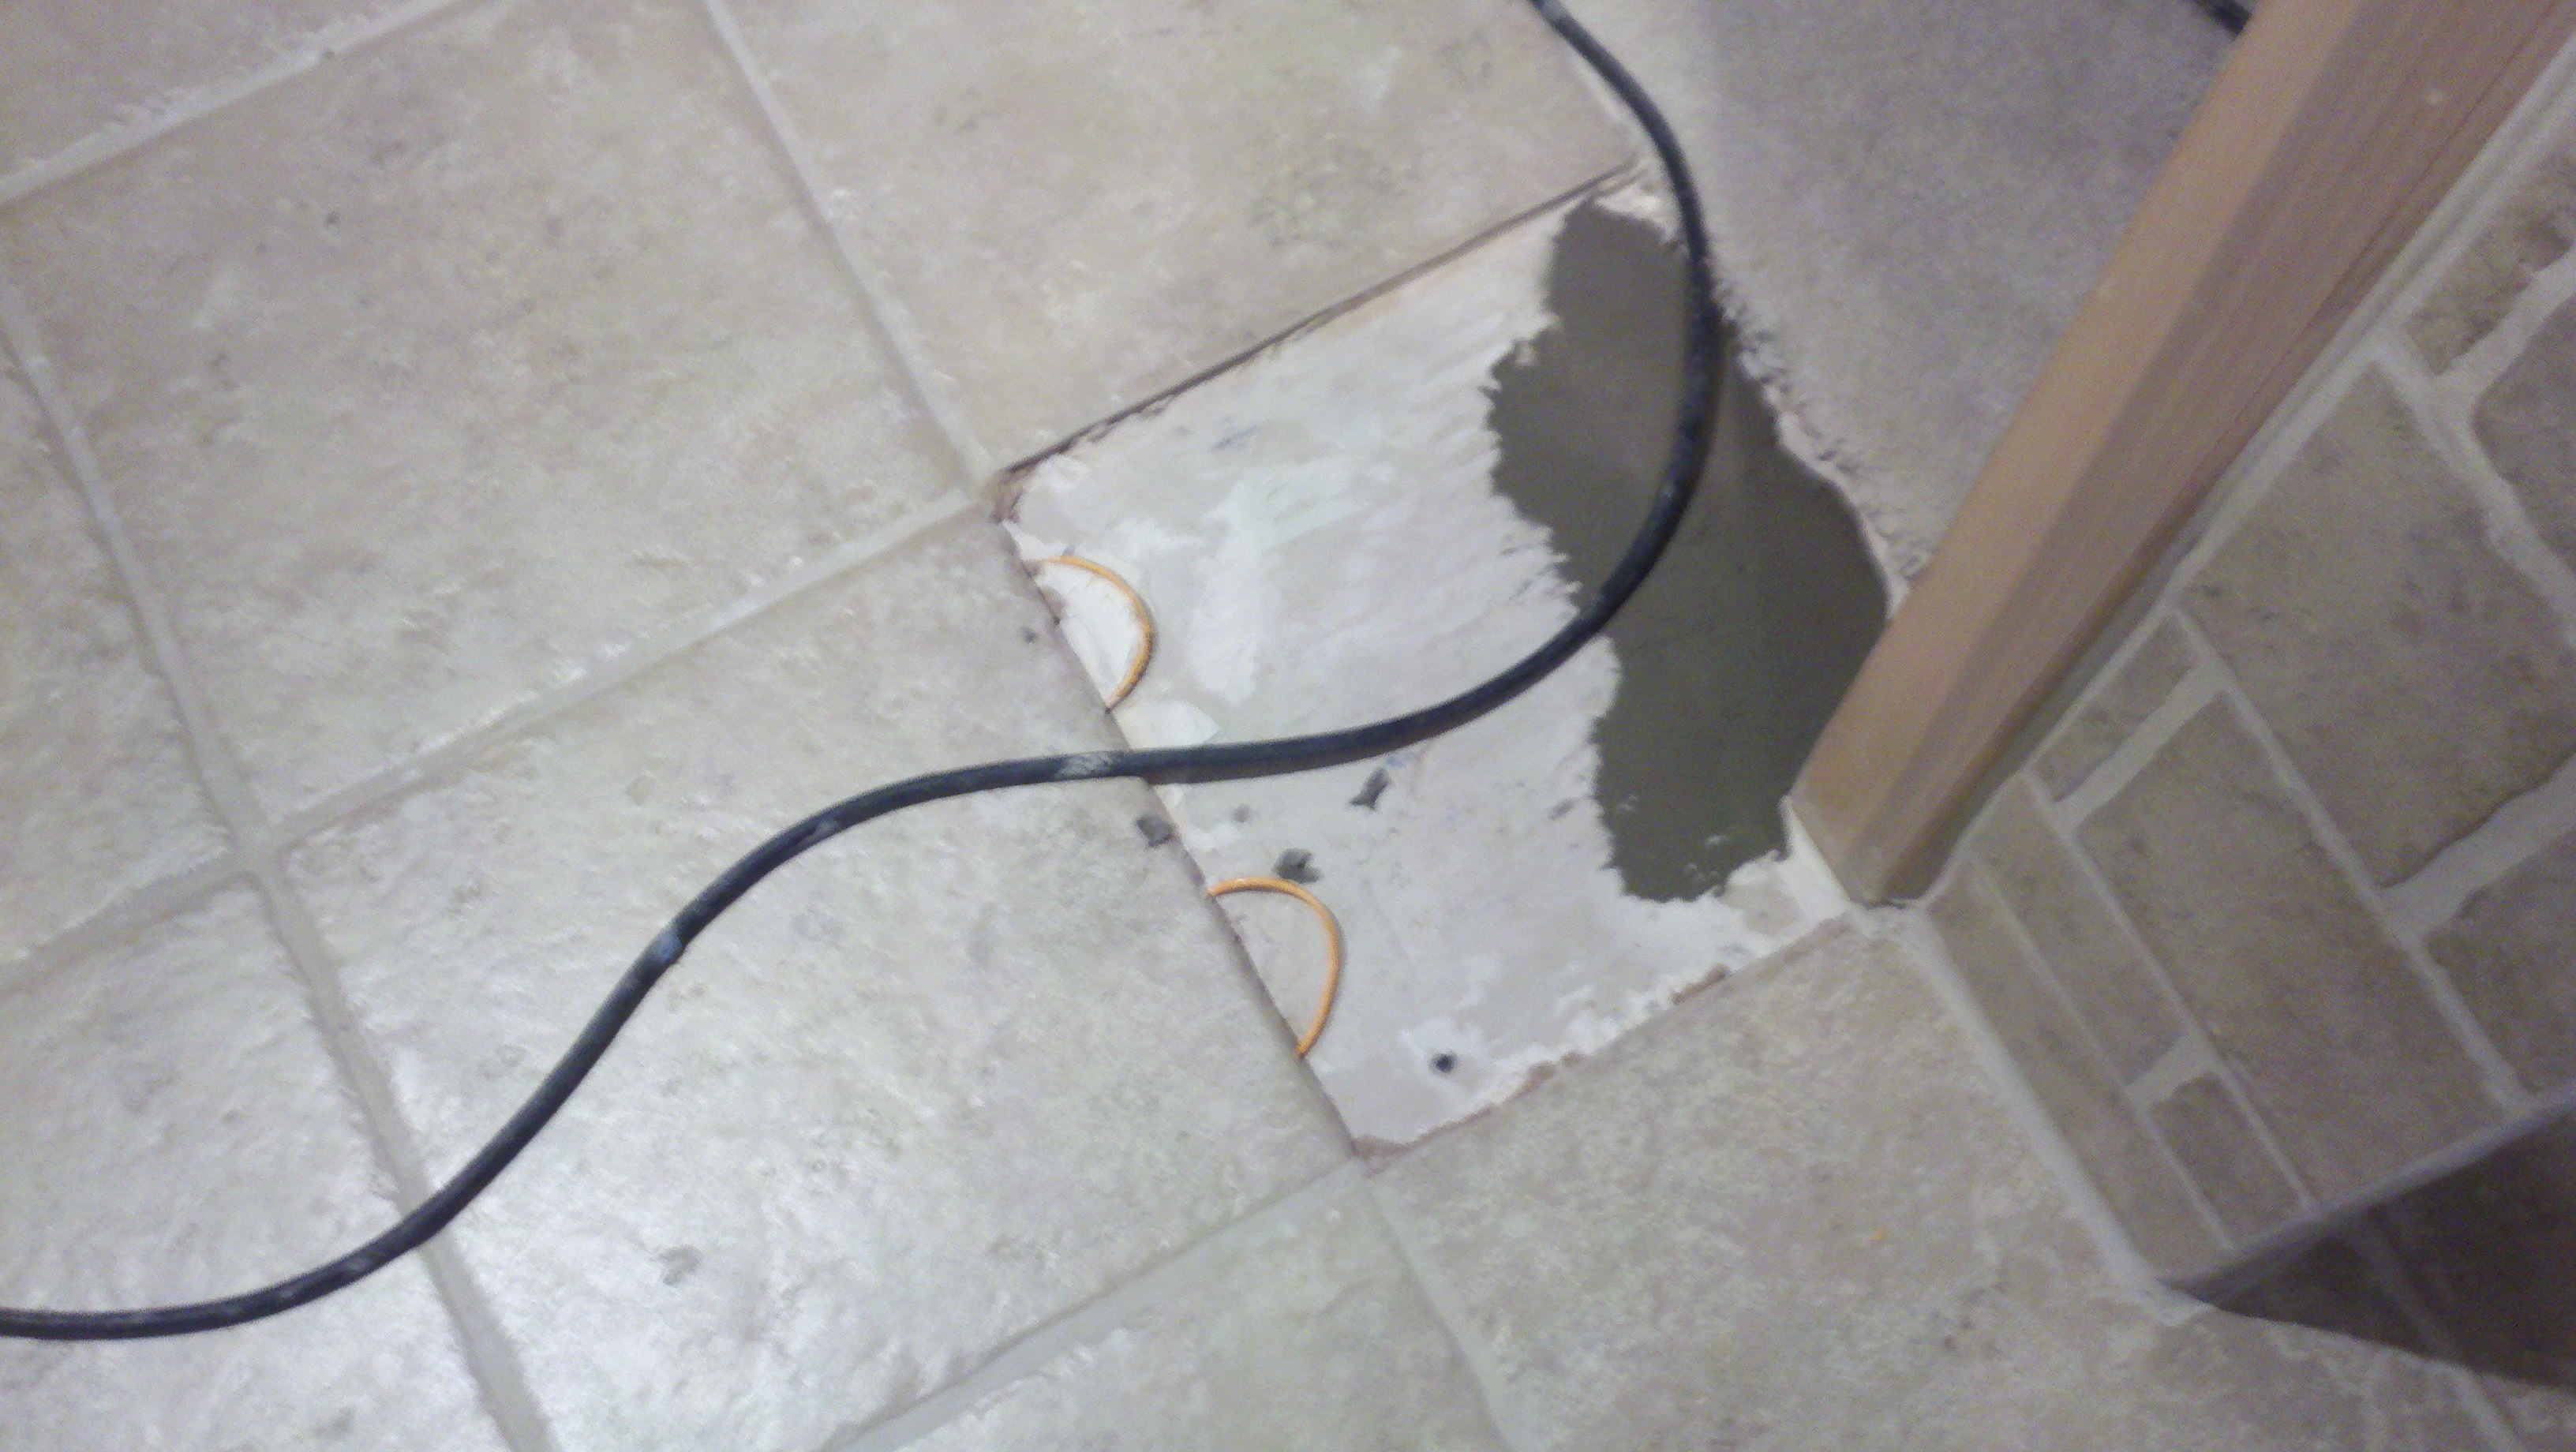
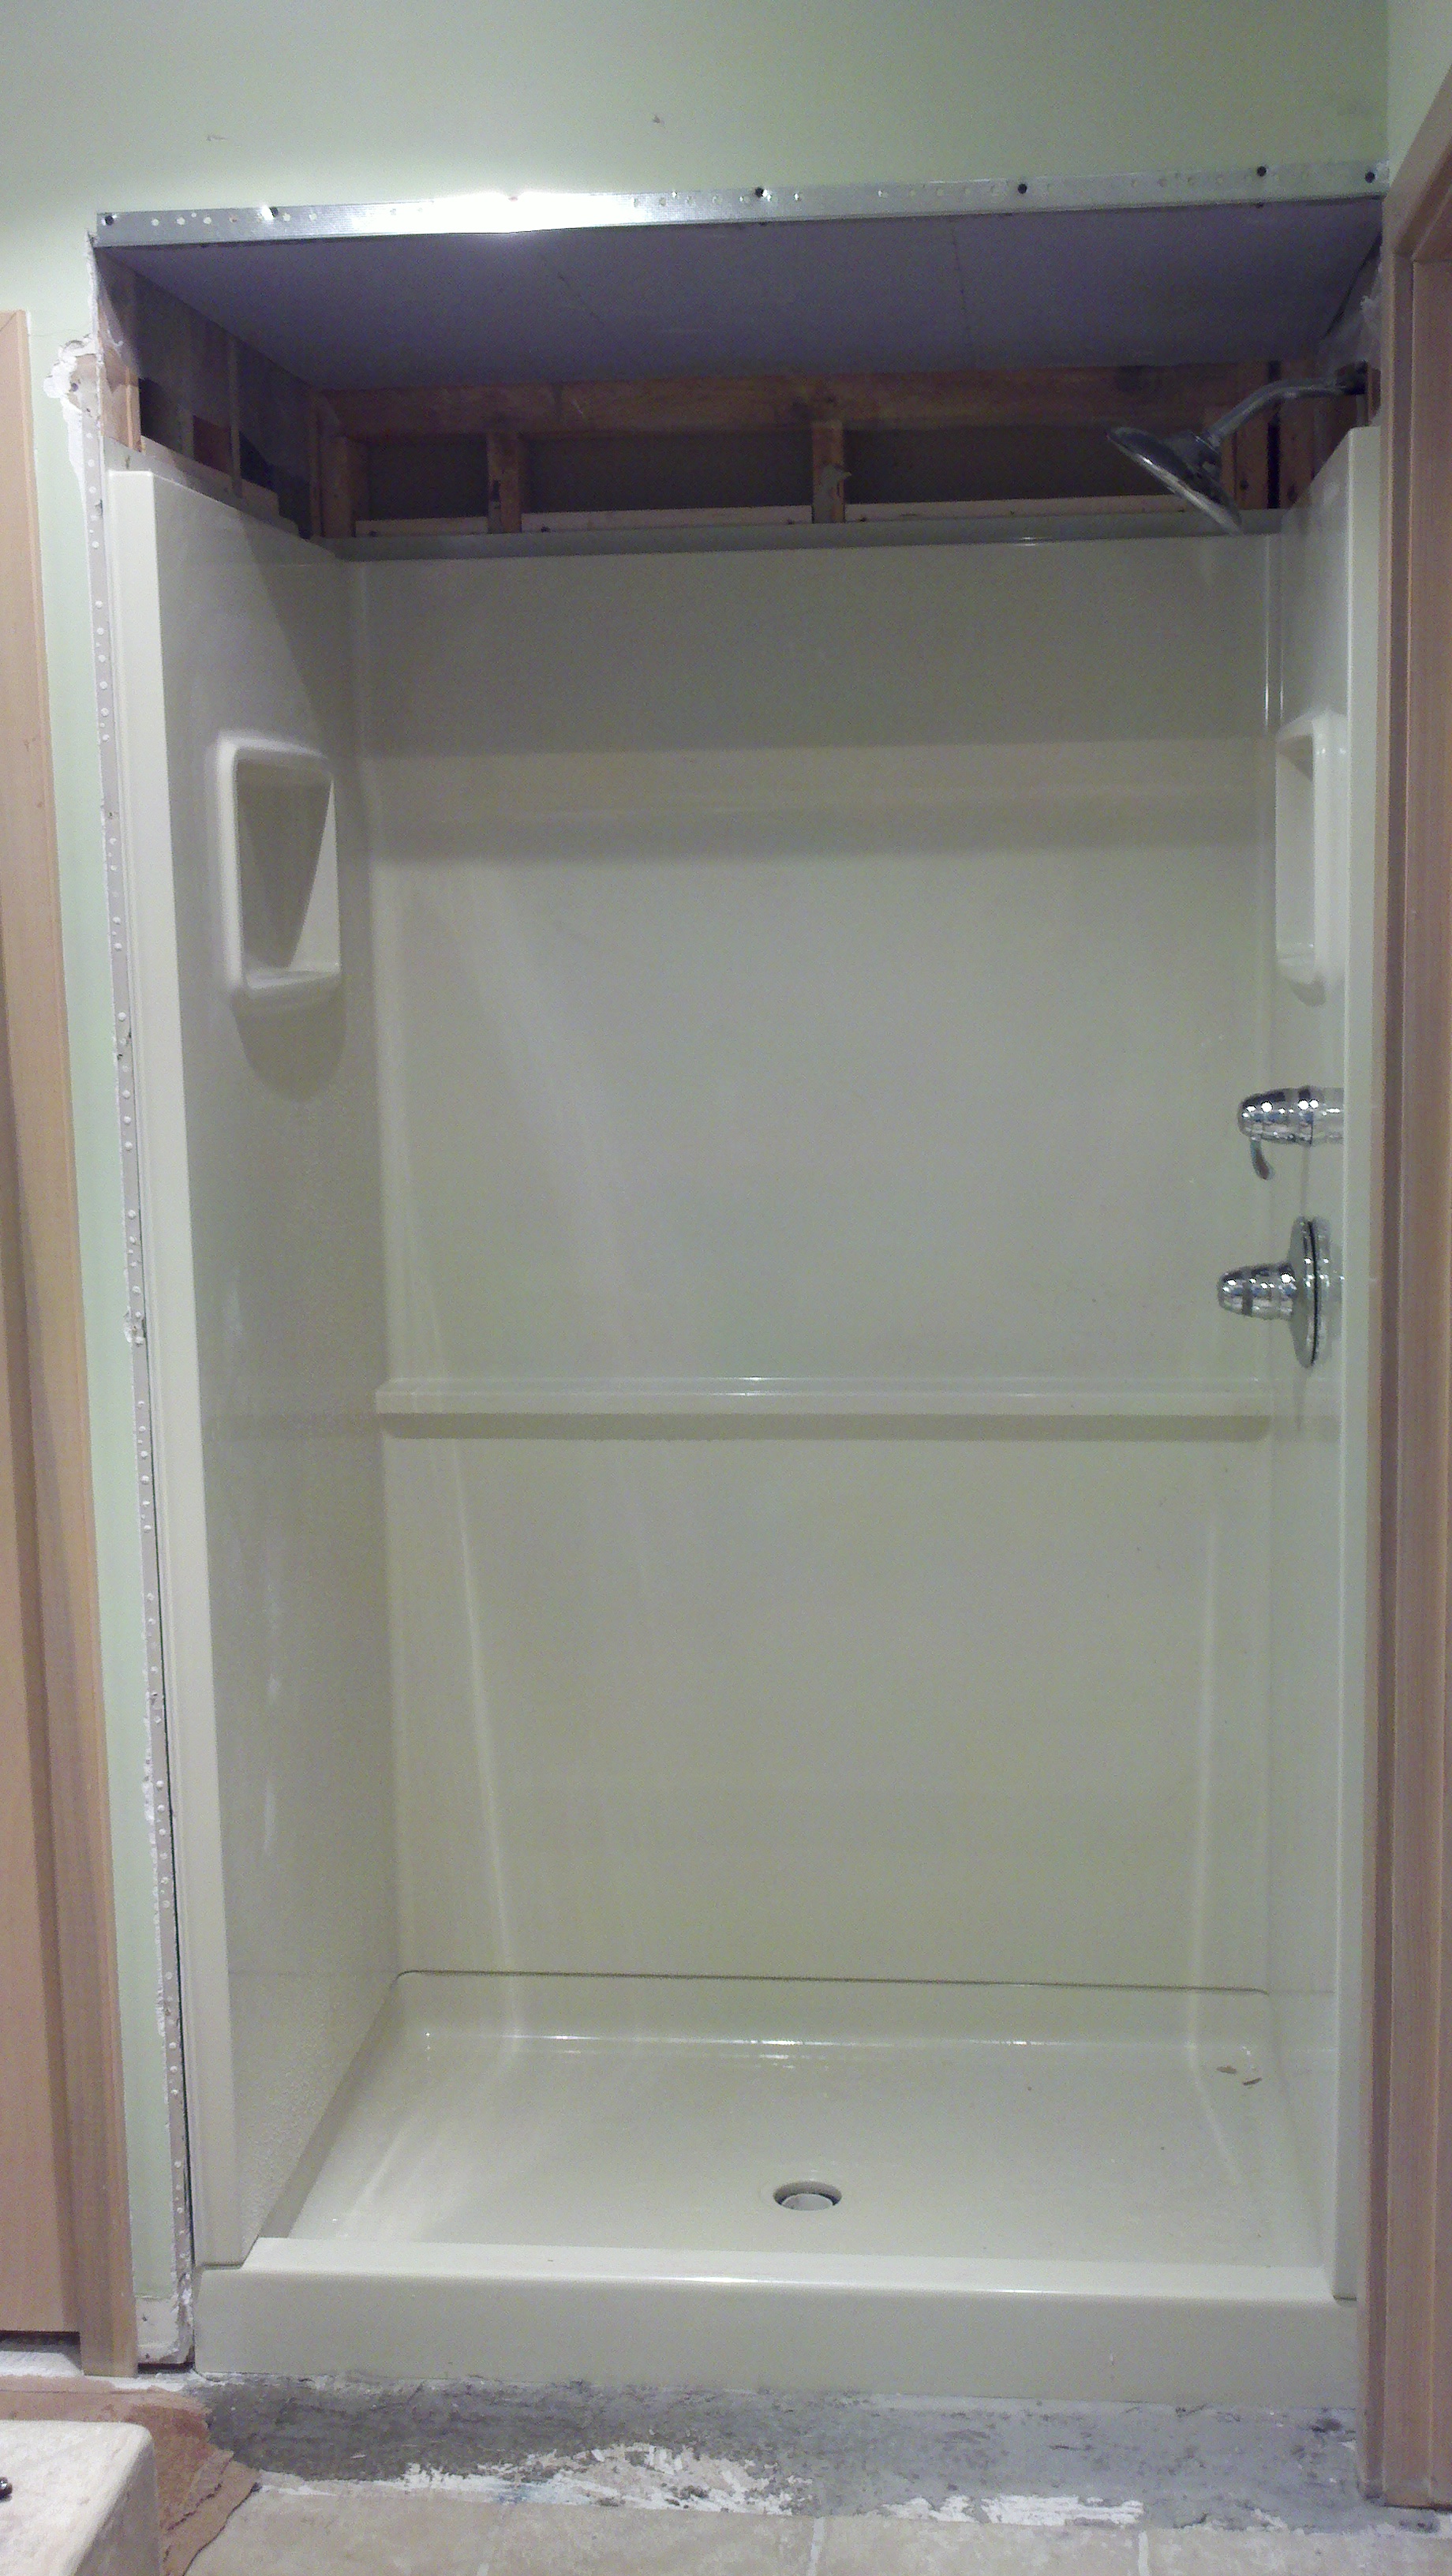
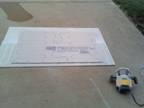
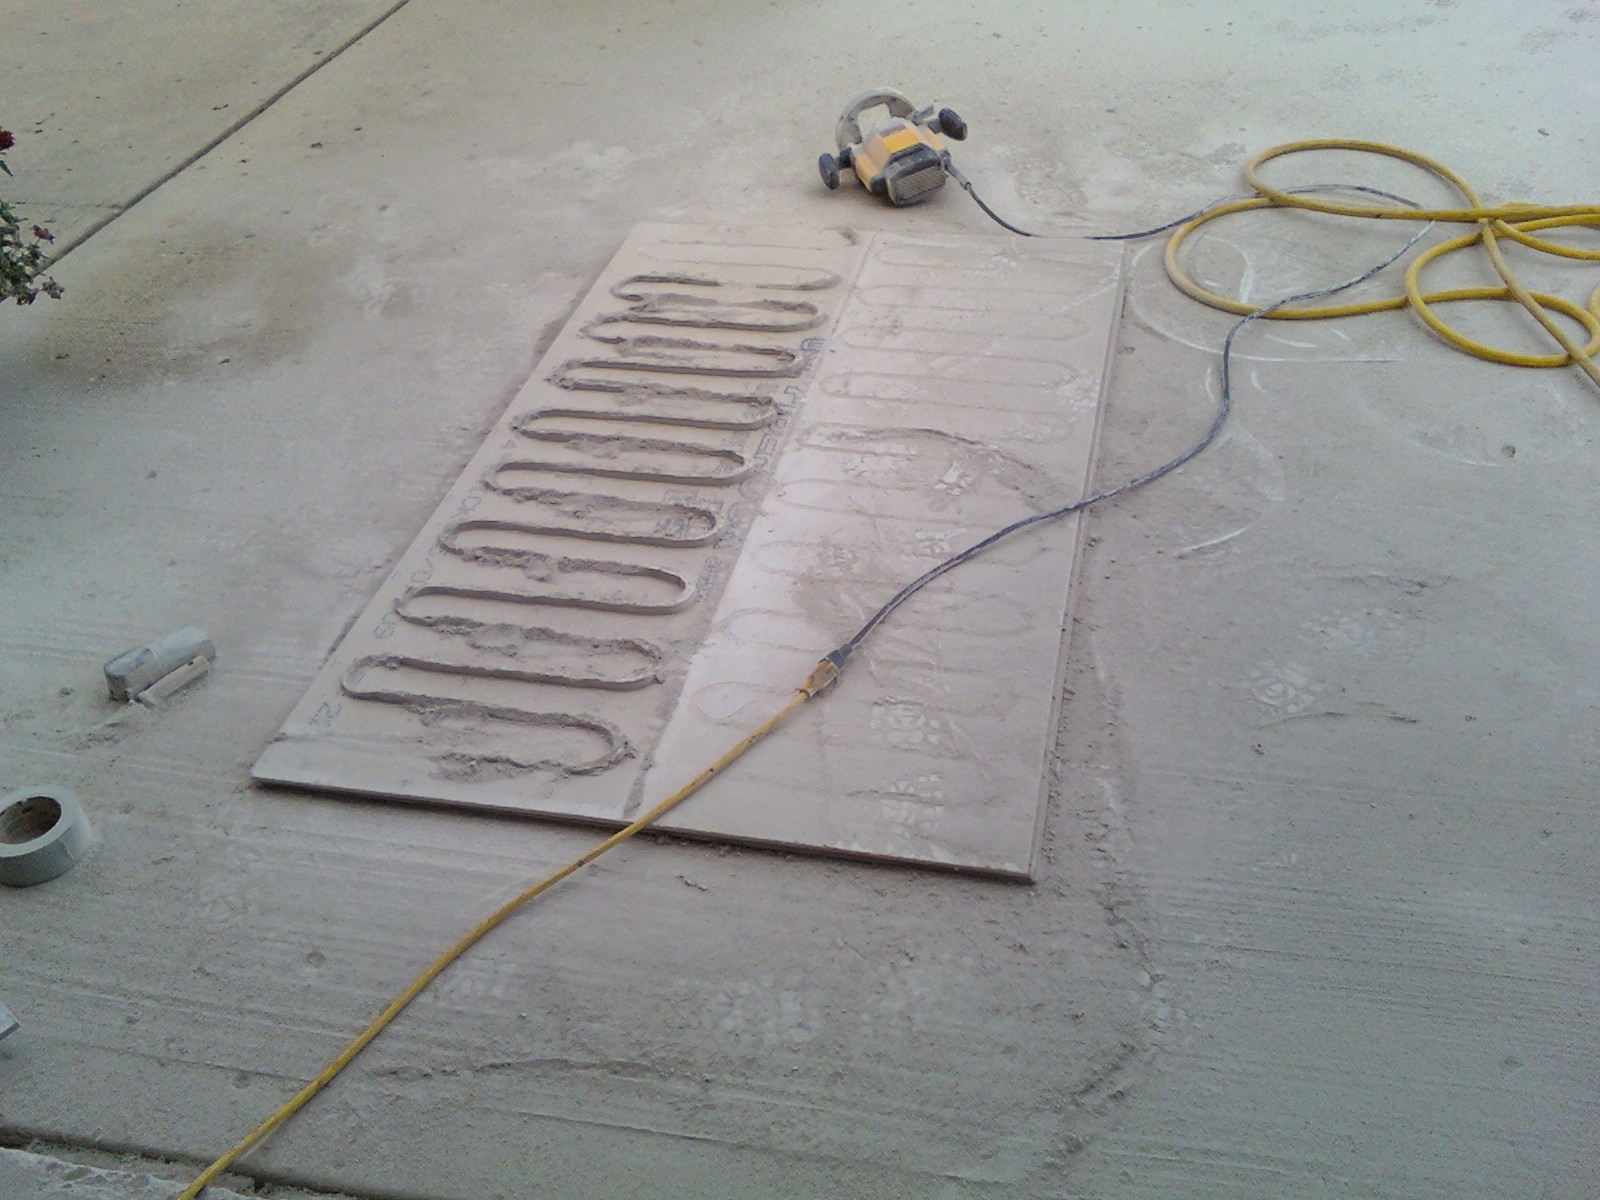
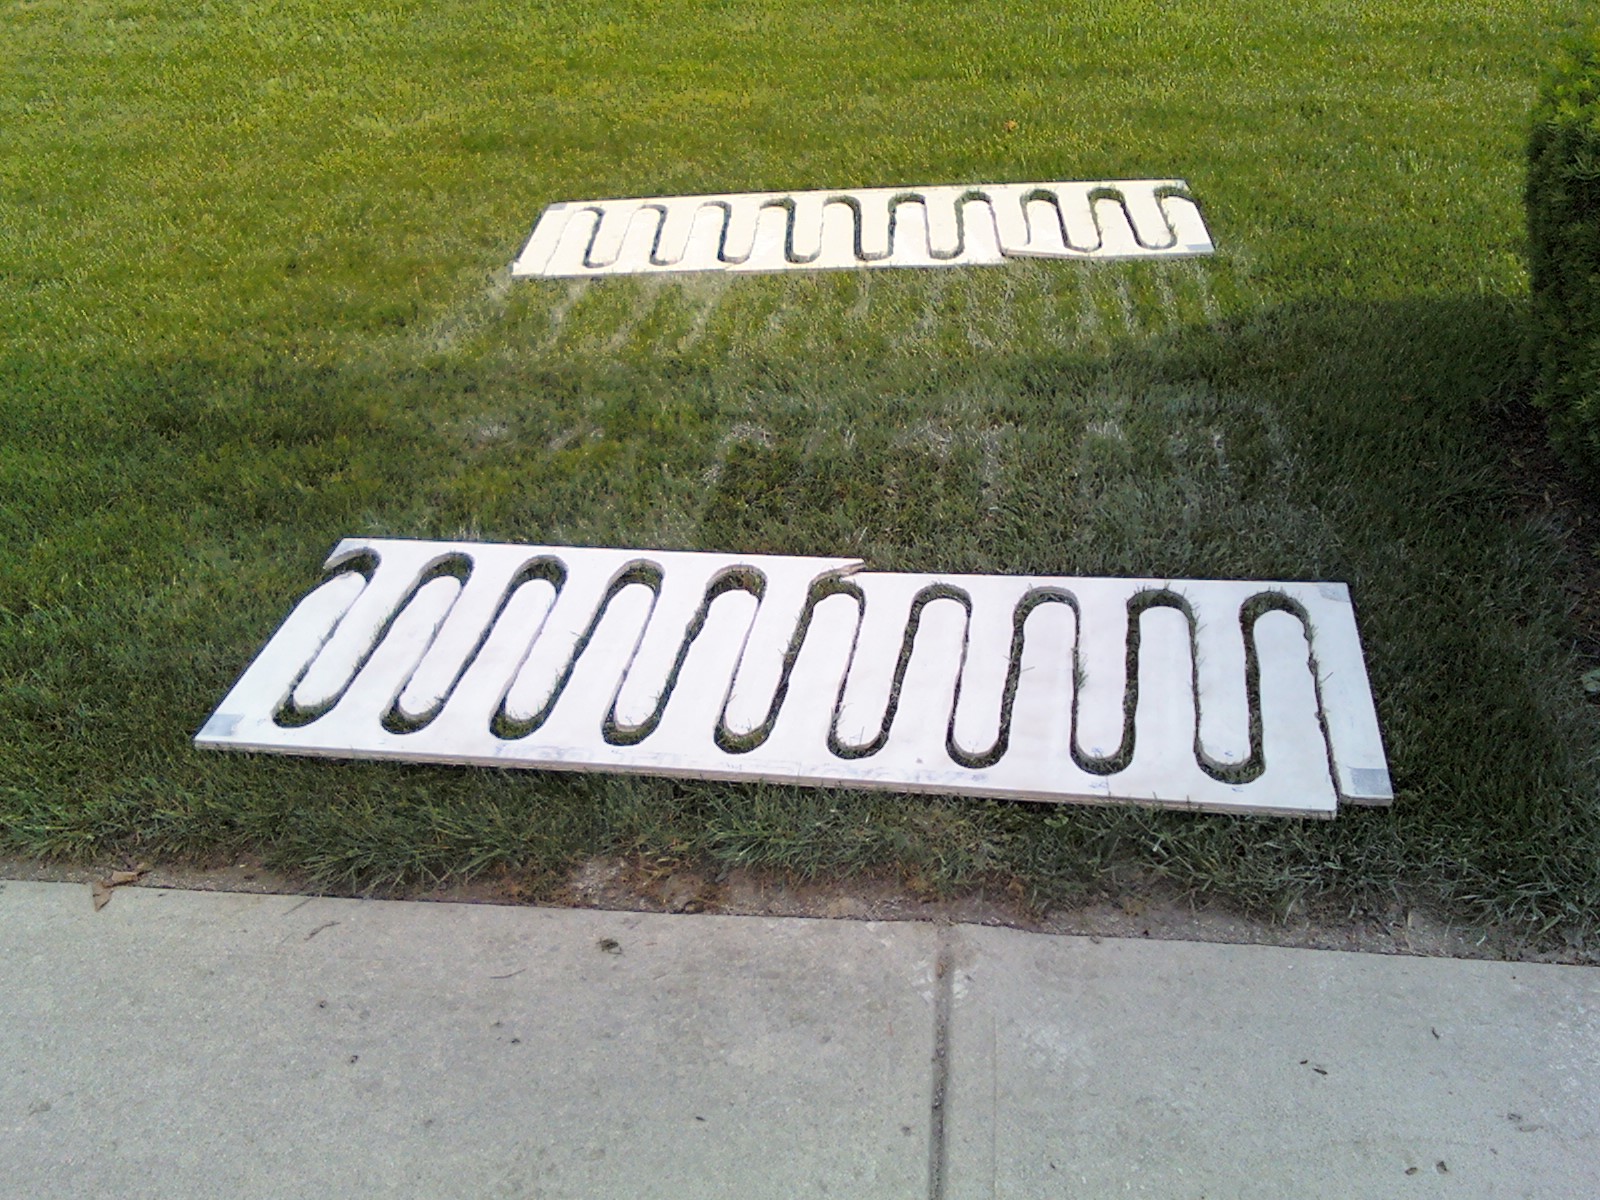
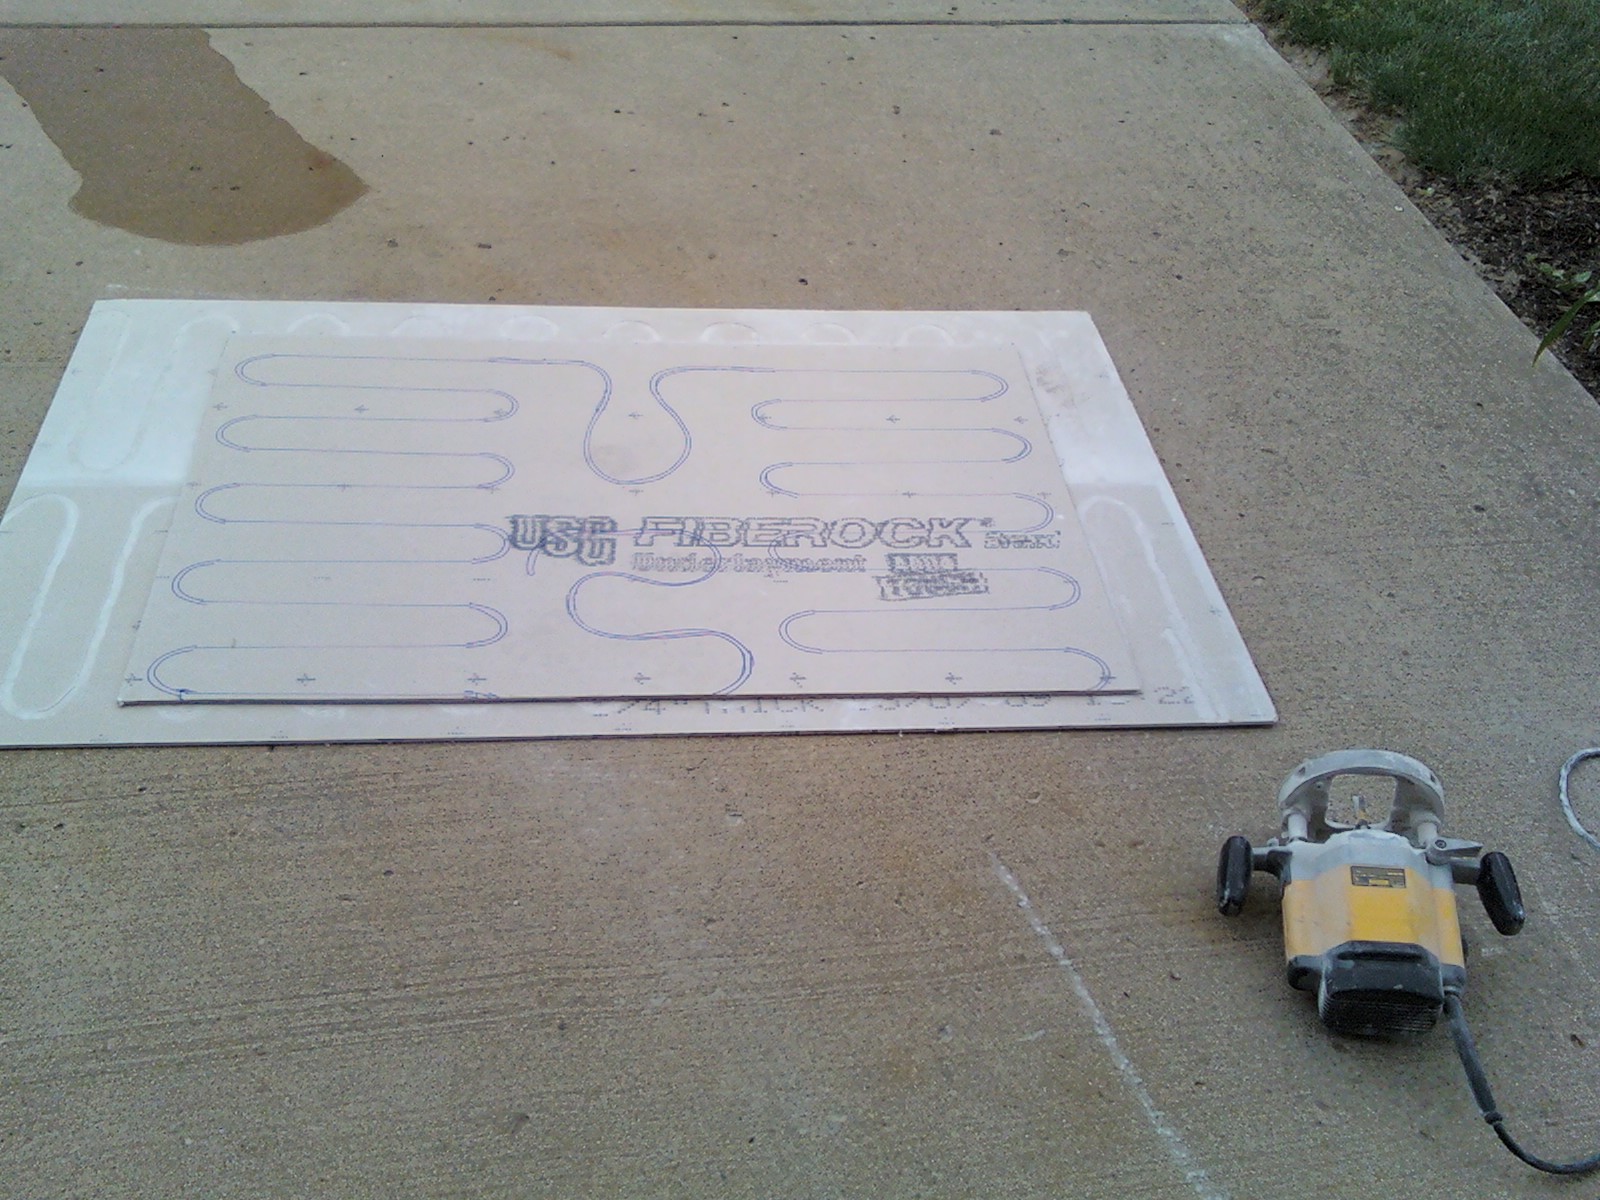
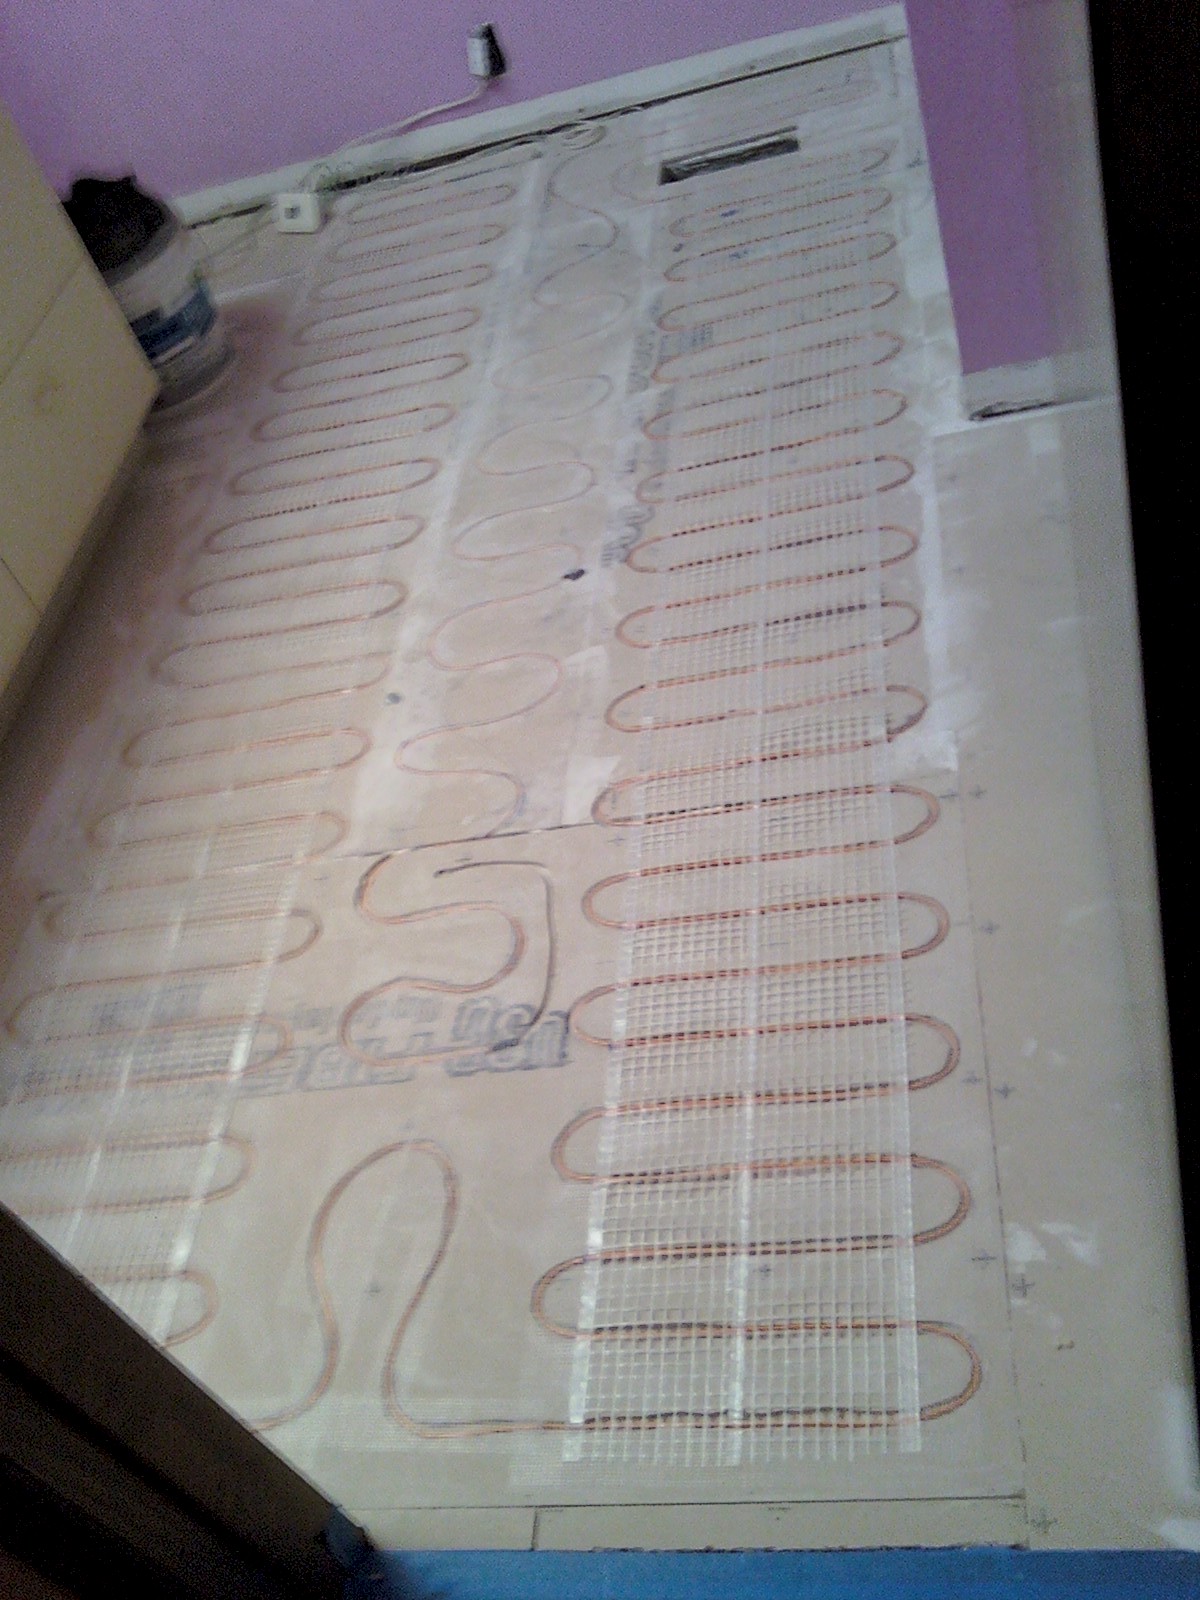
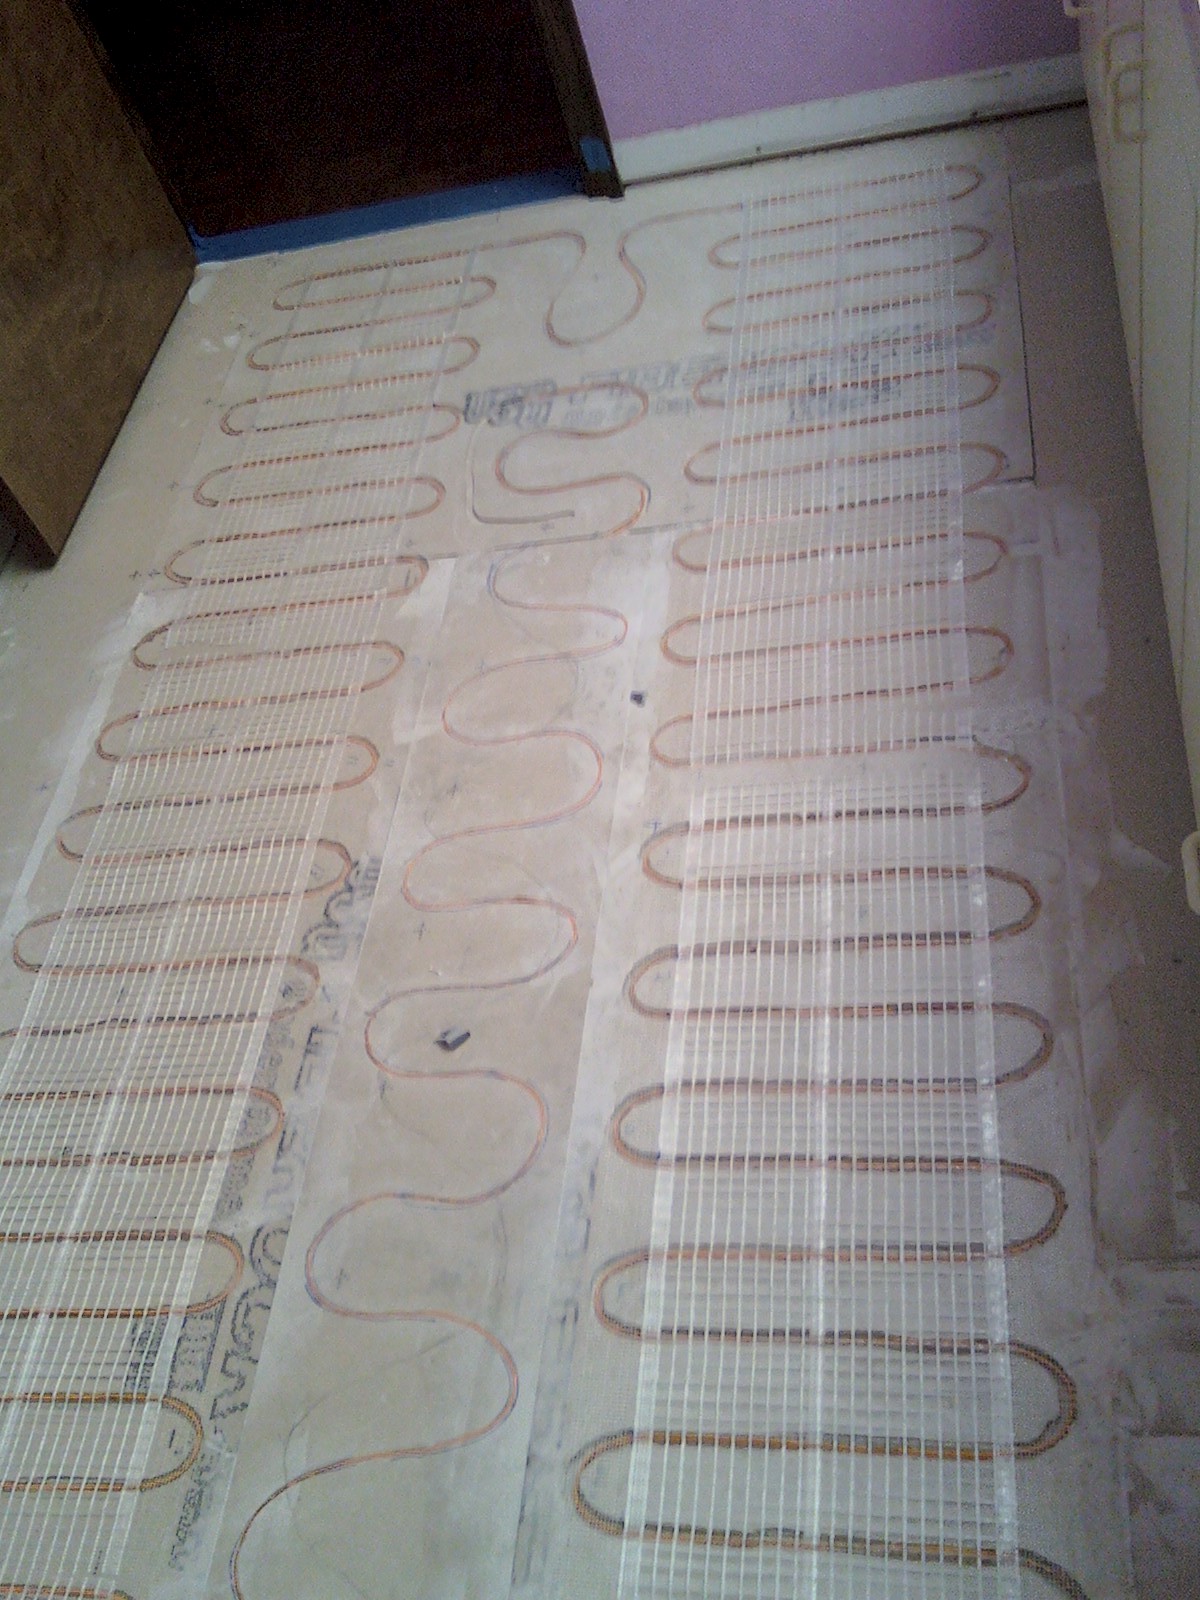
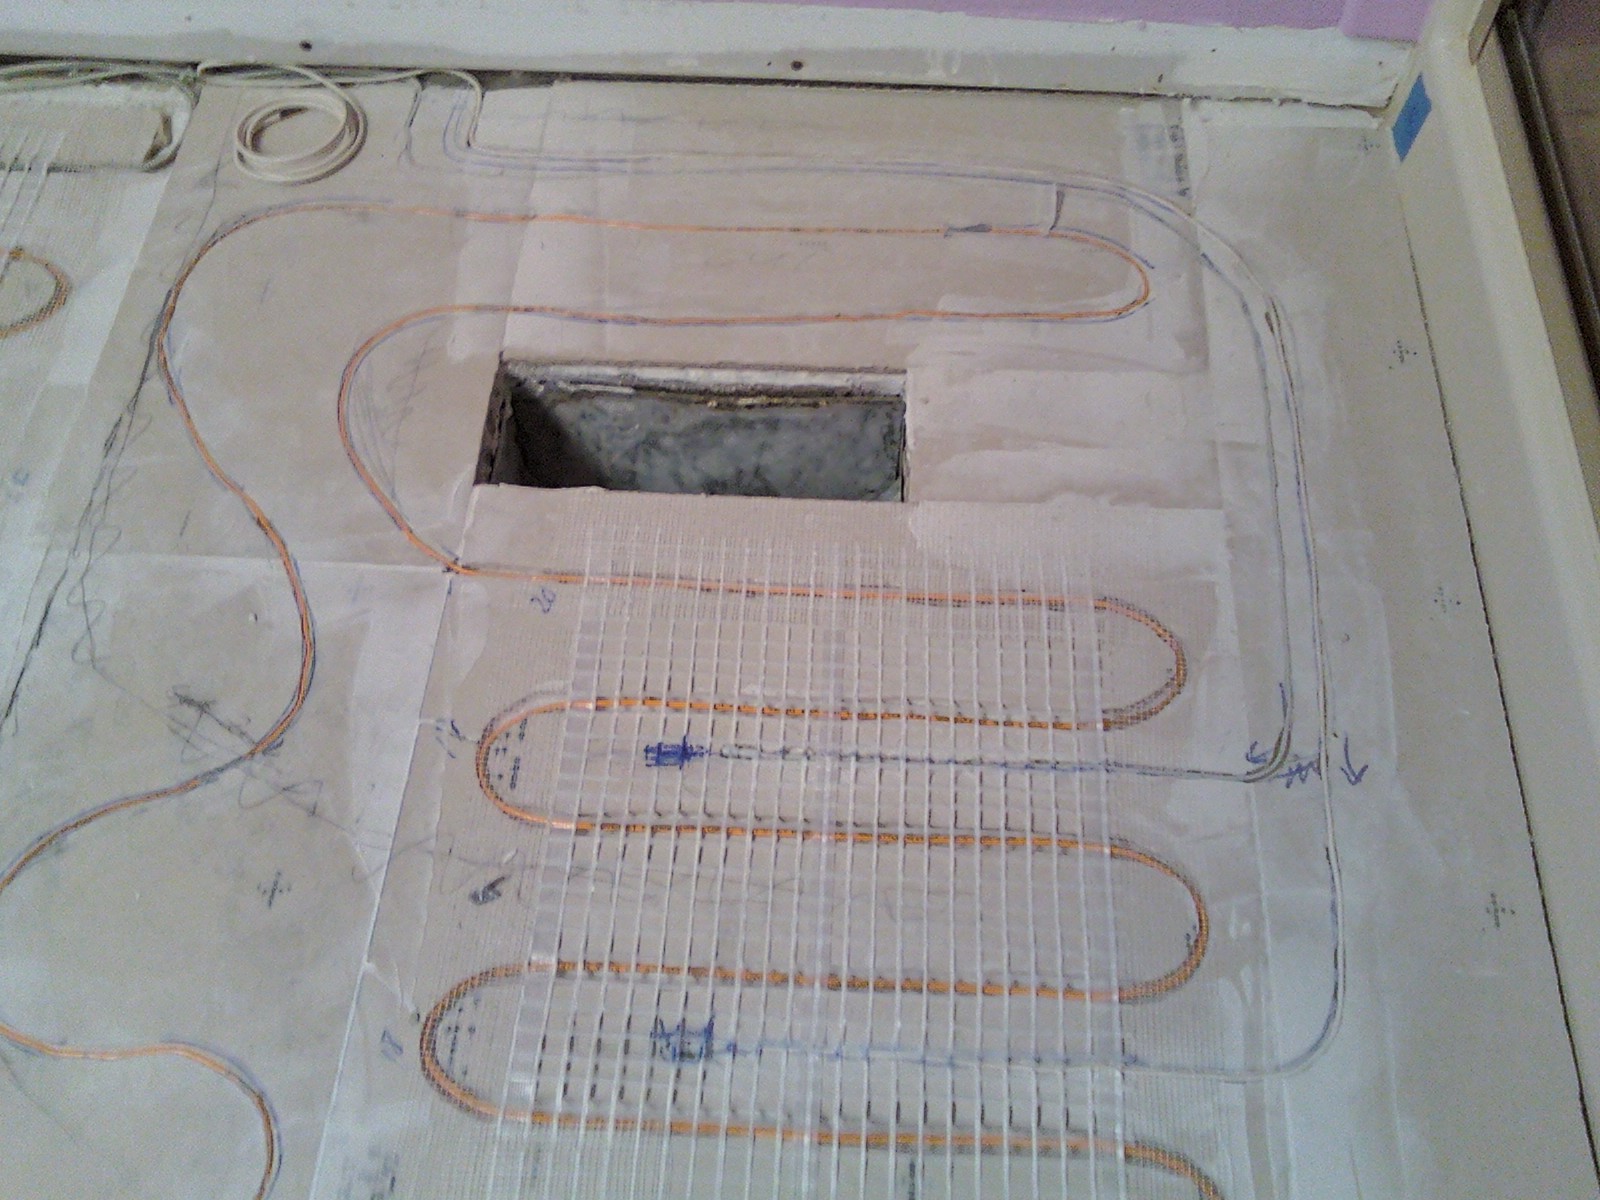
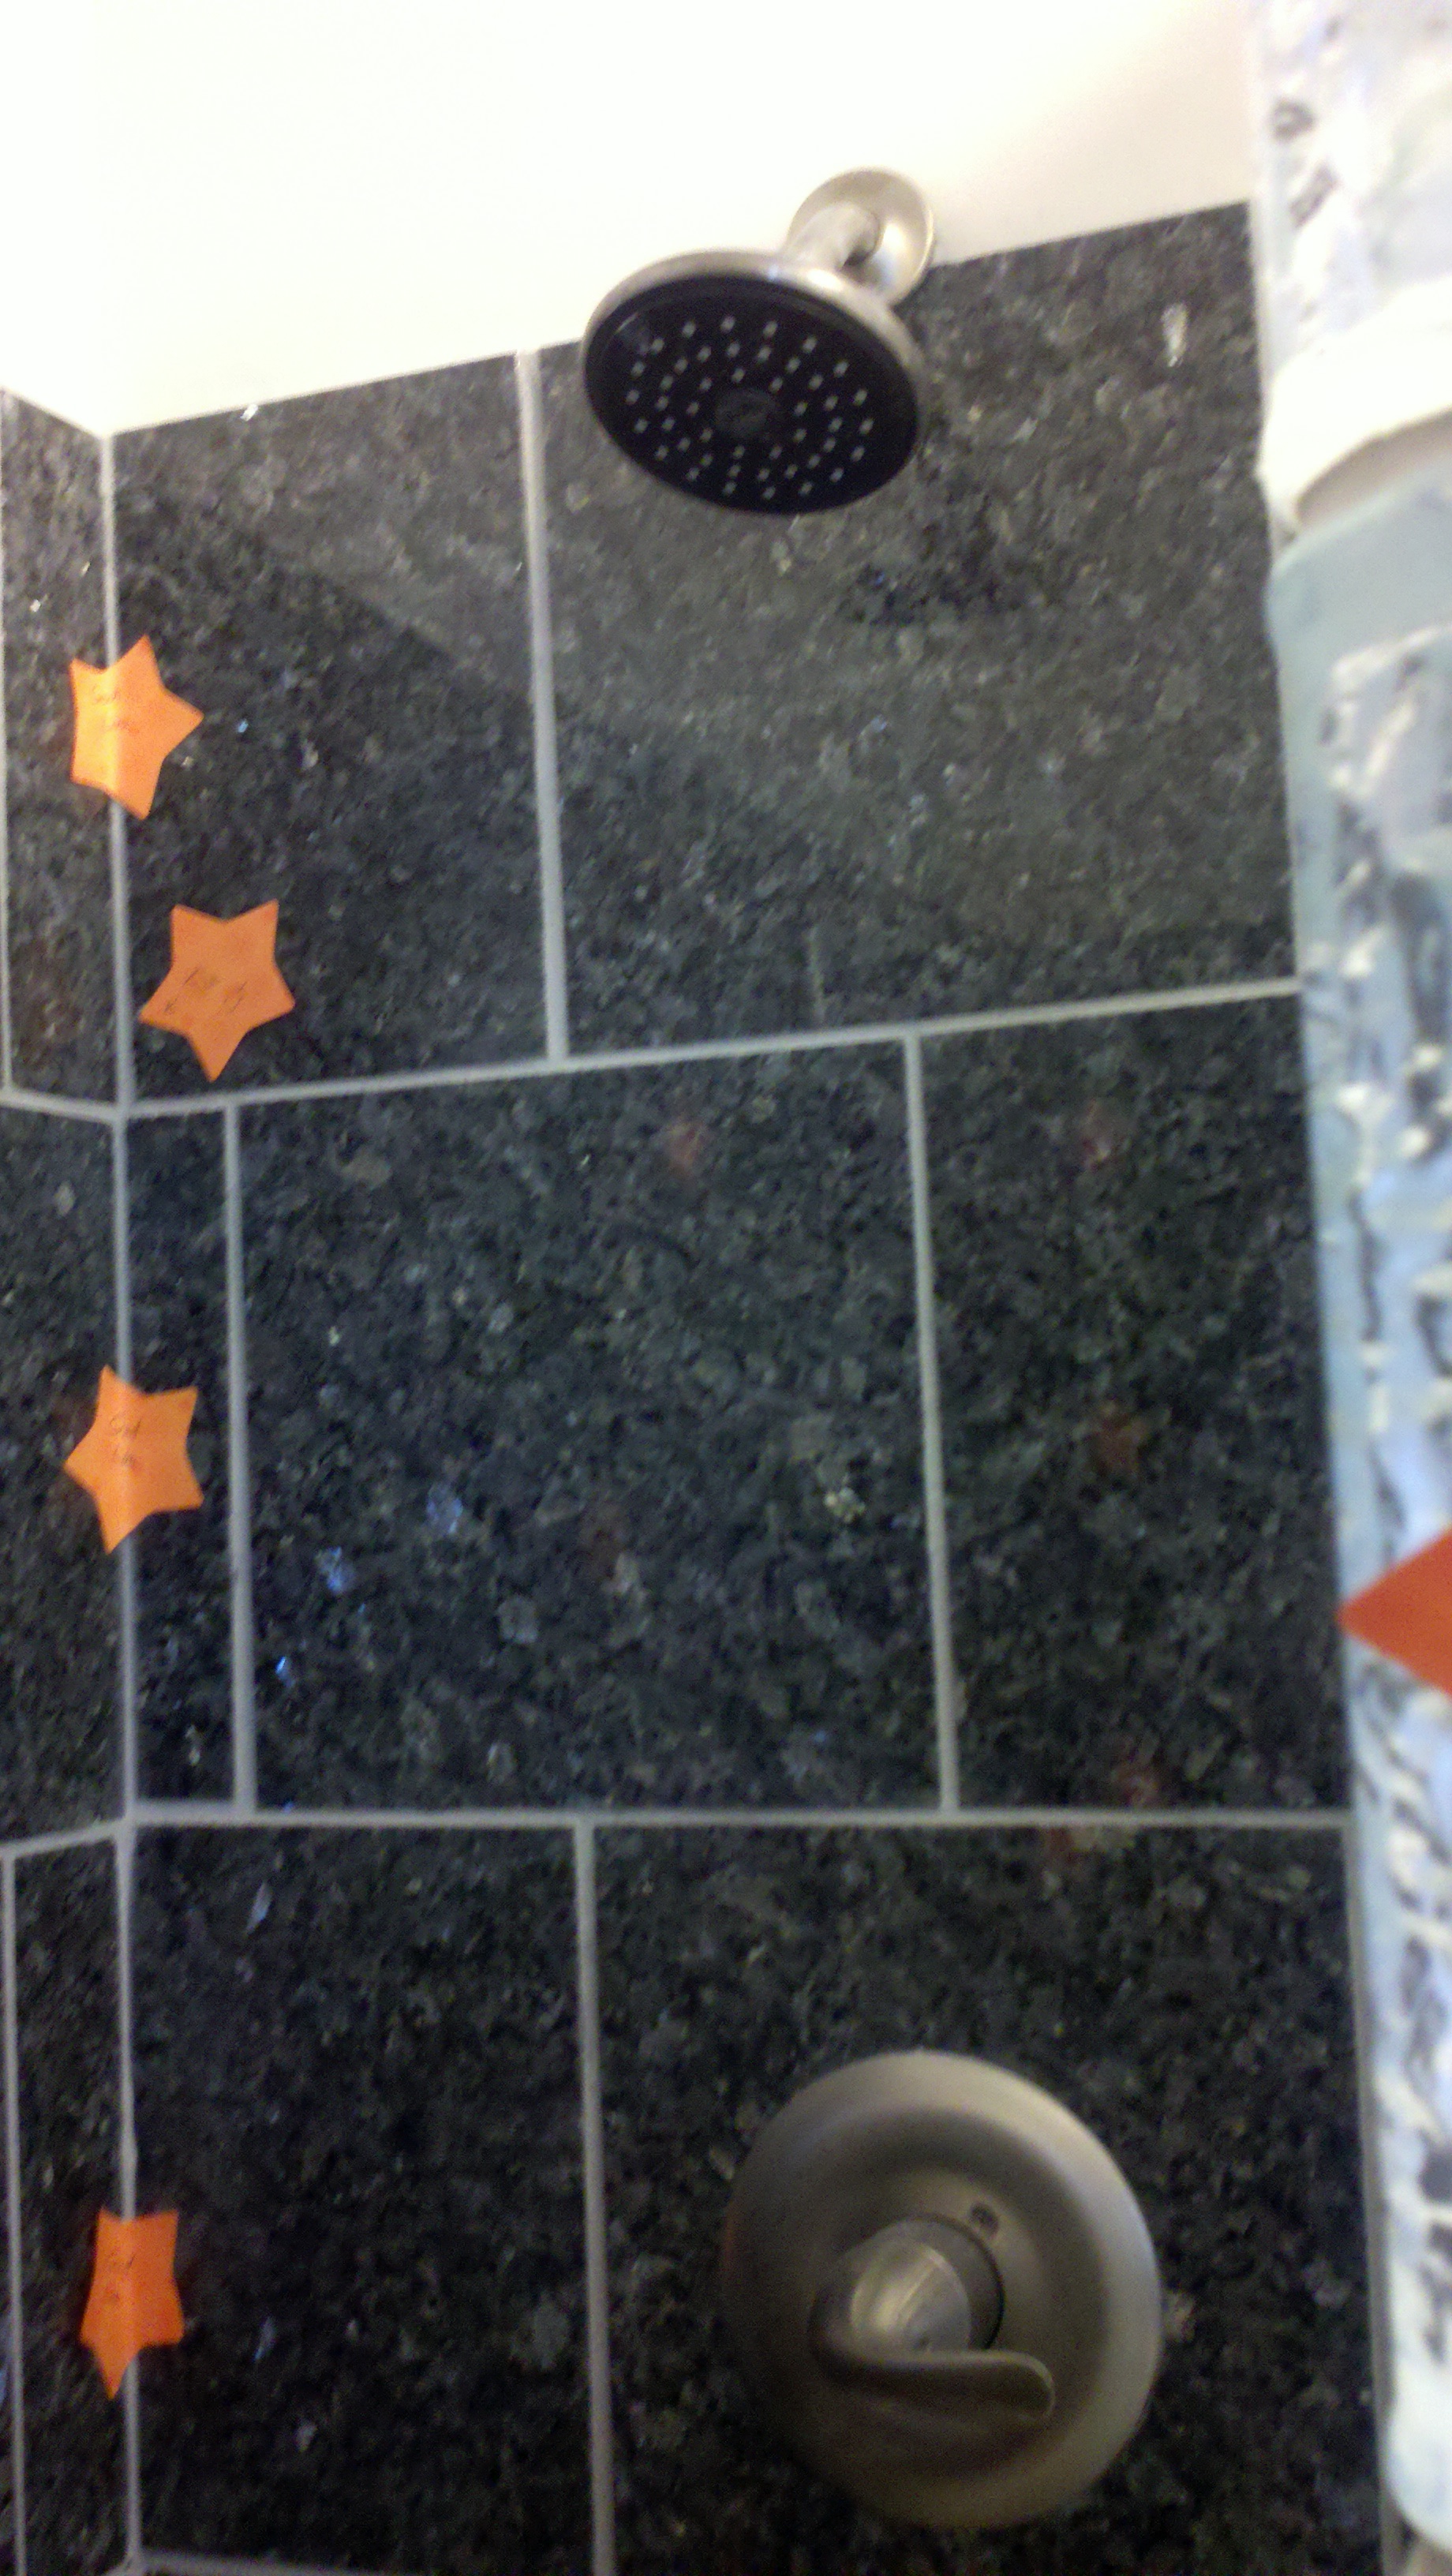
Since the floor was clear of all restrictions, the electric heat coils was the first product to be installed. The coils have a diameter of 1/8 inch; cement board at 1/4 inch seemed to be the best option to level the floor with the coils. Seven sheets of five by three fiberock were altered for correct fit and compensation of the coils. A router and Roto-zip, with the correct bits, provided the correct grove for the coils diameter. The boards were trimmed and adhered to the cement slab after trial fitting of the coils and testing was complete. The thermometers were installed near the shower, between two separate loops of the heat coil. Locations of the thermometers are depicted by picture fifty-five and fifty-six. Pictures twenty-nine through fifty six are the recorded pictures taken during the installation process.
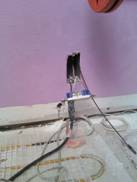
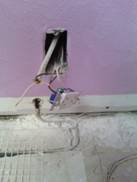
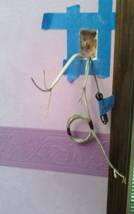
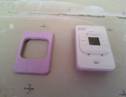
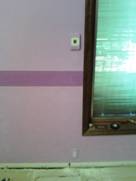
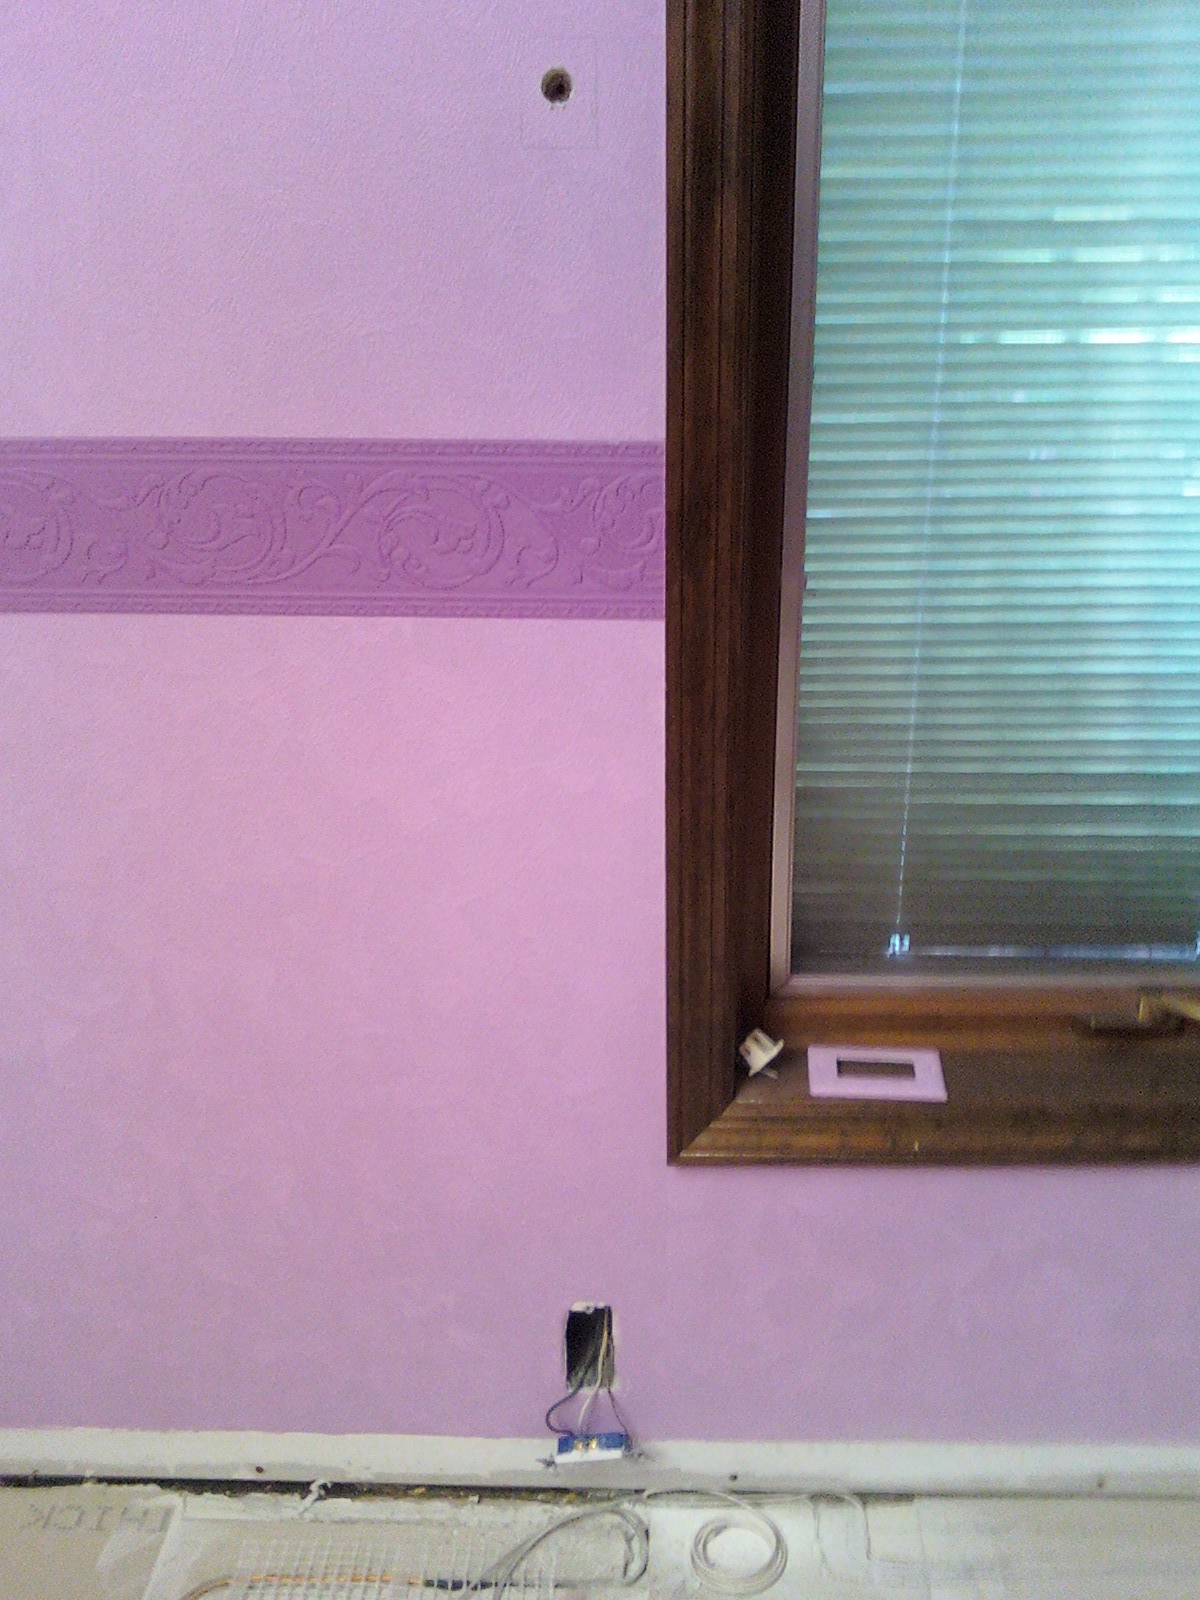
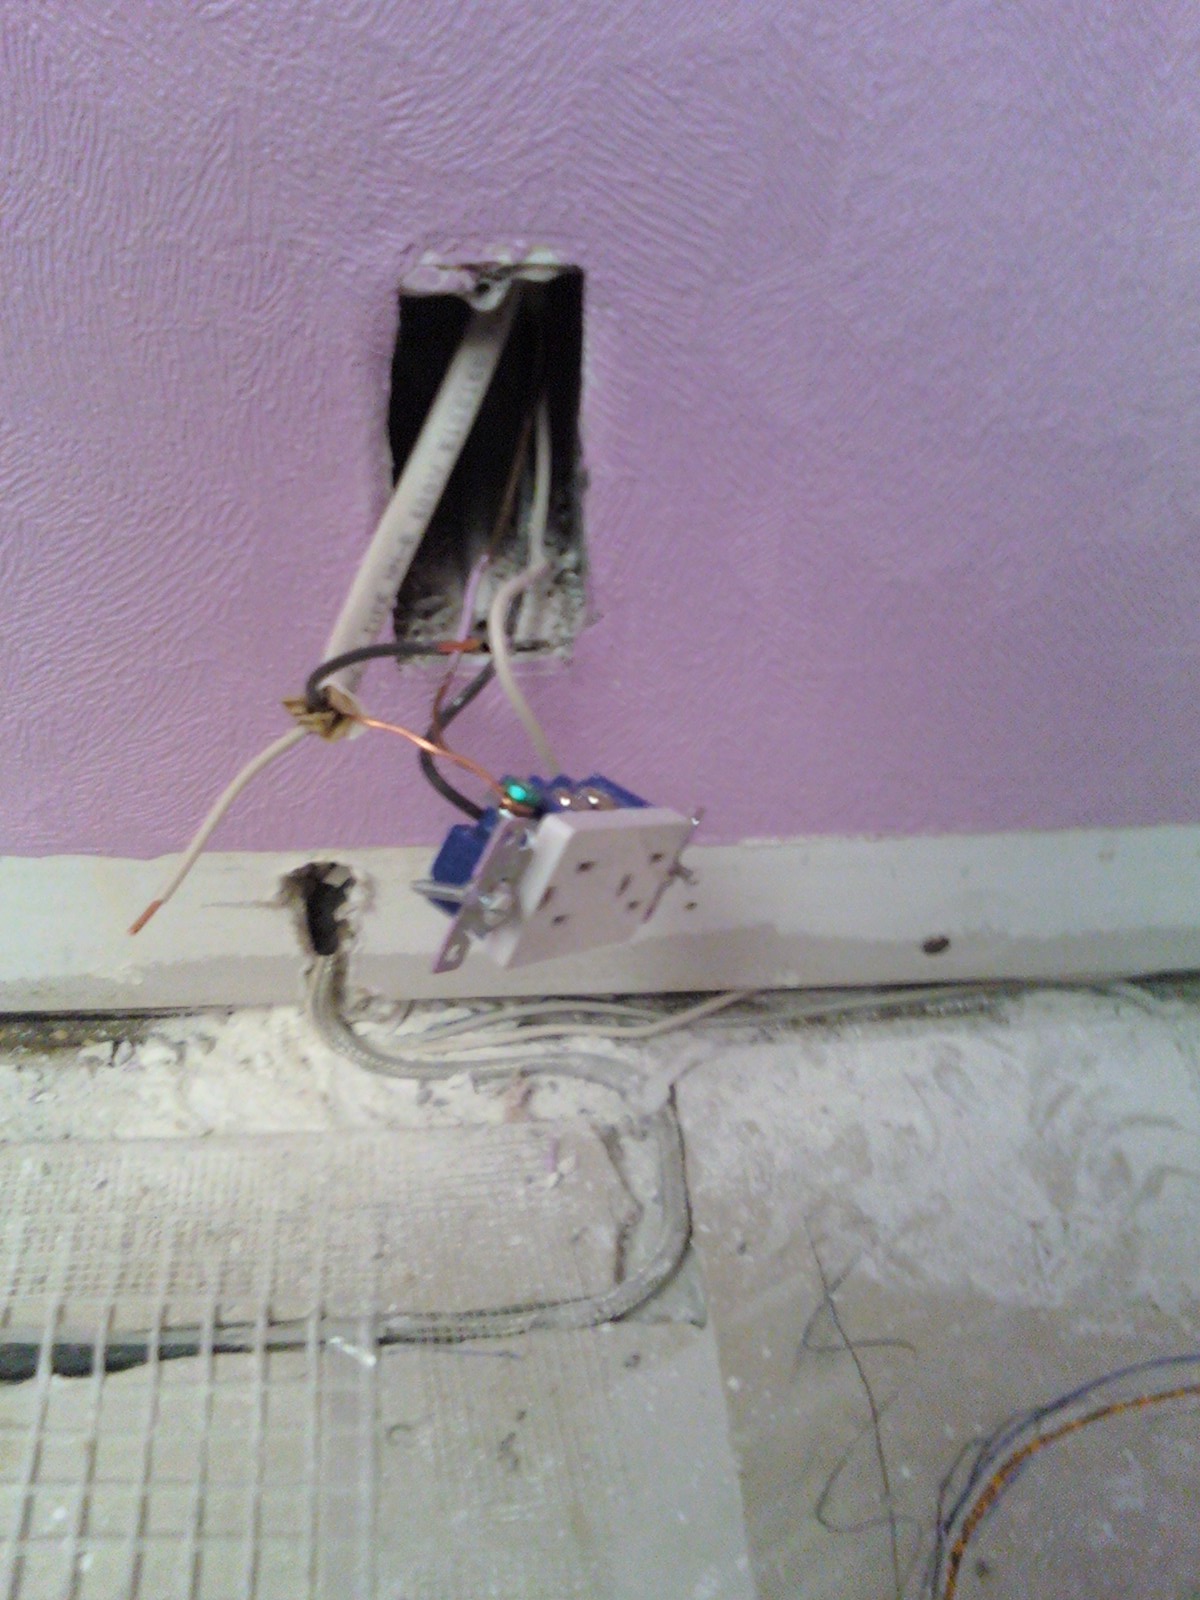
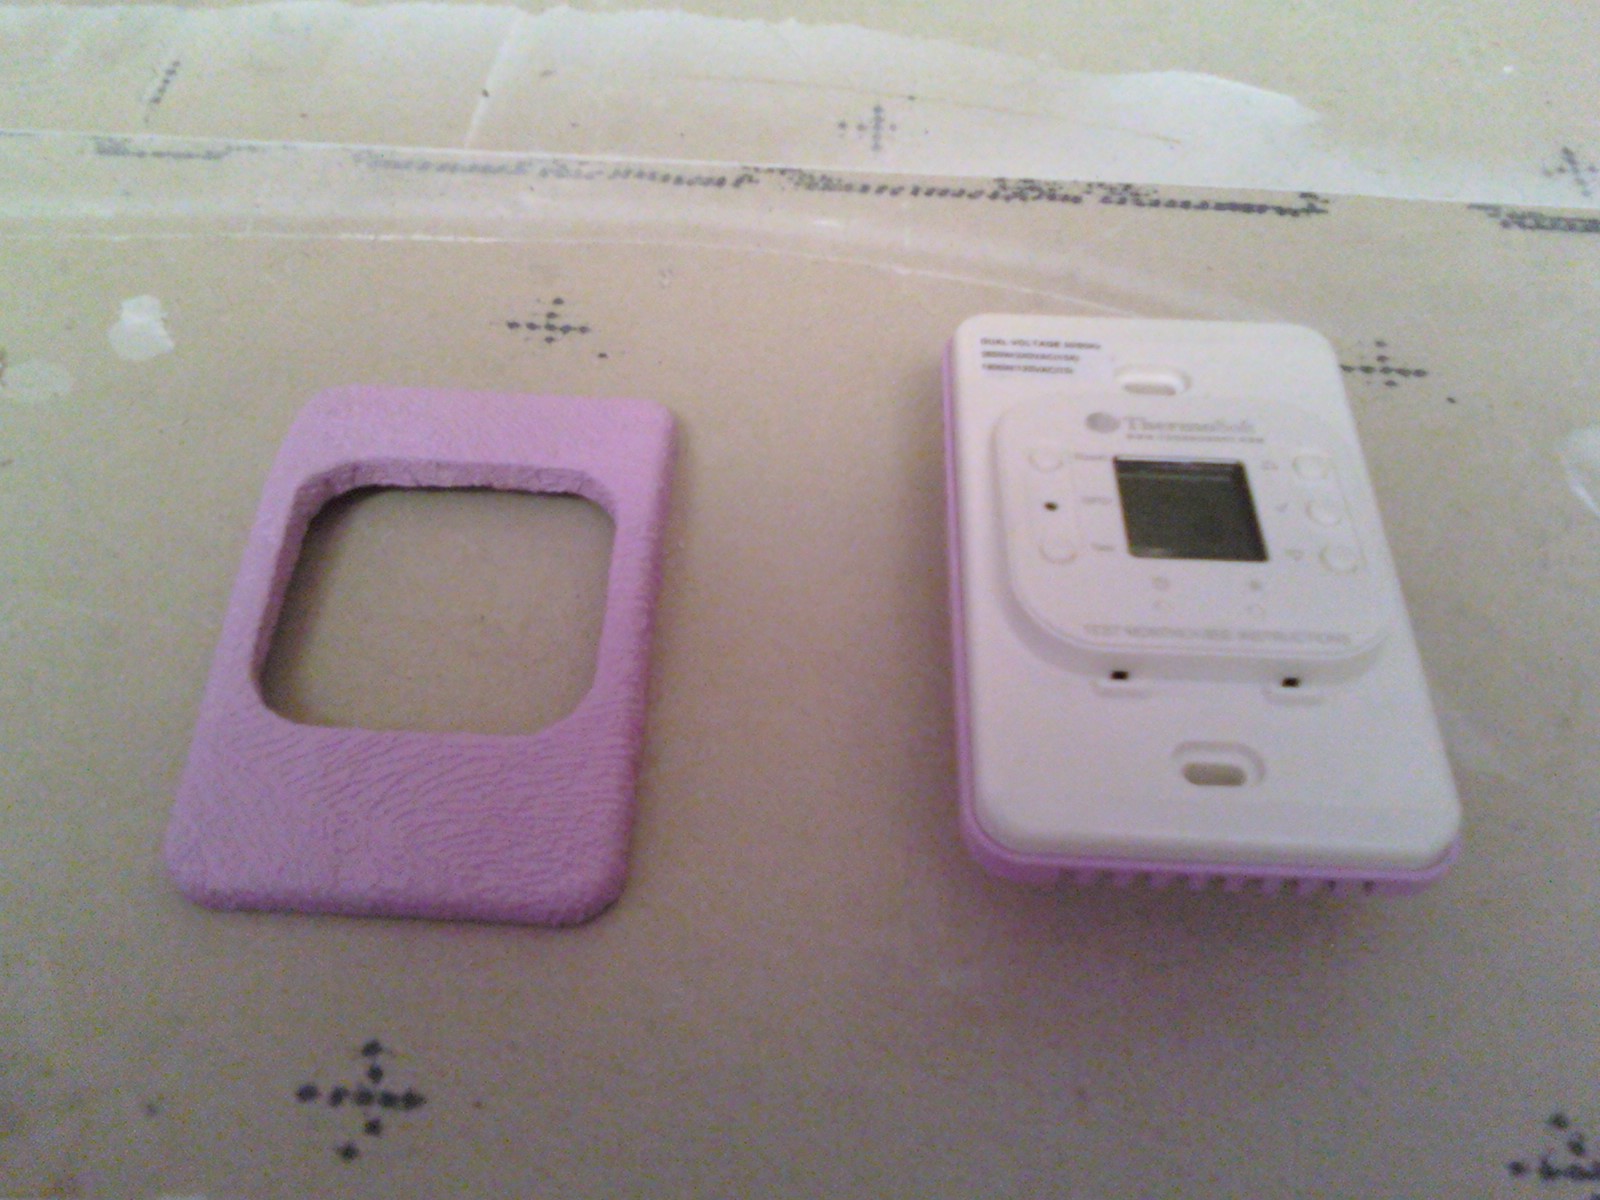
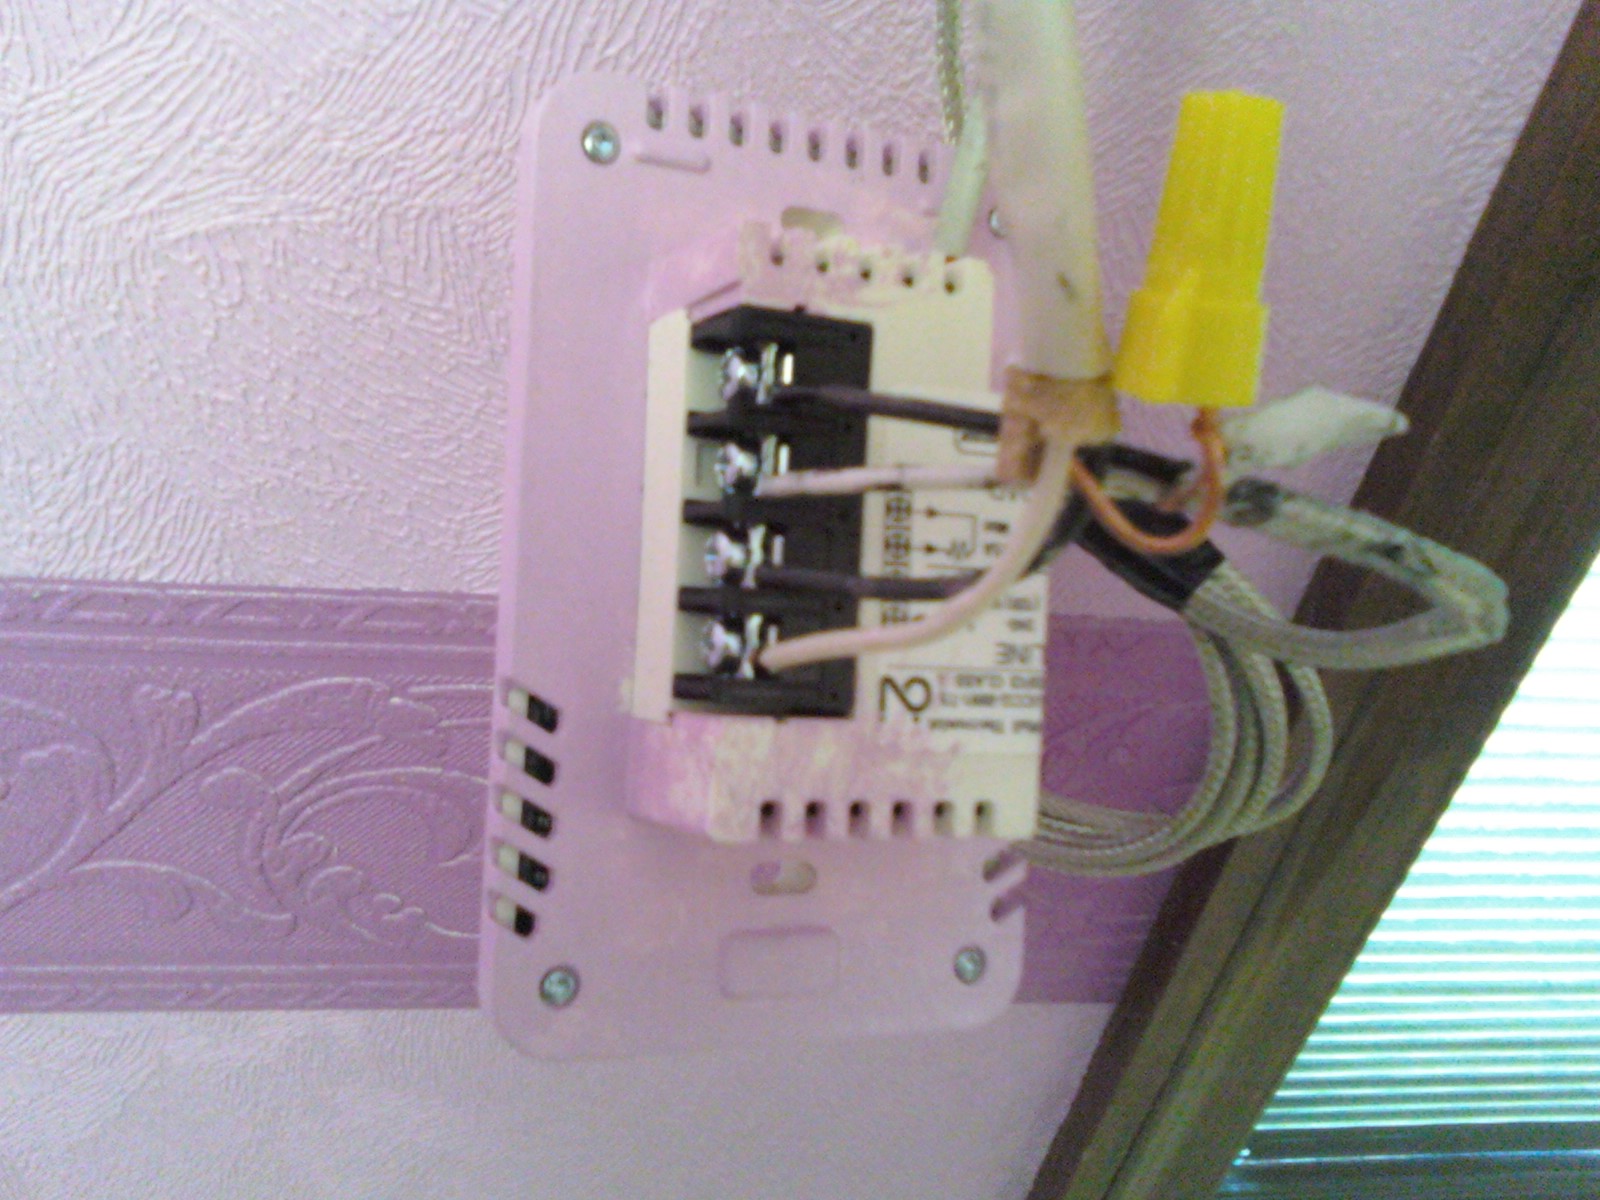
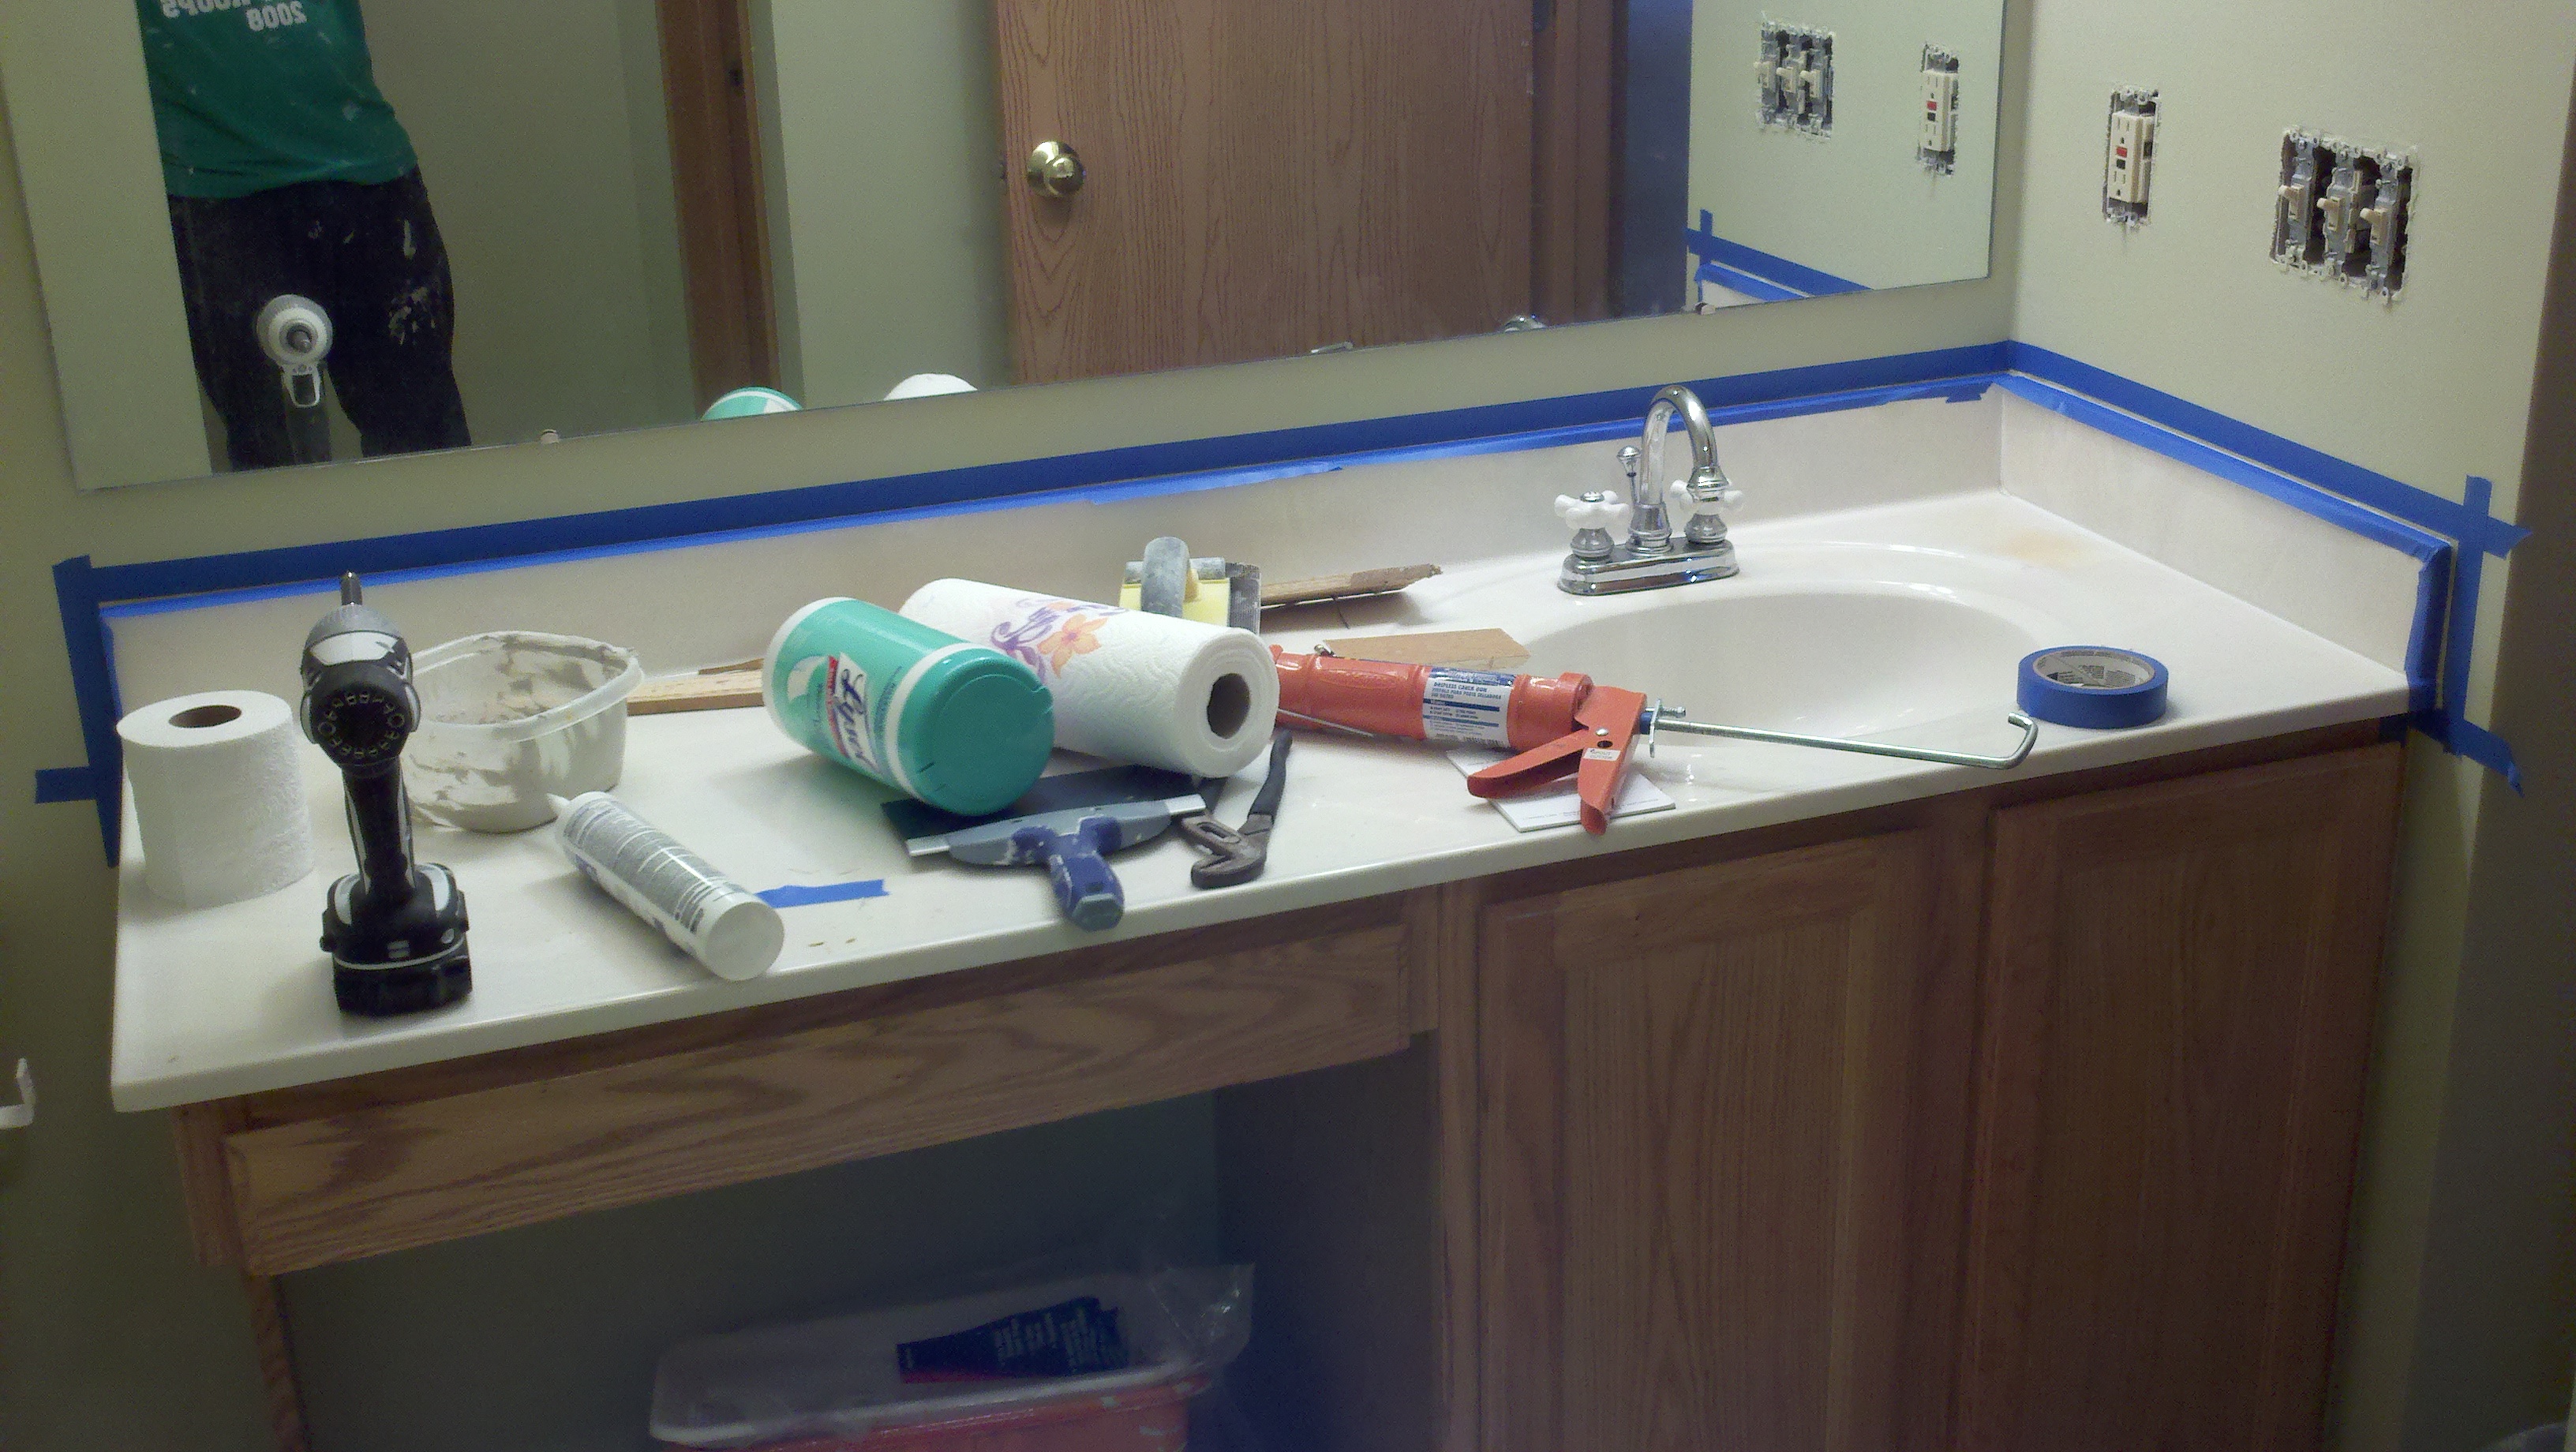
Programmable thermostat installation provided a few challenges due to the textured wall covering. Errors would not be acceptable due to the difficulty that will arise if the hole was created in the wrong location. Due to this precaution, careful analysis was complete before the hole was cut. 115 VAC was routed from the power outlet located directly below the location, for the thermostat, next to the window. Routing the electric coil connection, AC power wire, and thermometers was guided with a steel routing wire assembly. The thermostats physical appearance was not acceptable for the cosmetics of the bathroom. Extra wall paint was applied to the rear of the thermostat and the front cover following the adhesion of extra wall covering was applied. Installation and completion is profiled by pictures fifty-seven through sixty-seven.
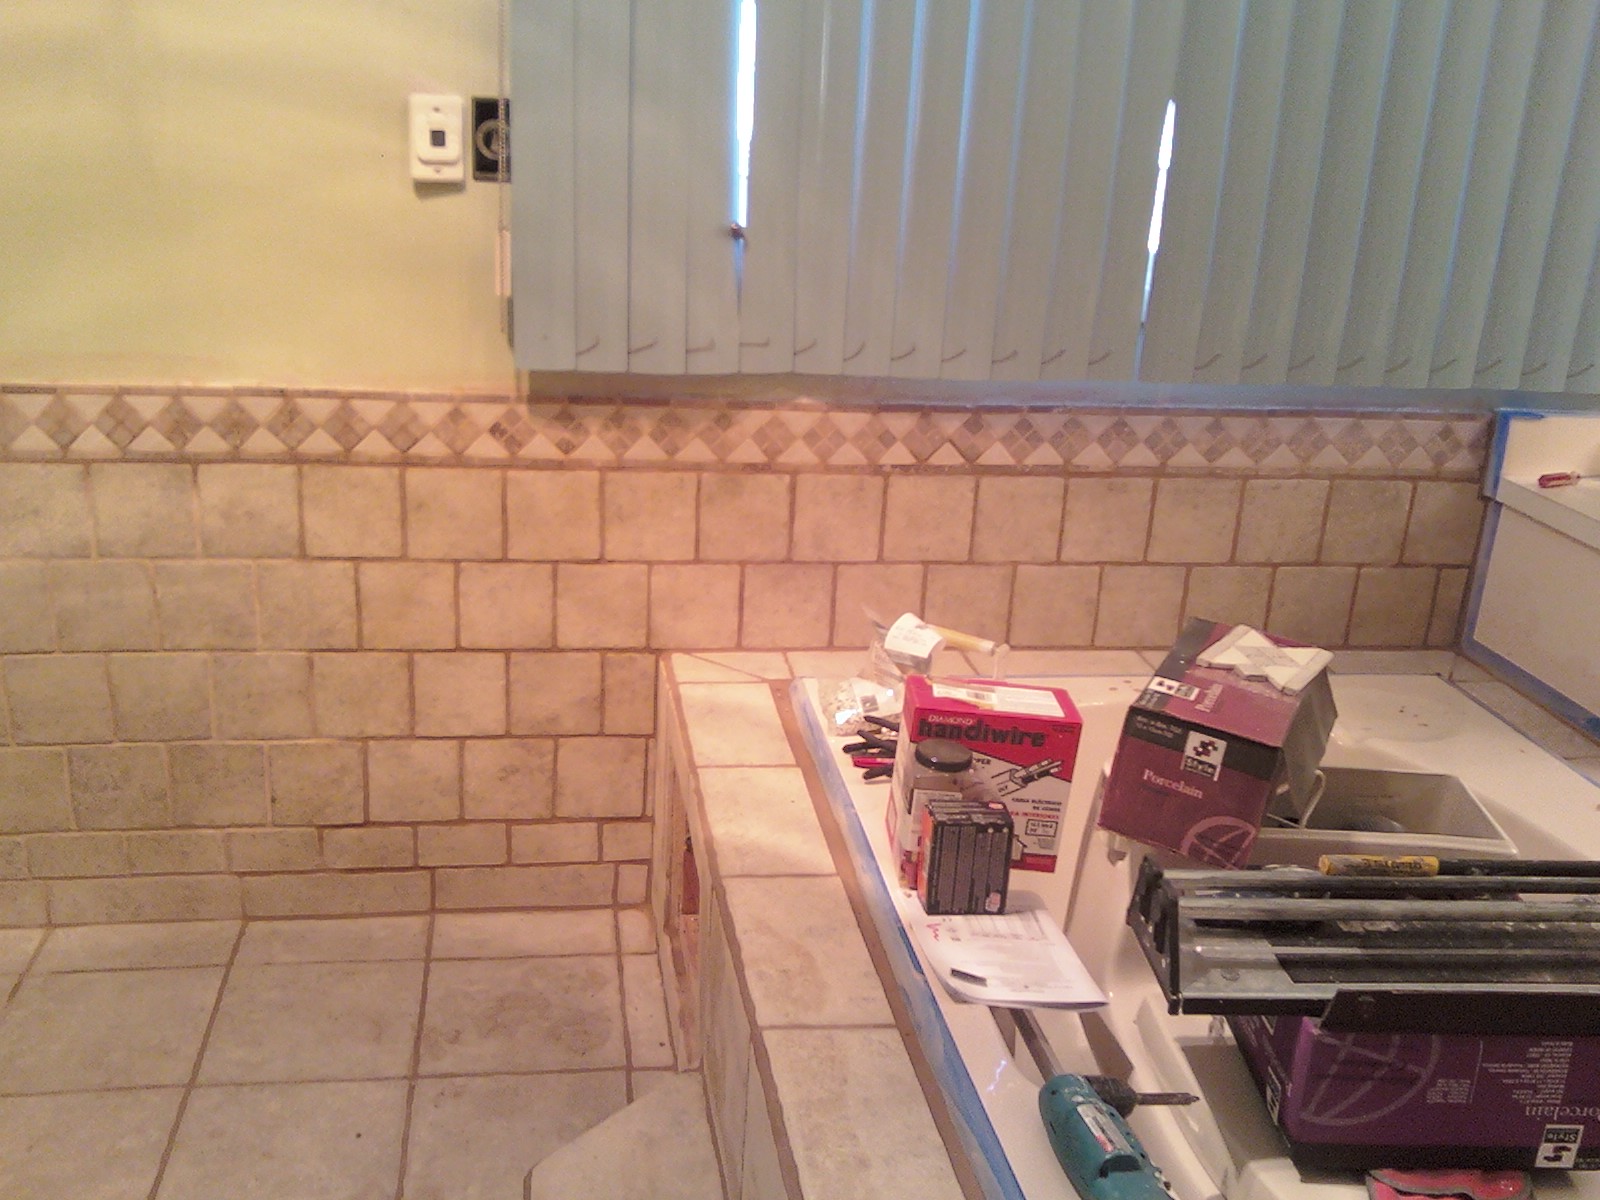
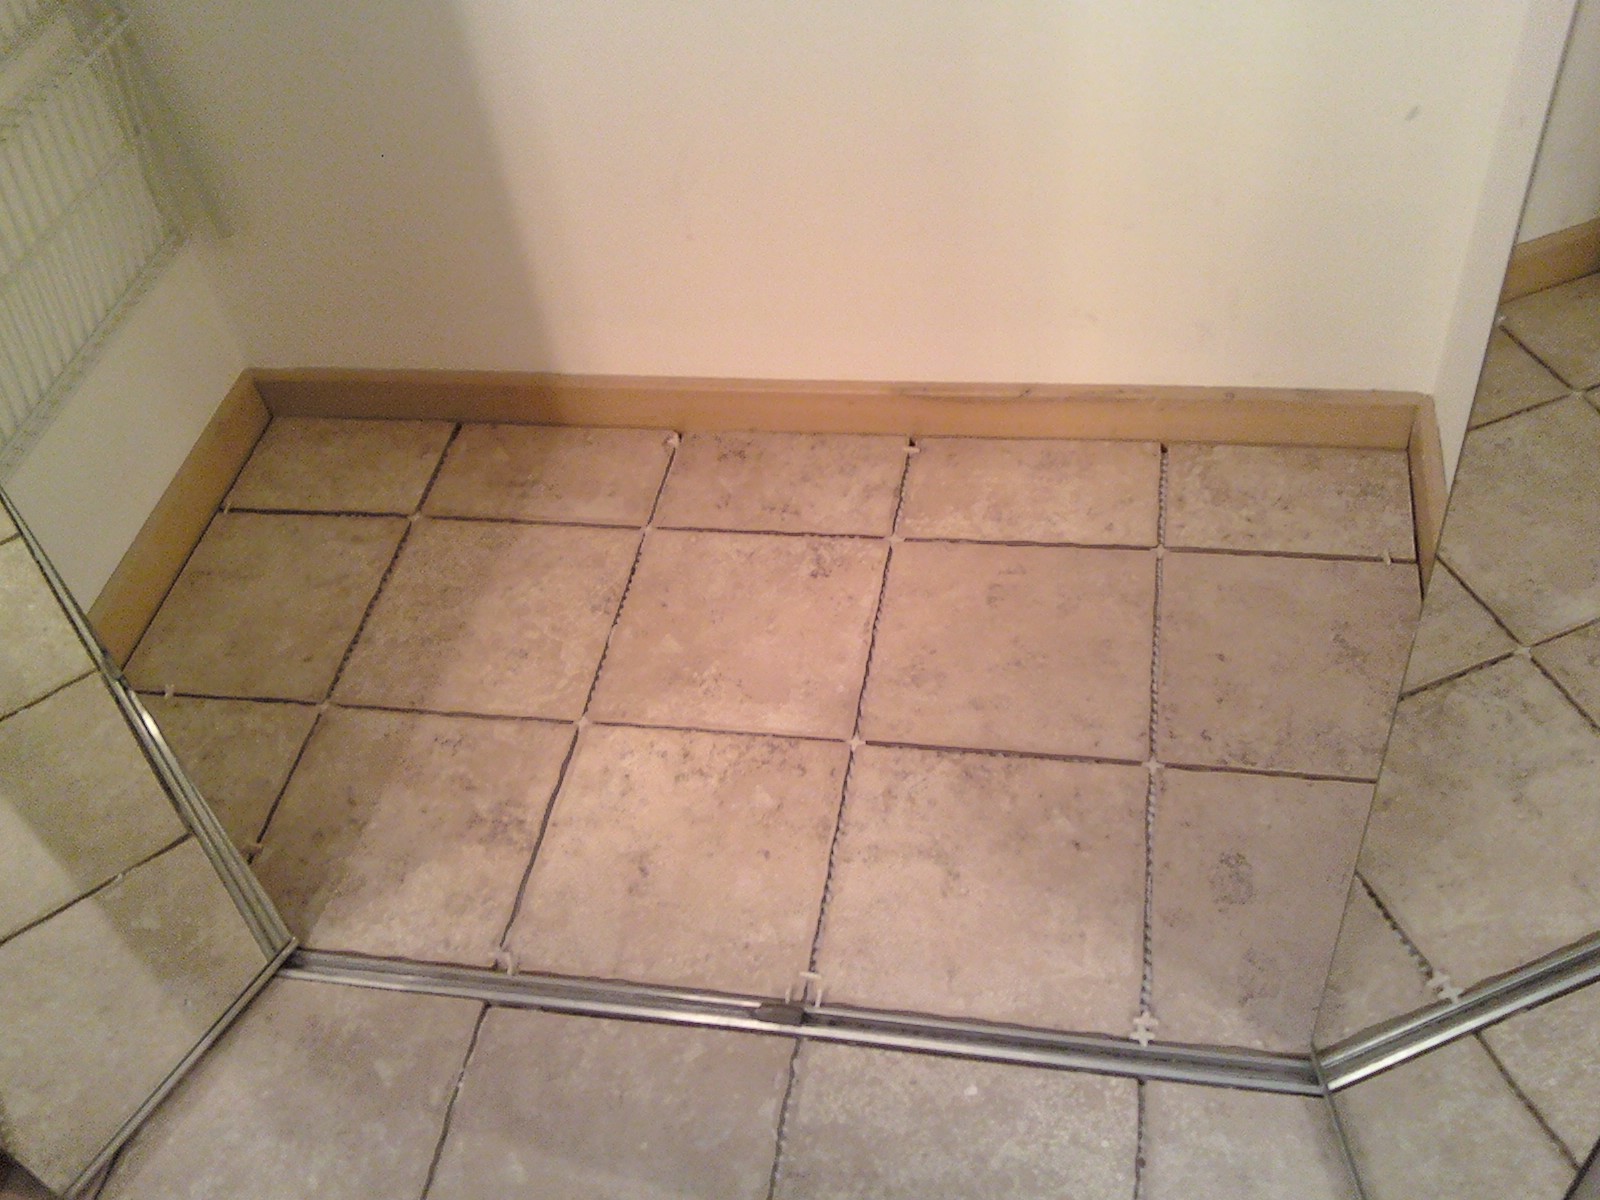
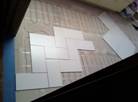
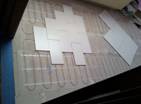
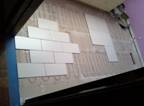
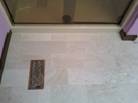
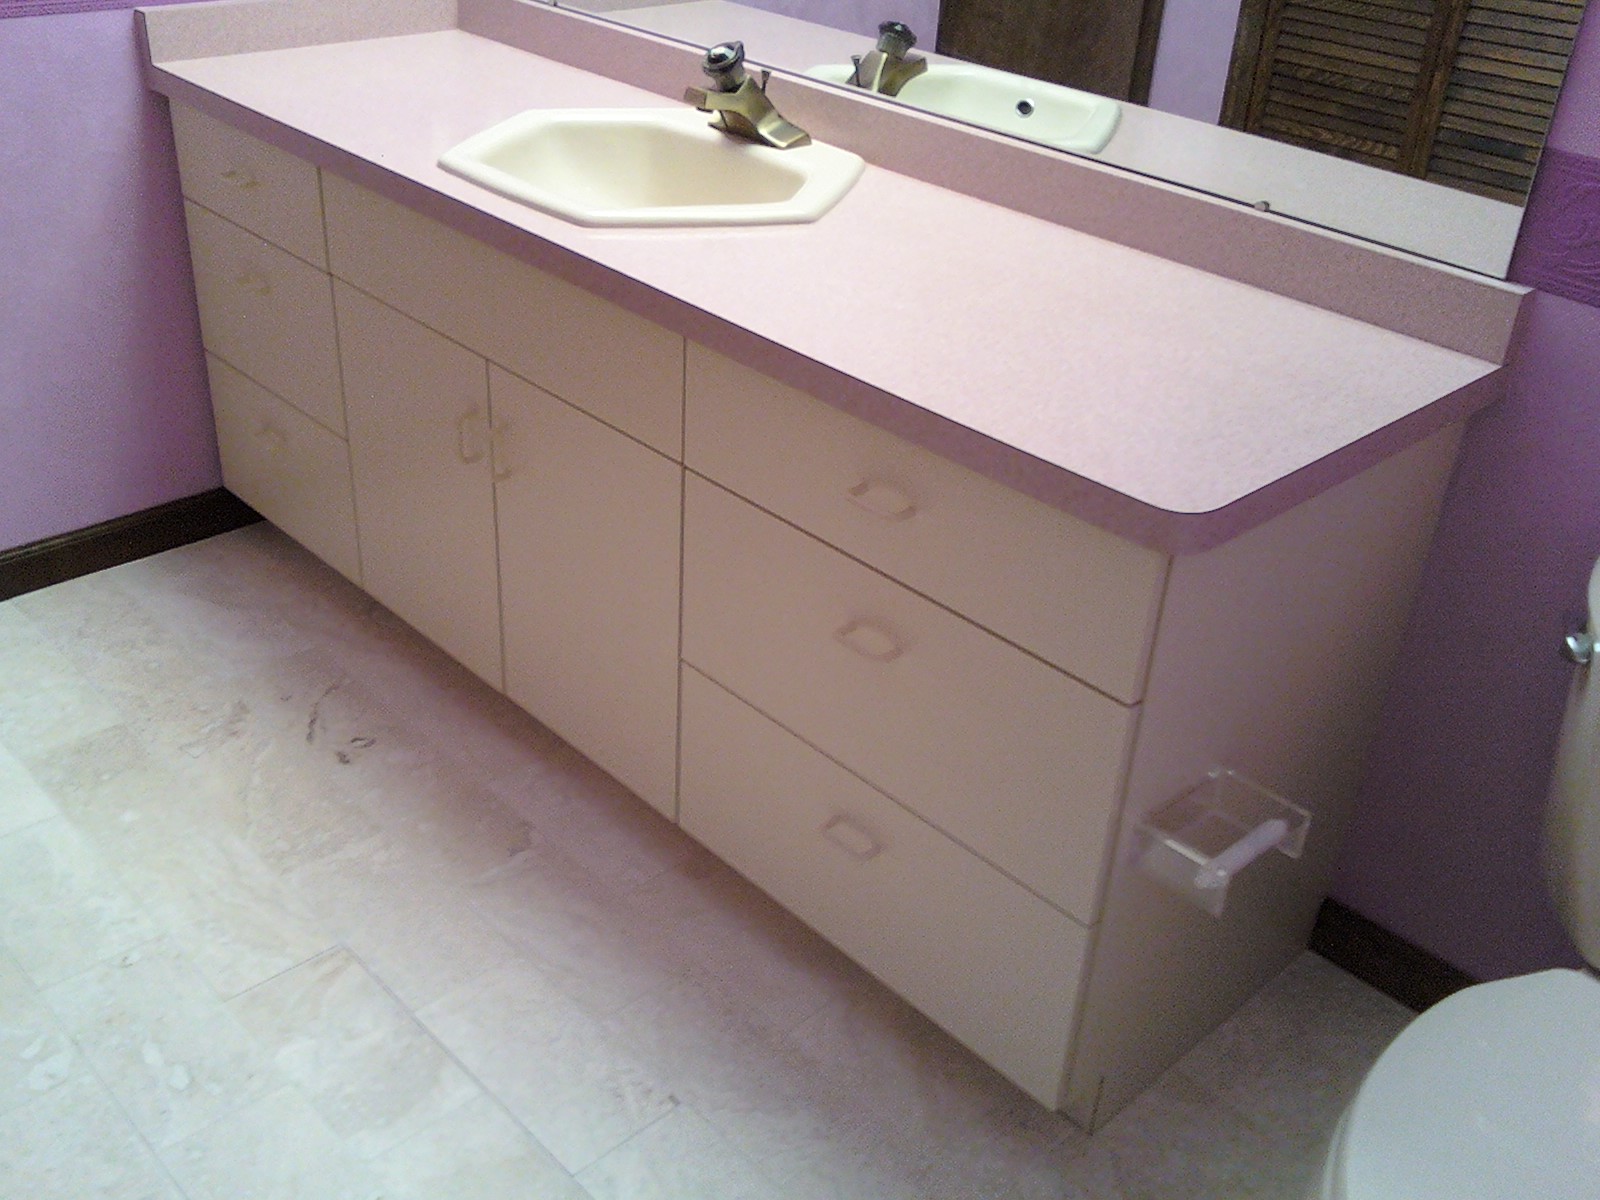
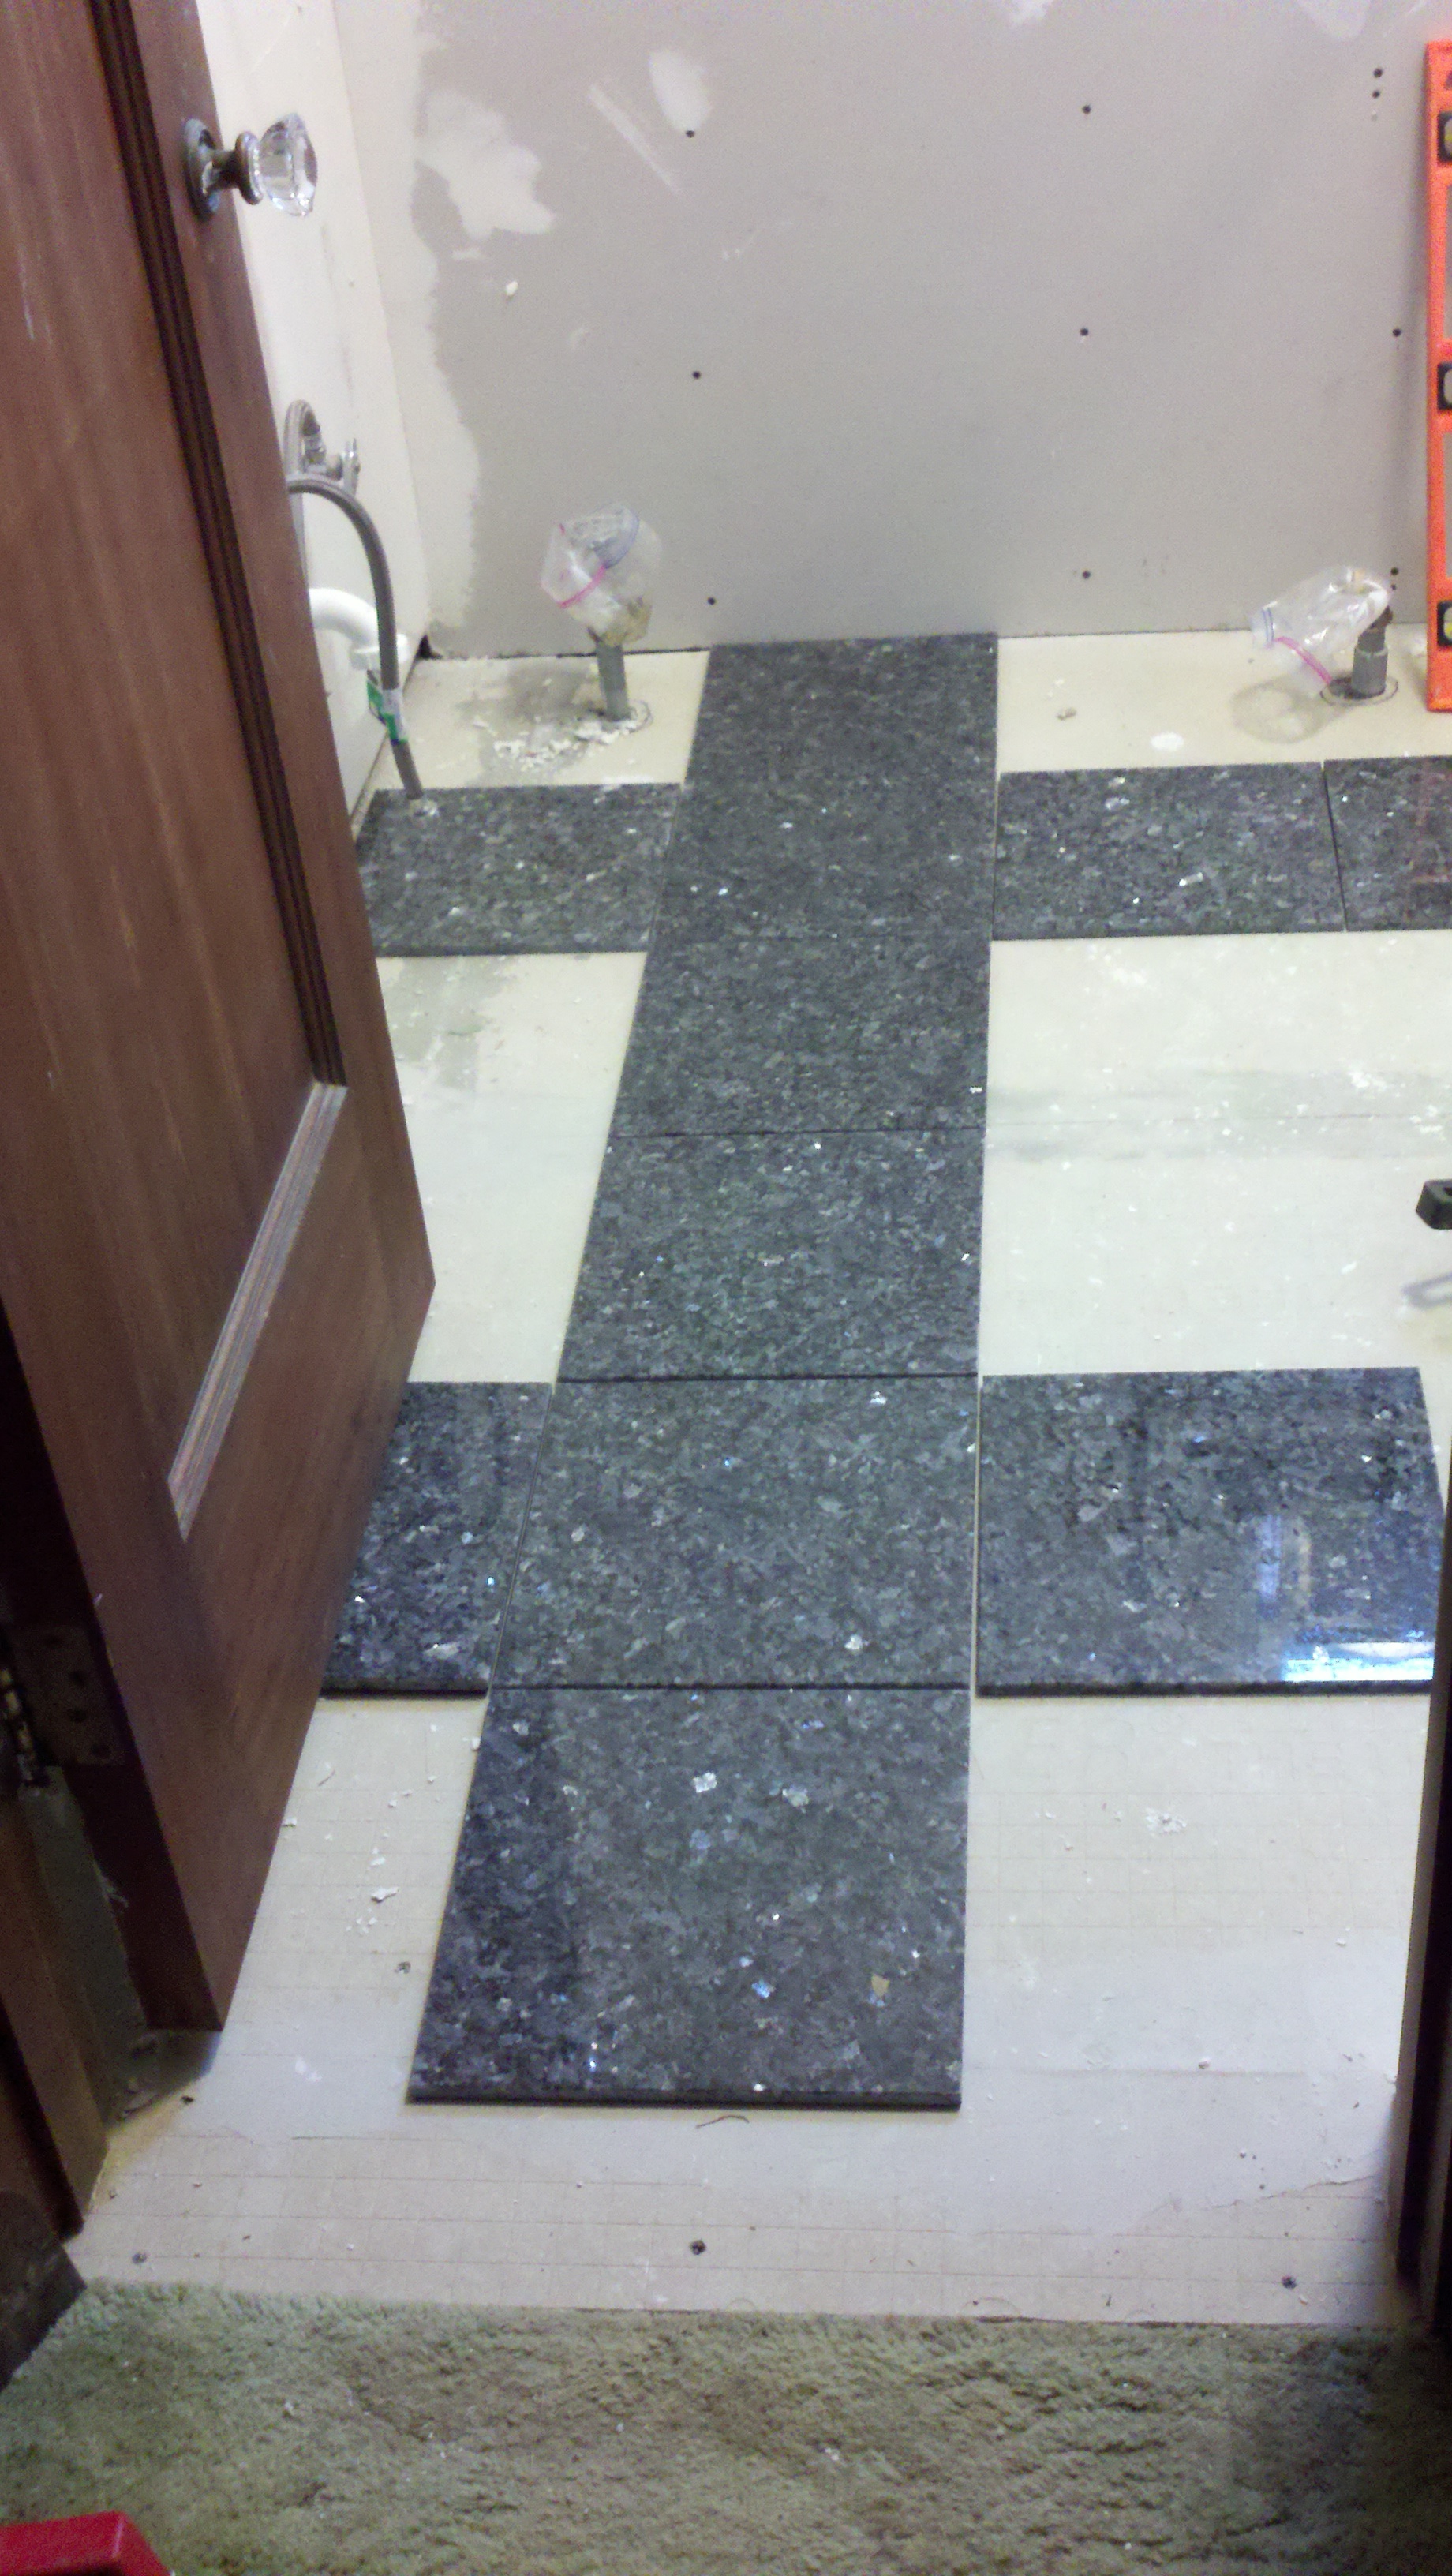
Tile configuration was chosen by Helen LaBelle. Many different configurations were placed on the bathroom floor to confirm the desired placement for optimal satisfaction. The subway configuration parallel to the sink was chosen. Pictures below show the choices labeled as picture sixty-eight up to seventy-four.
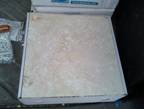
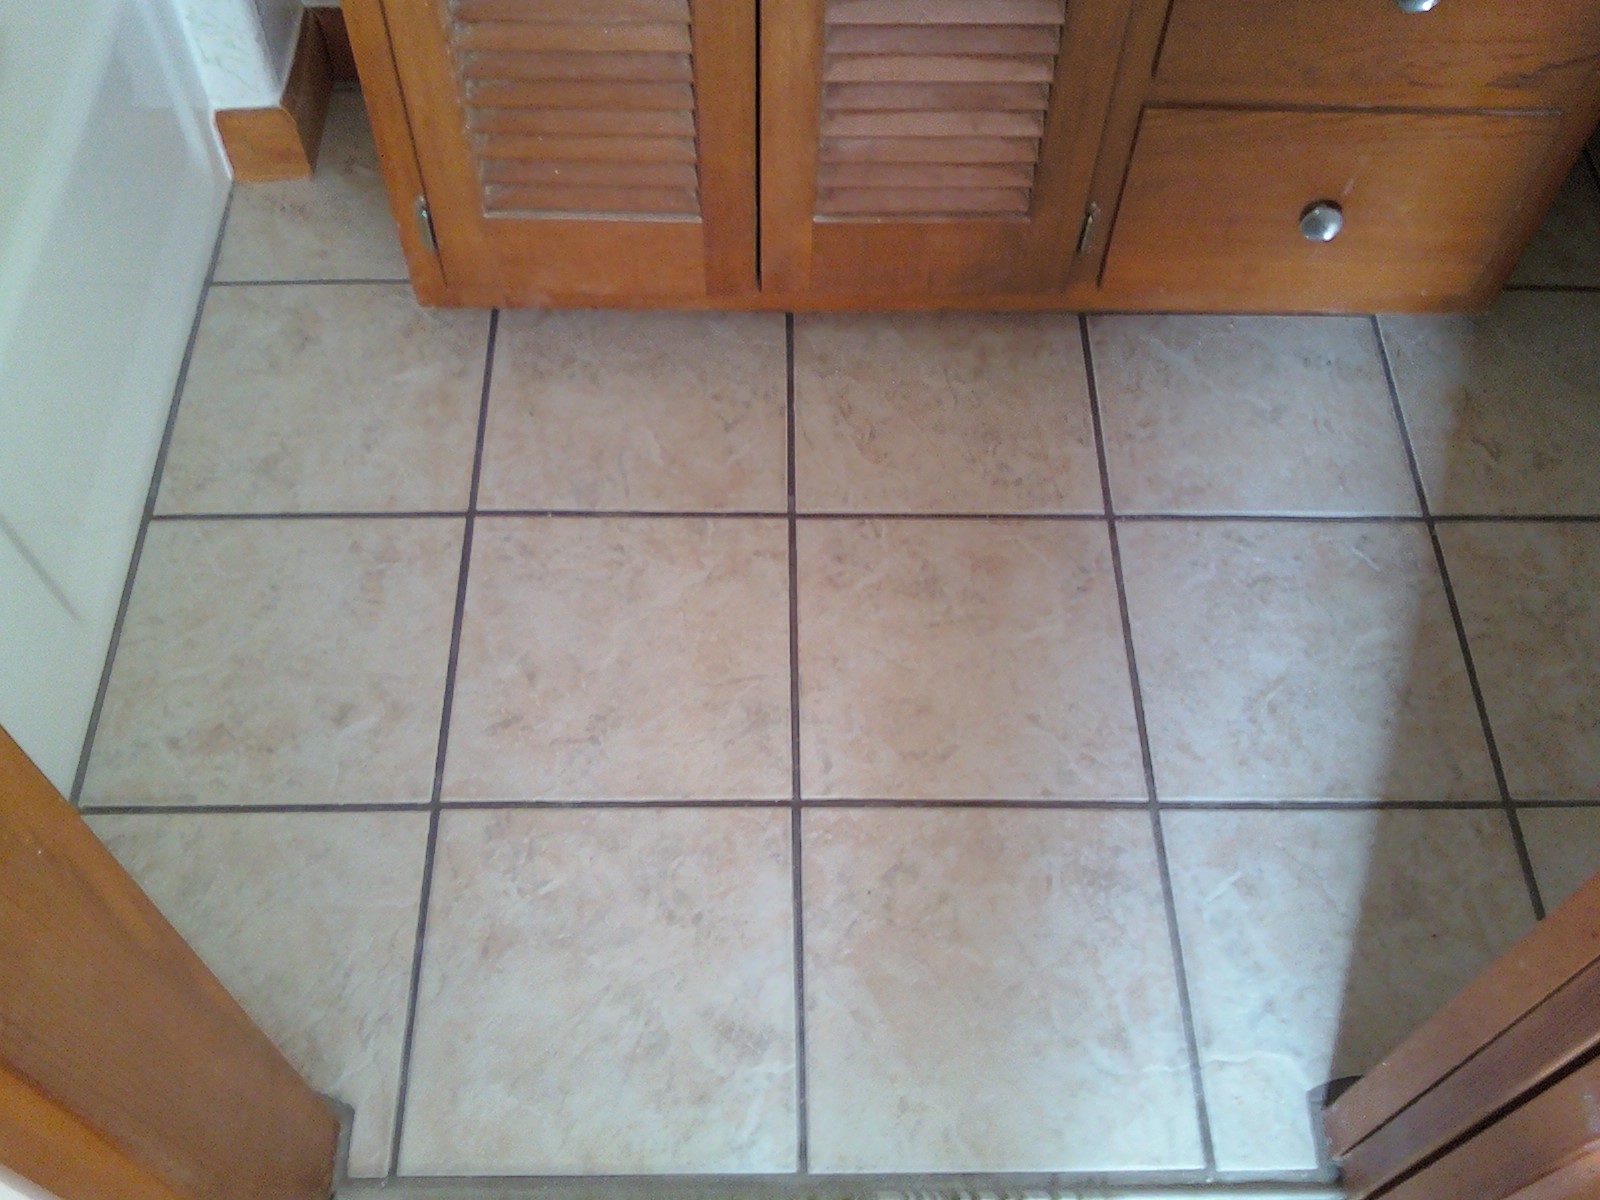
Travertine tile was chosen to be the type of tile to be installed on the floor. Picture seventy-three provides a visual description of the tile.
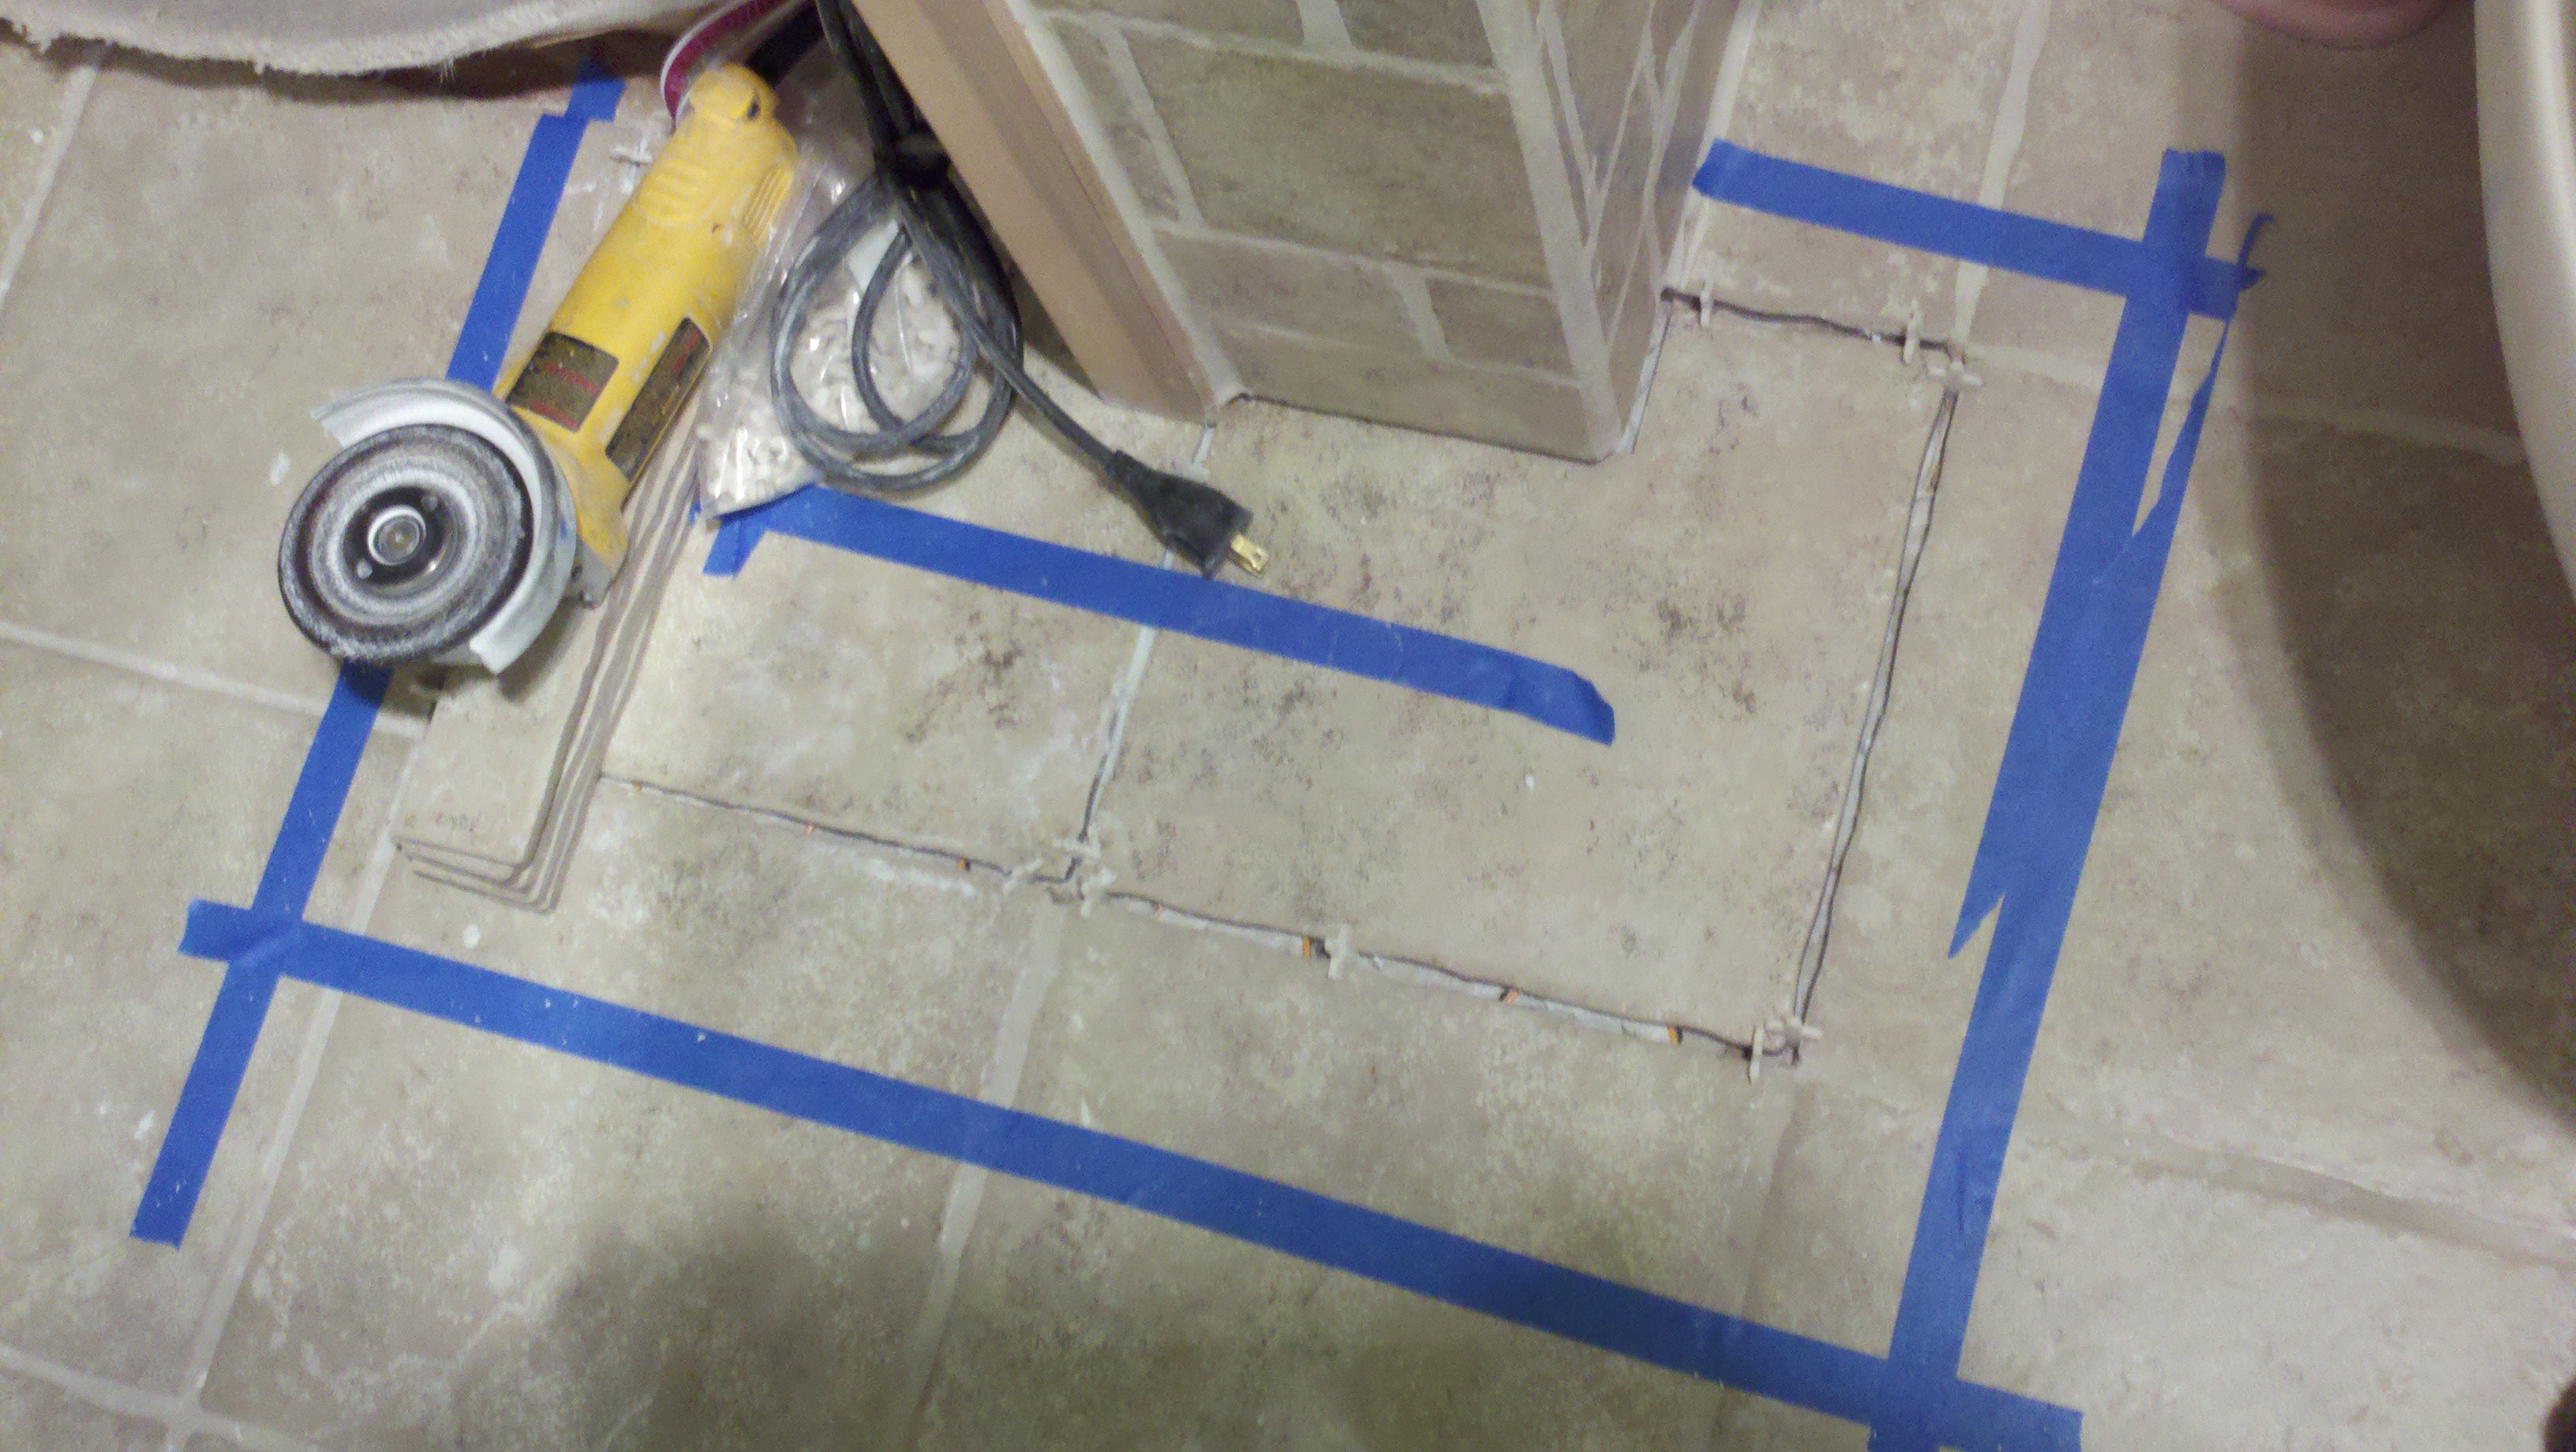
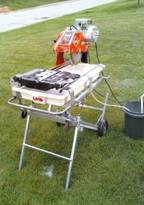
Each tile required a decrease in size from twelve by twelve to six by twelve inches for the subway design. Pictures seventy-four and seventy-five provide depictions of the tiles before and after cutting and the tool used to grind the tiles in half.
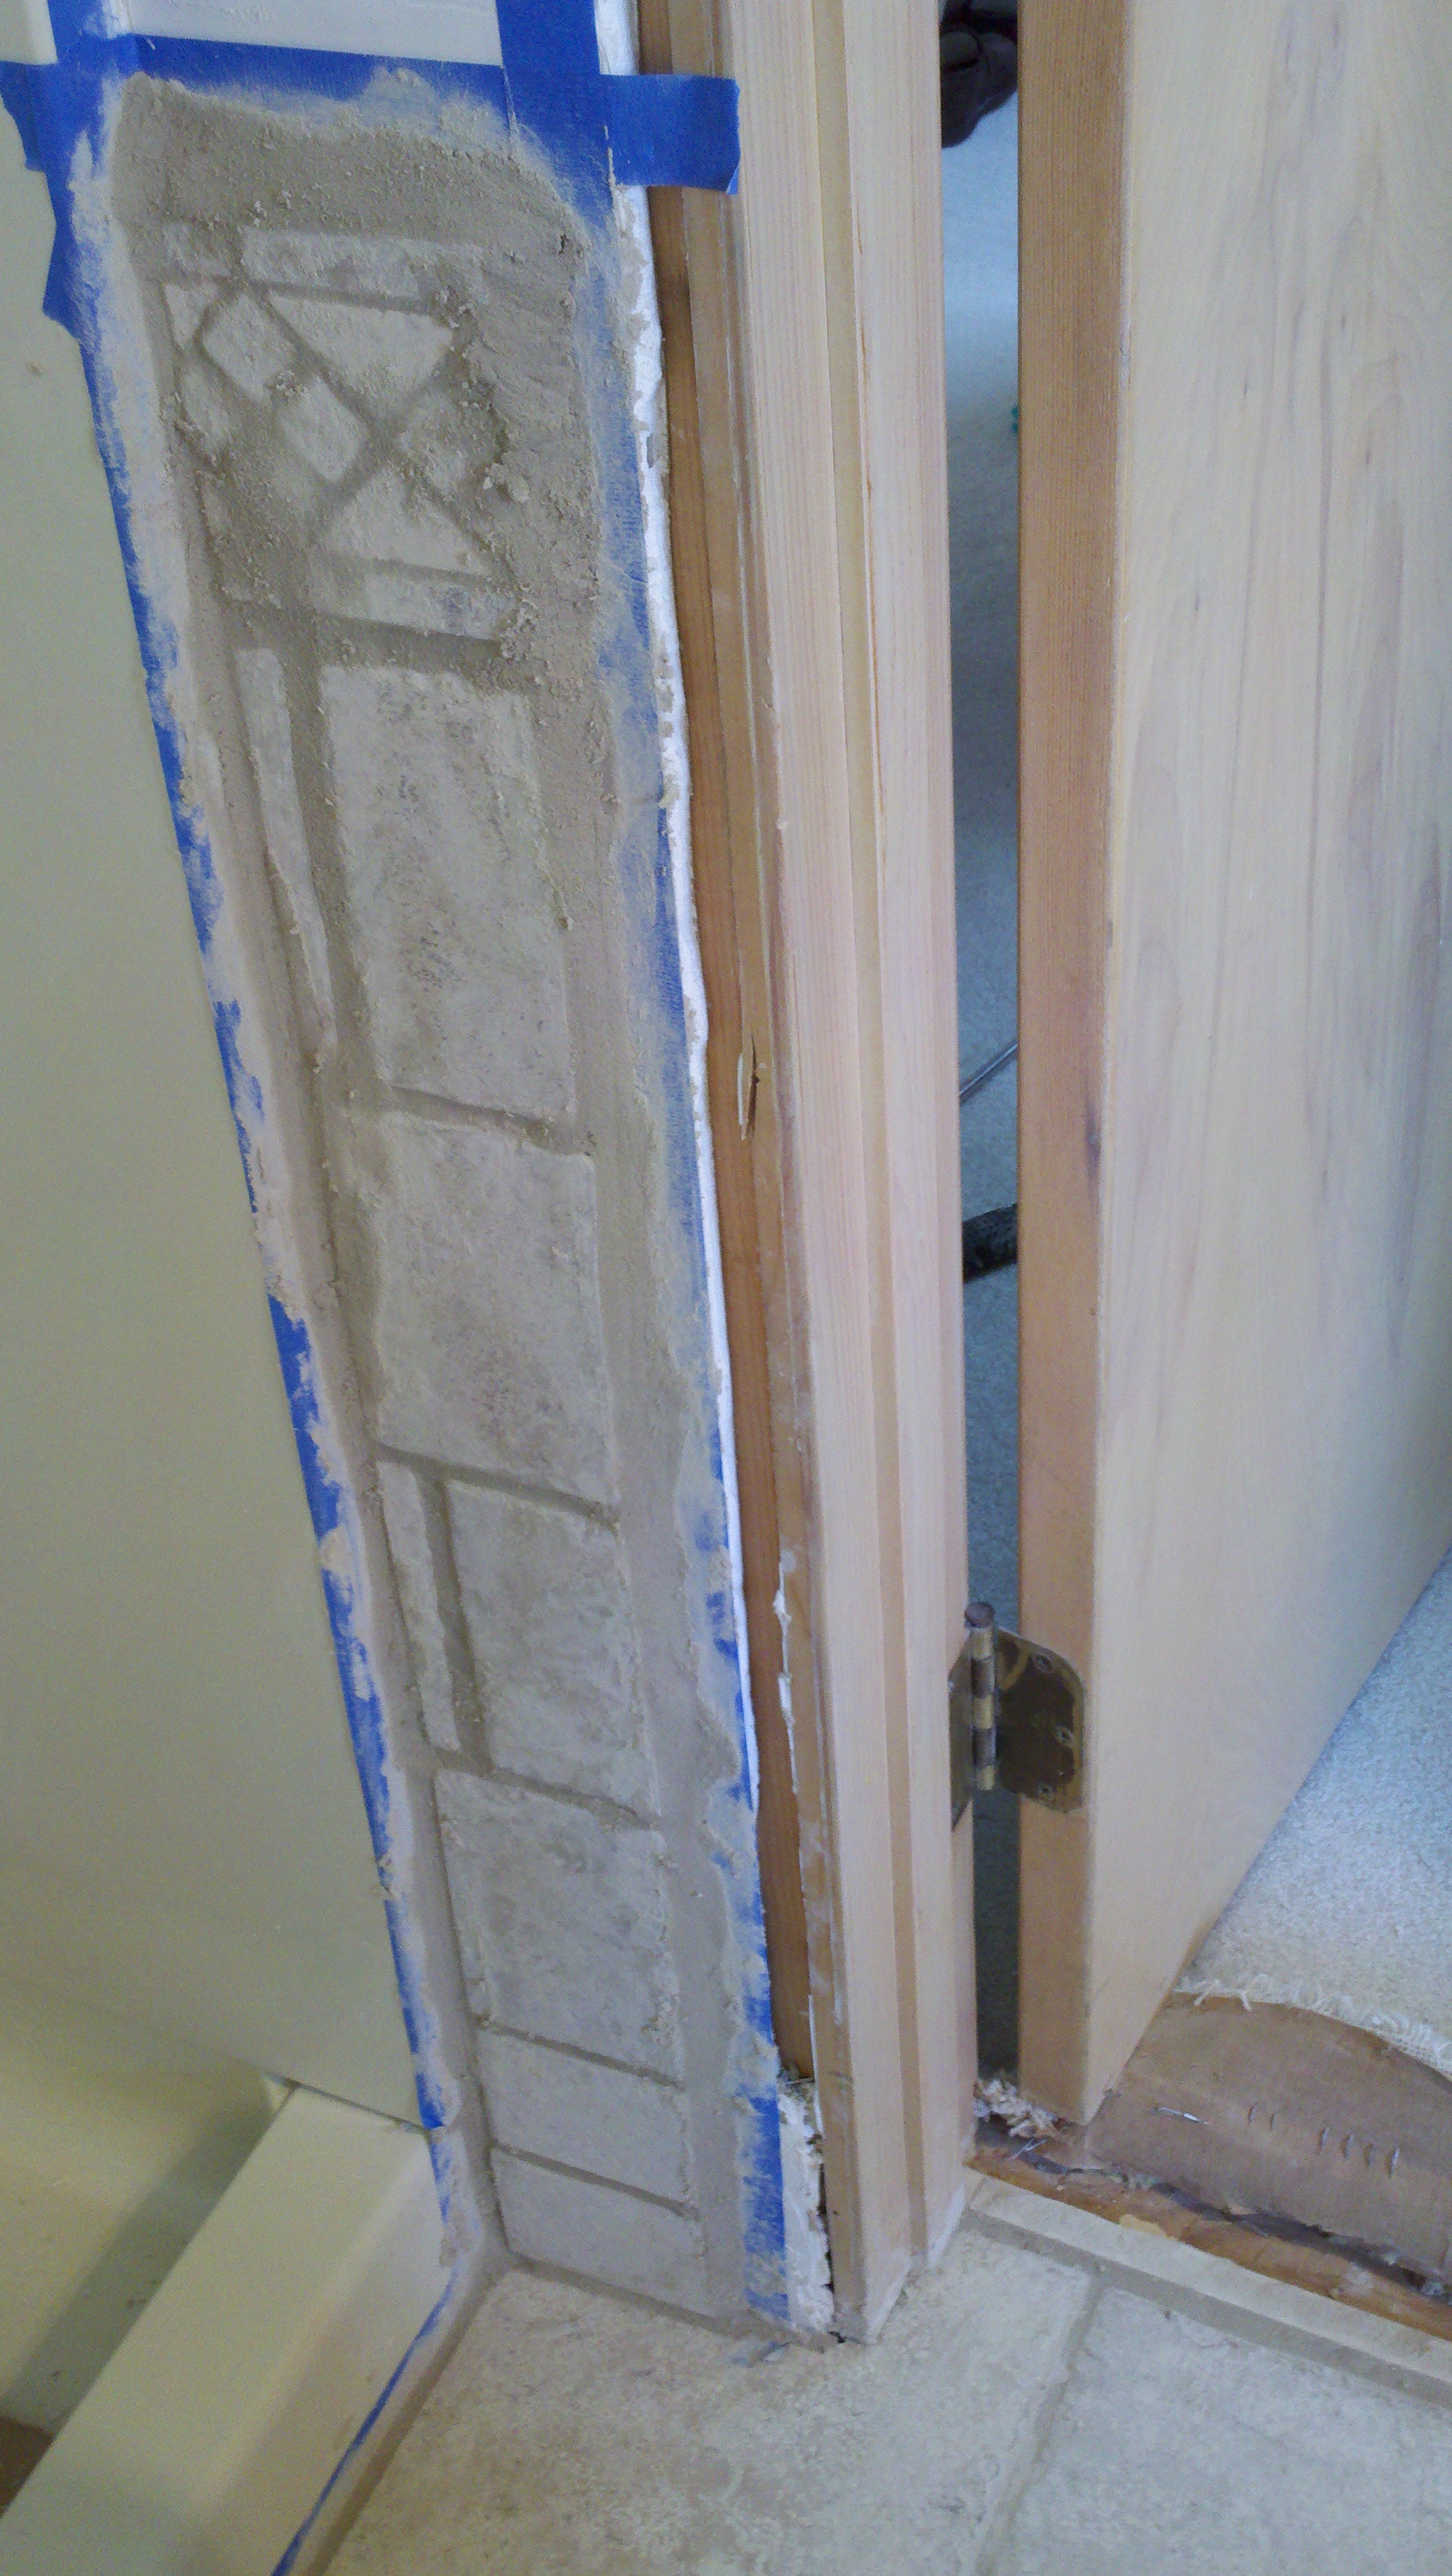
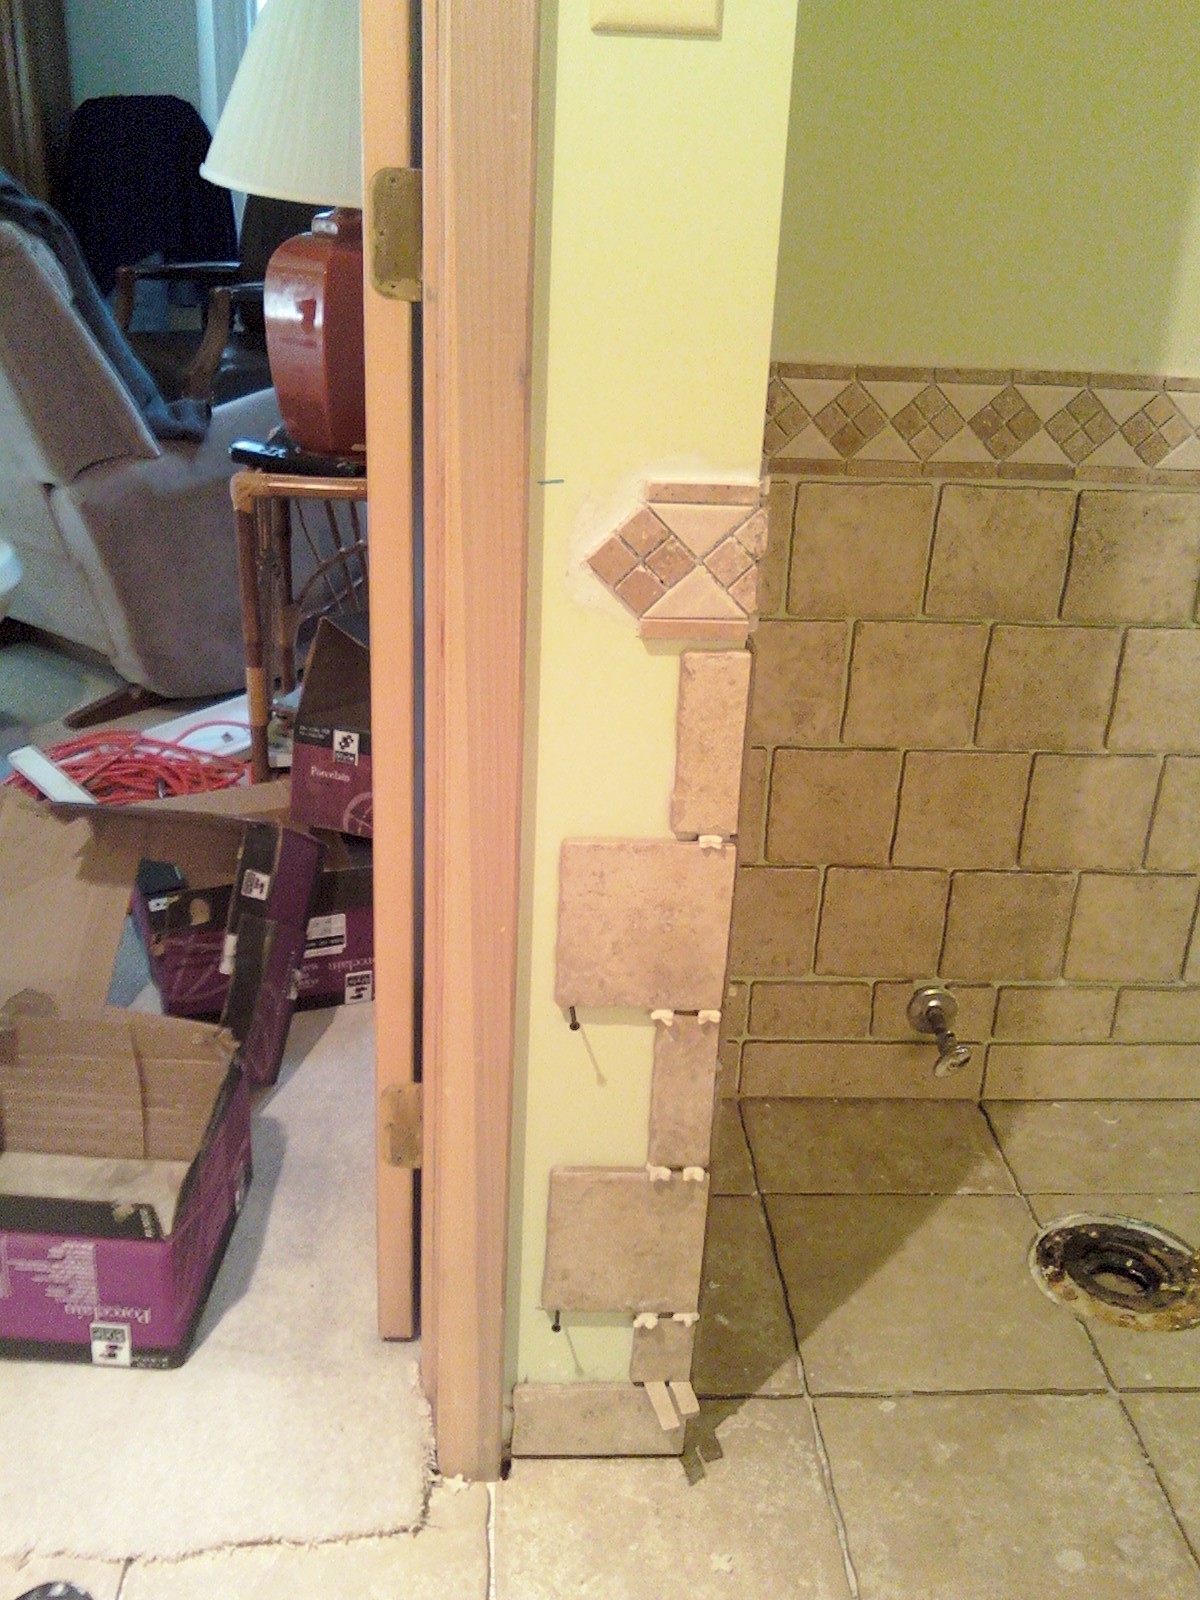
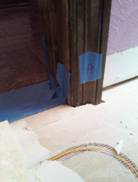
Reconfiguring the door jambs was completed through the use of a jamb saw and careful measuring. The pictures provided illustrate the jambs before and after the resizing. The pictures are labeled from seventy-seven to eighty-four.
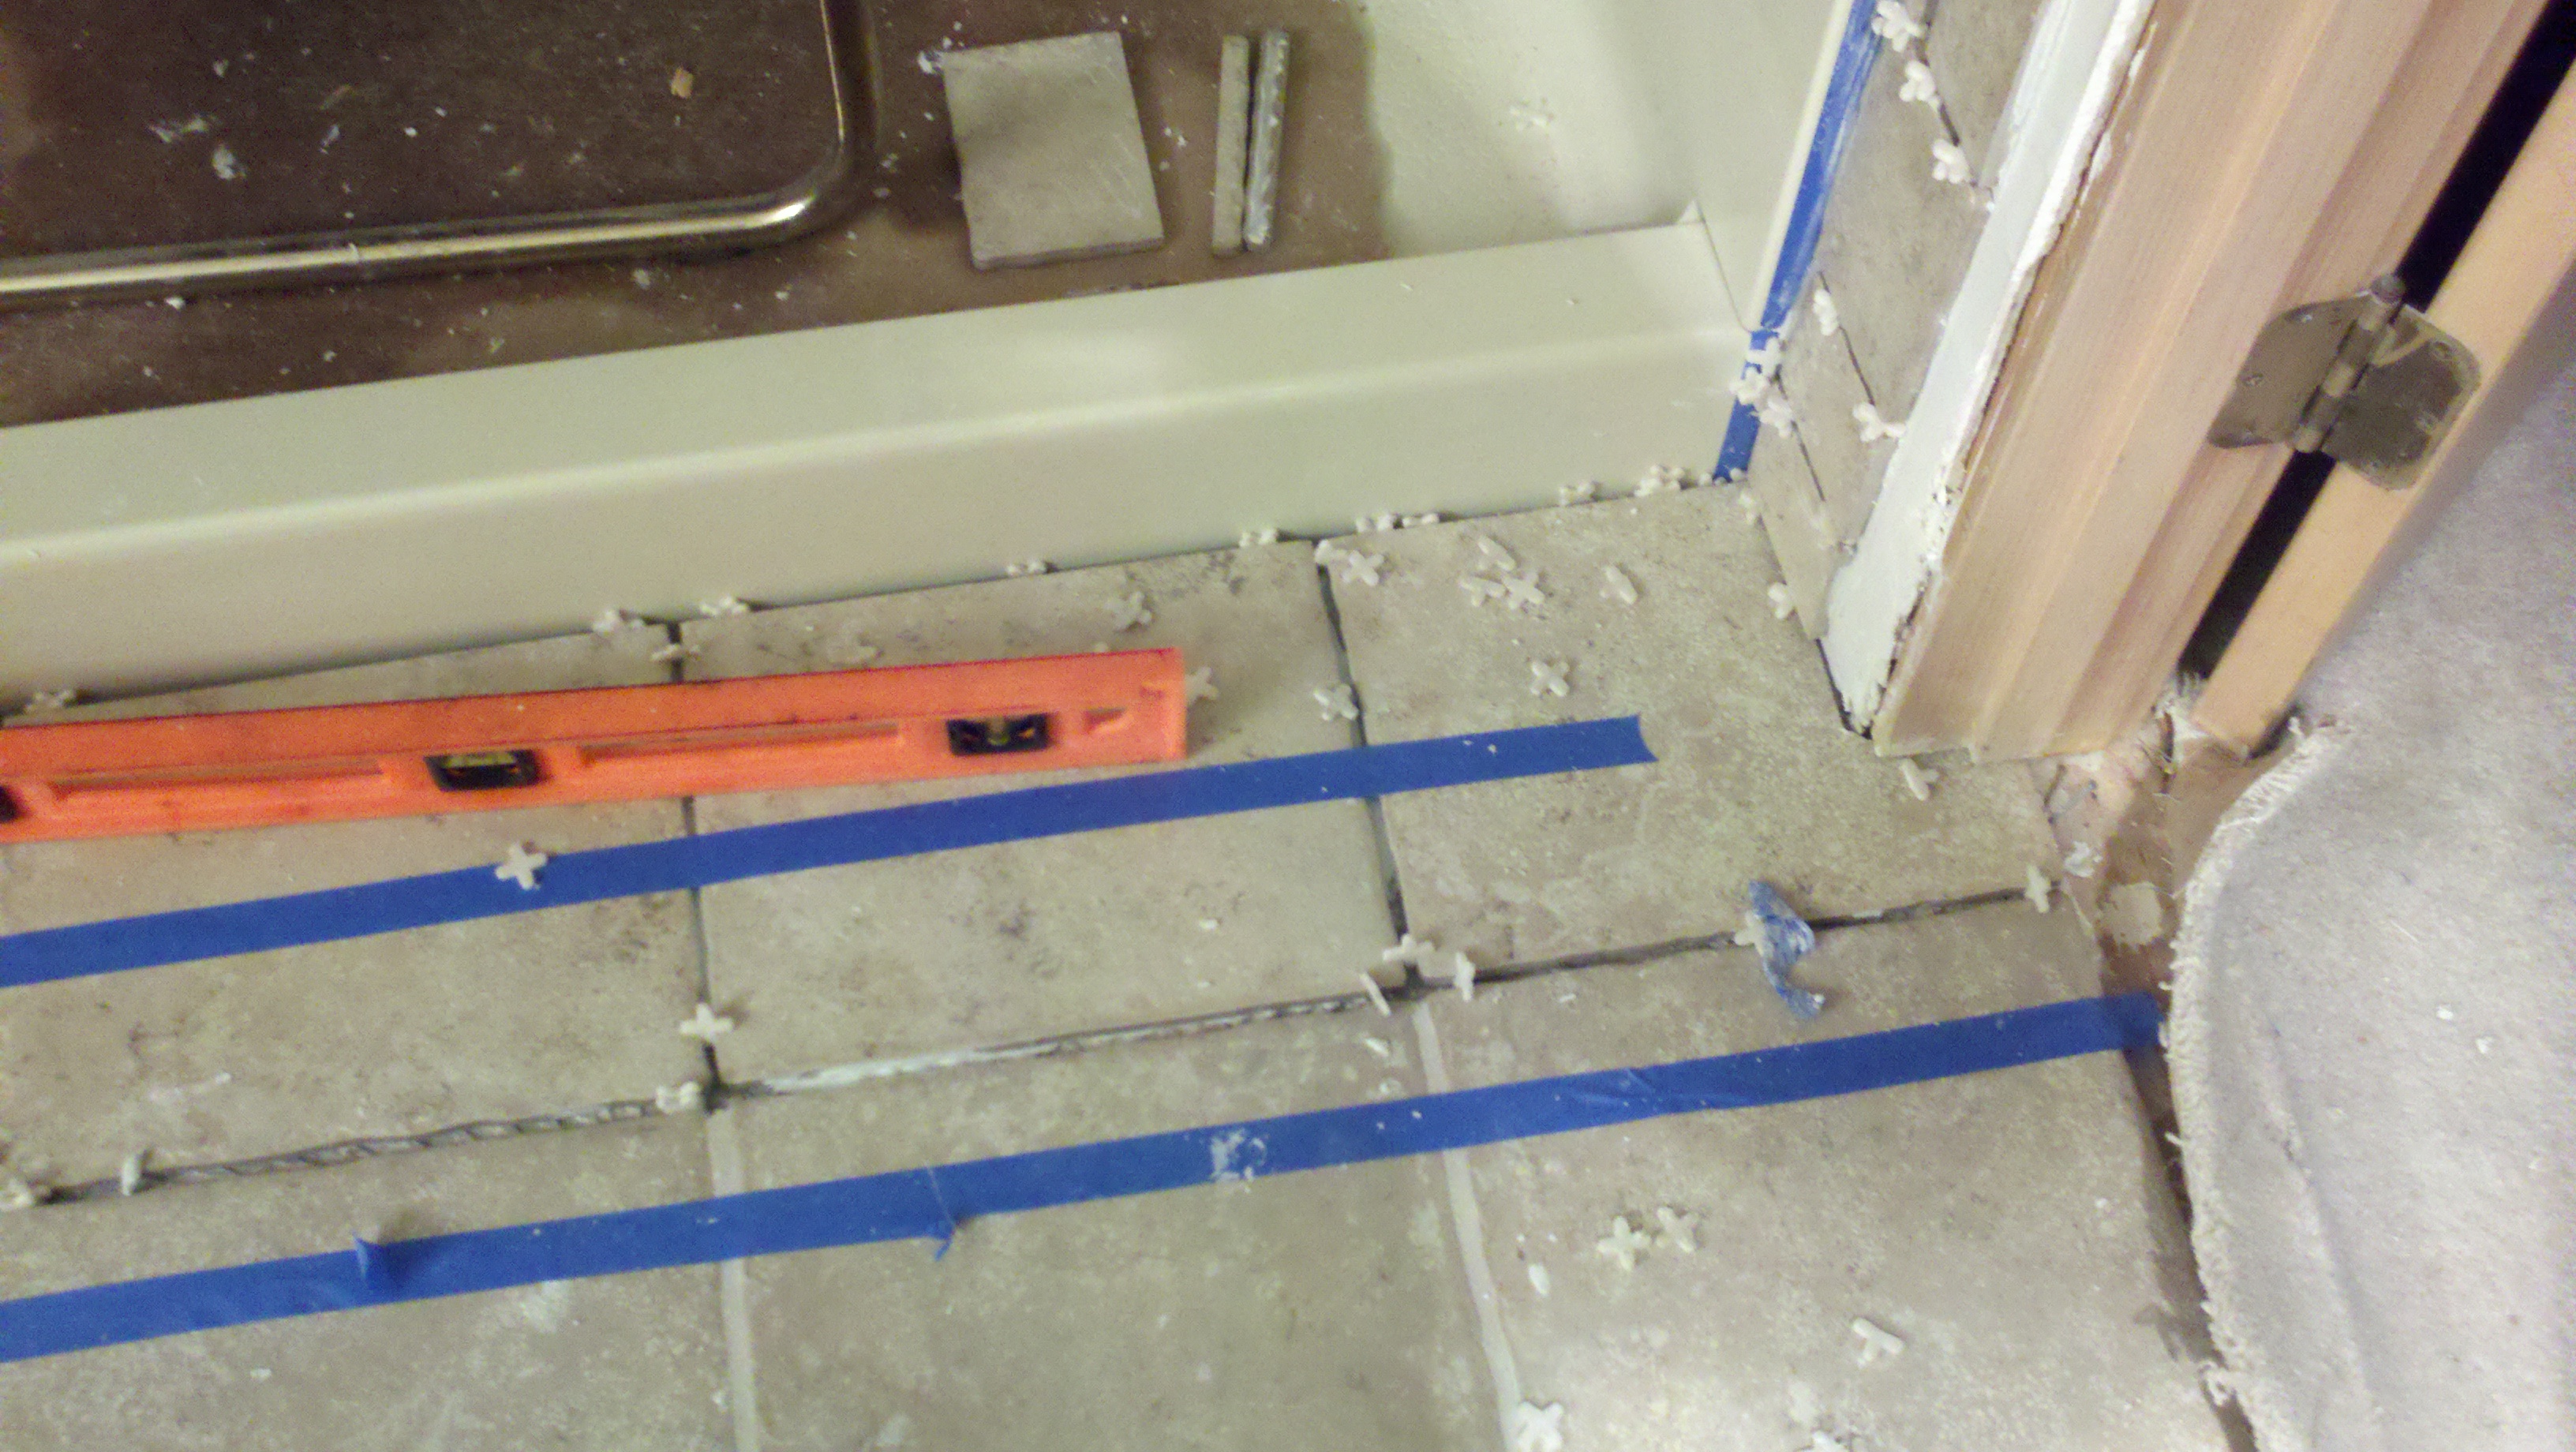
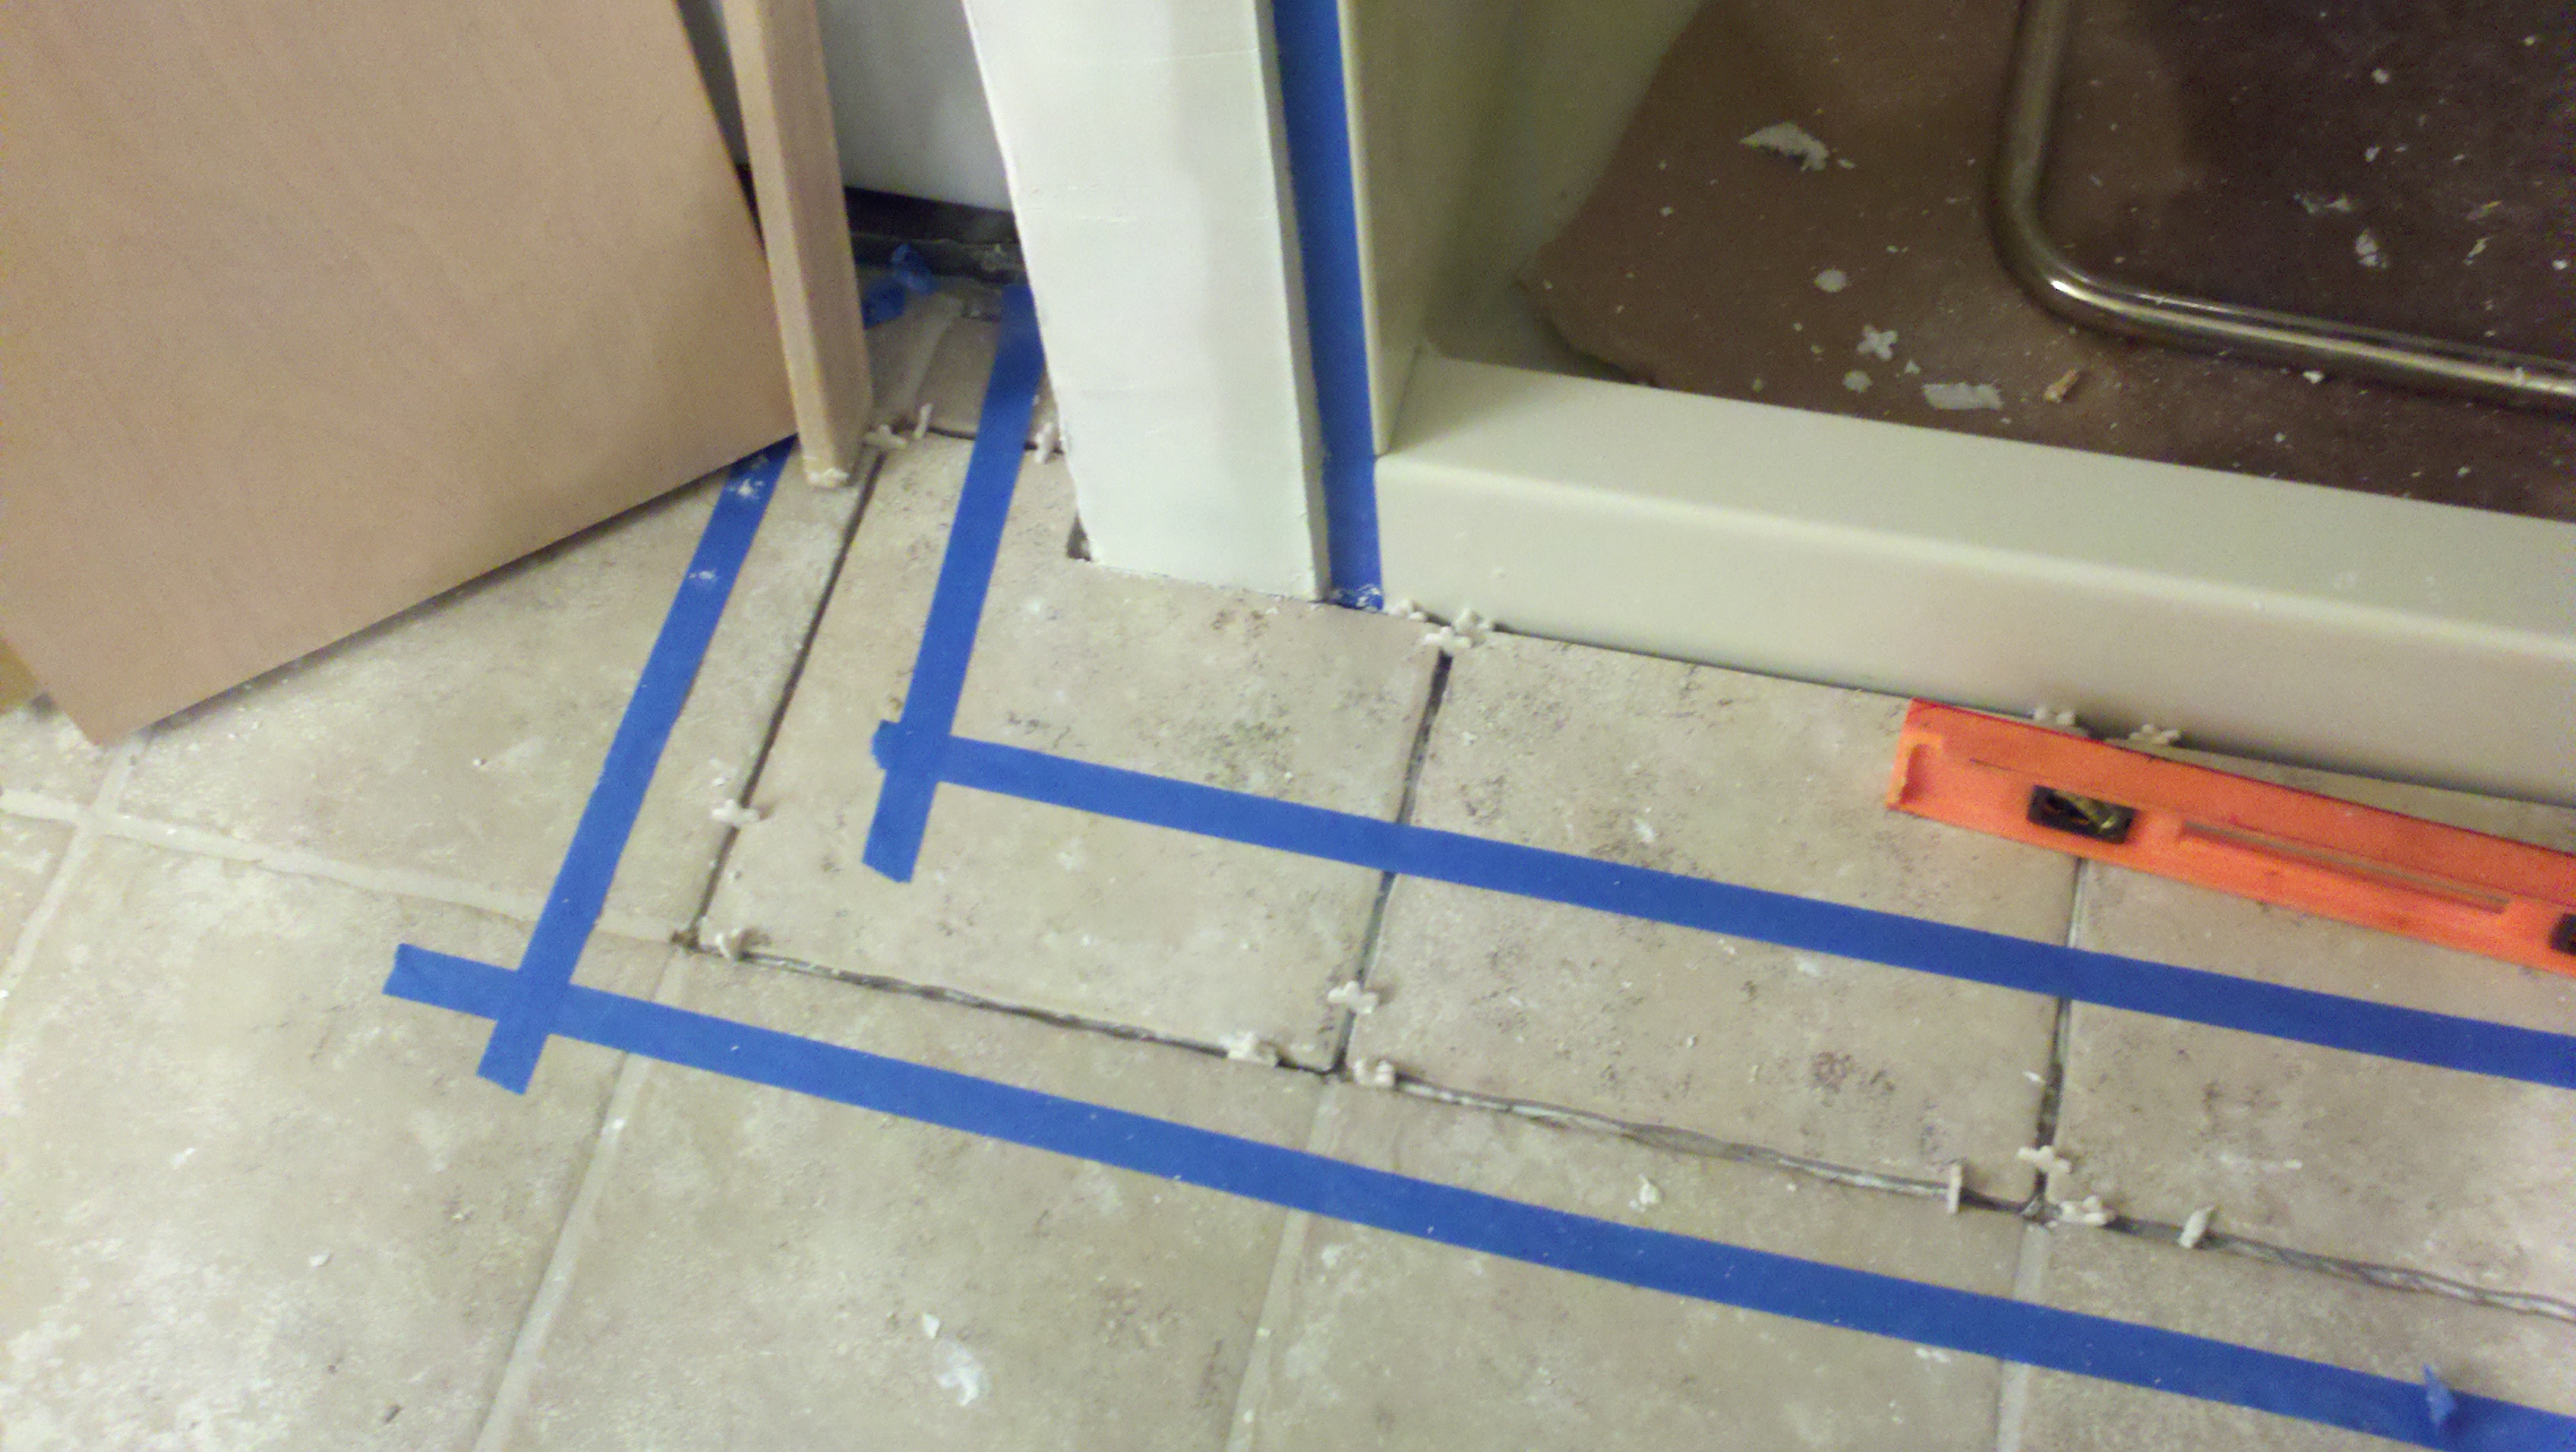
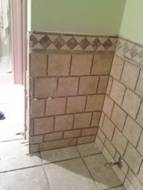
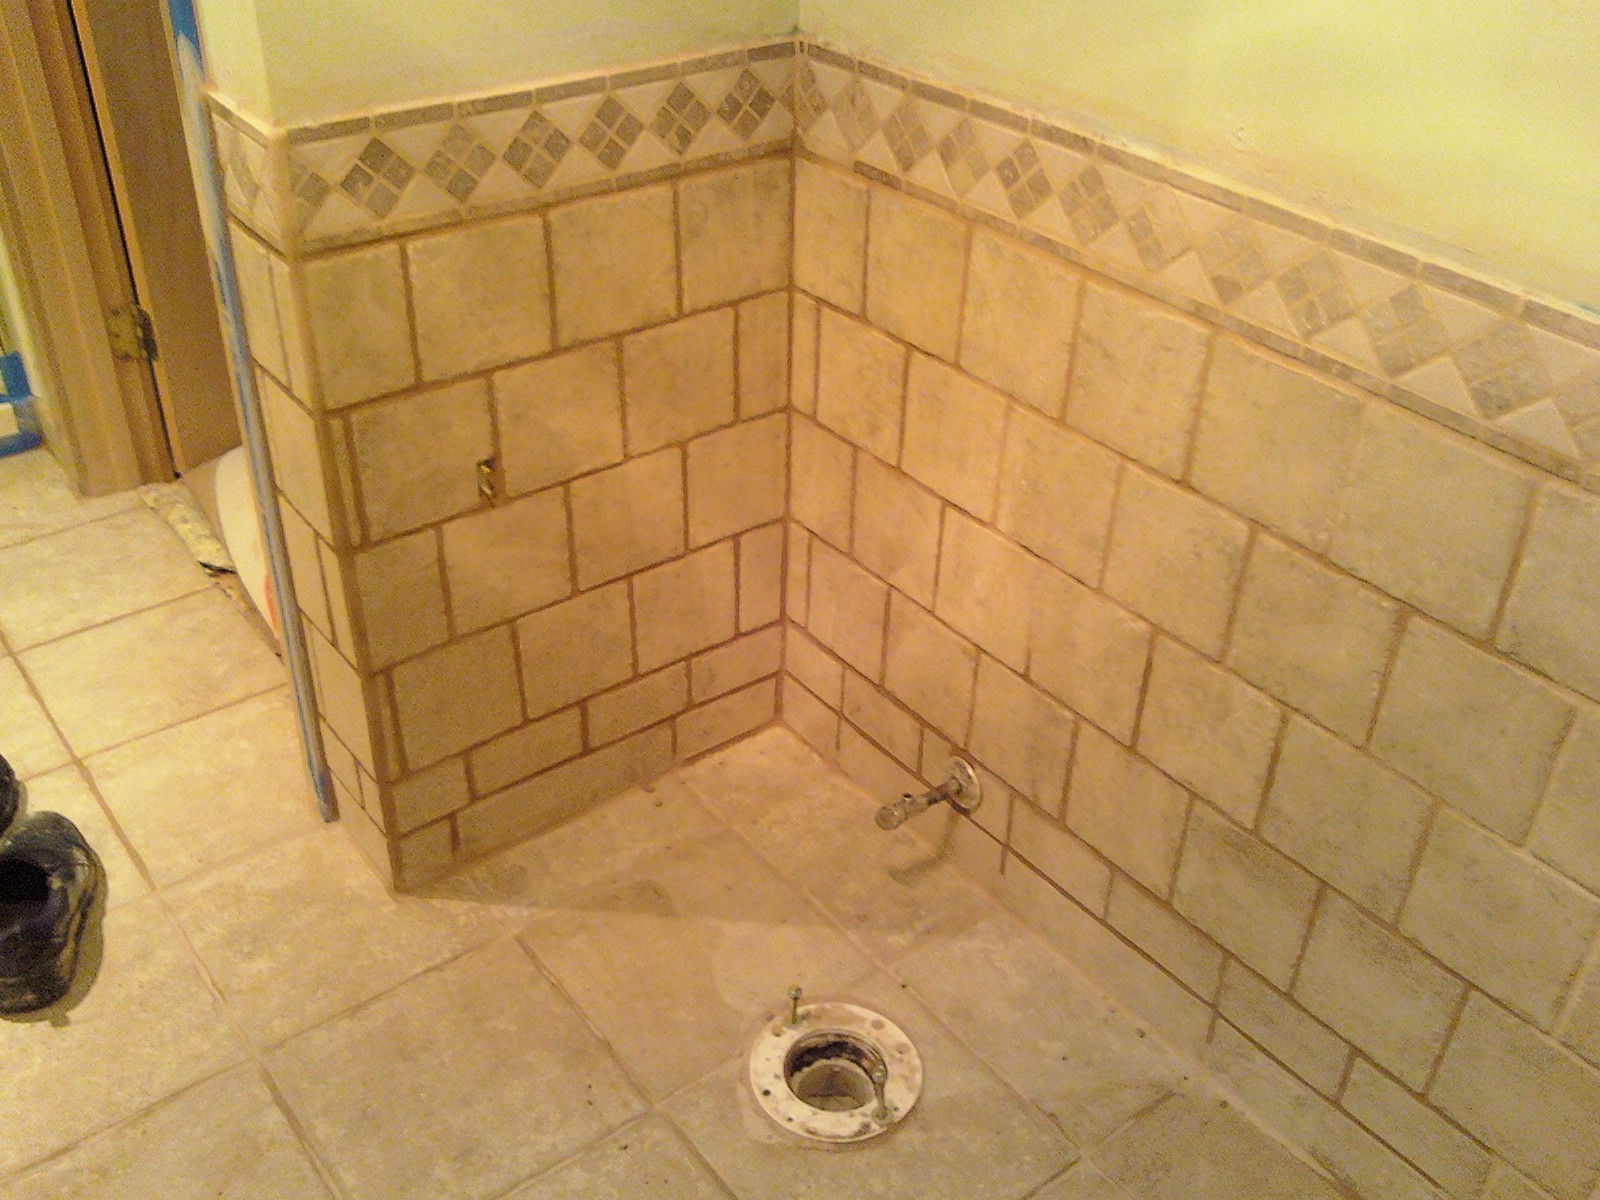
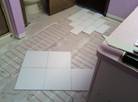
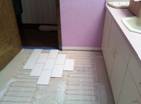
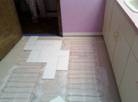
Following the jamb cutting, the tile needed to be installed. Cutting and applying the tile with glue was one of the most time consuming processes of the project. The tile required the use of a tile saw to alter the size of the tile. A four and half inch grinder was also used when necessary. Representing the tile adhering through visual depictions; the pictures are inserted below named as pictures eighty-five up to ninety-three.
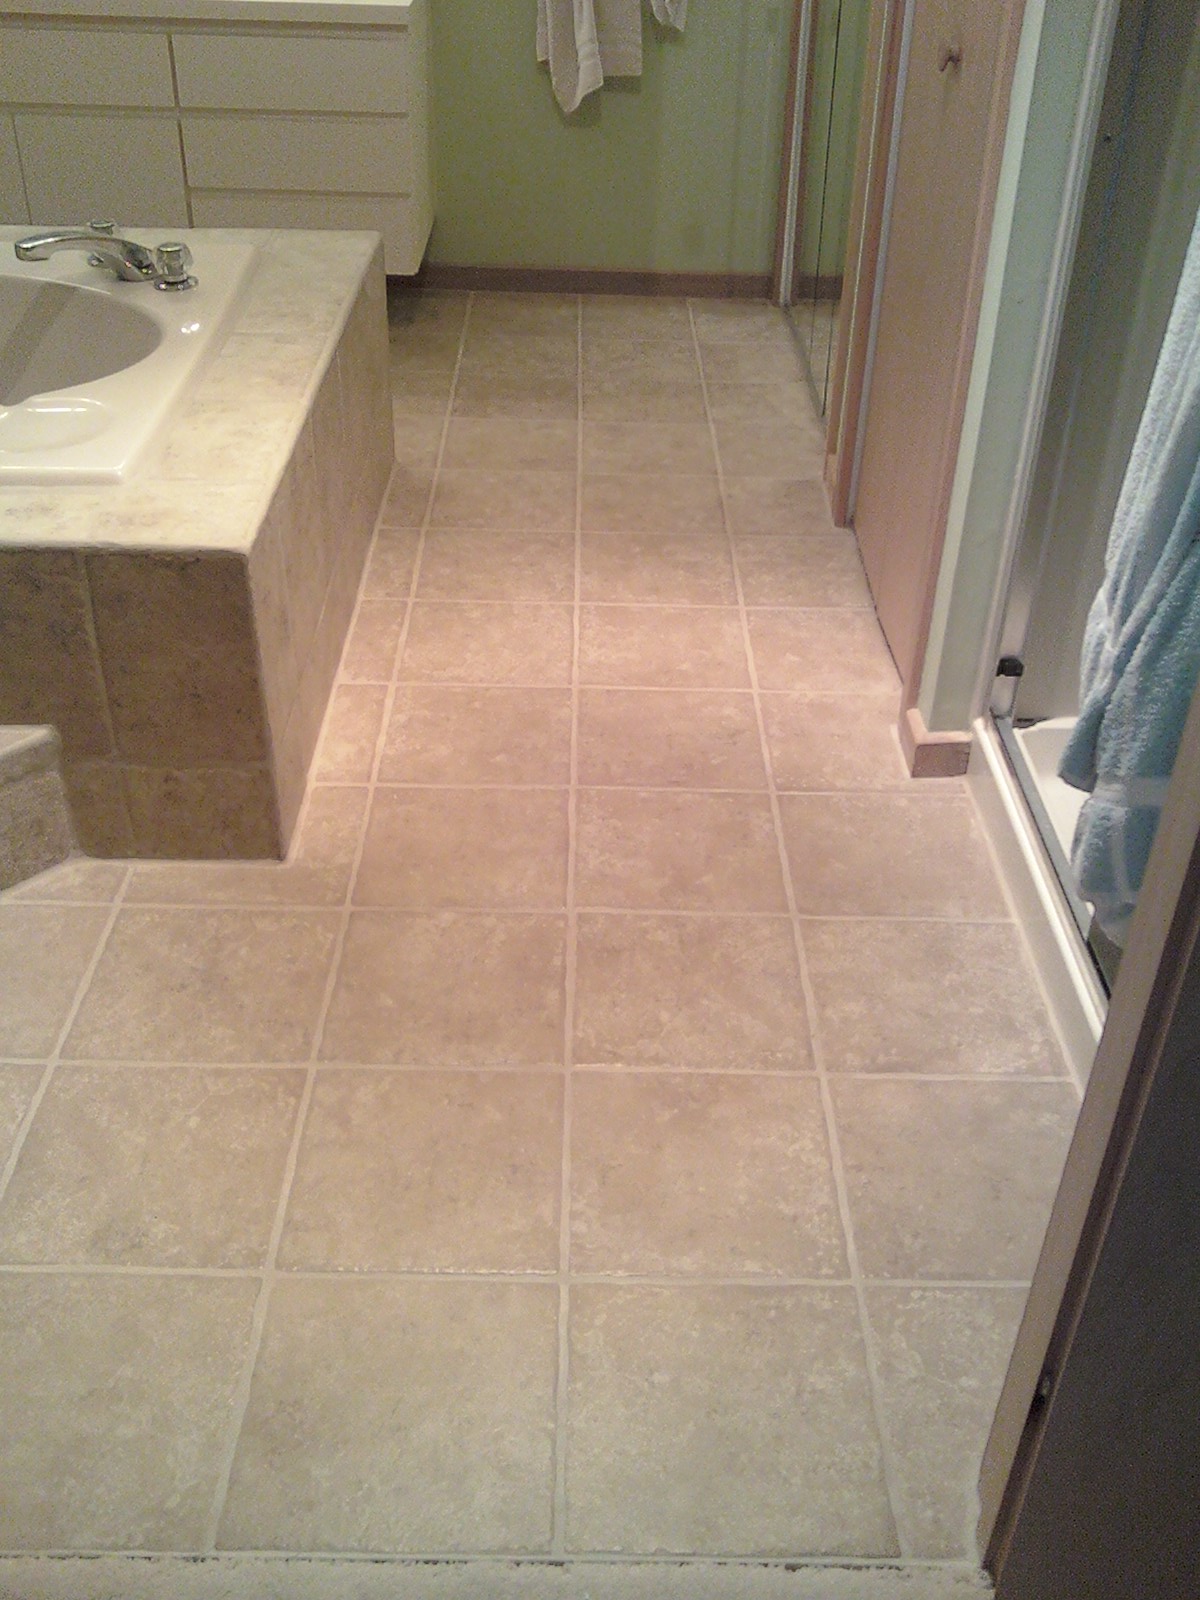
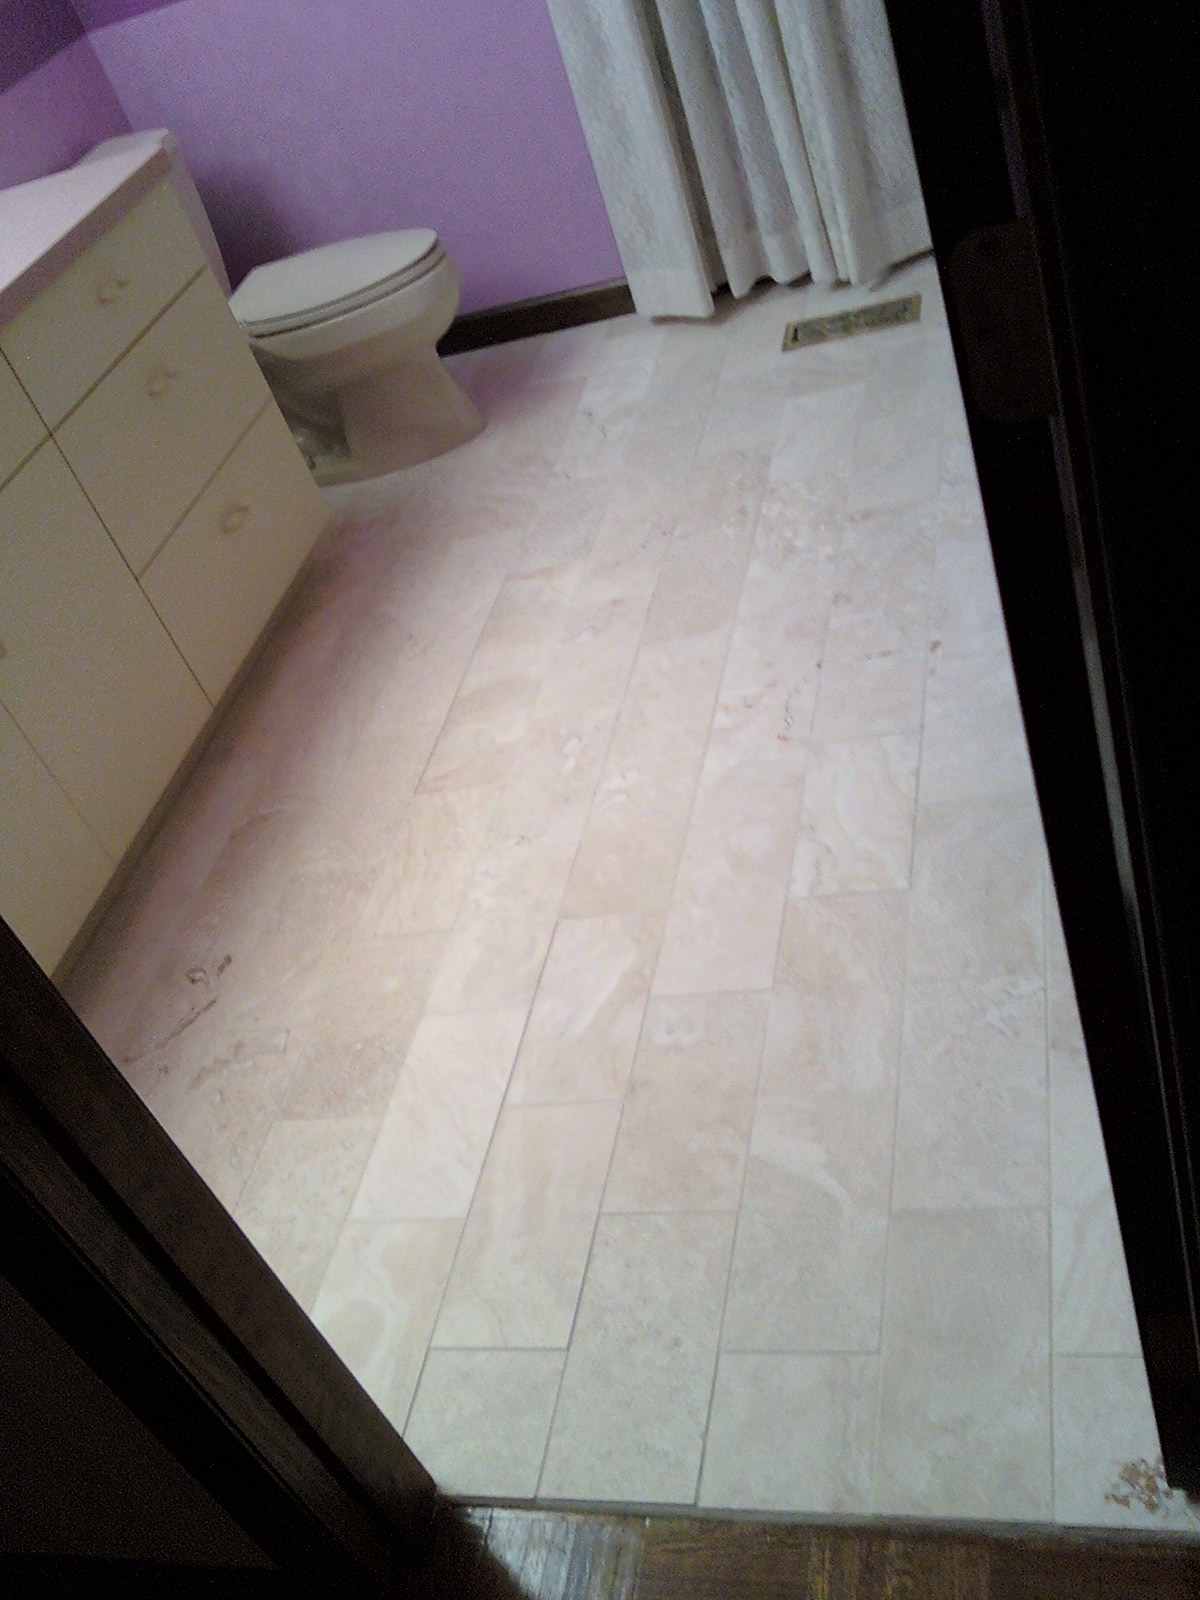
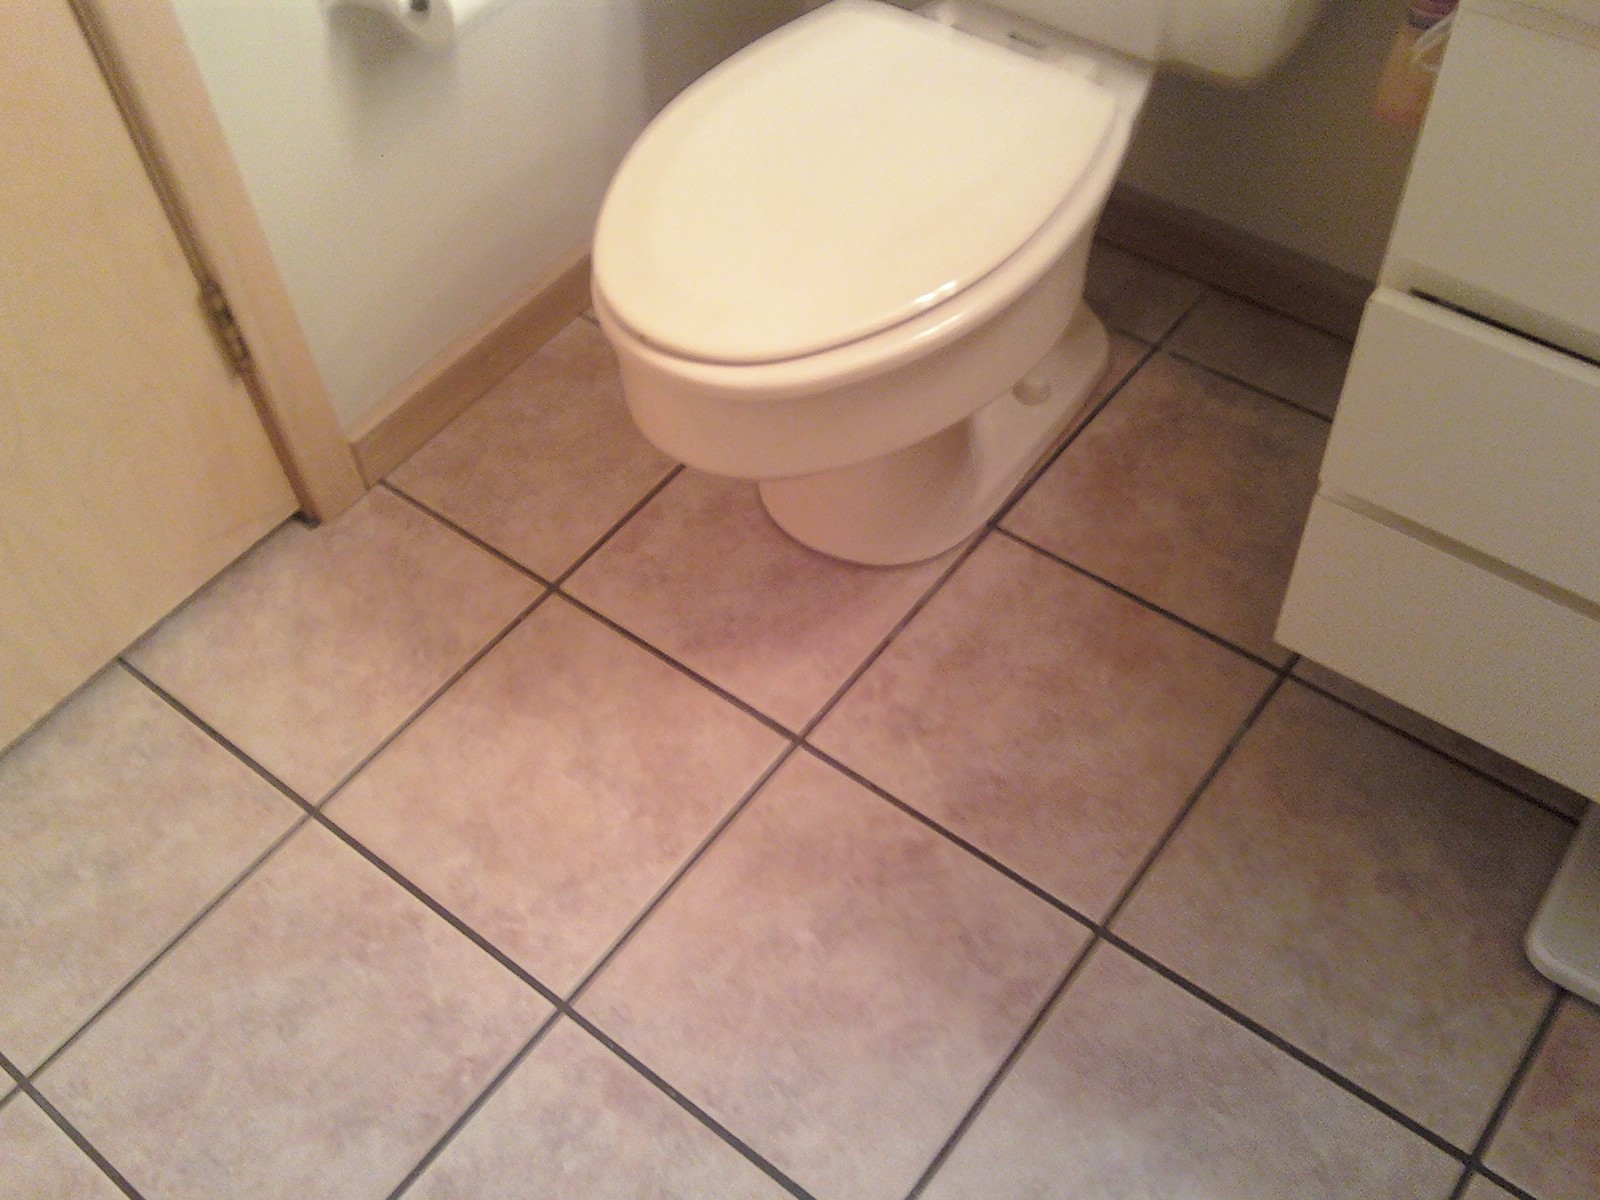
The final pictures show the completion of the installation of the floor electric heat and tile installation. Ivory grout was used between the tiles at a width of 1/8 inch. The floor trim was re-installed following rehabilitation with sandpaper and stain. The doors were installed back to the original specifications. Final cleaning was performed and considered to be acceptable by Helen LaBelle. The remaining pictures are labeled ninety-four through one-hundred-three.
|
|
| Upstairs Bathroom, 5137
Pebble Brook Drive
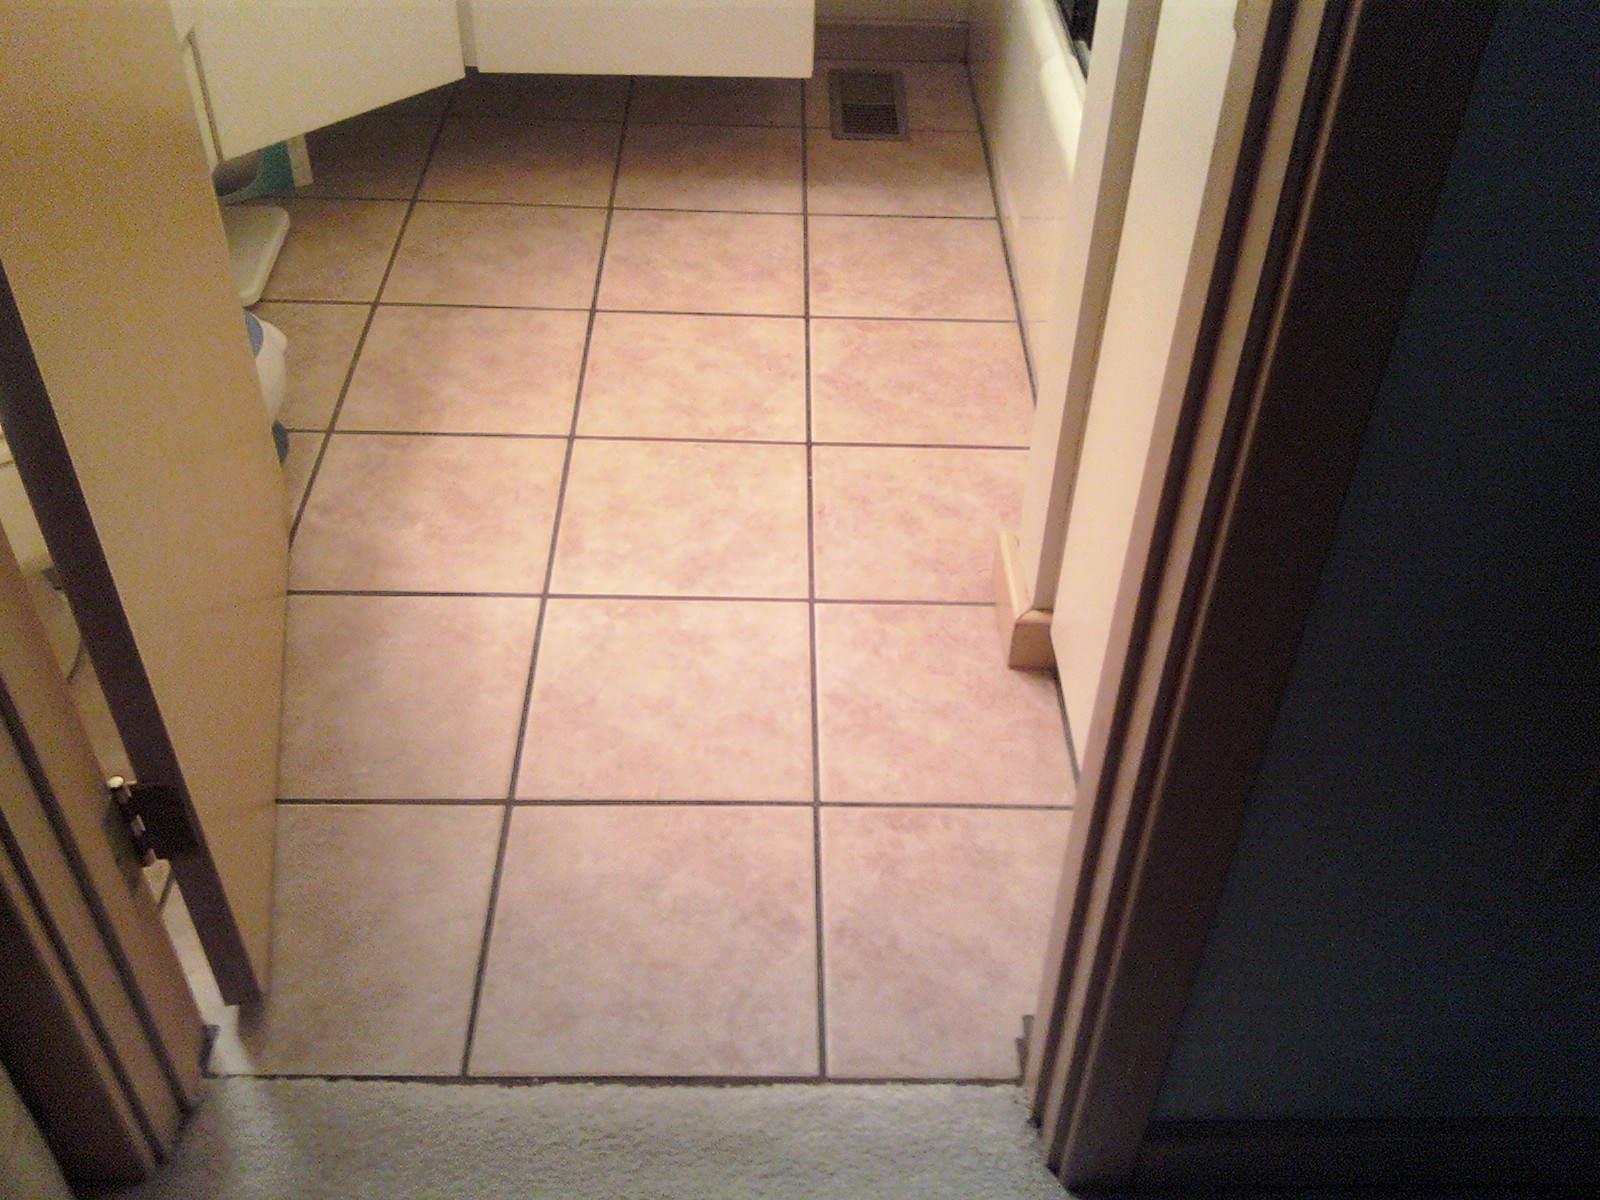
Installation of tile |
|
| Business Half Bathroom, Dentist
Office
Installation of tile |

|
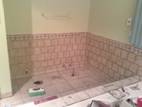
| Habitat Rental Full Bathroom,
Dentist Office
Installation of Tile |
|
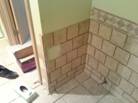
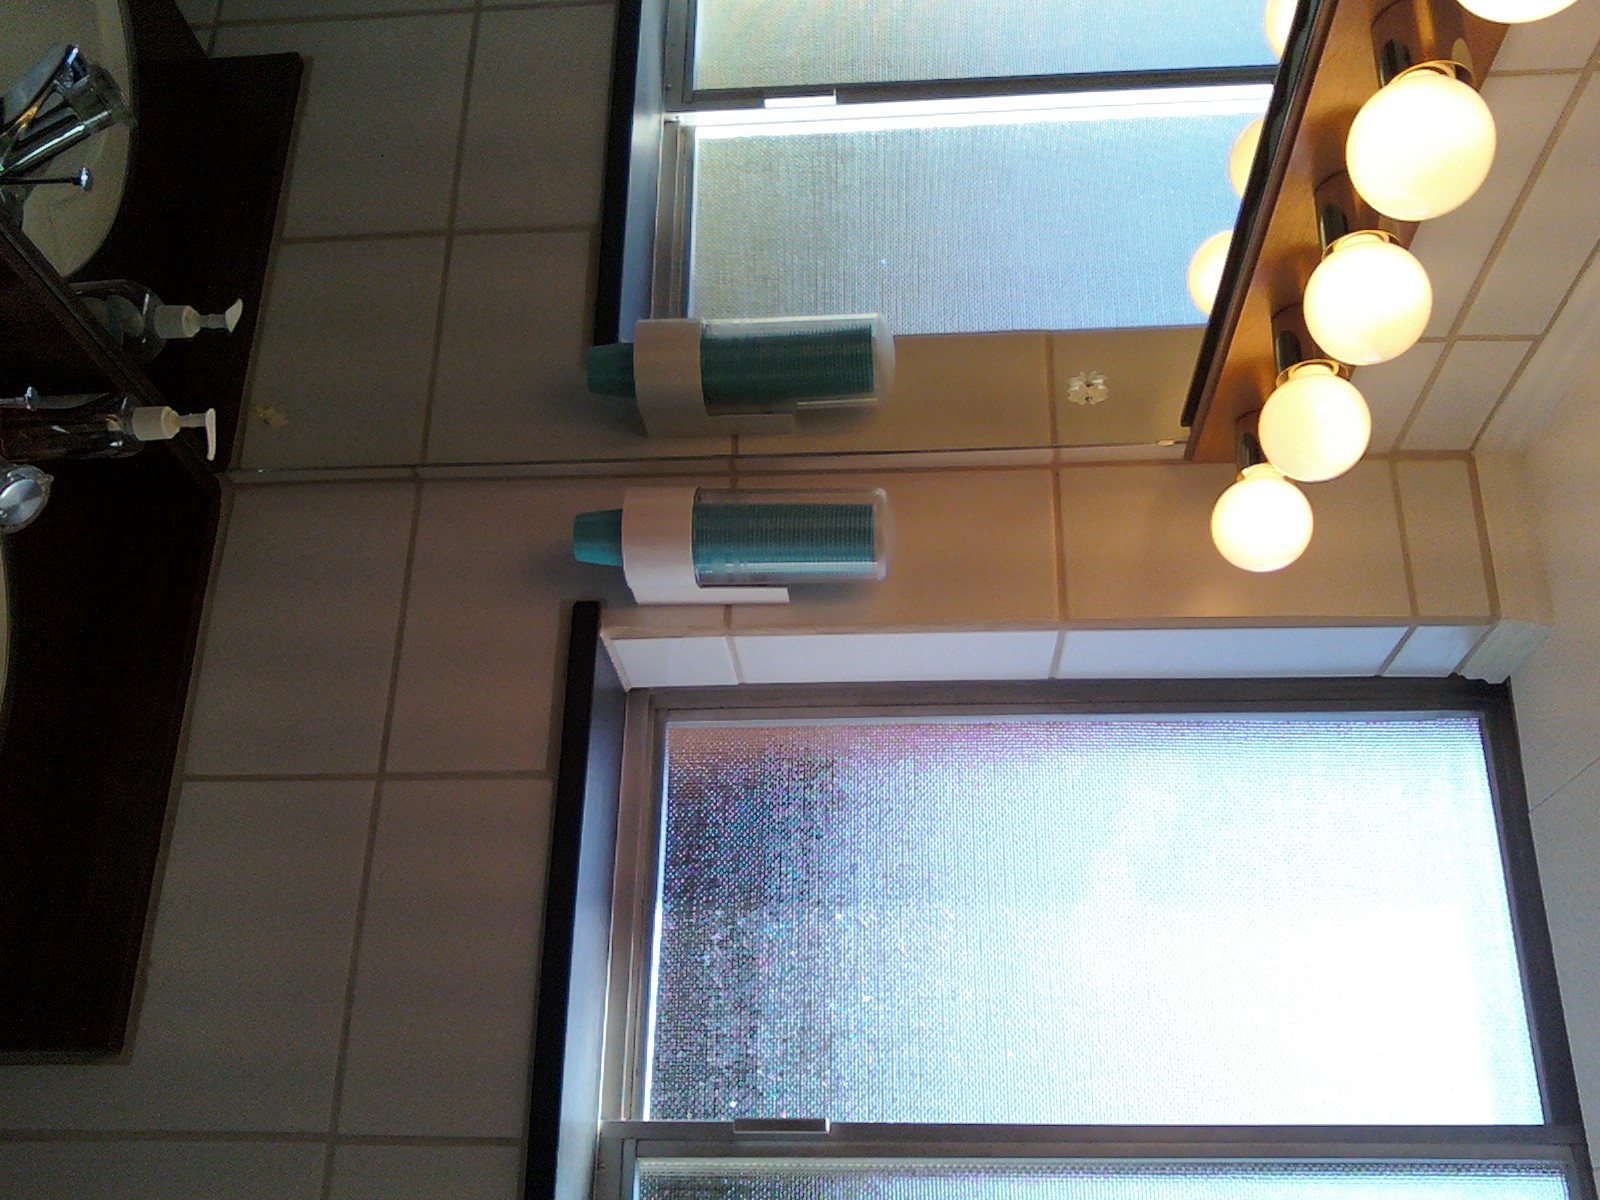
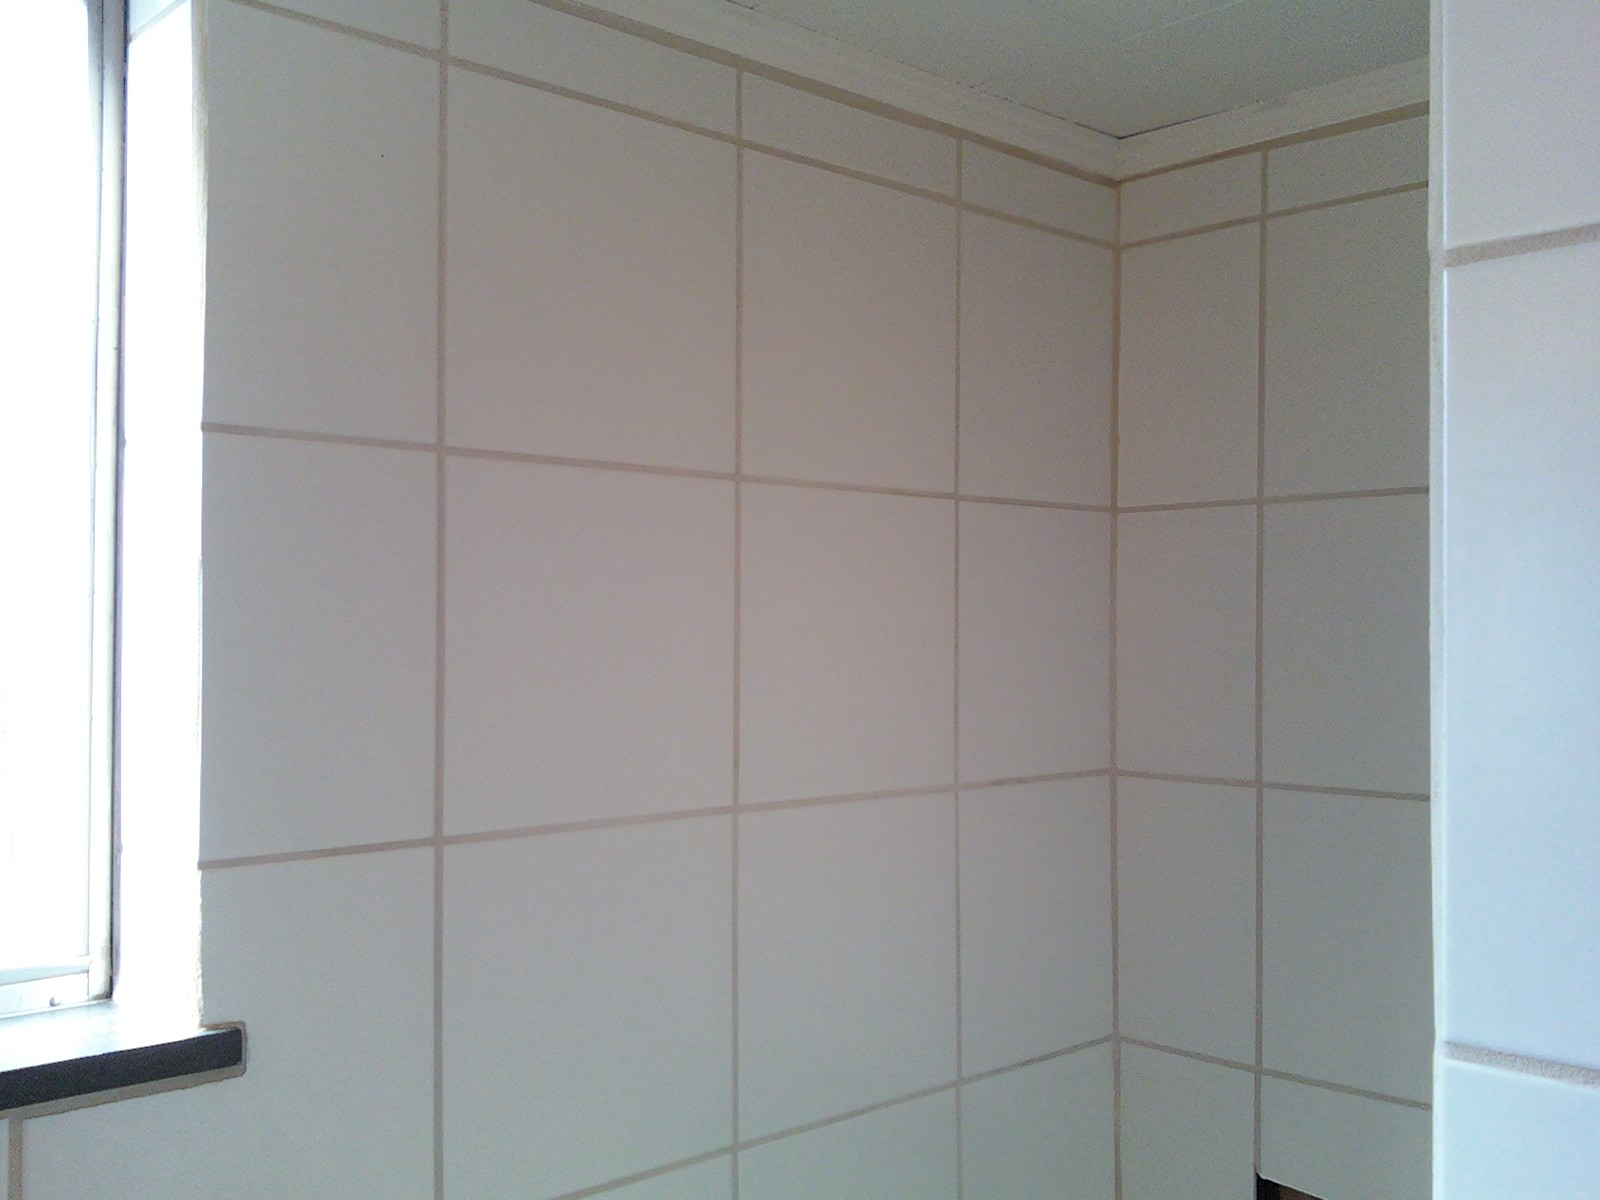
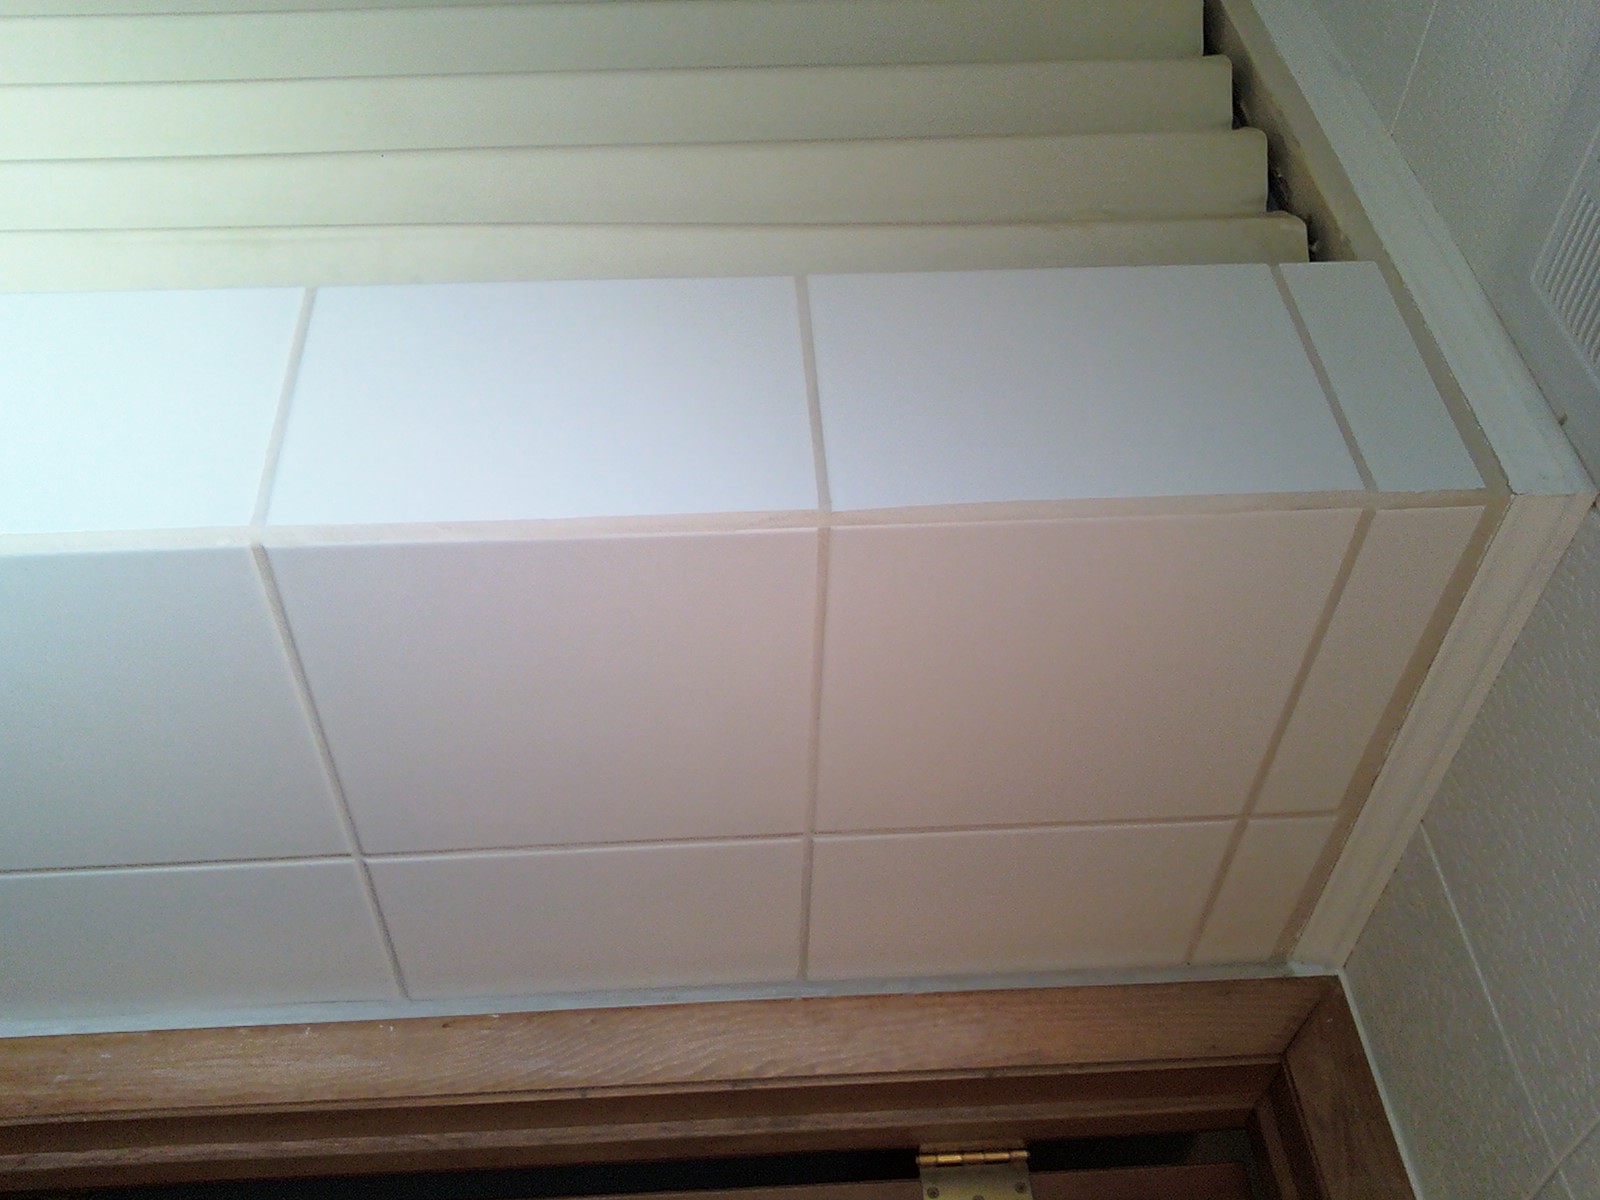
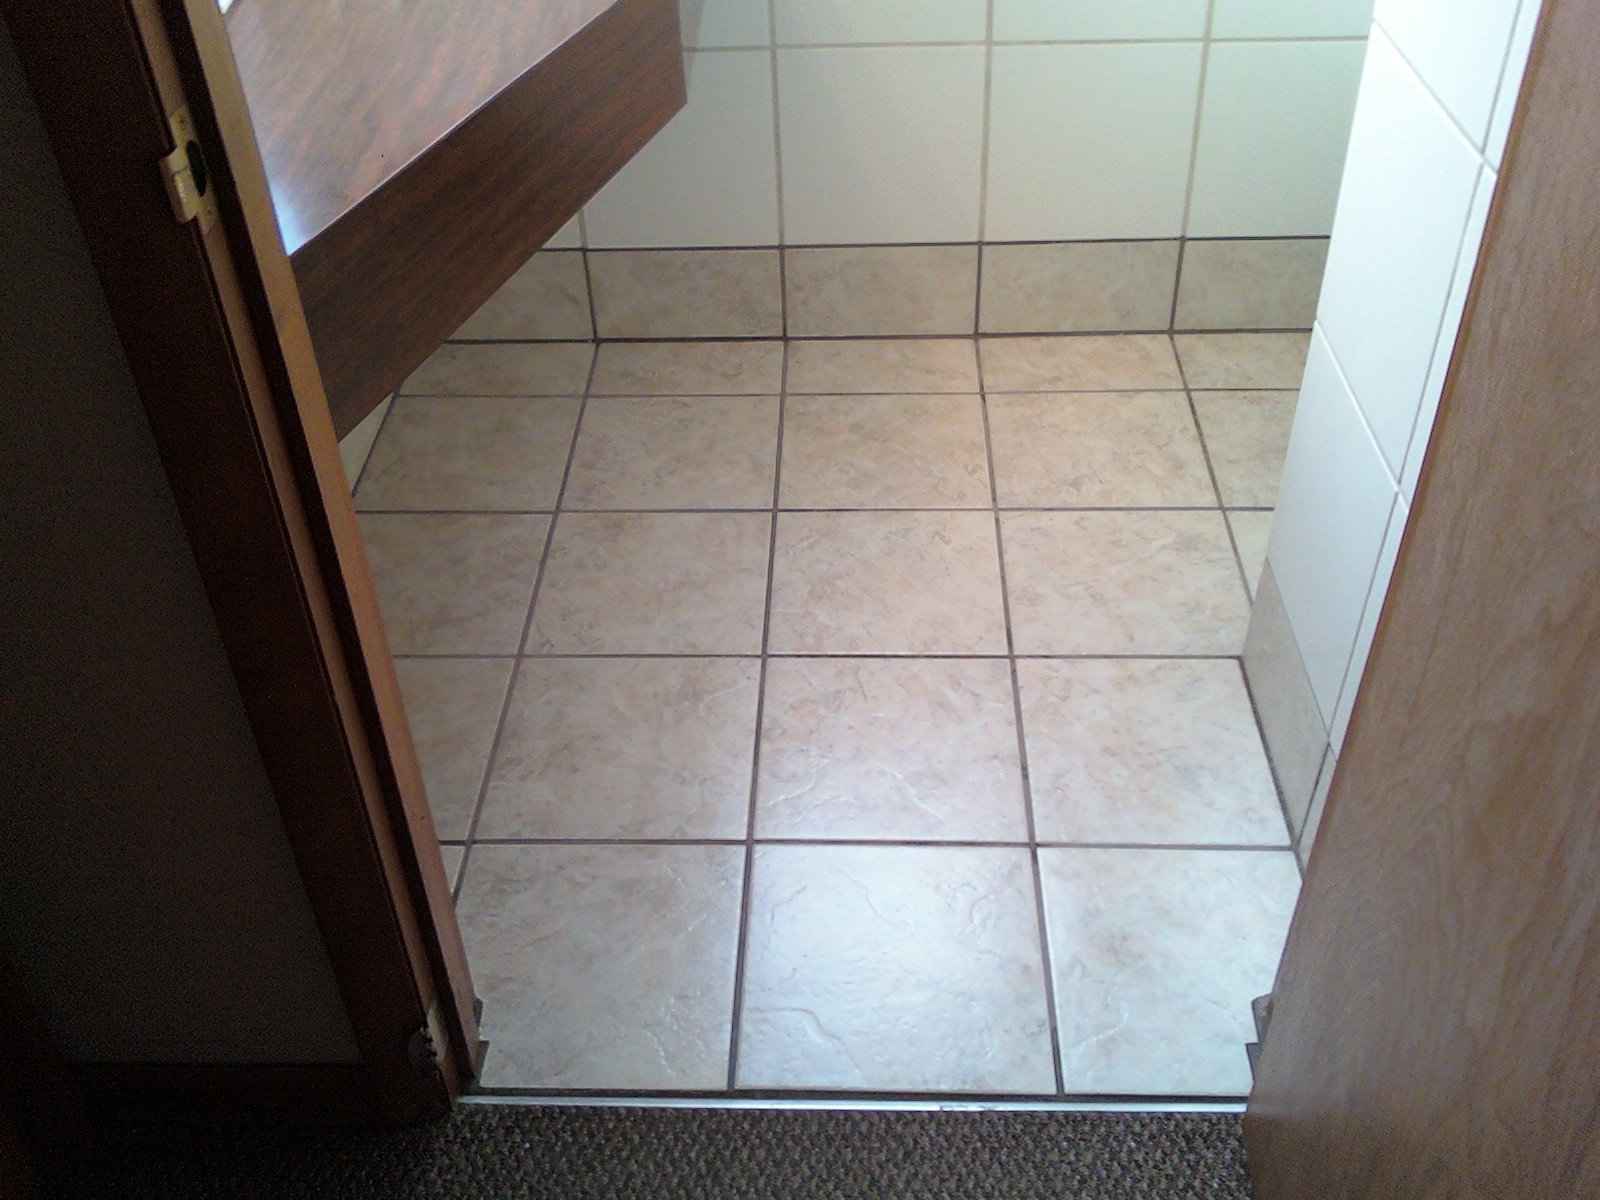
| Bathroom, Dentist Office
Installation of wall and floor tile |
|
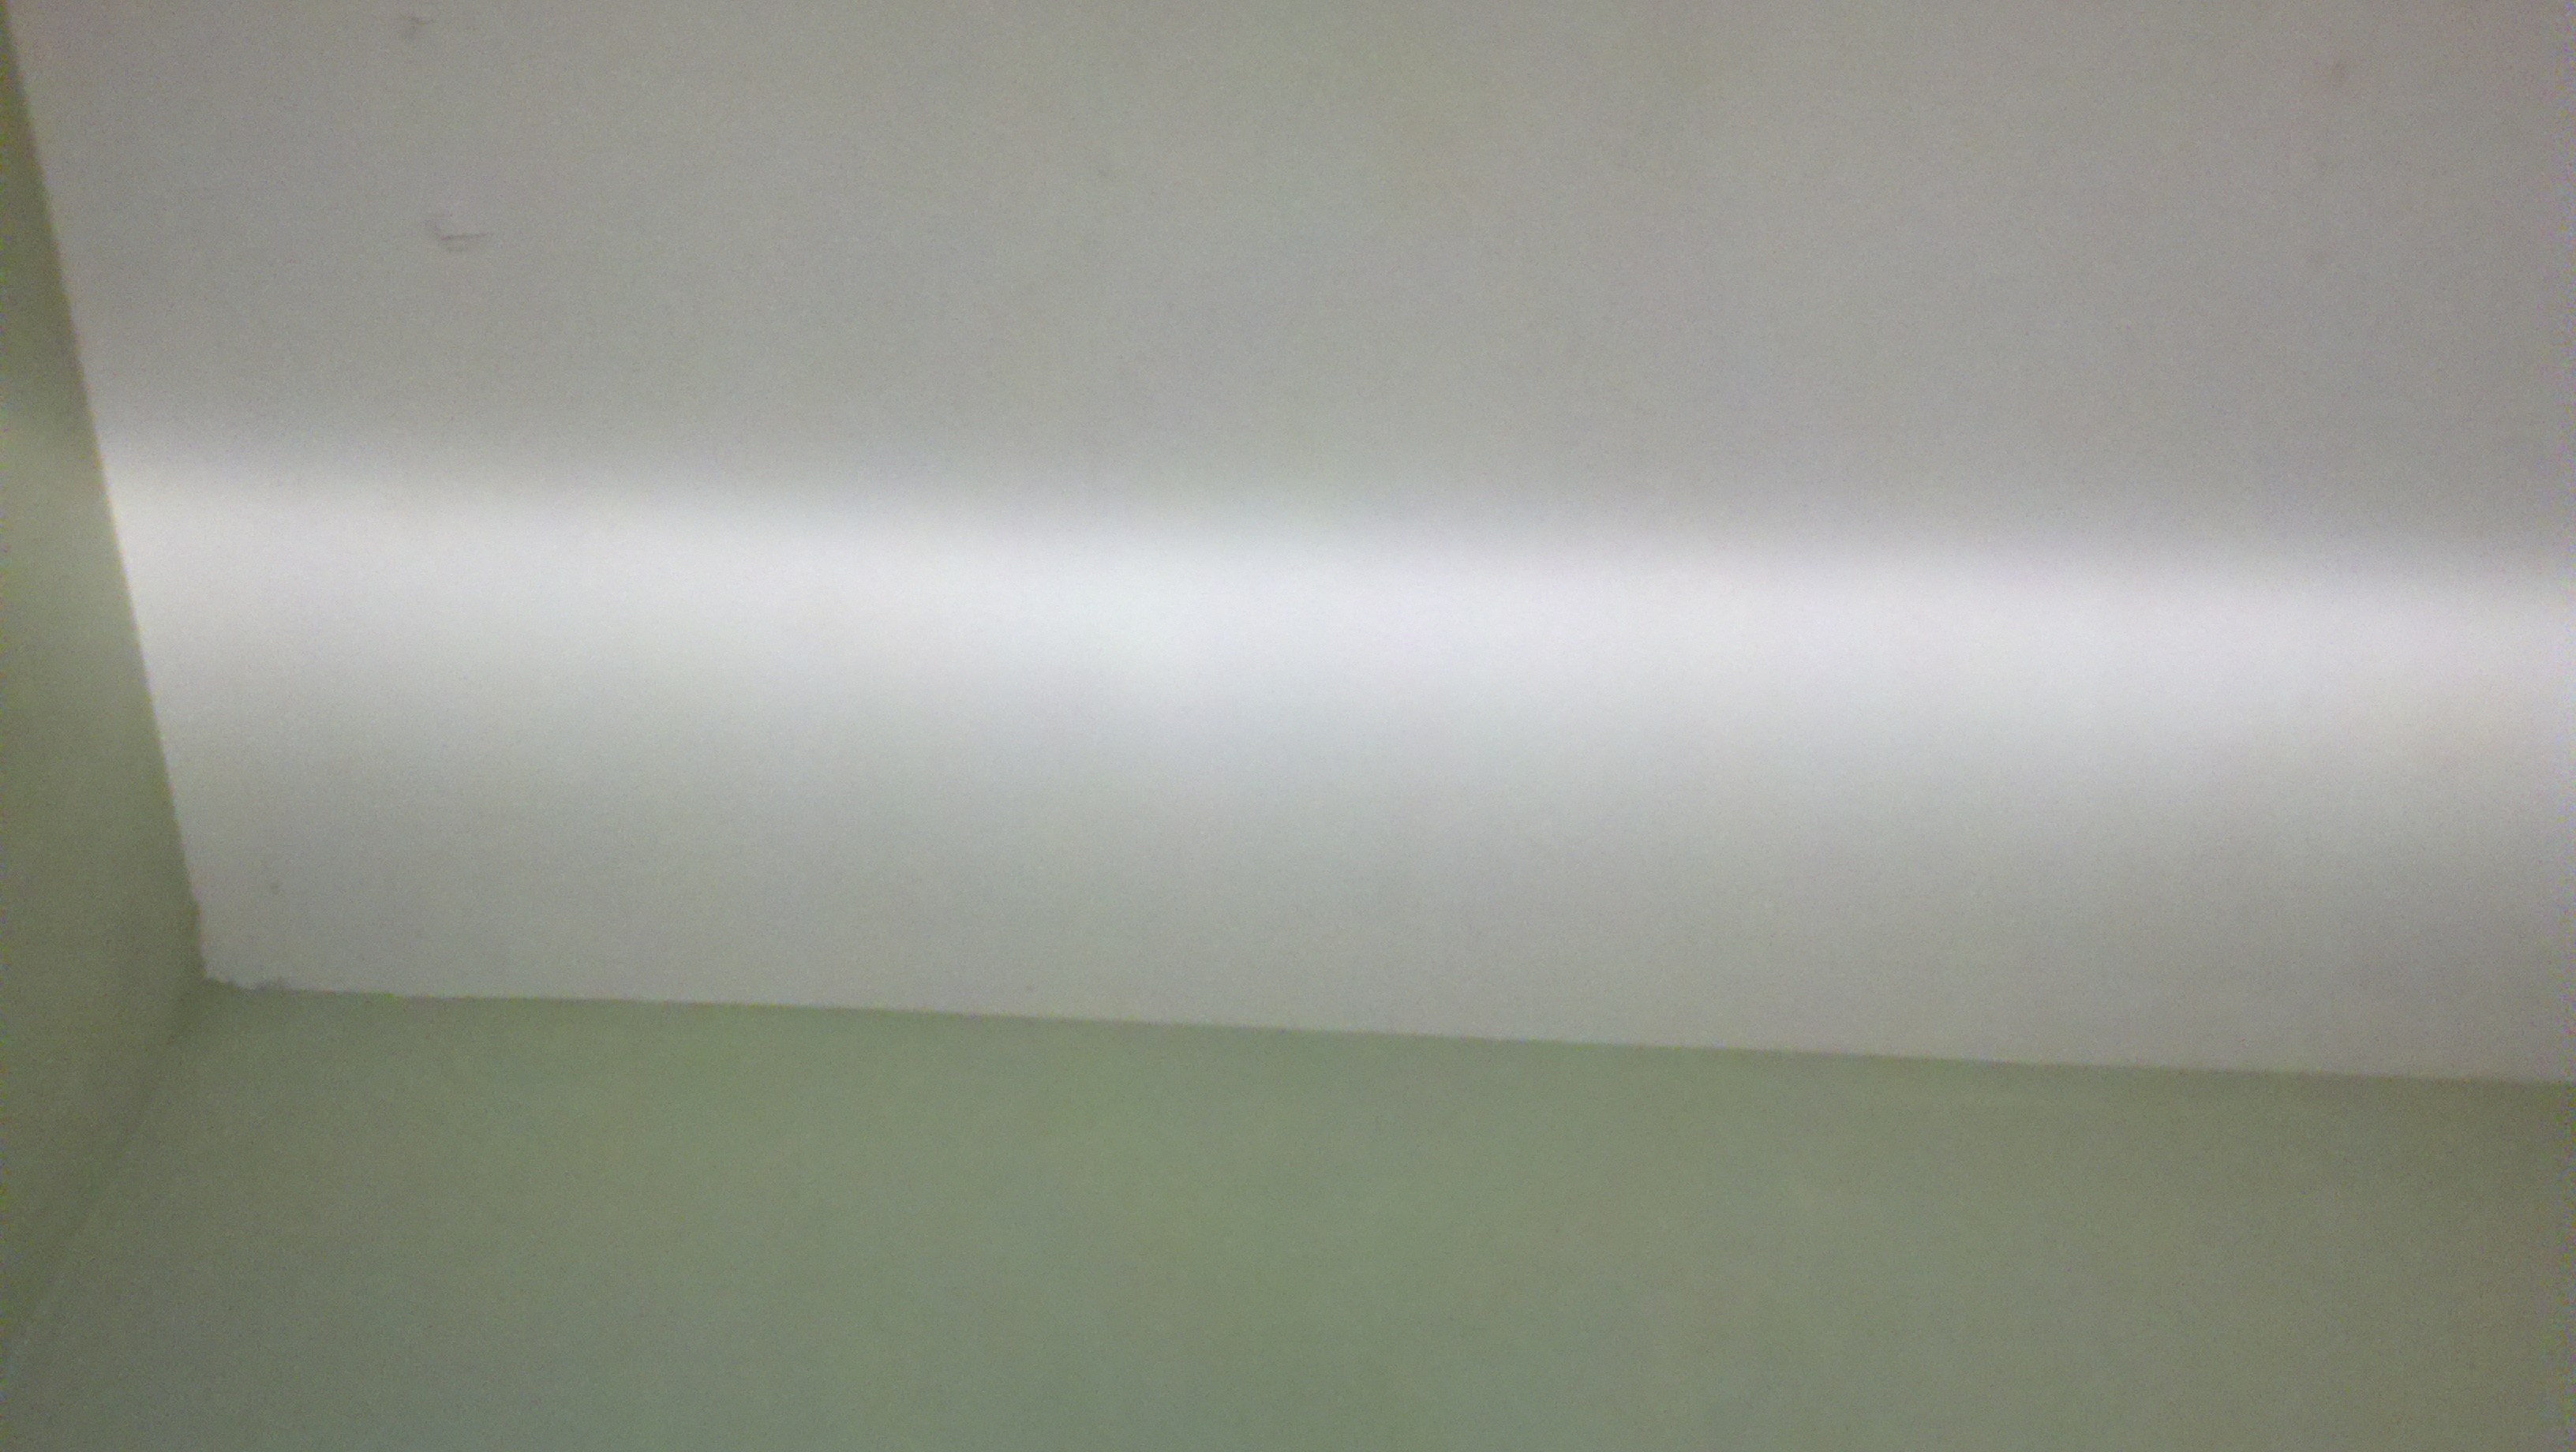
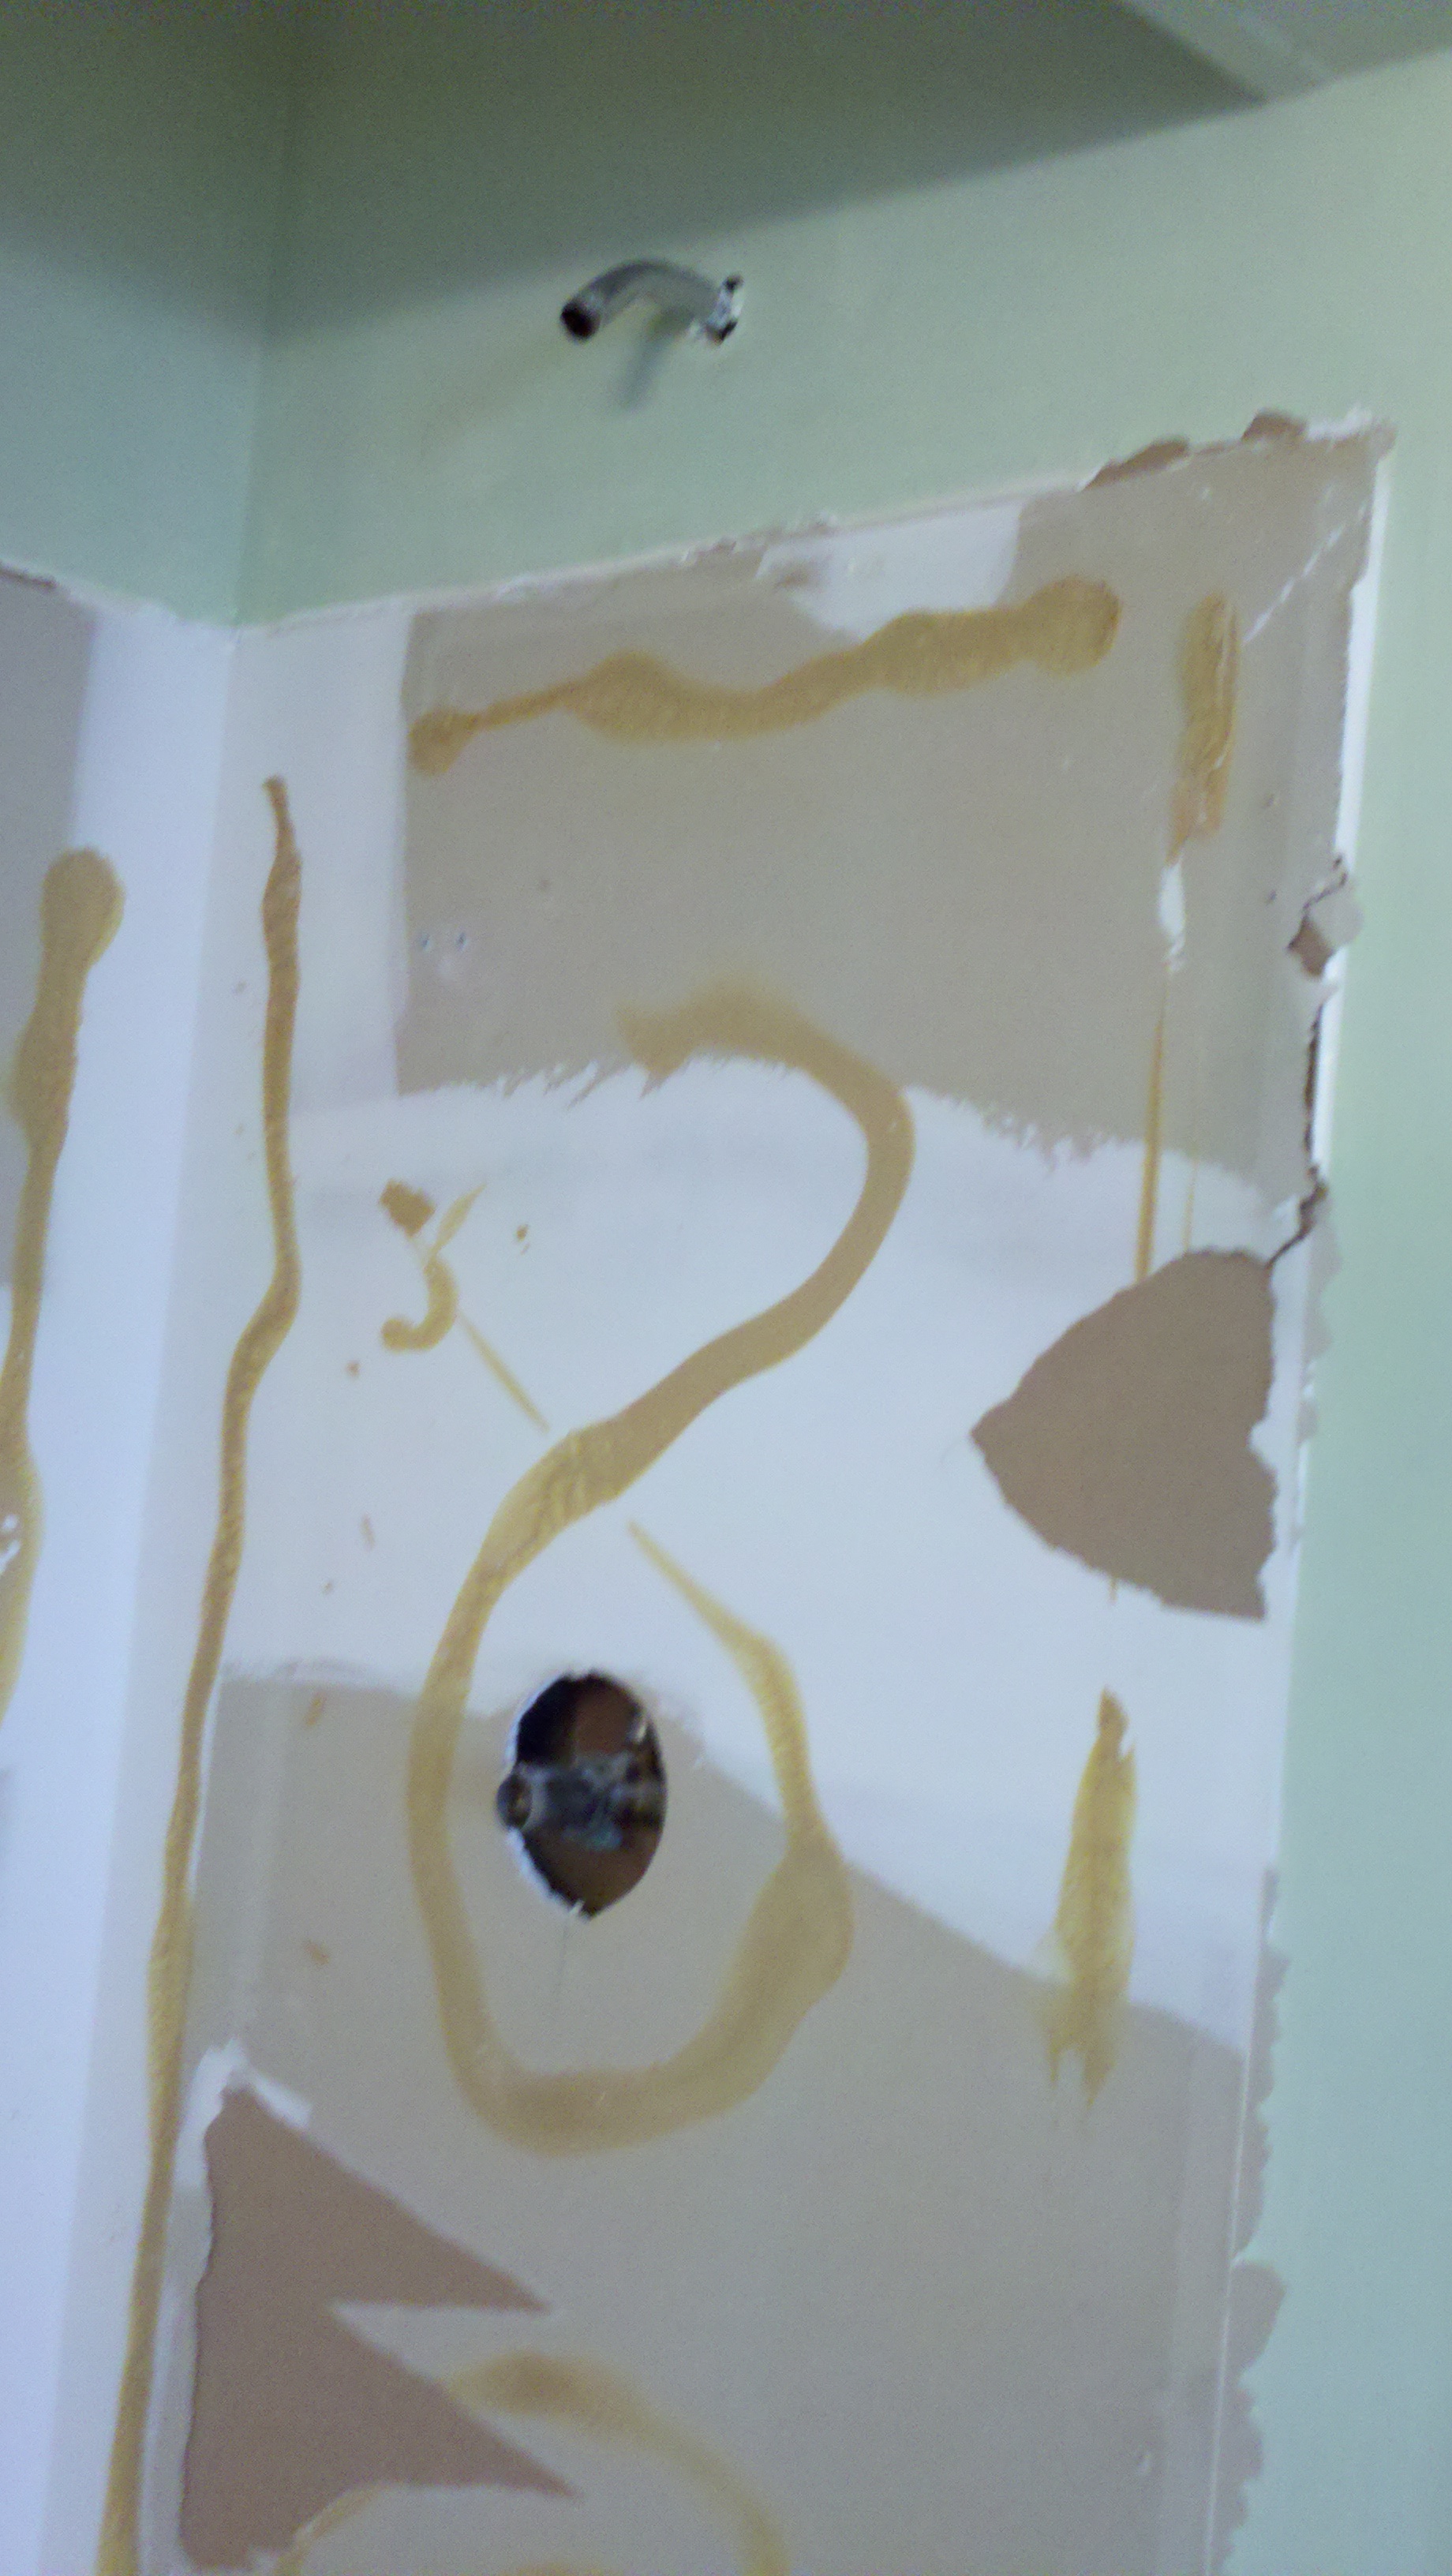
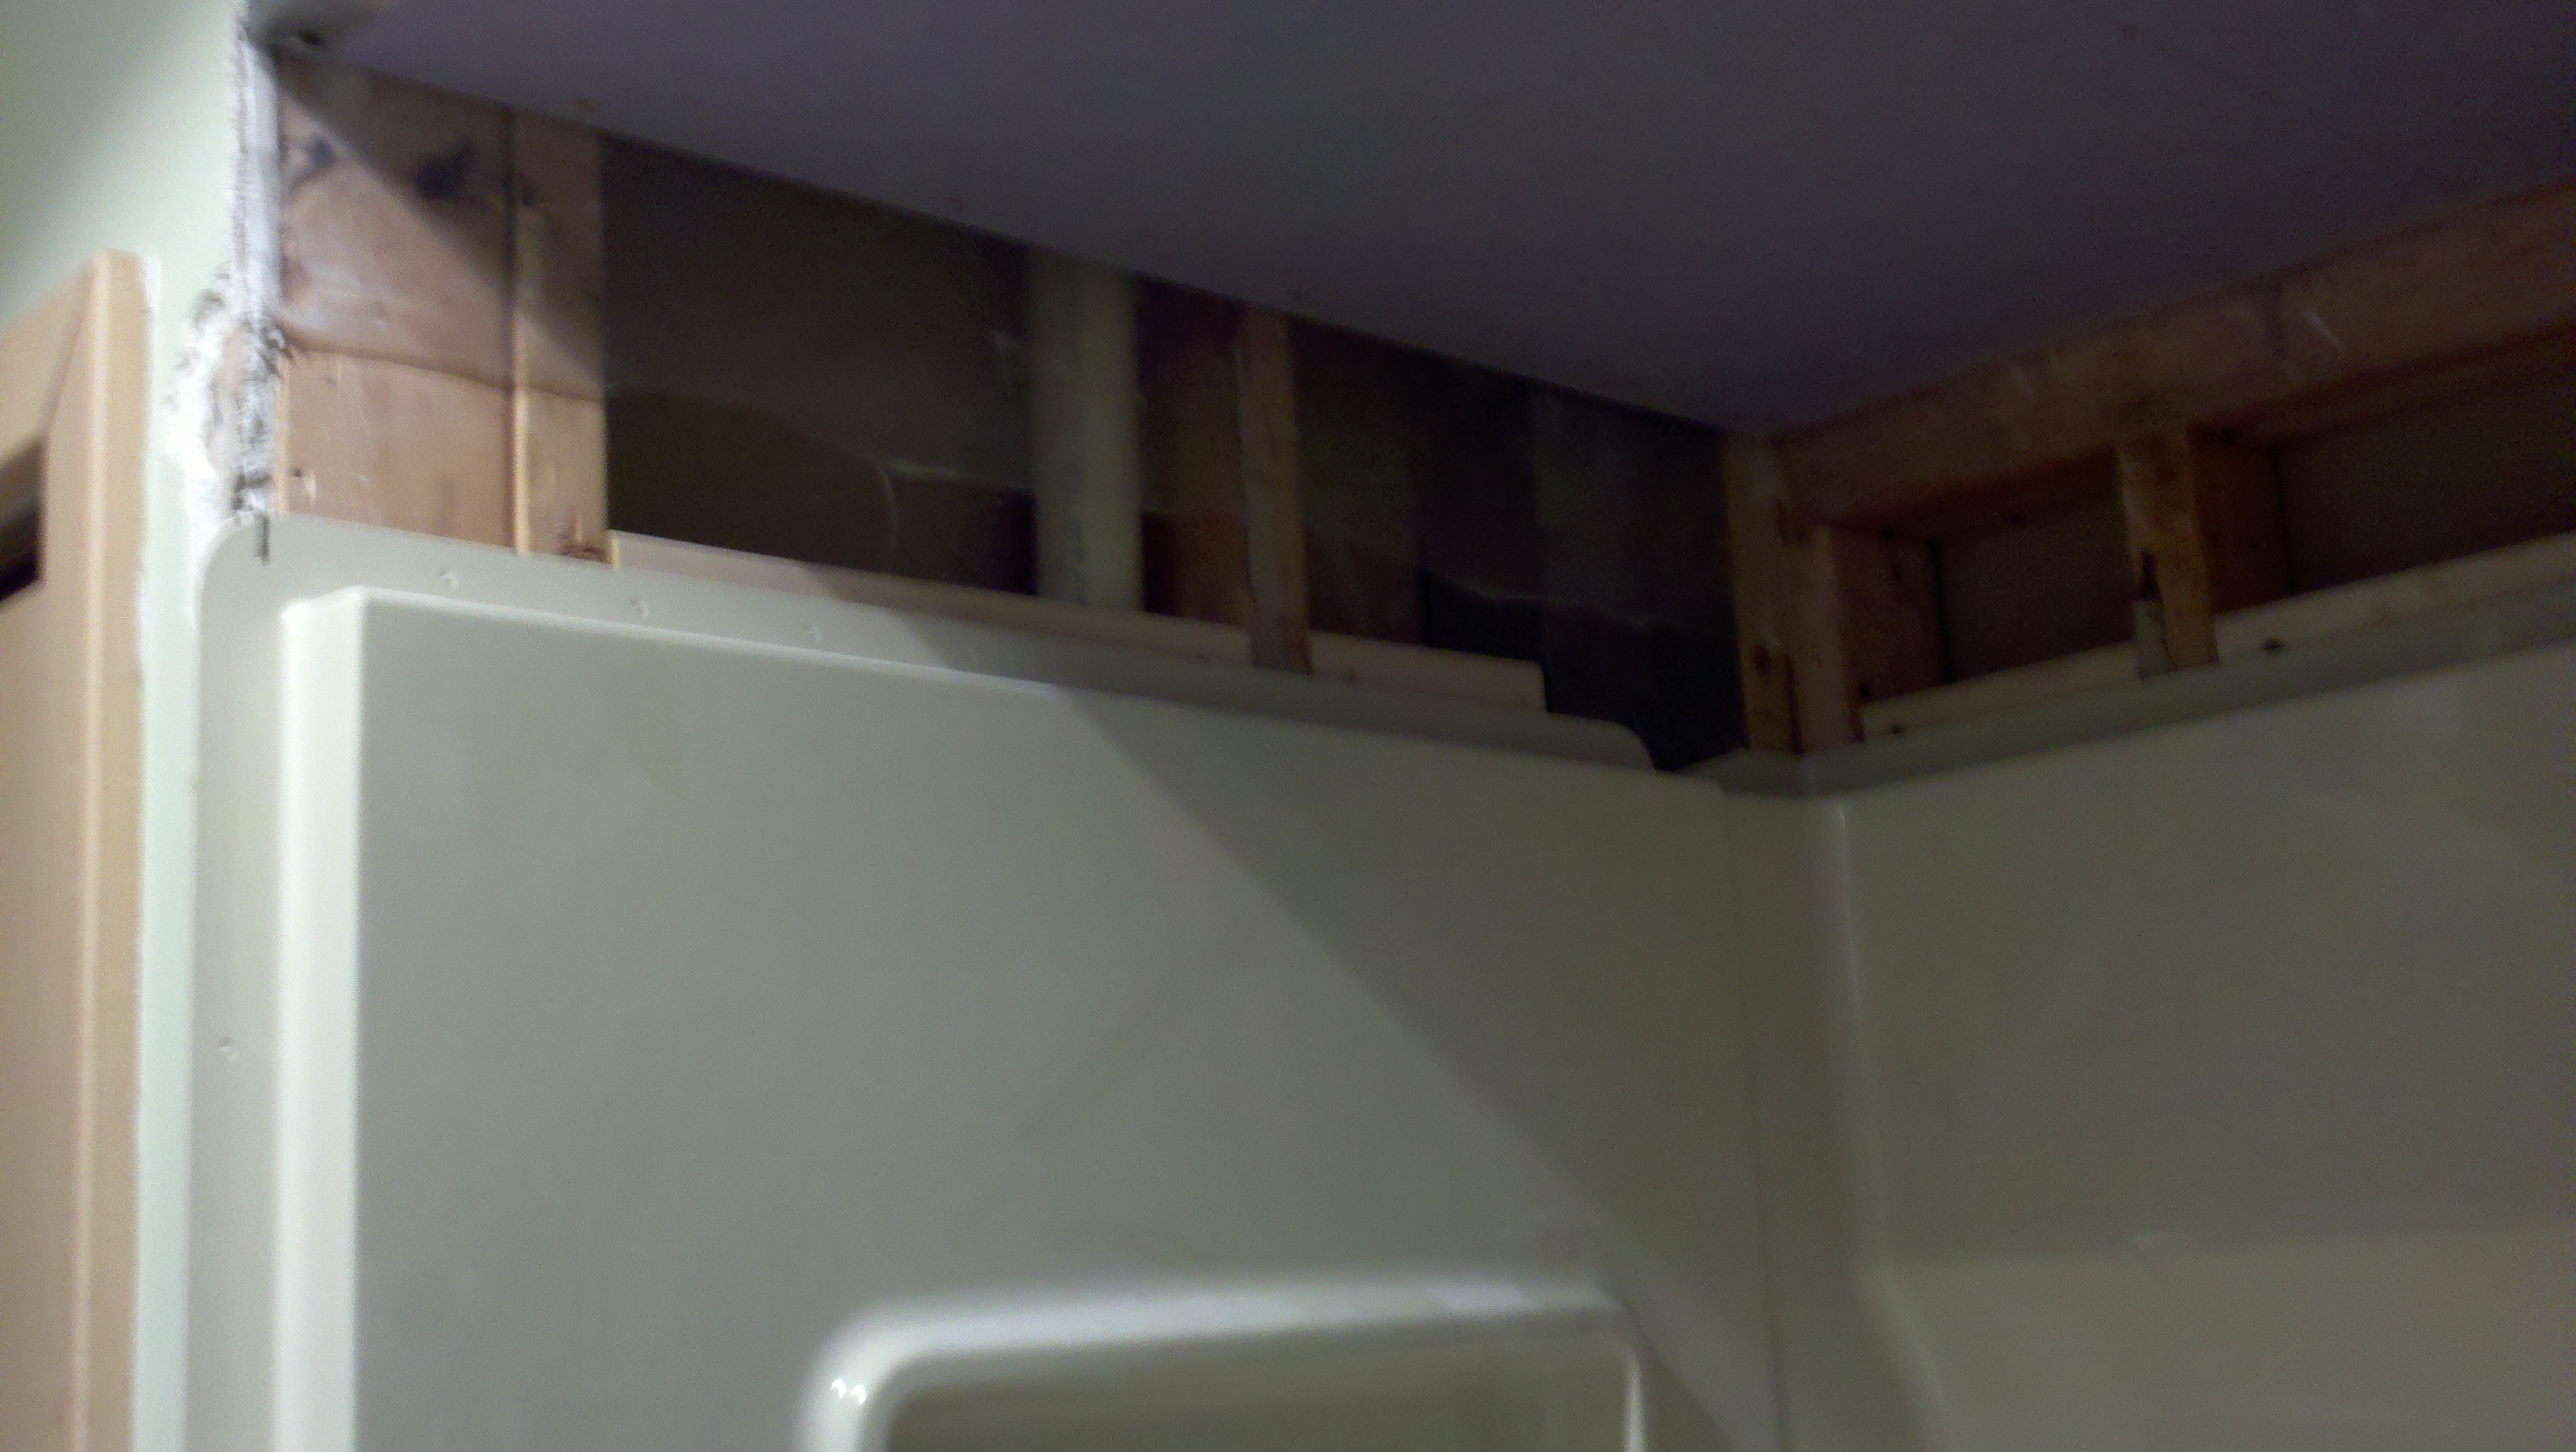
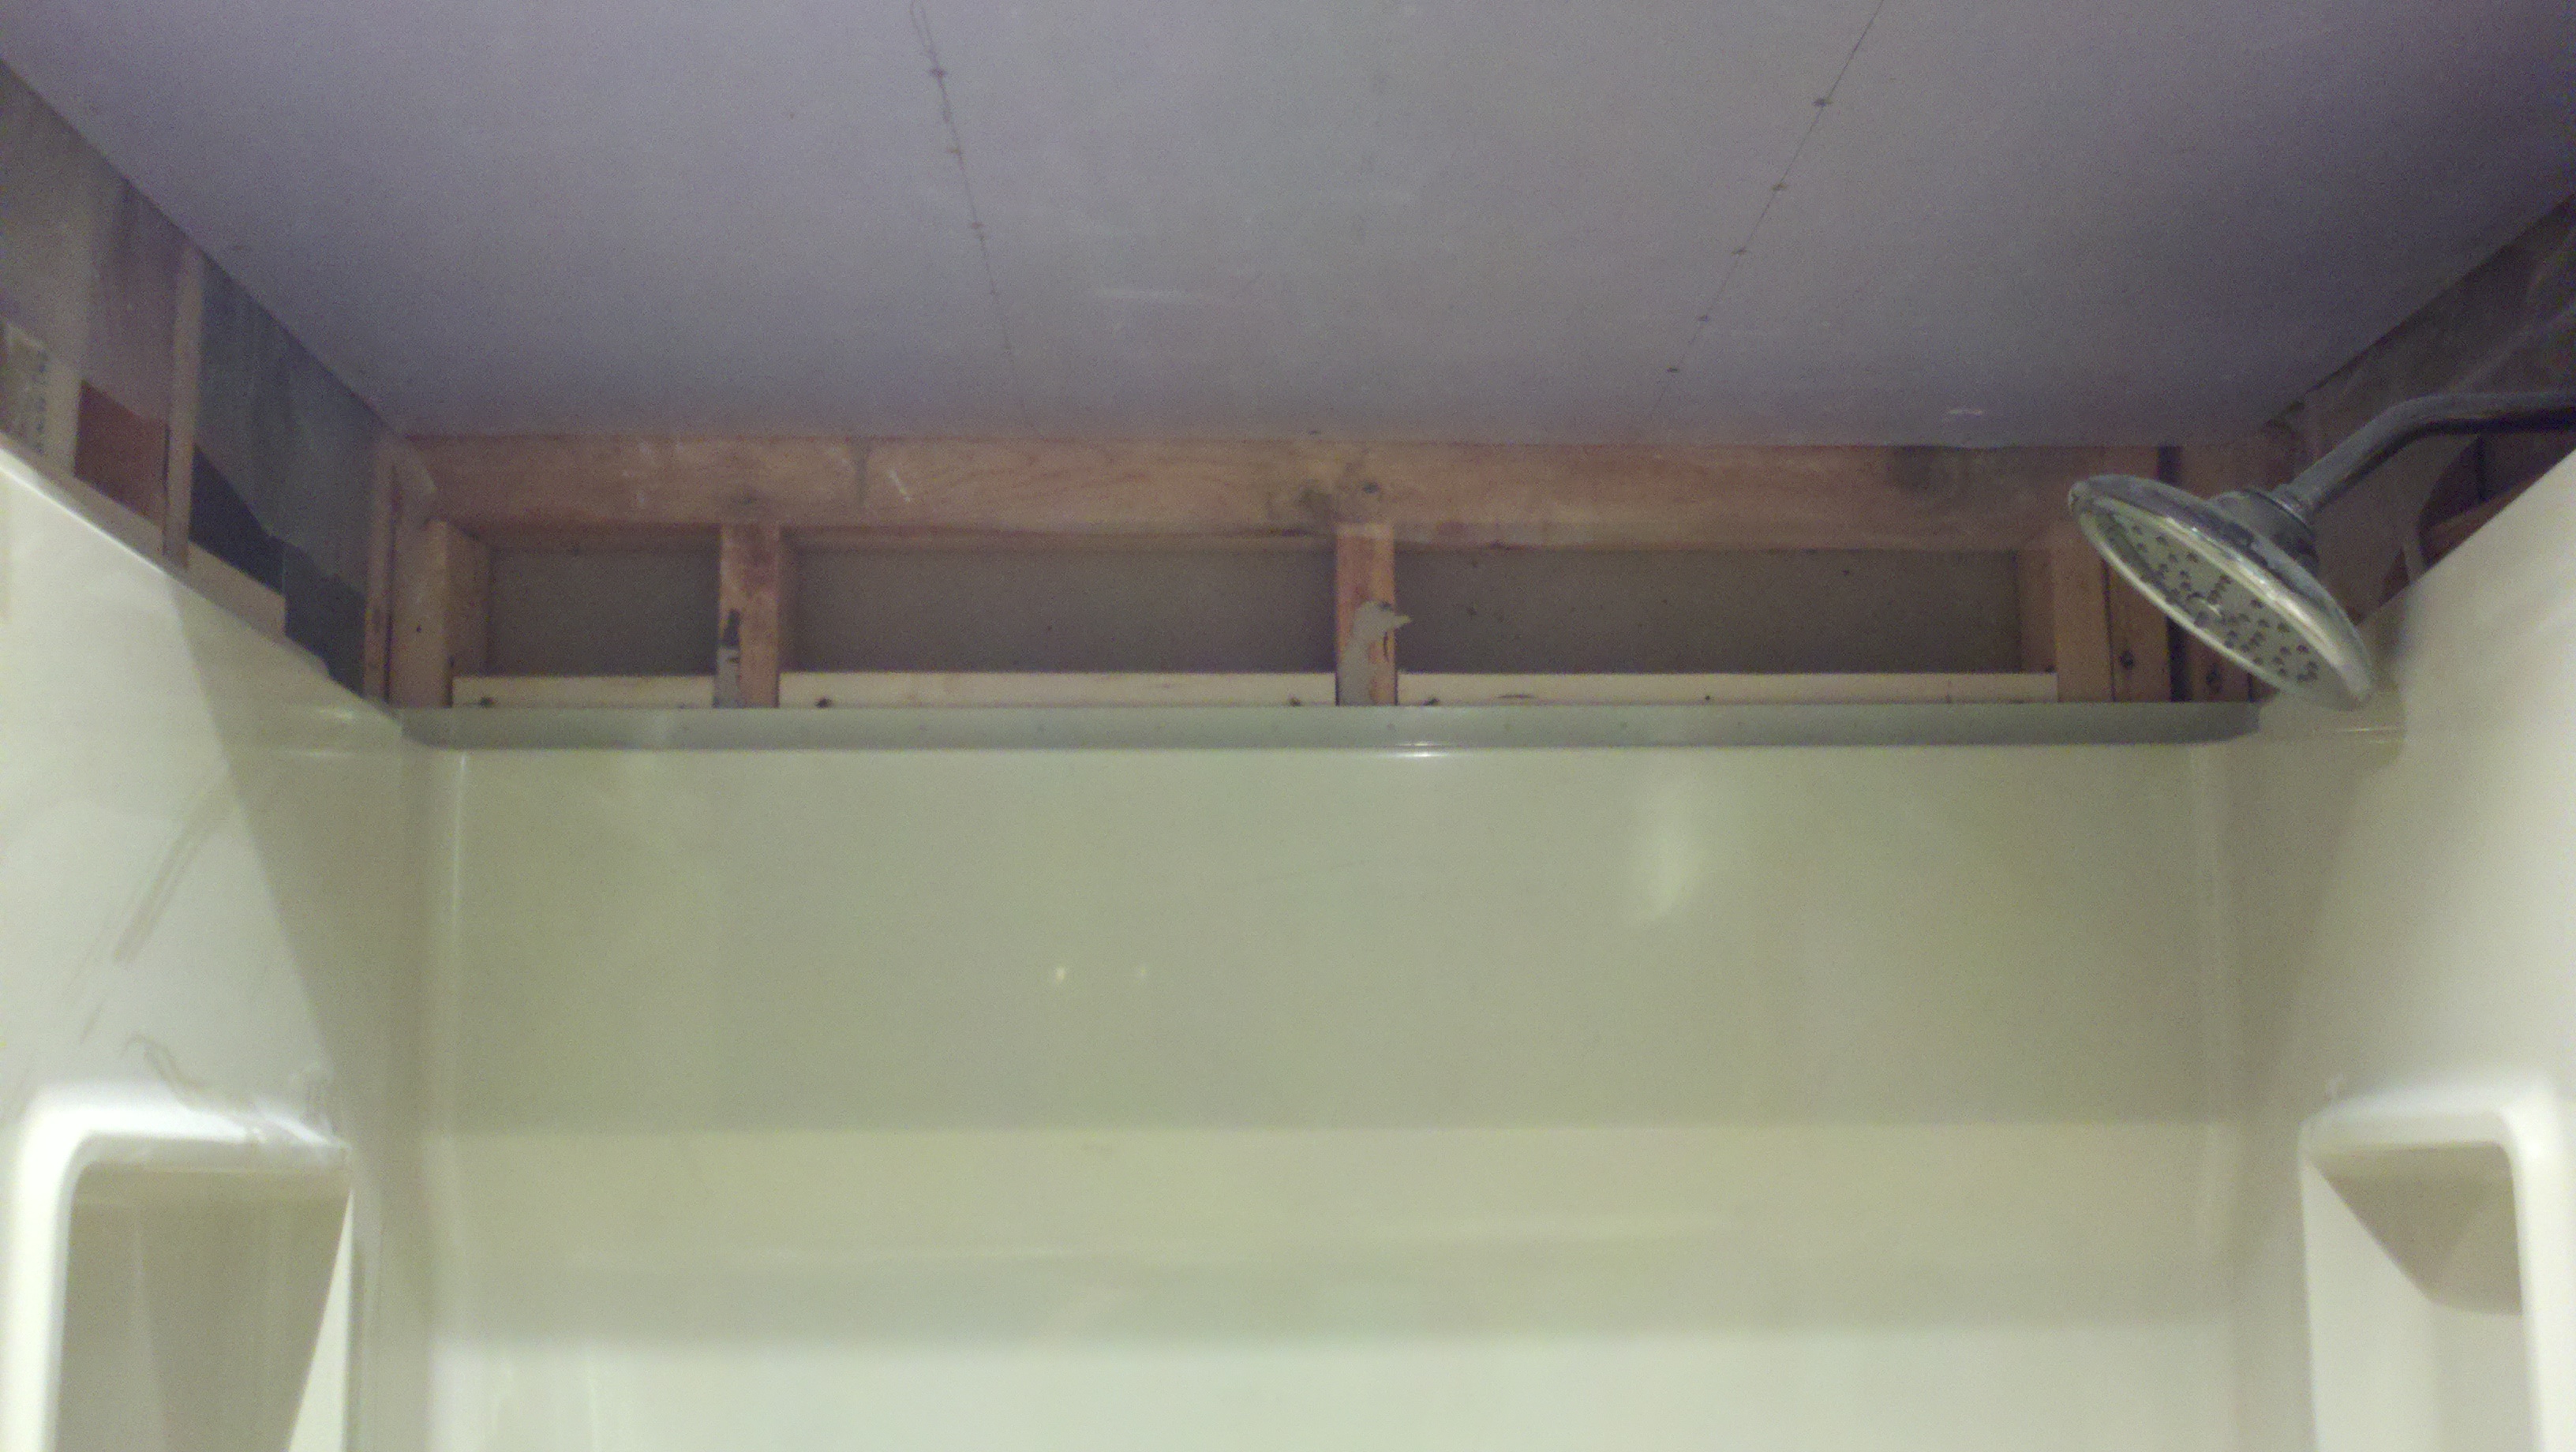
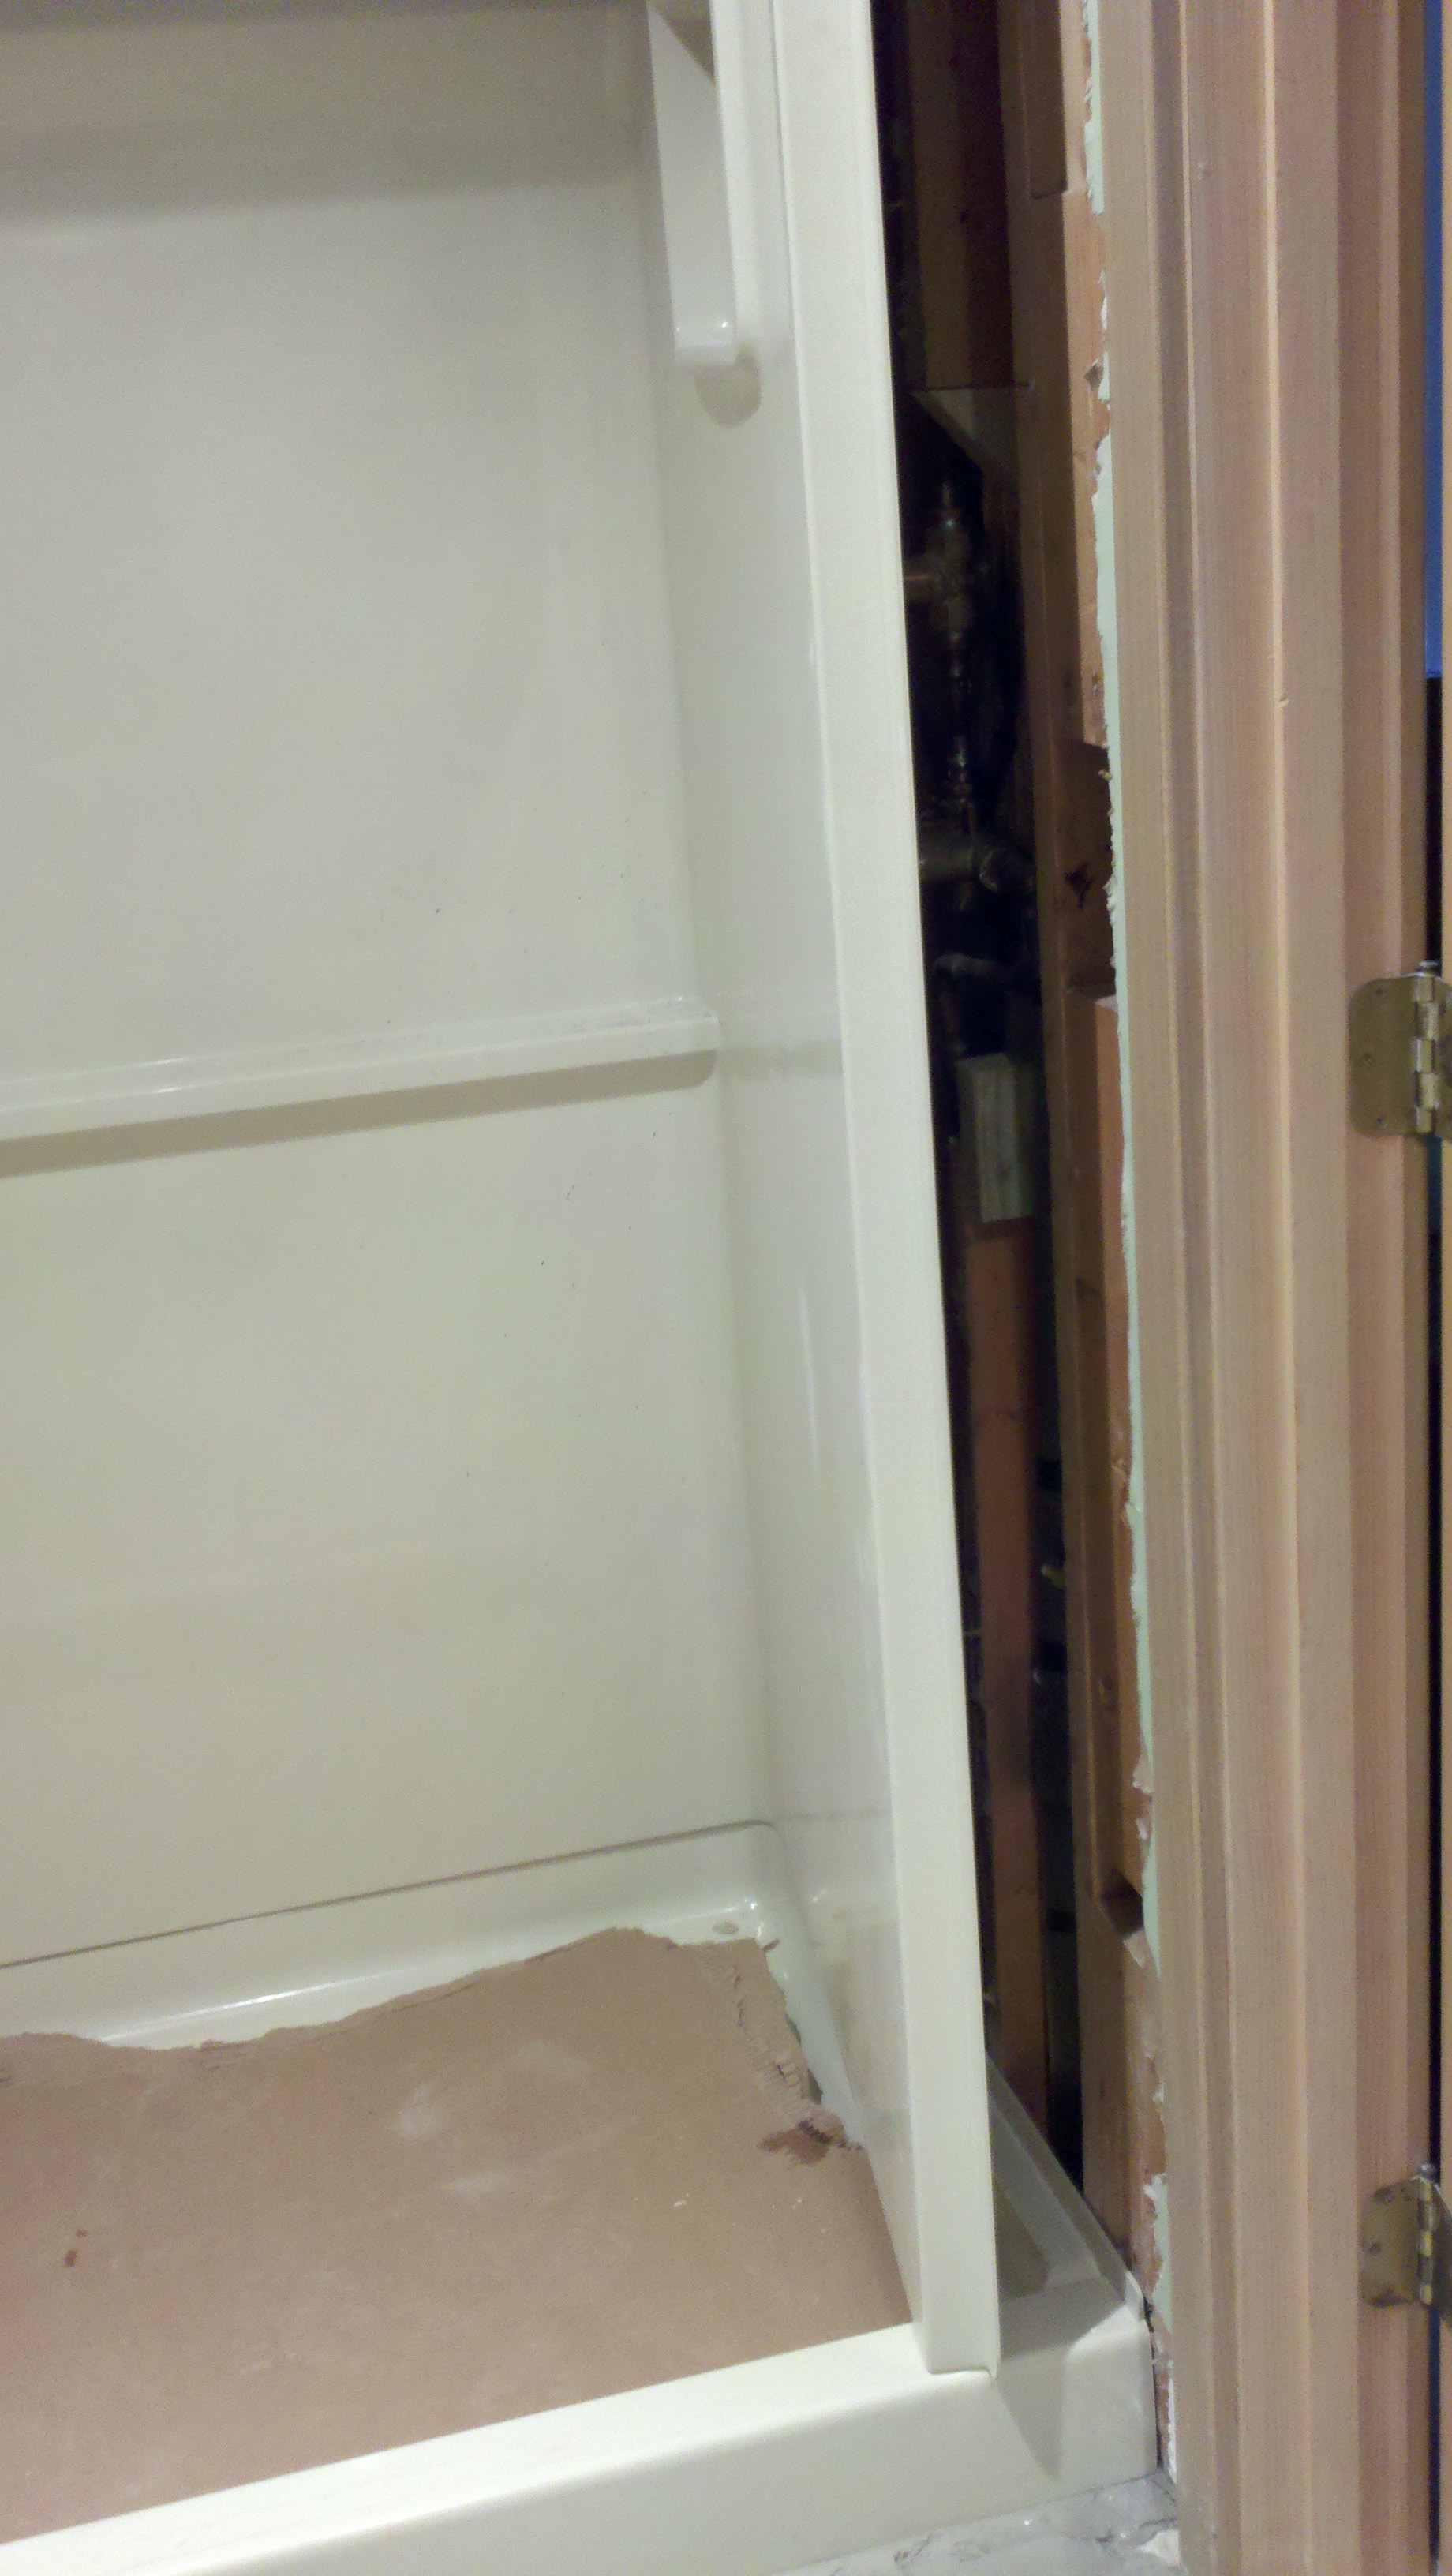
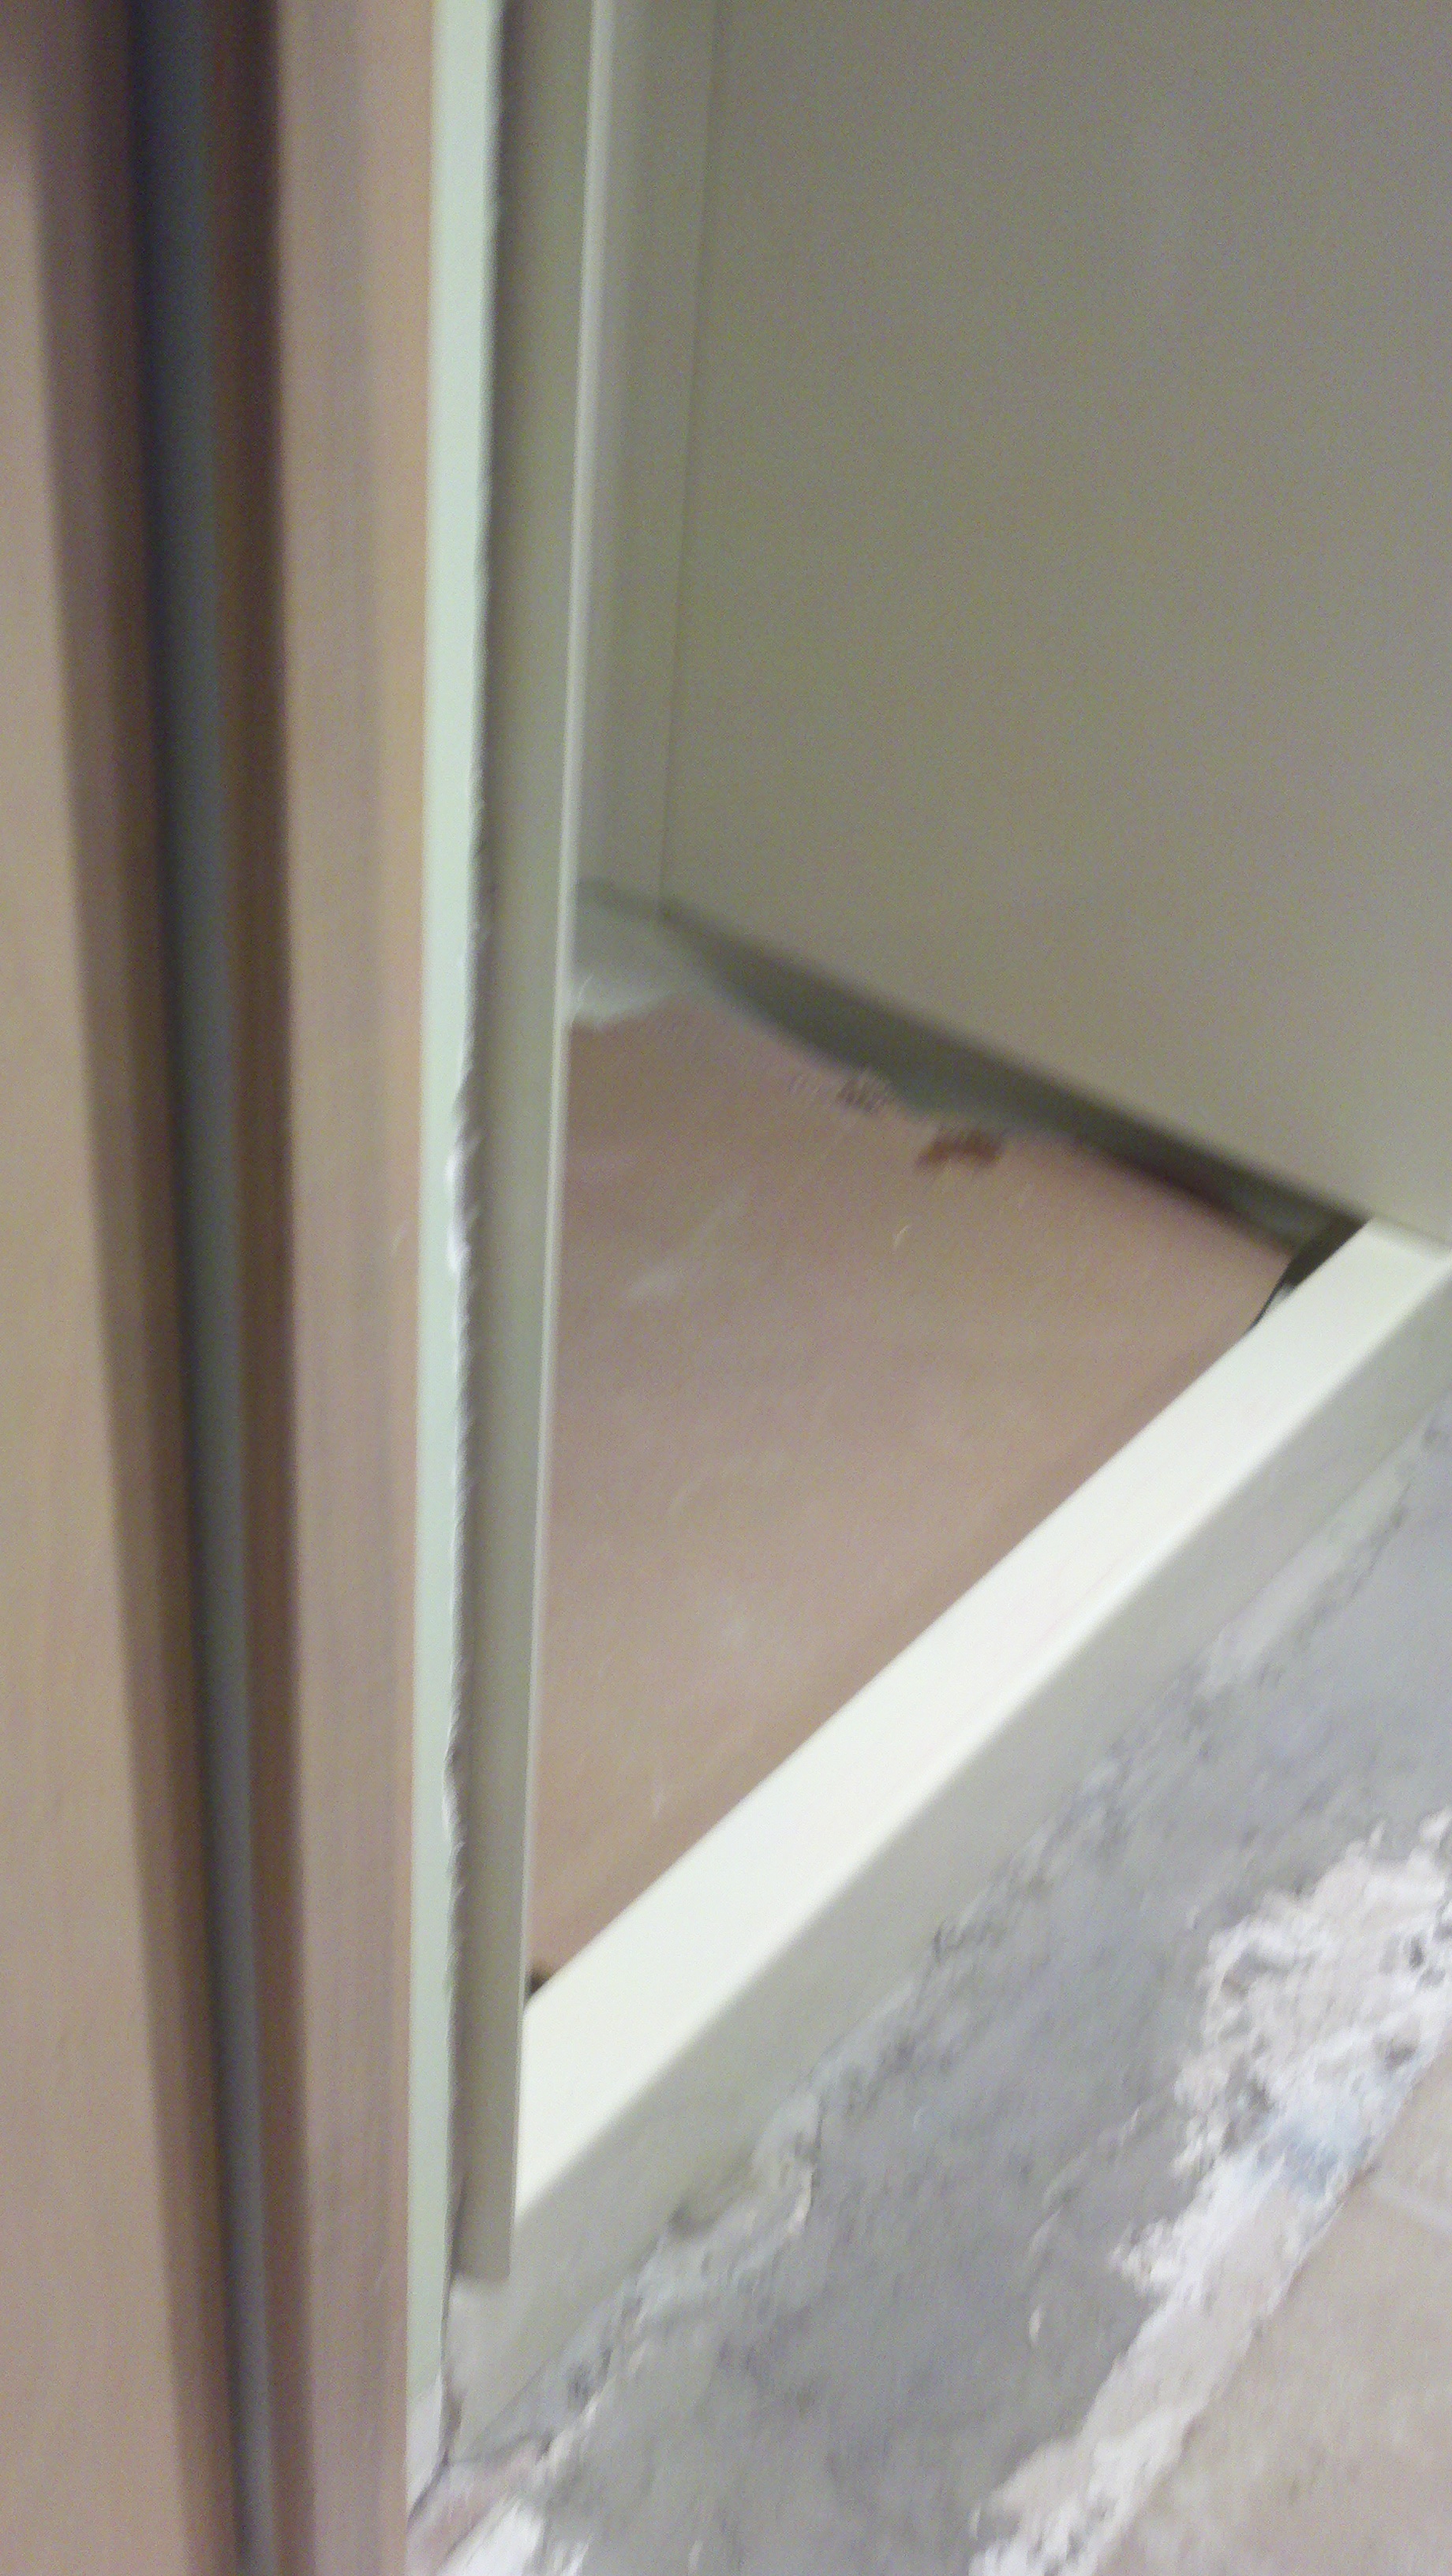
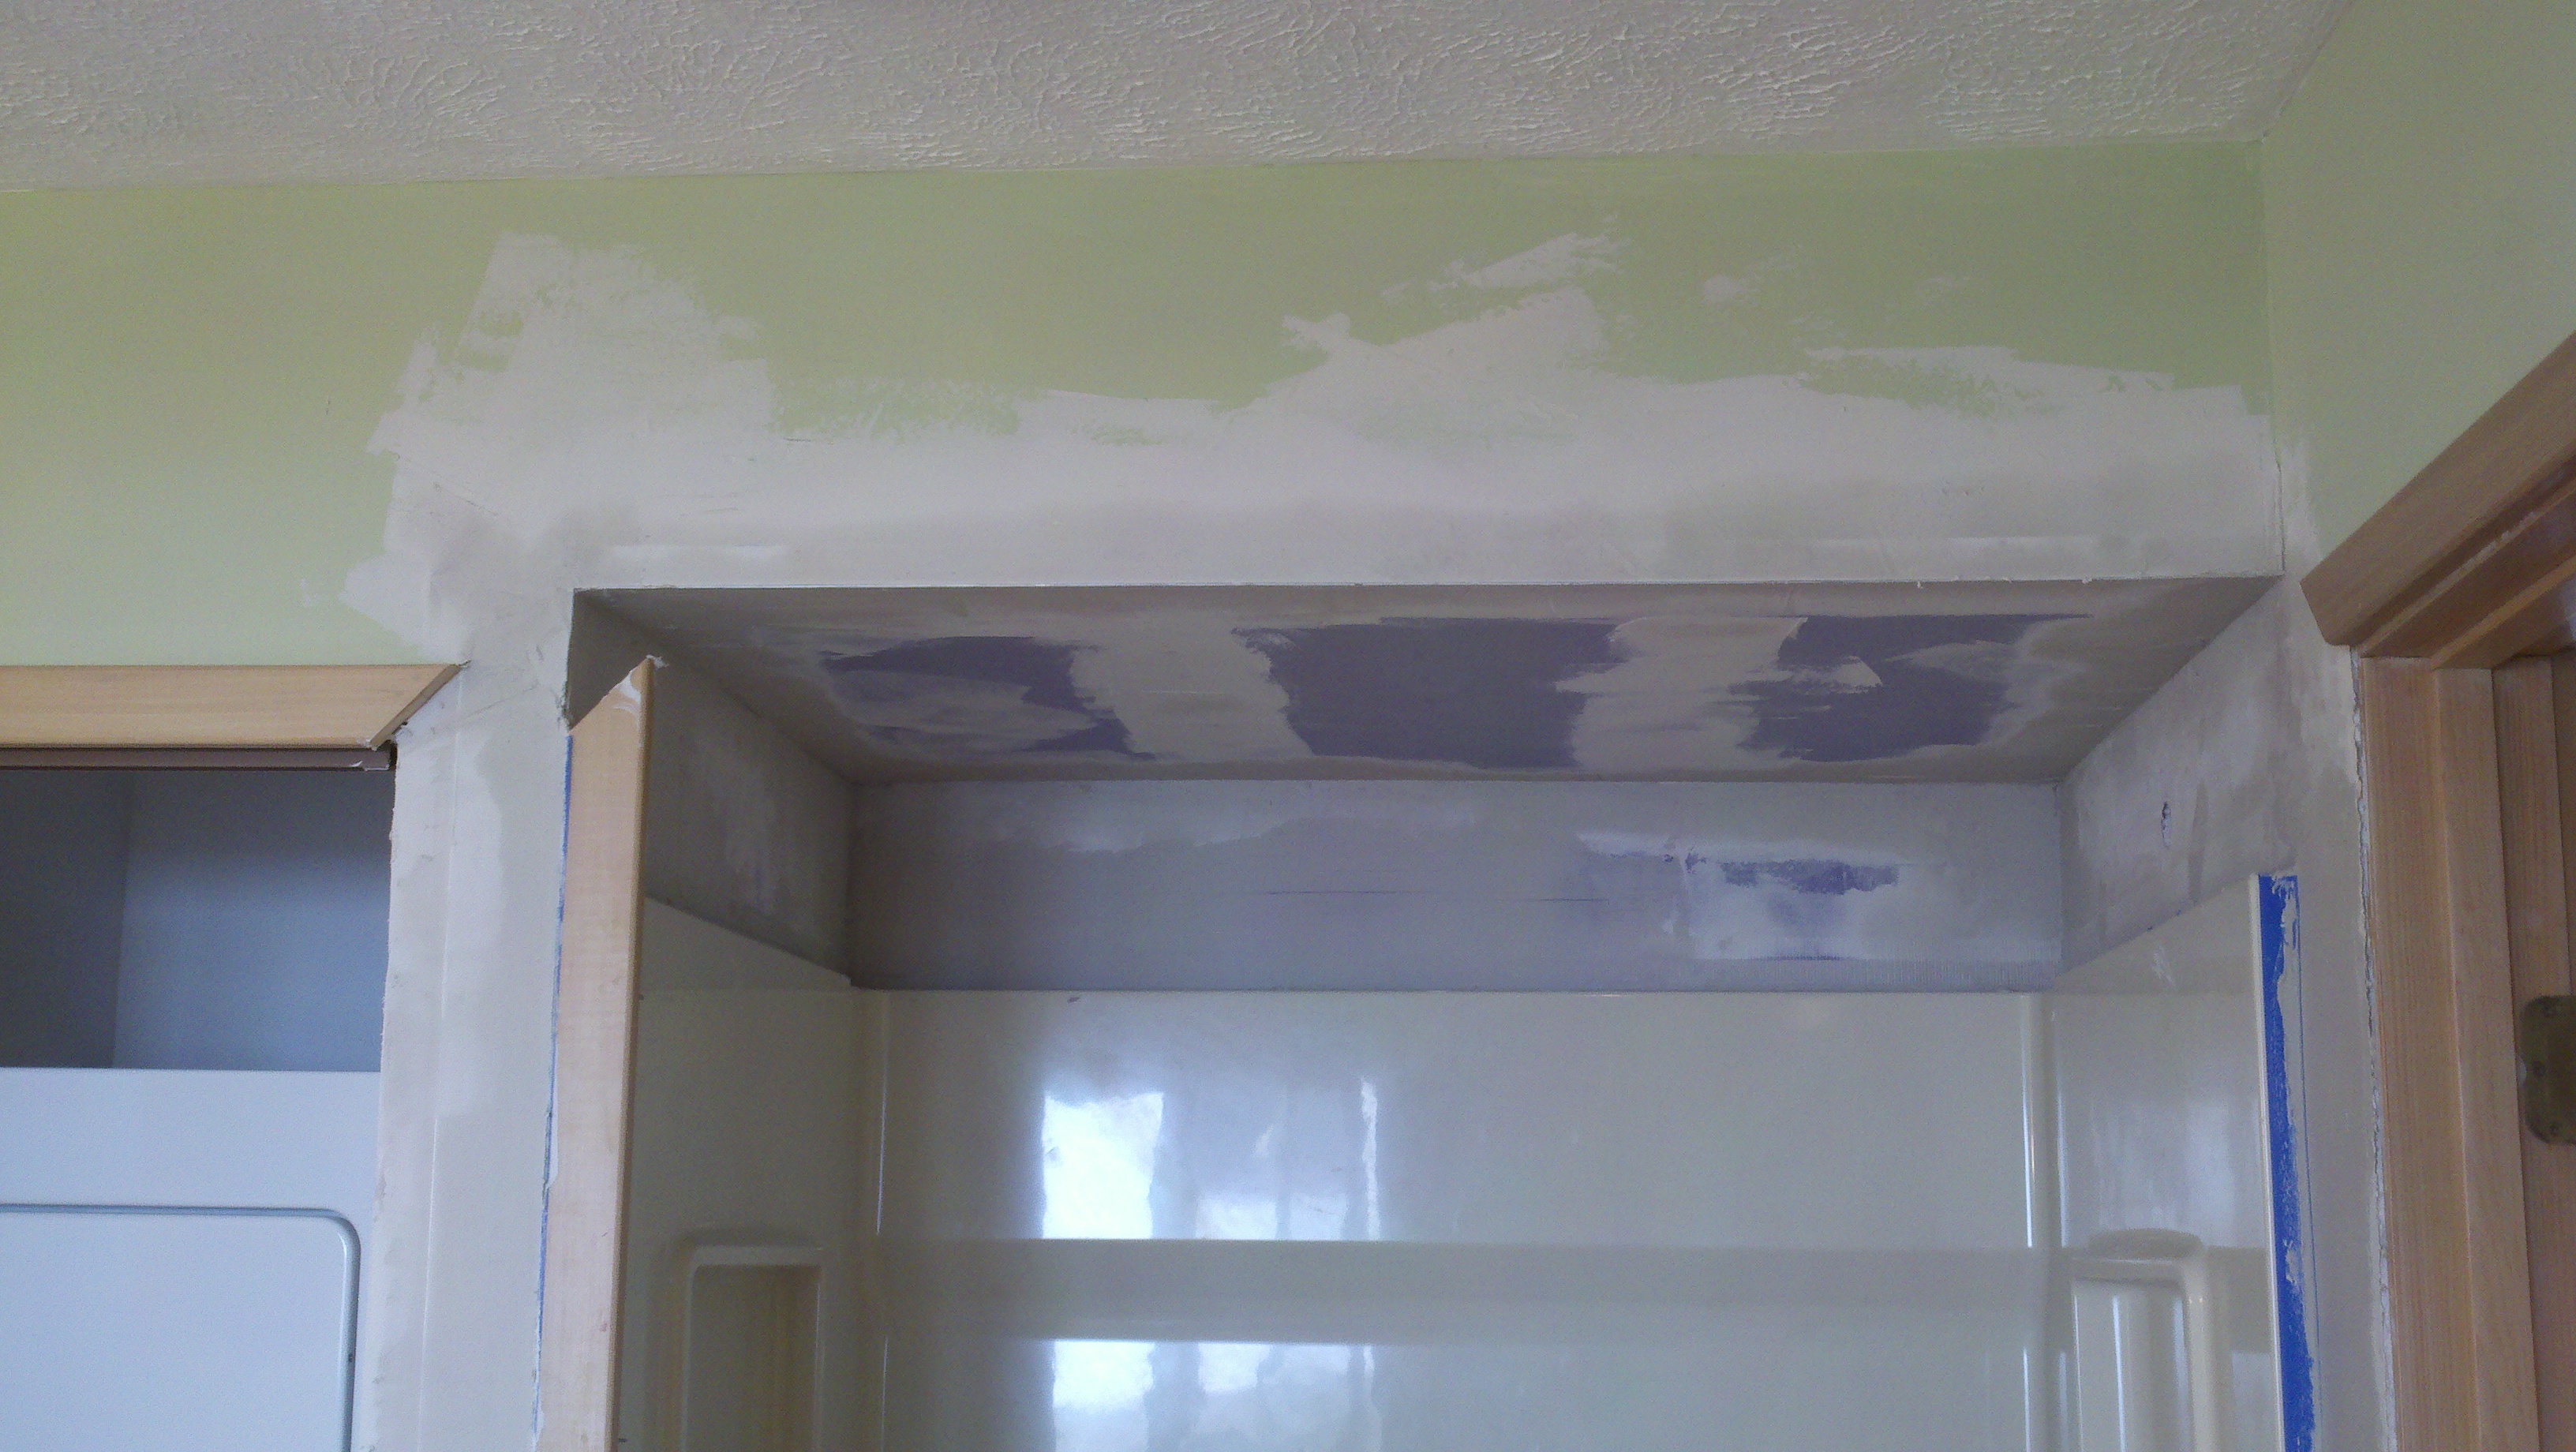
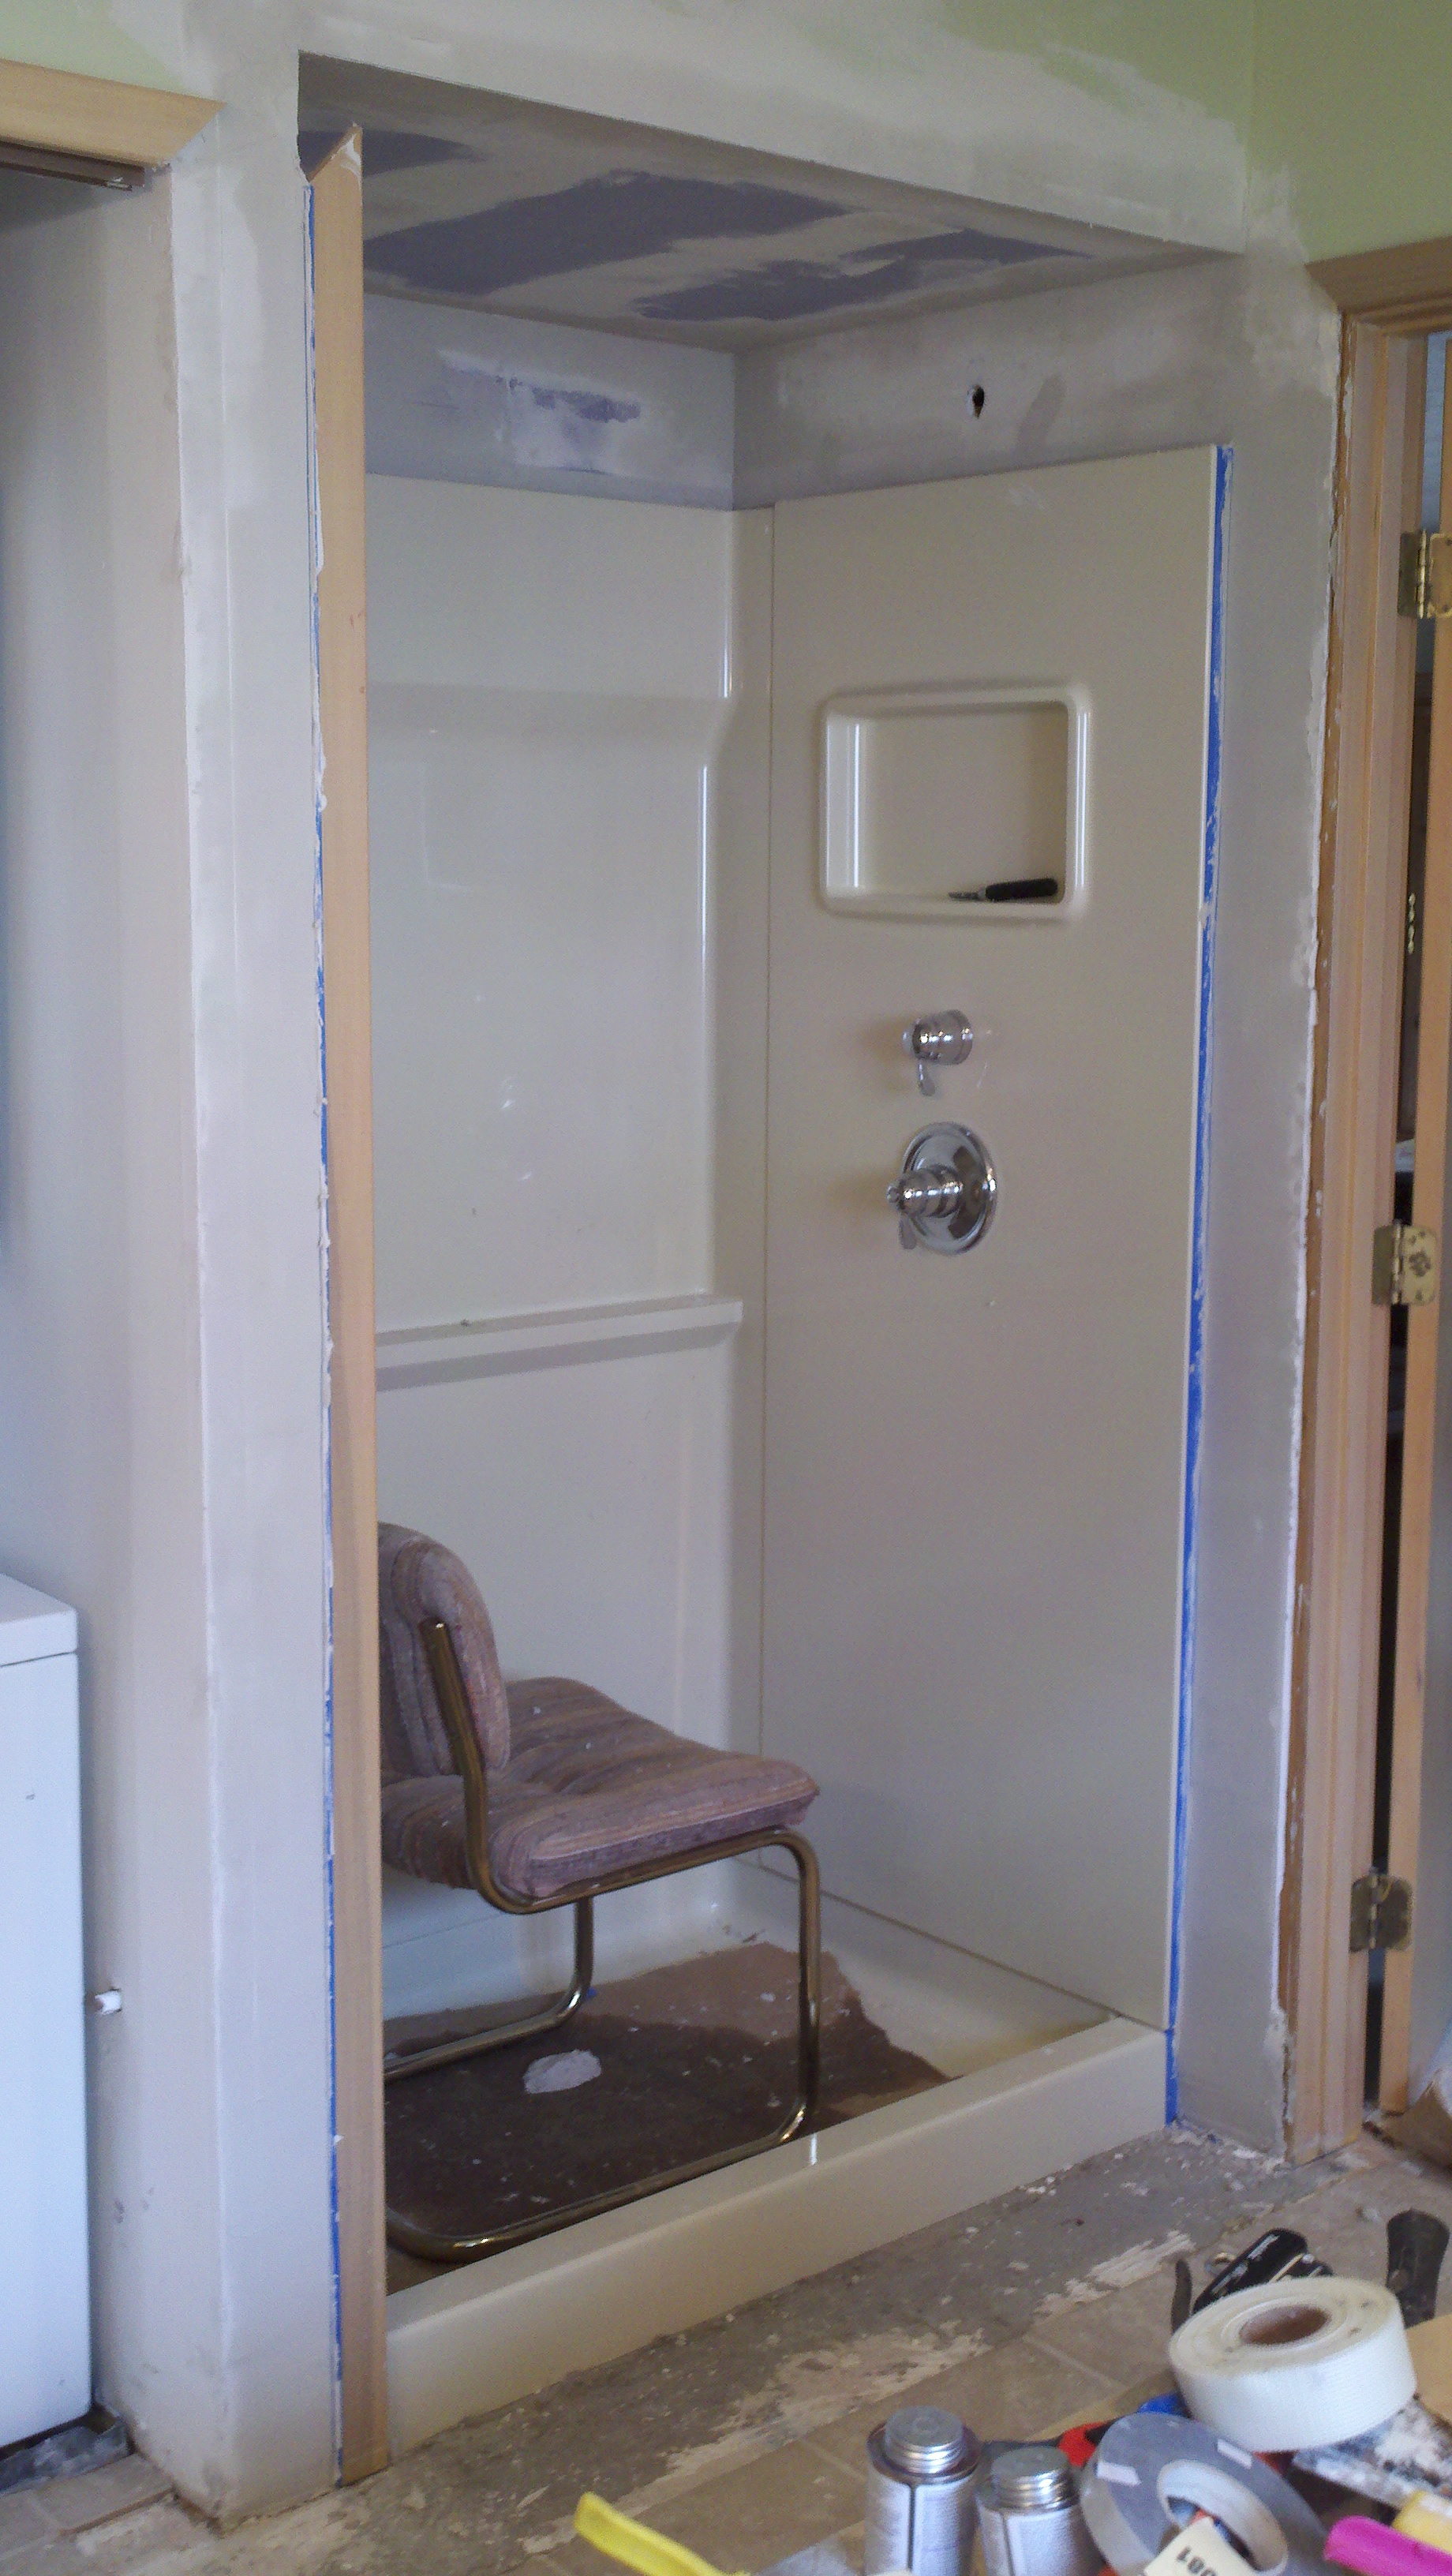
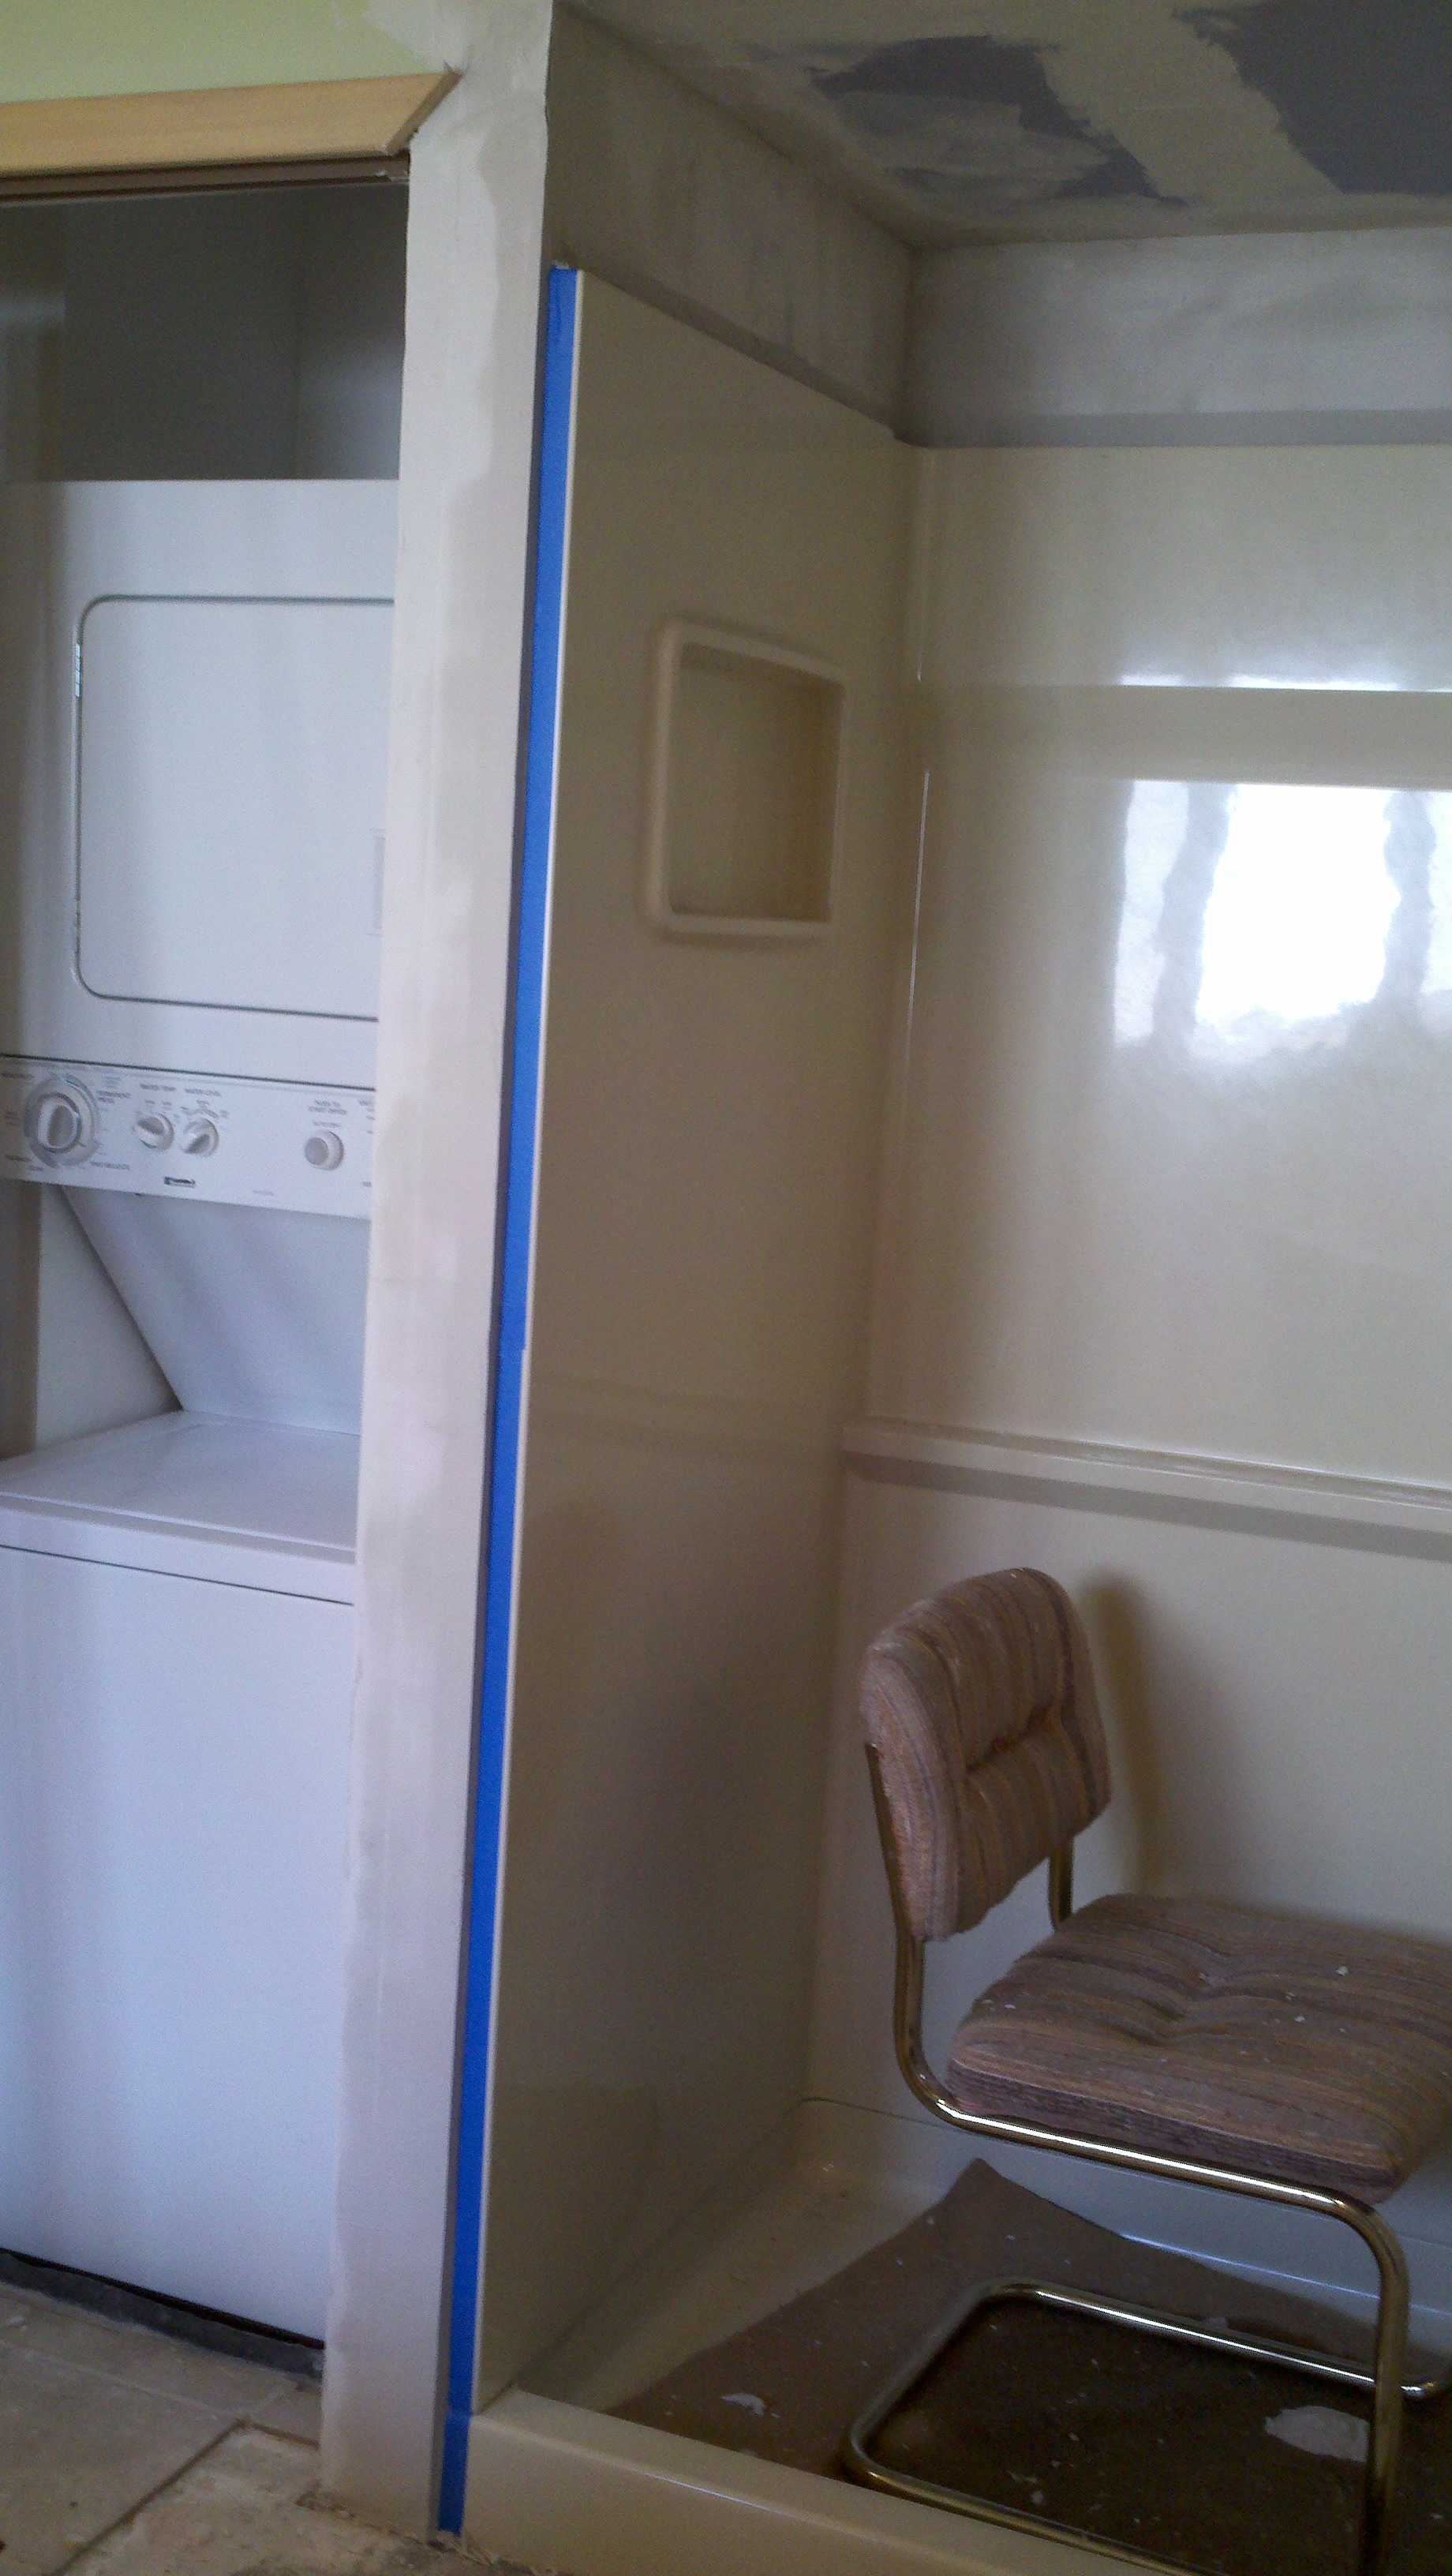
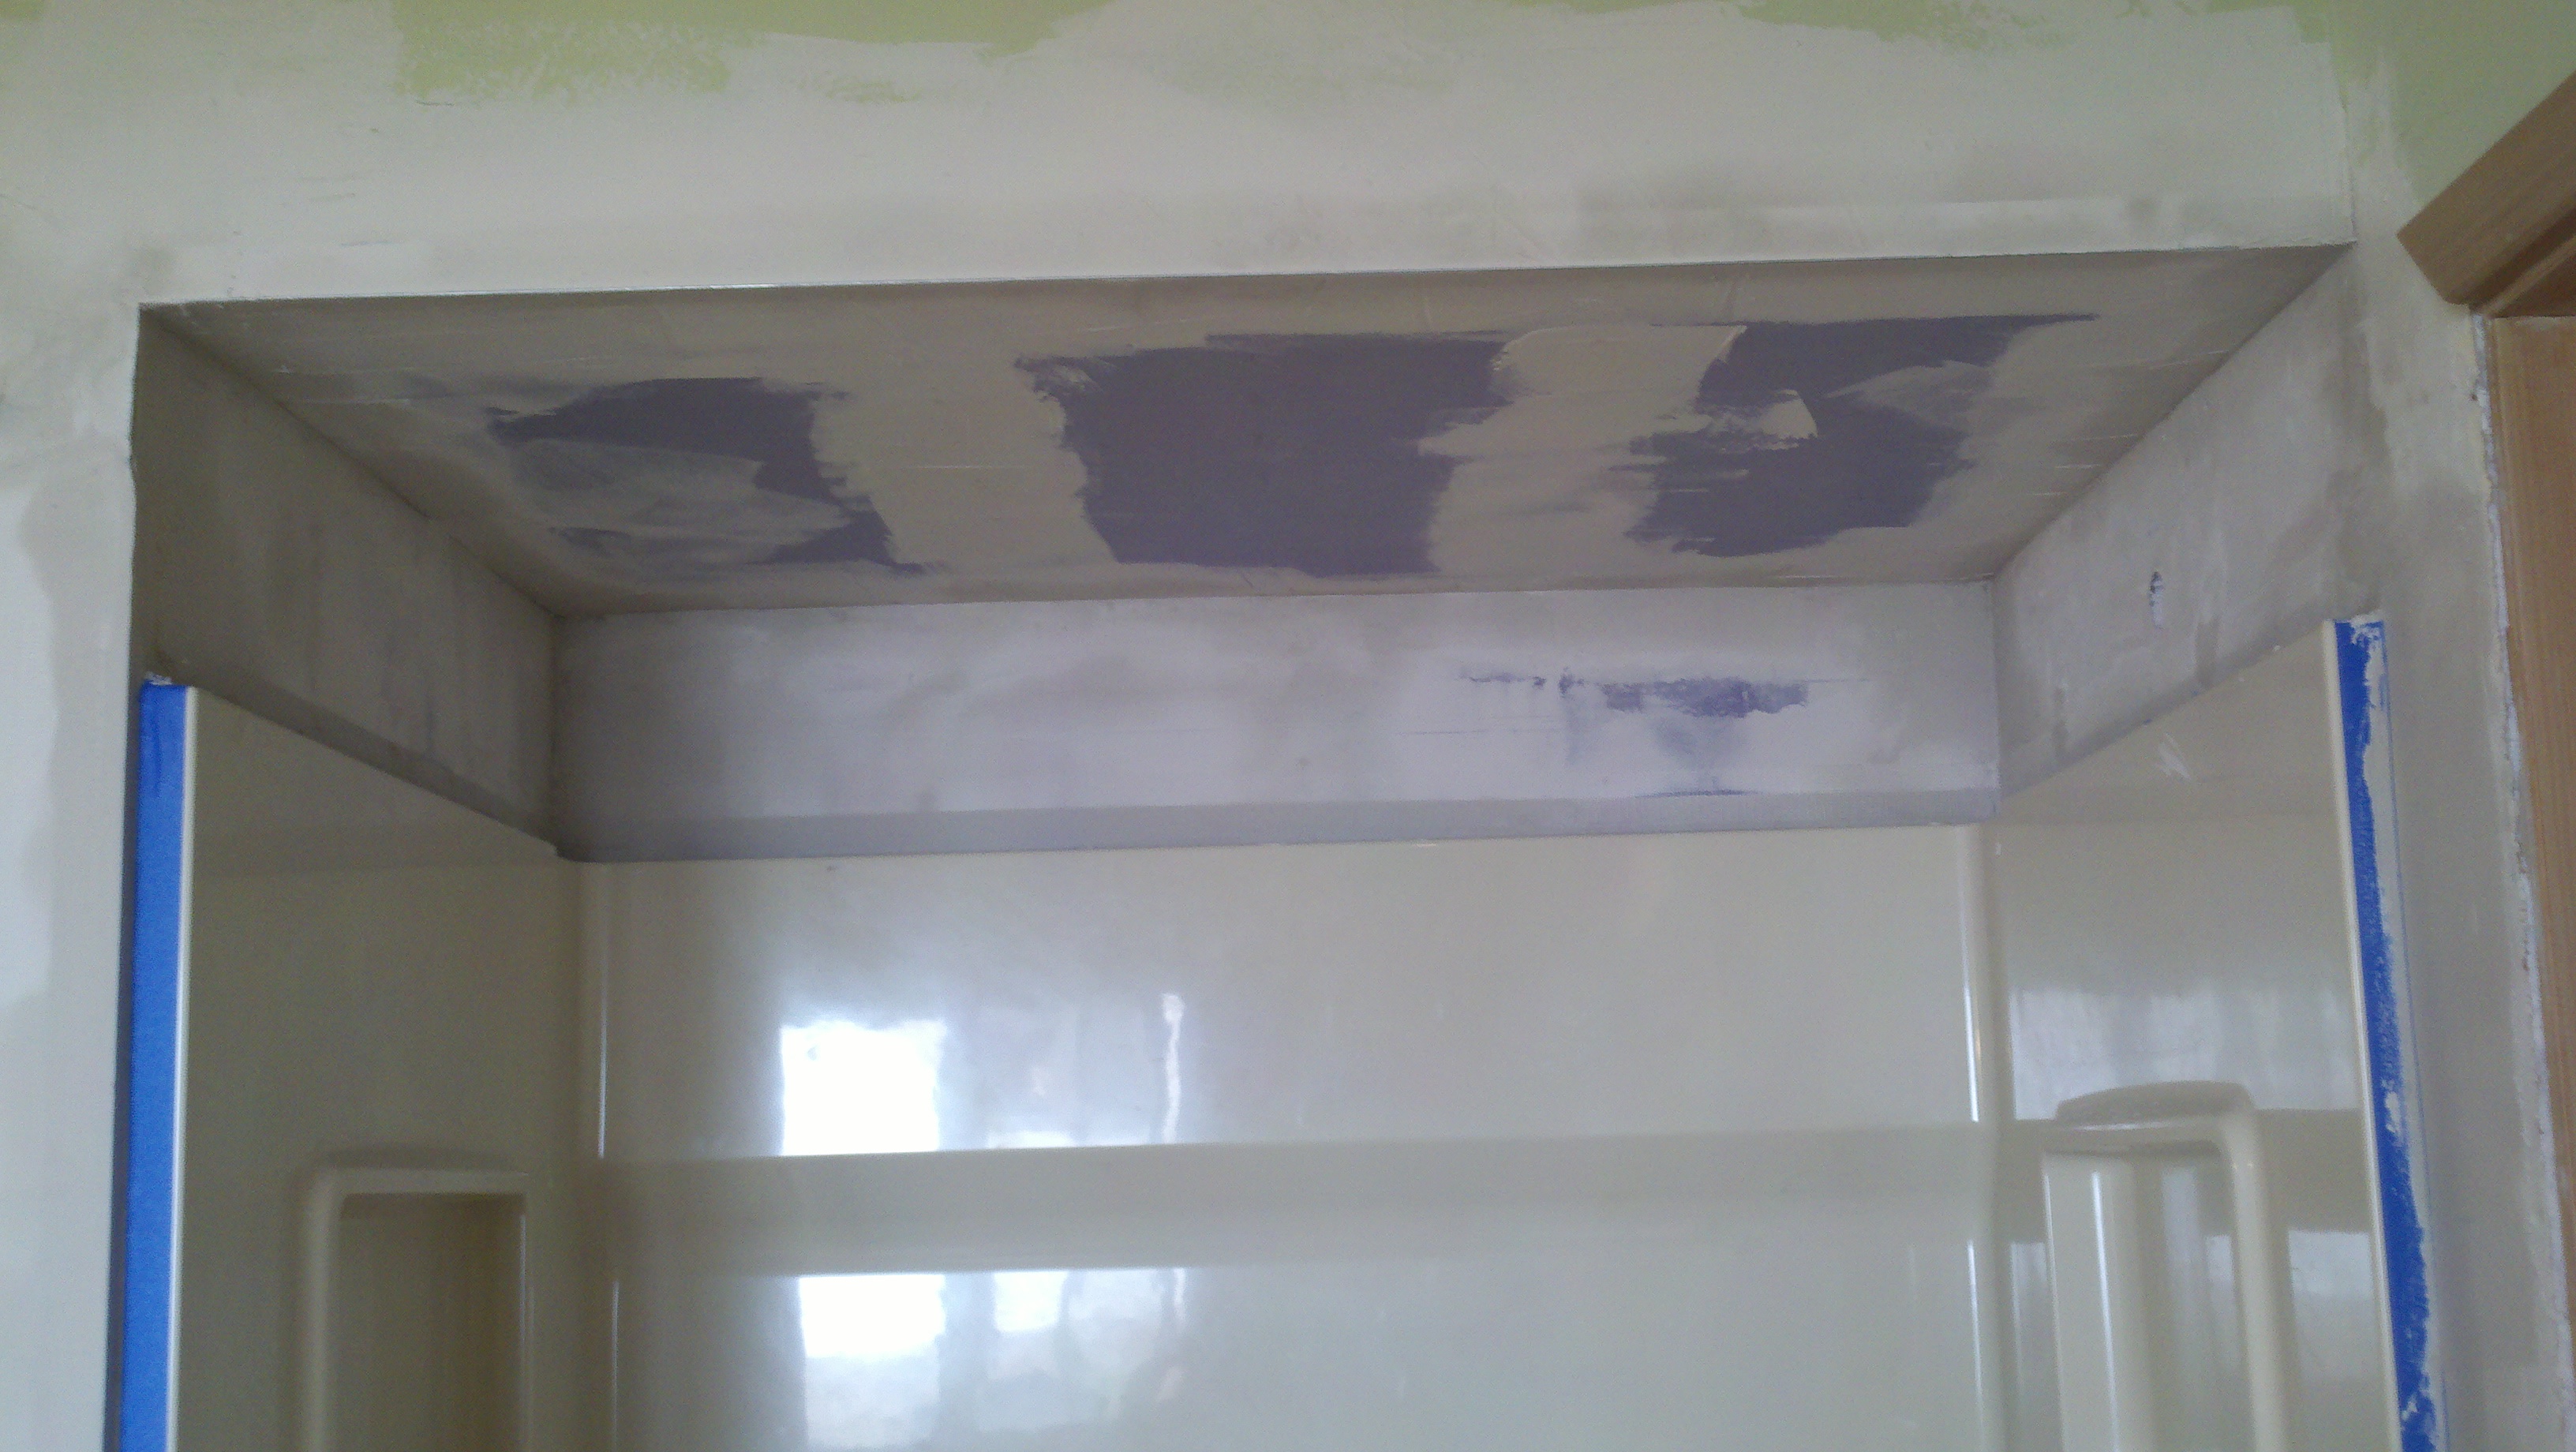
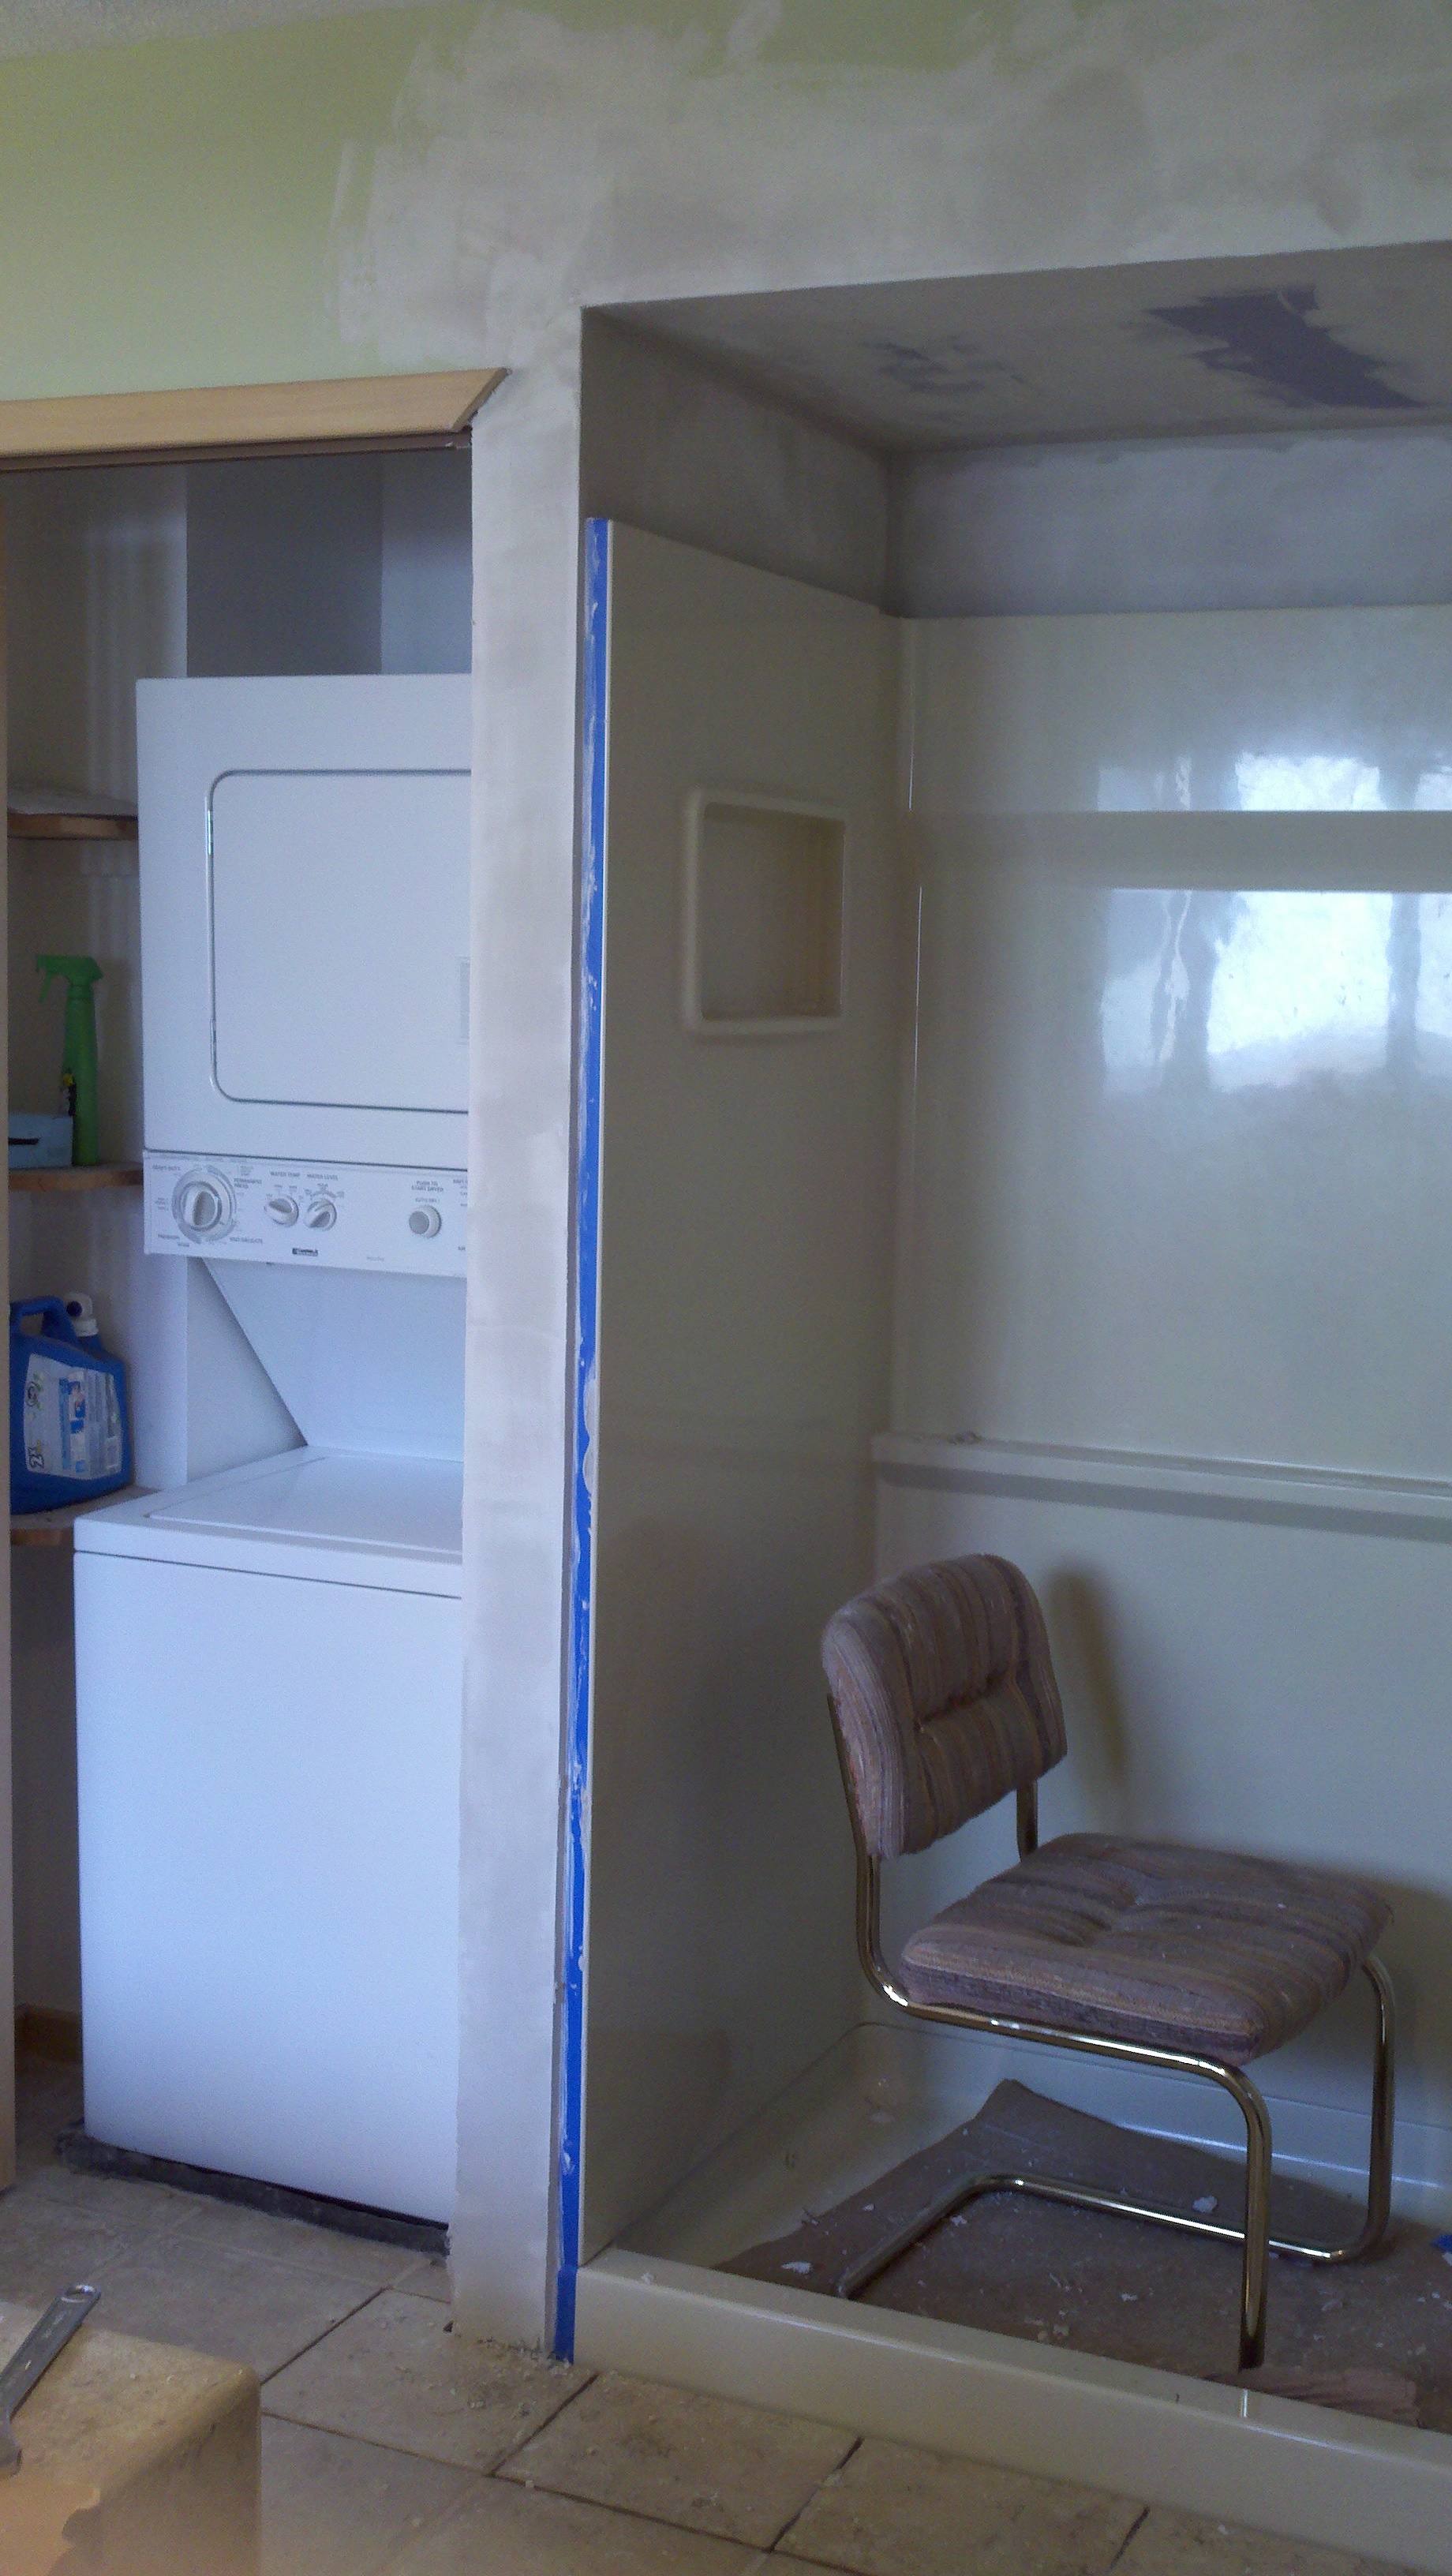
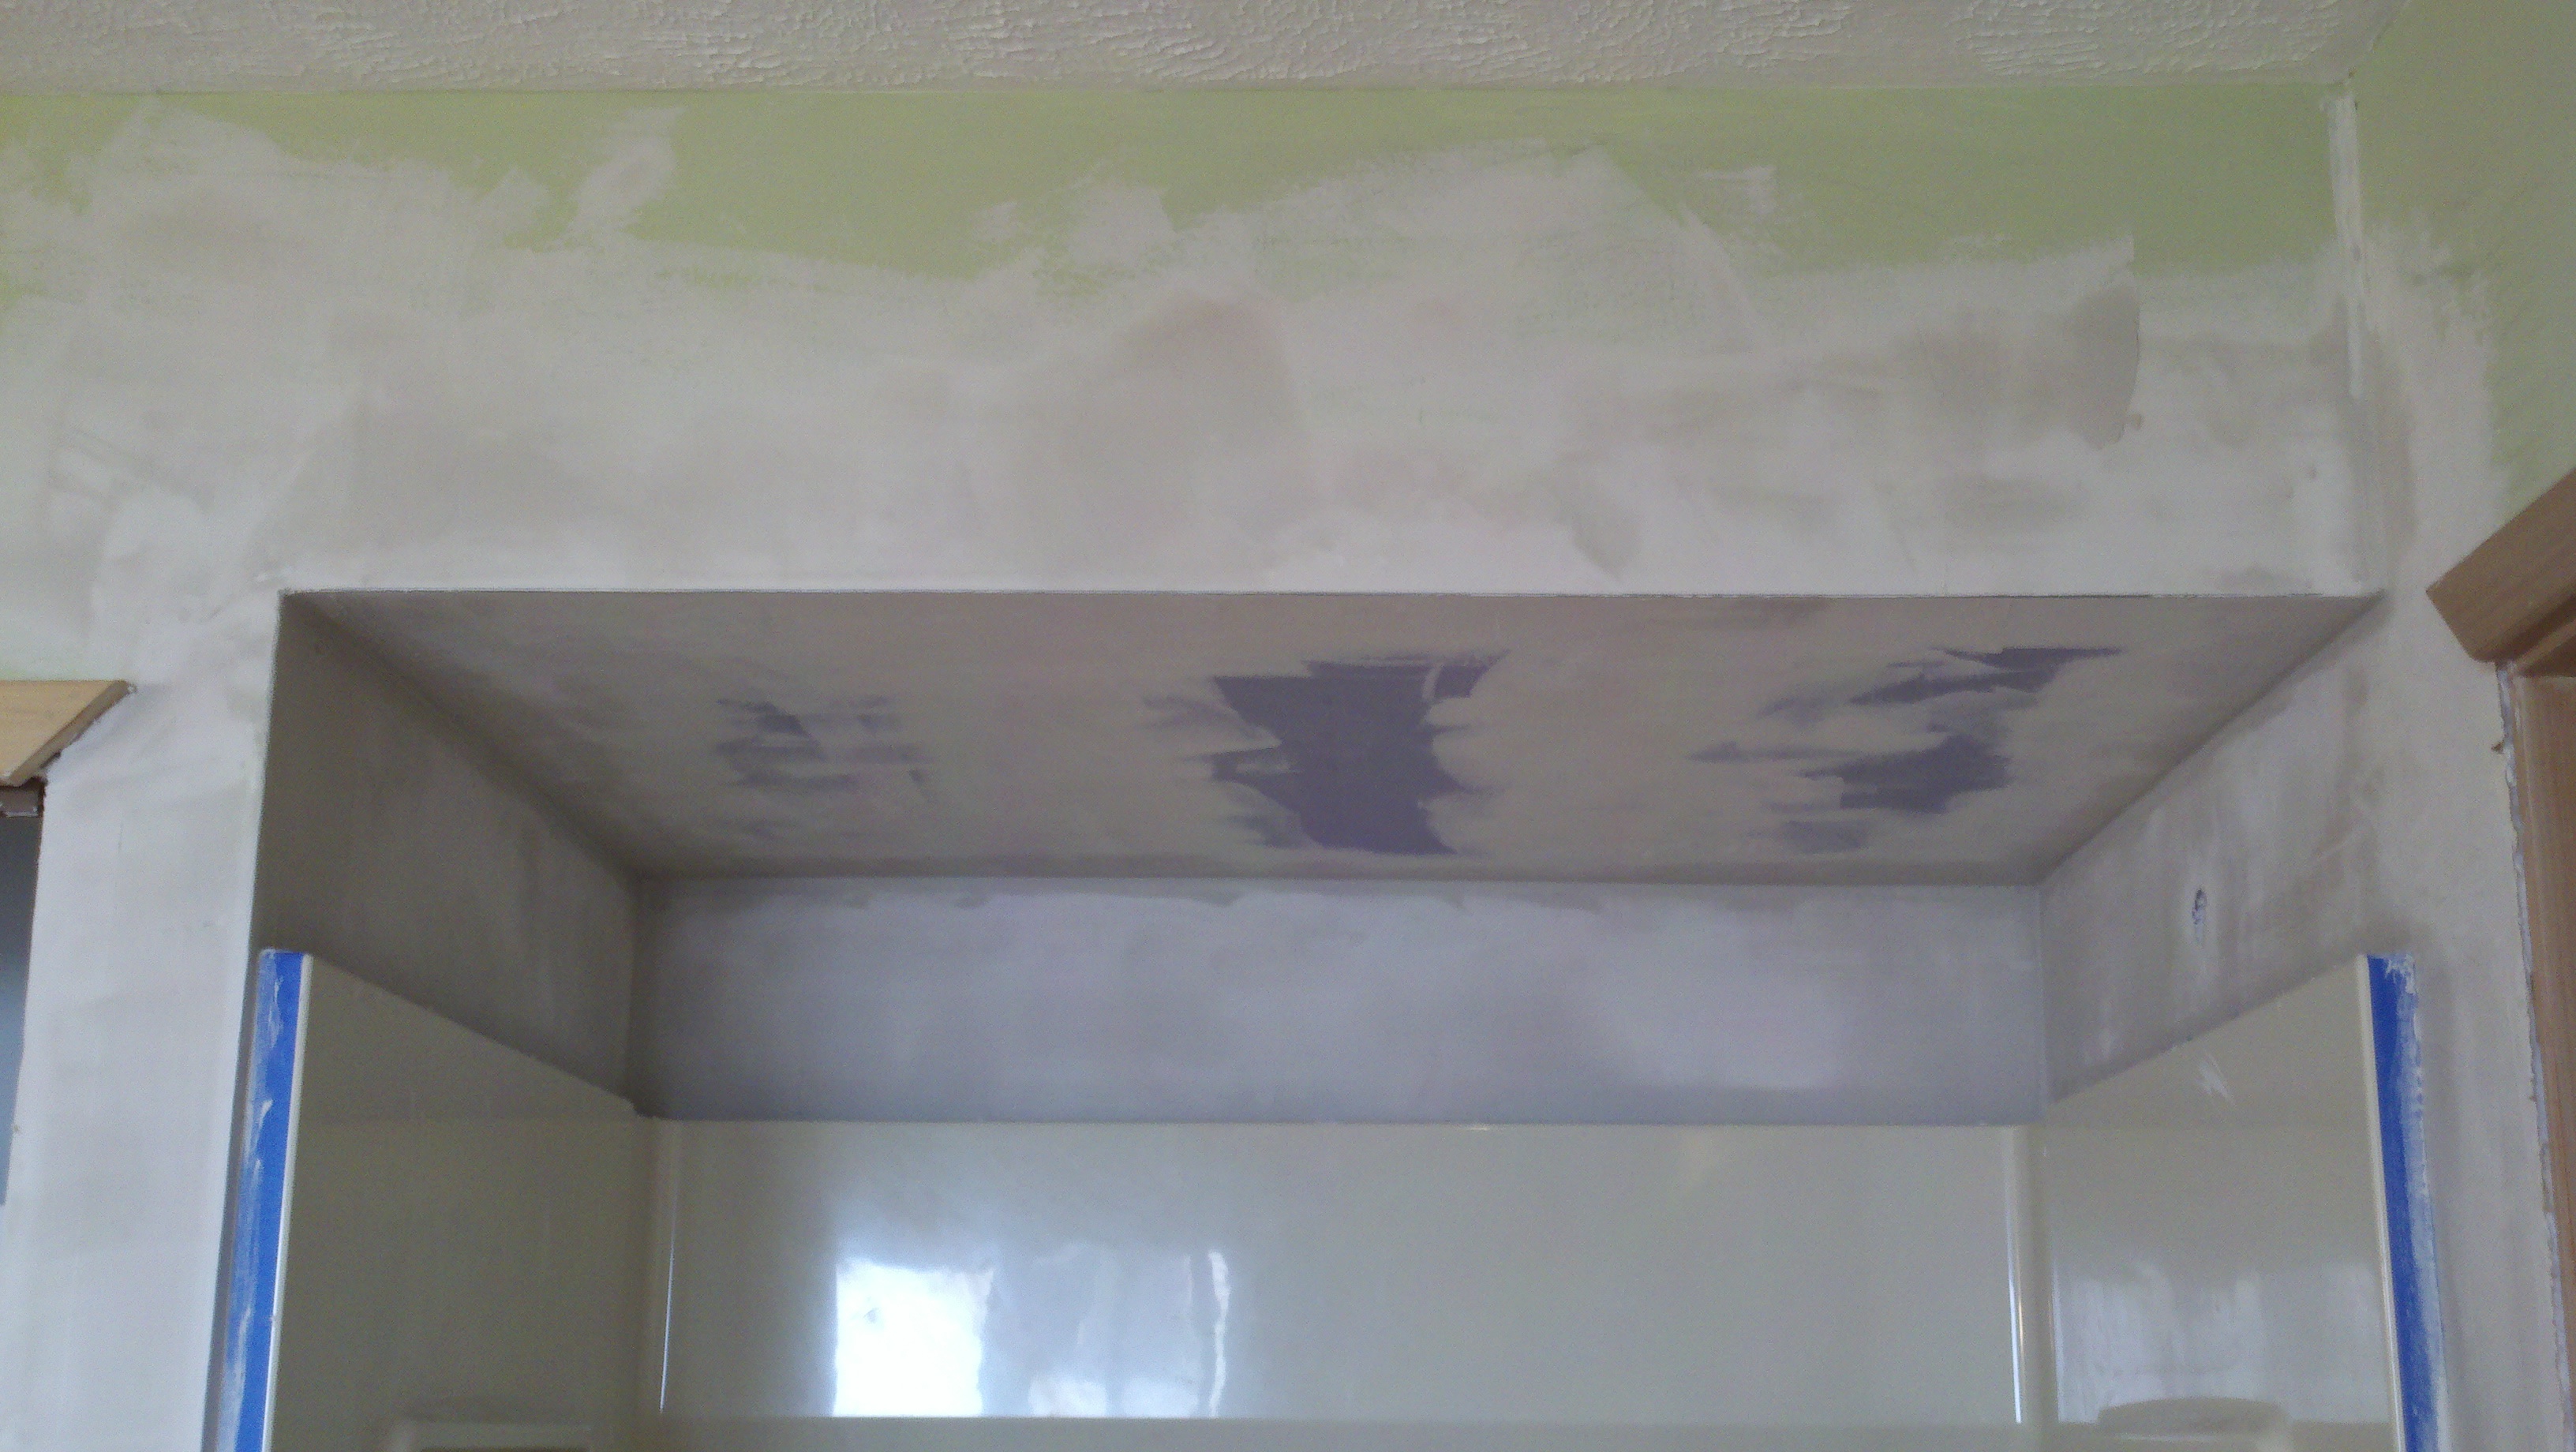
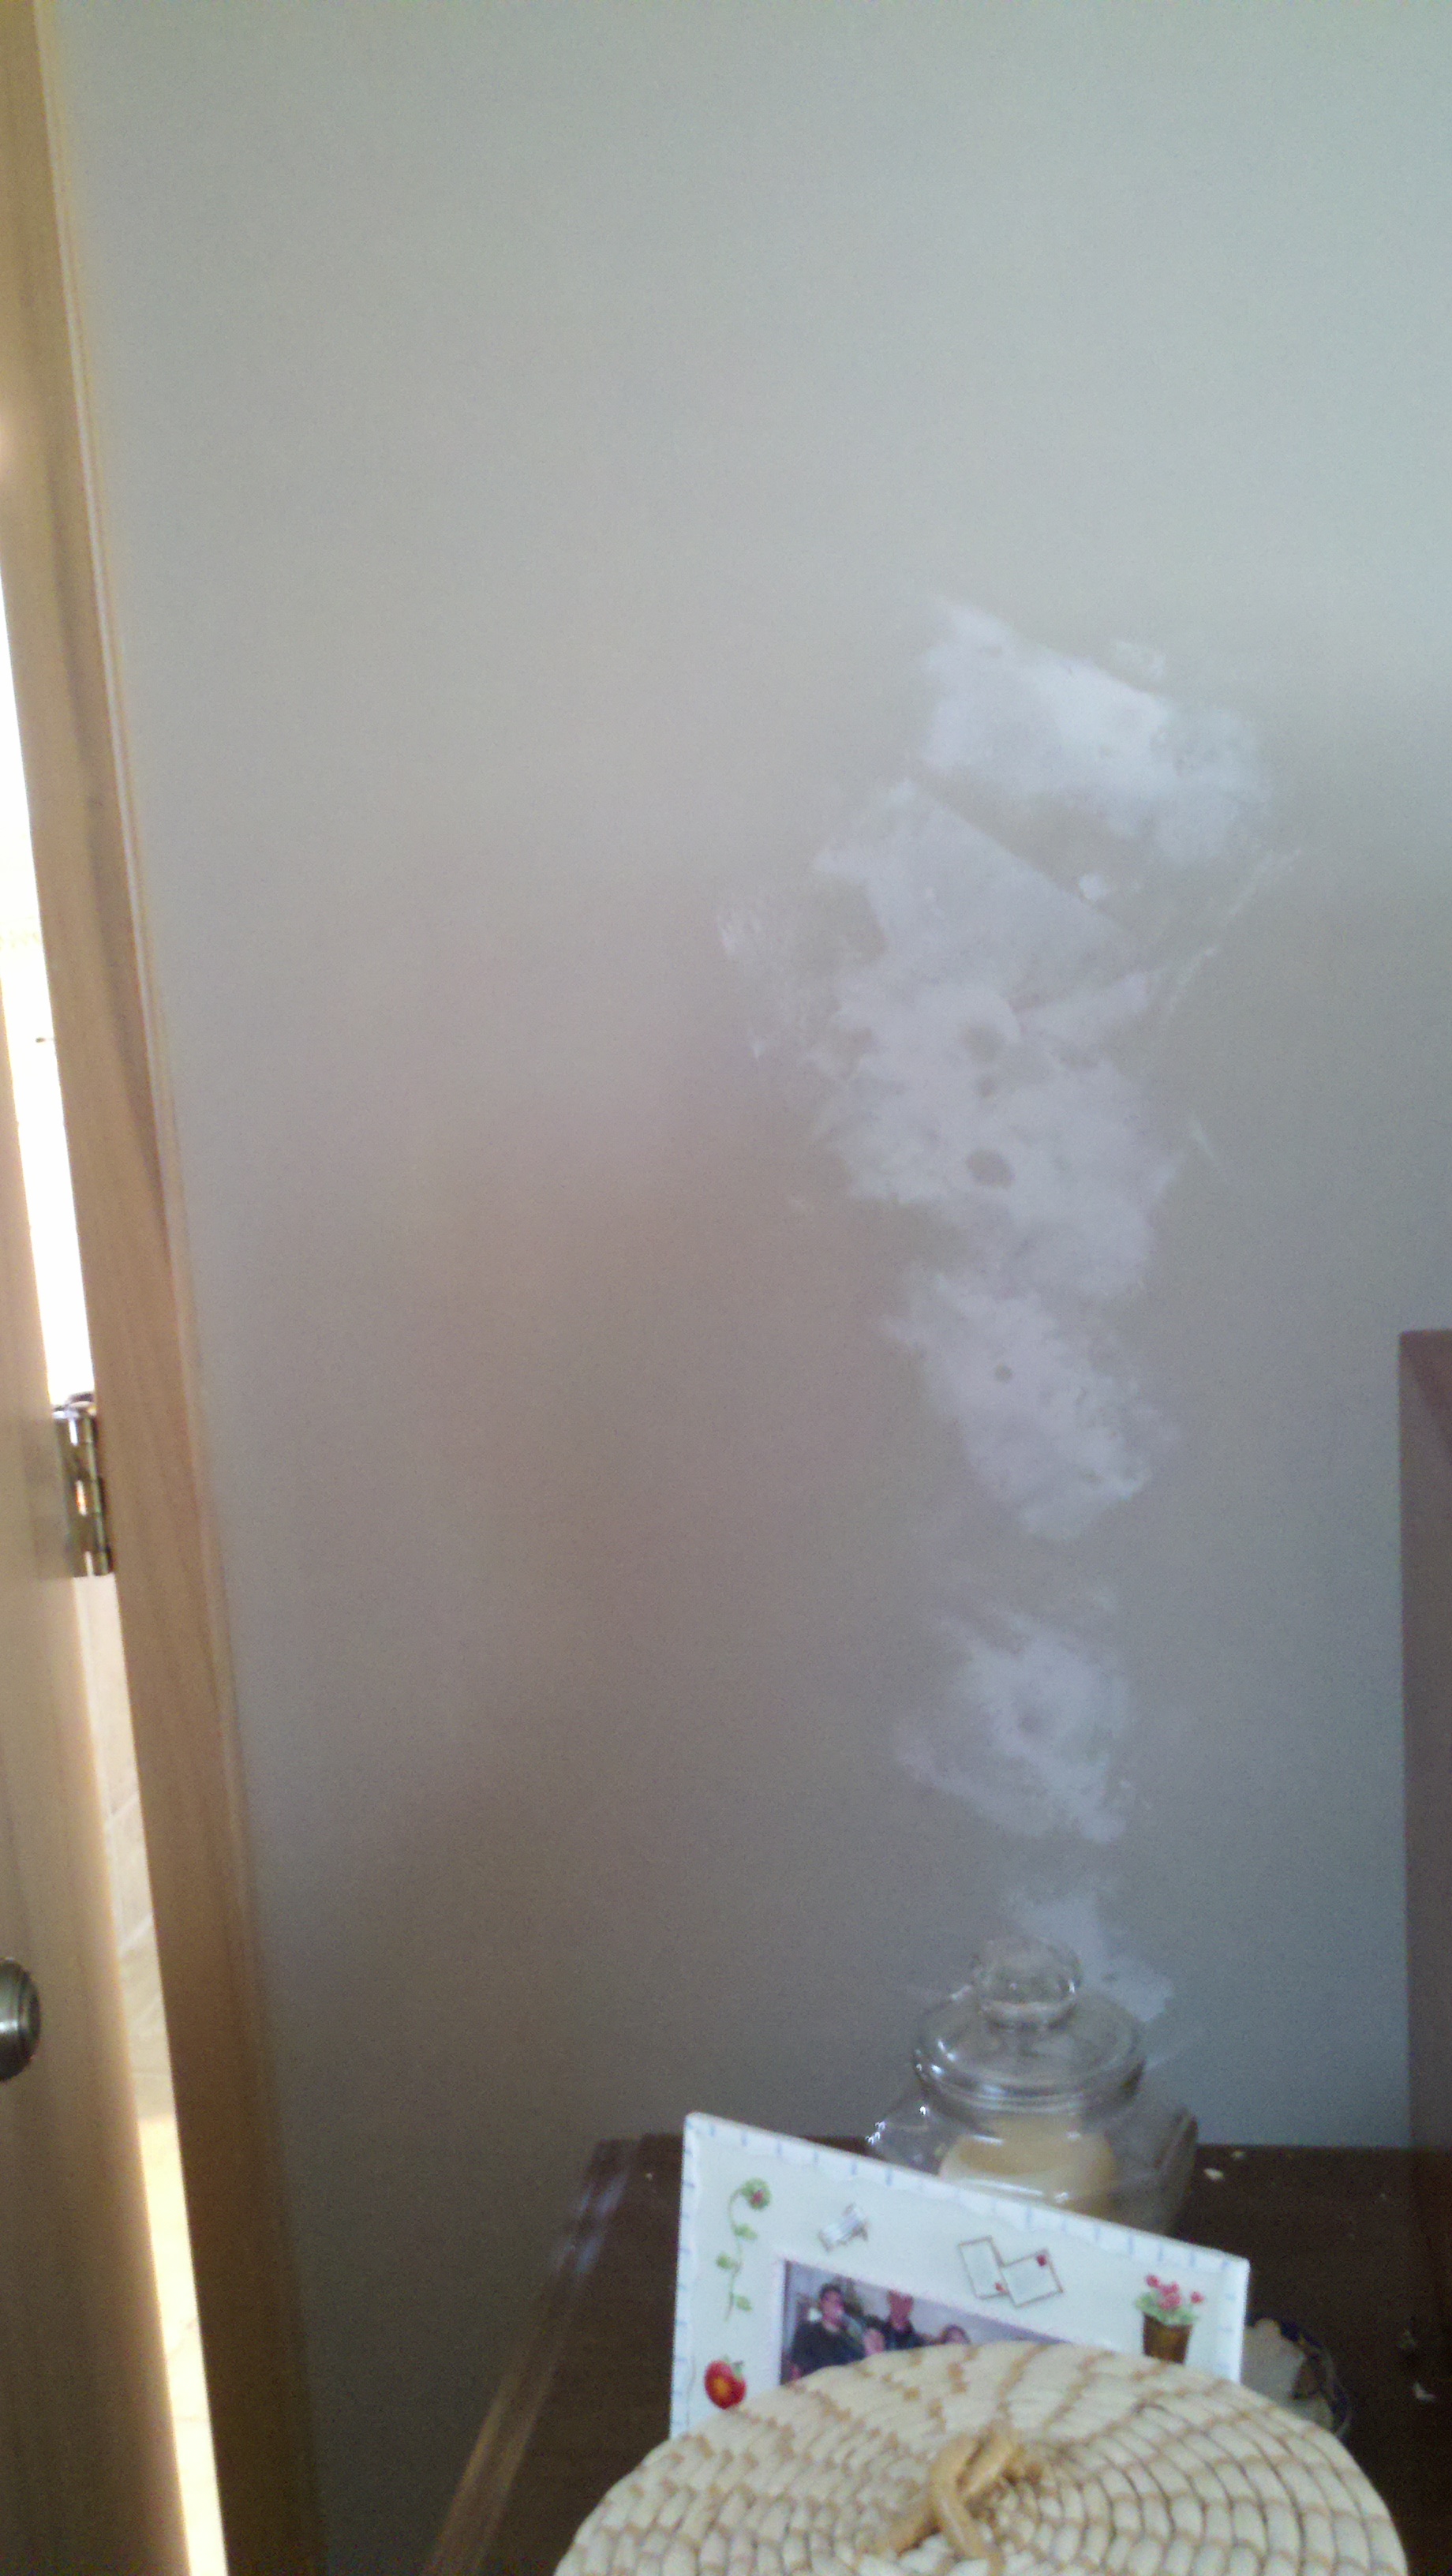
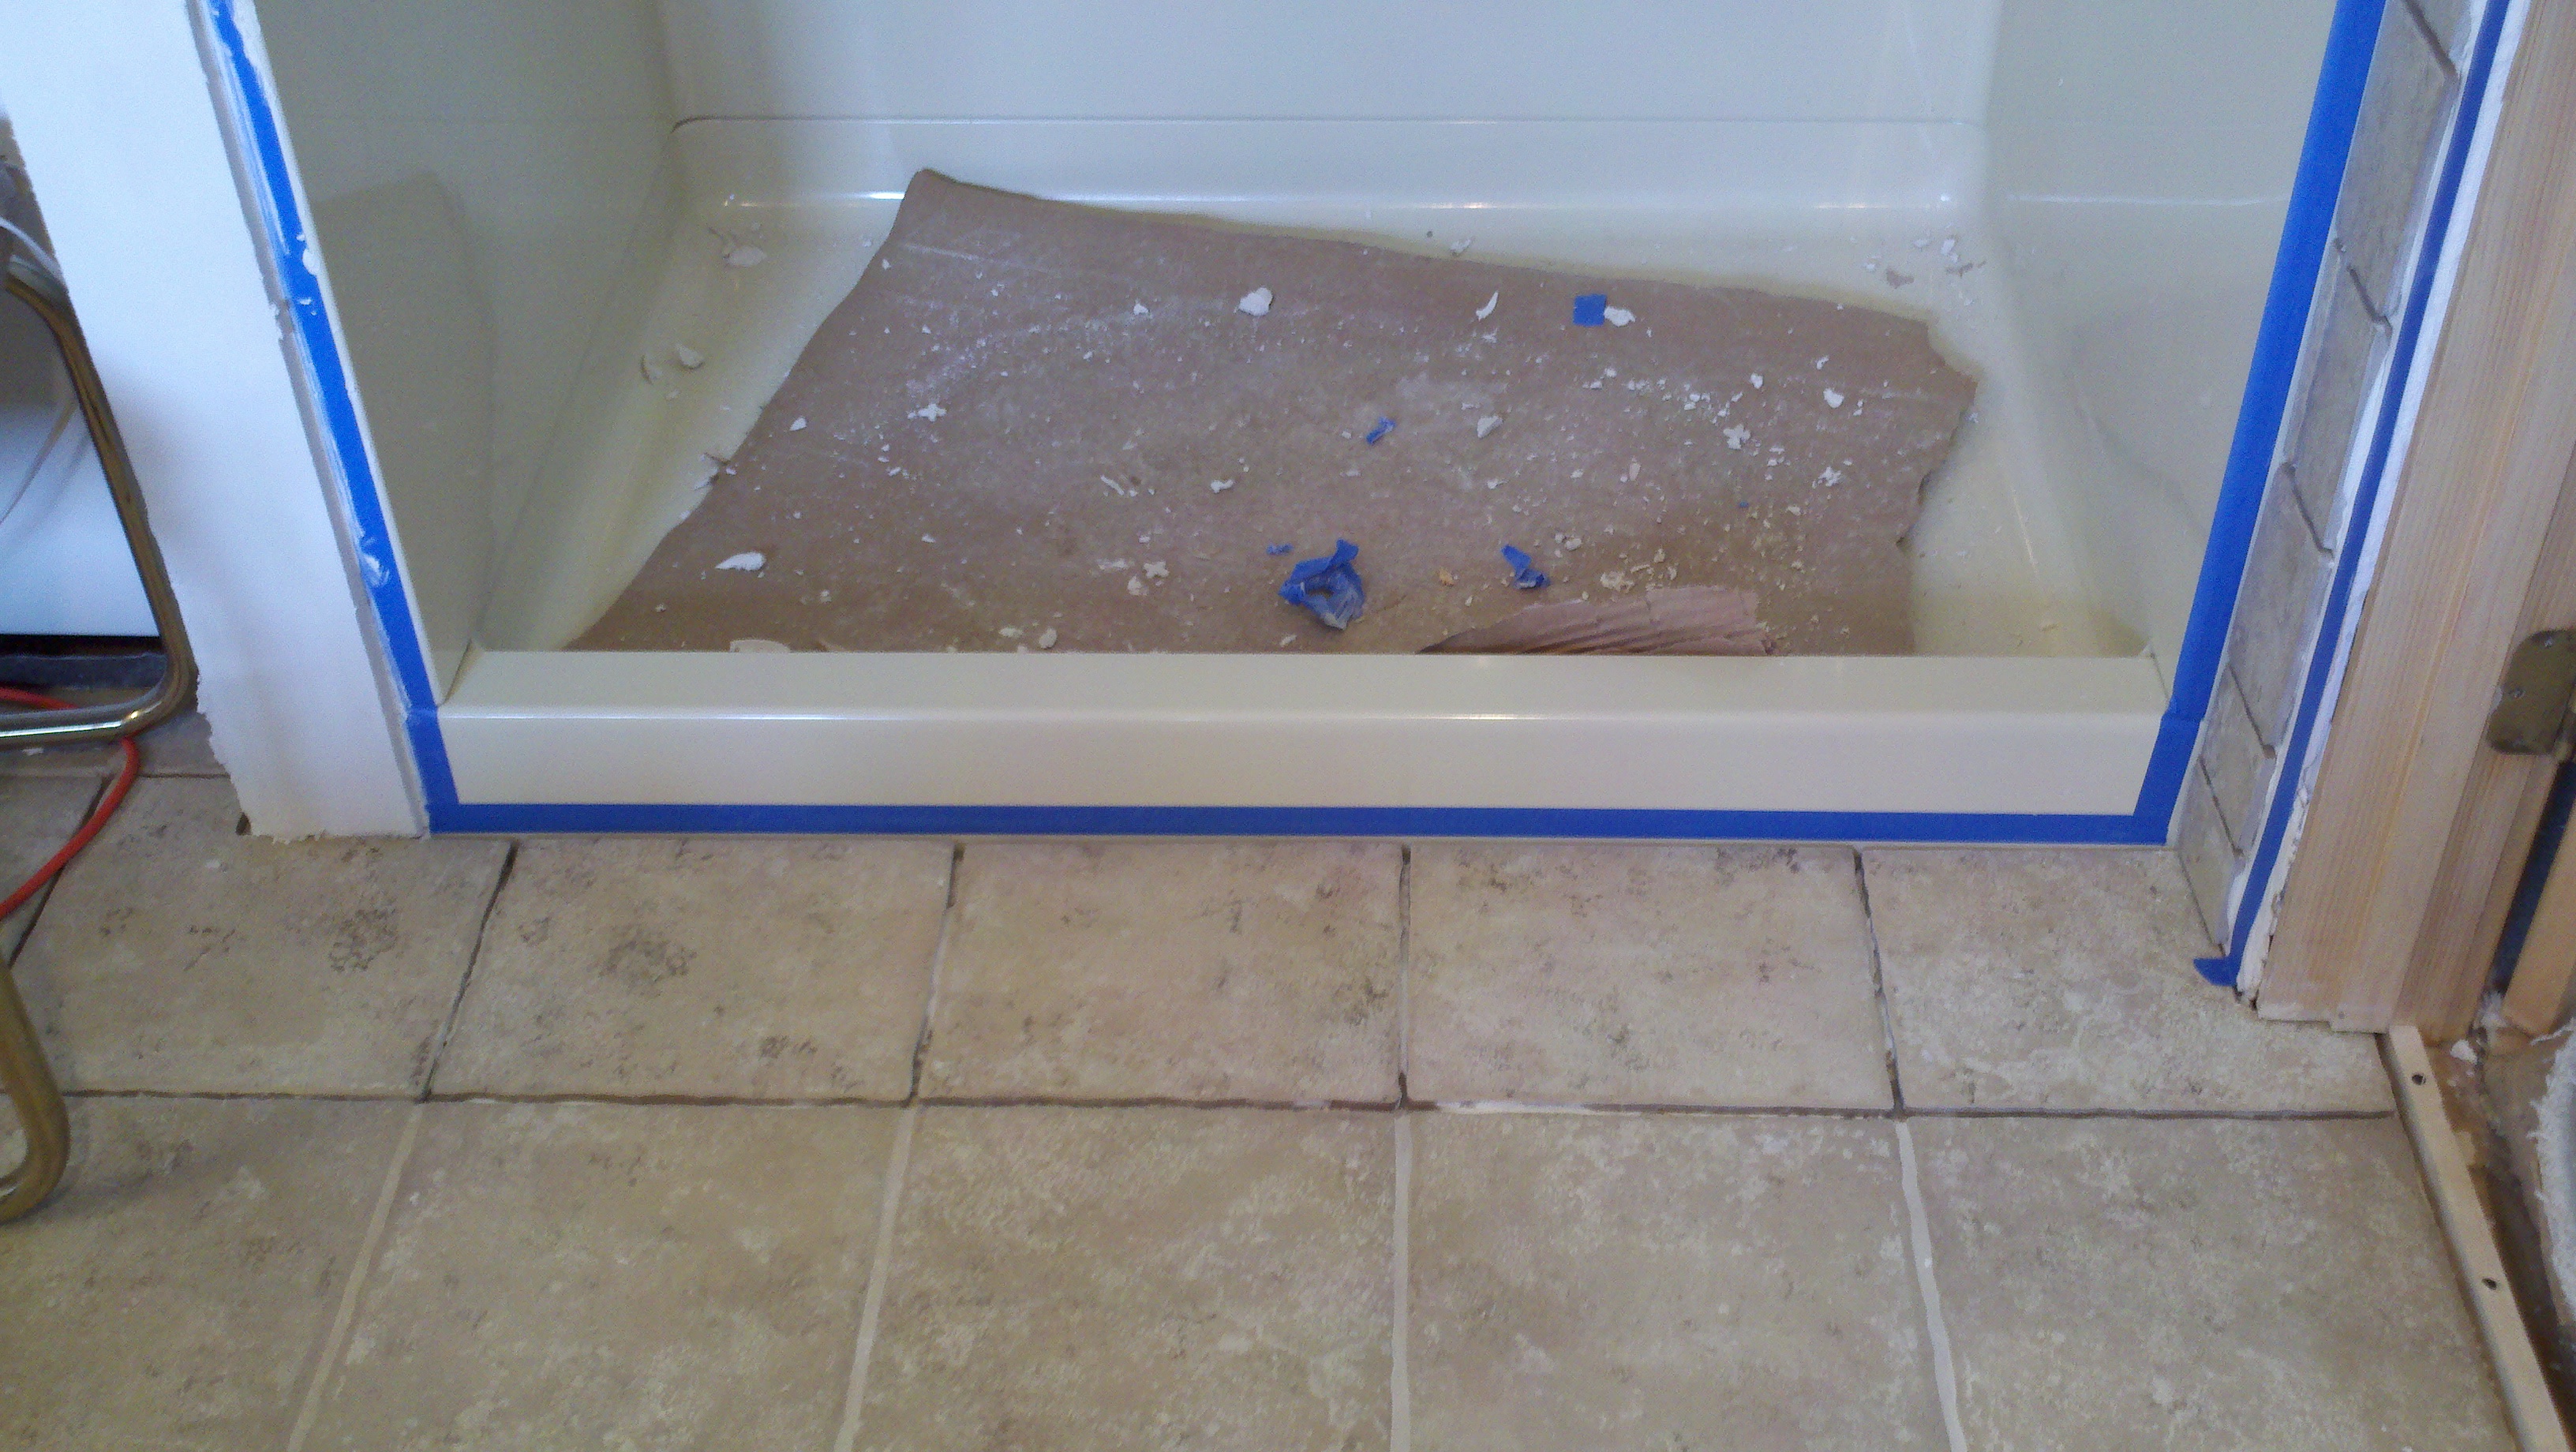
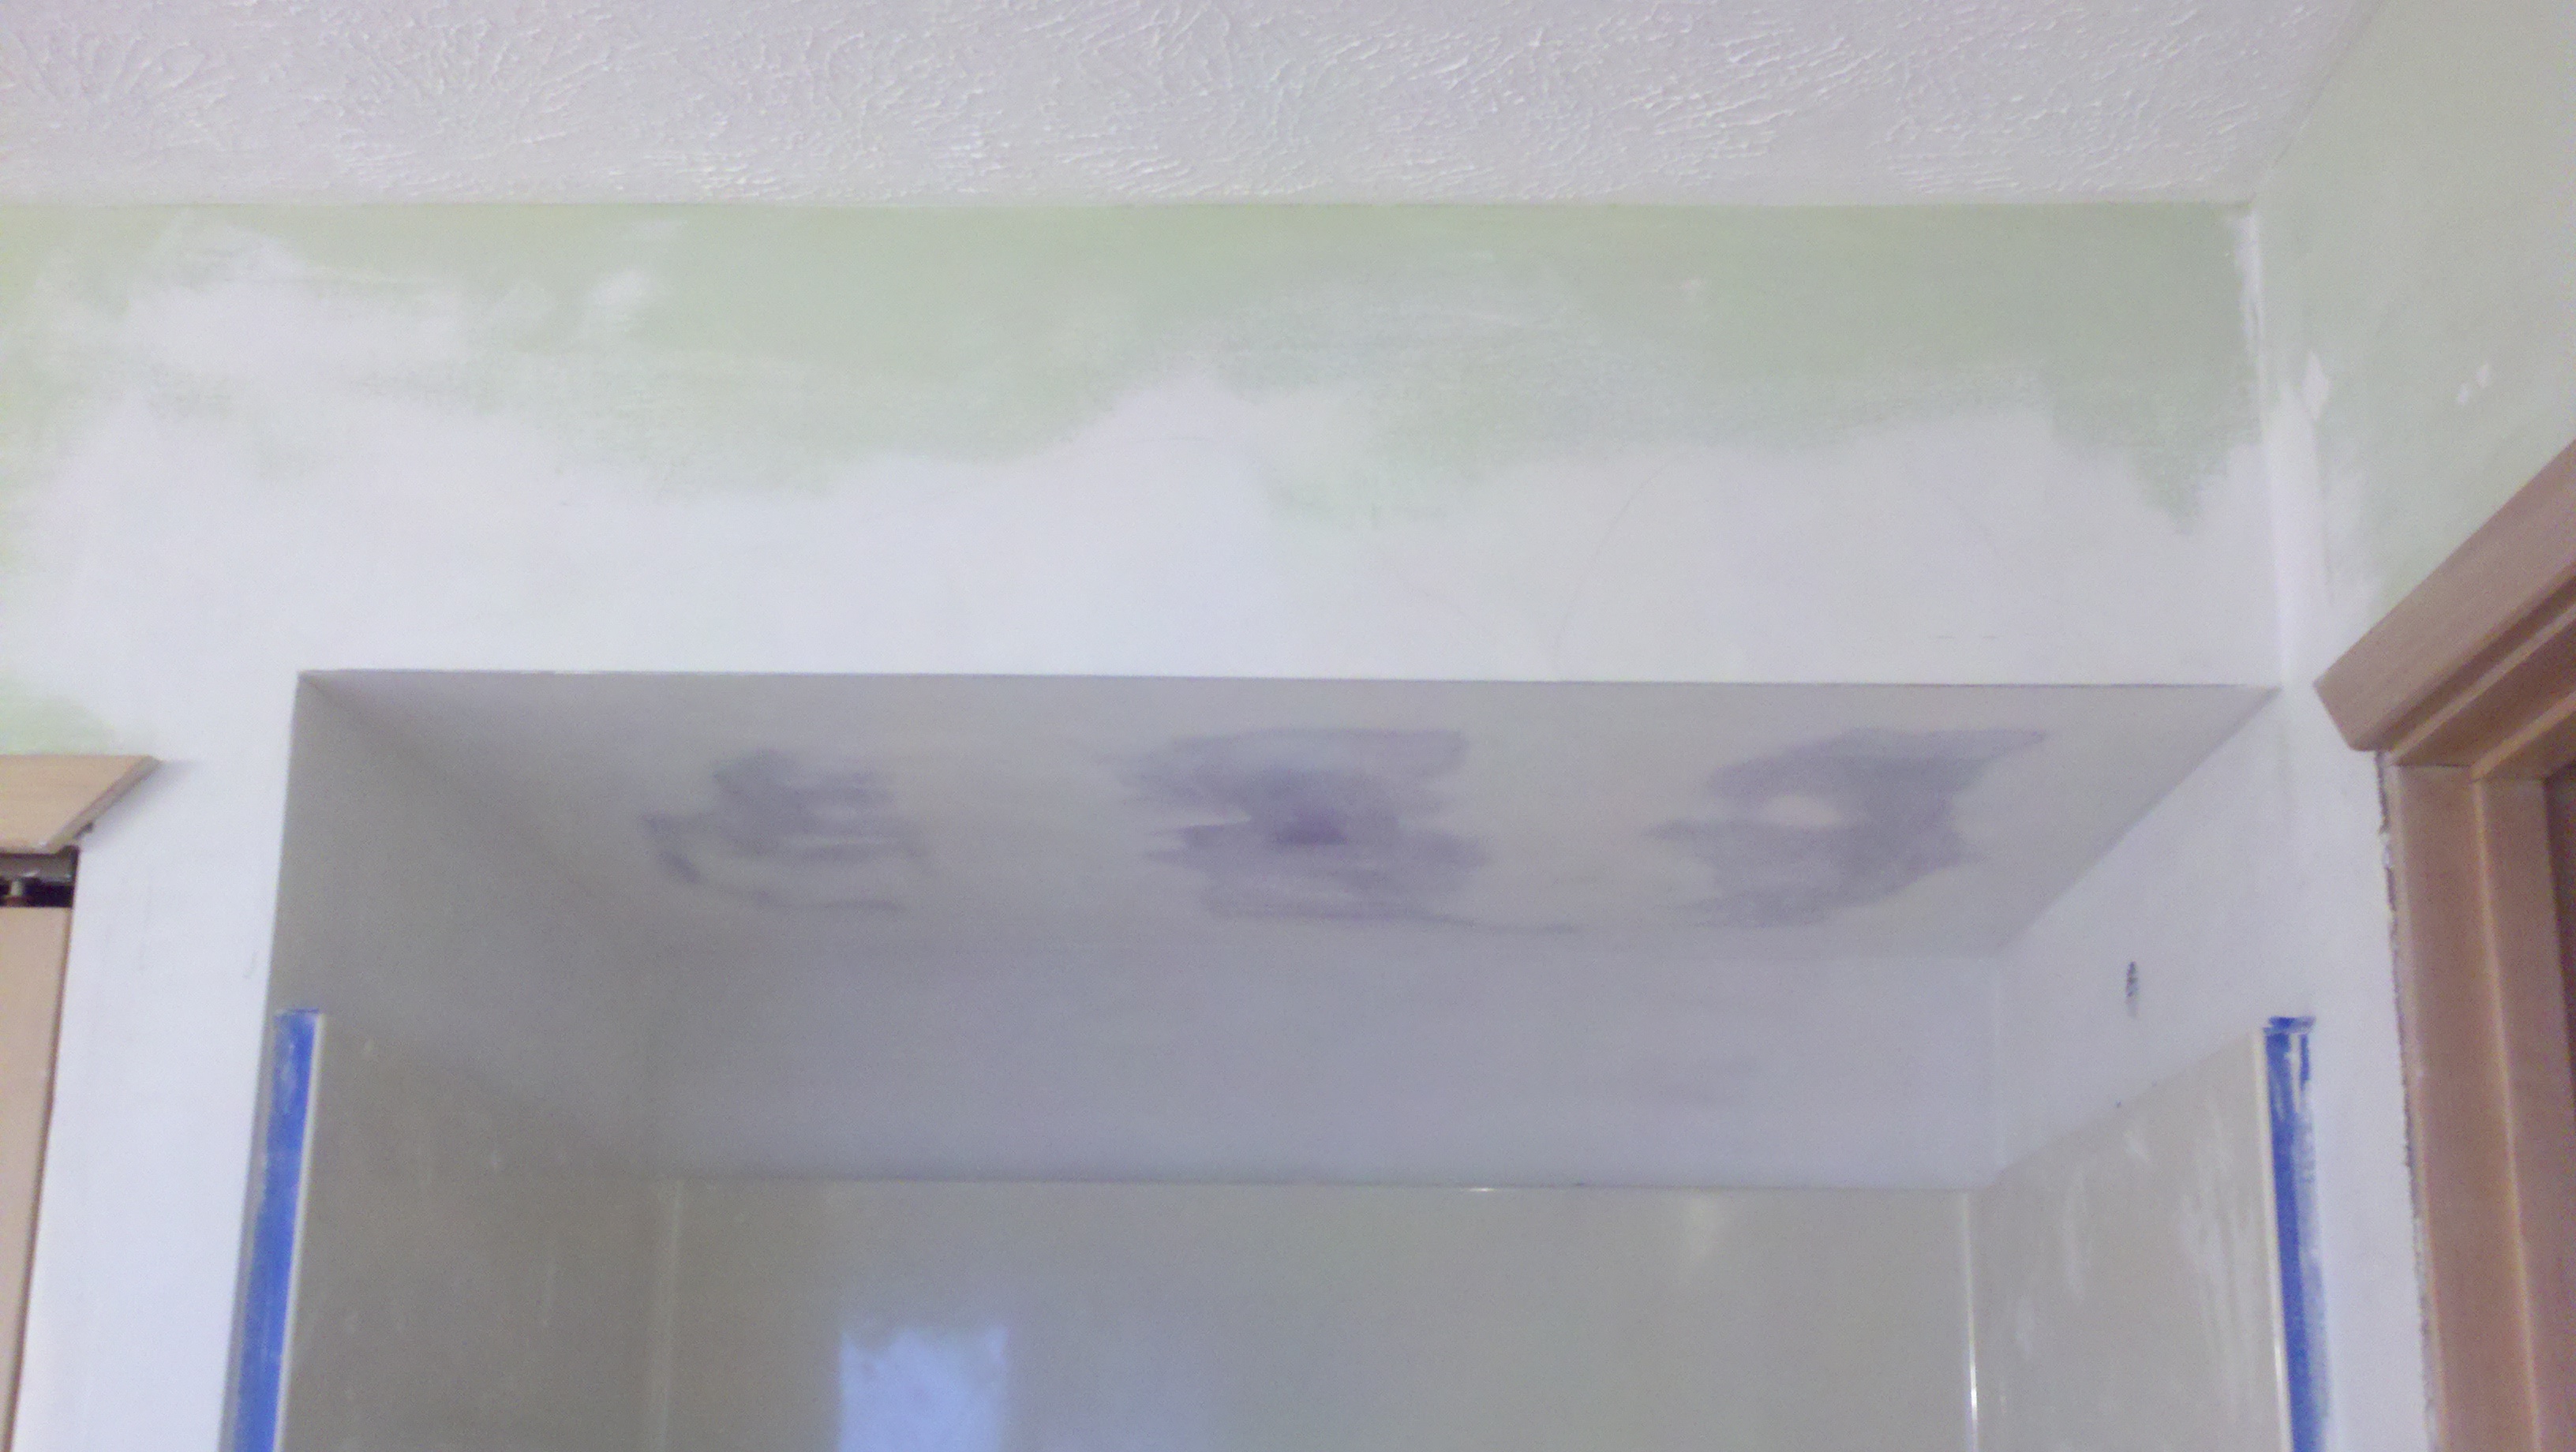
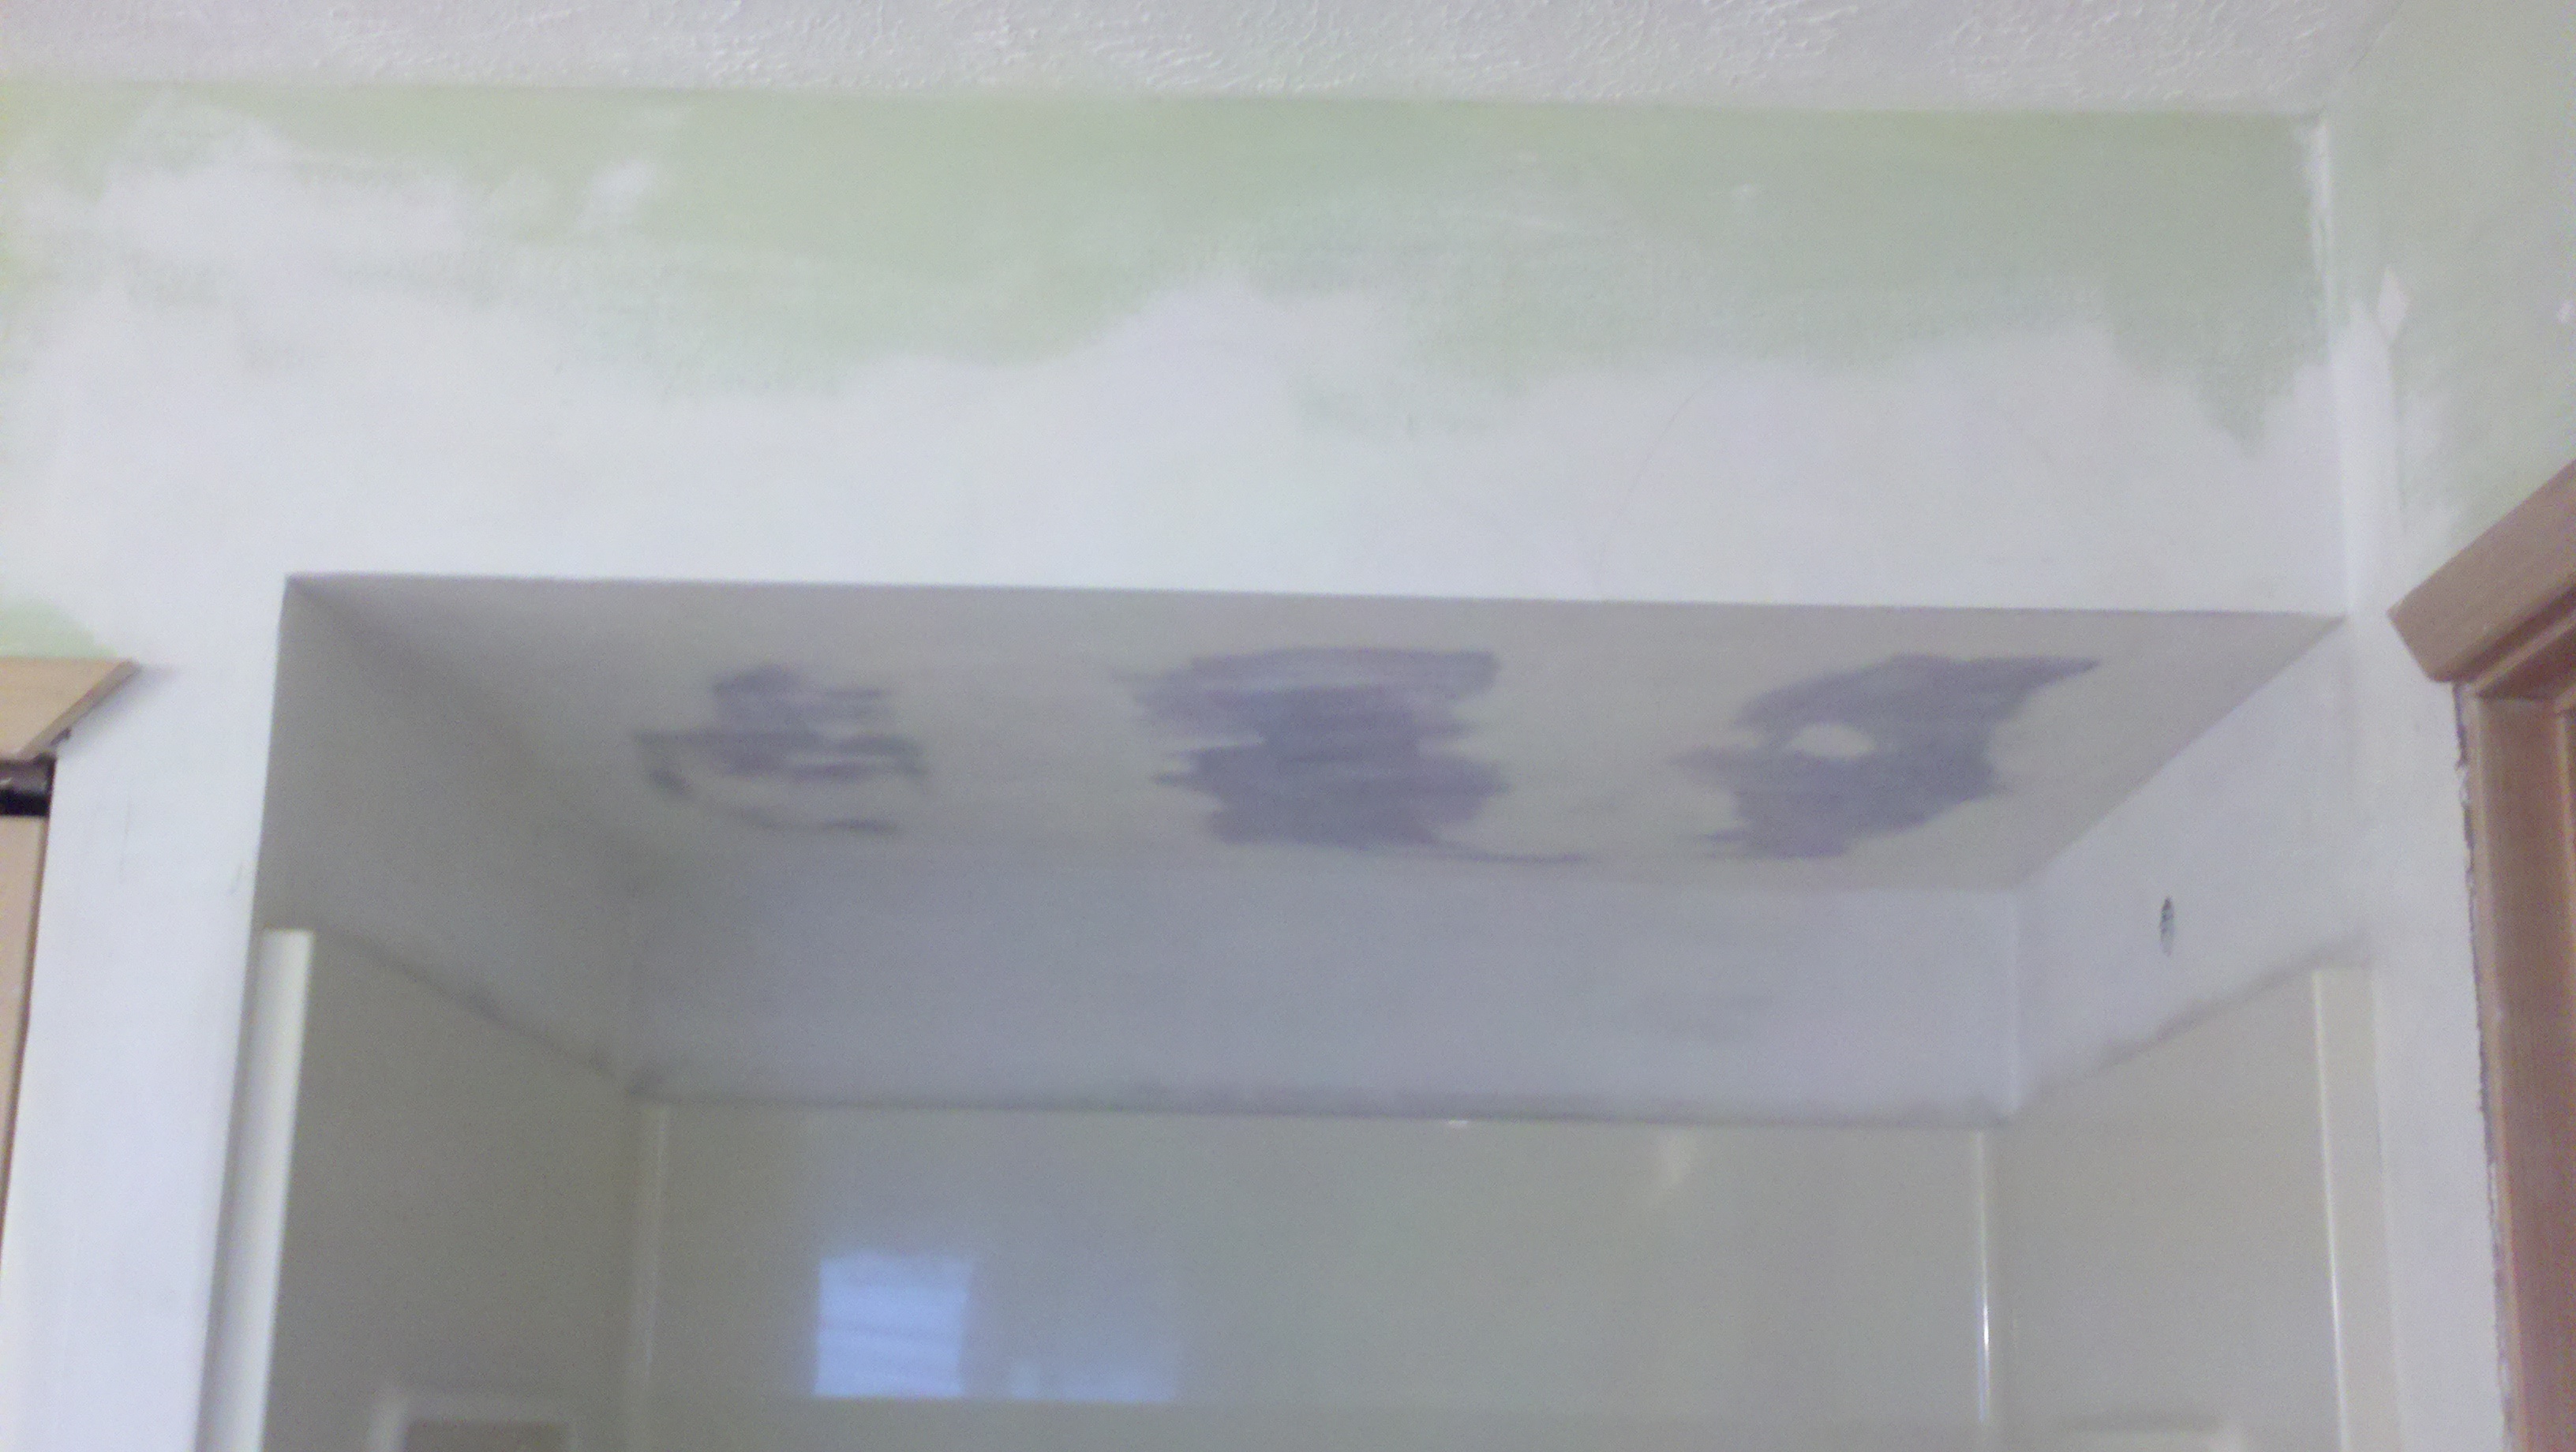
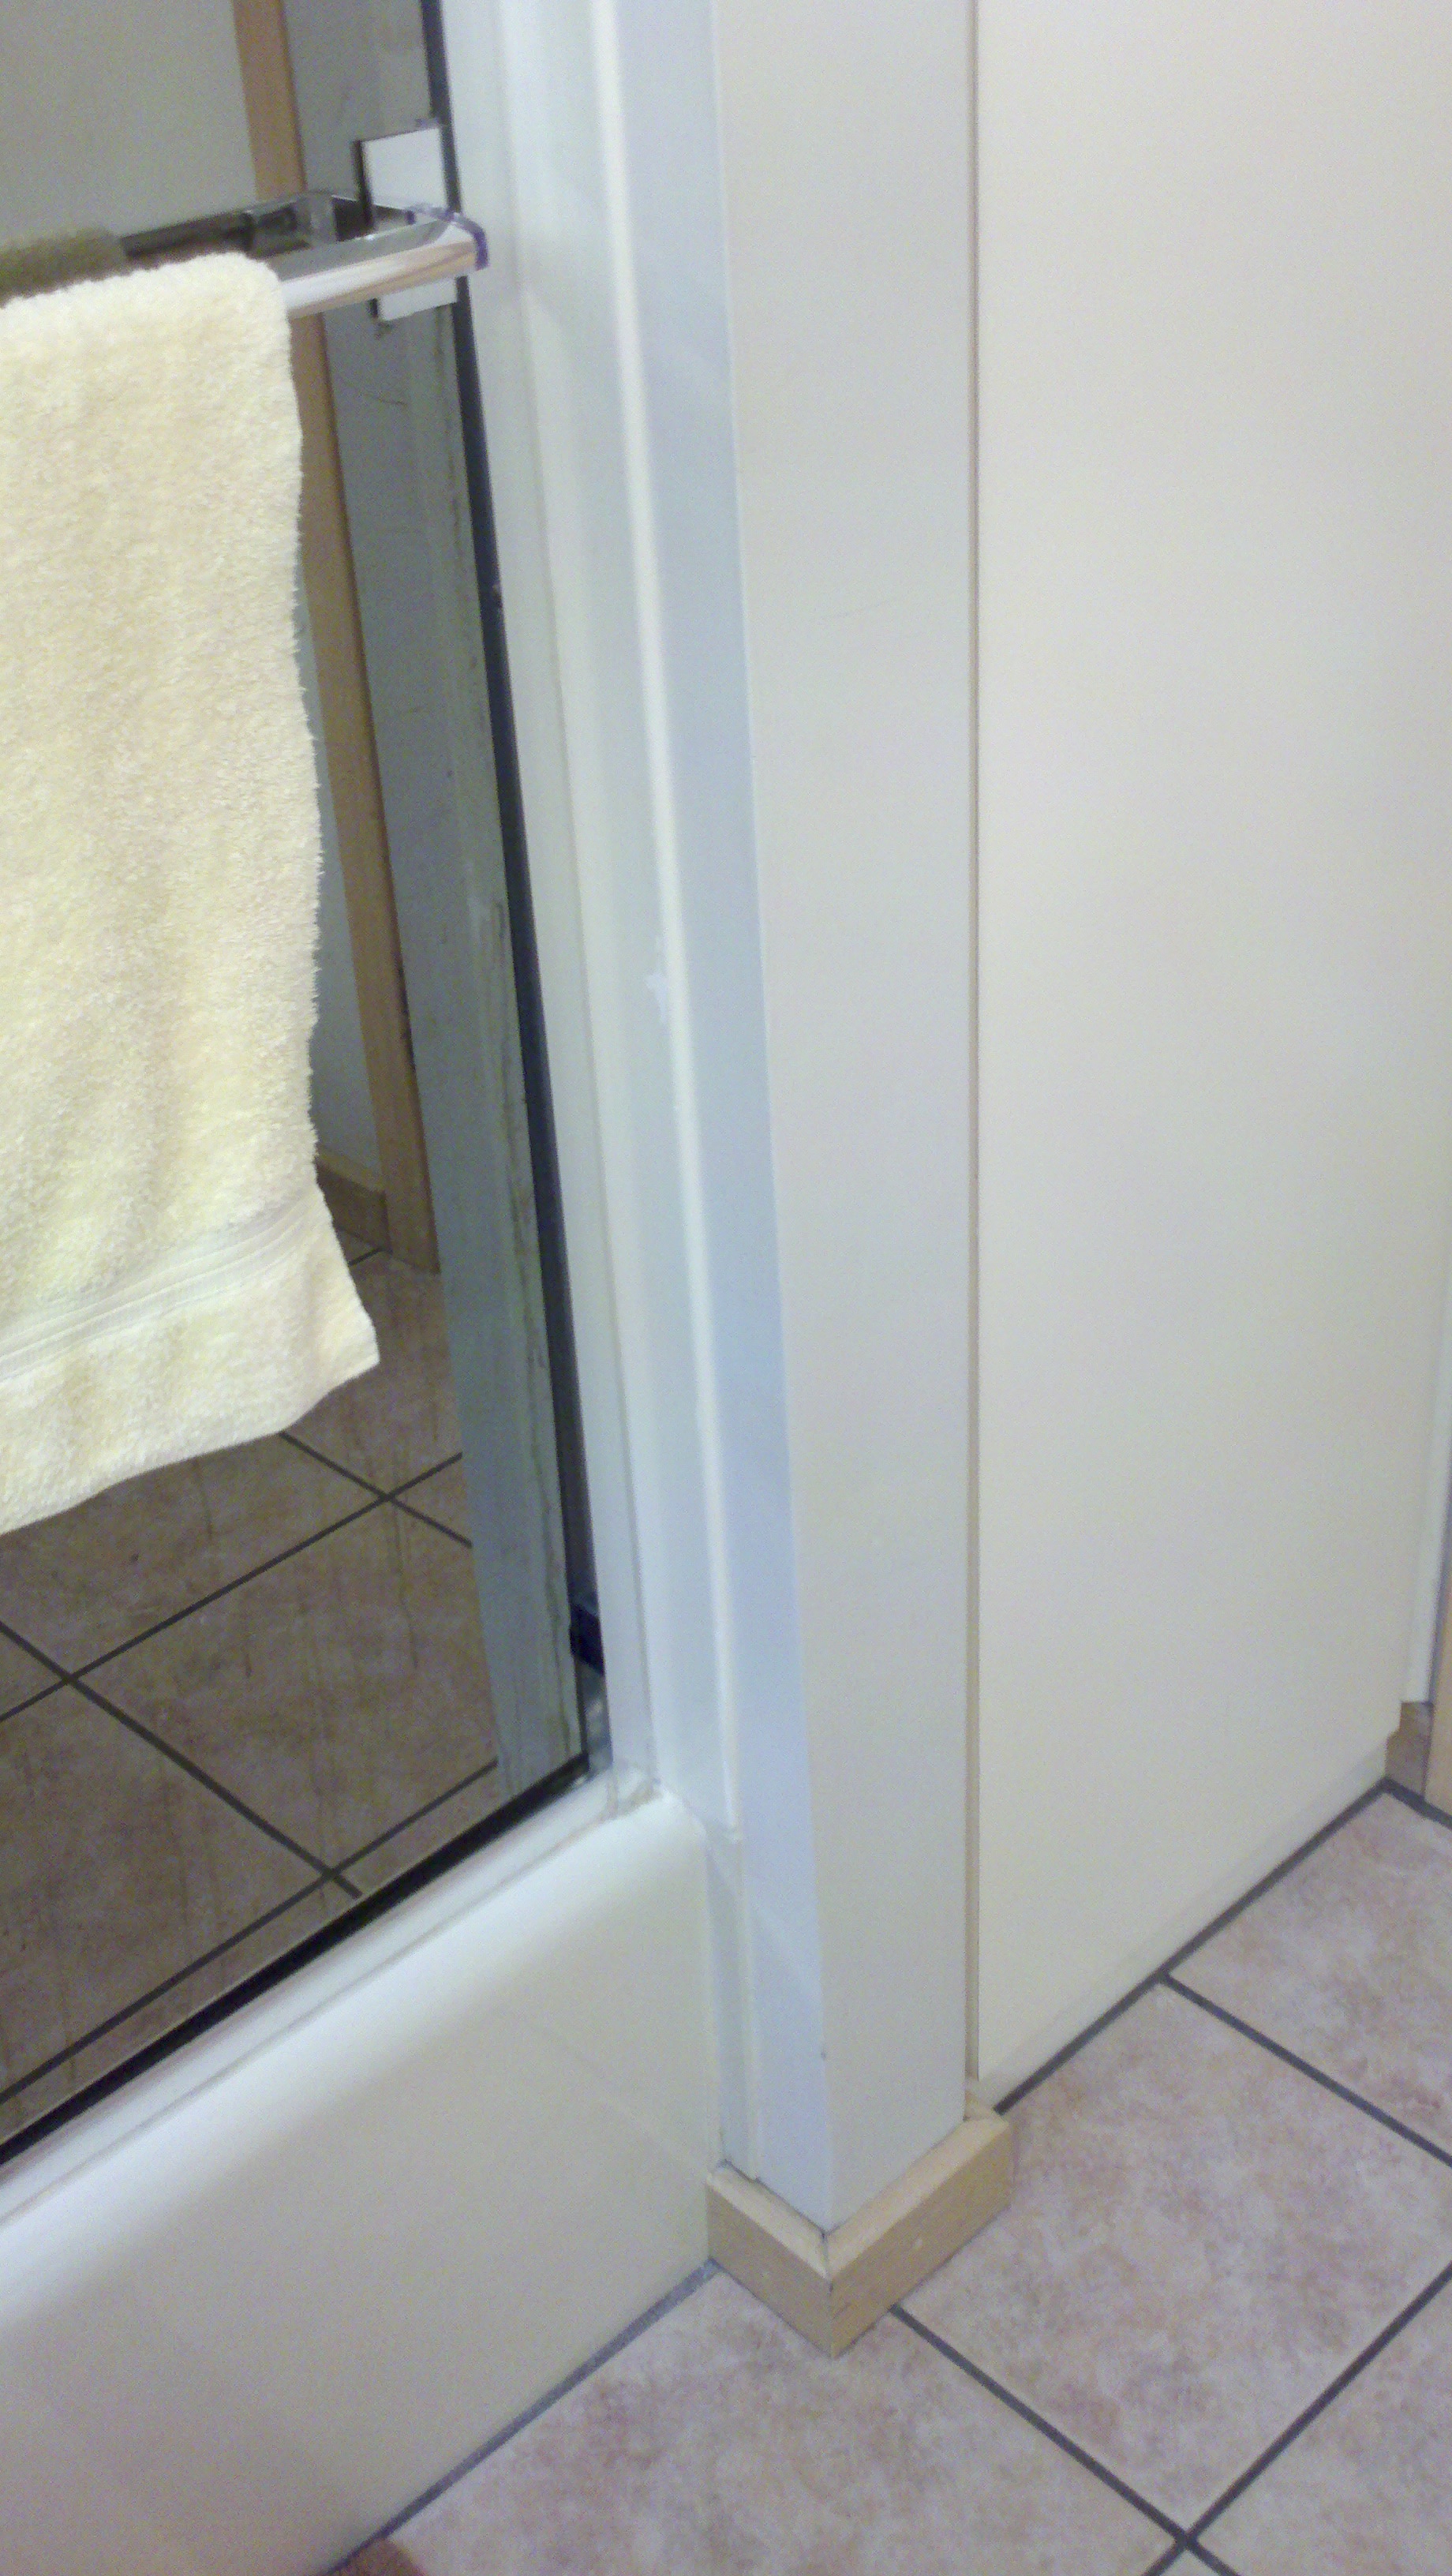
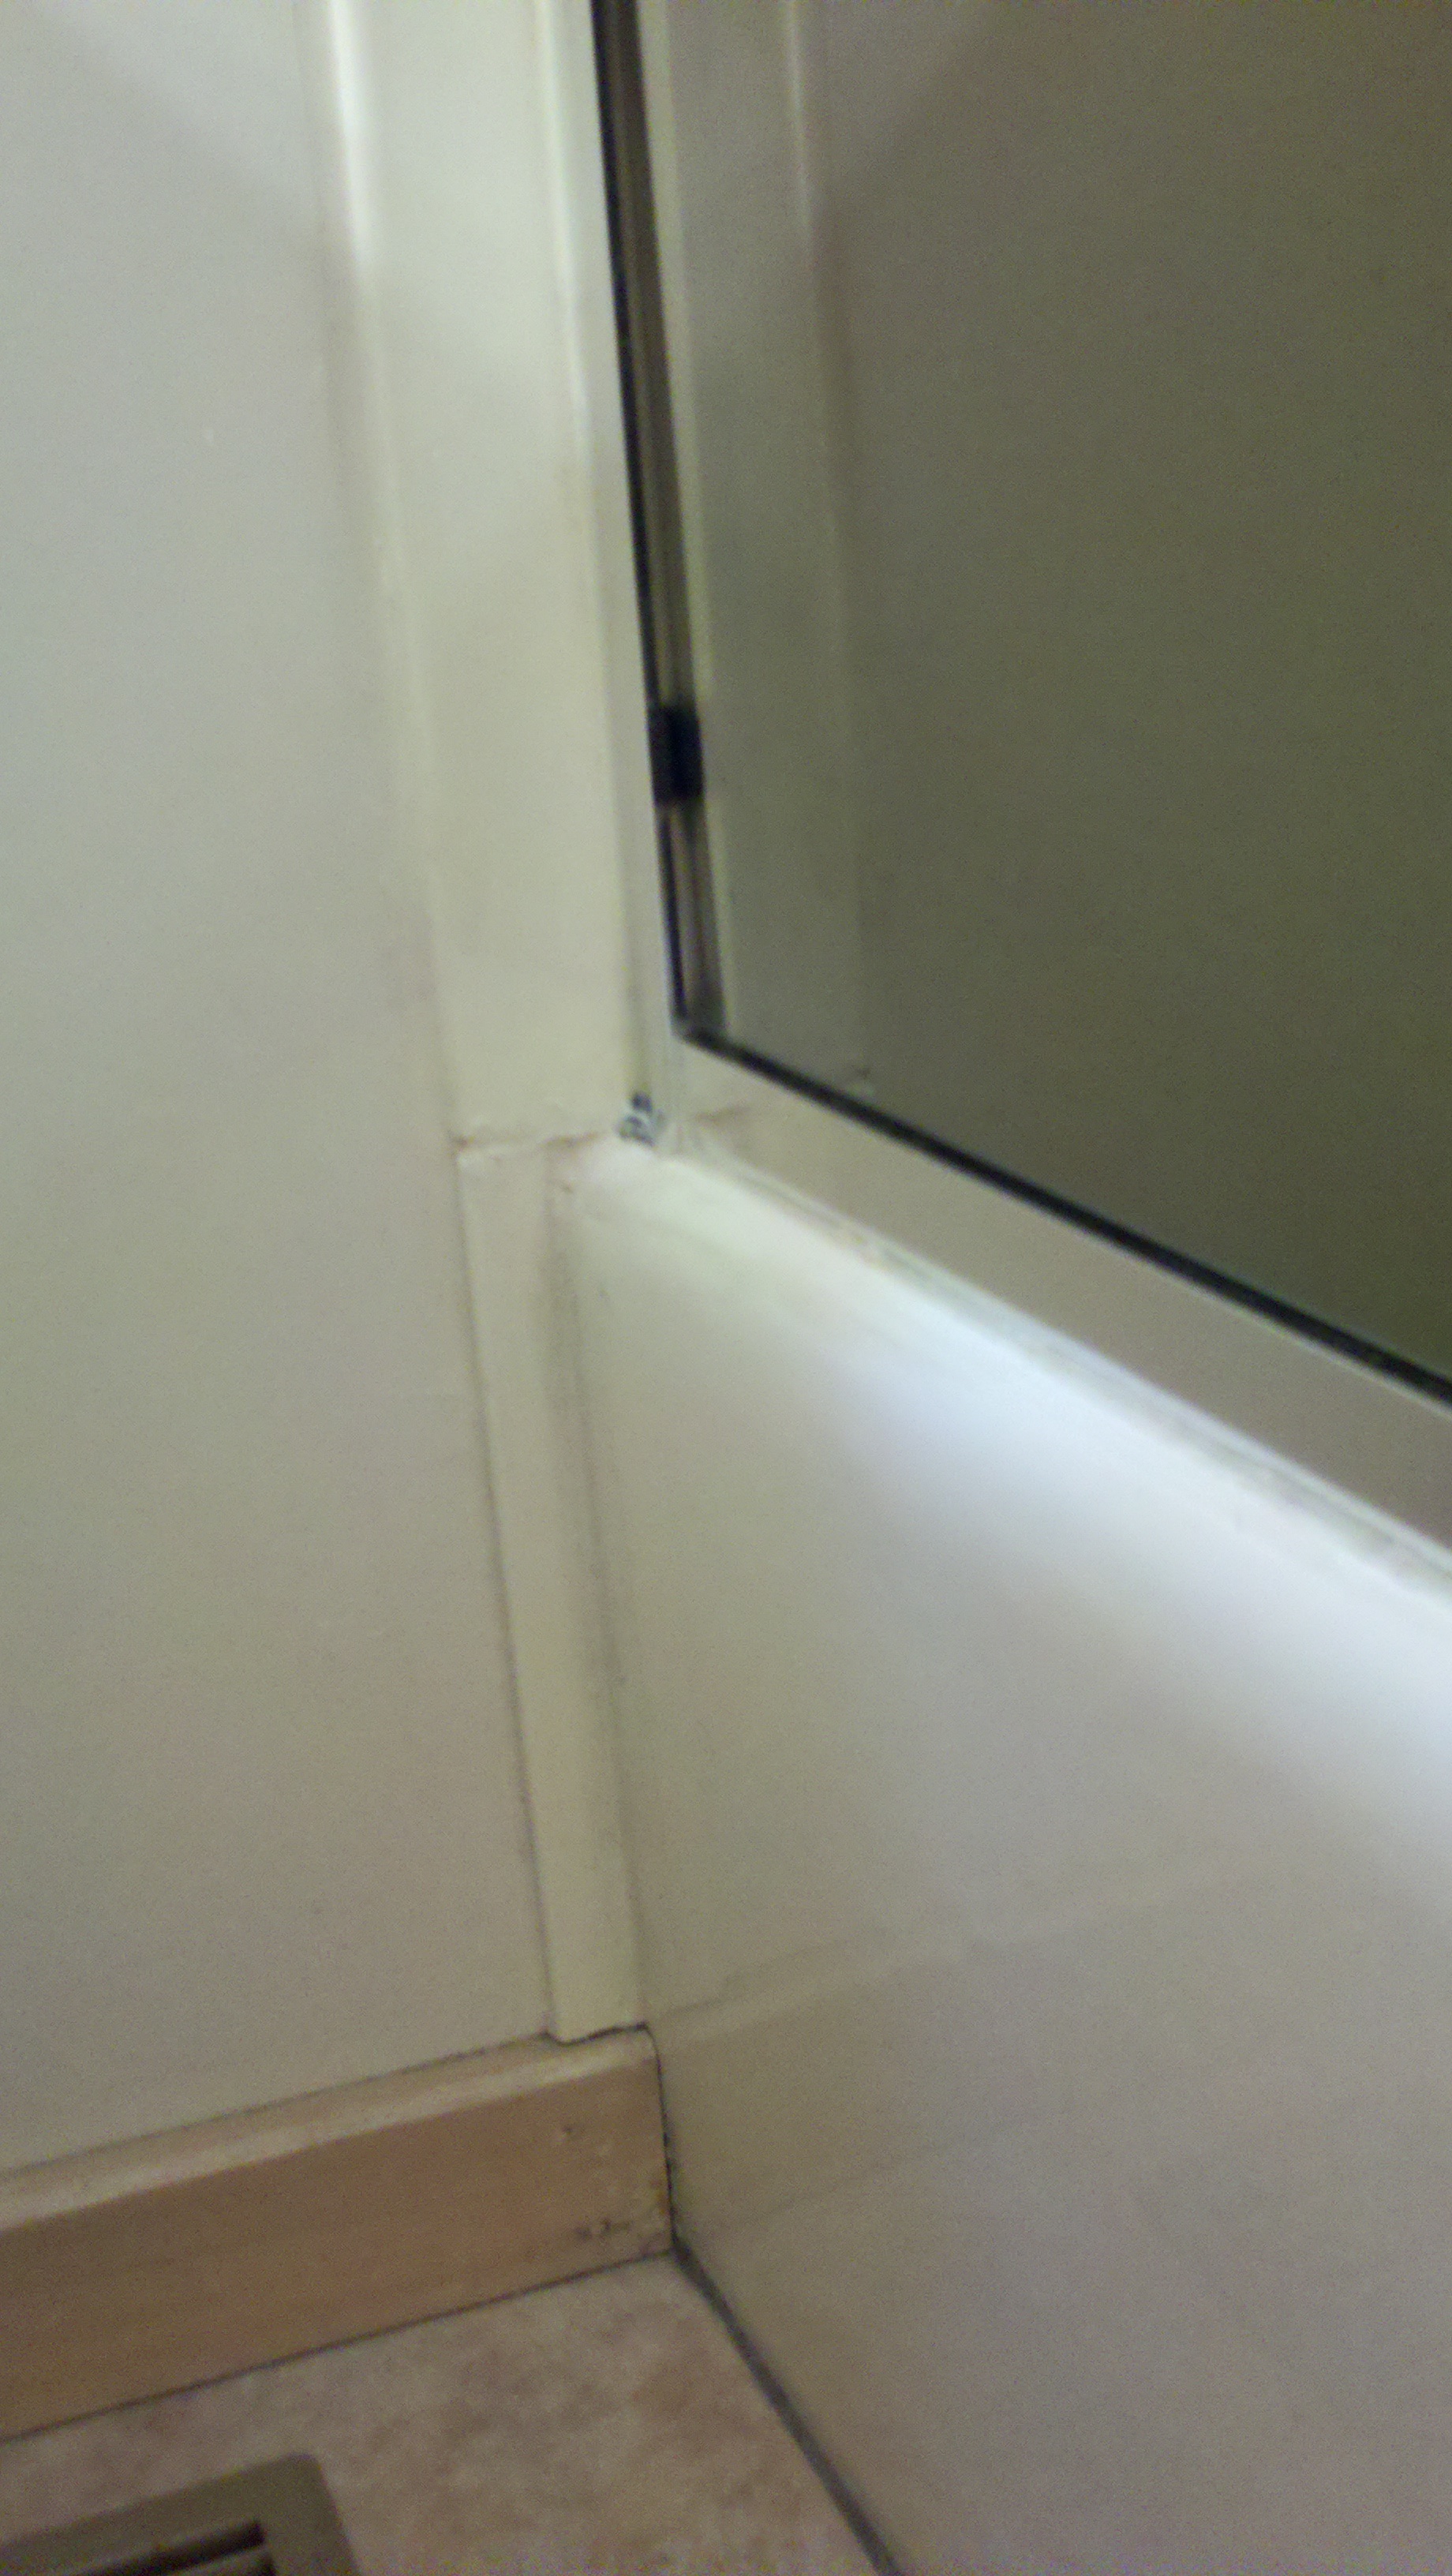
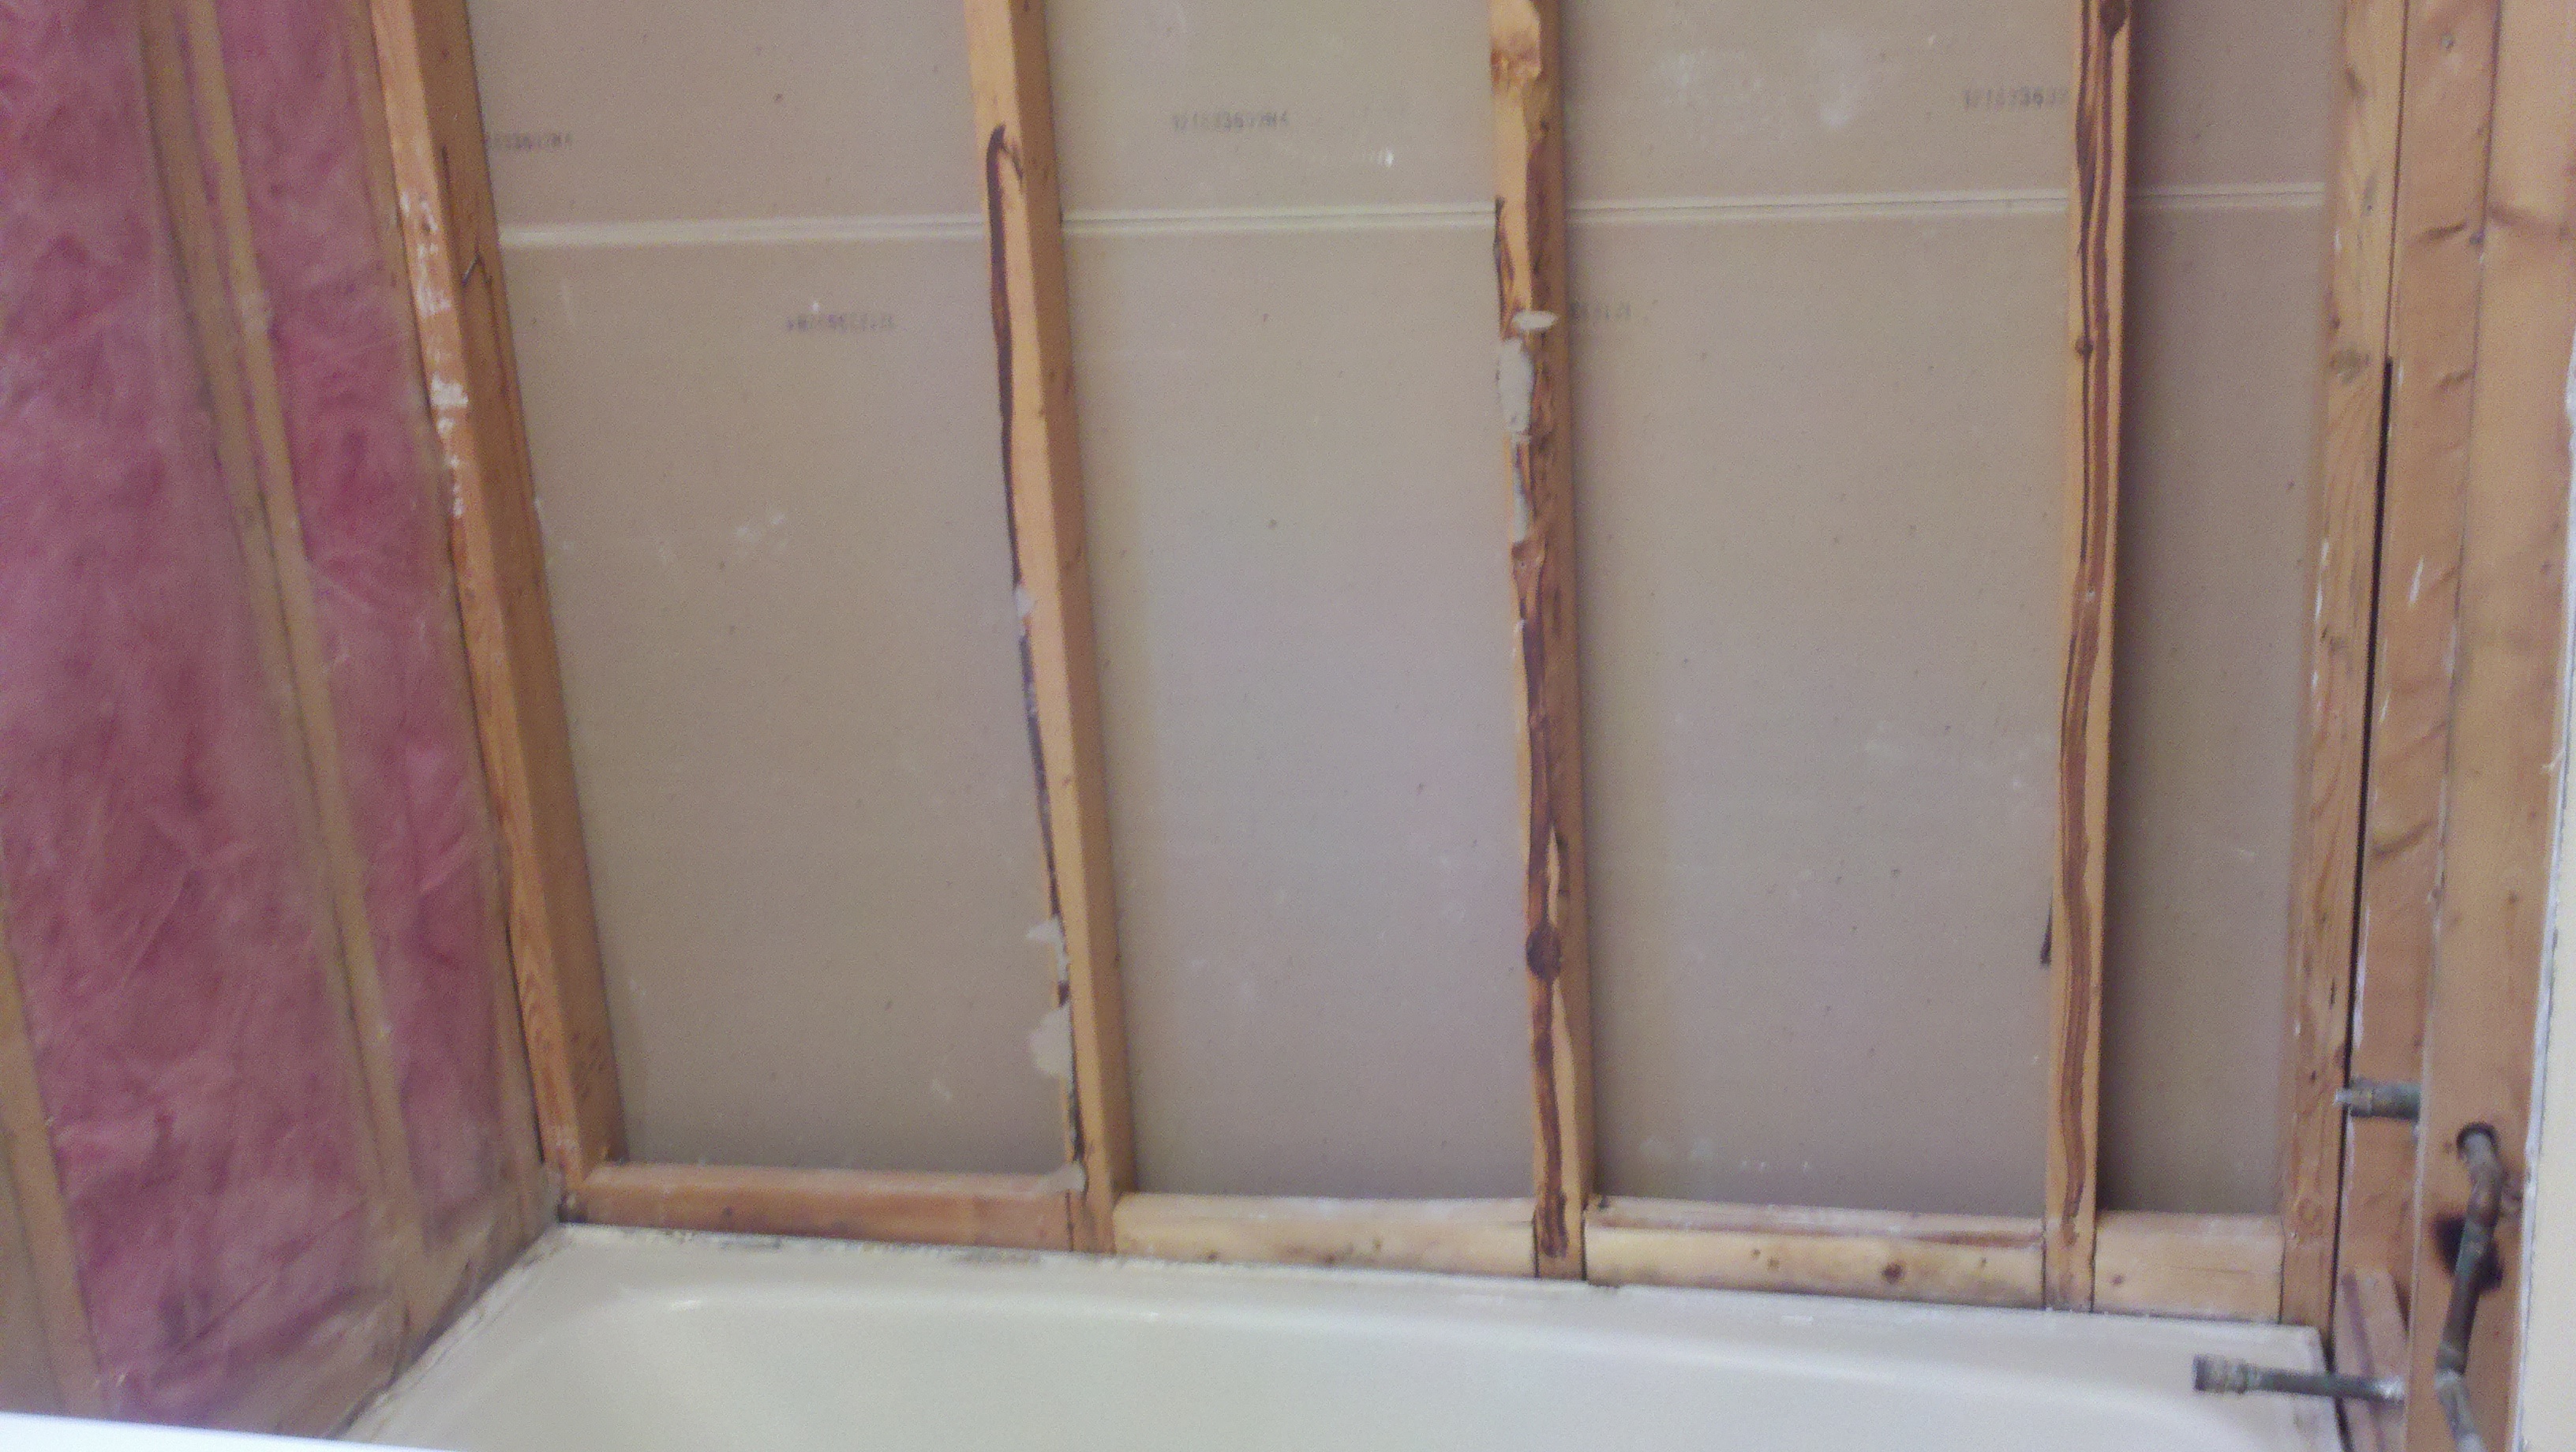
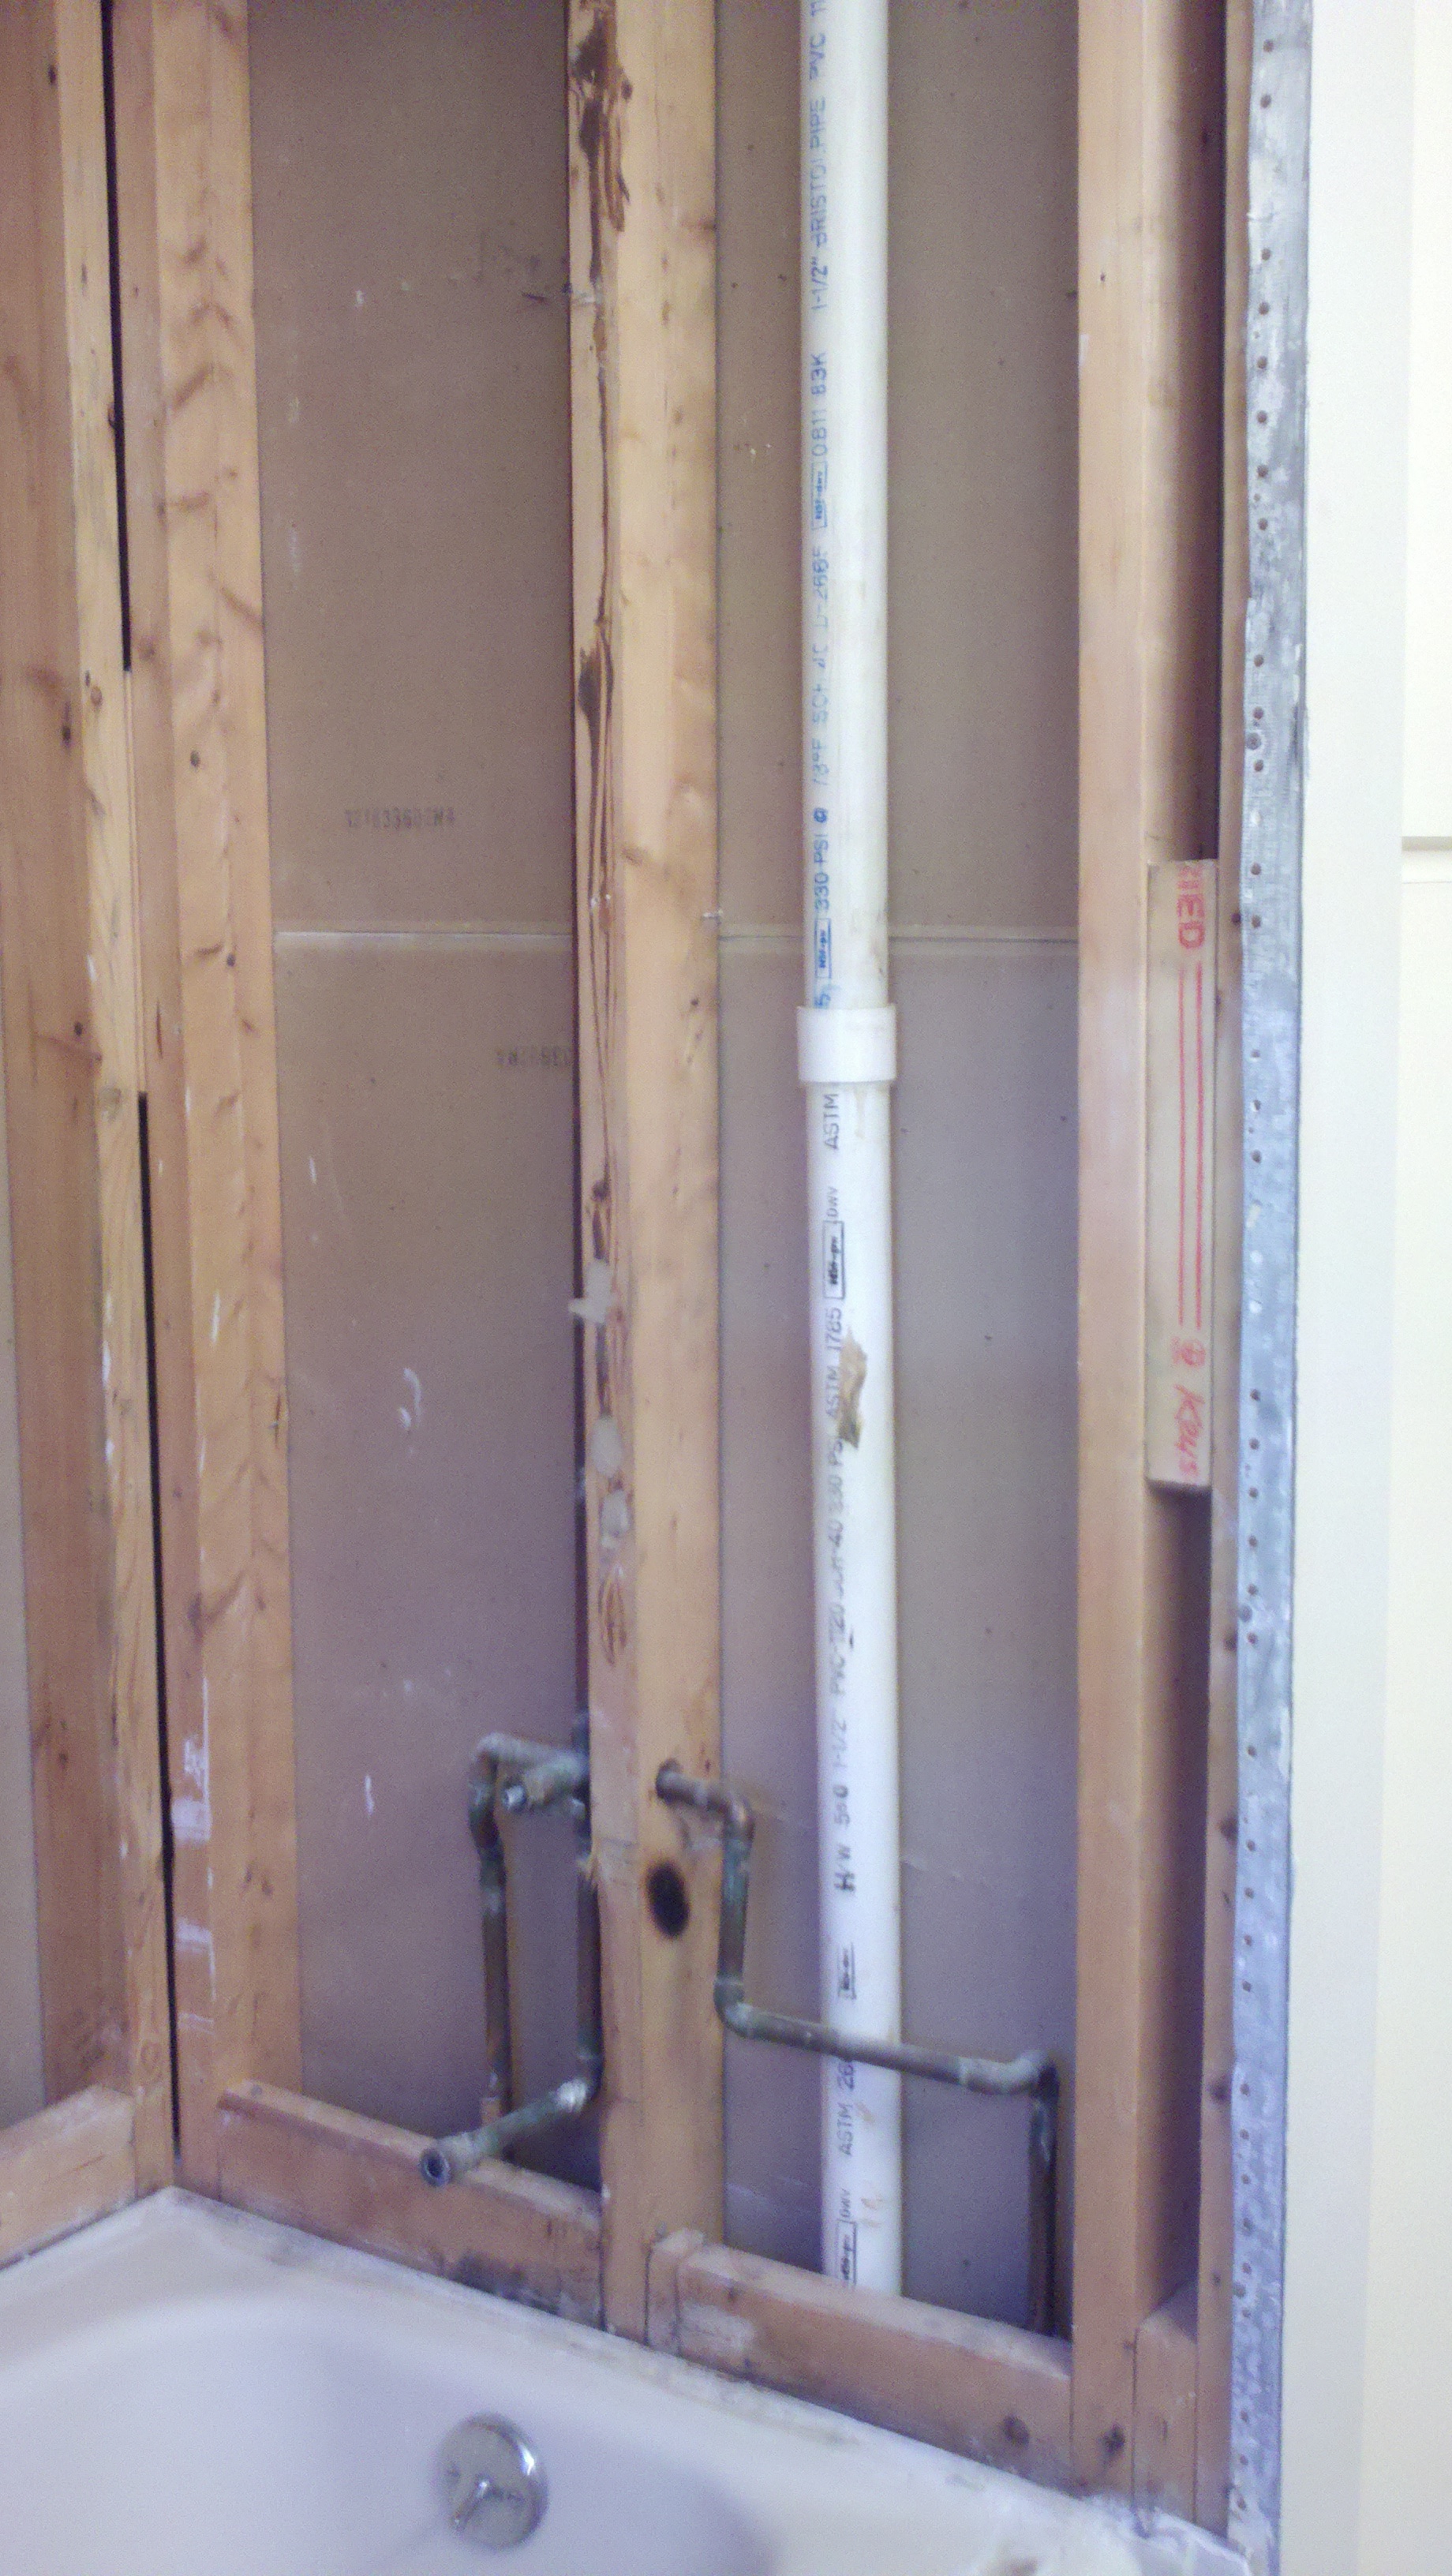
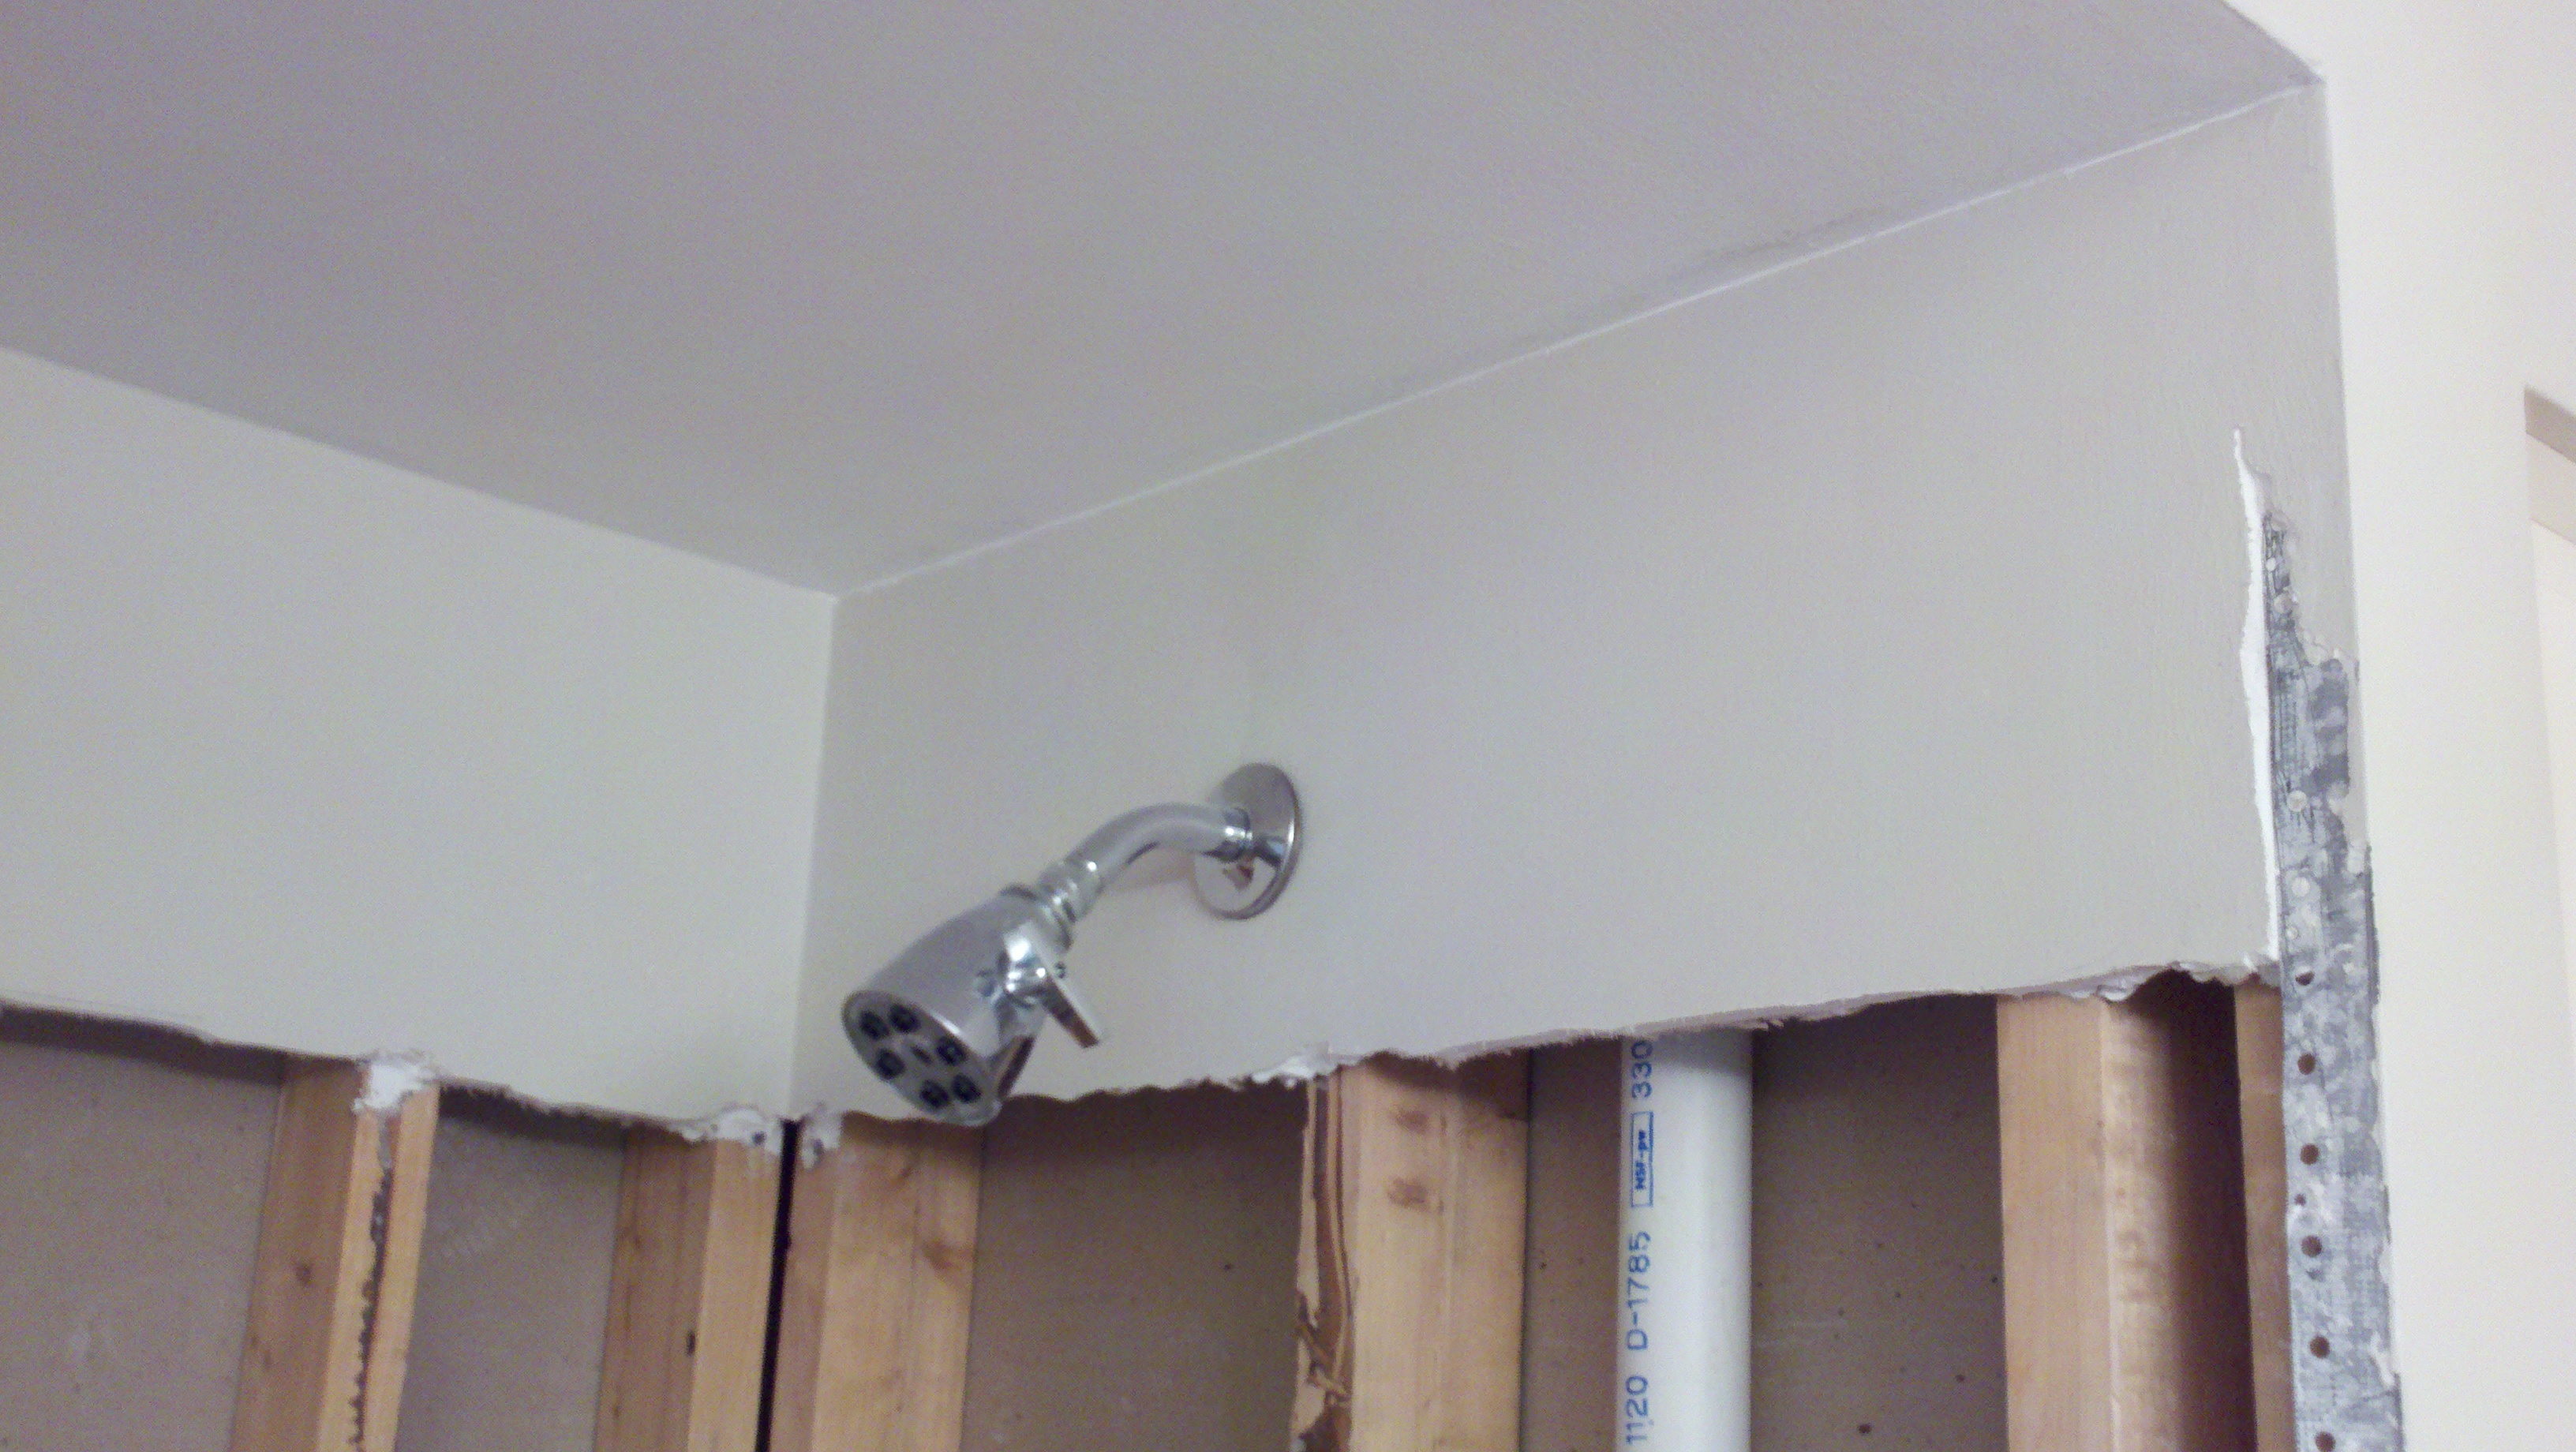
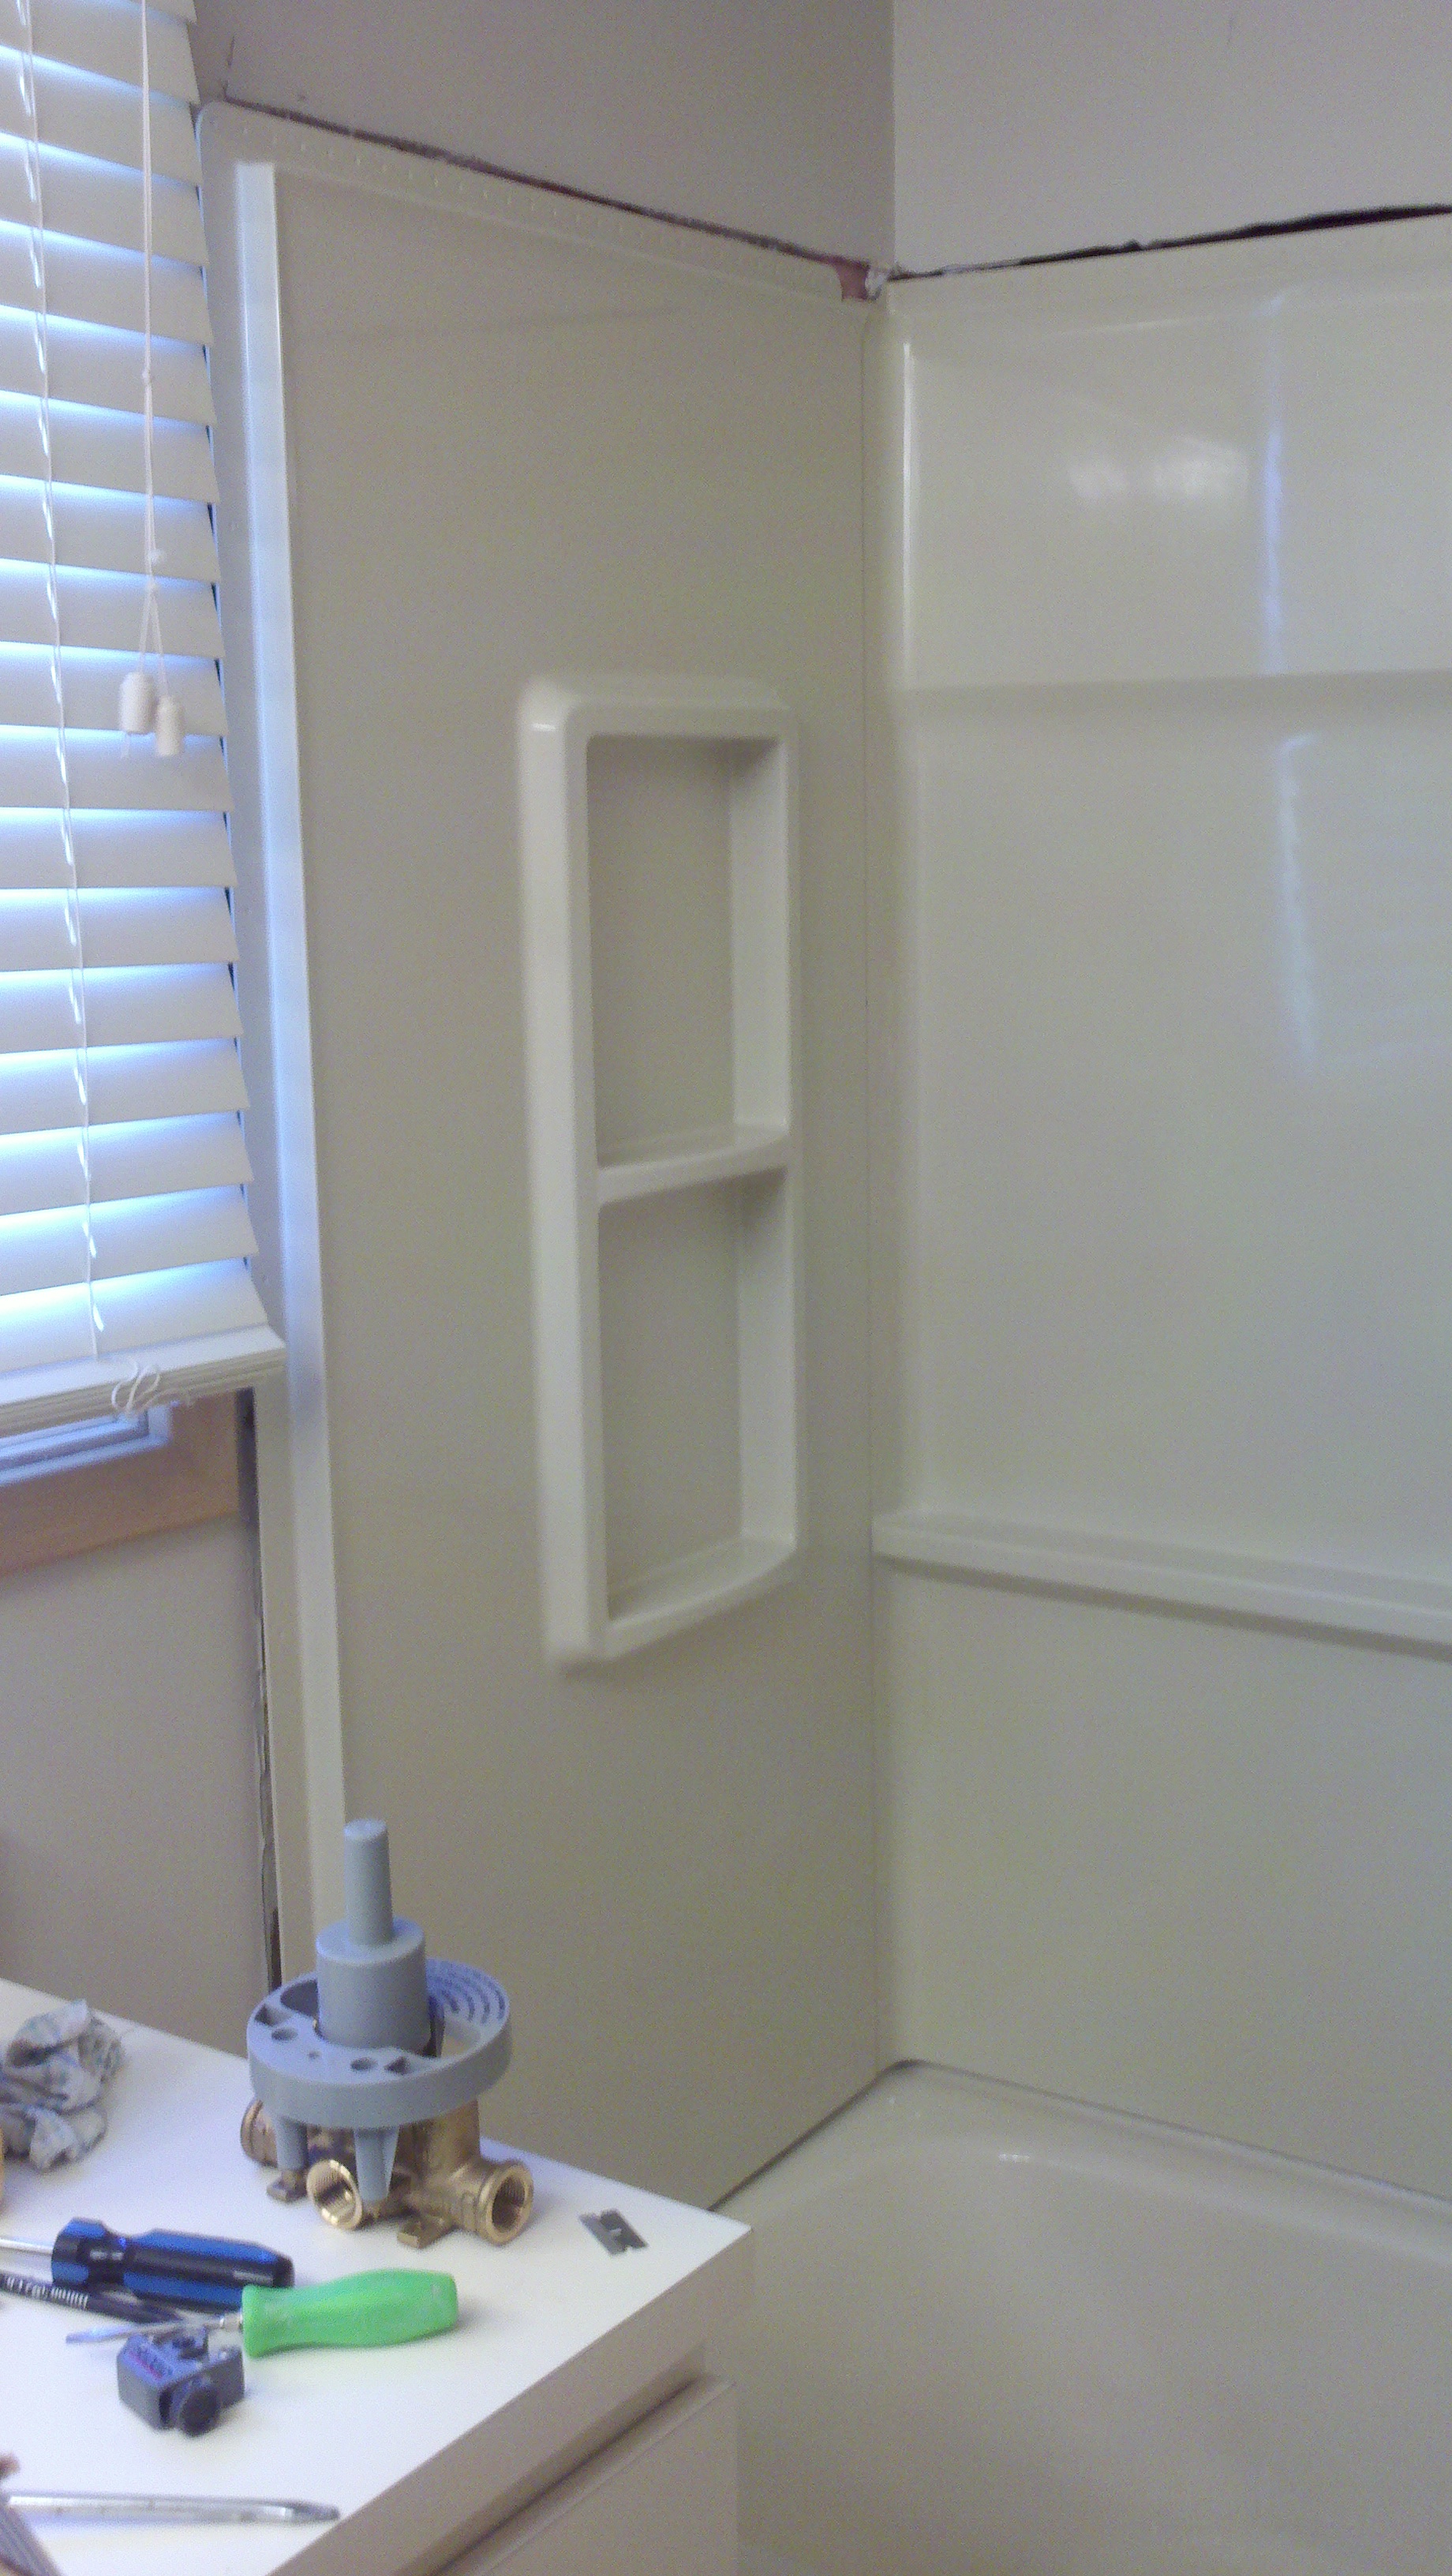
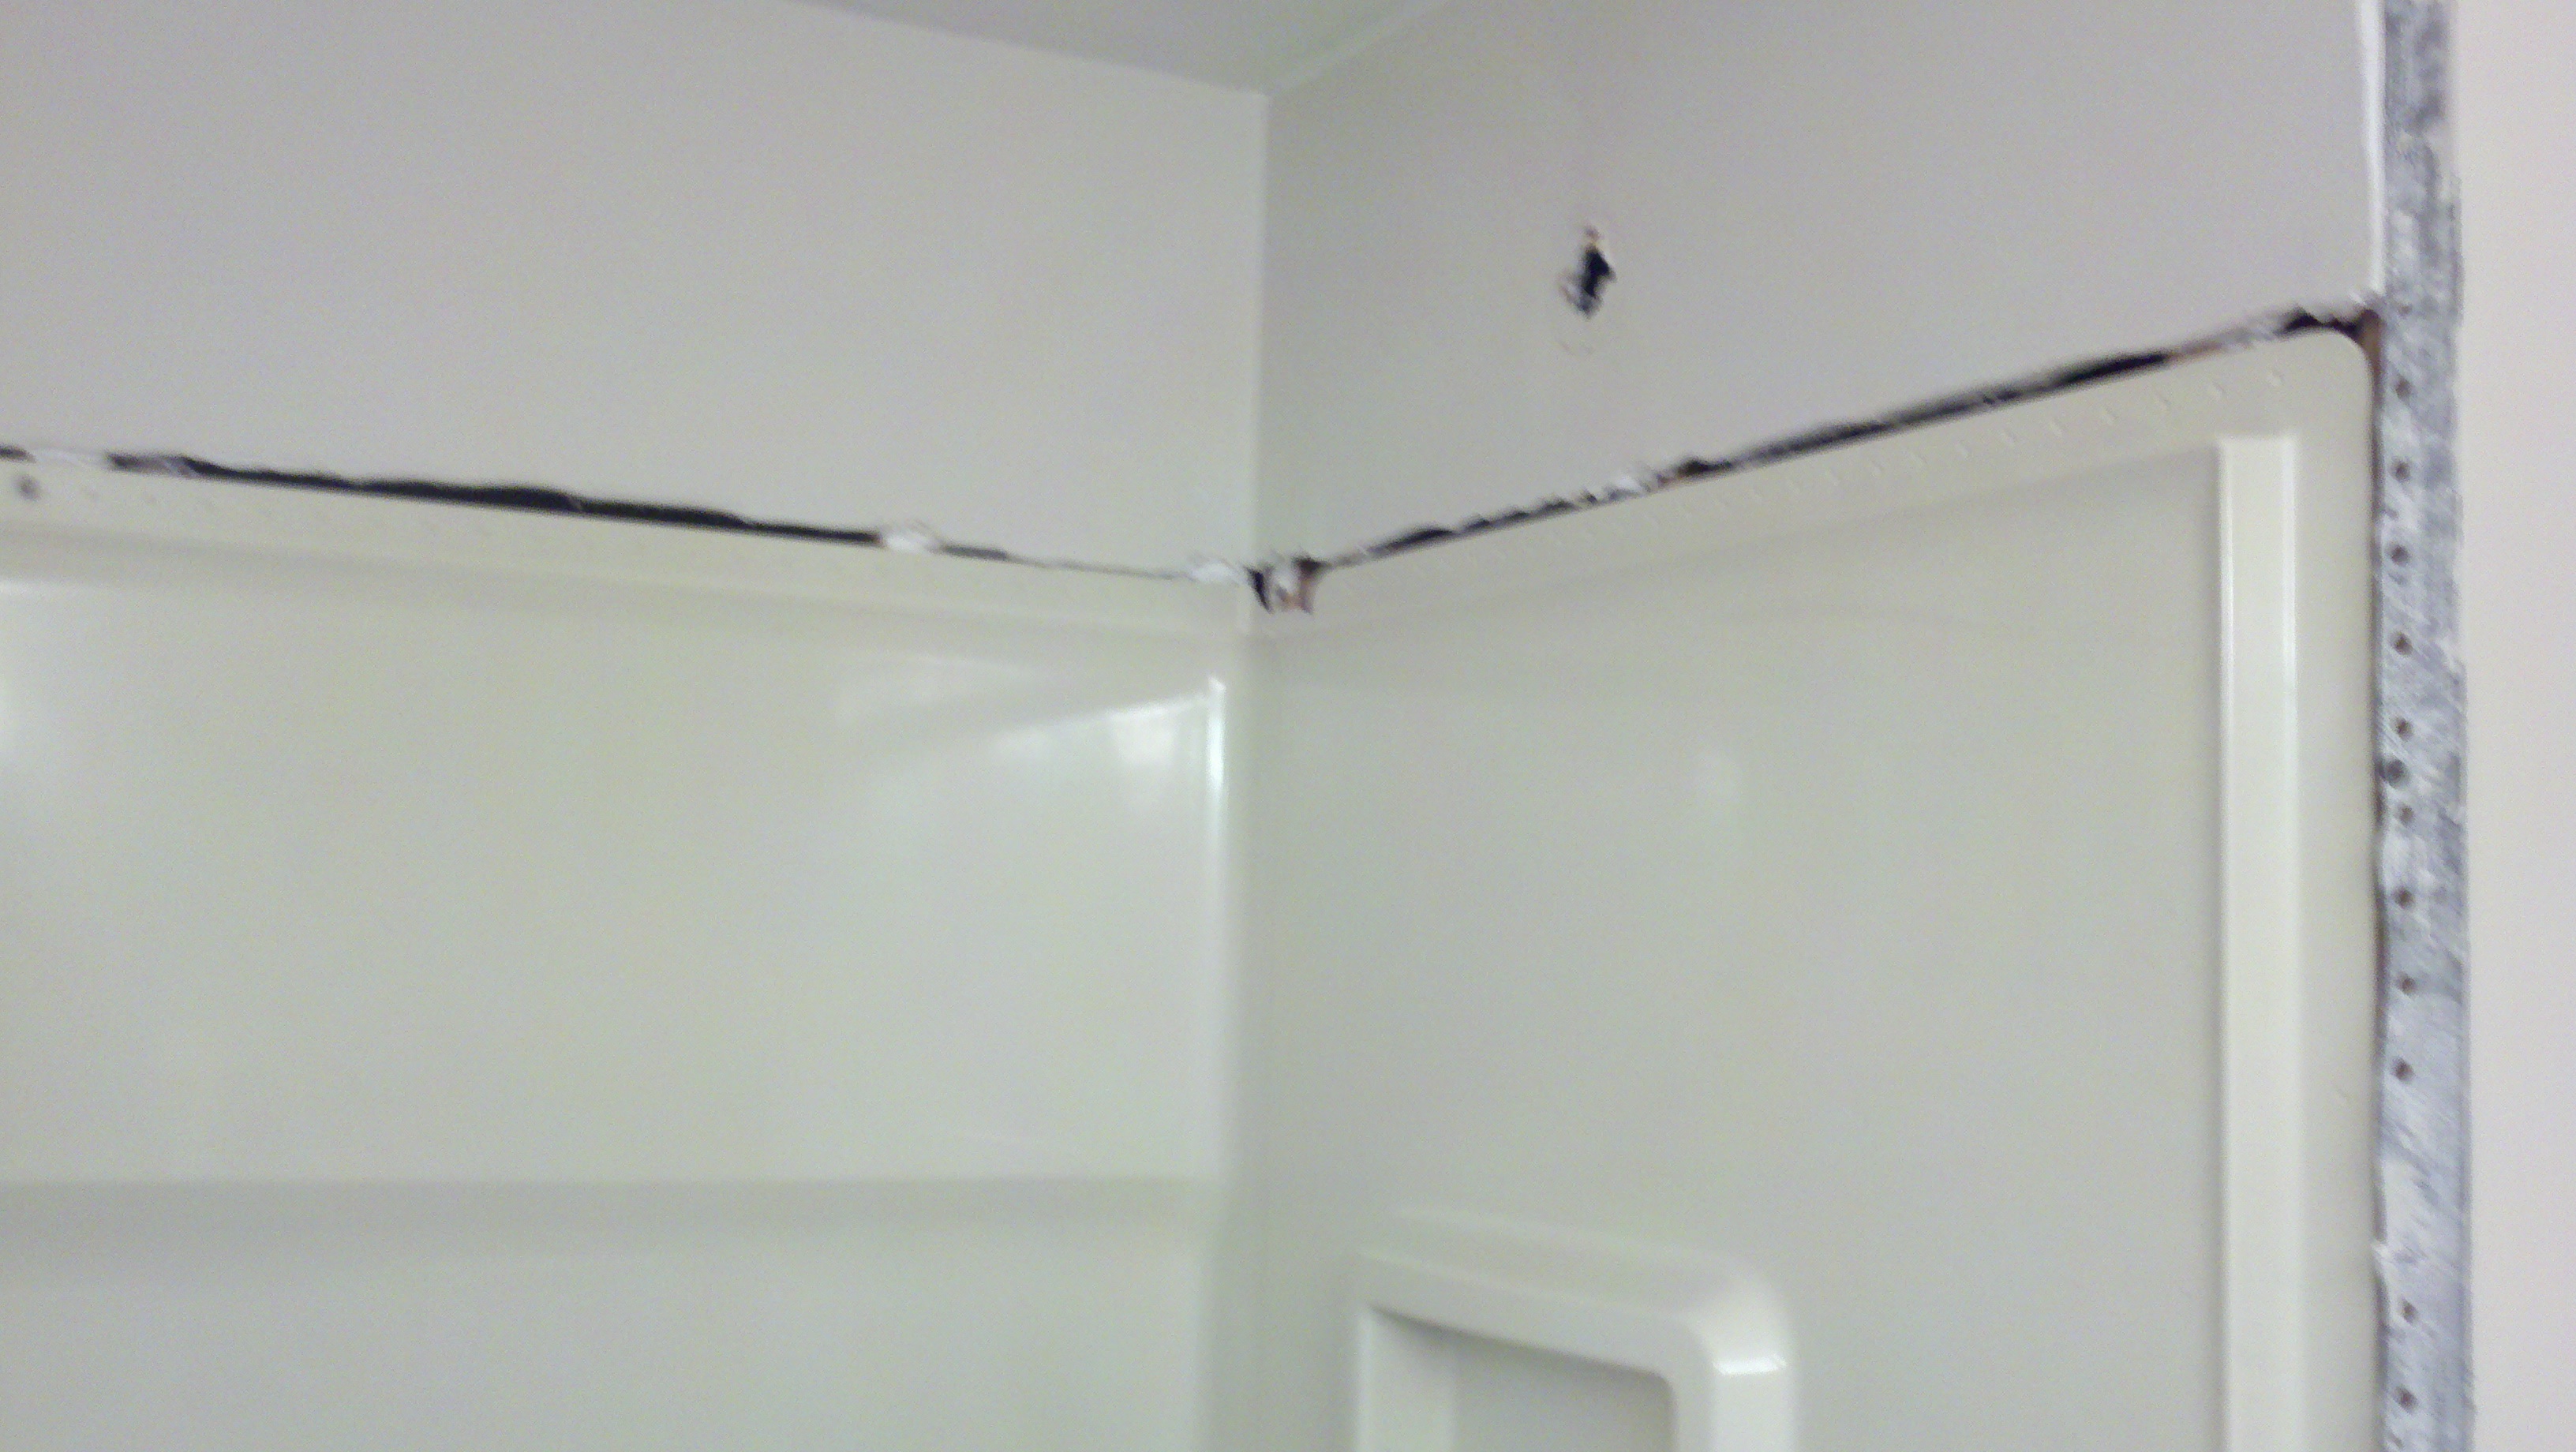
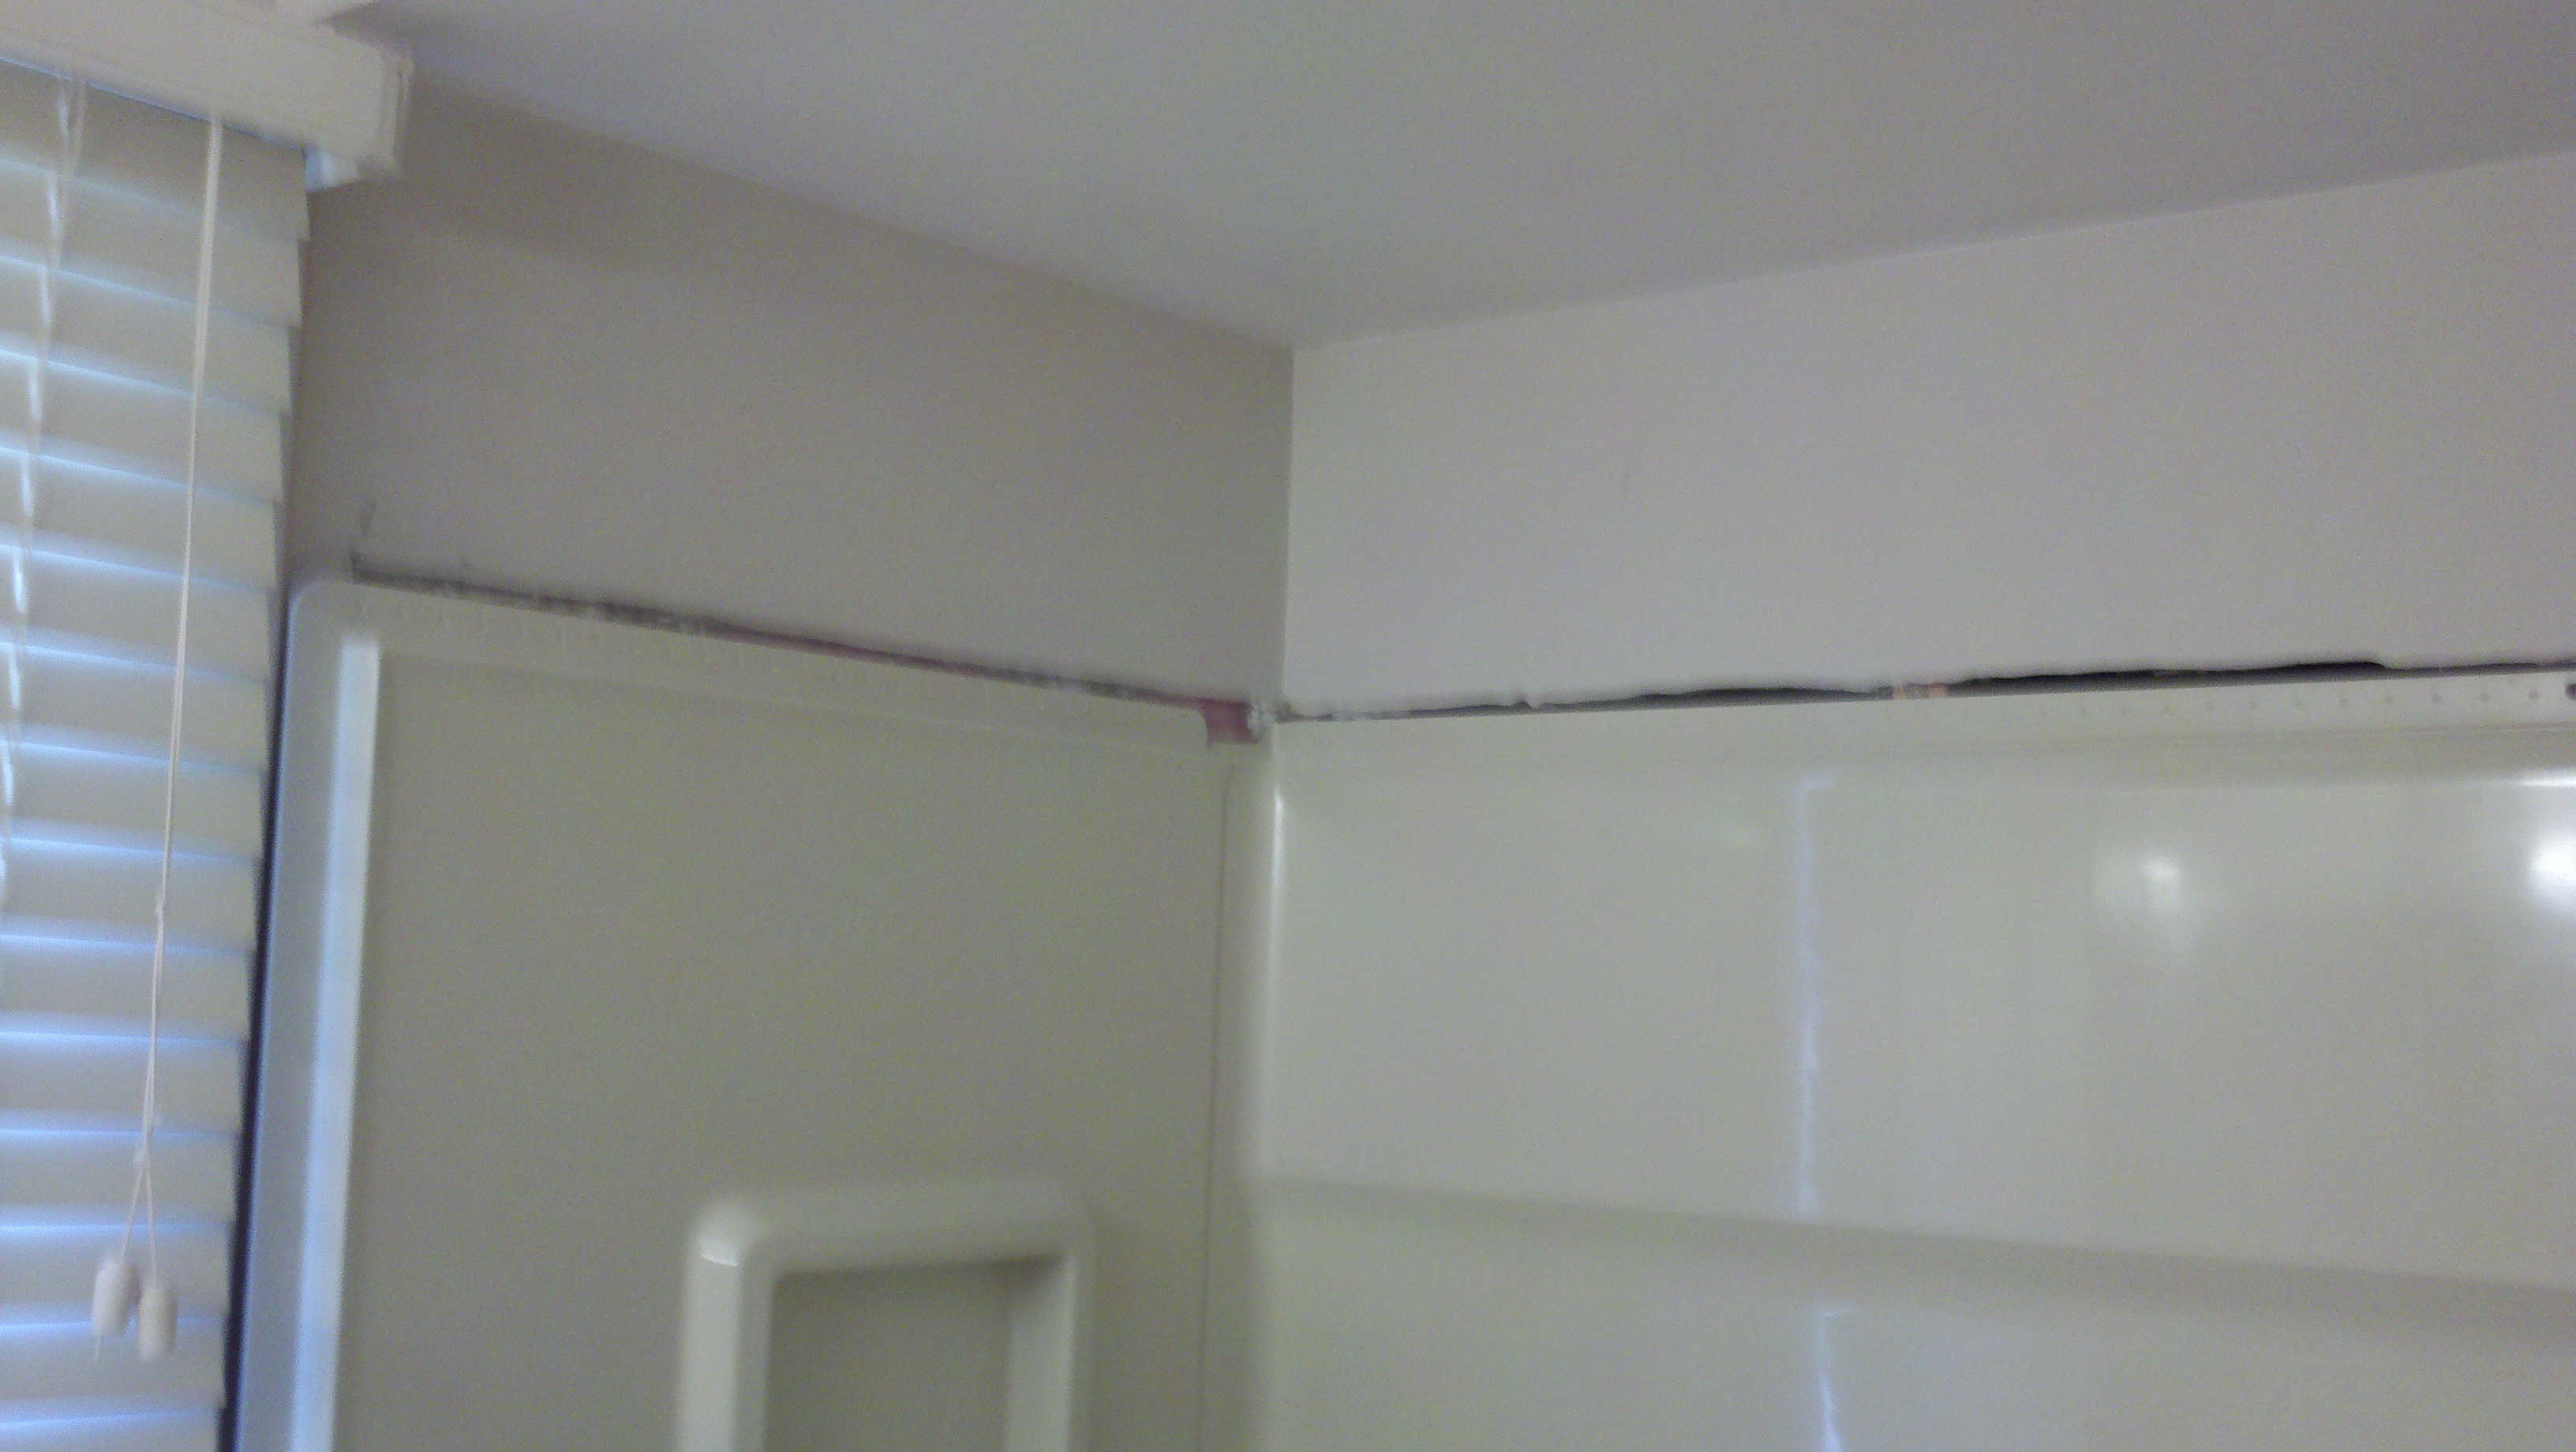
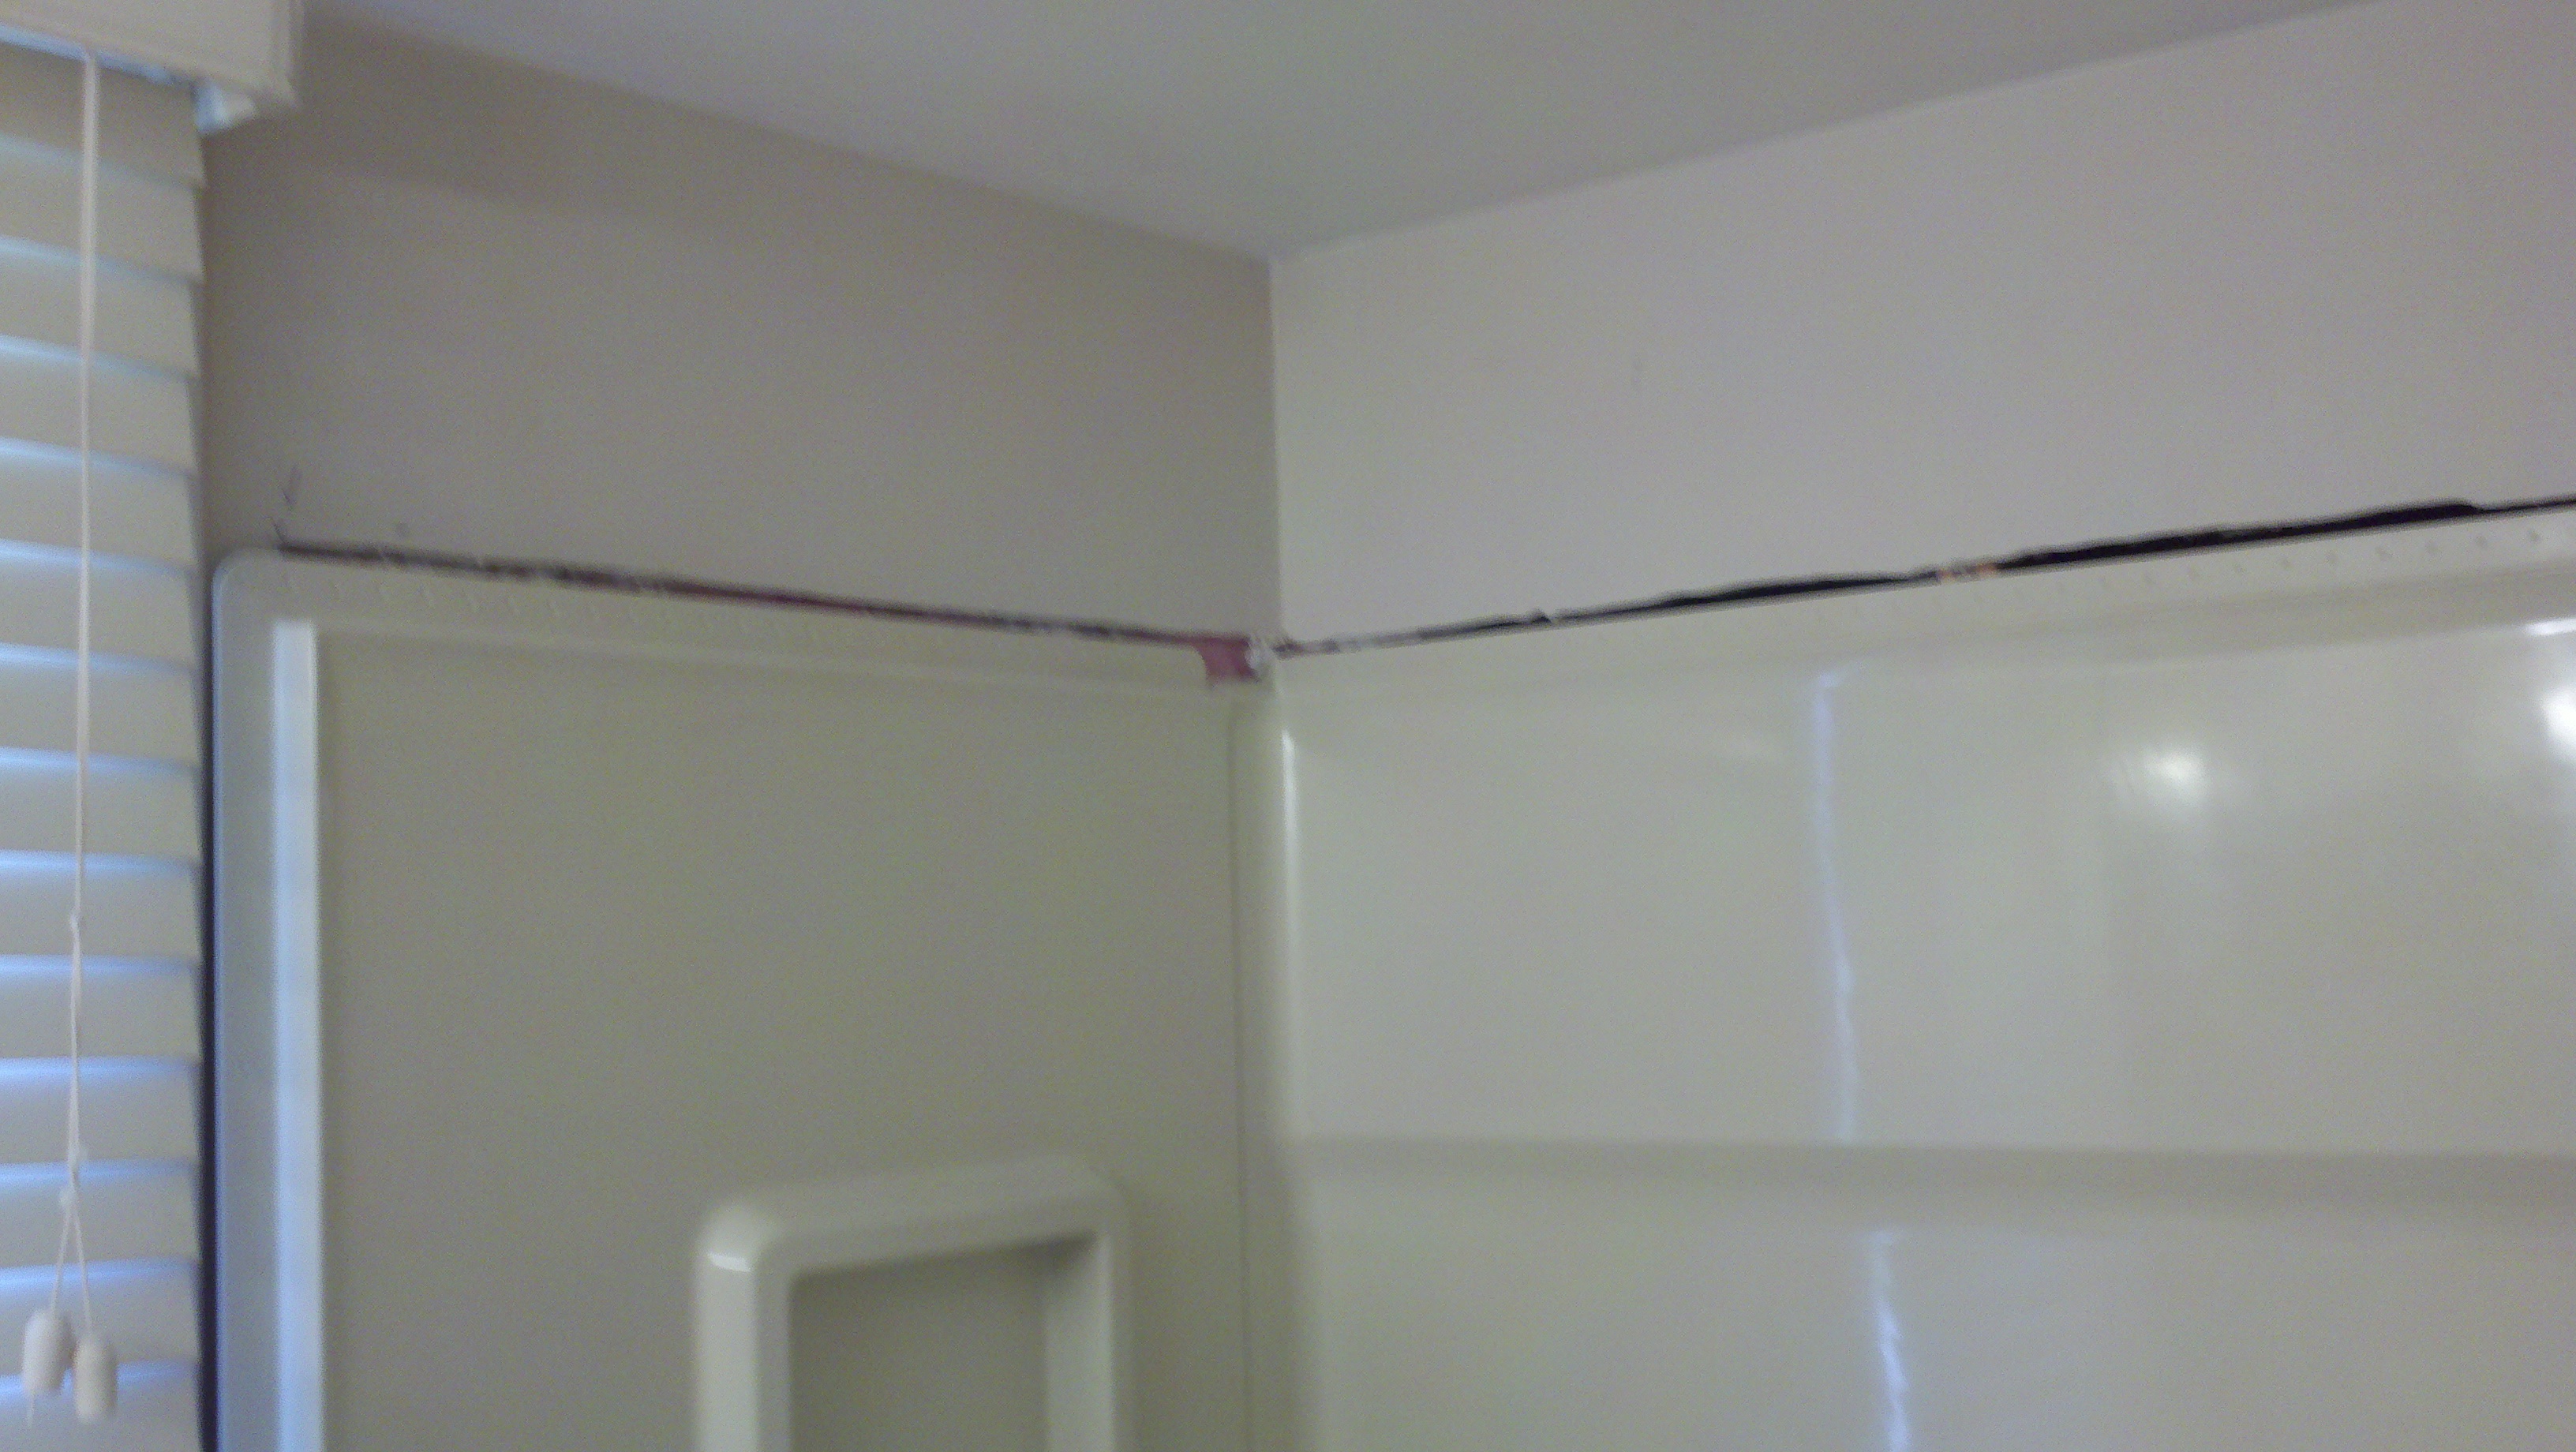
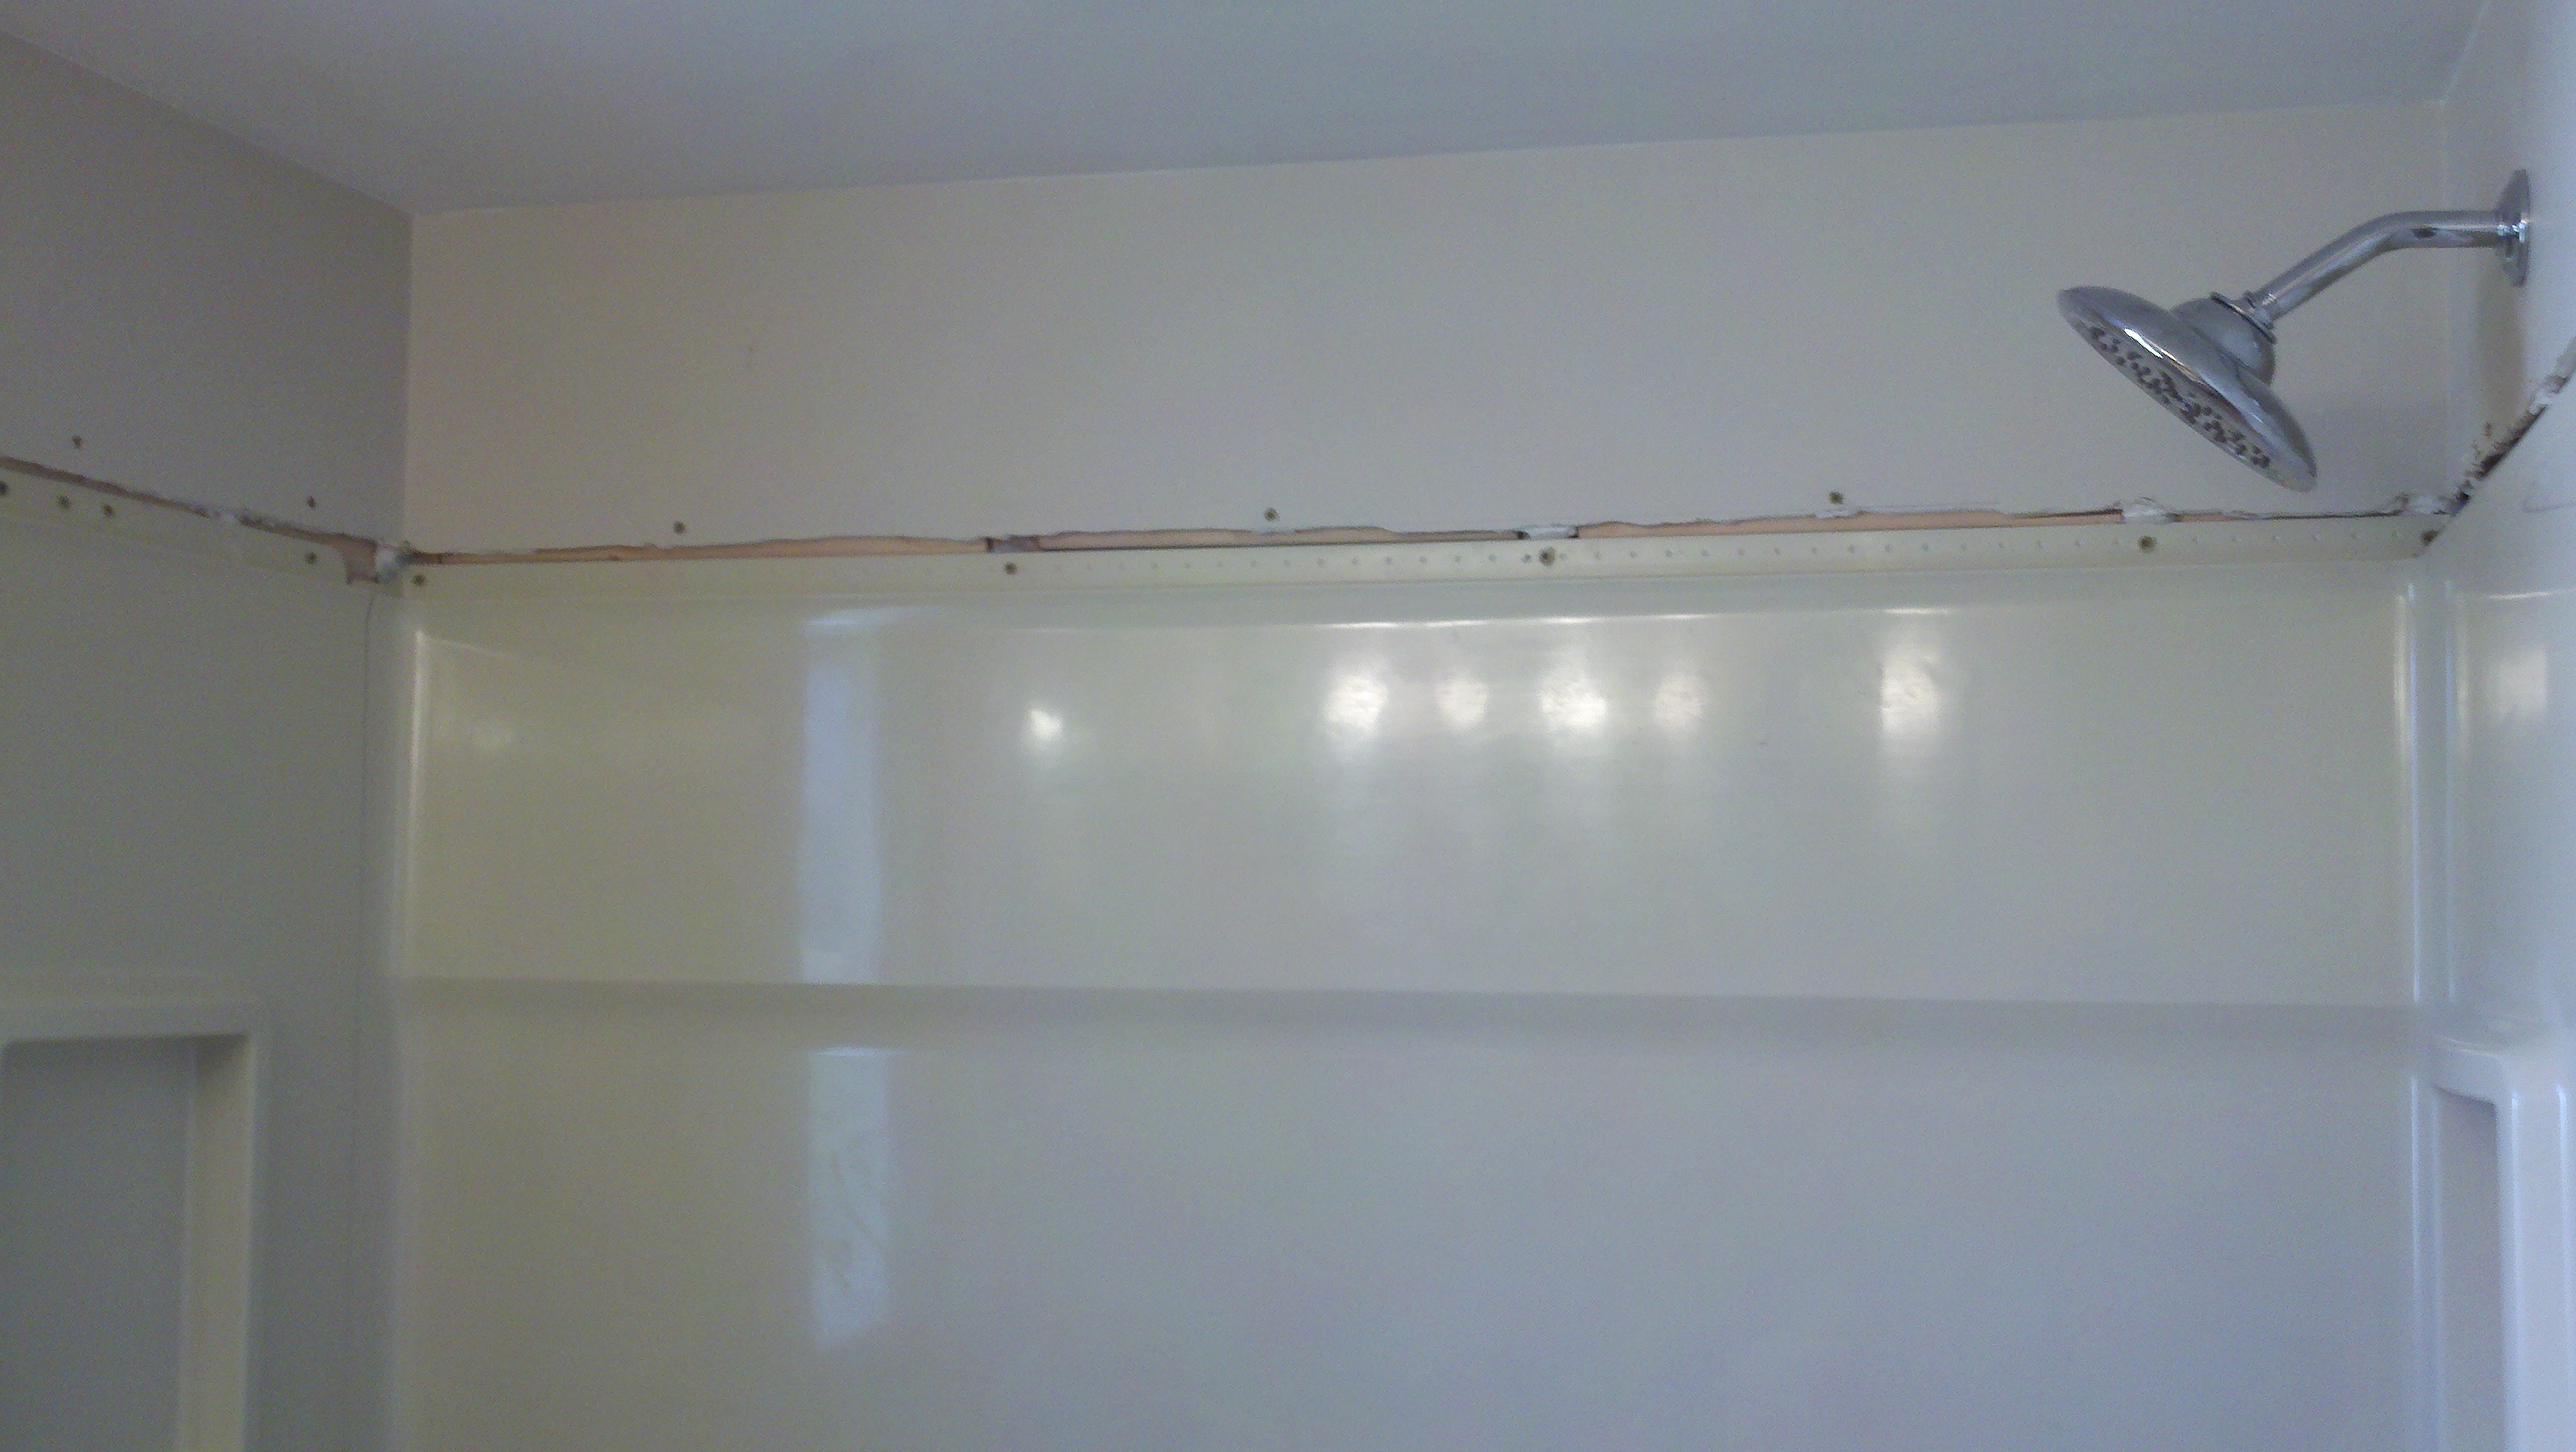
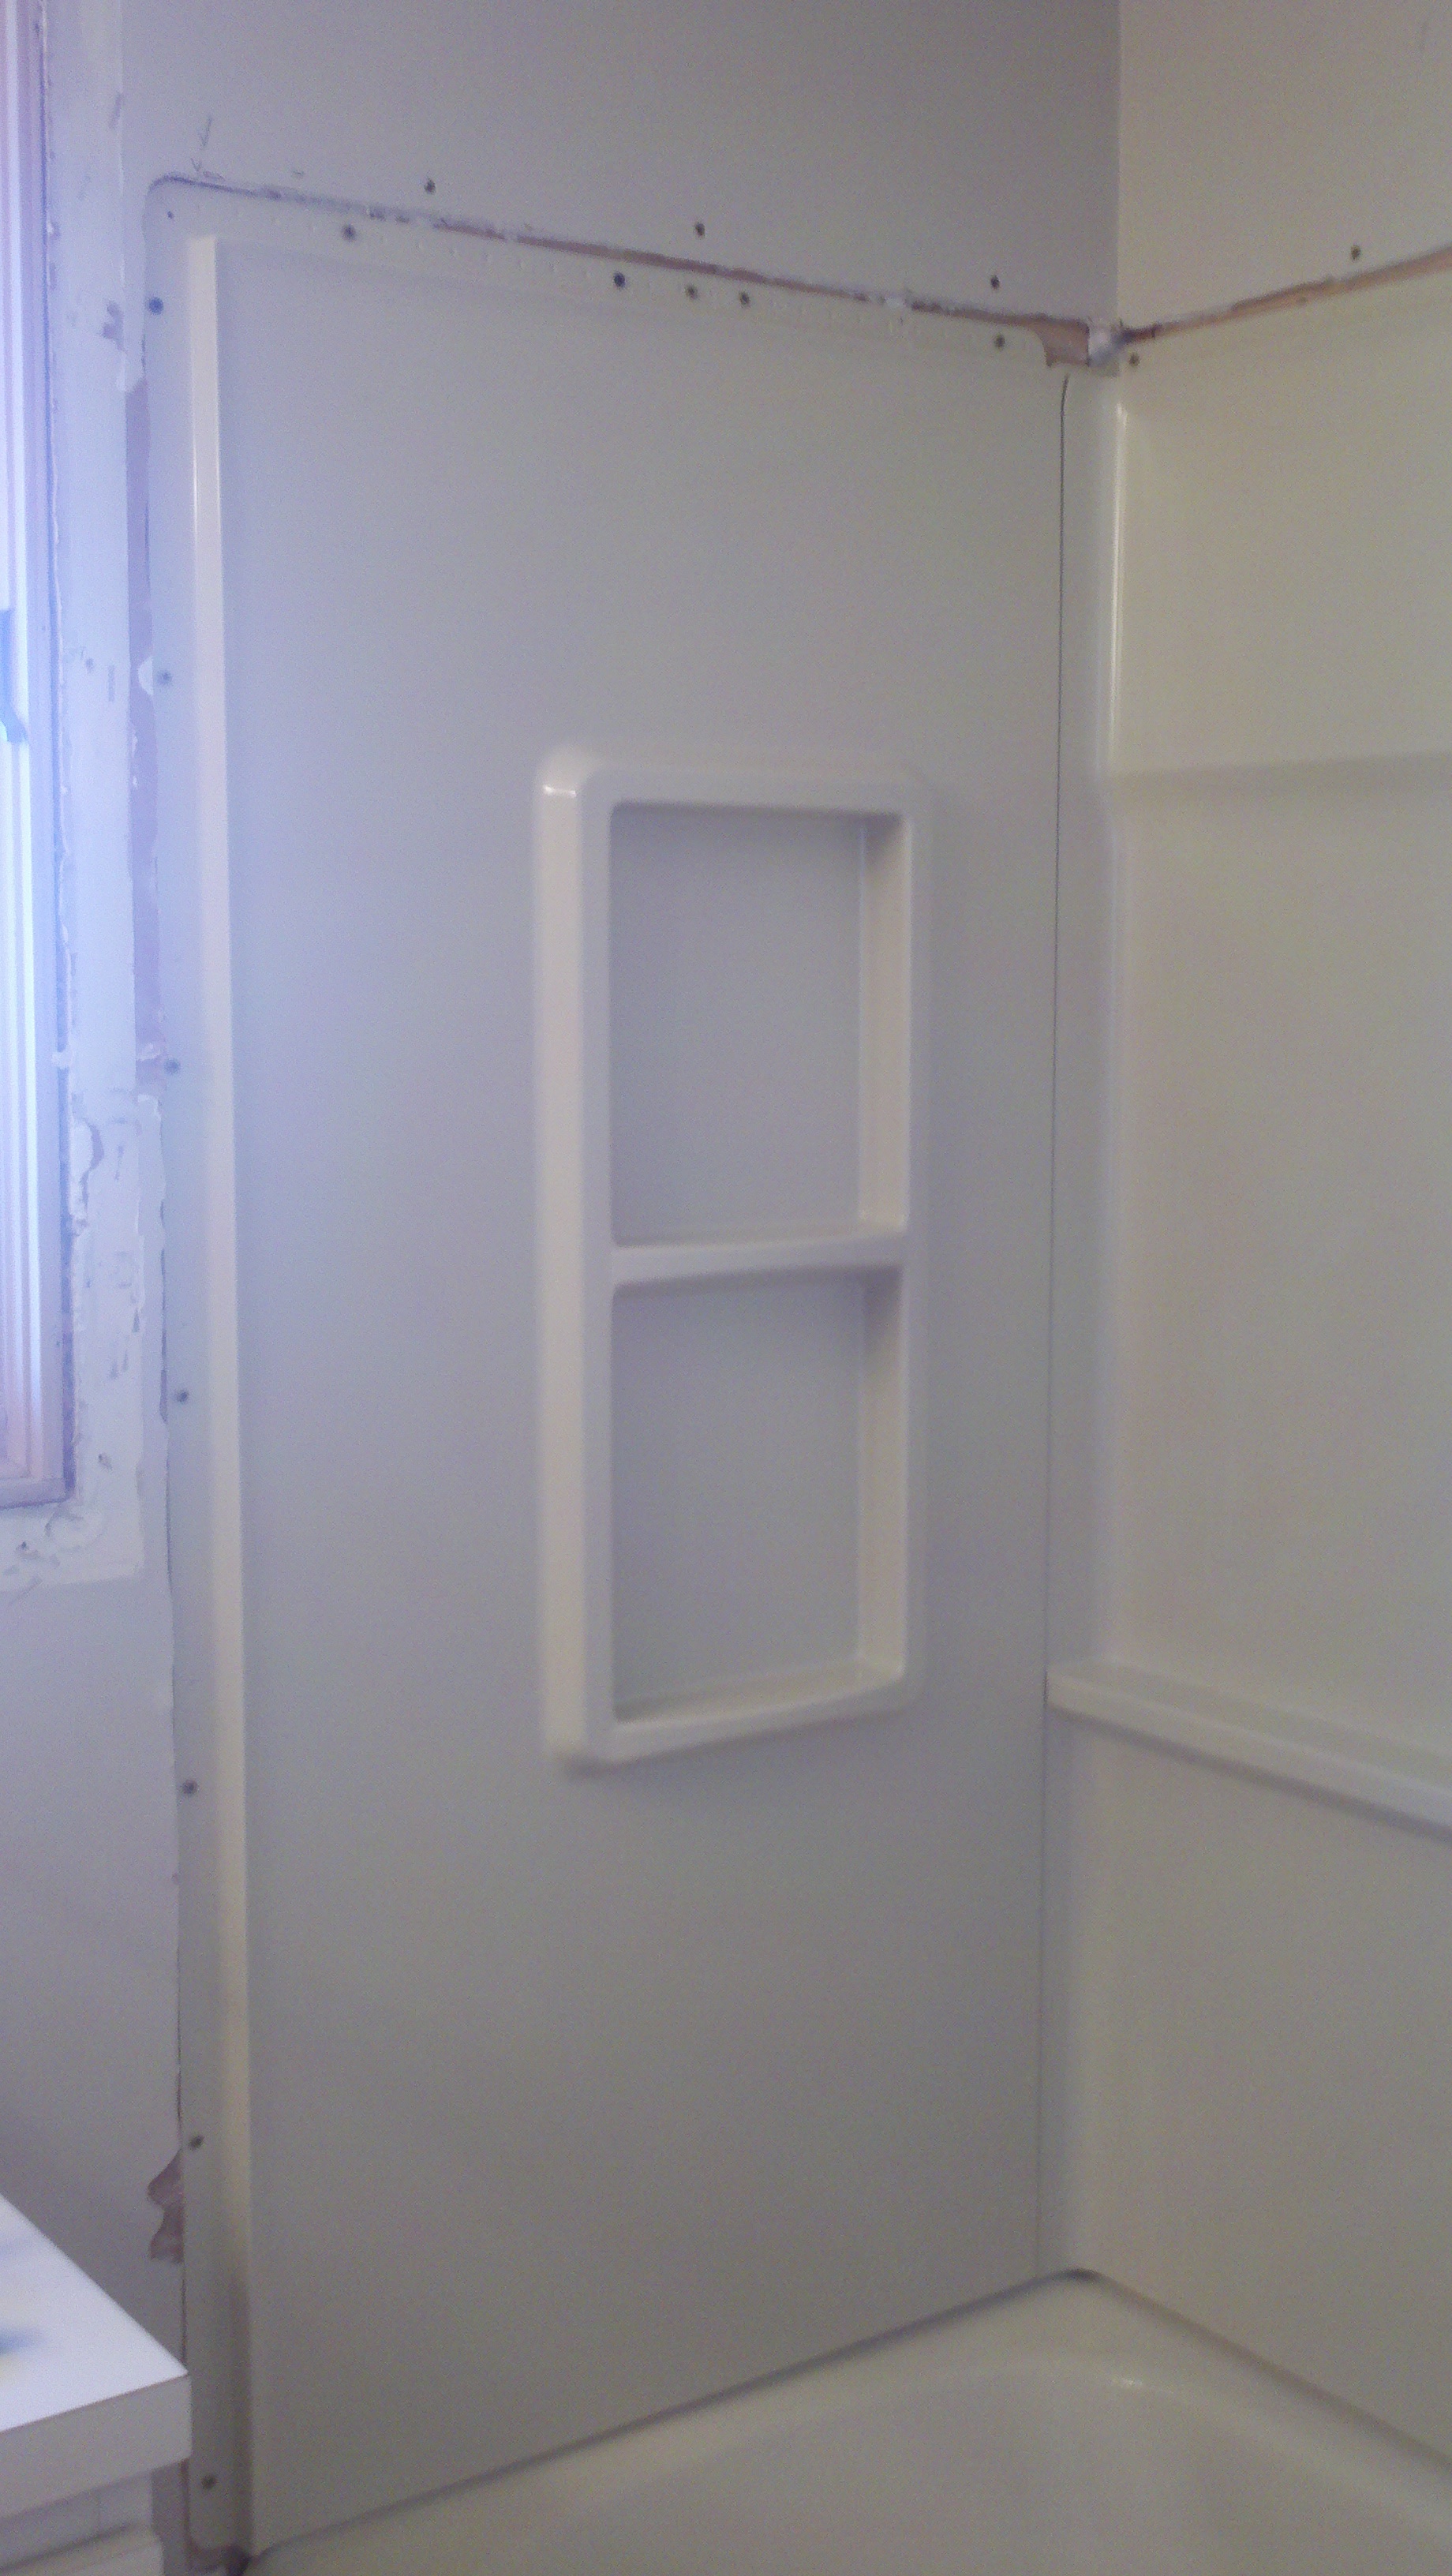
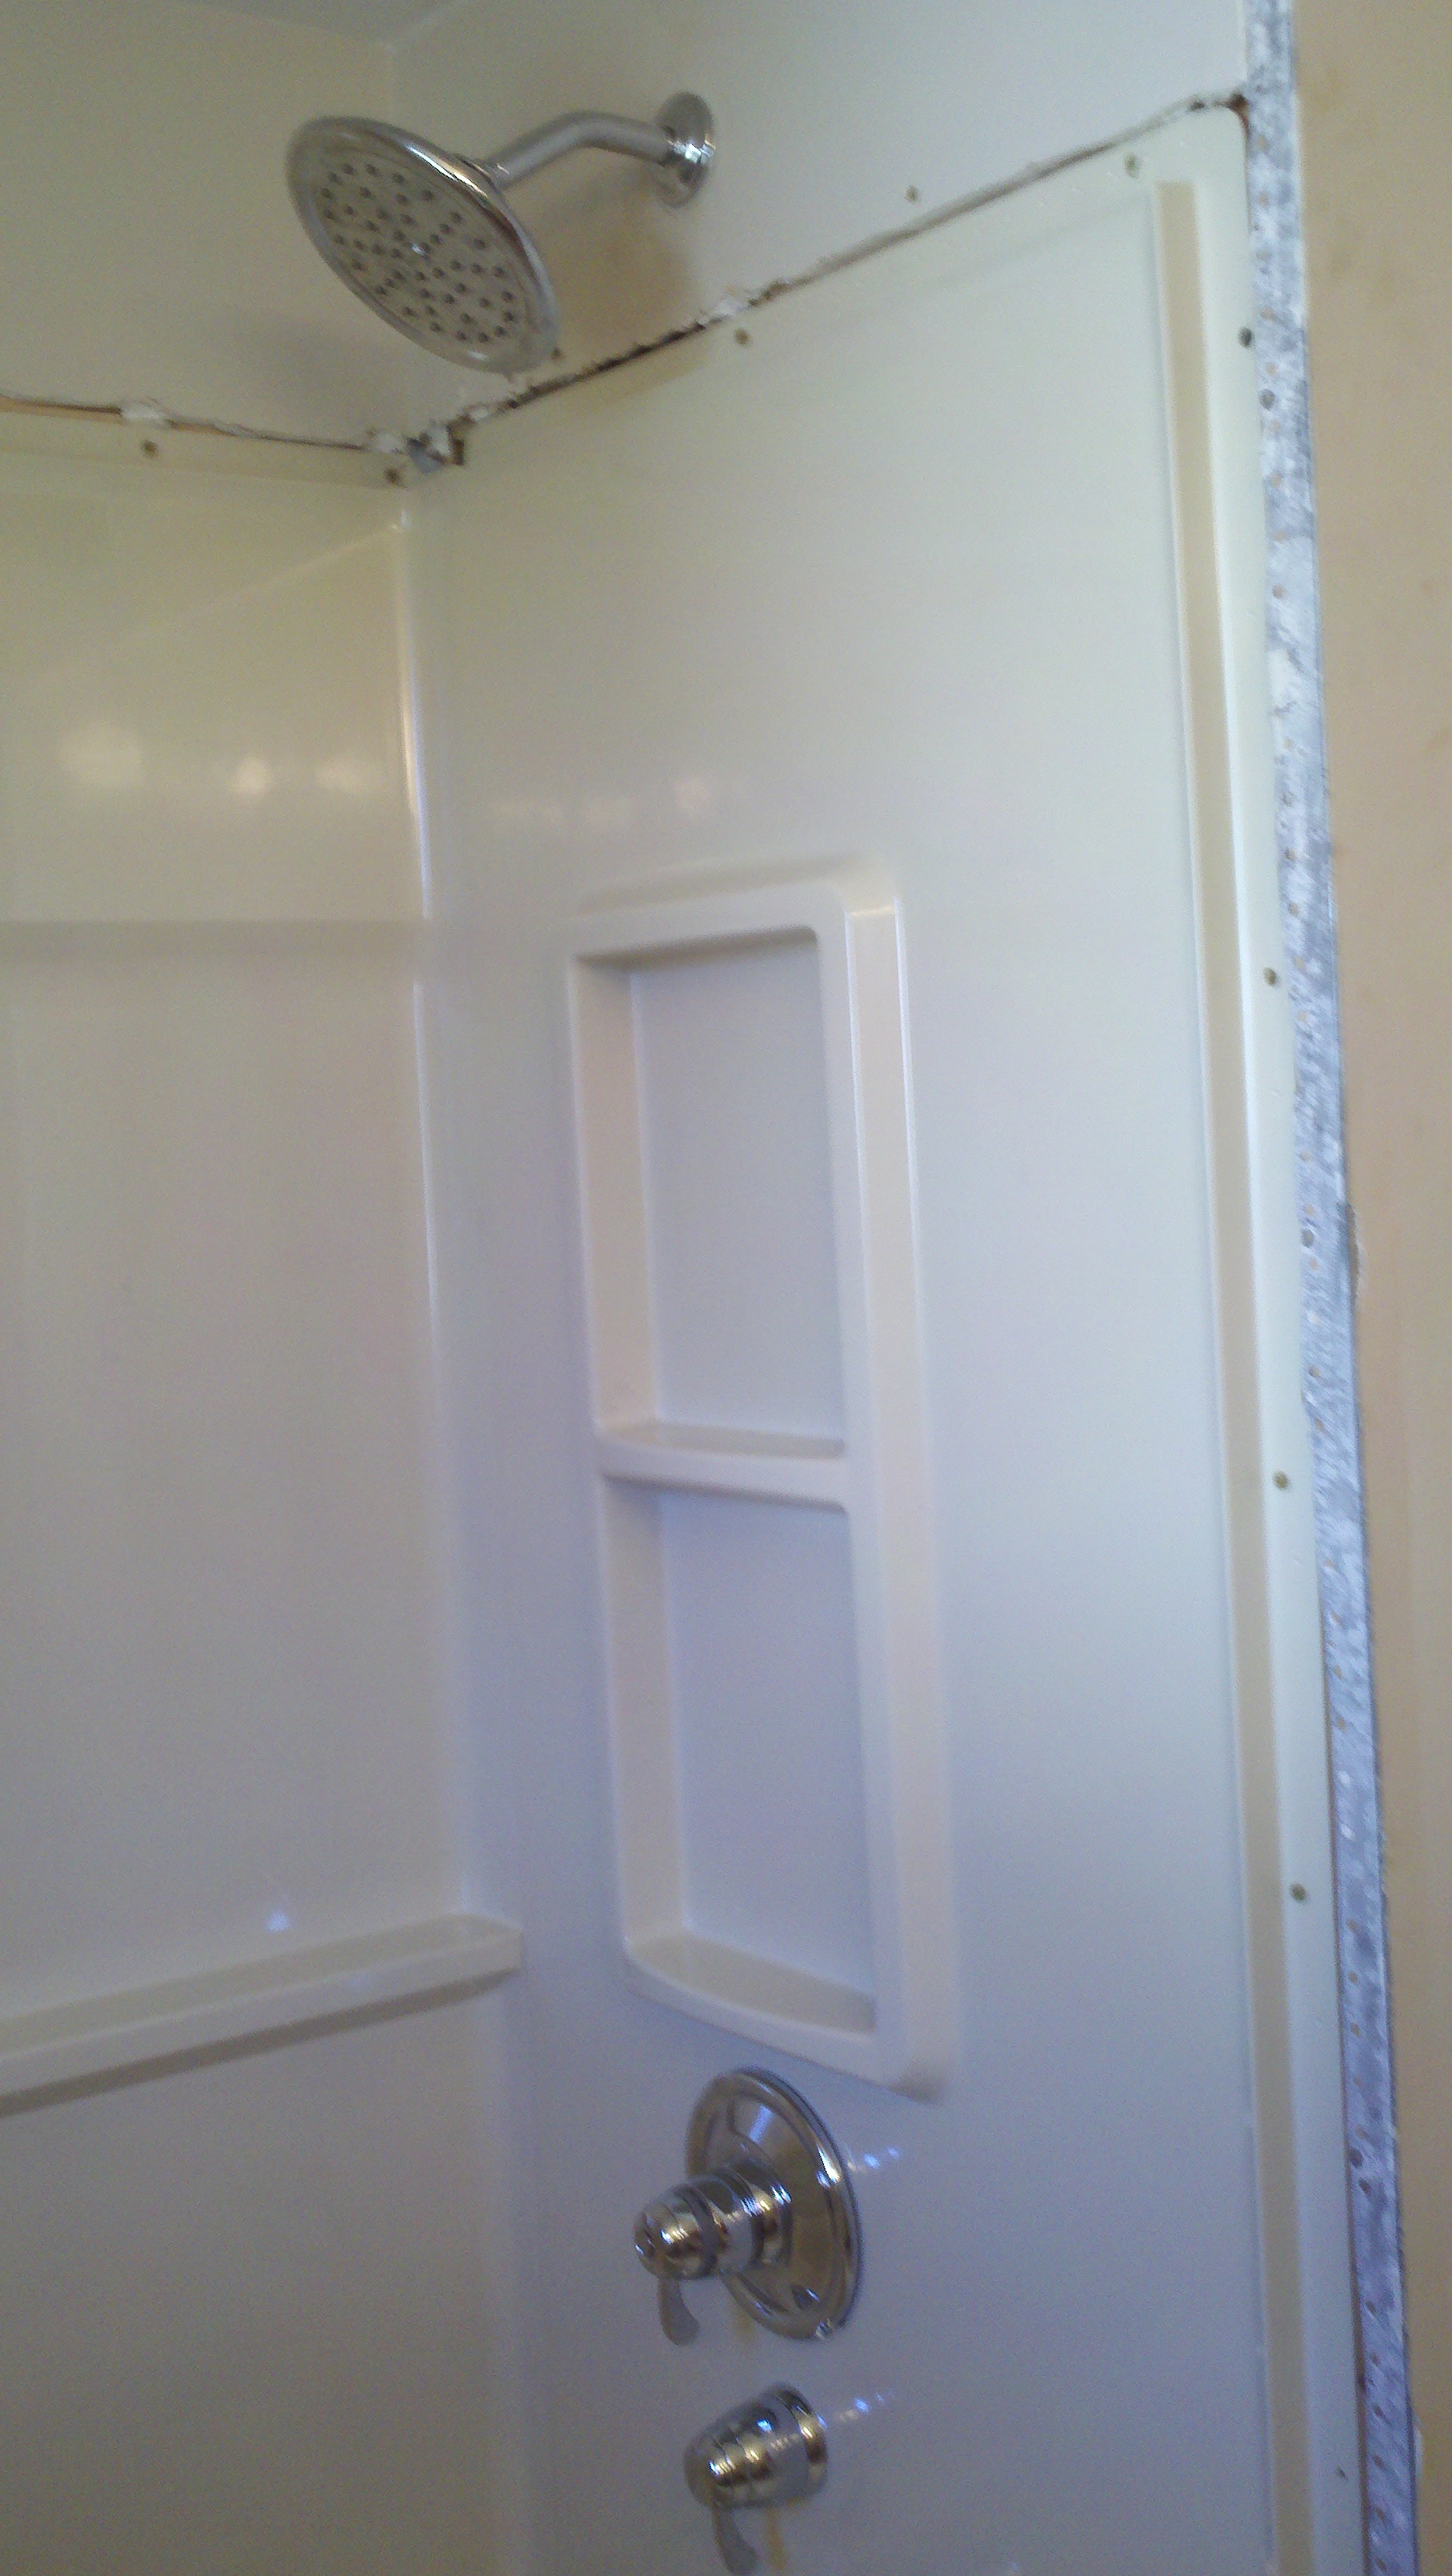
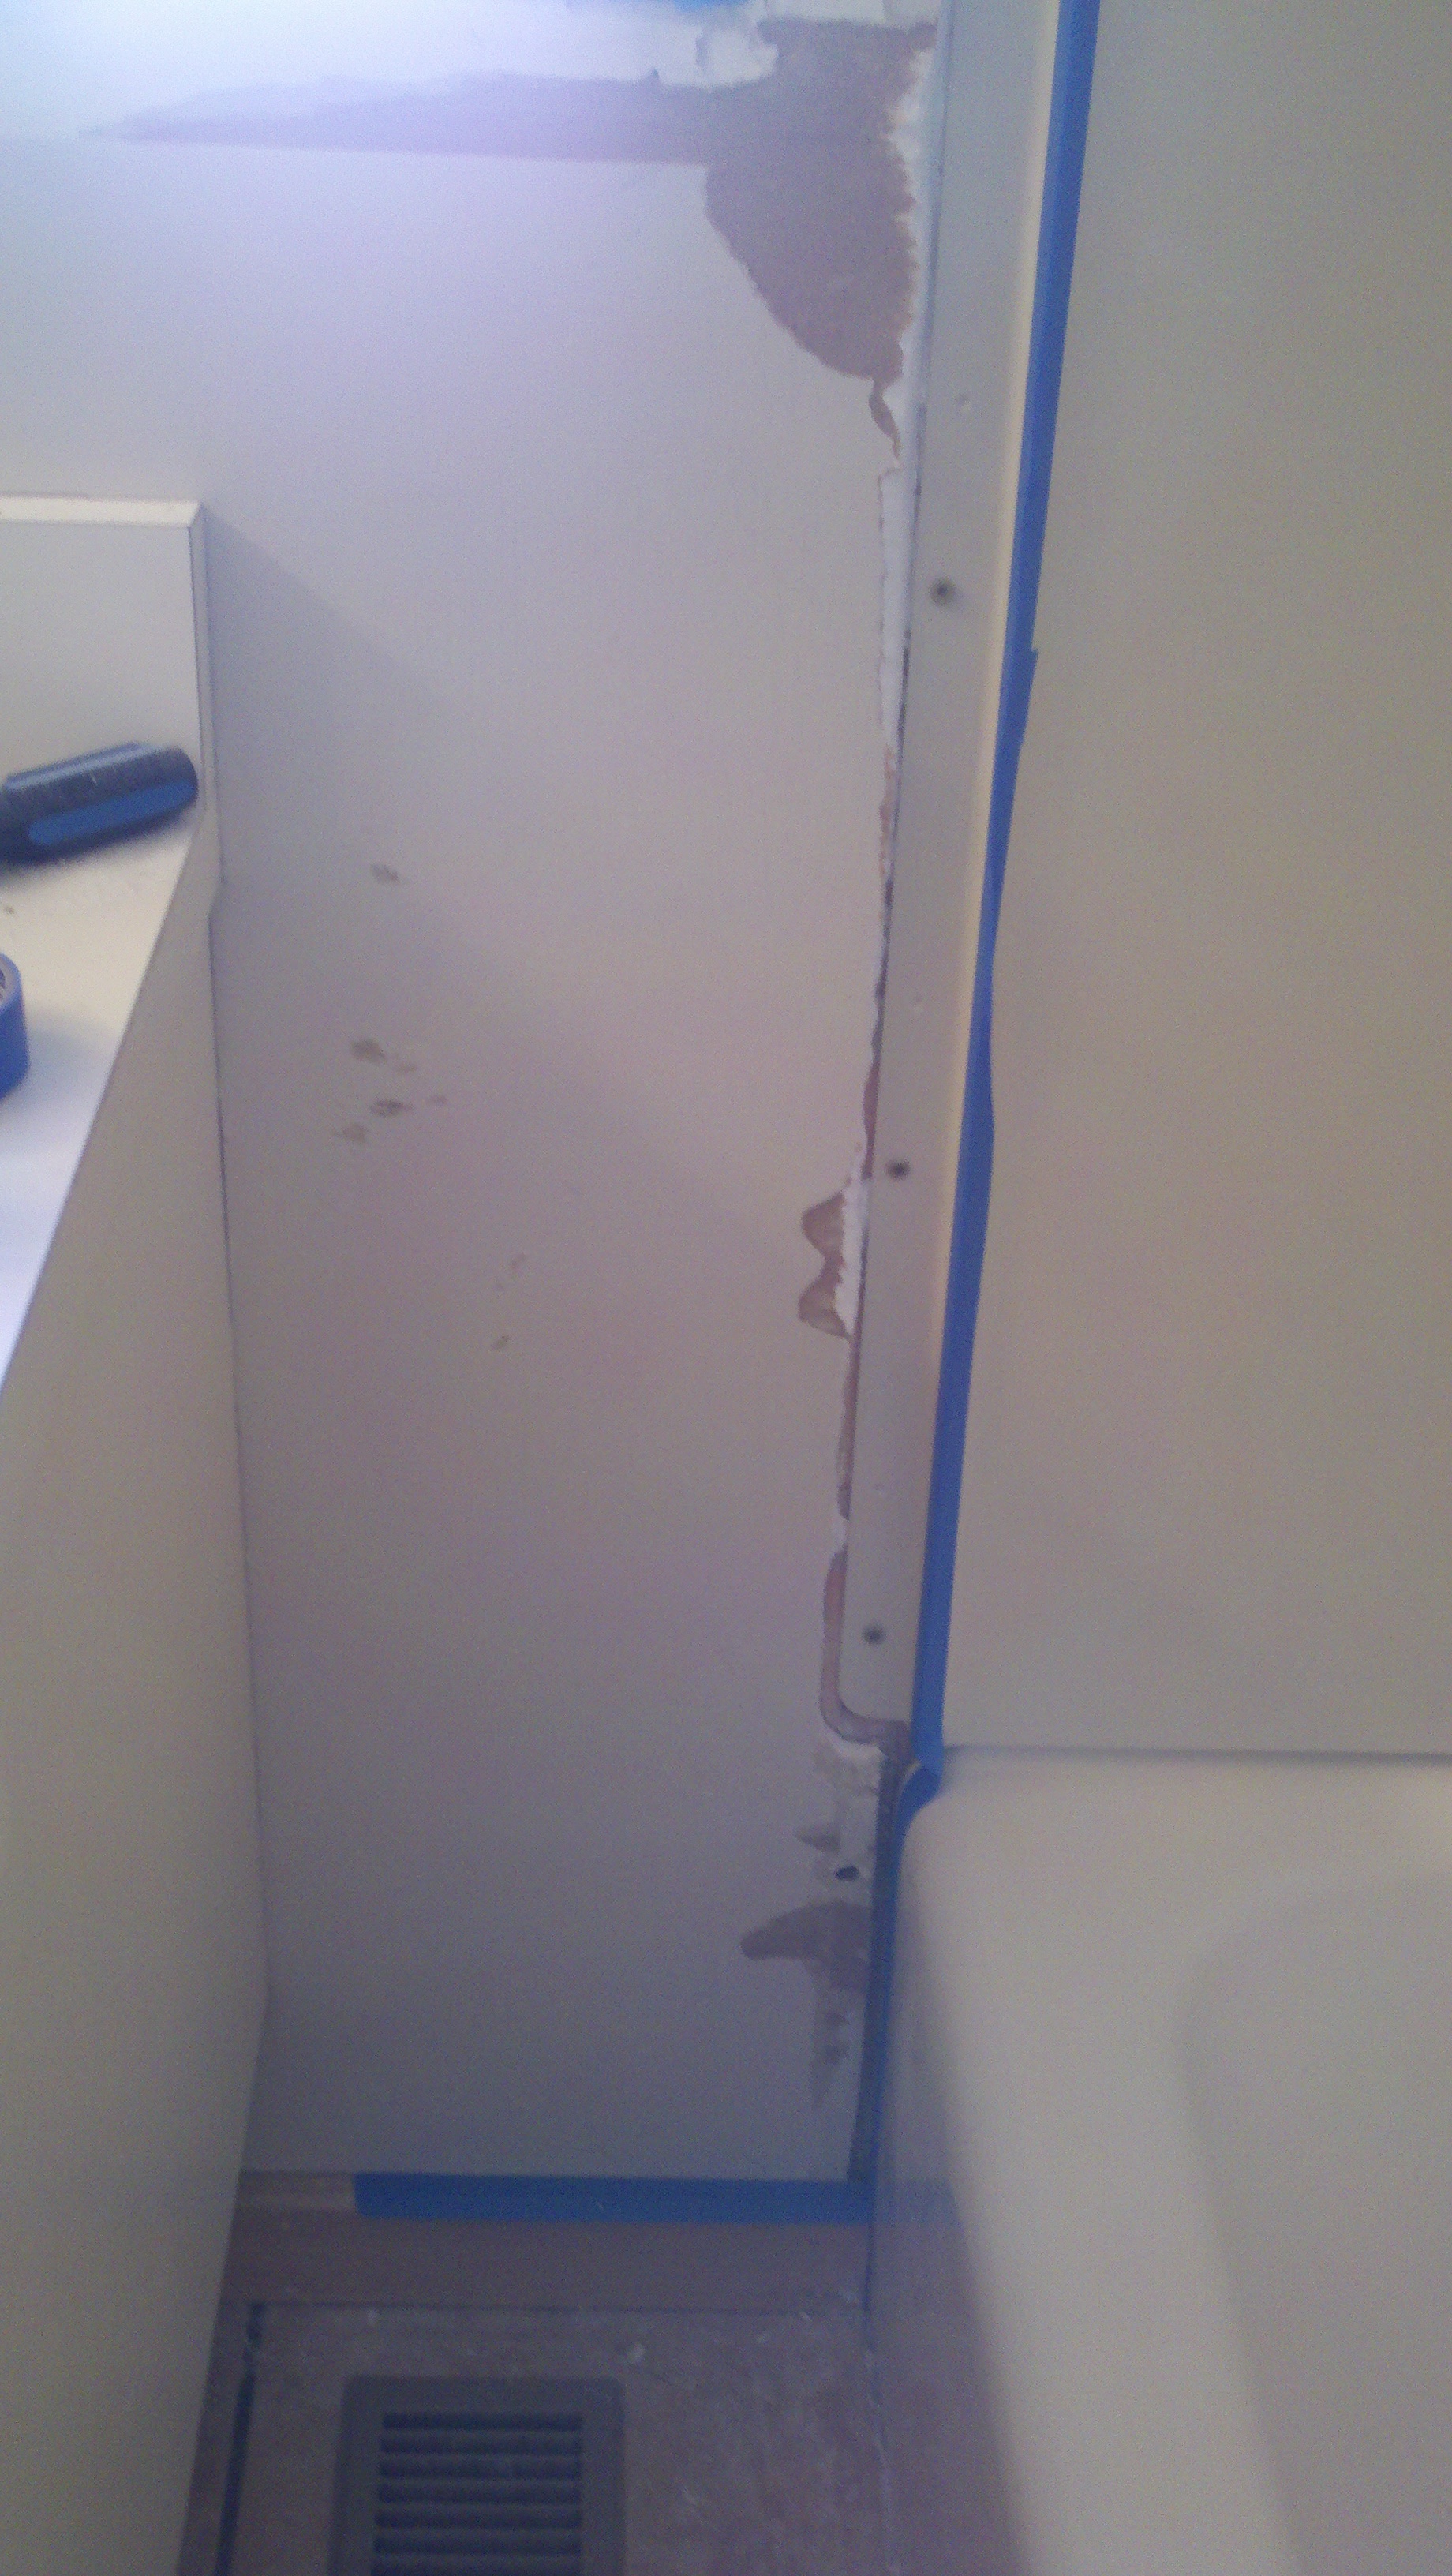
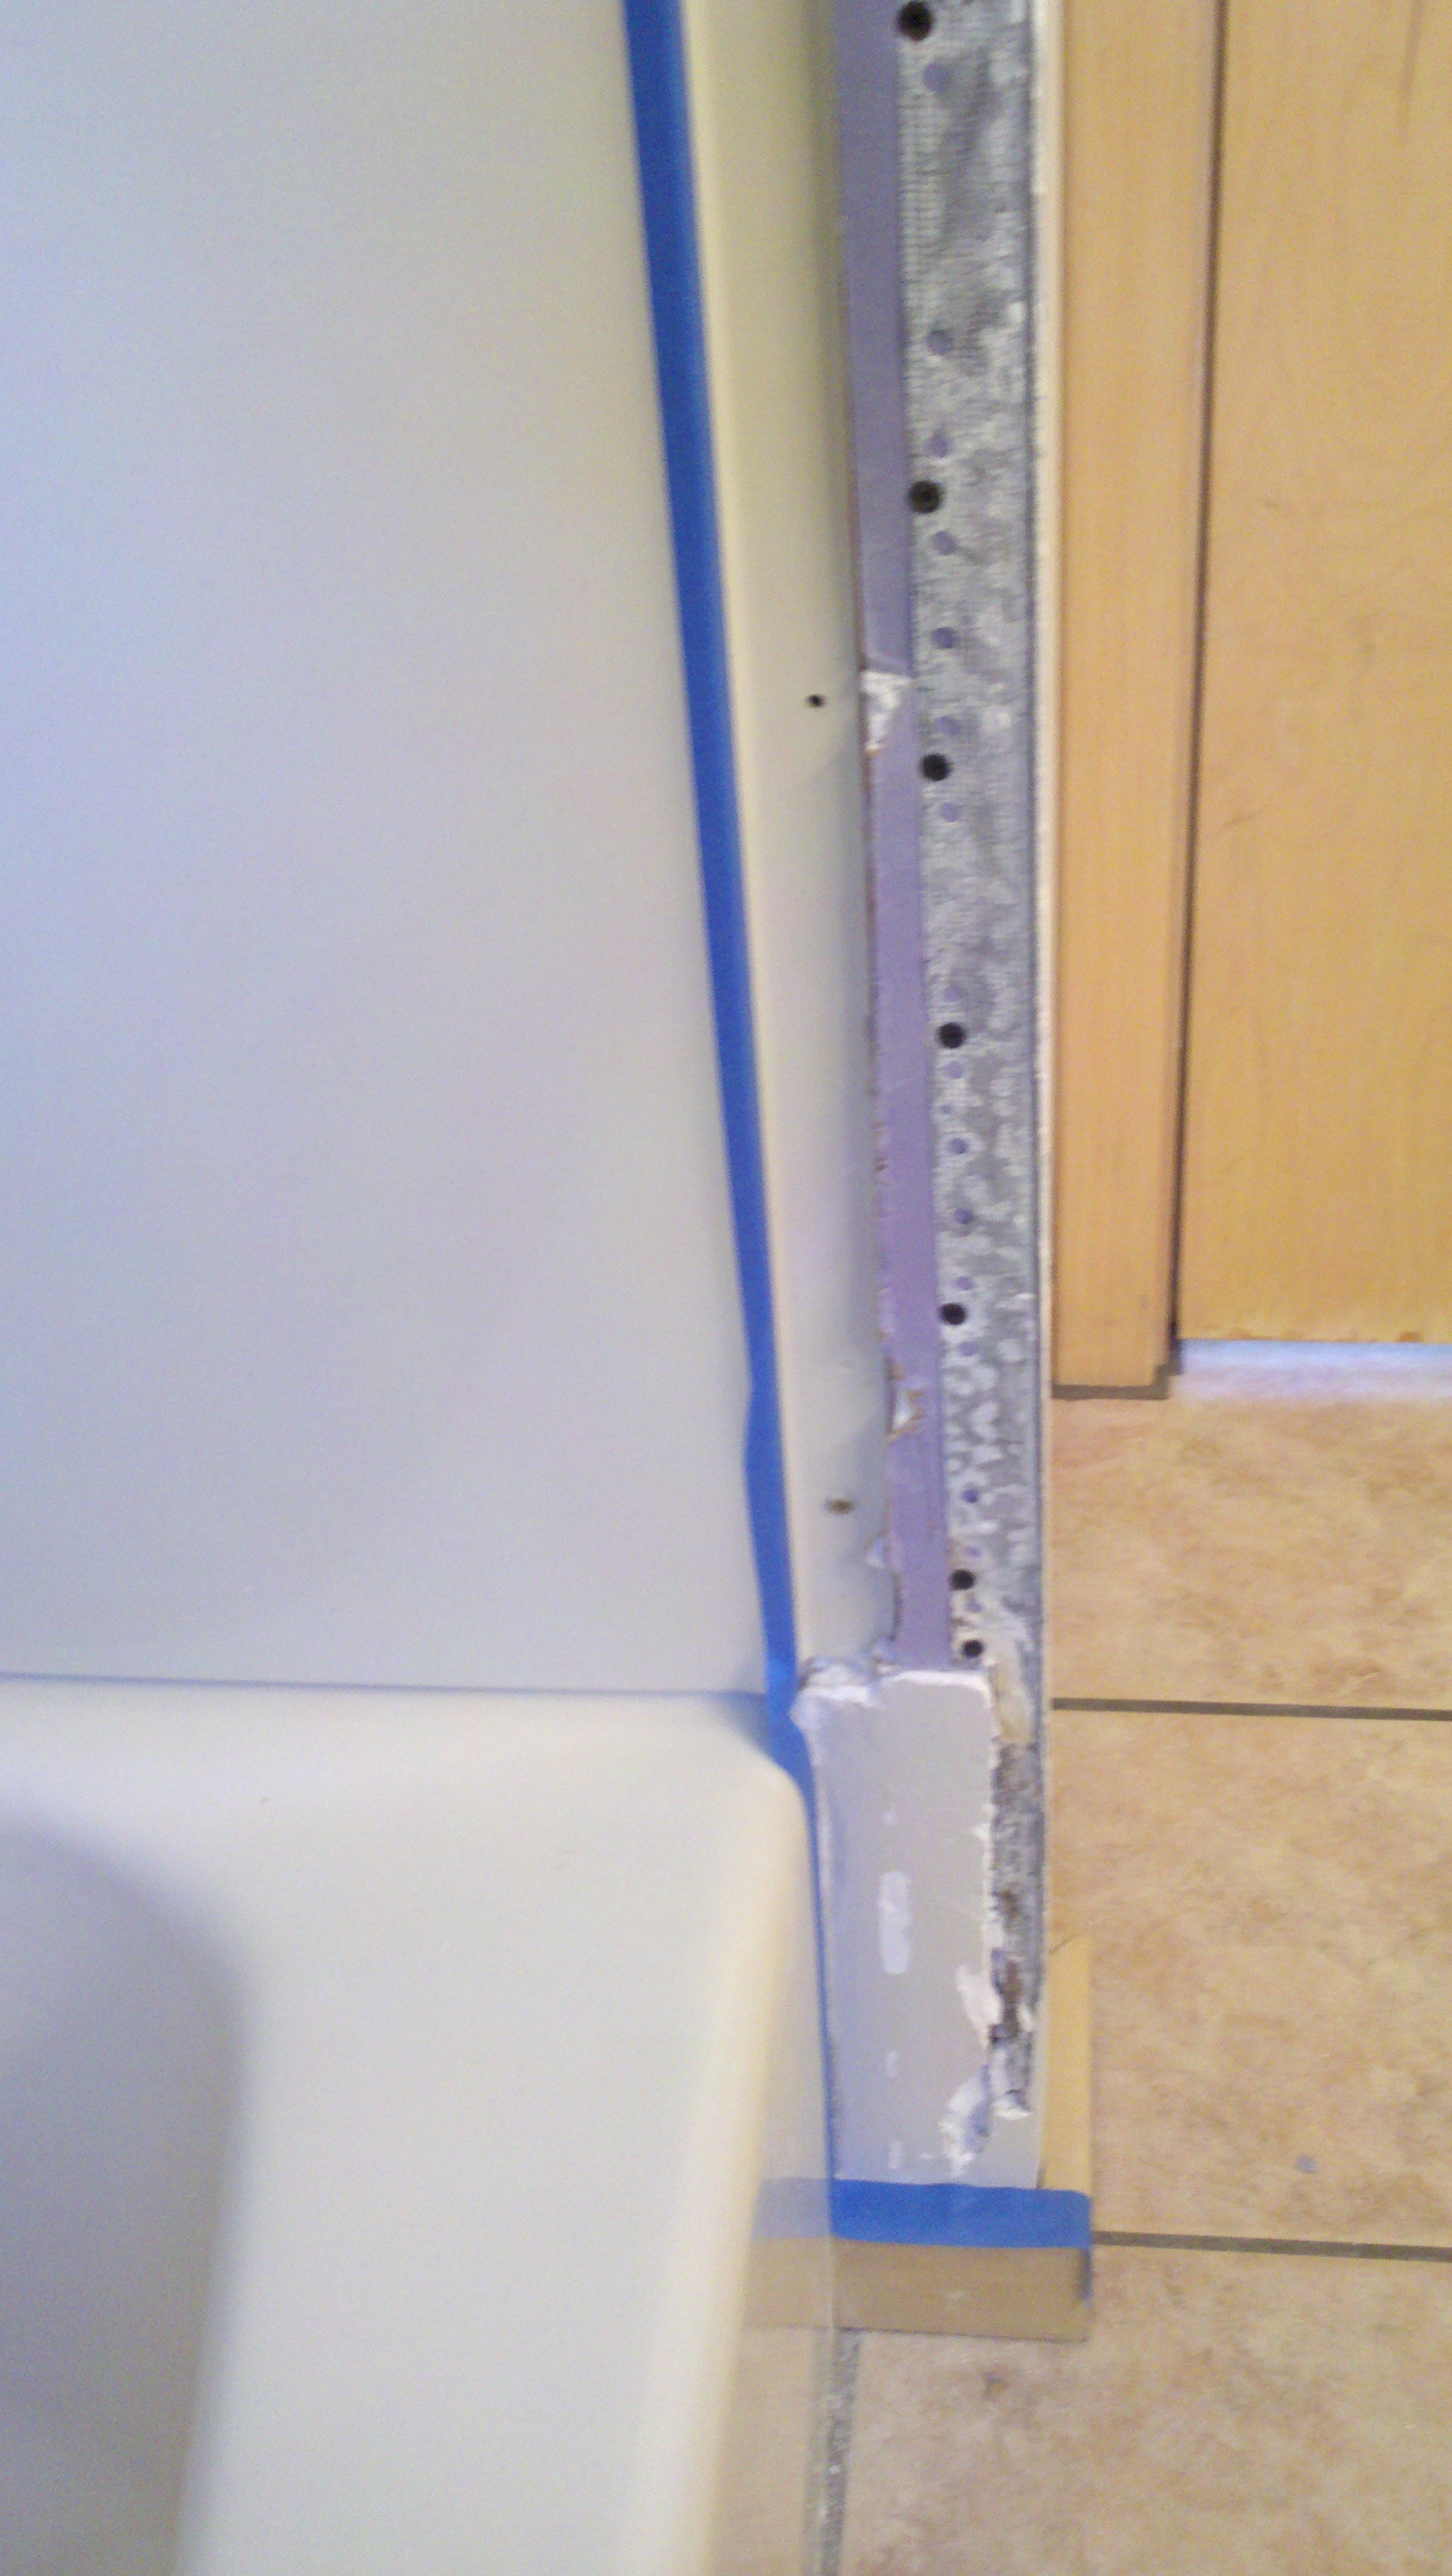
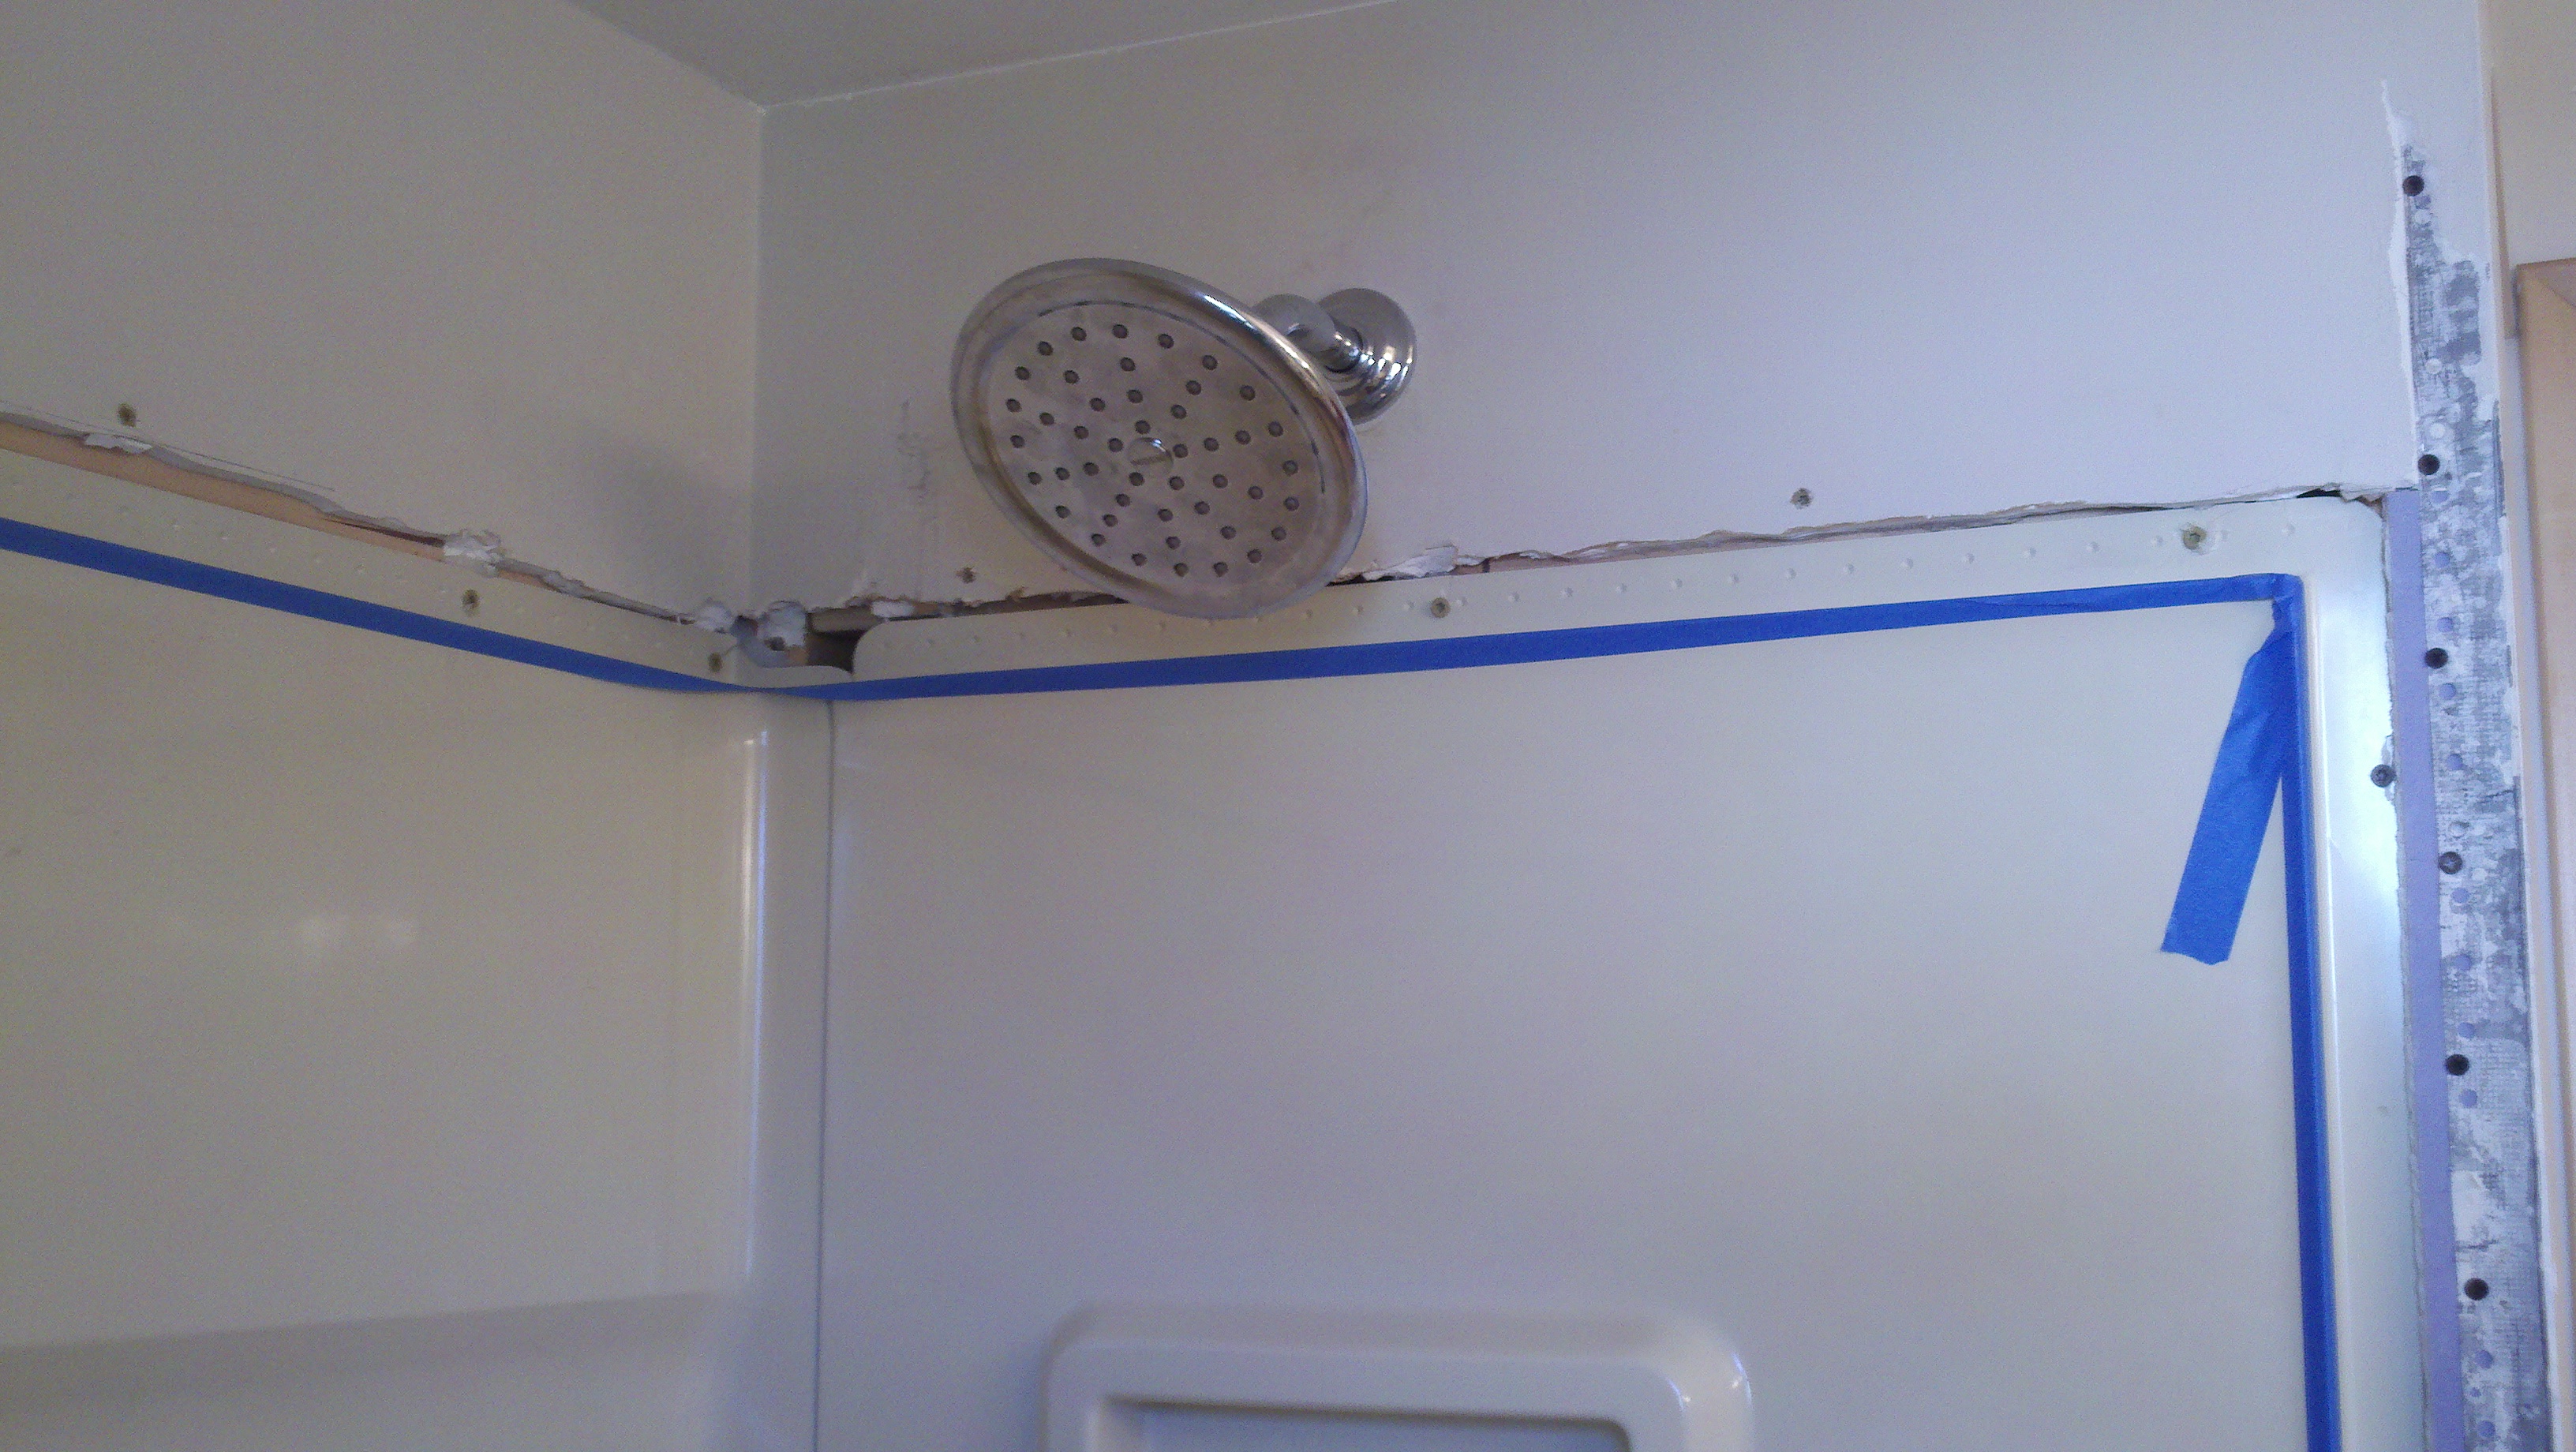
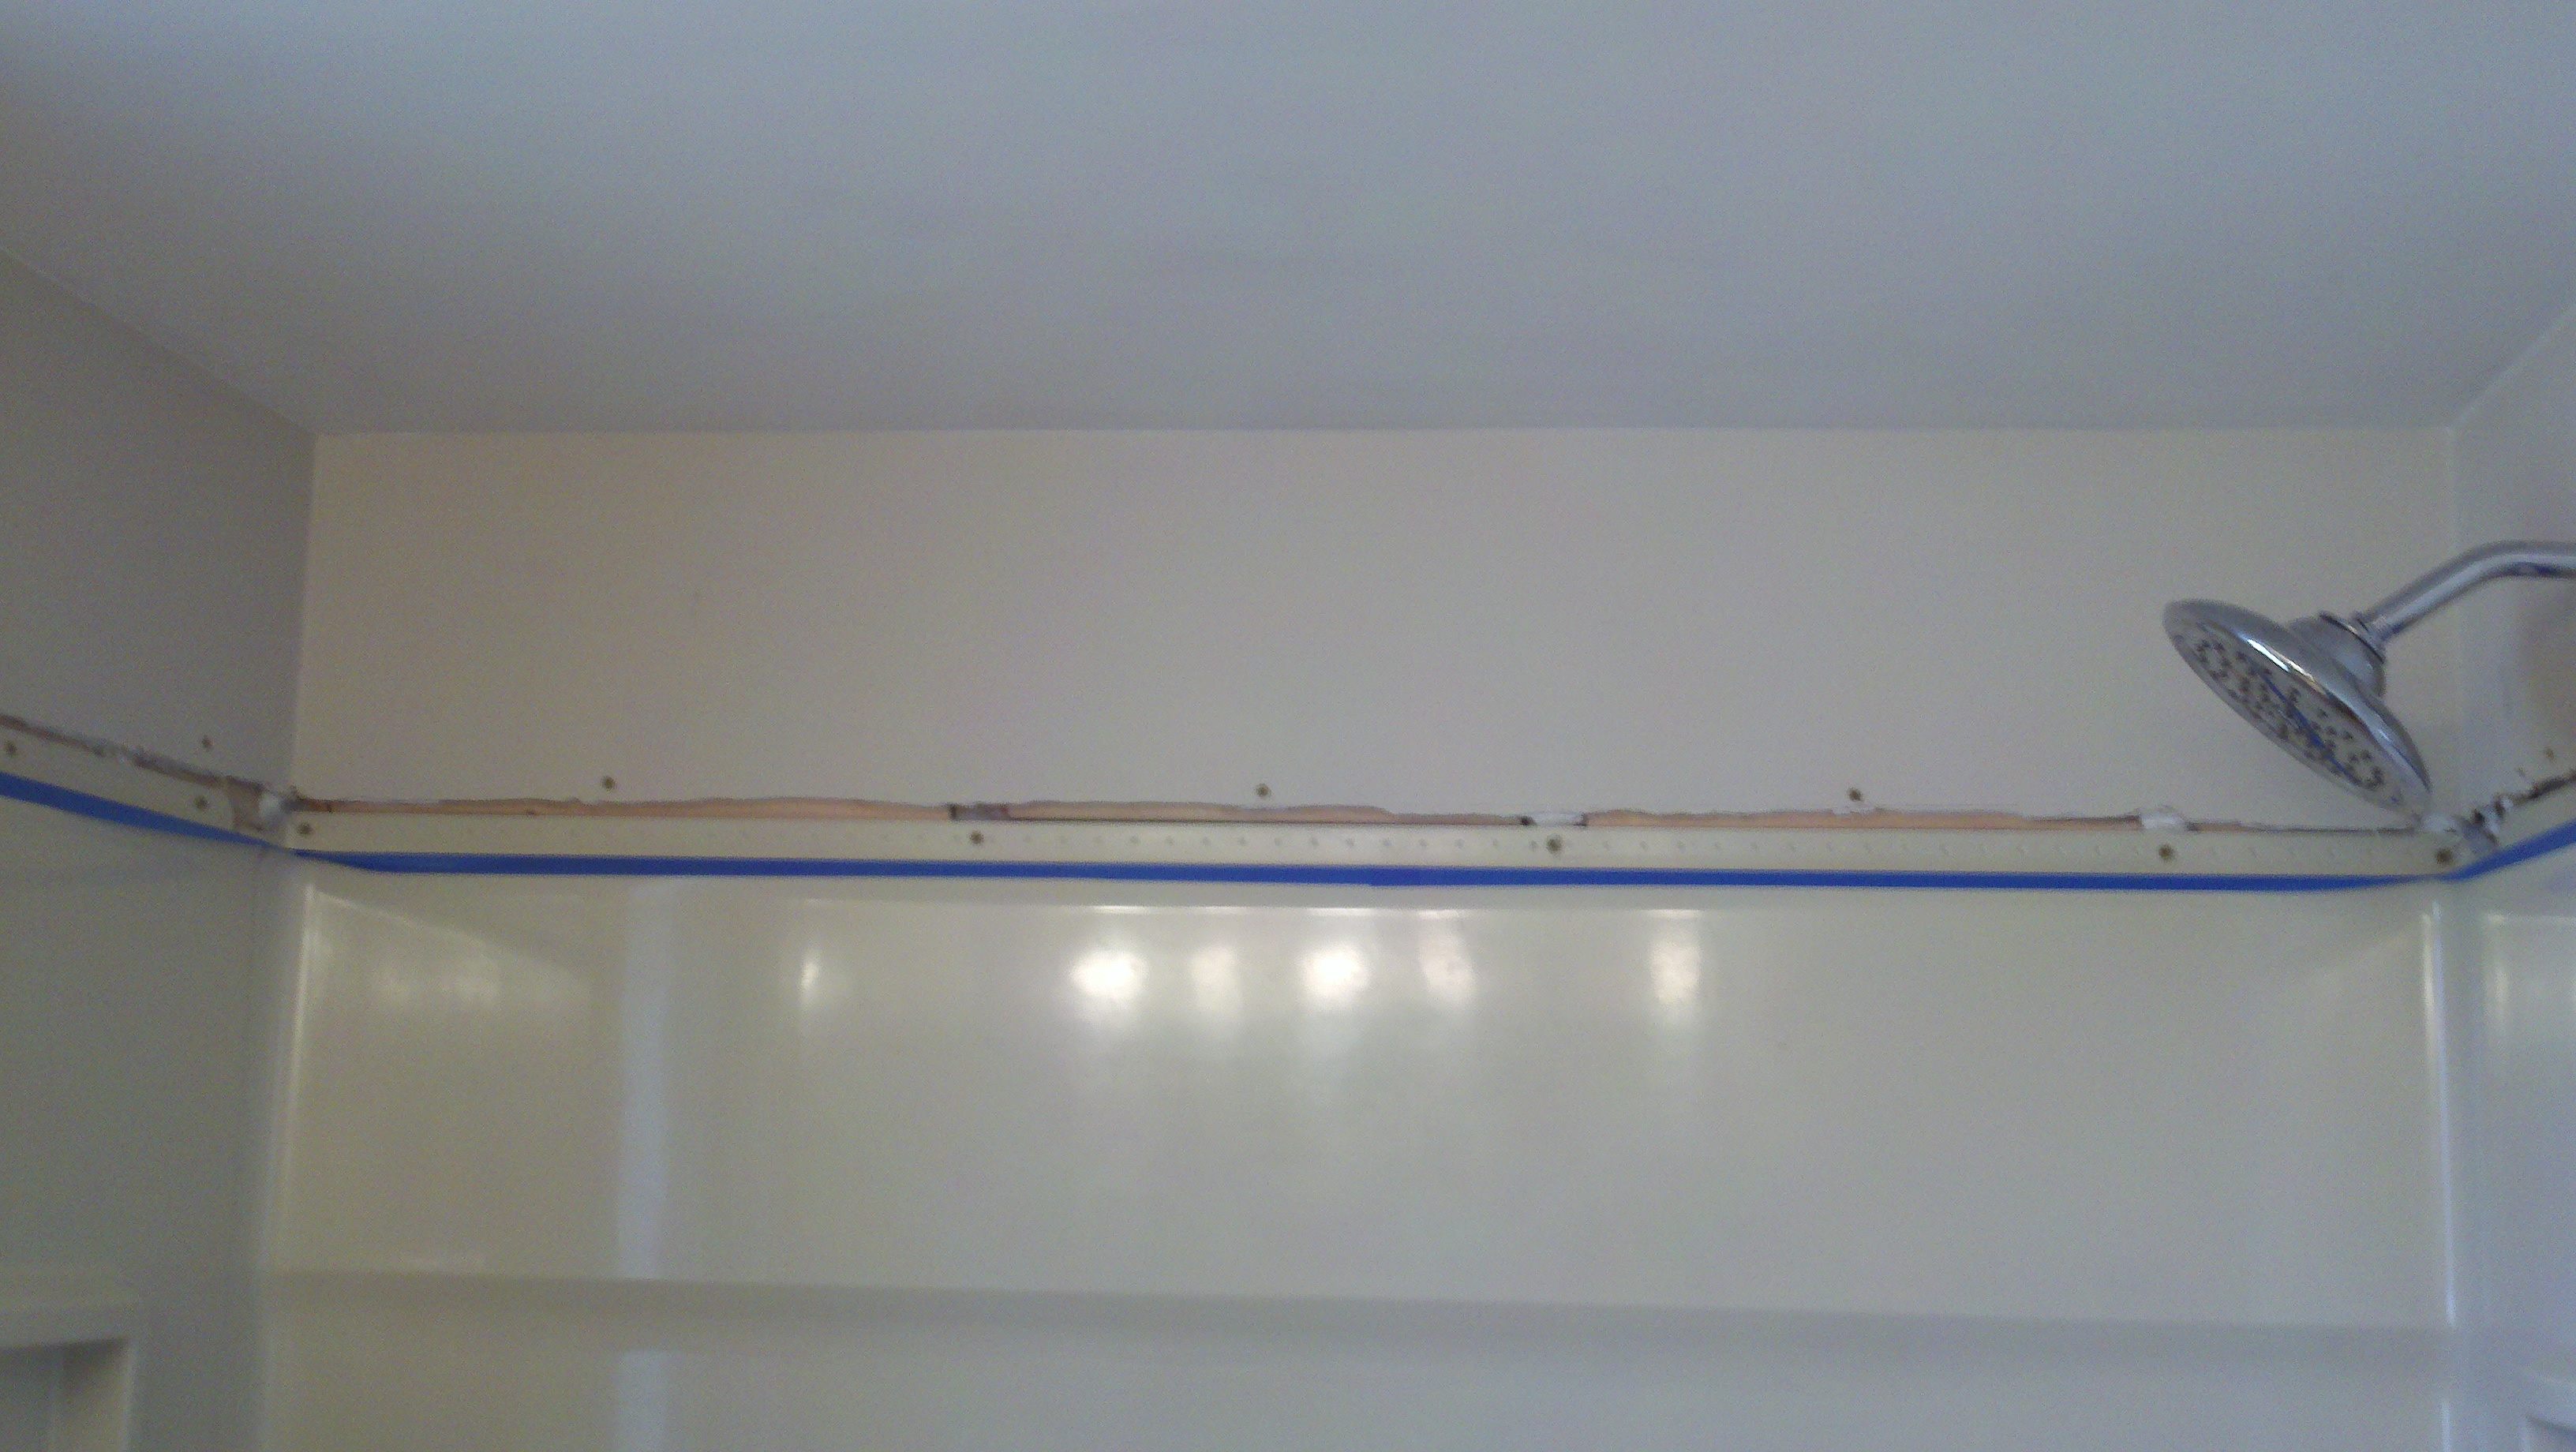
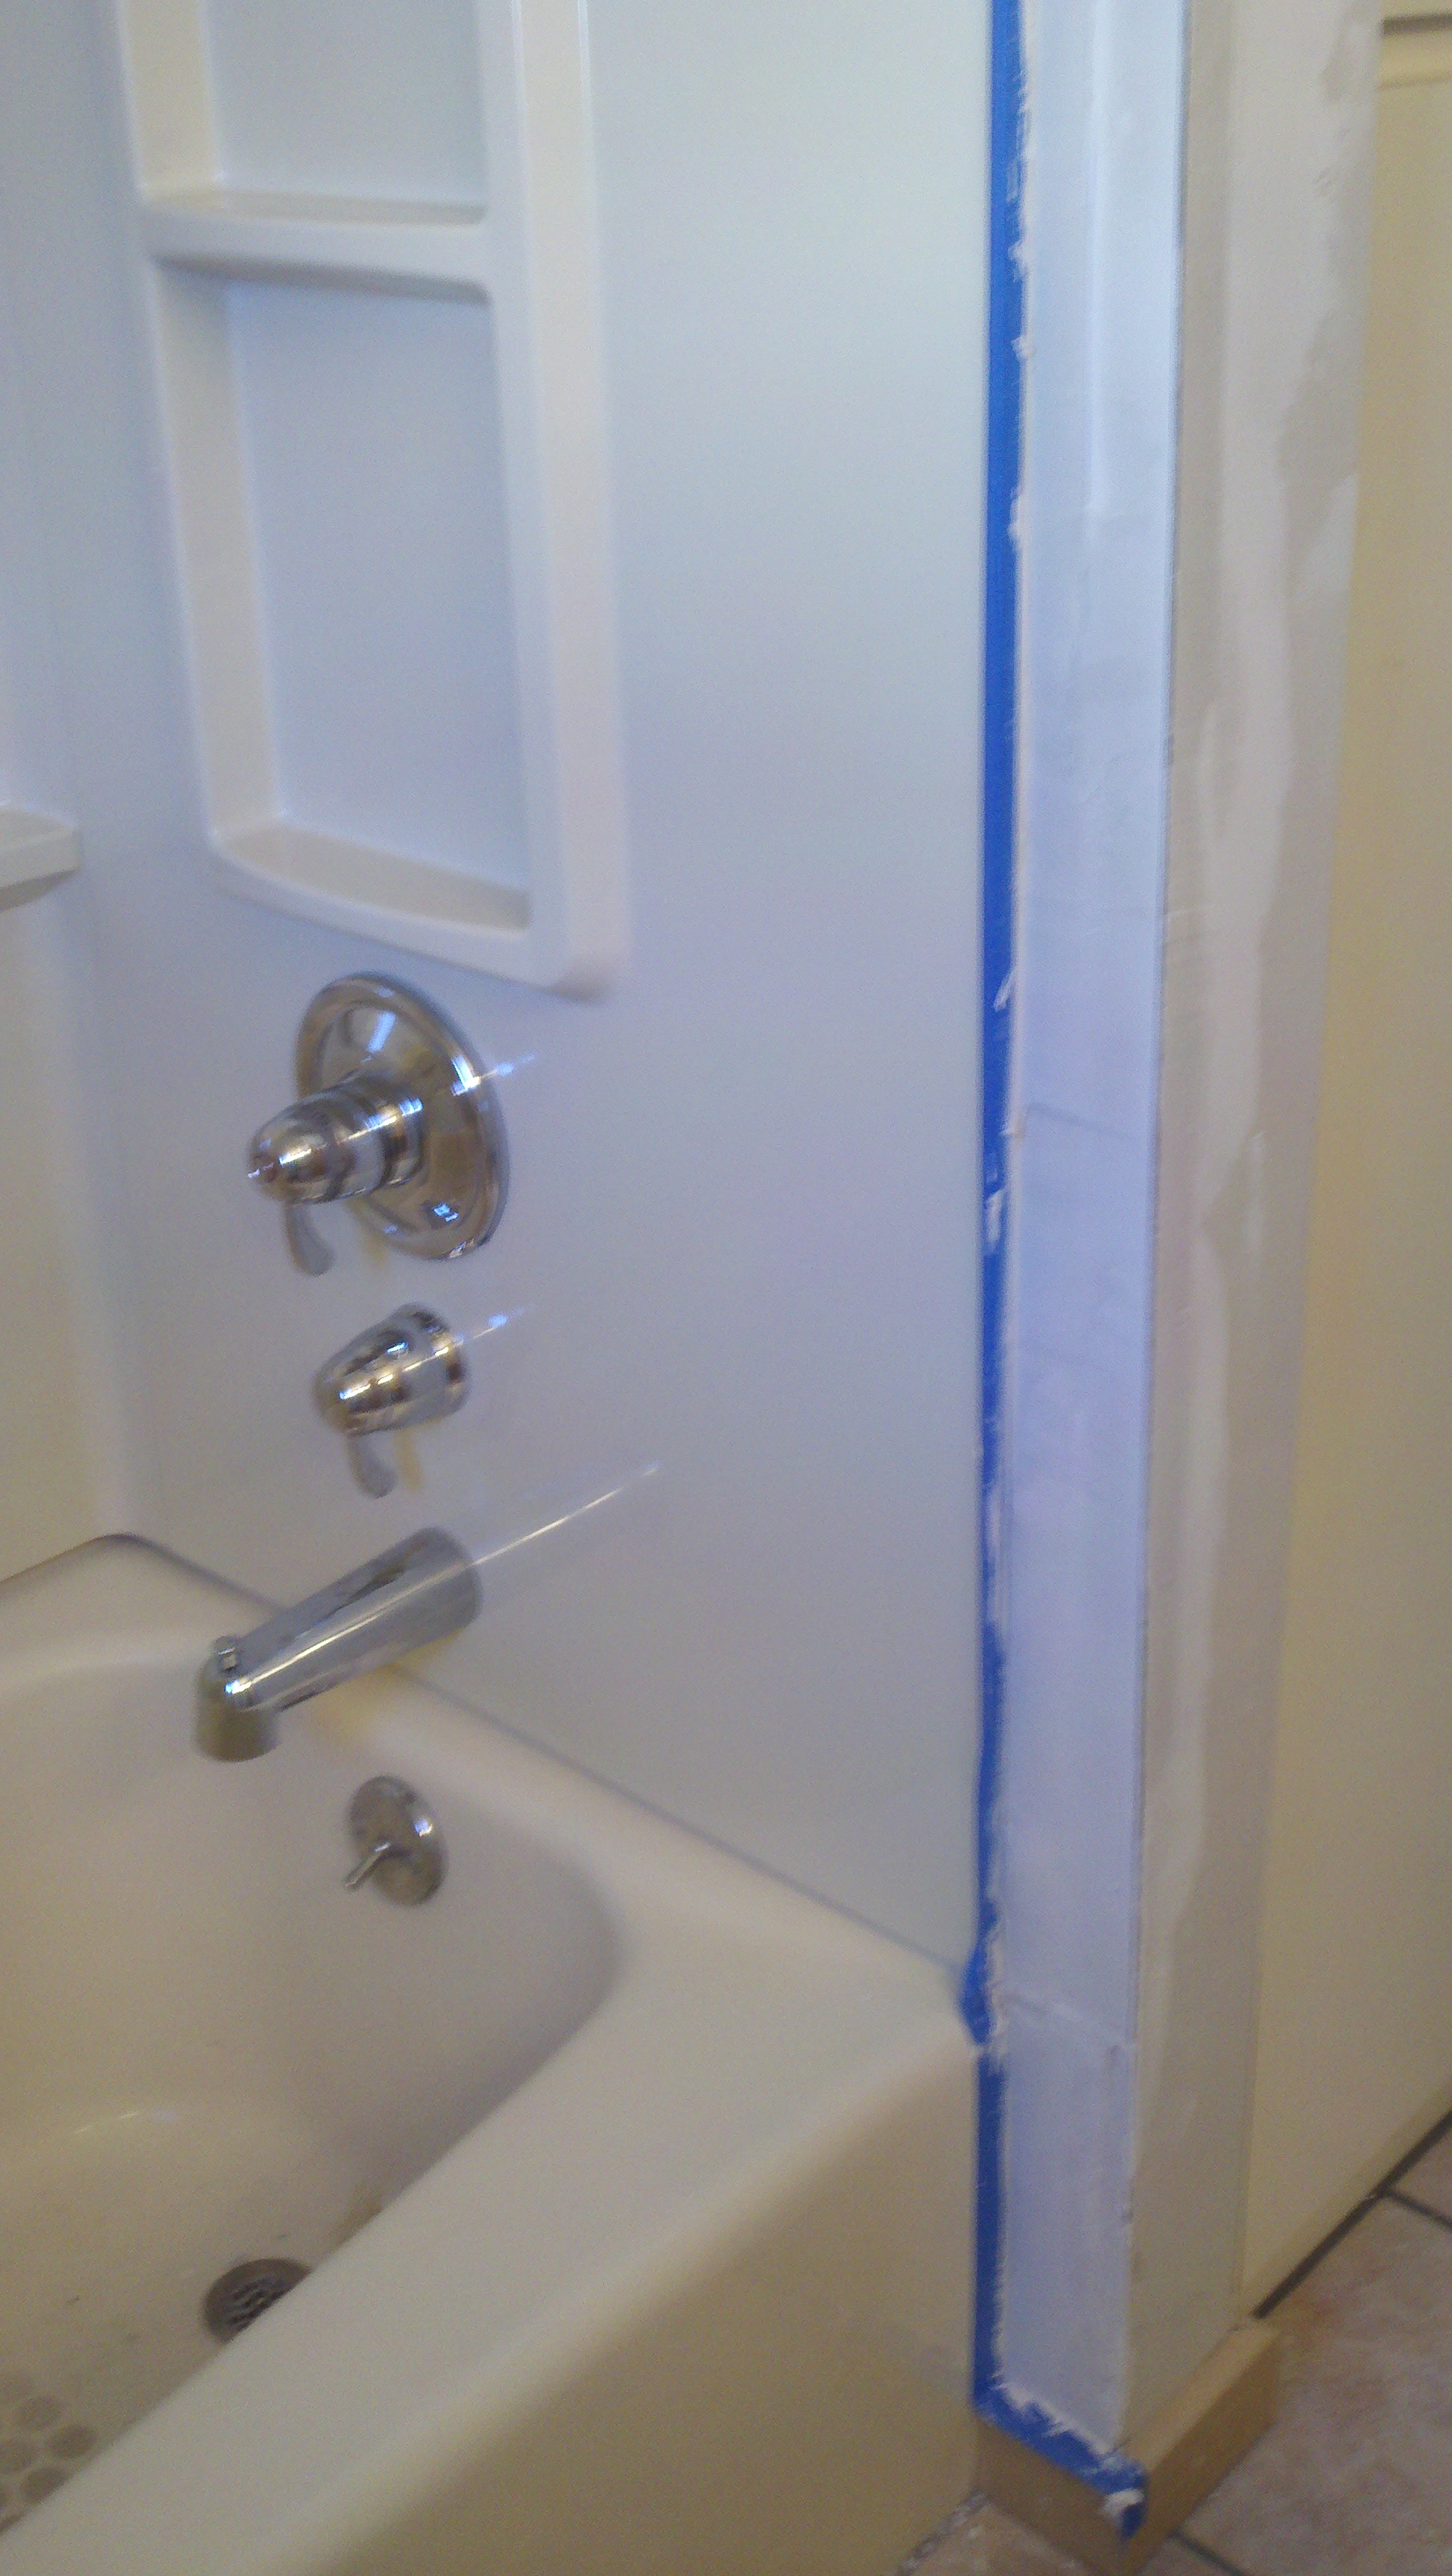
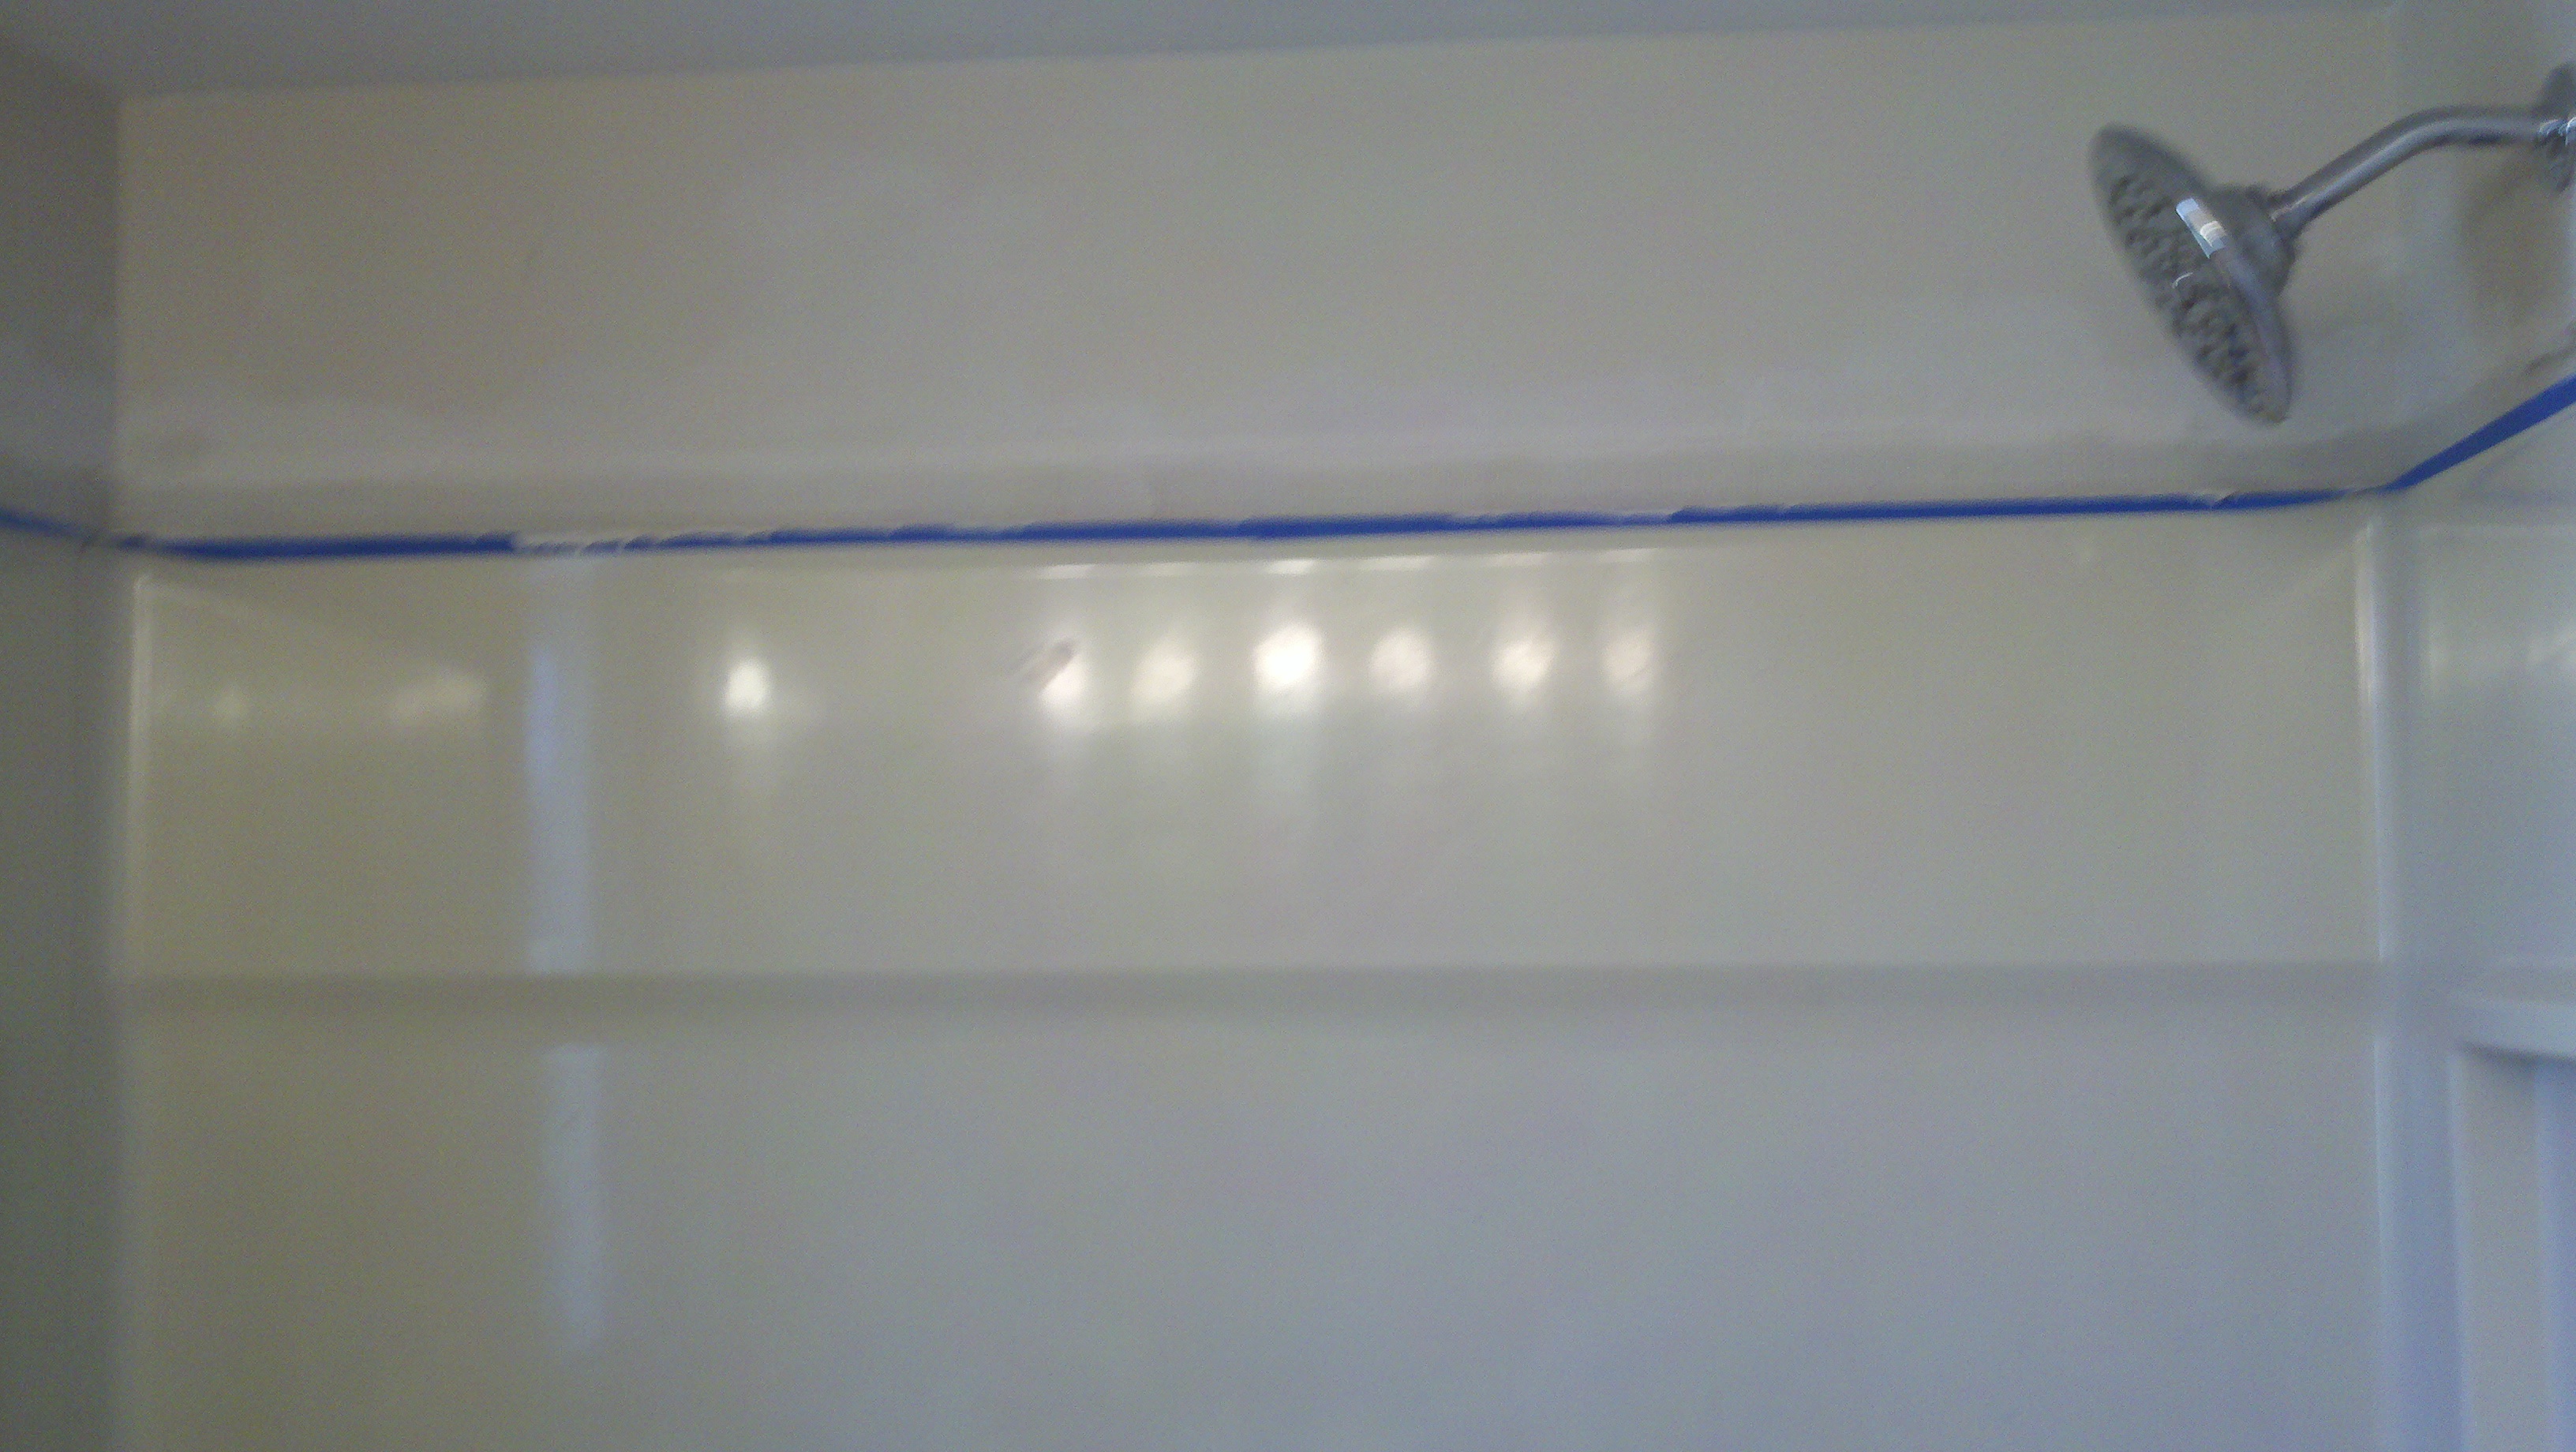
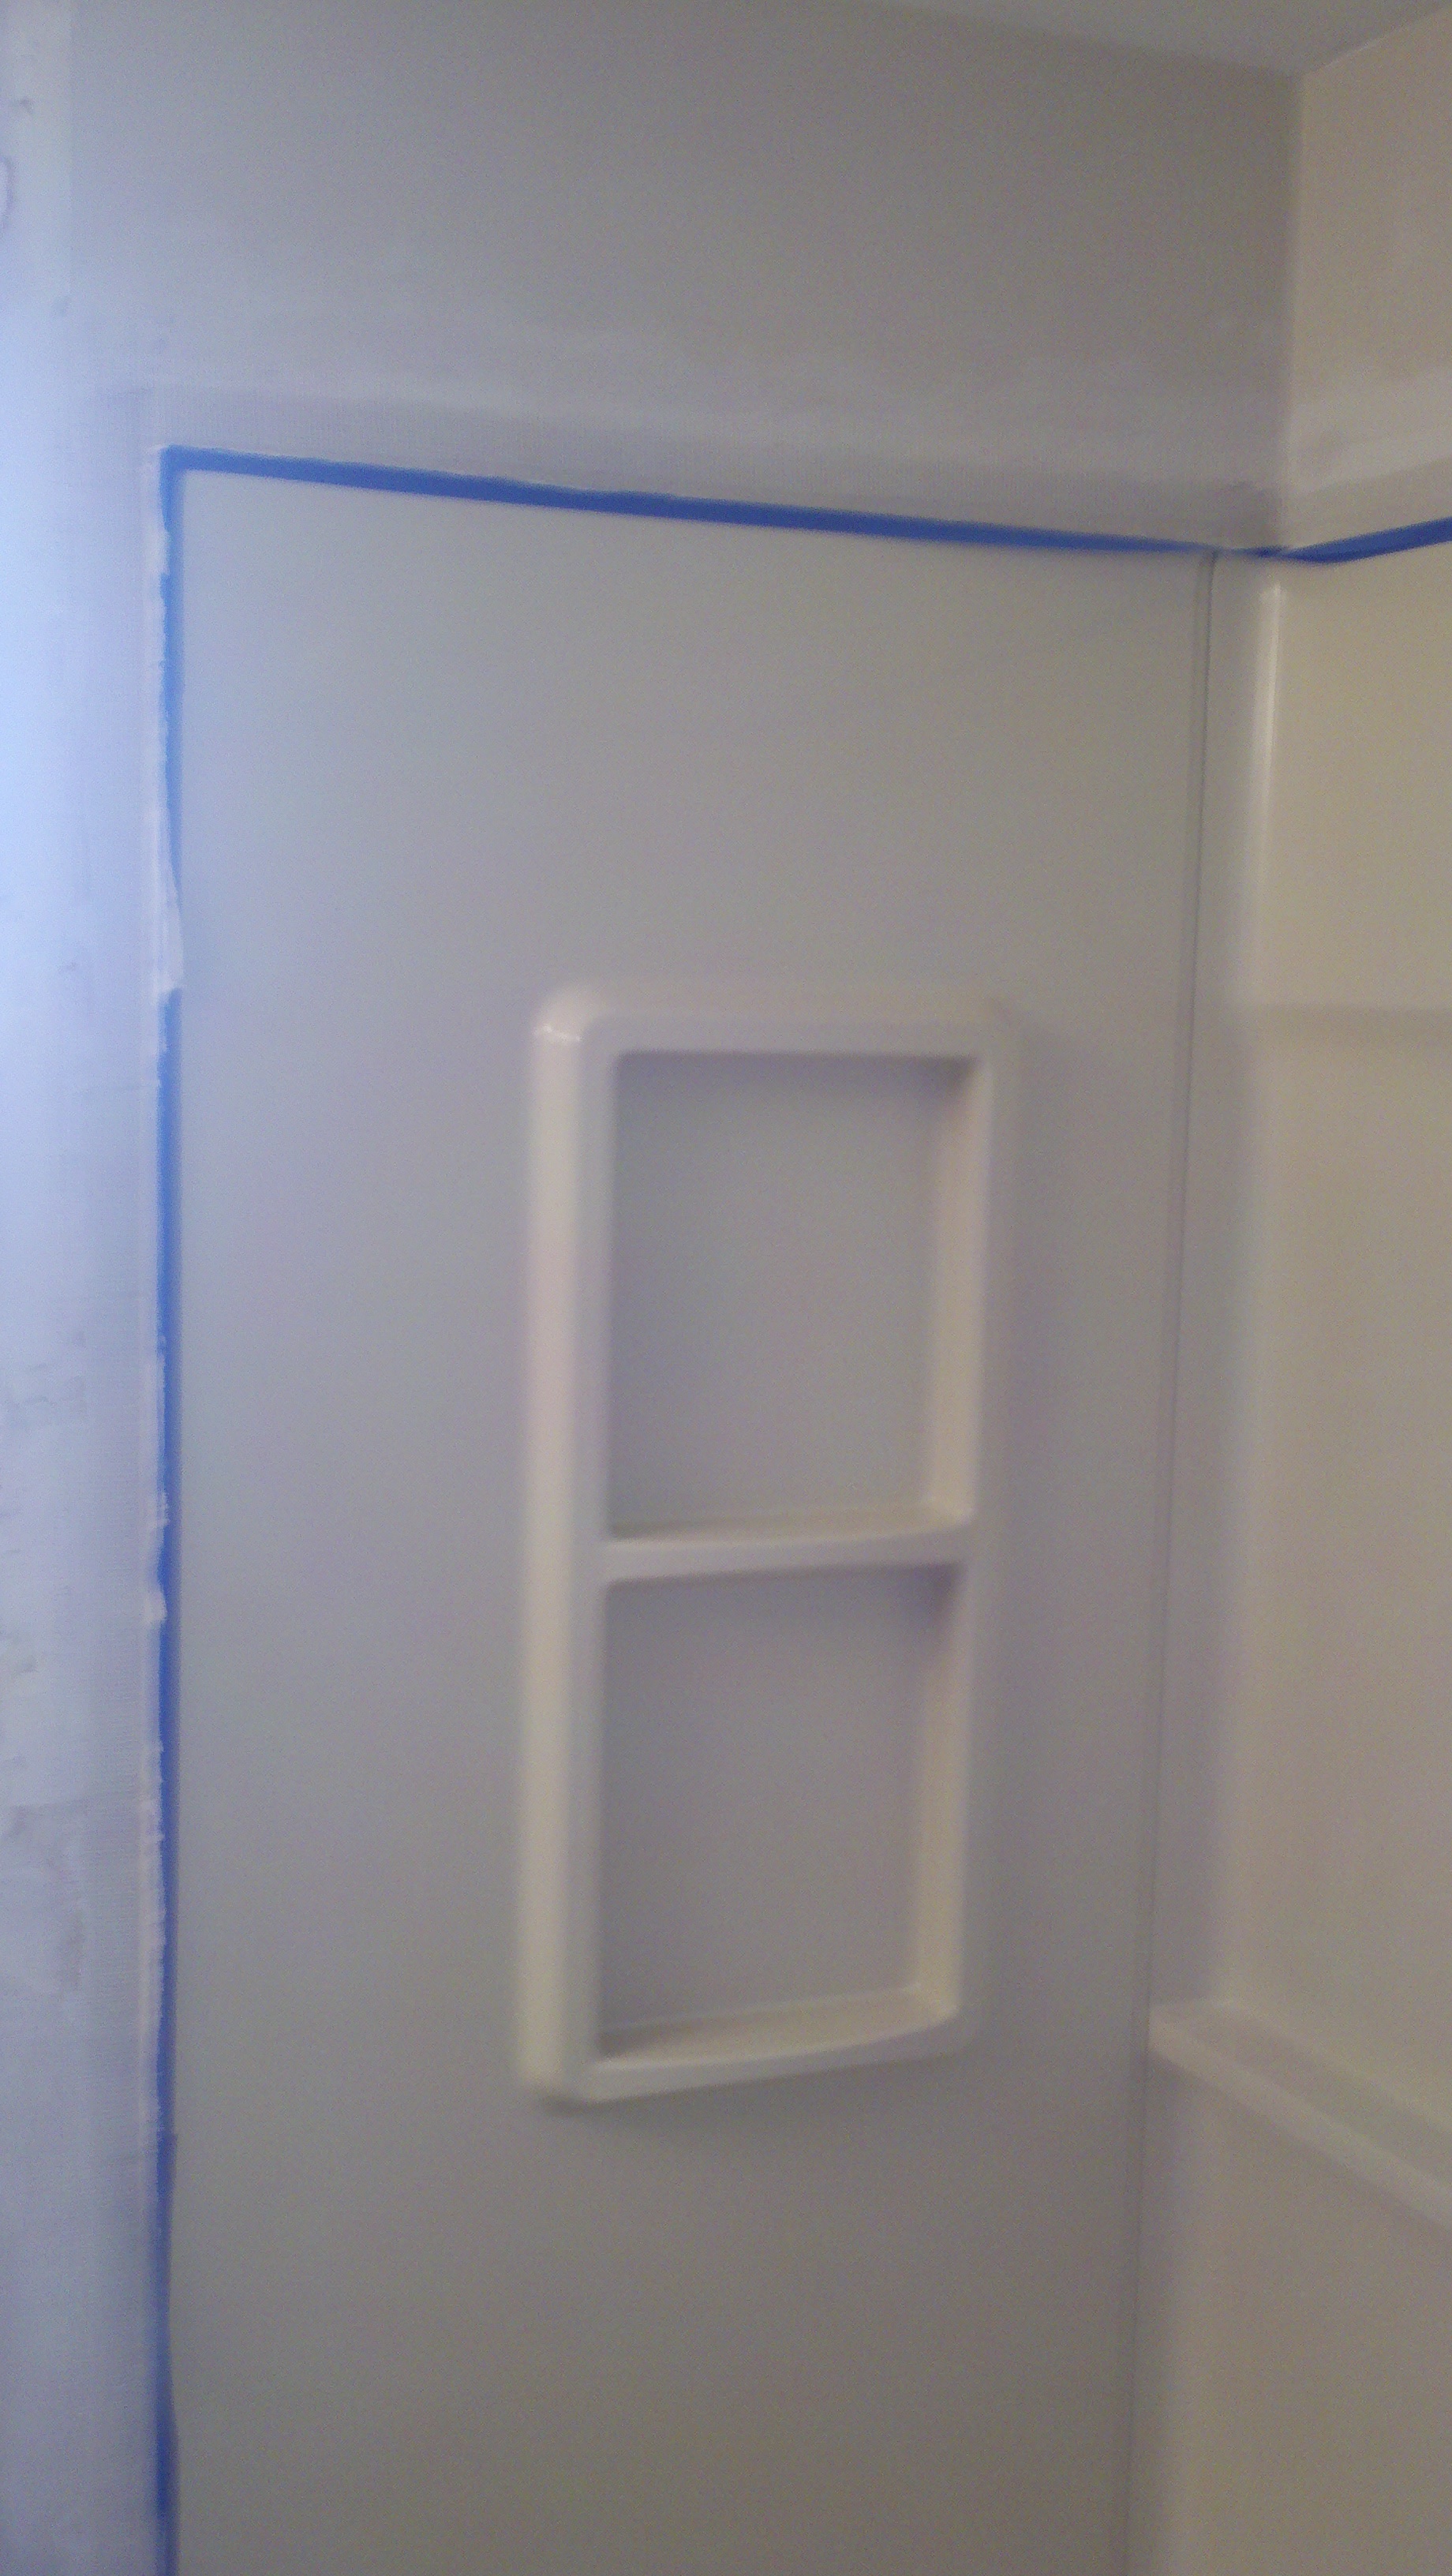
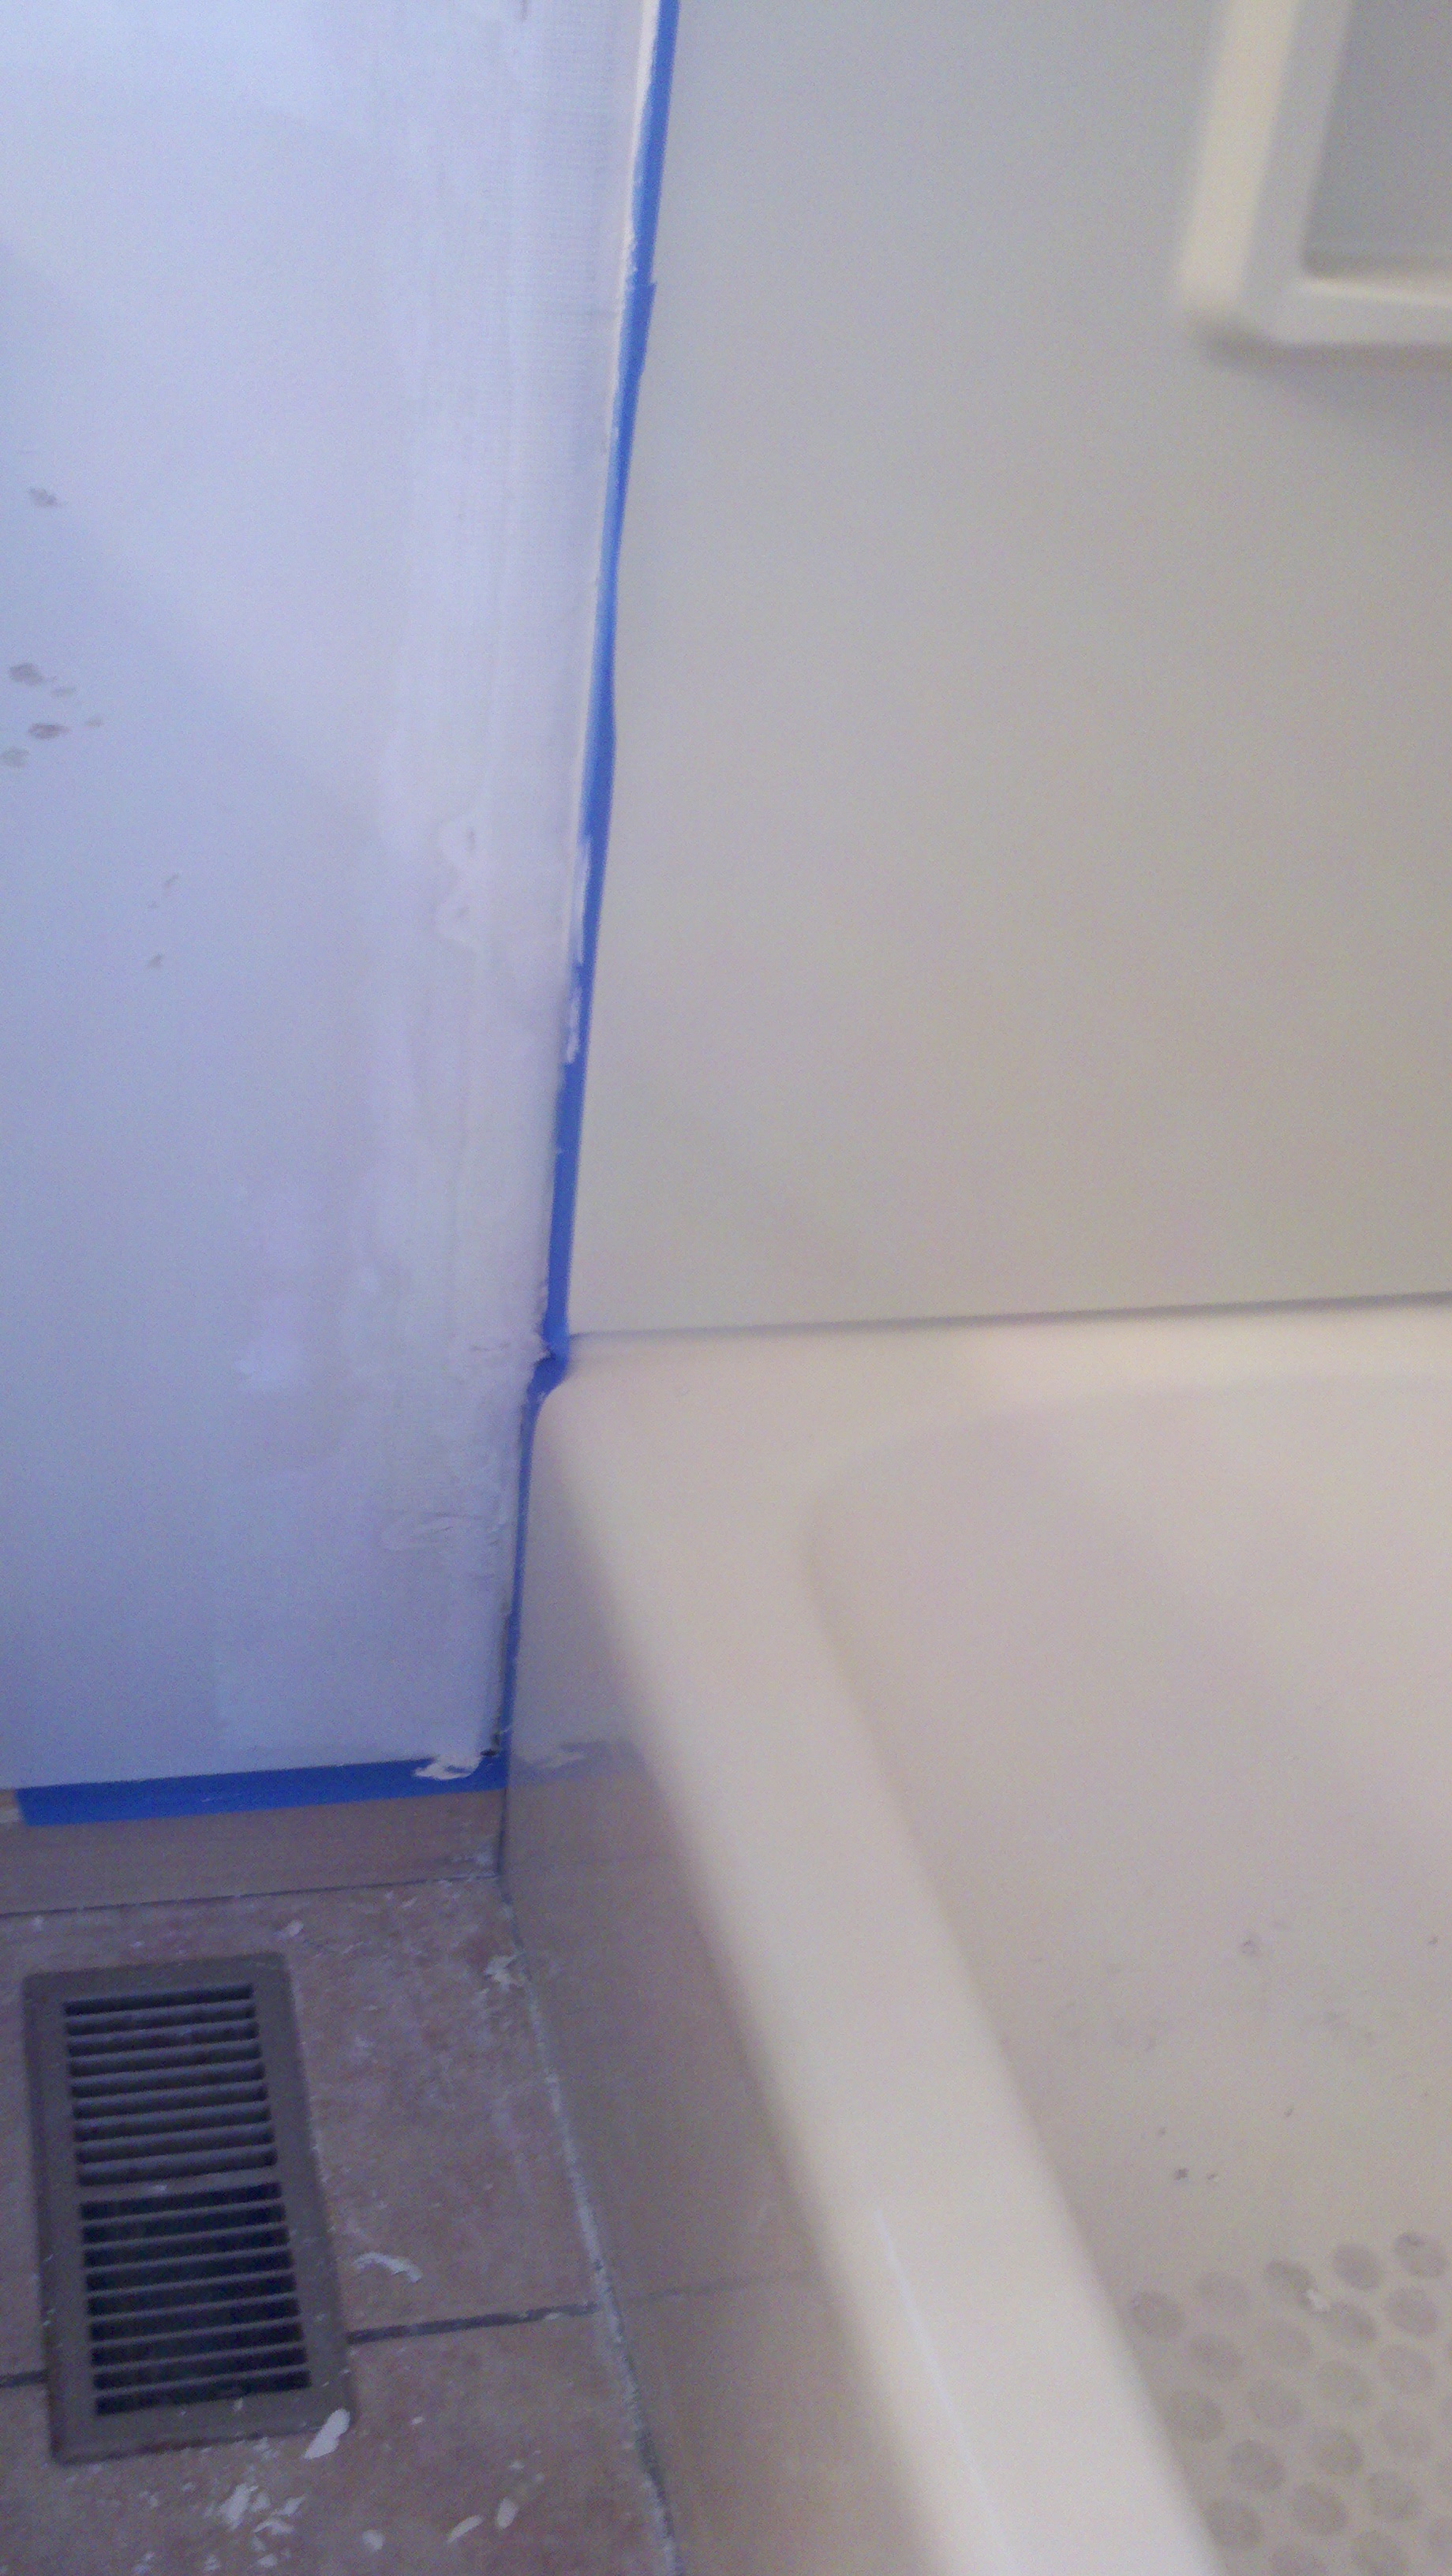
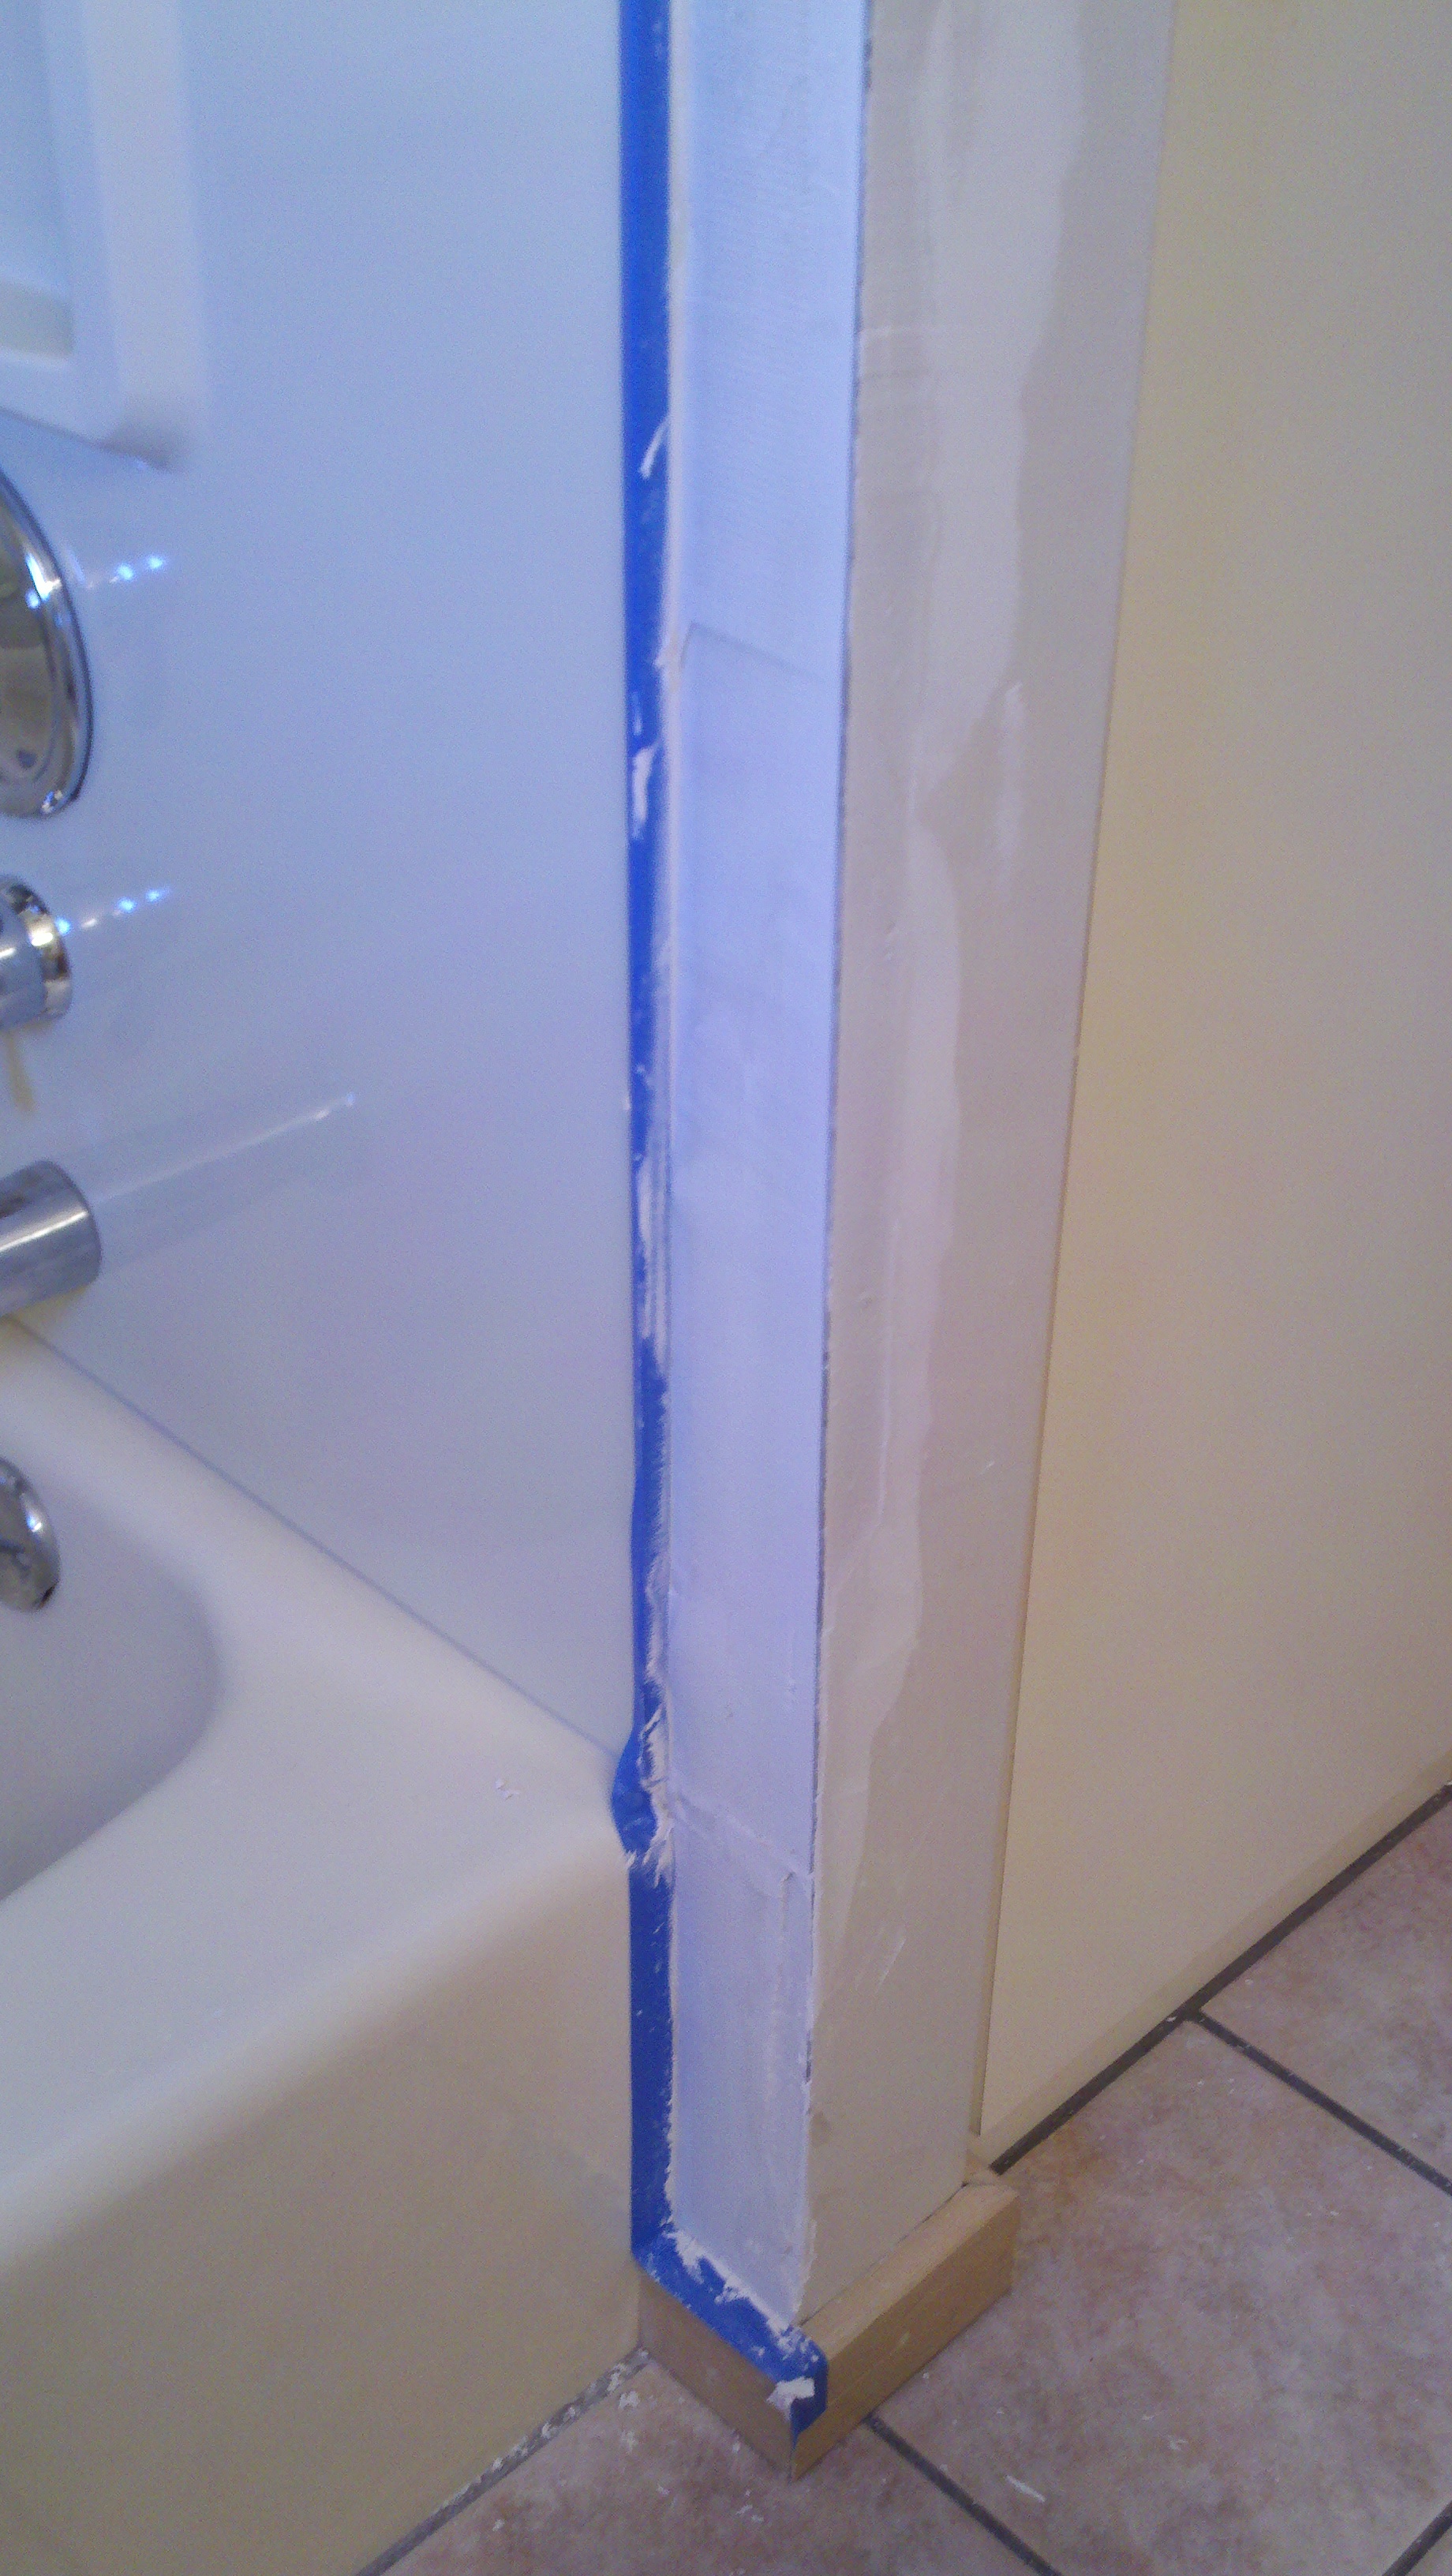
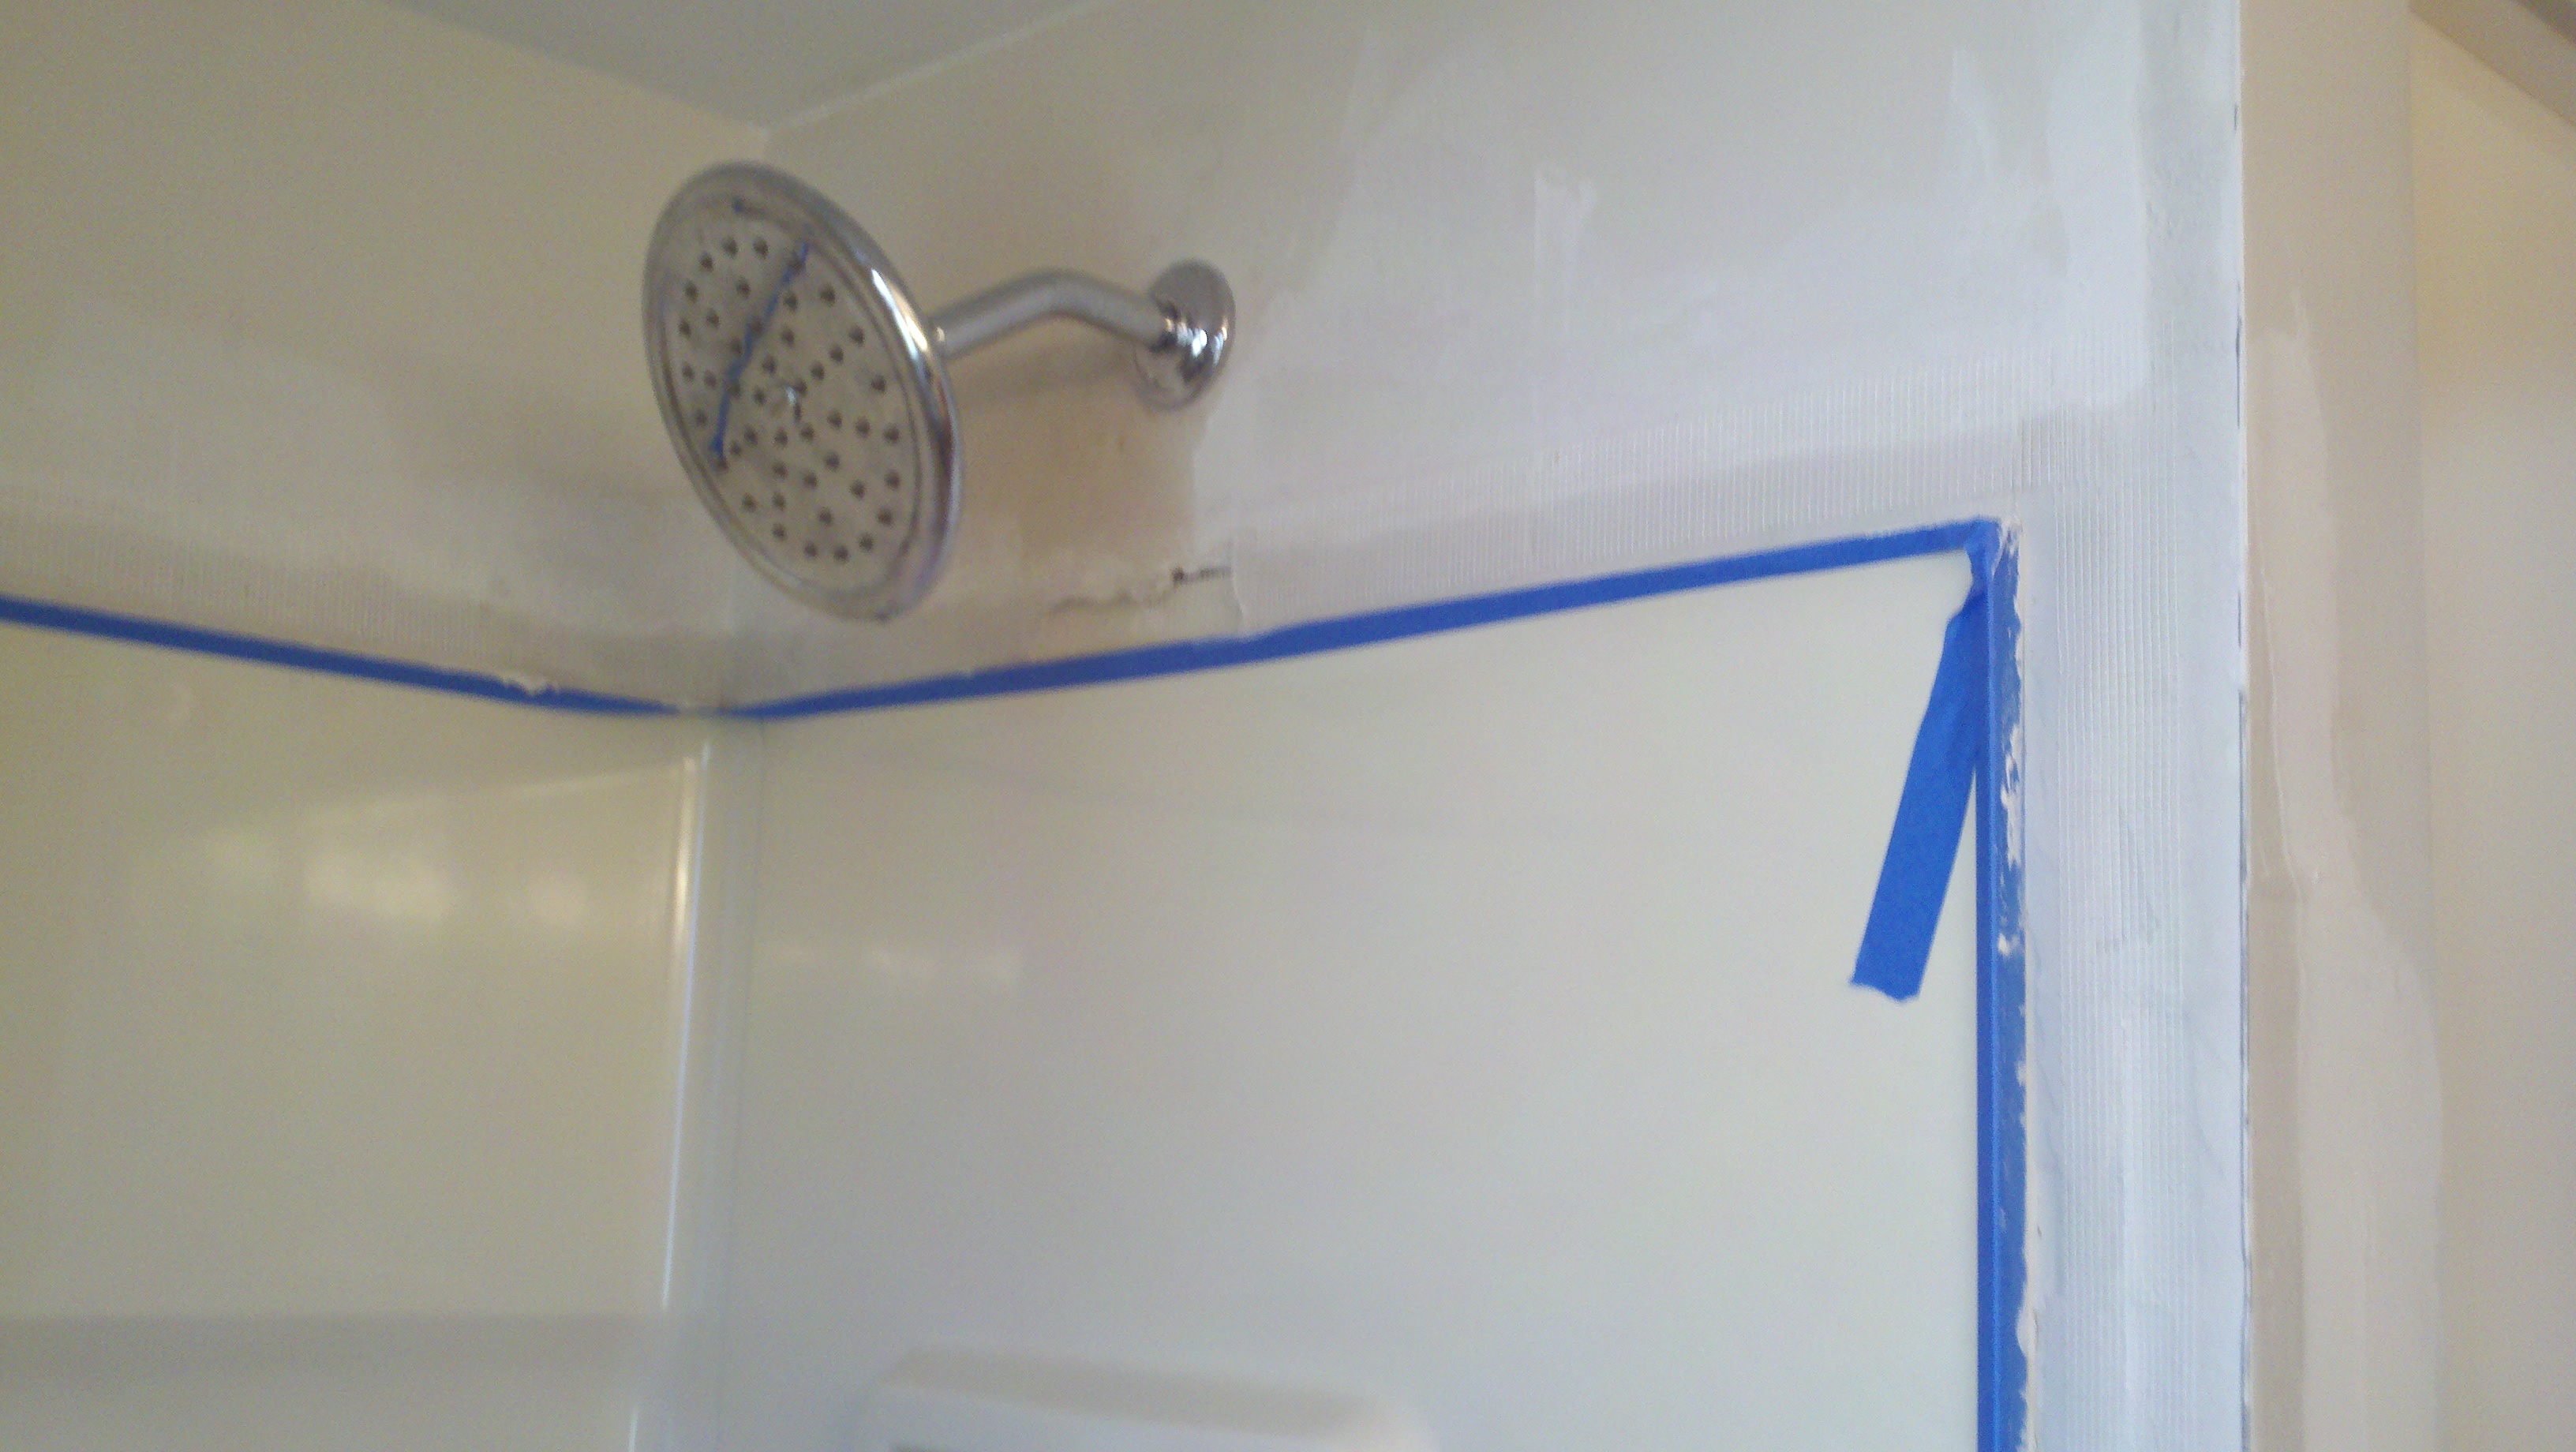
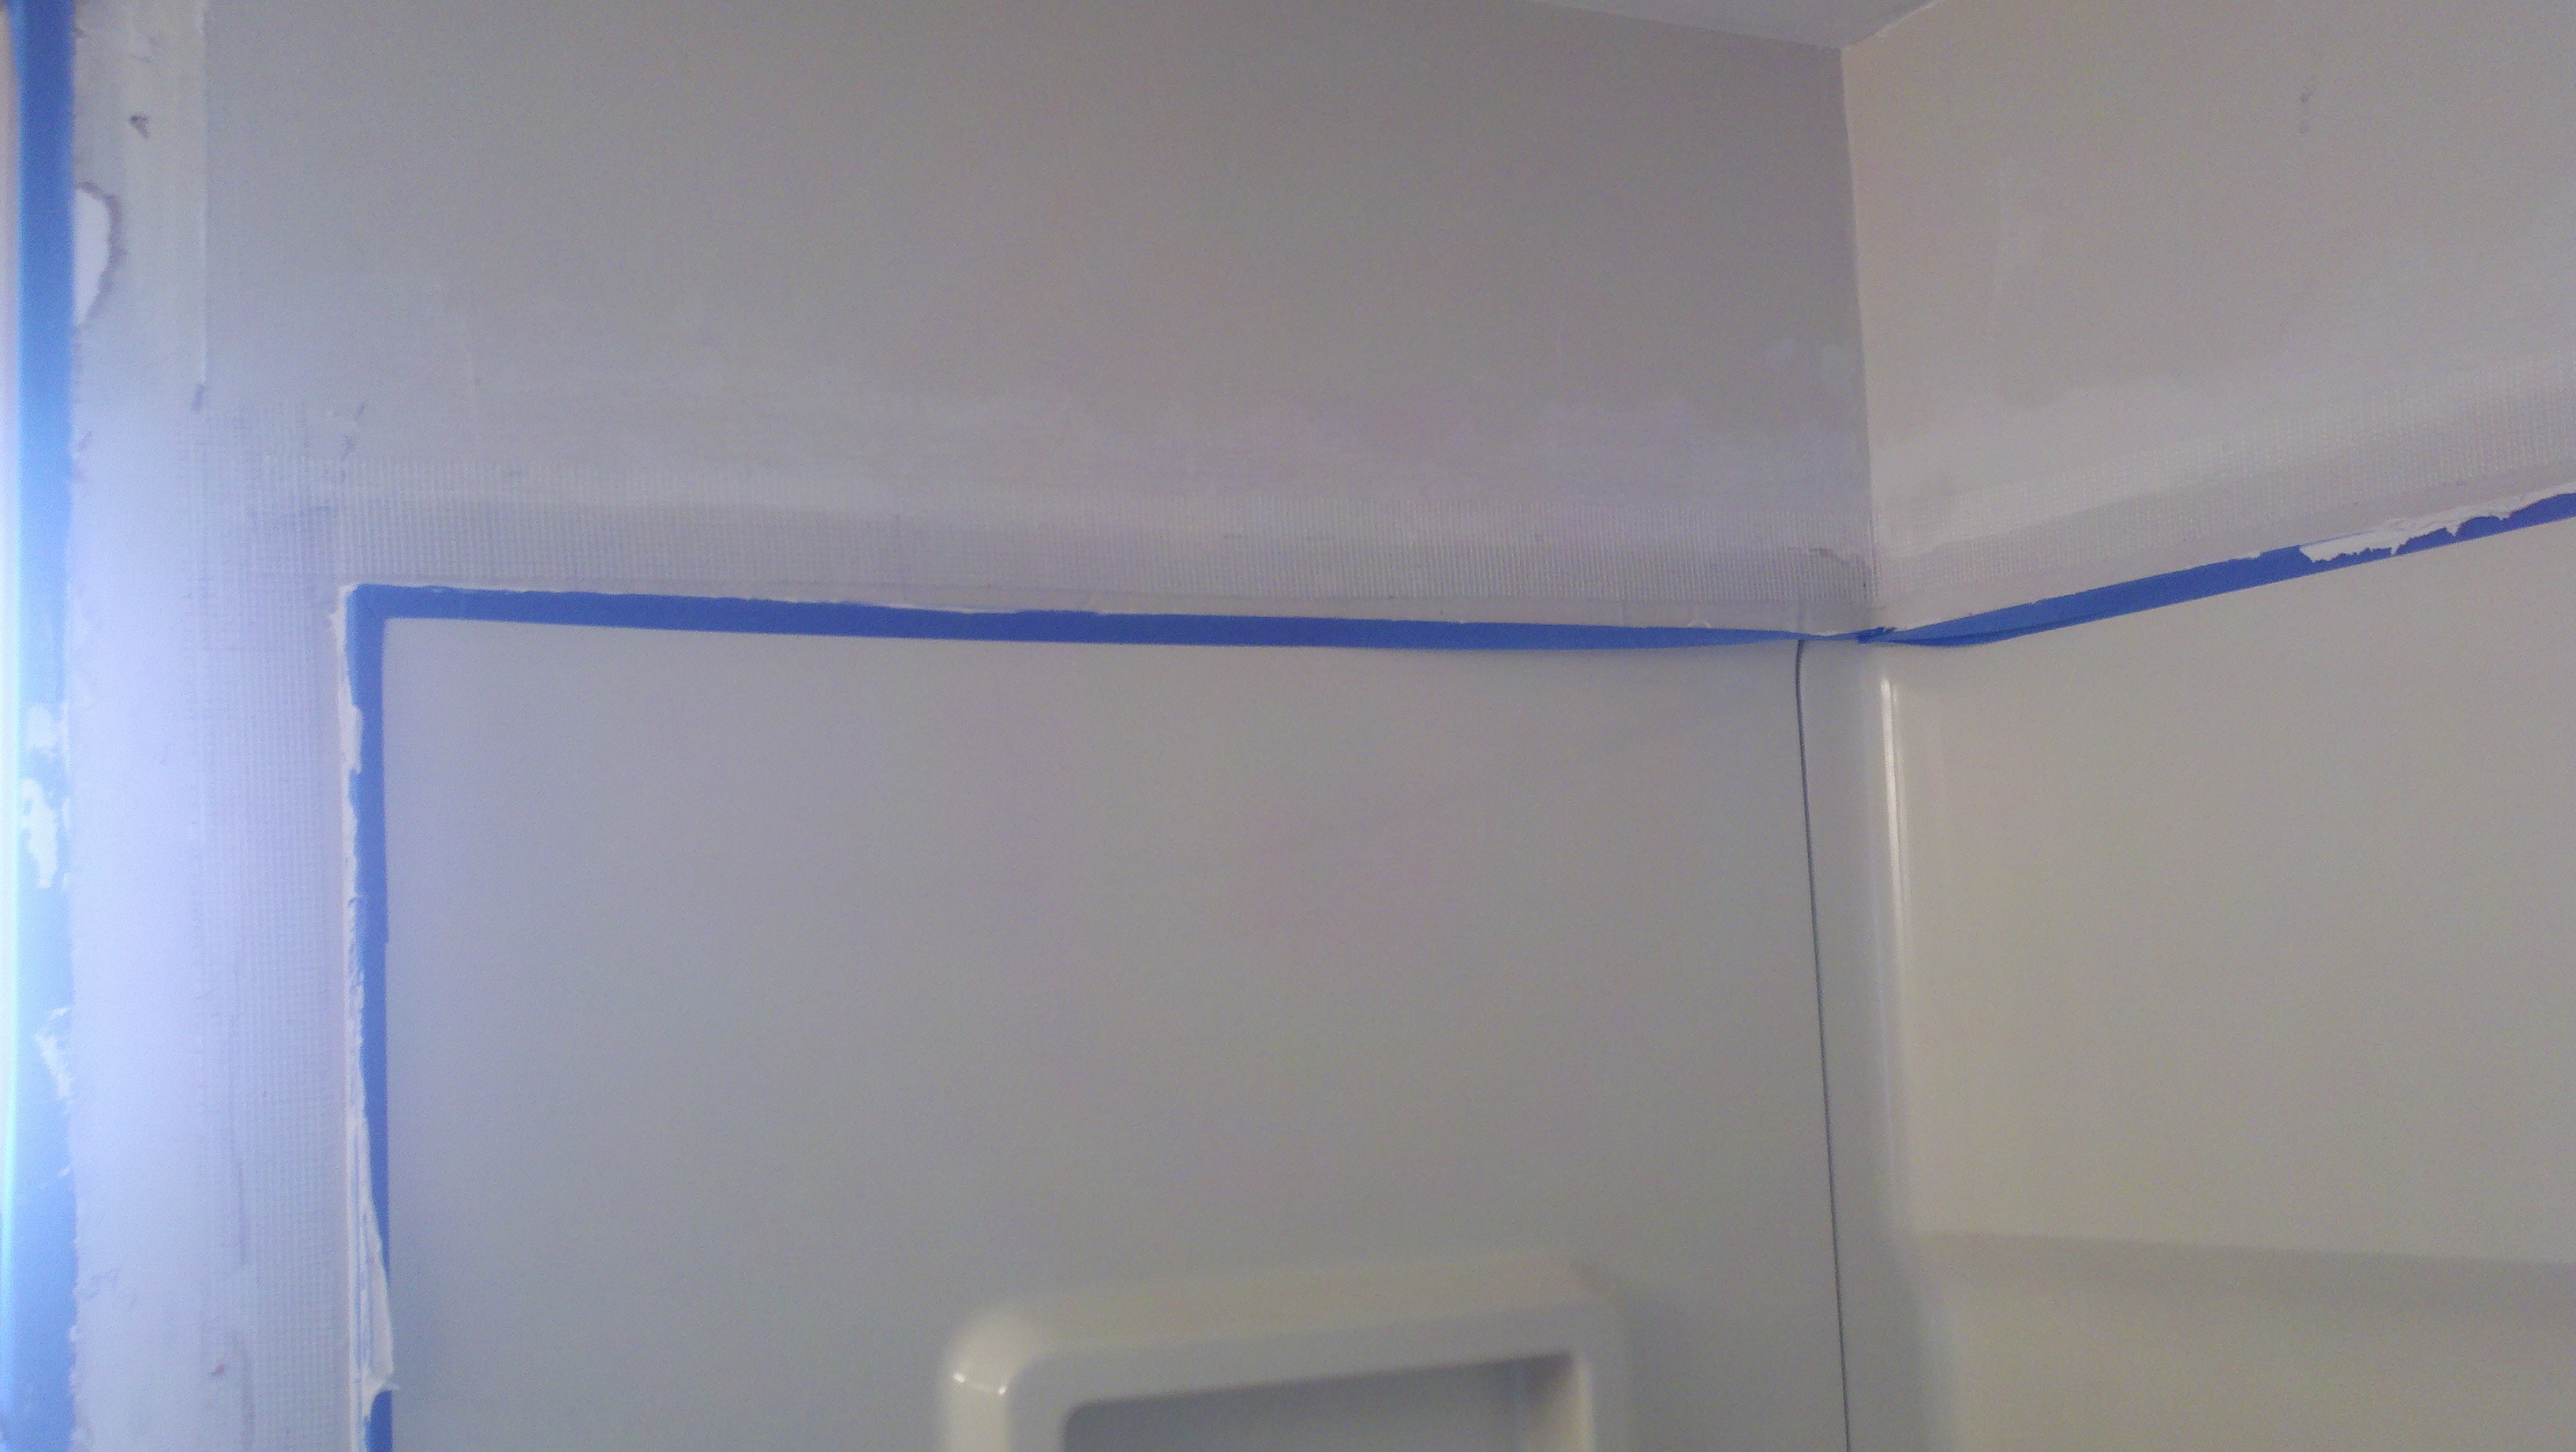
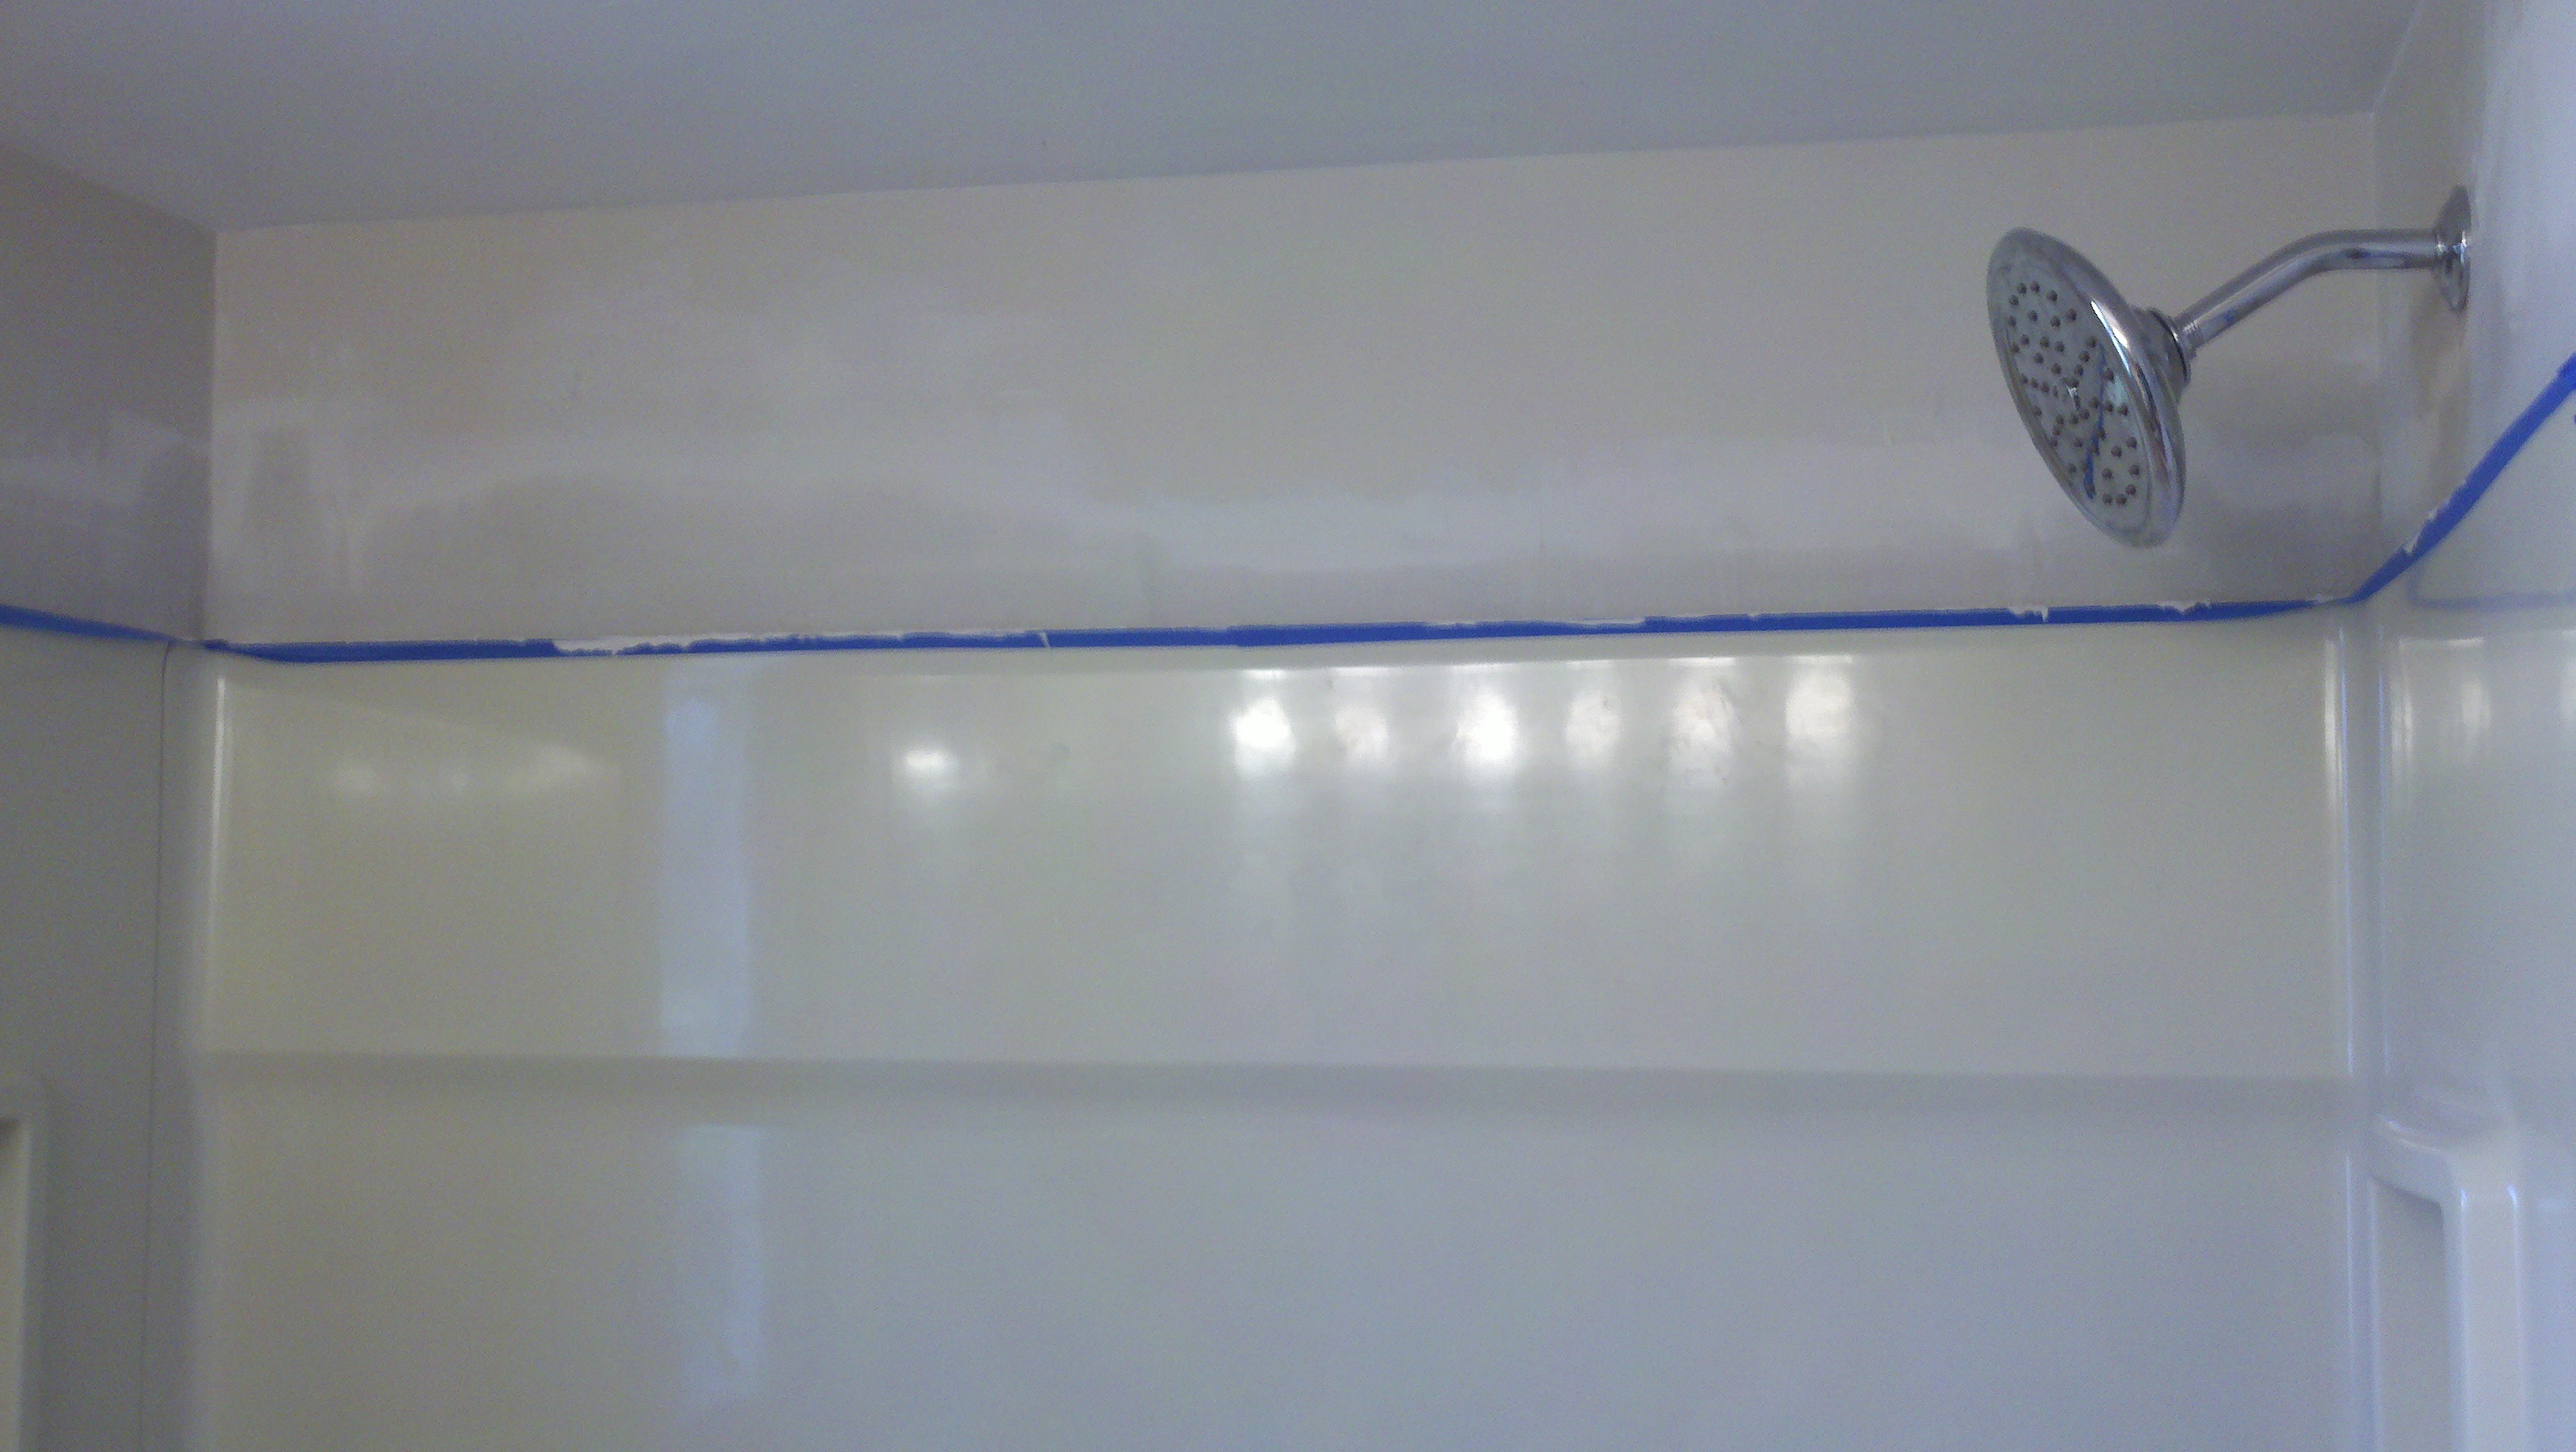
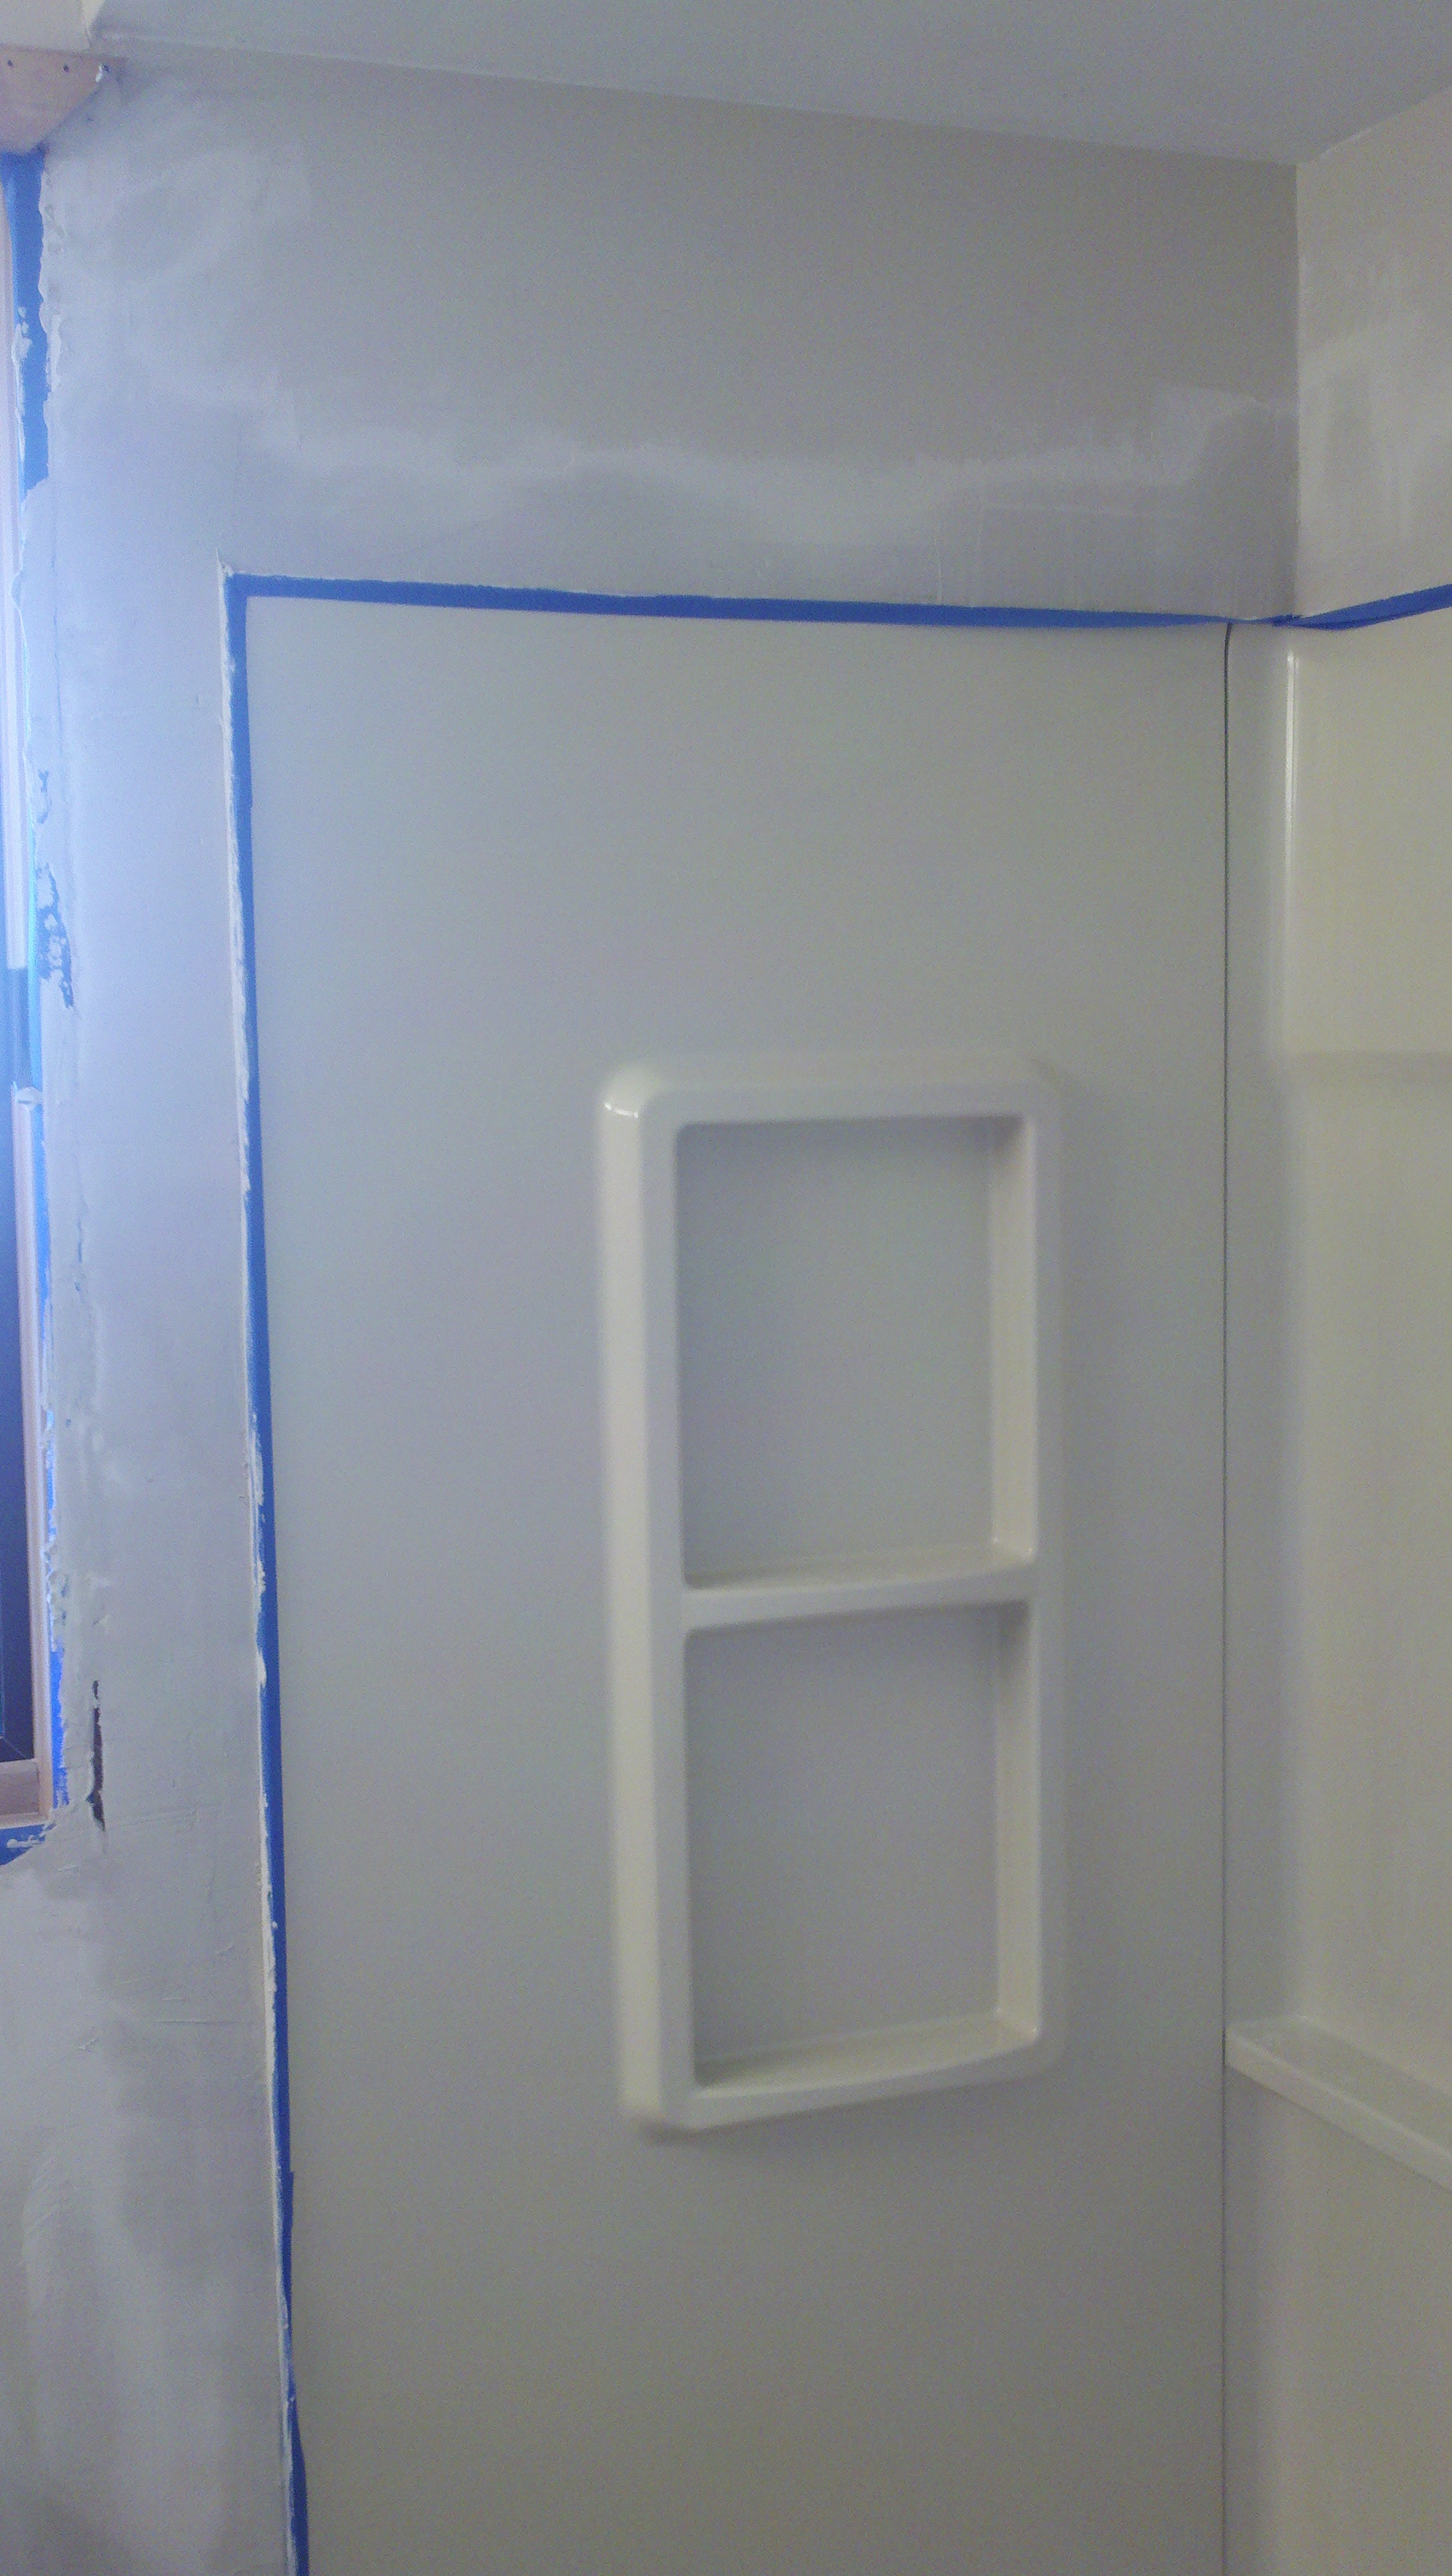
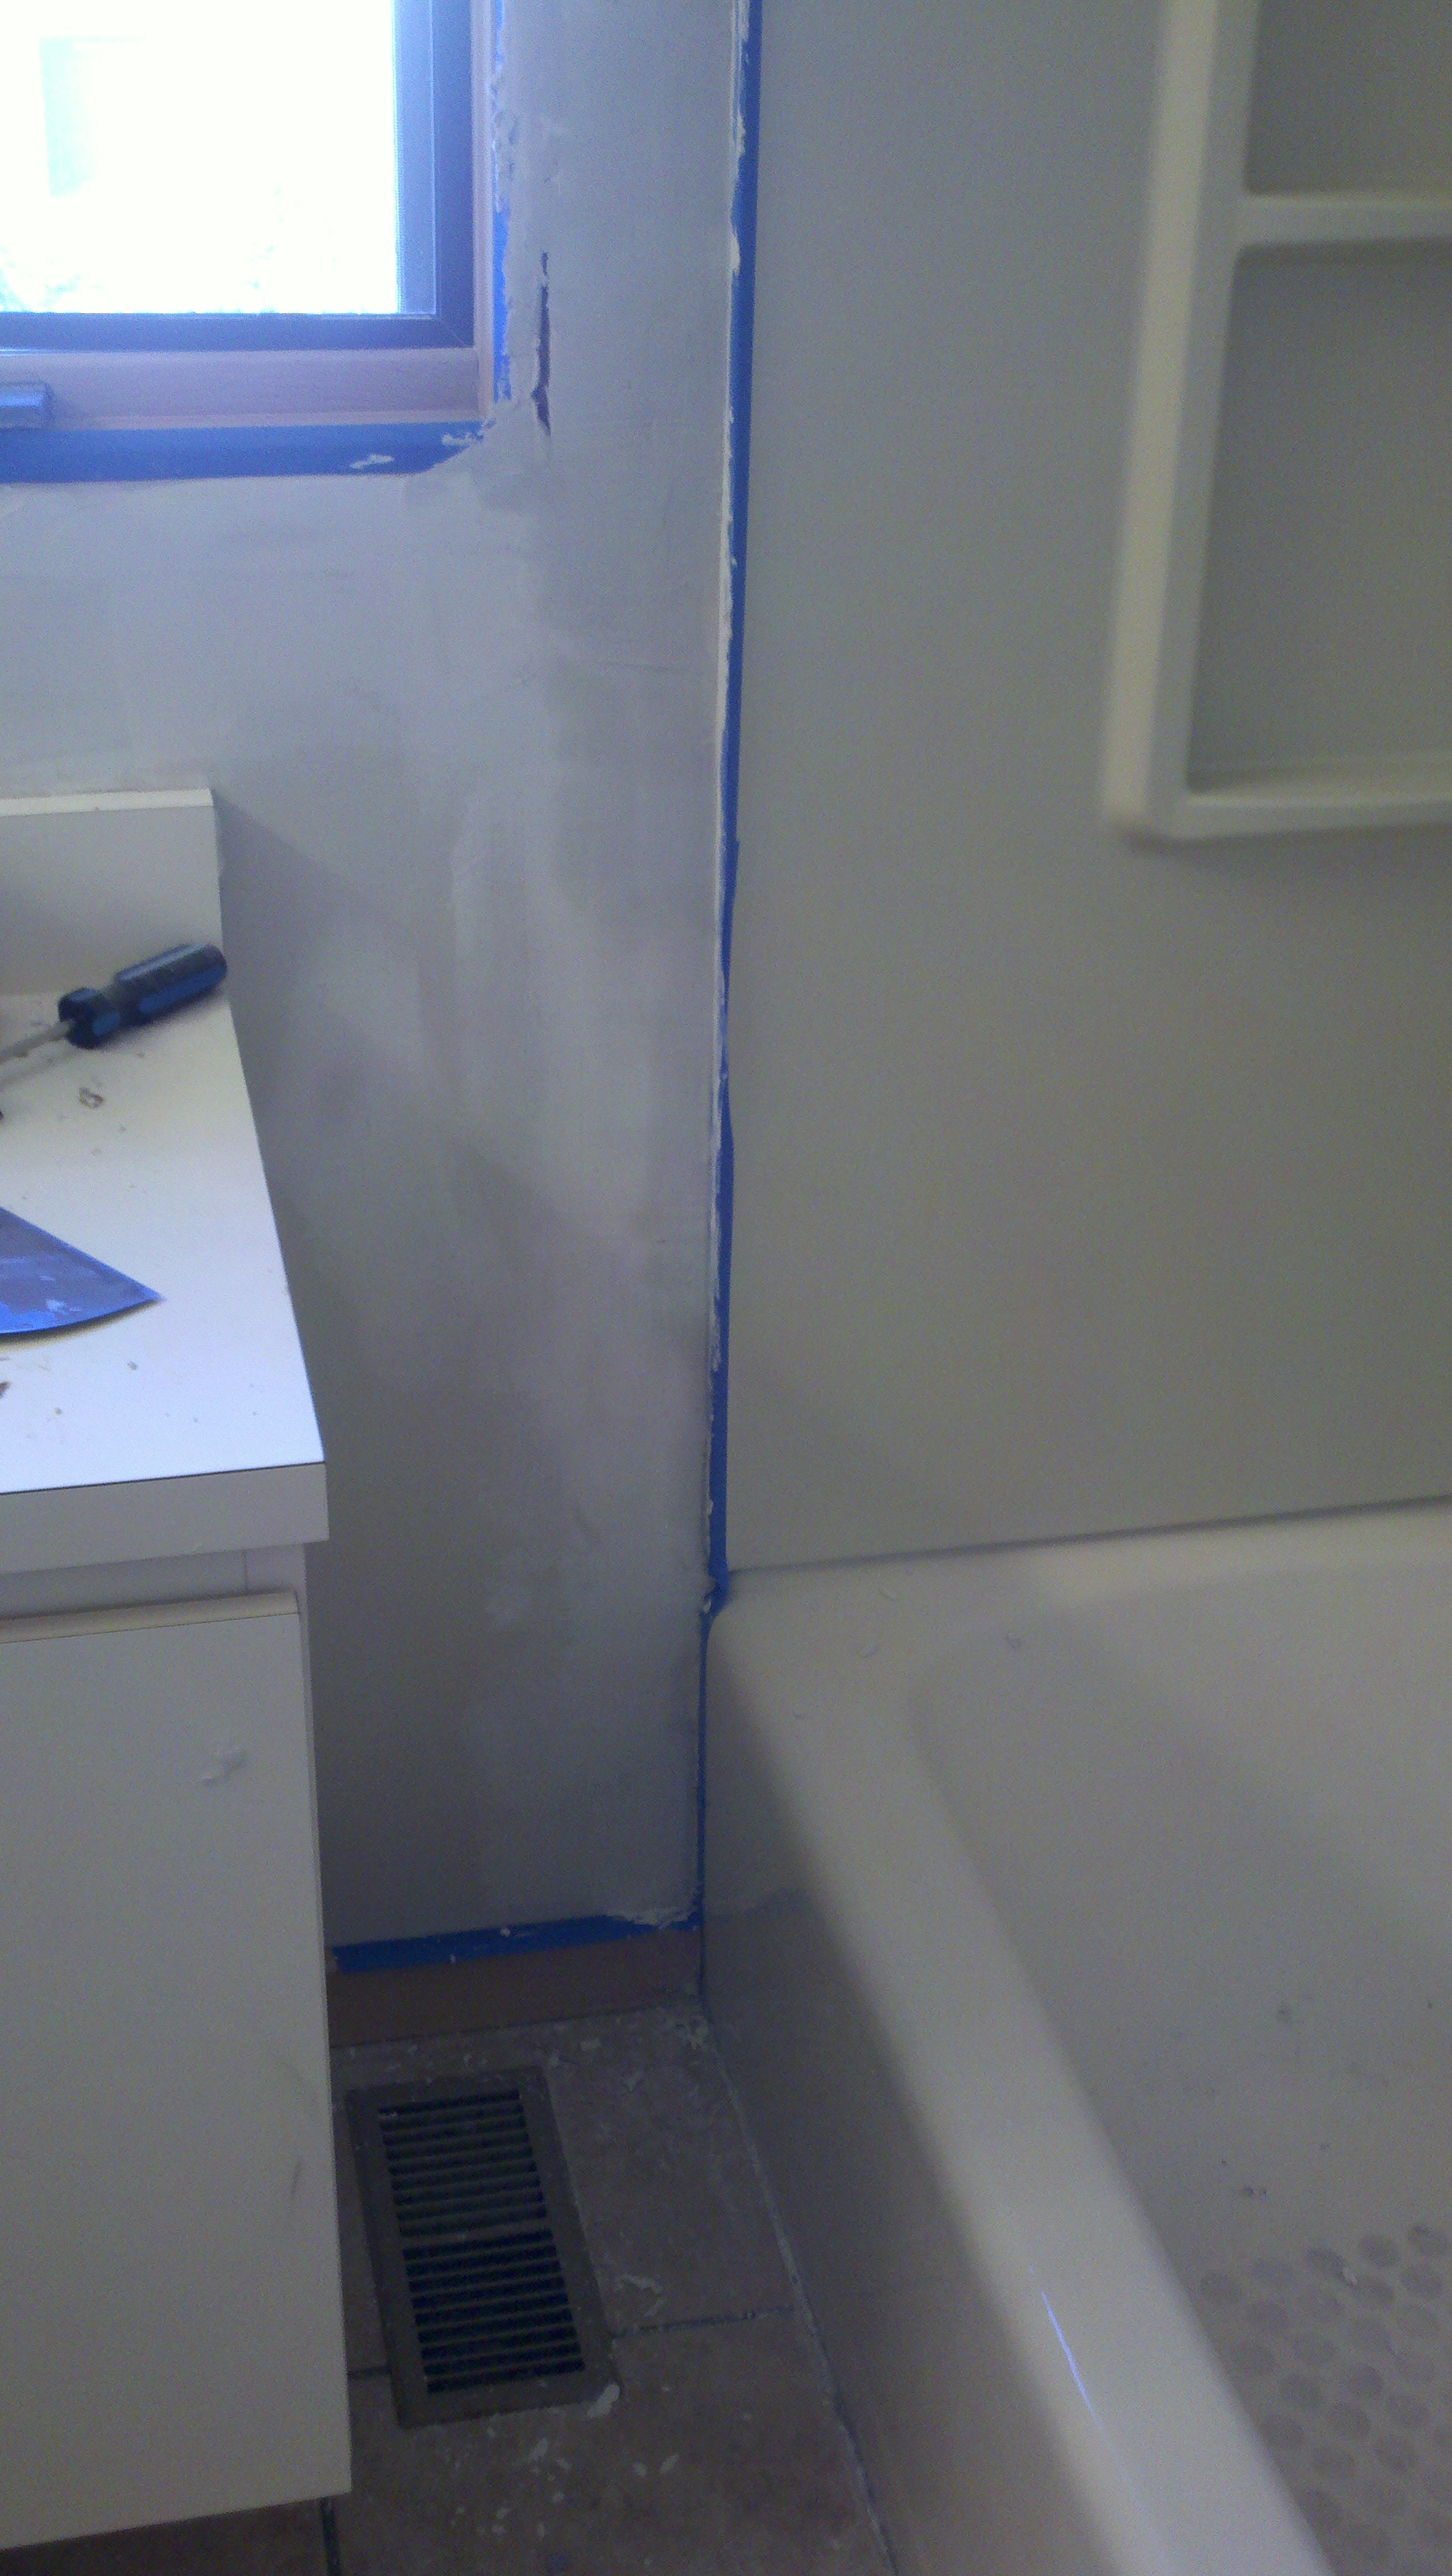
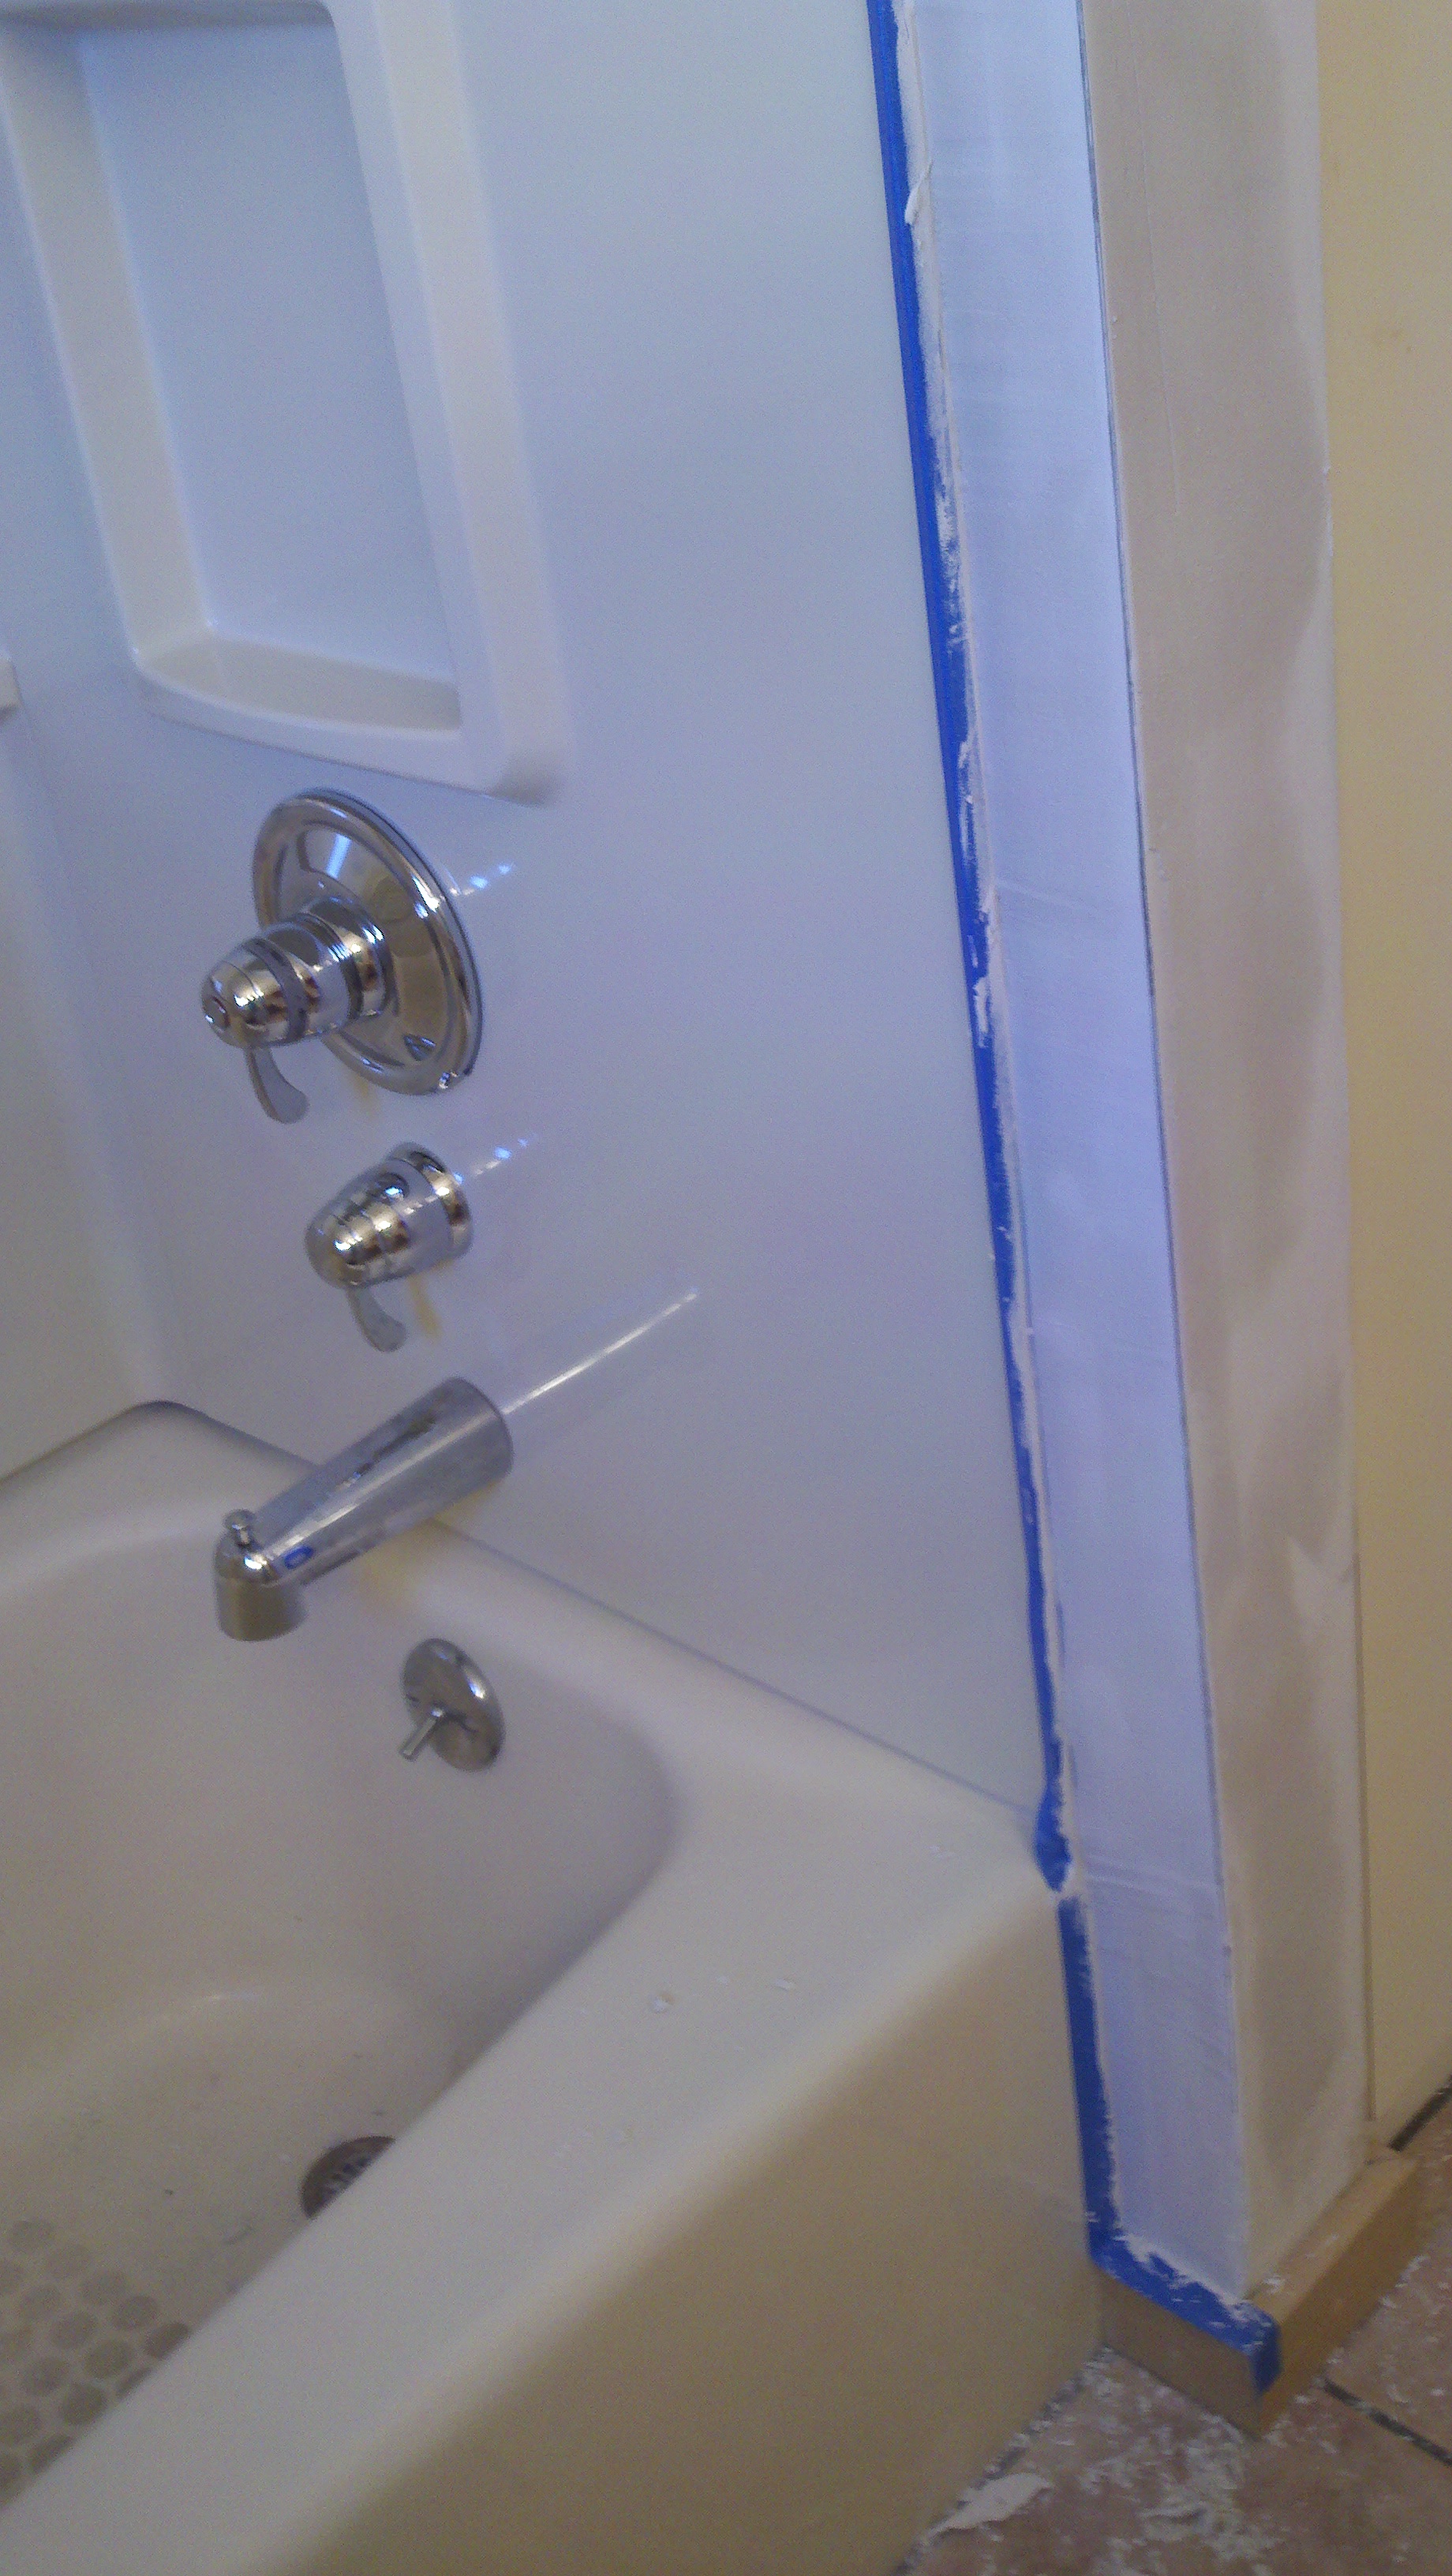
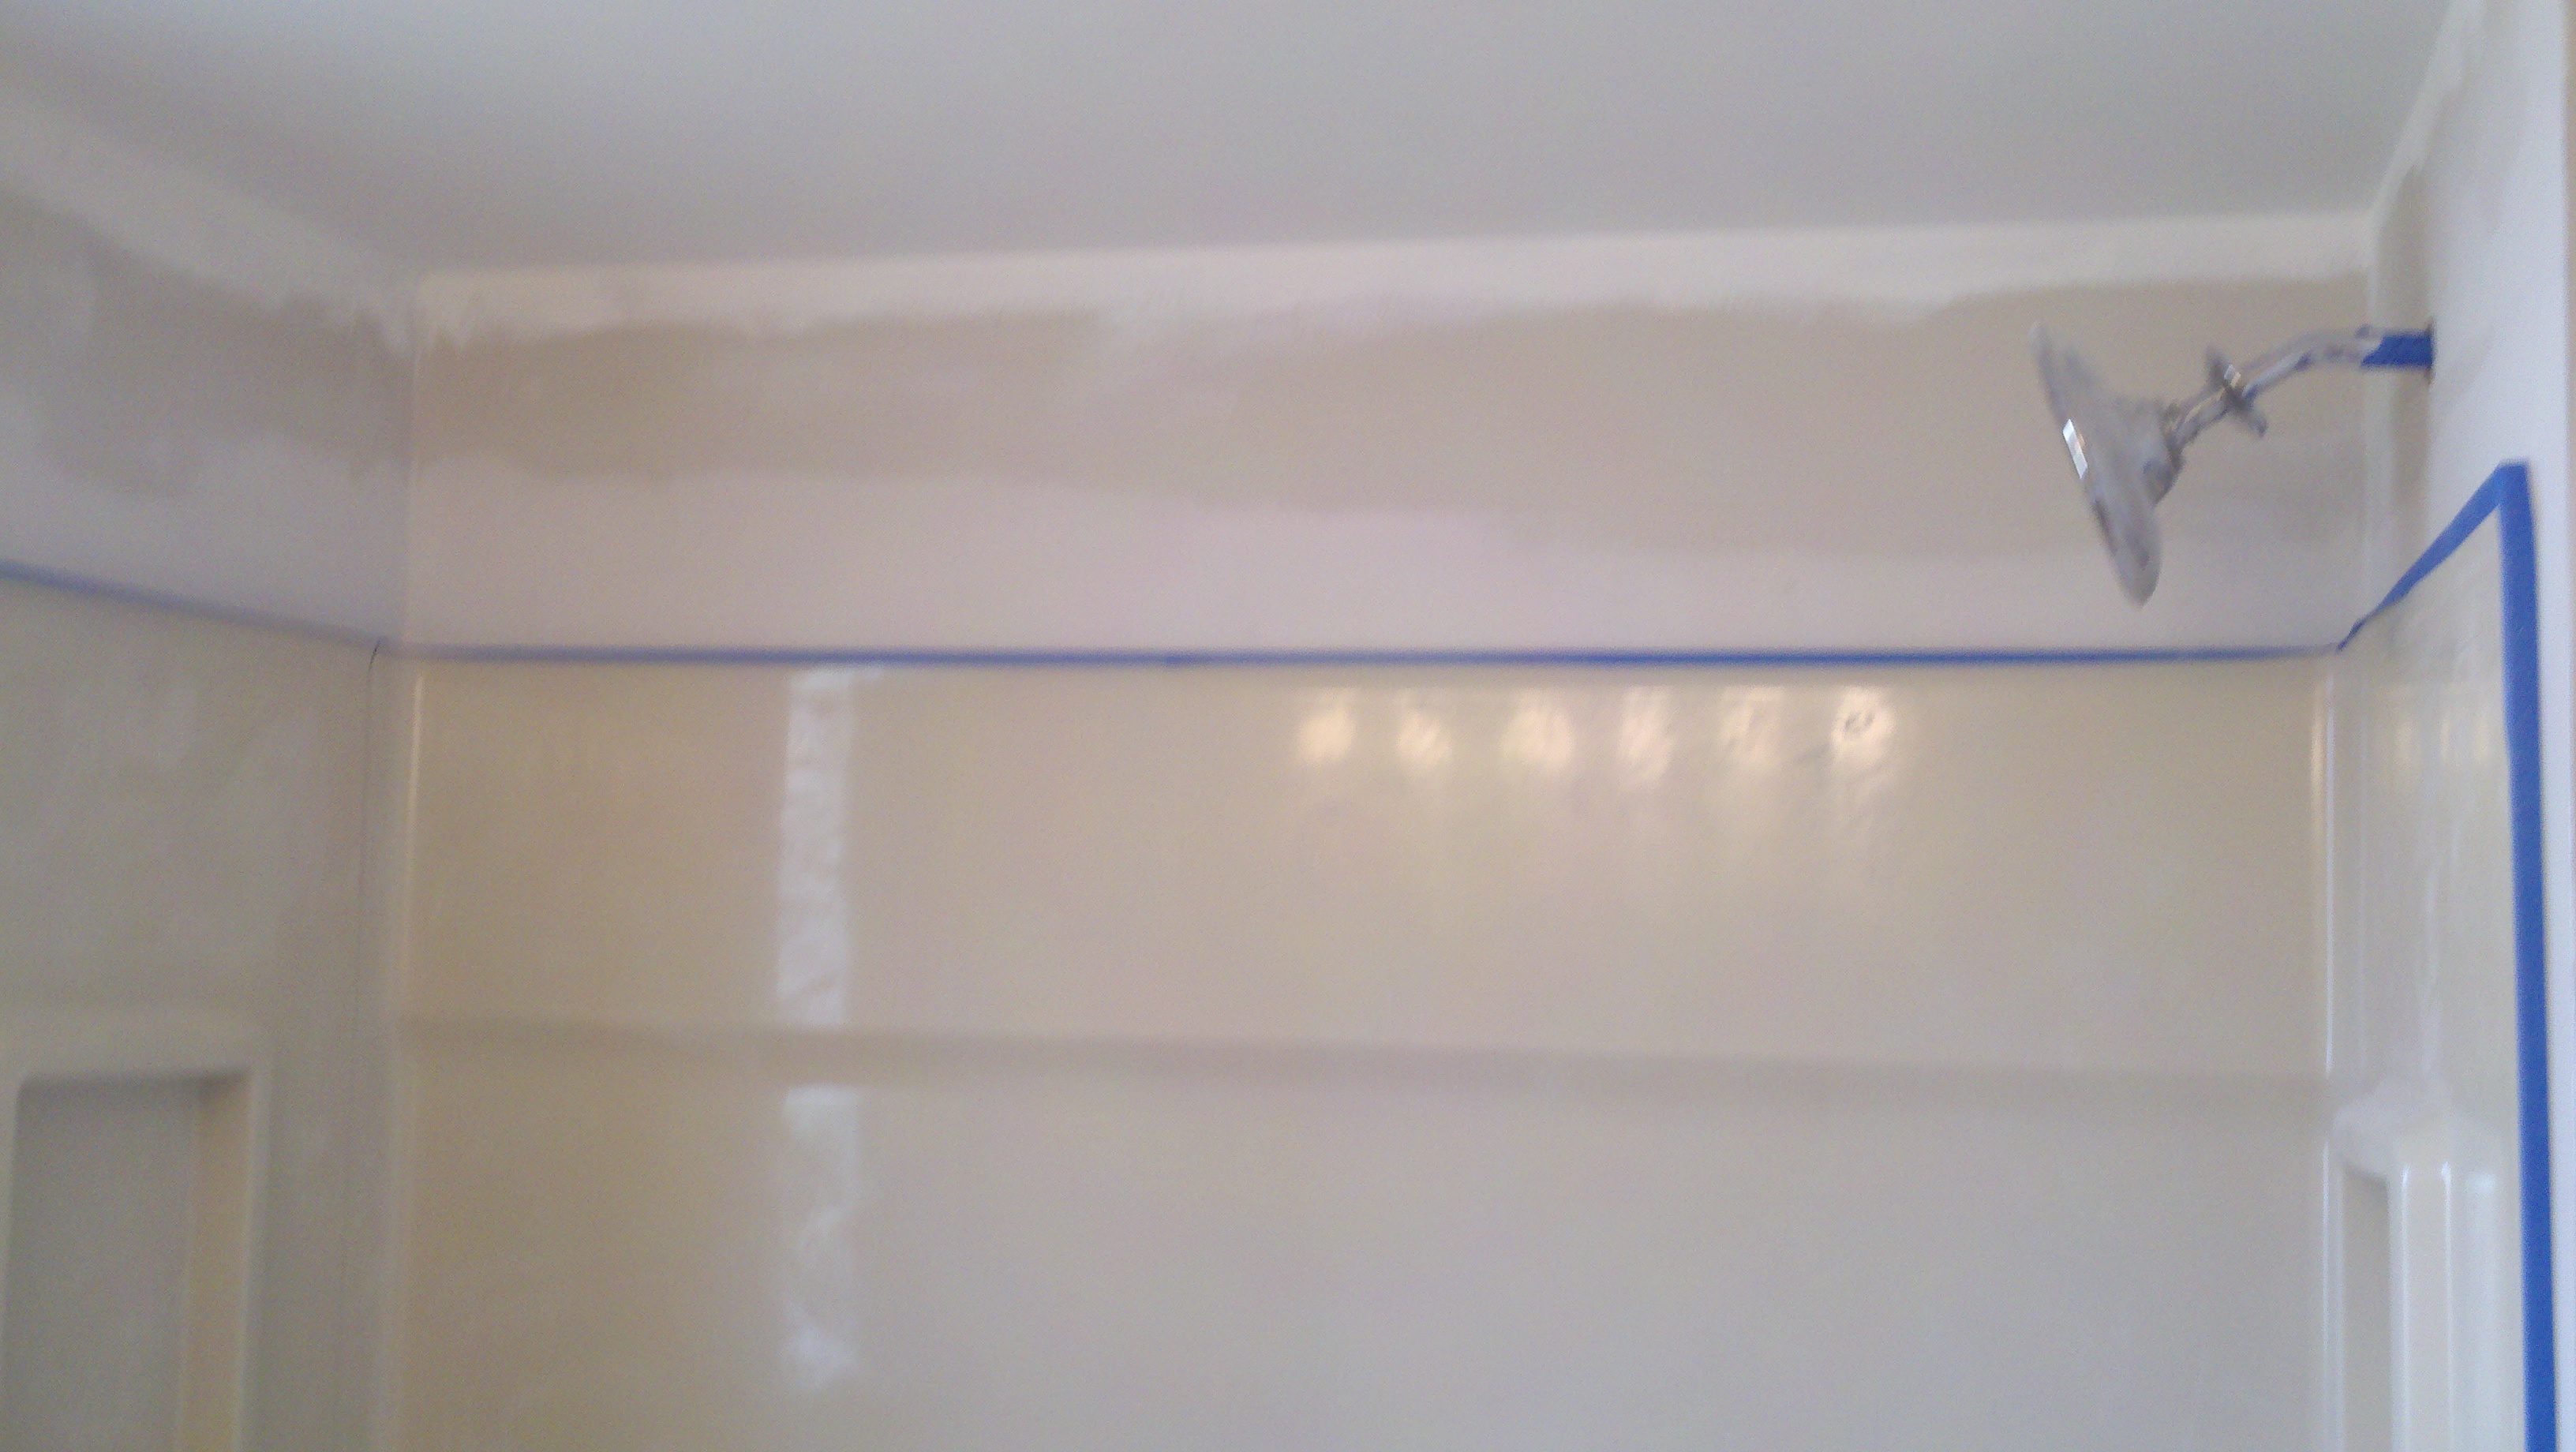
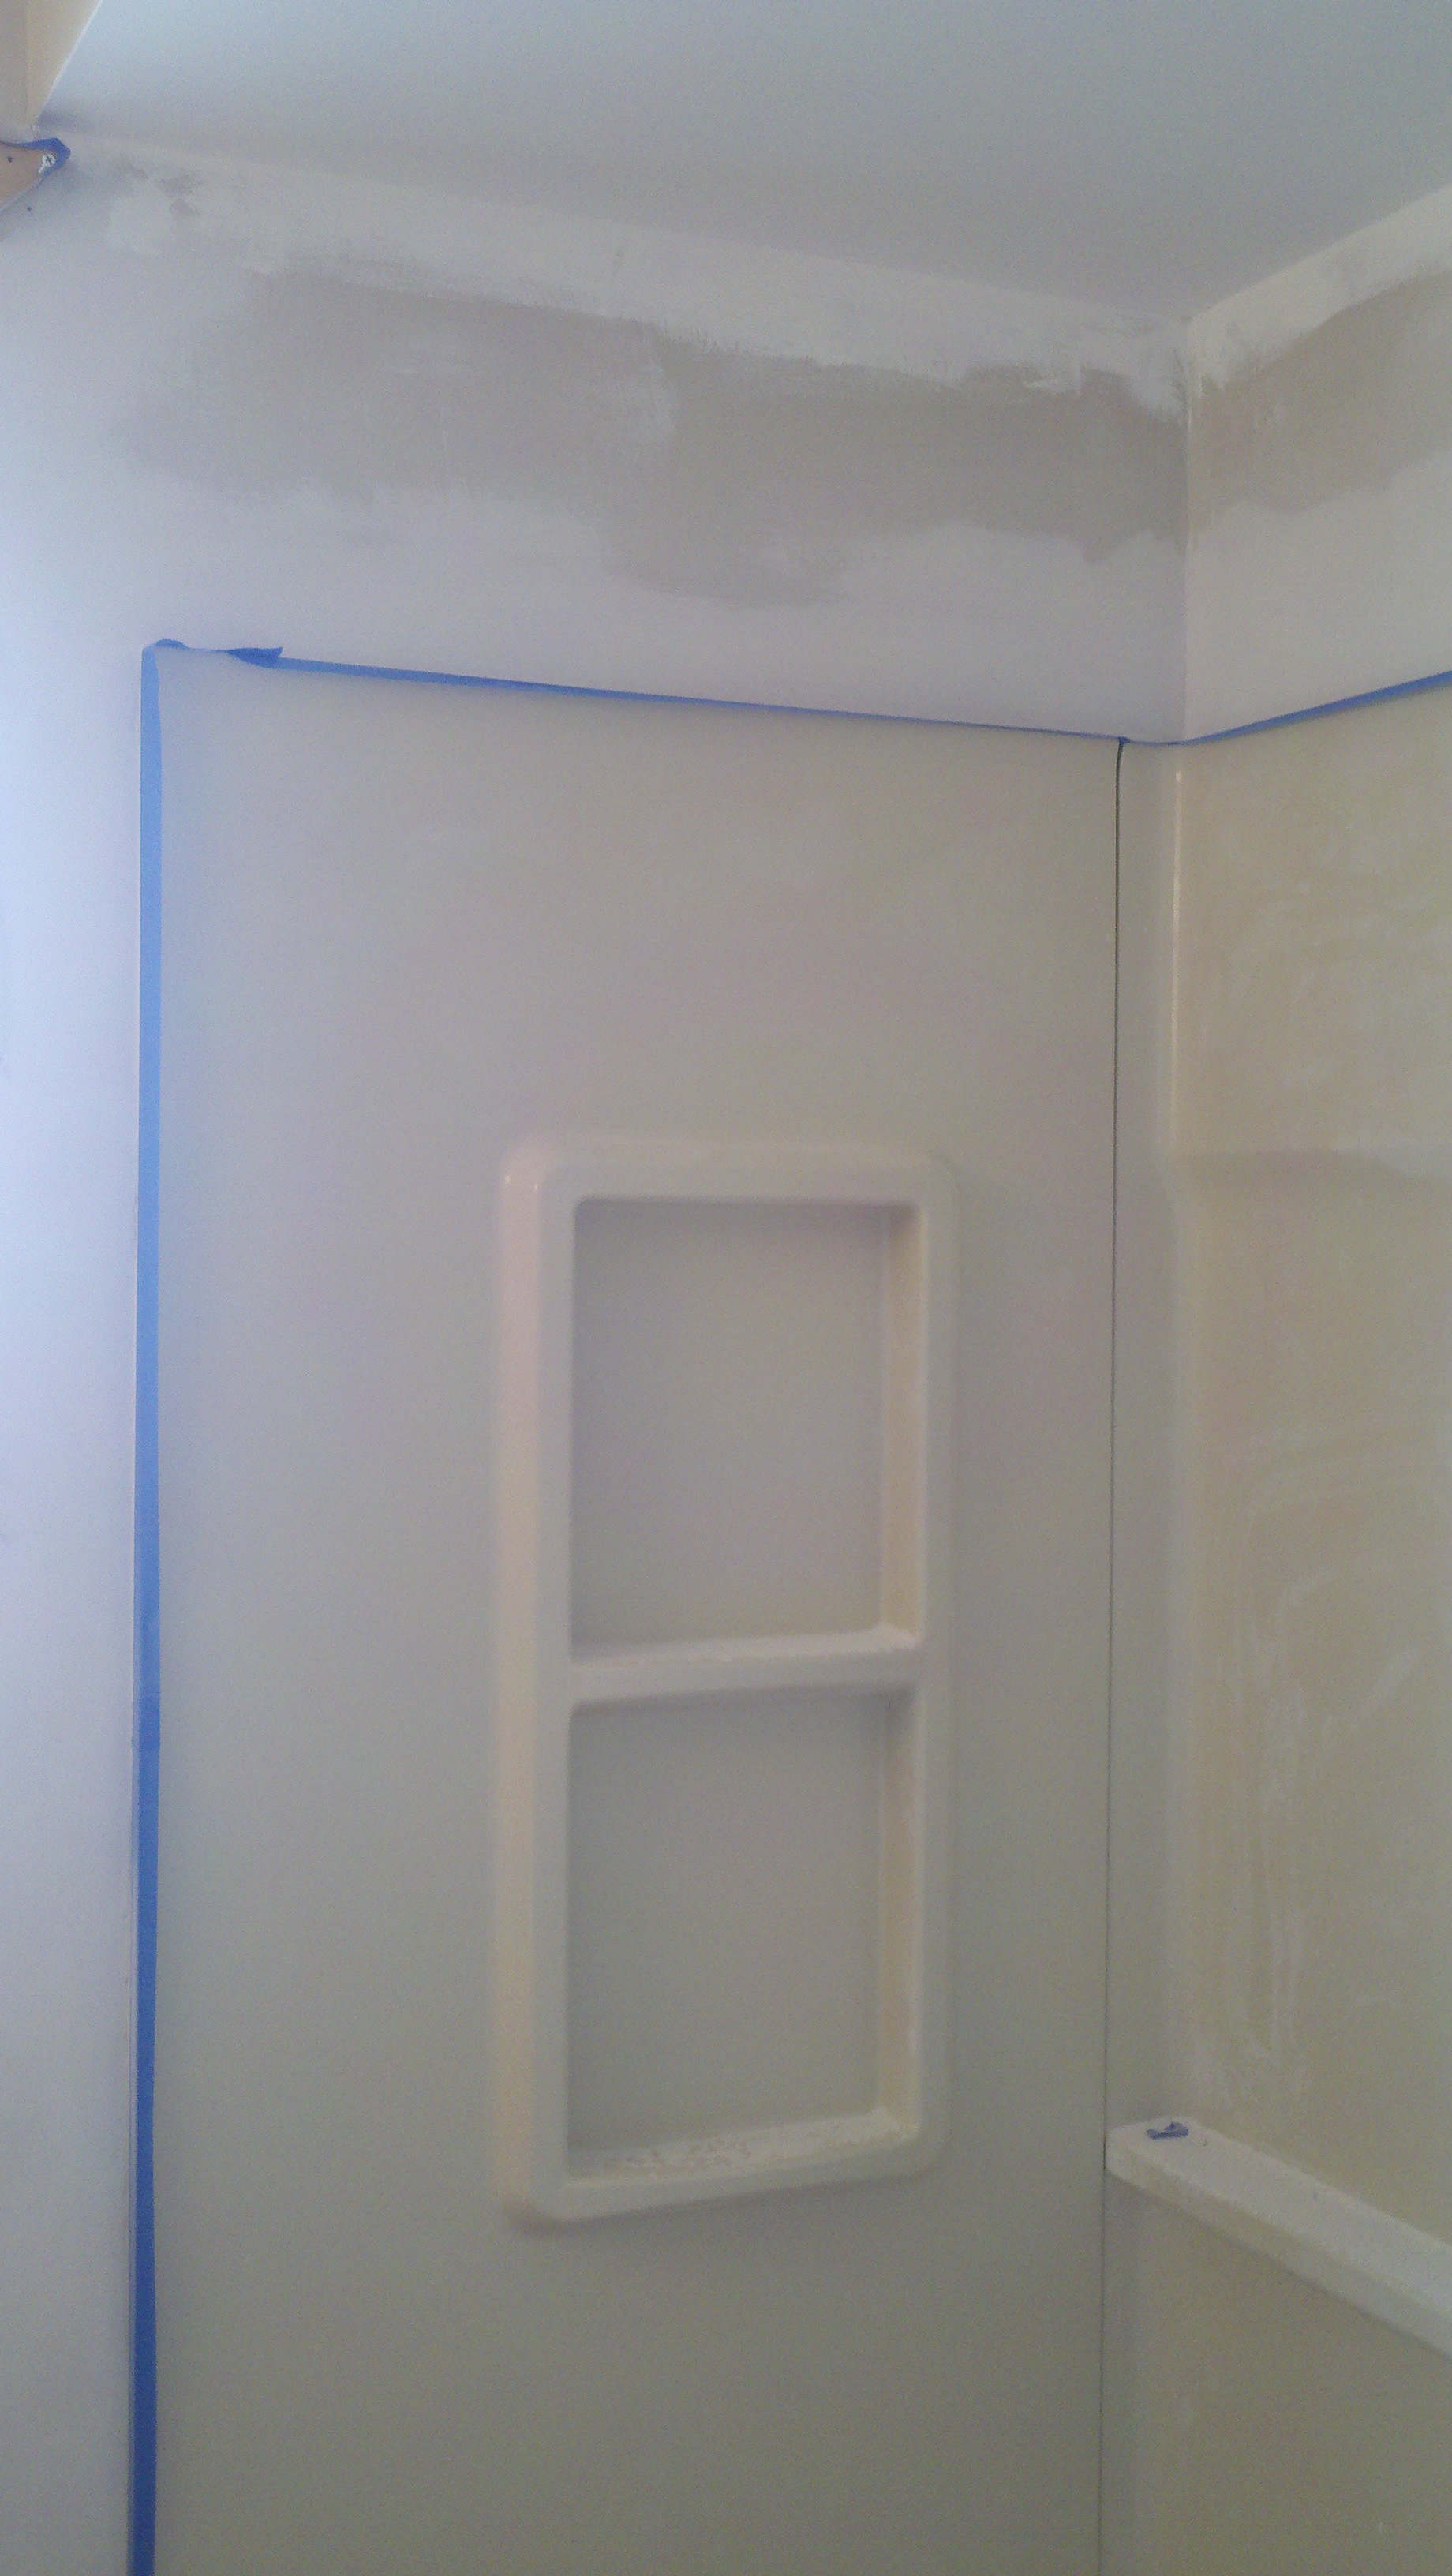
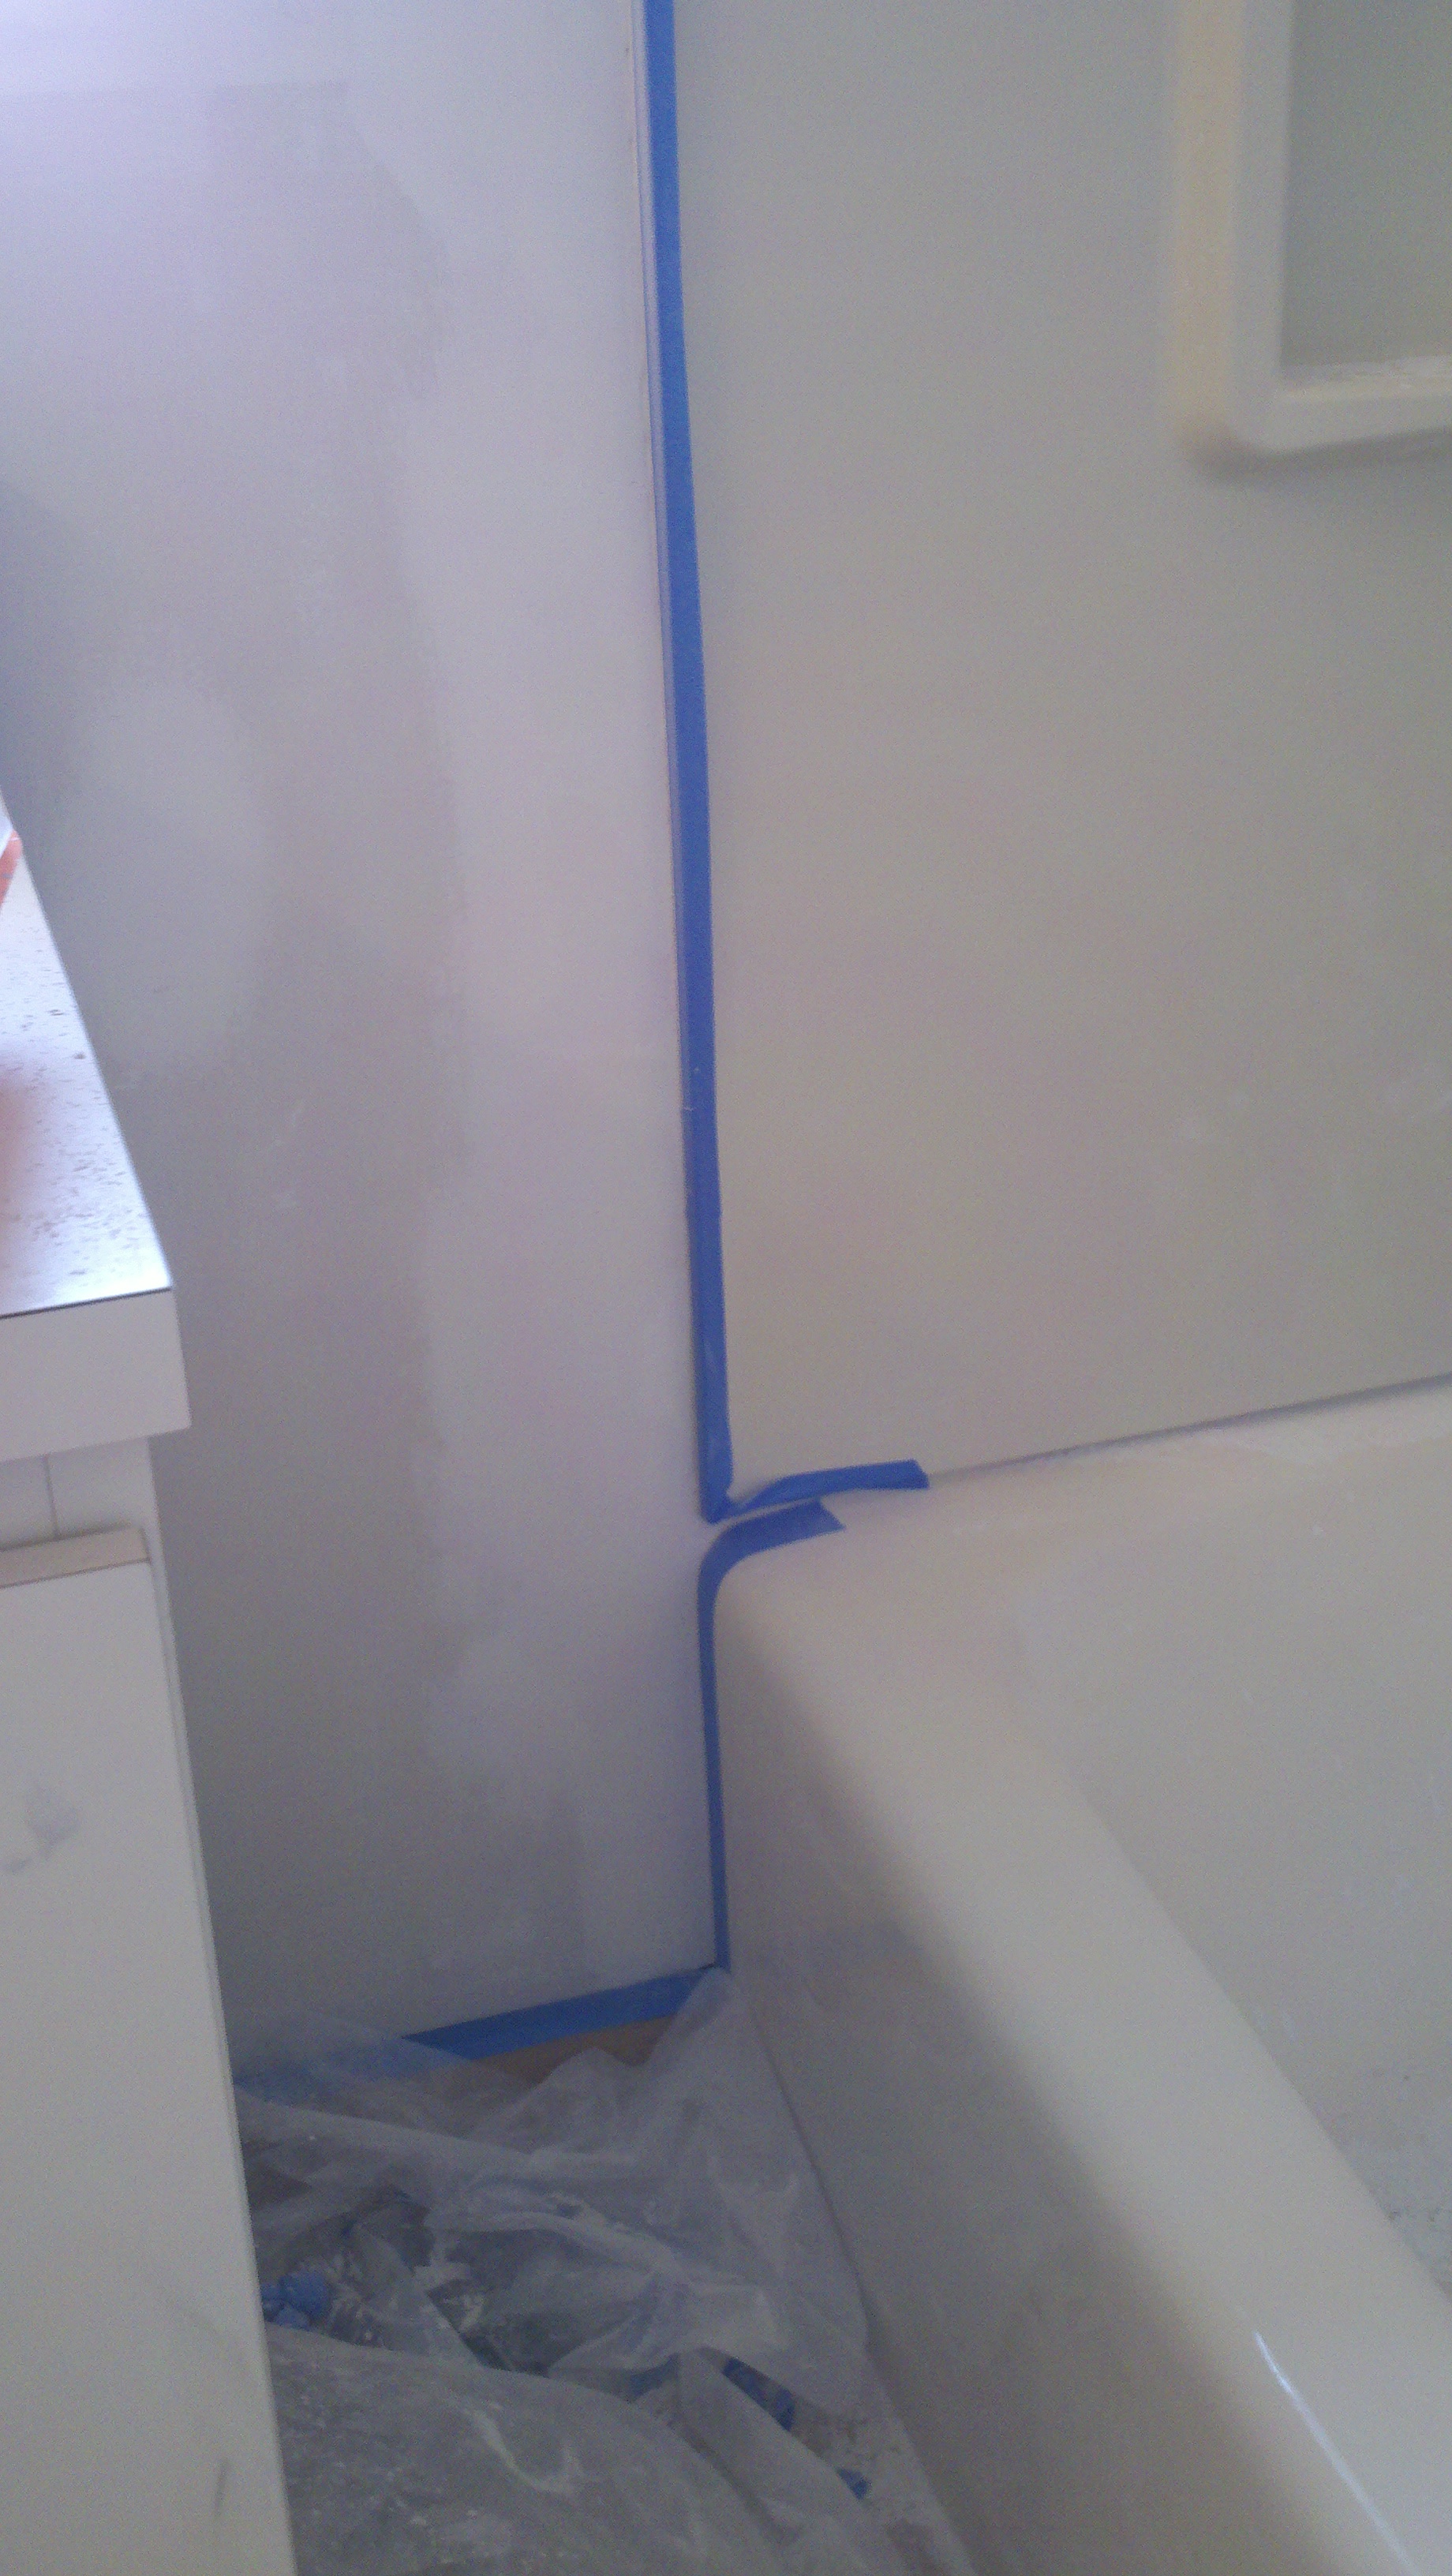
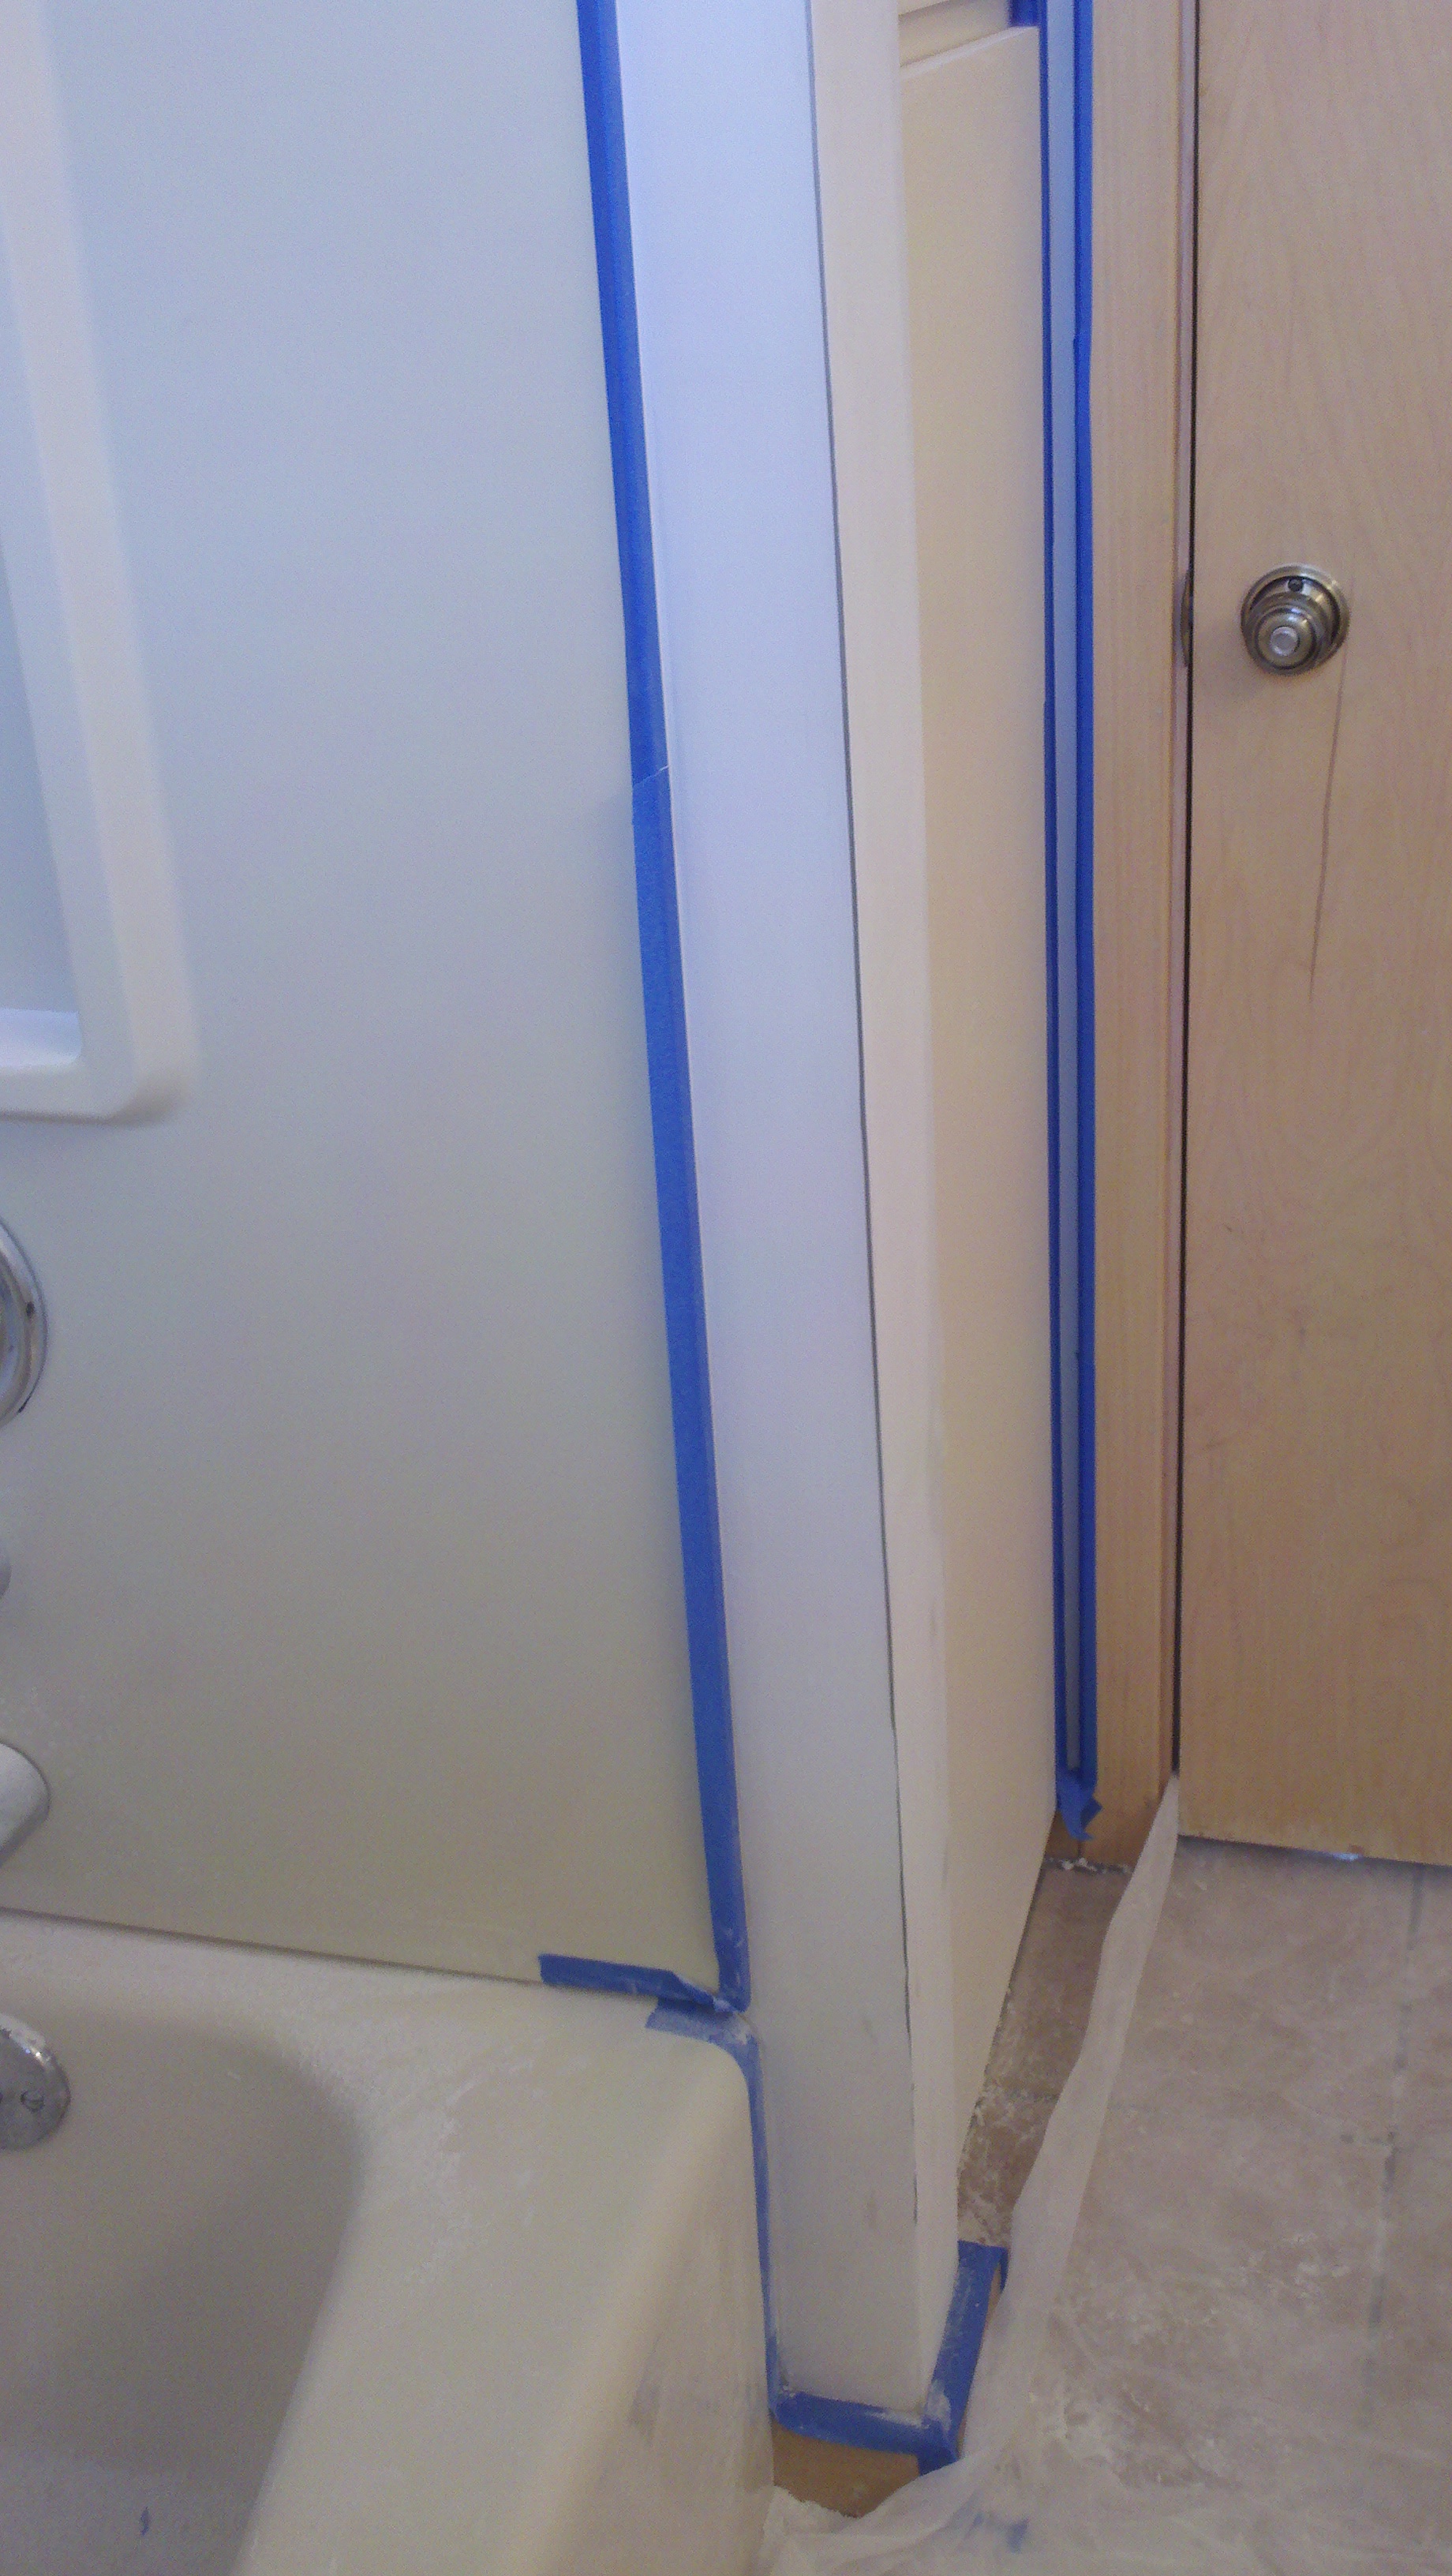
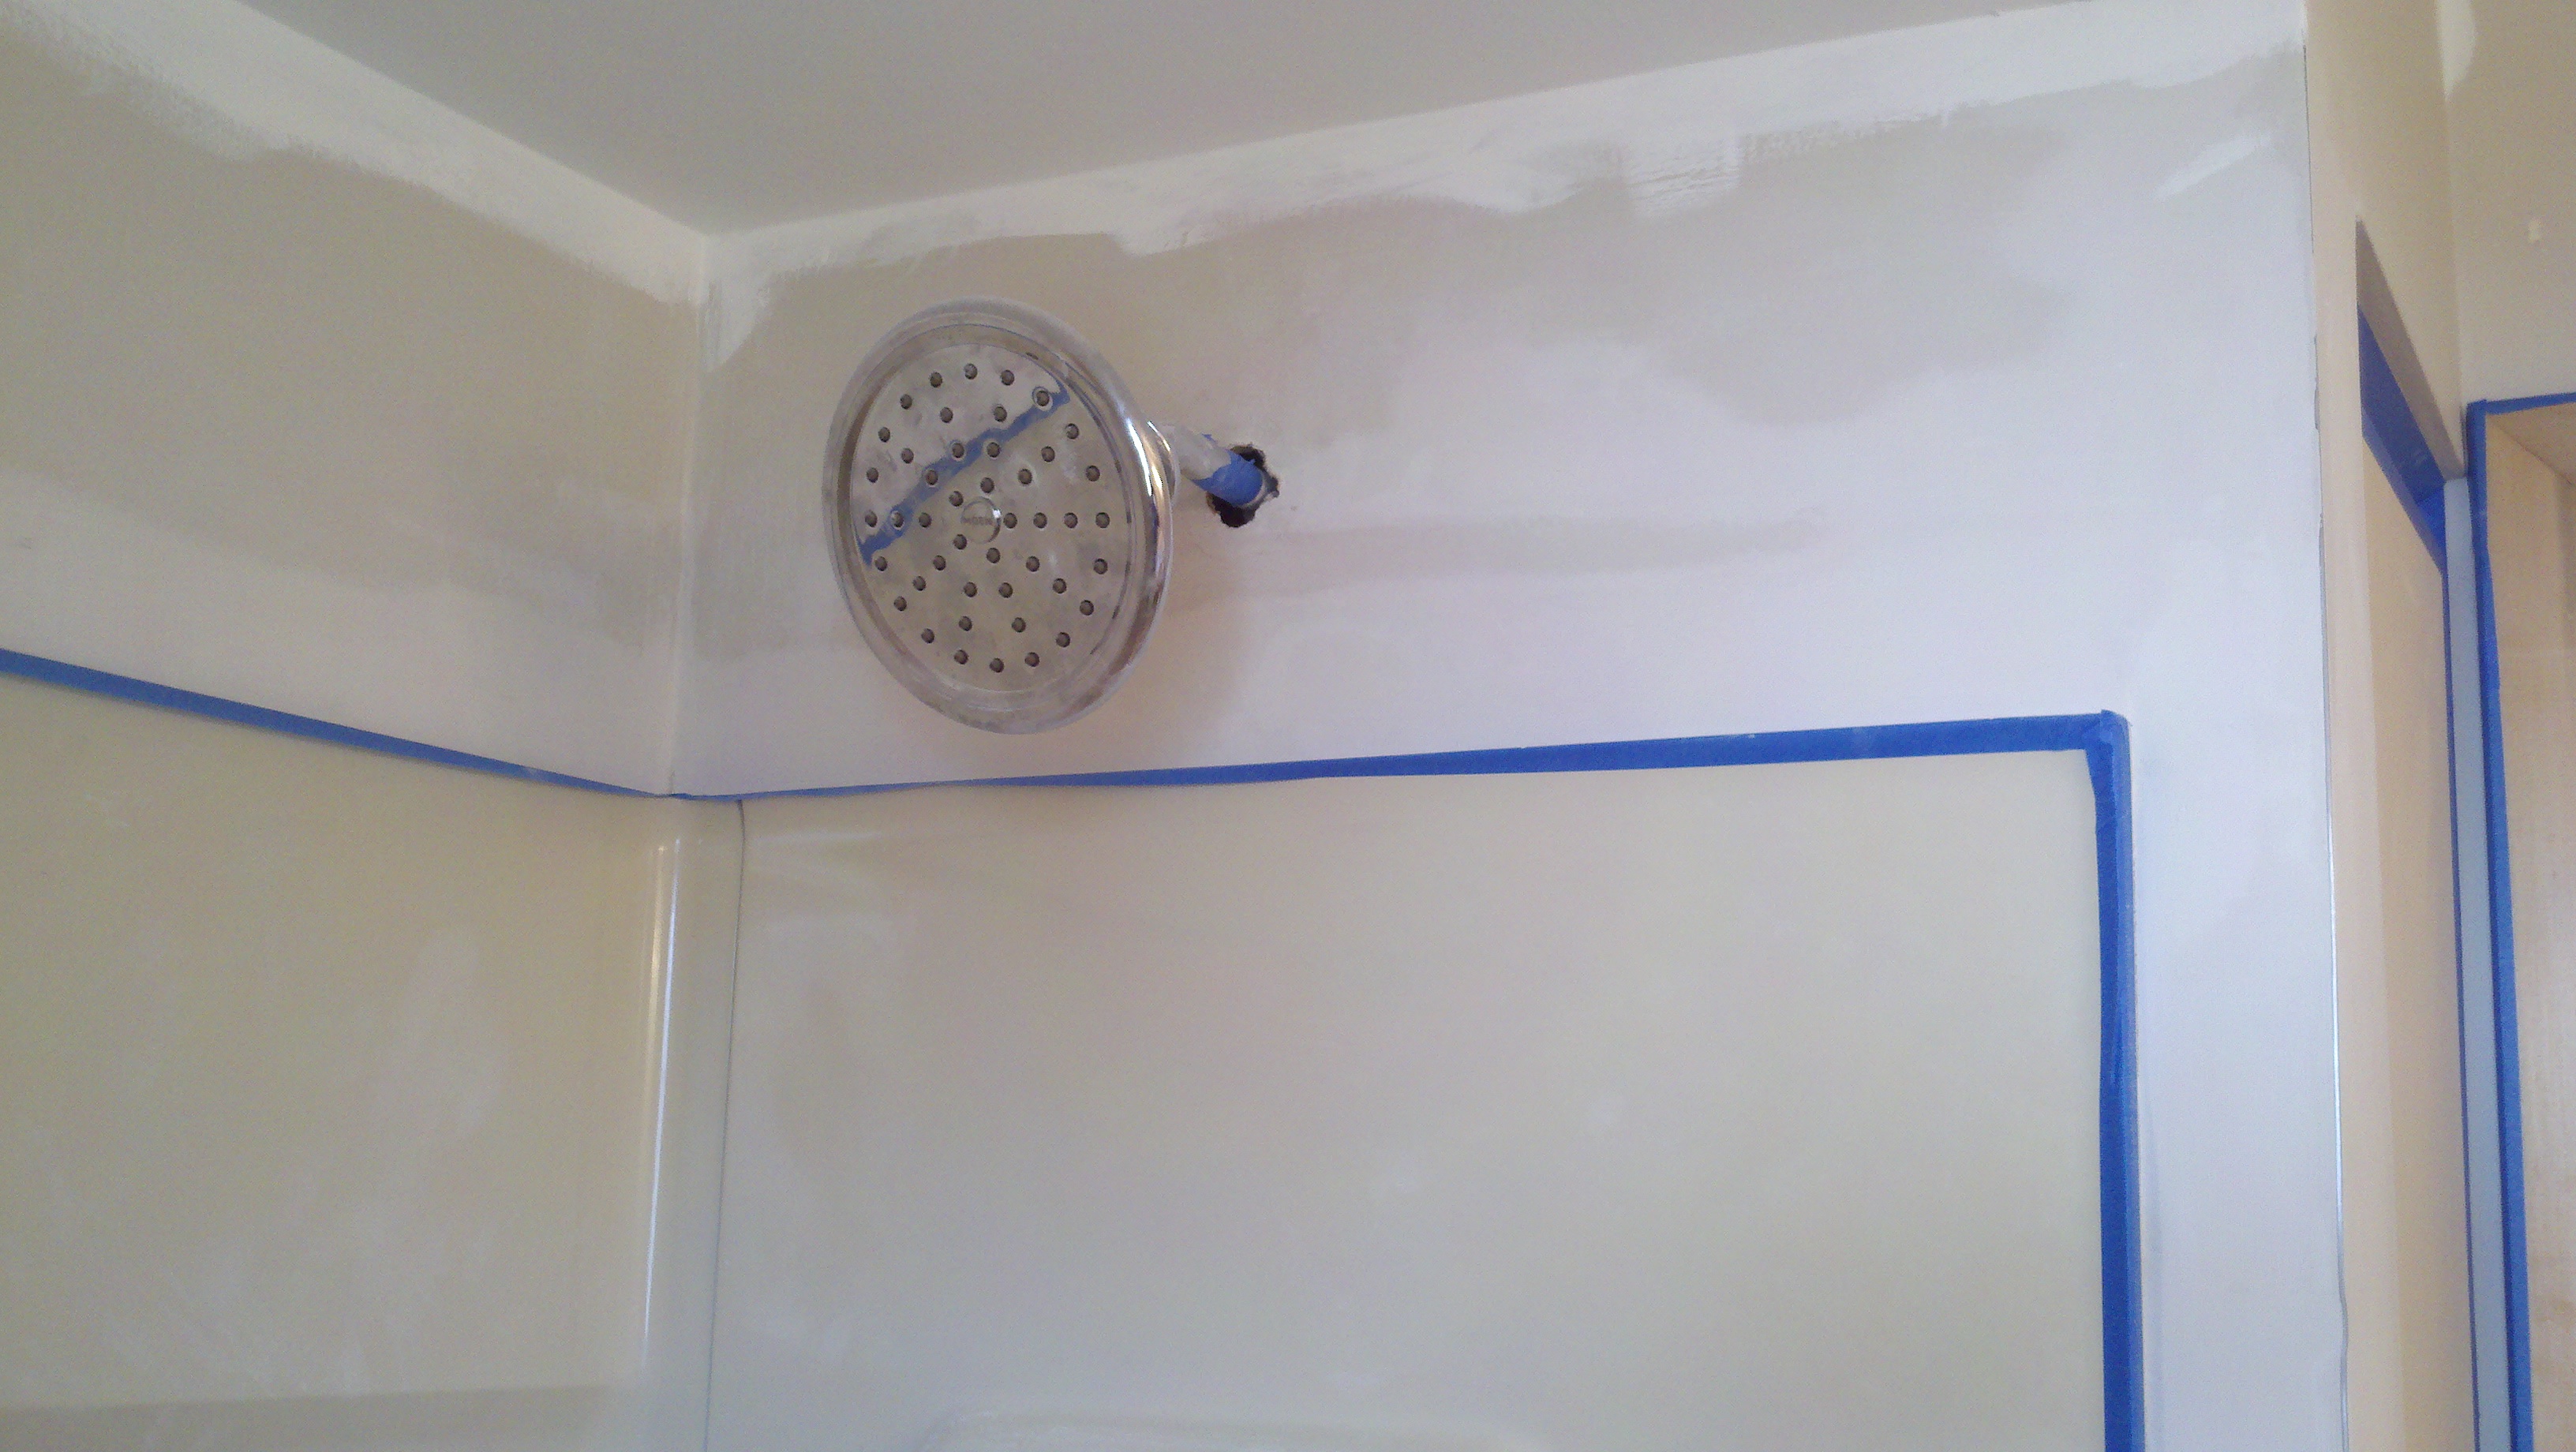
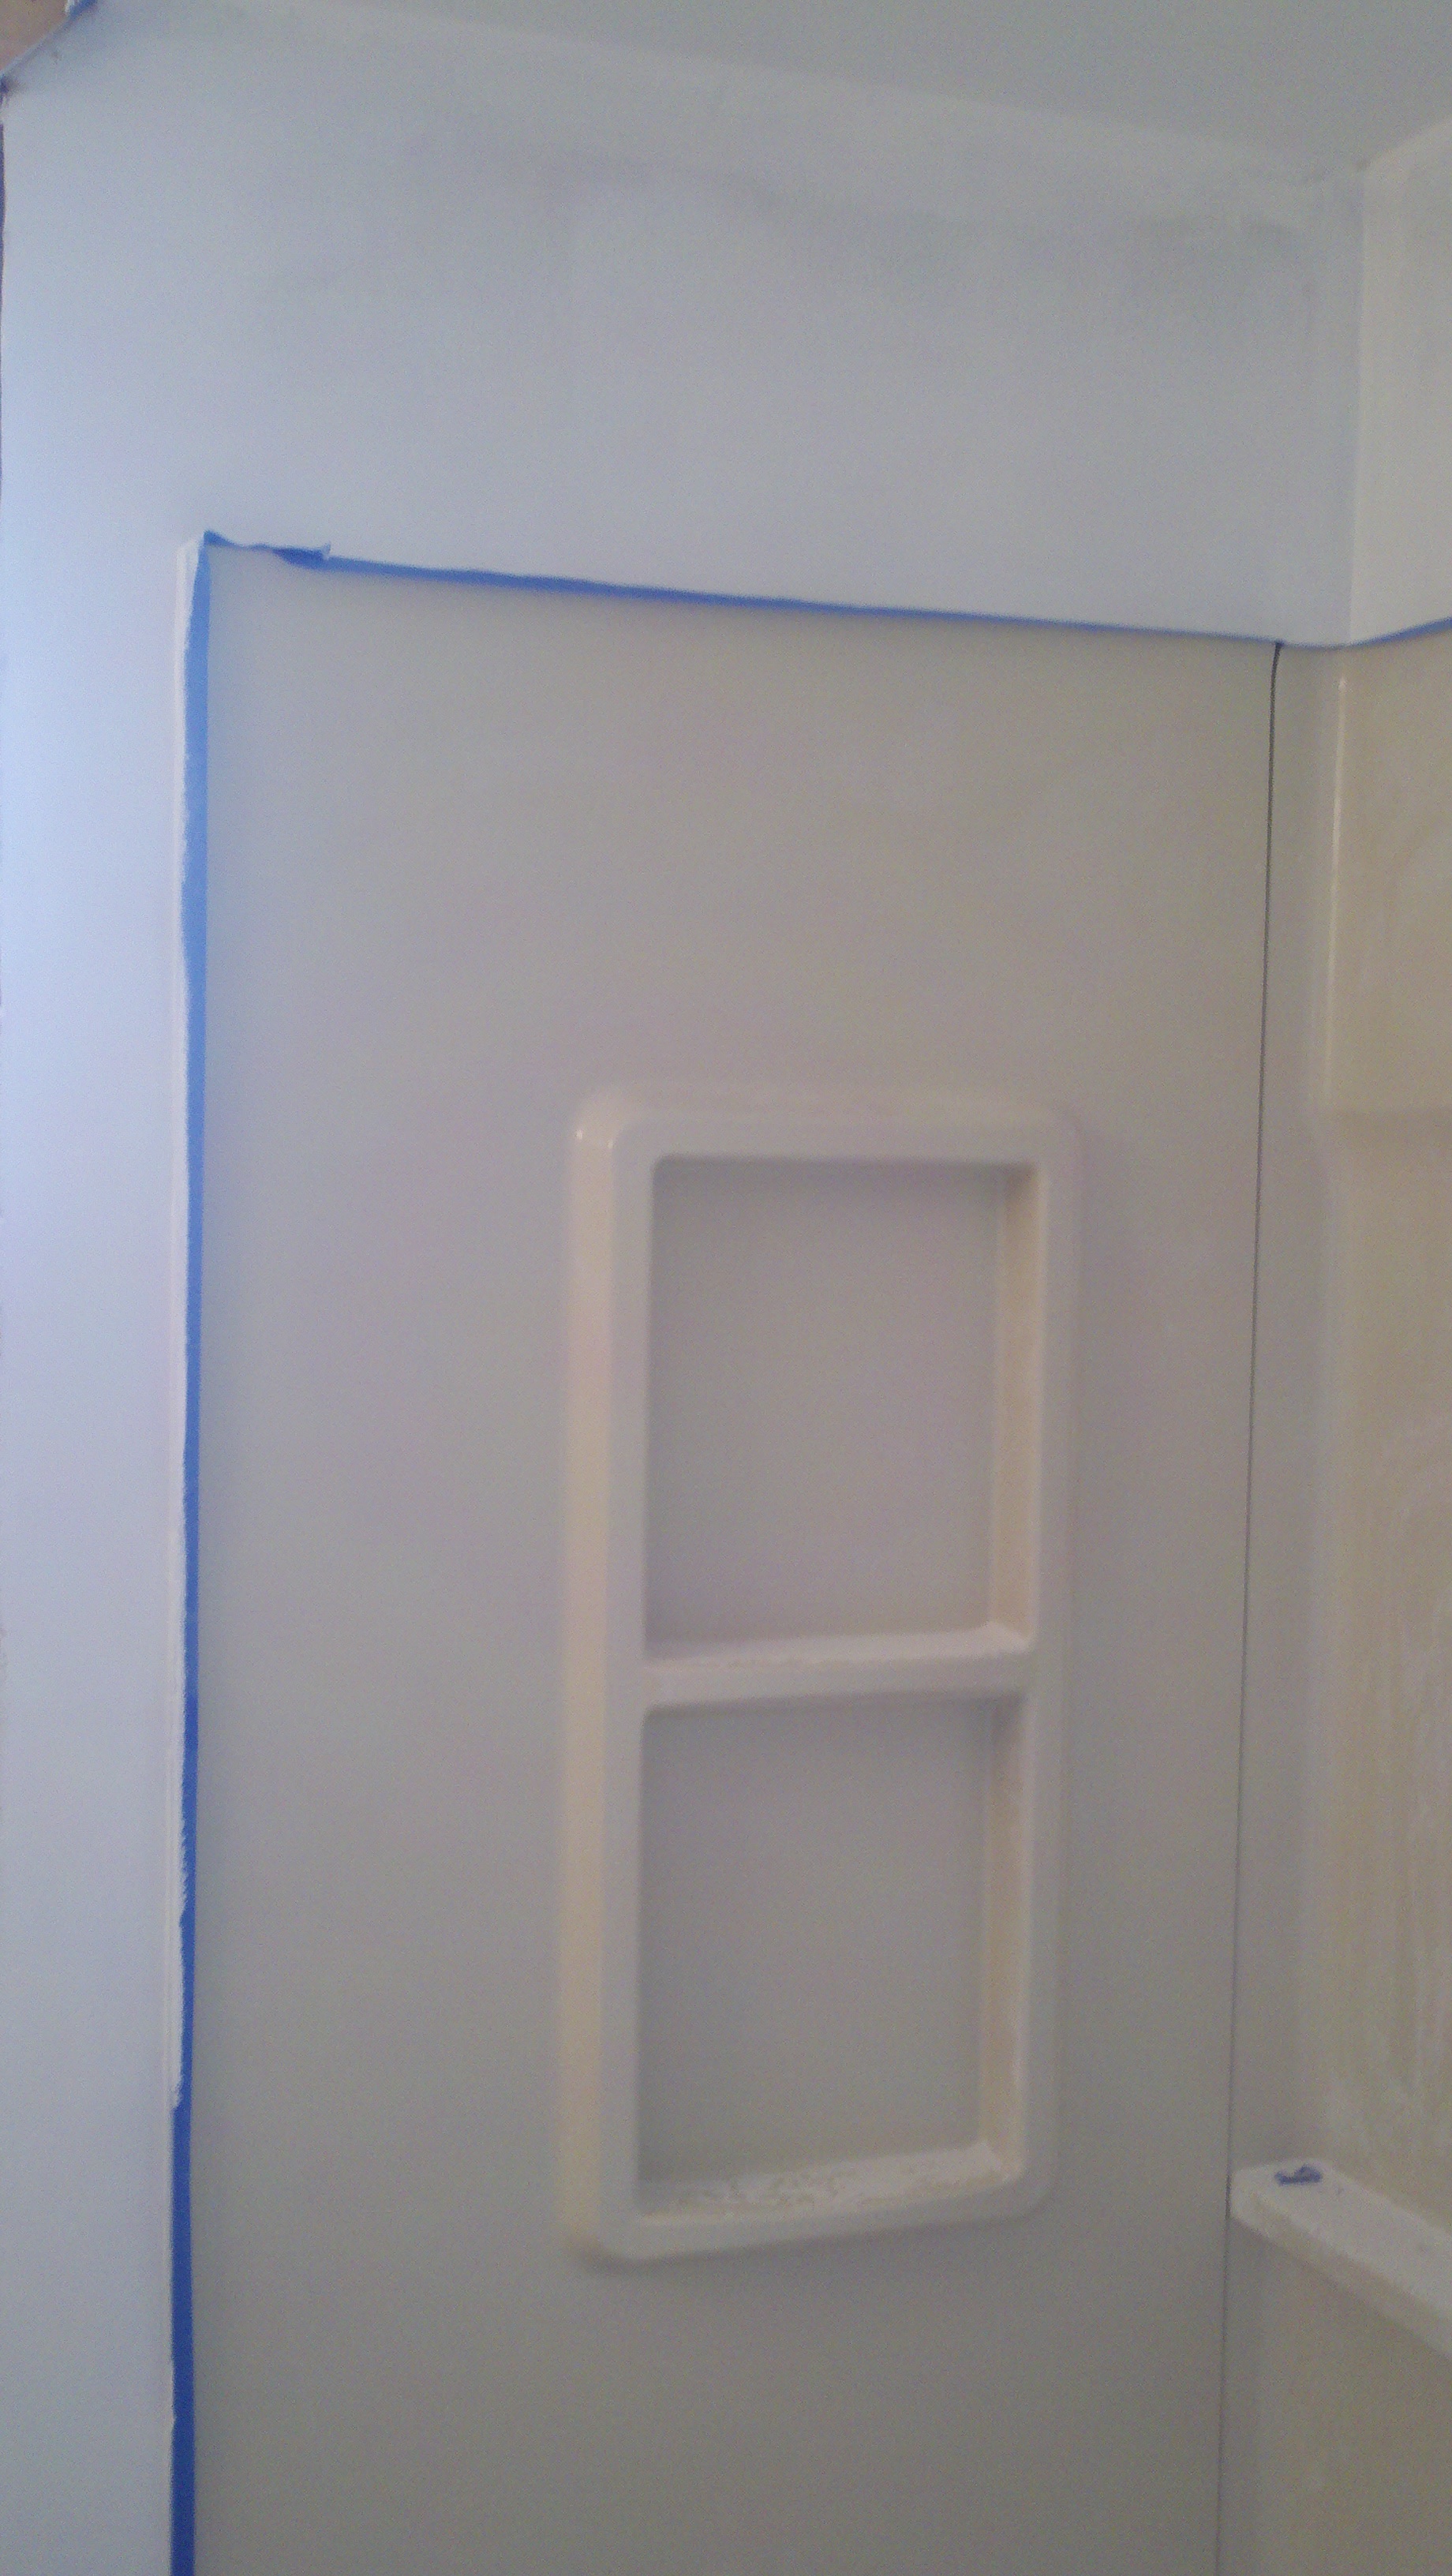
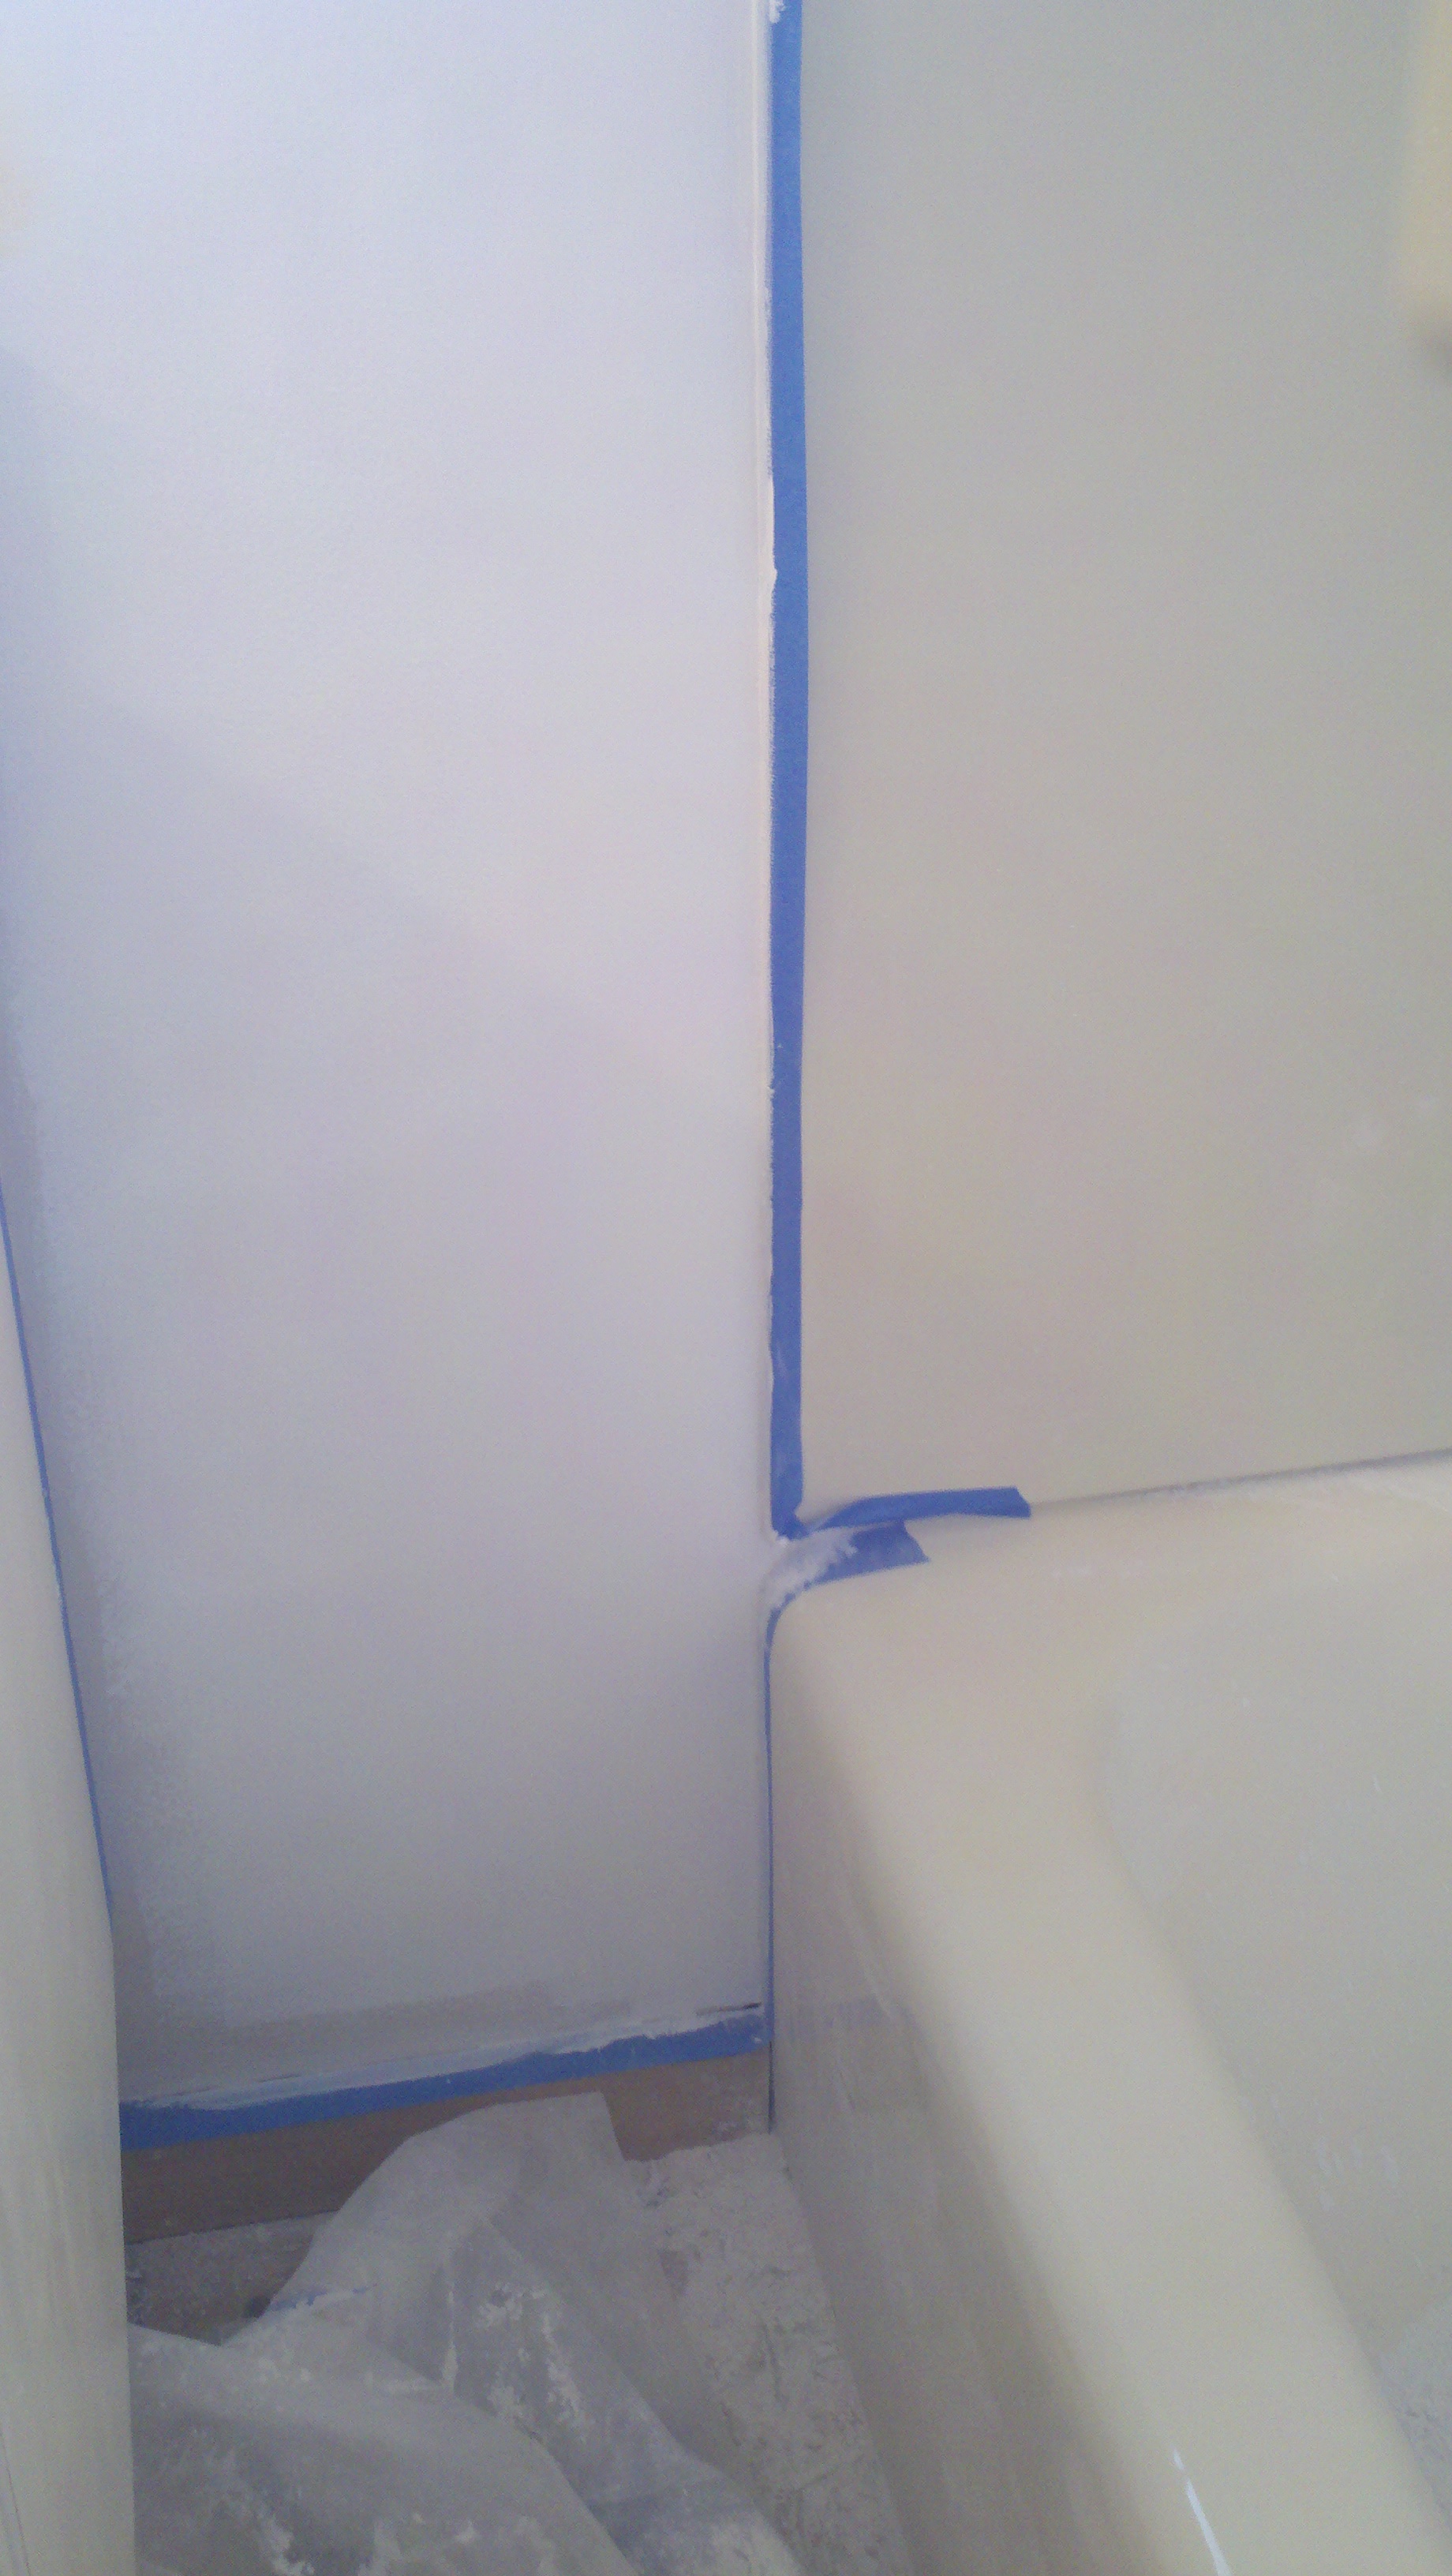
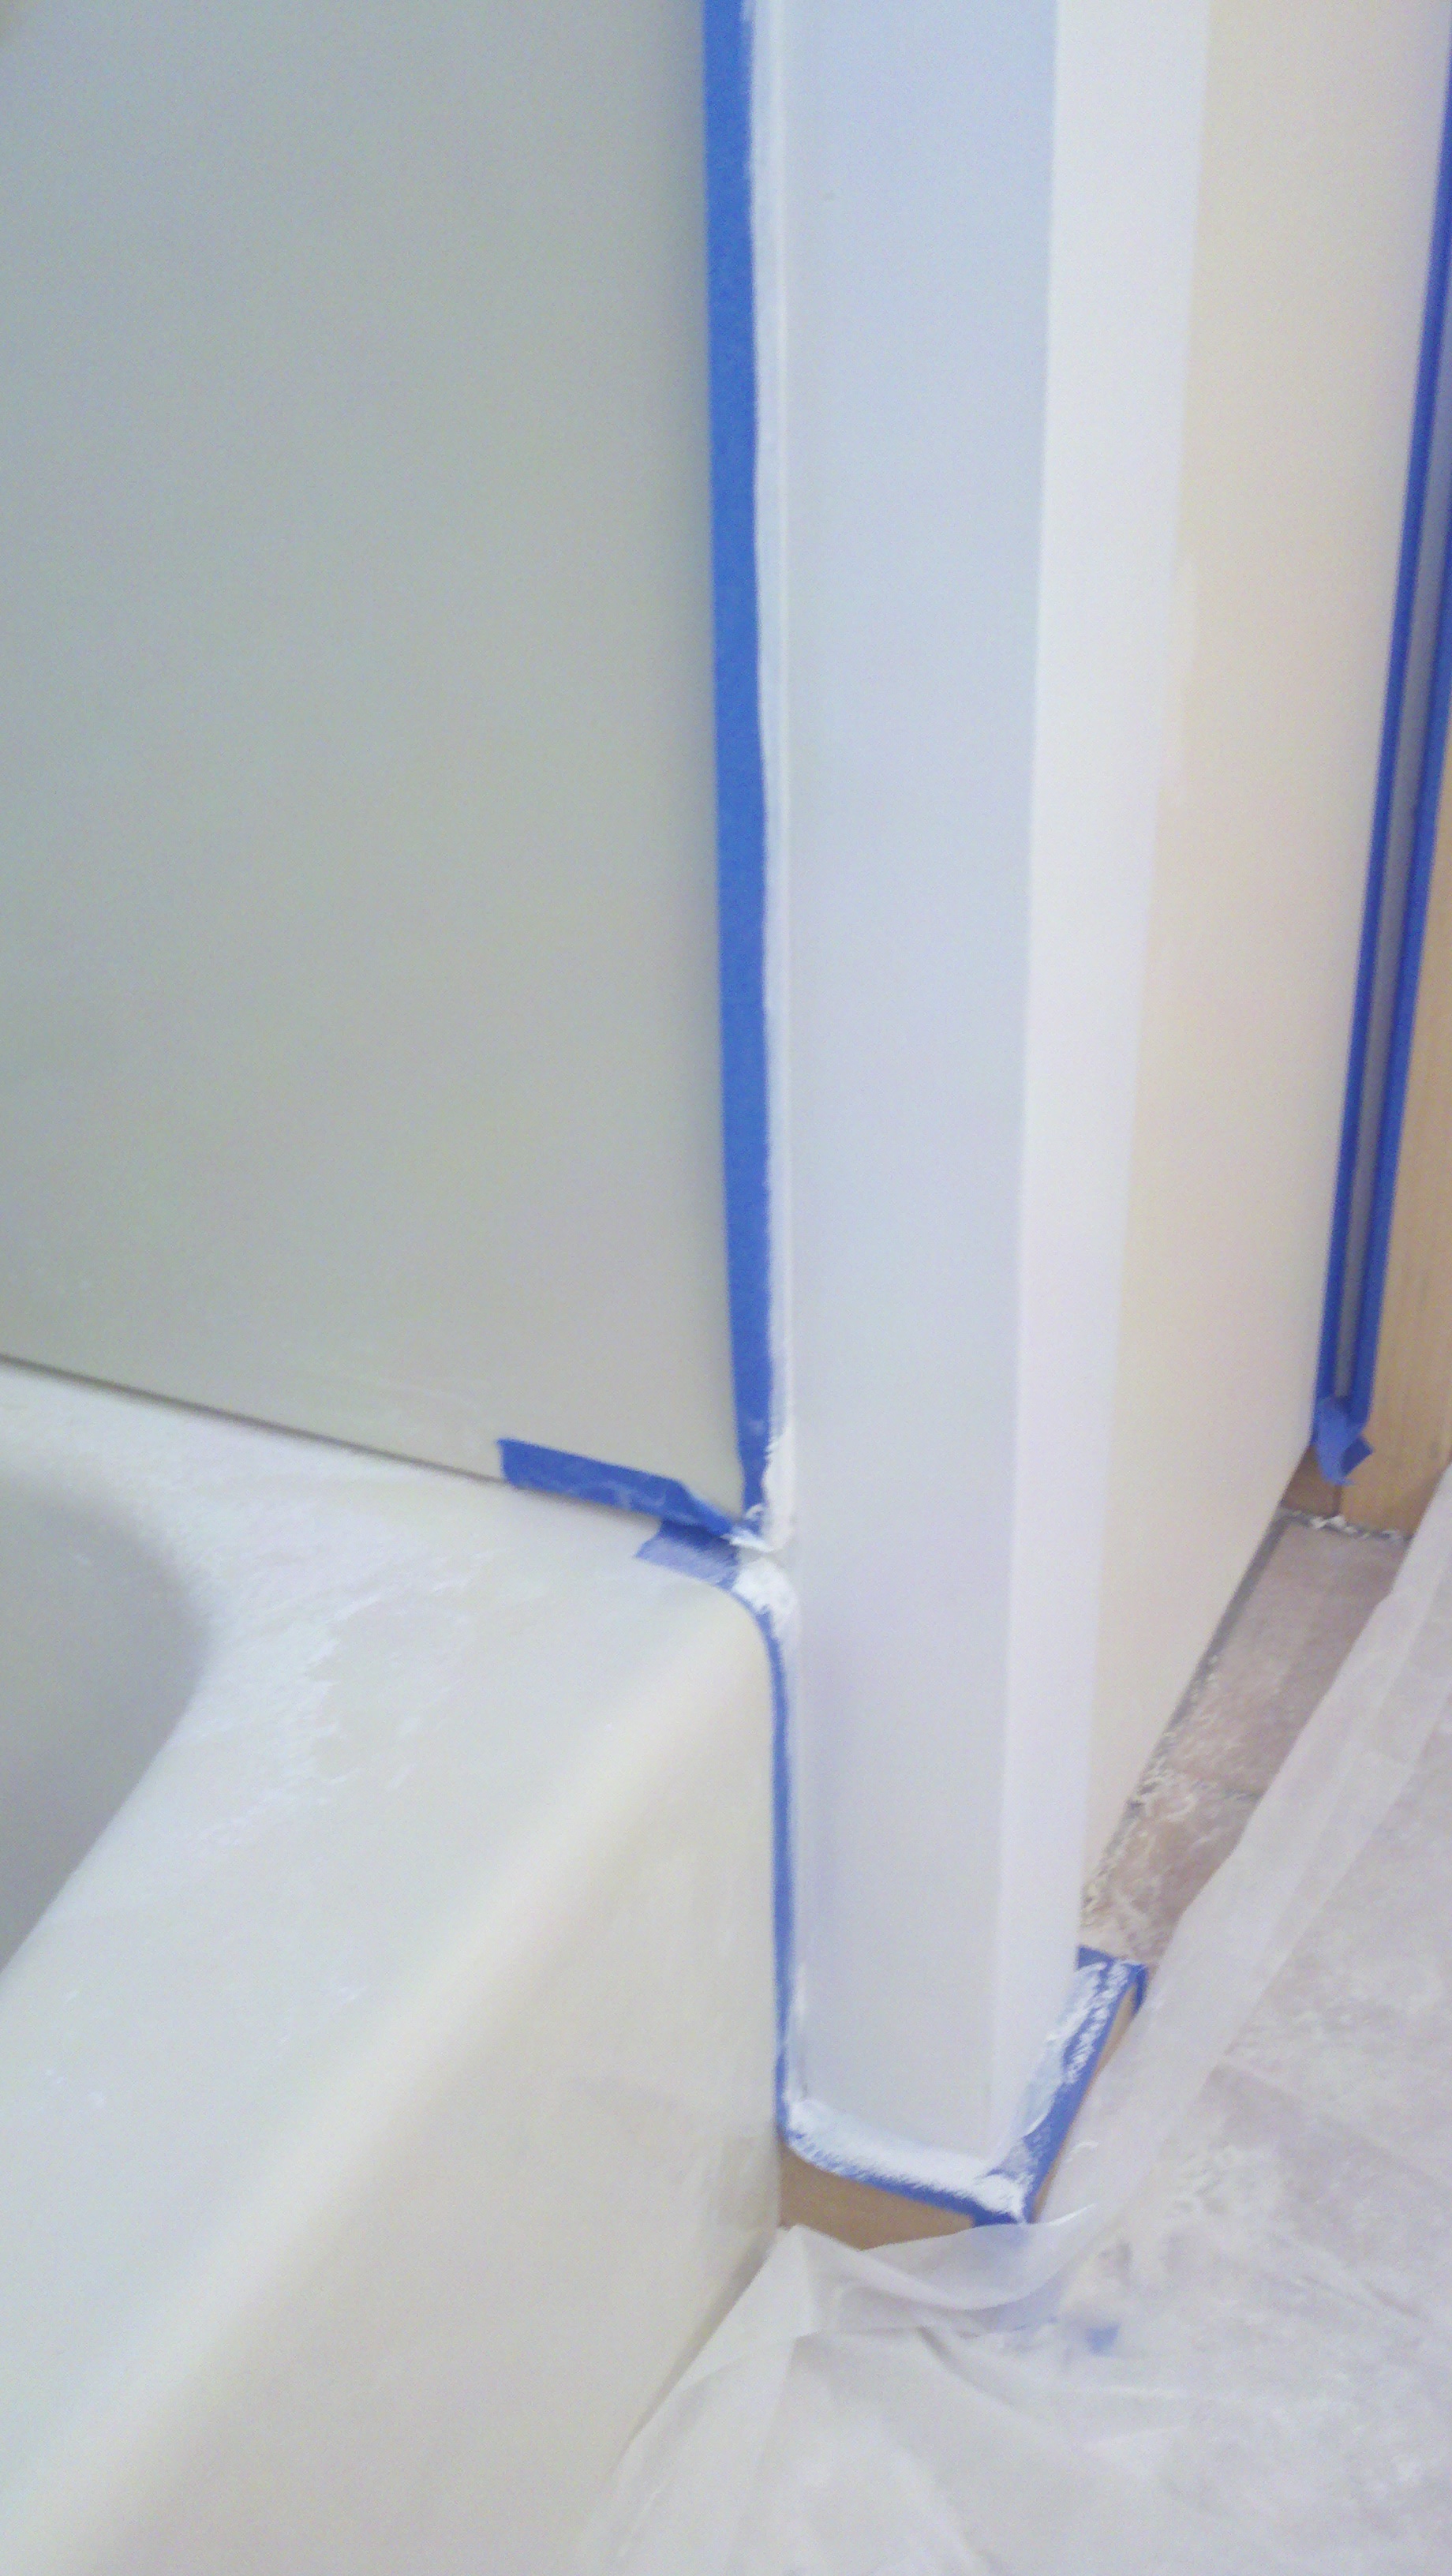
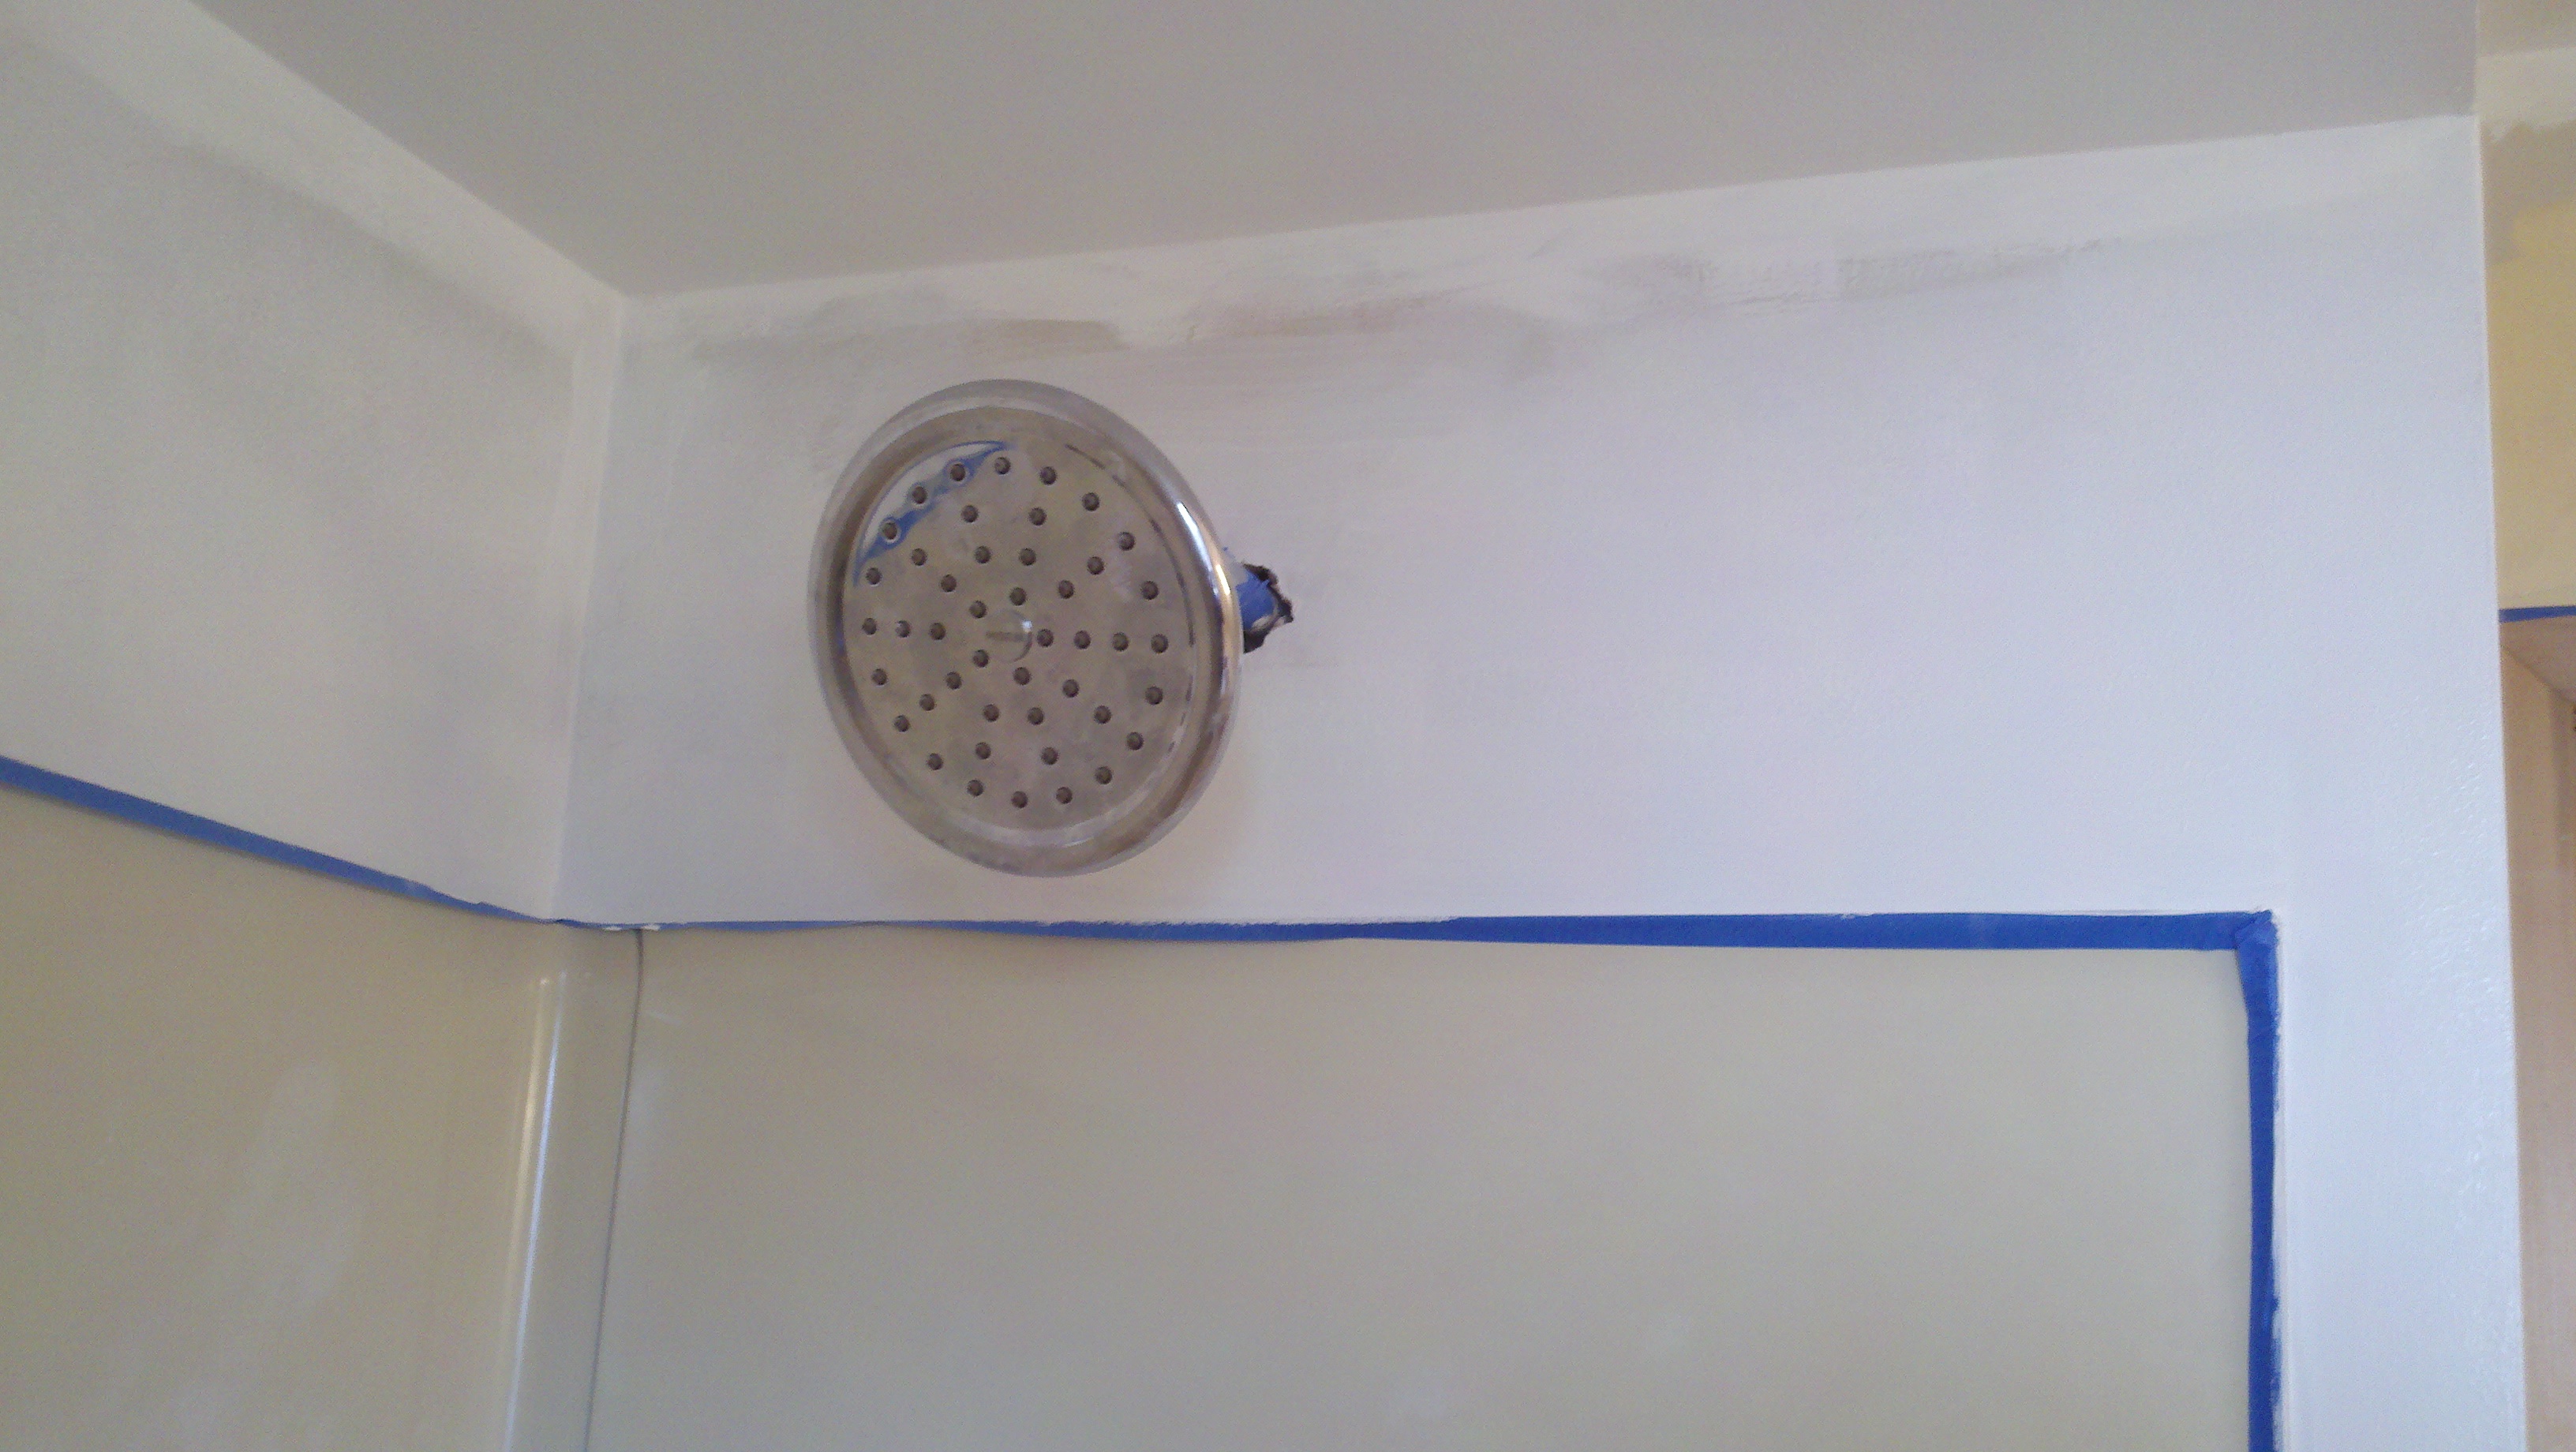
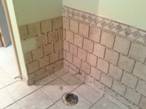
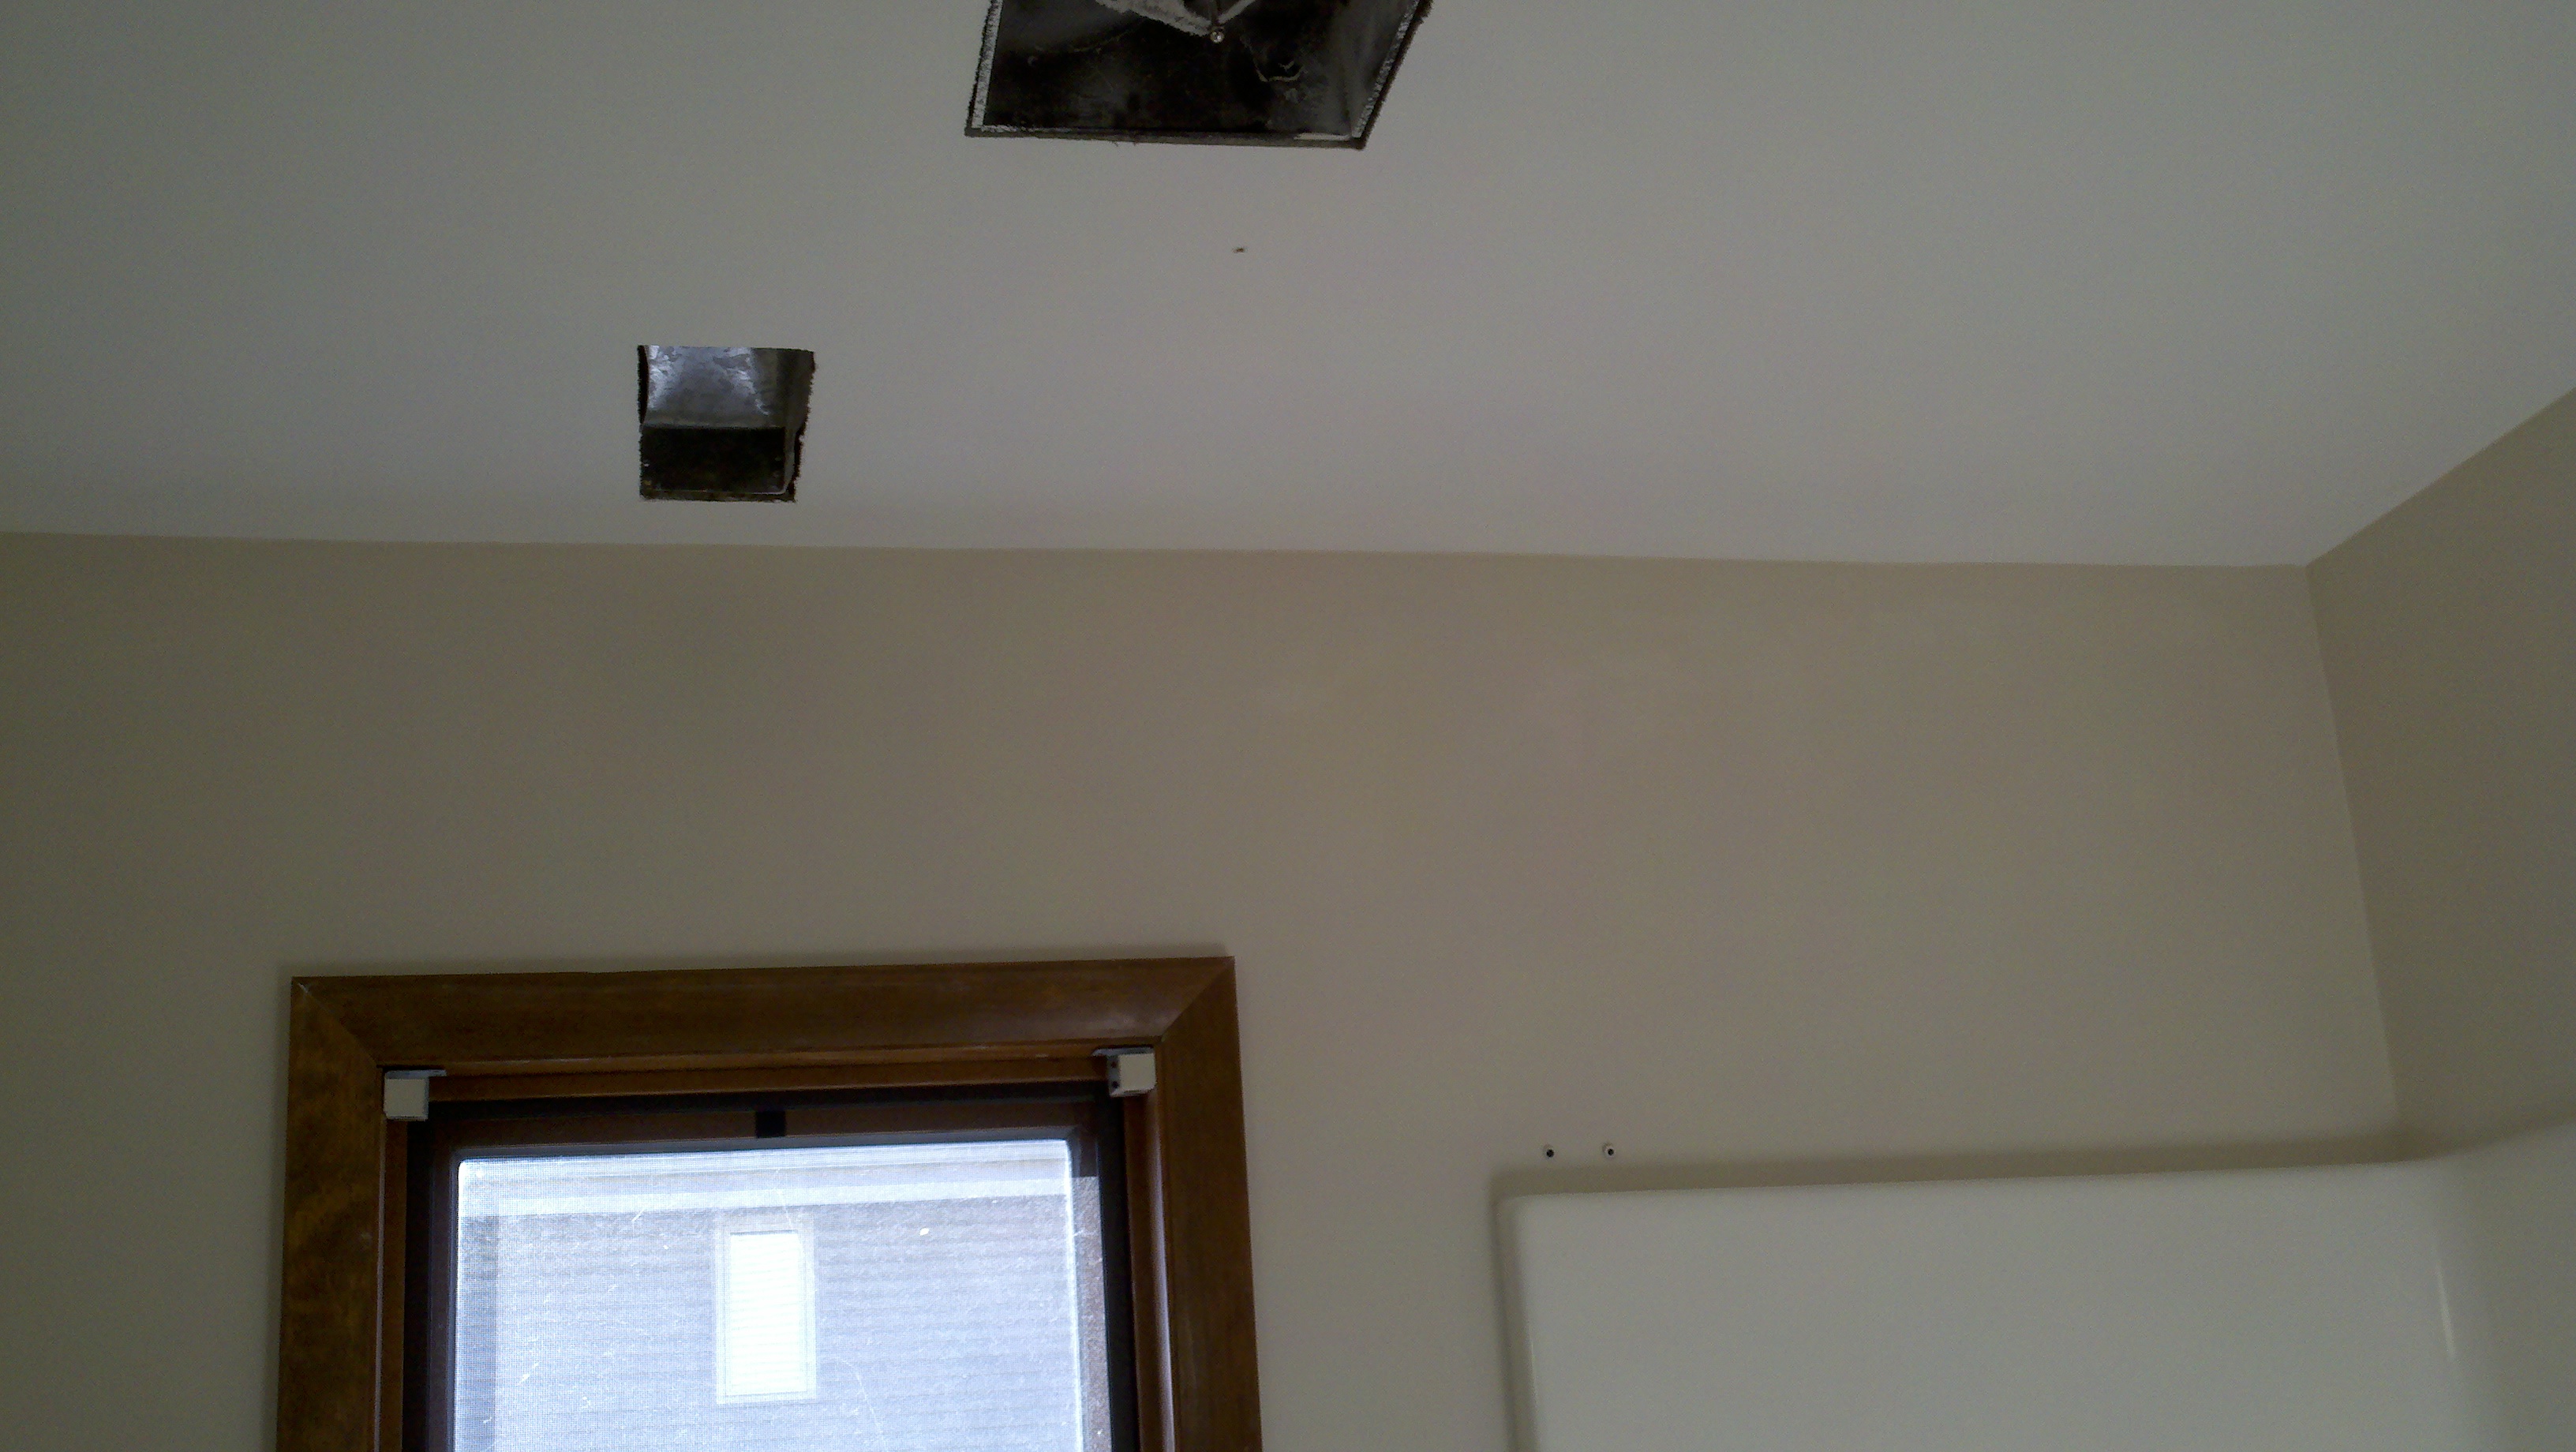
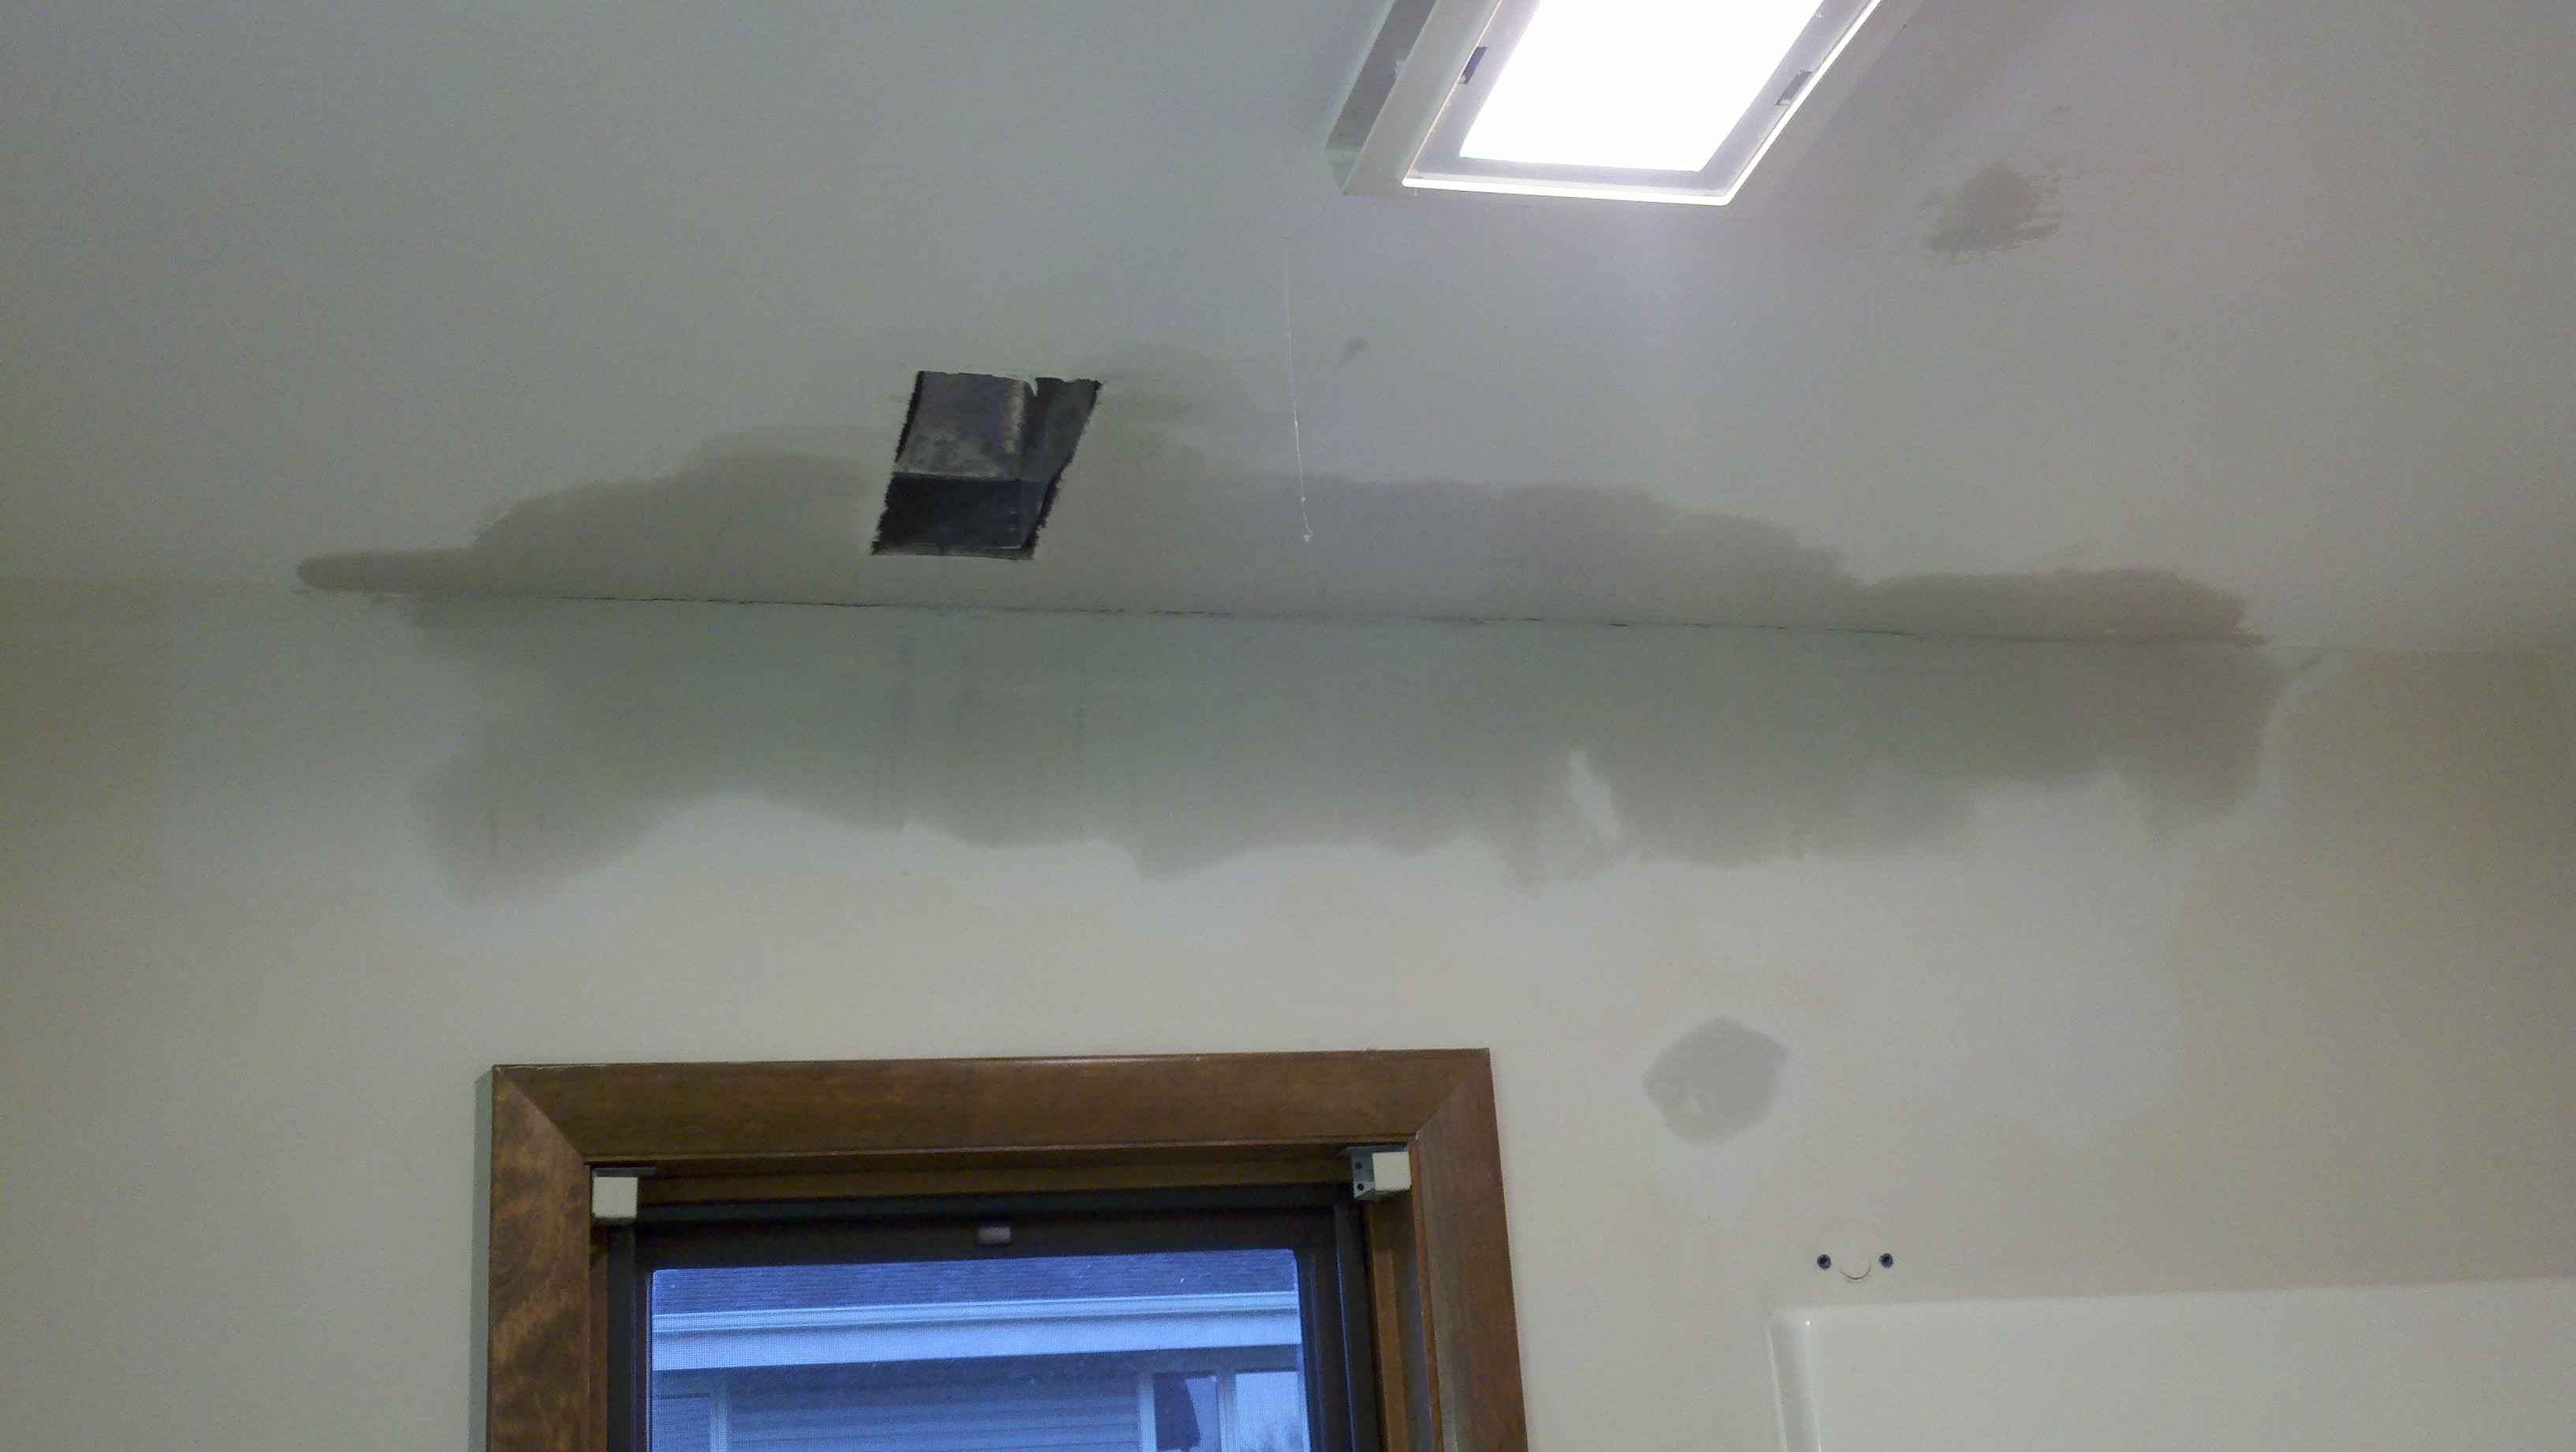
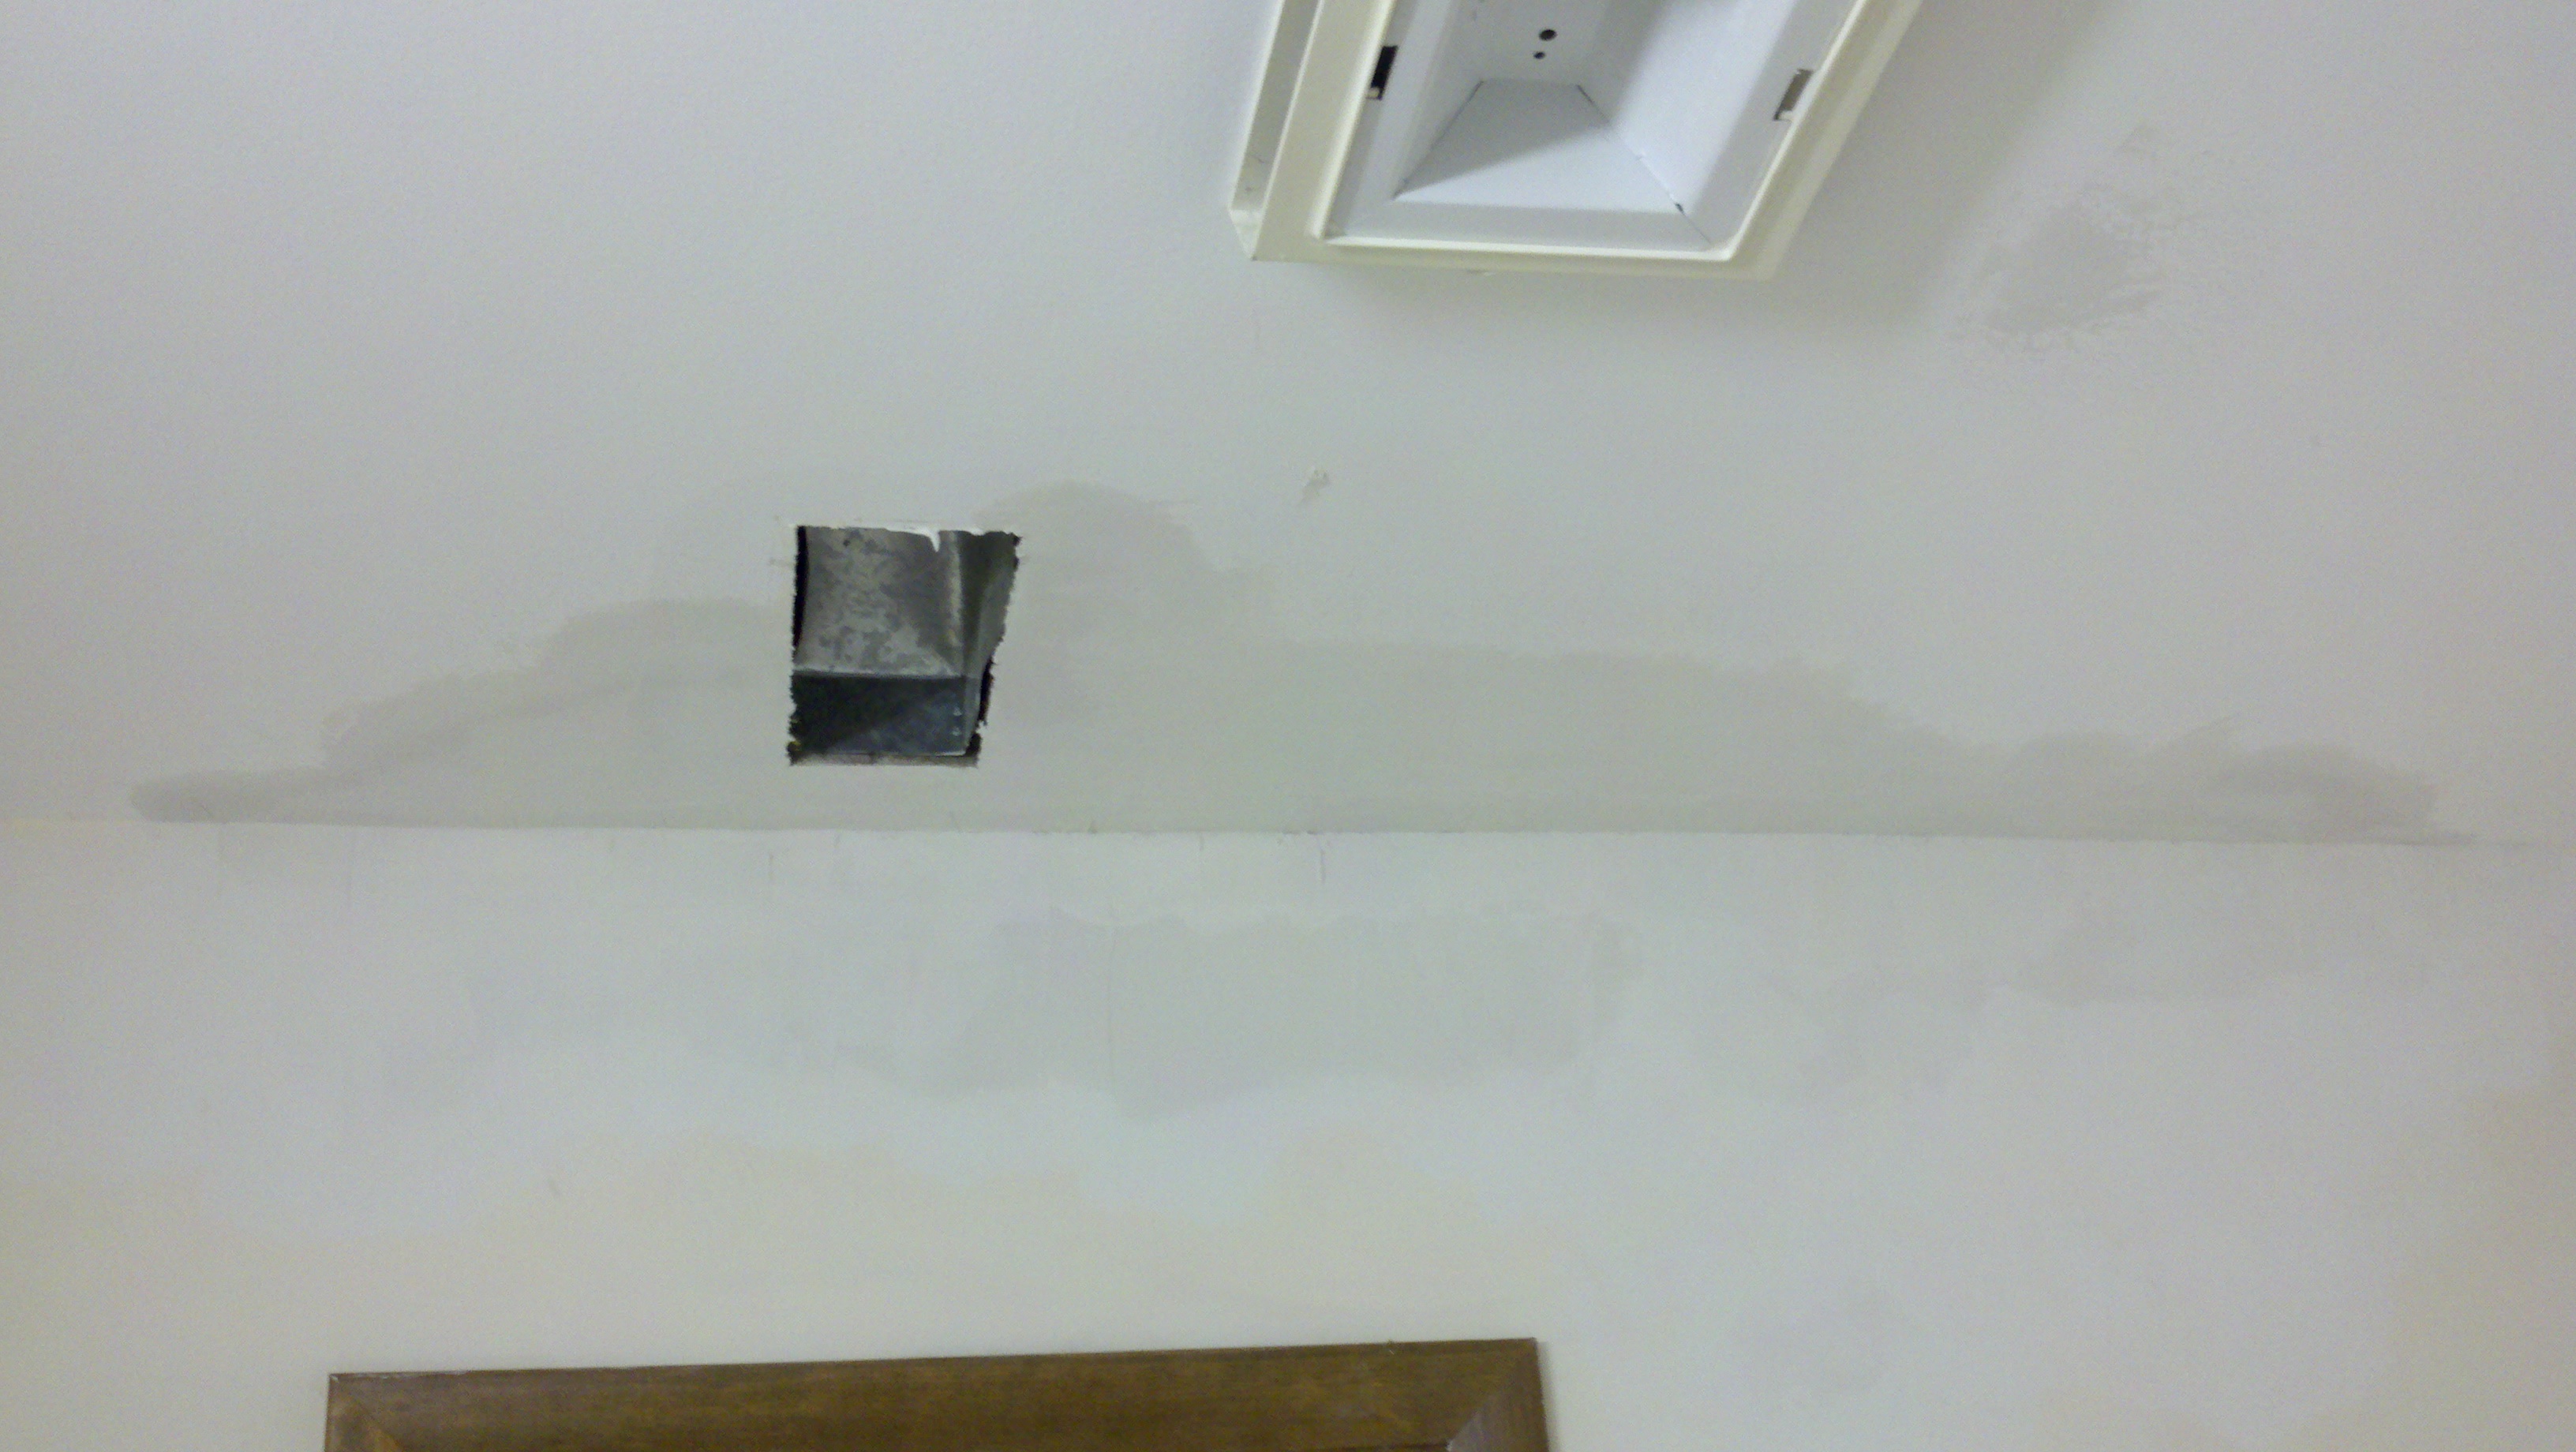
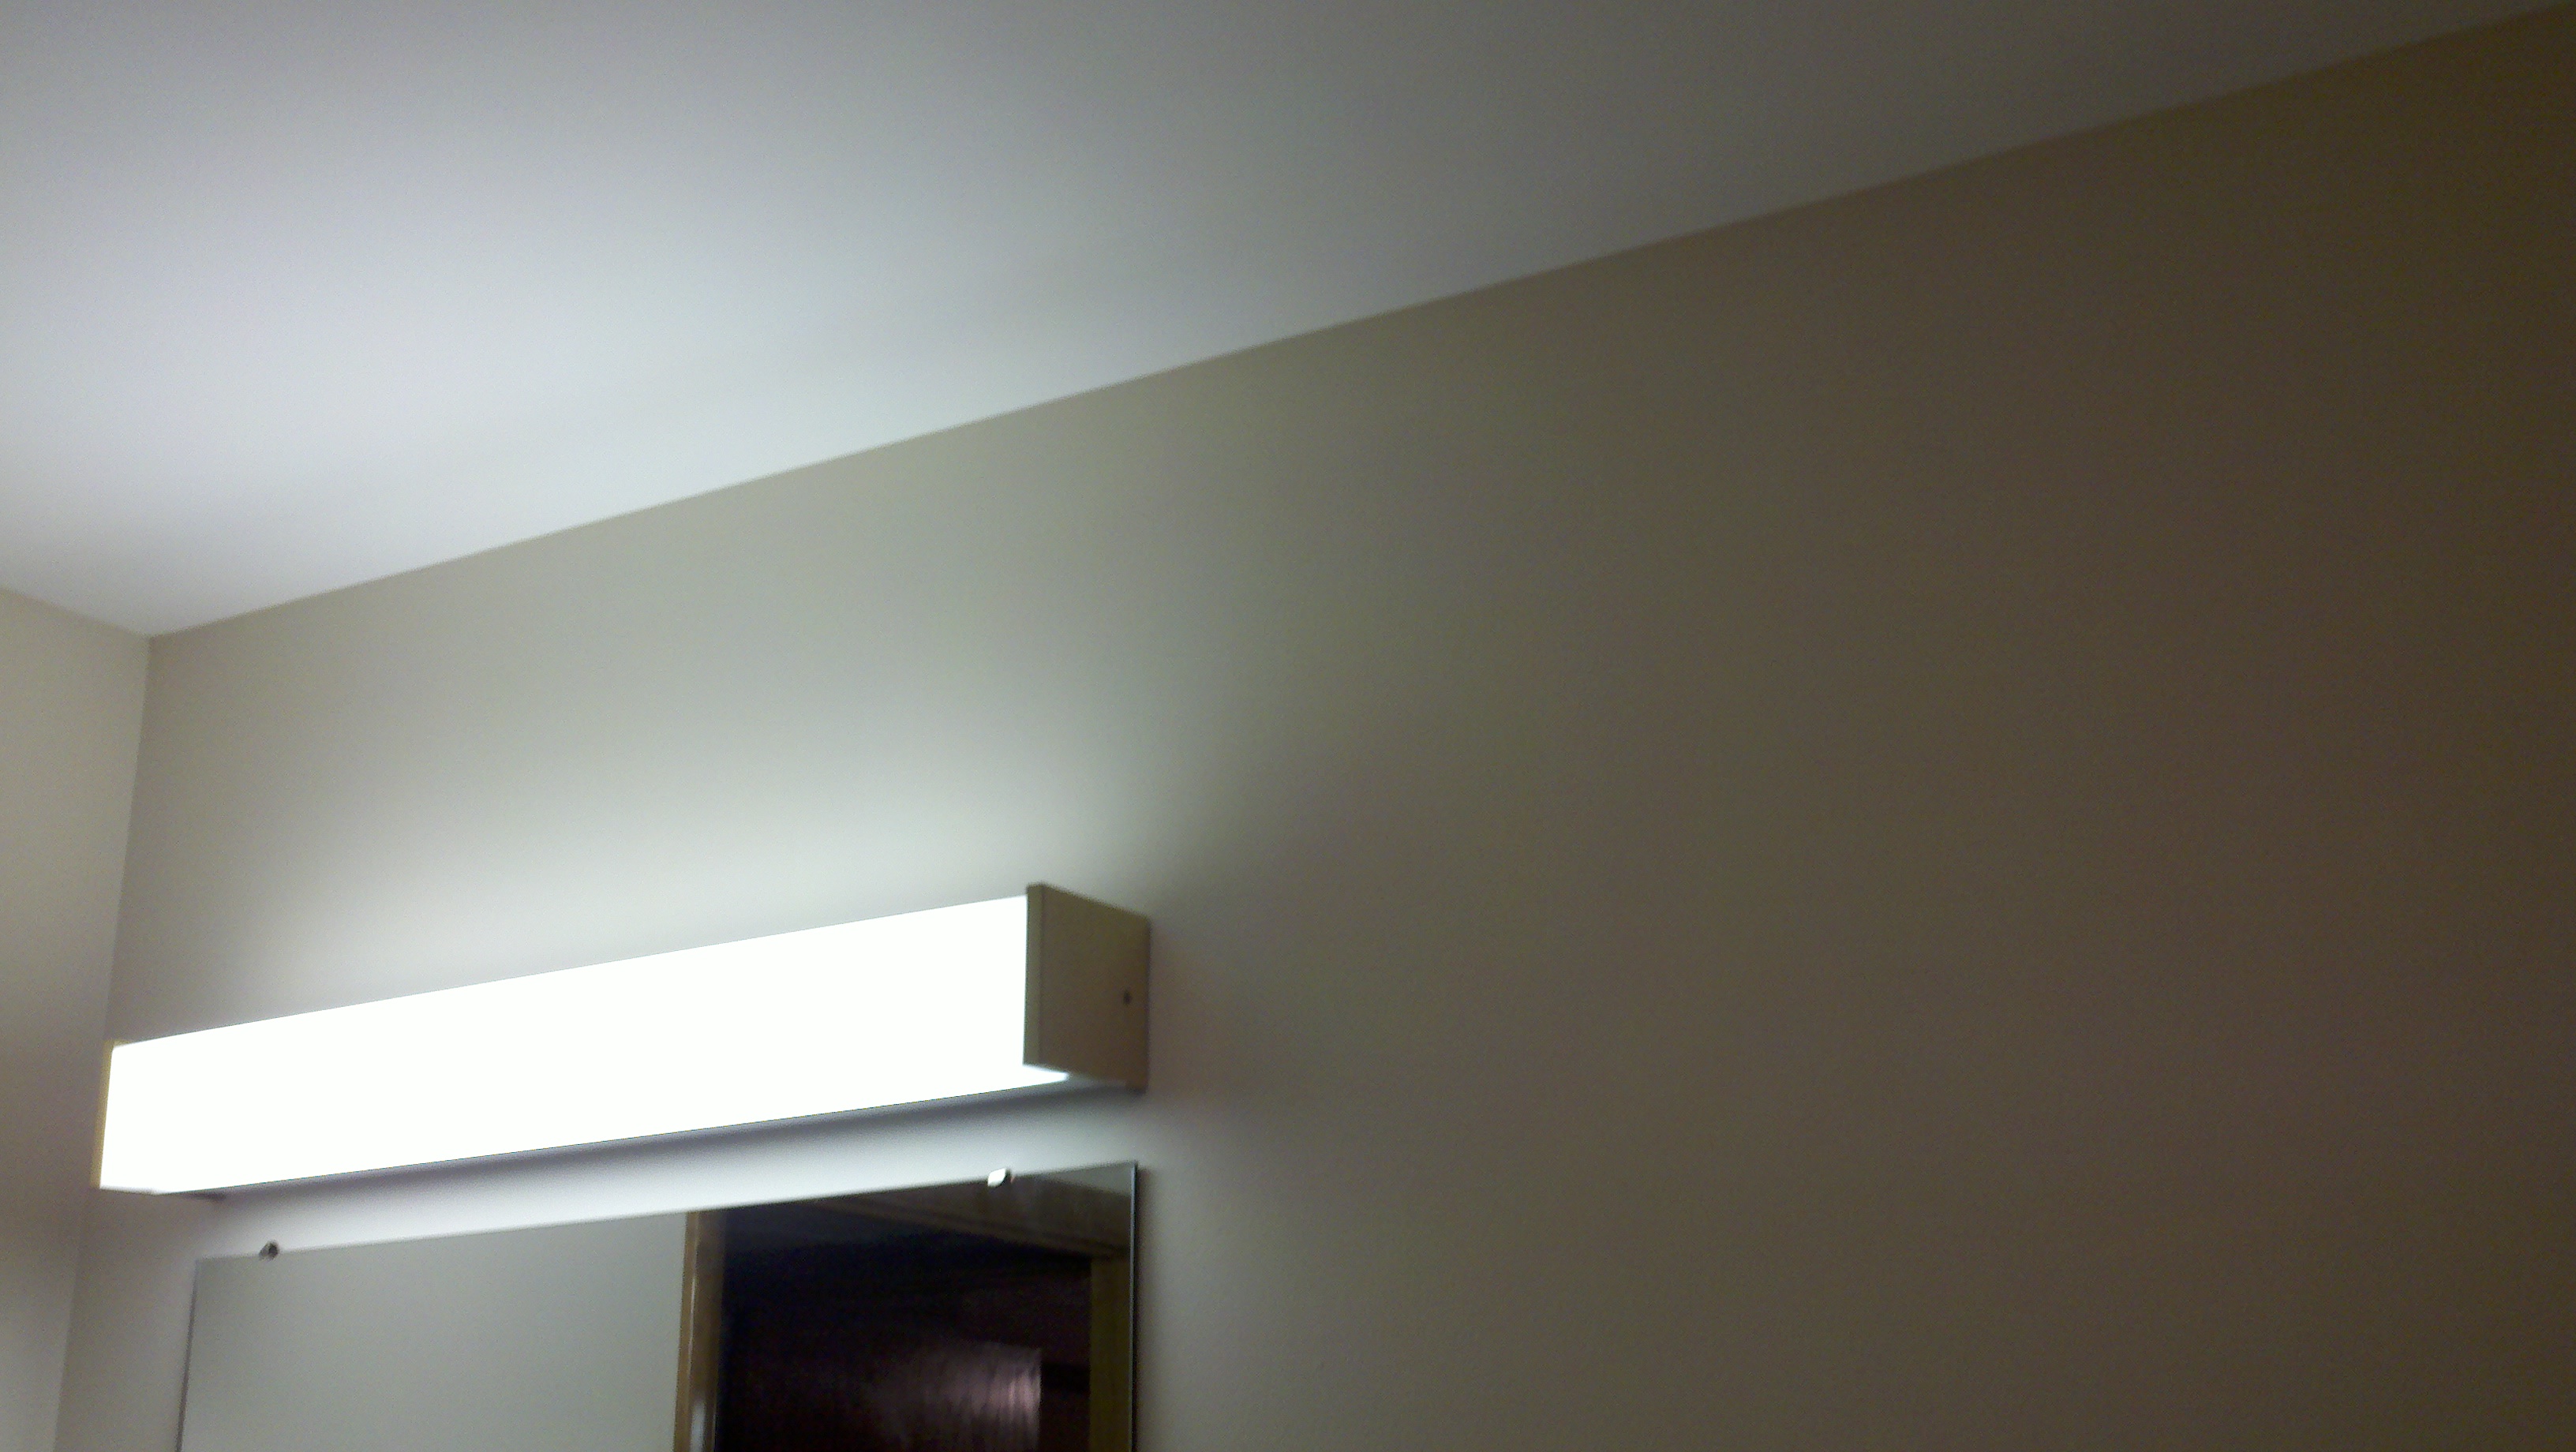
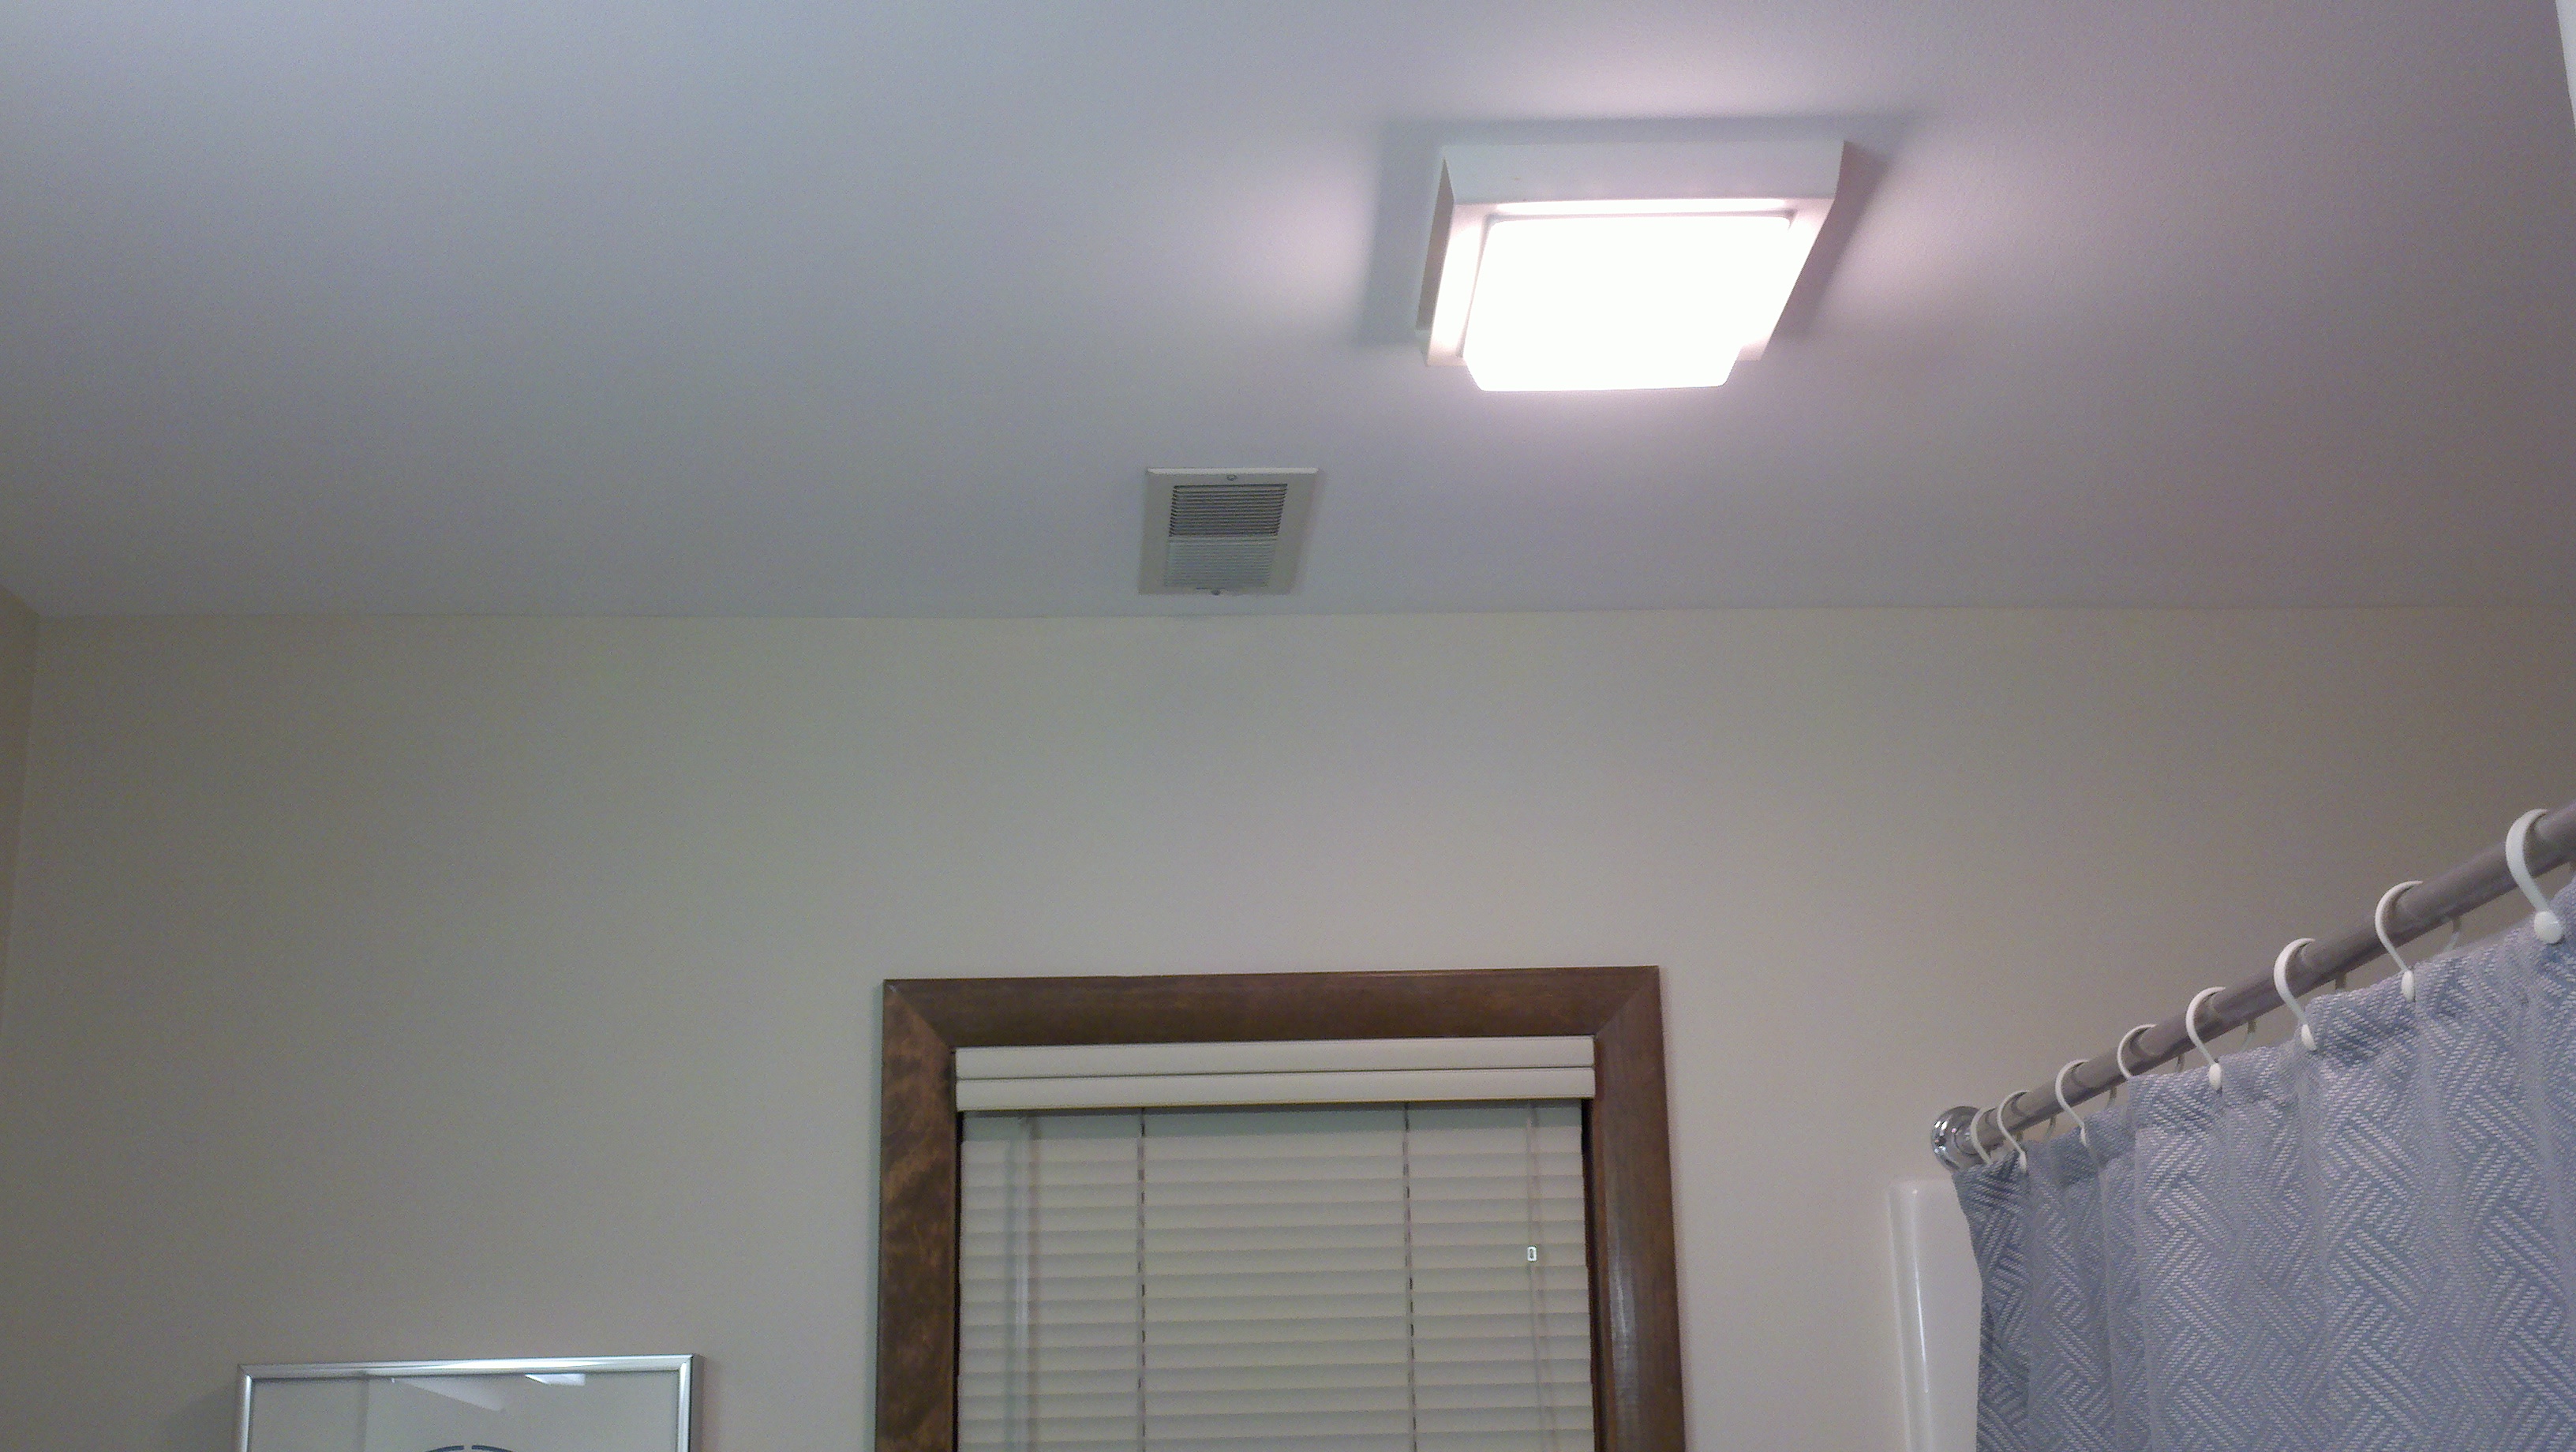
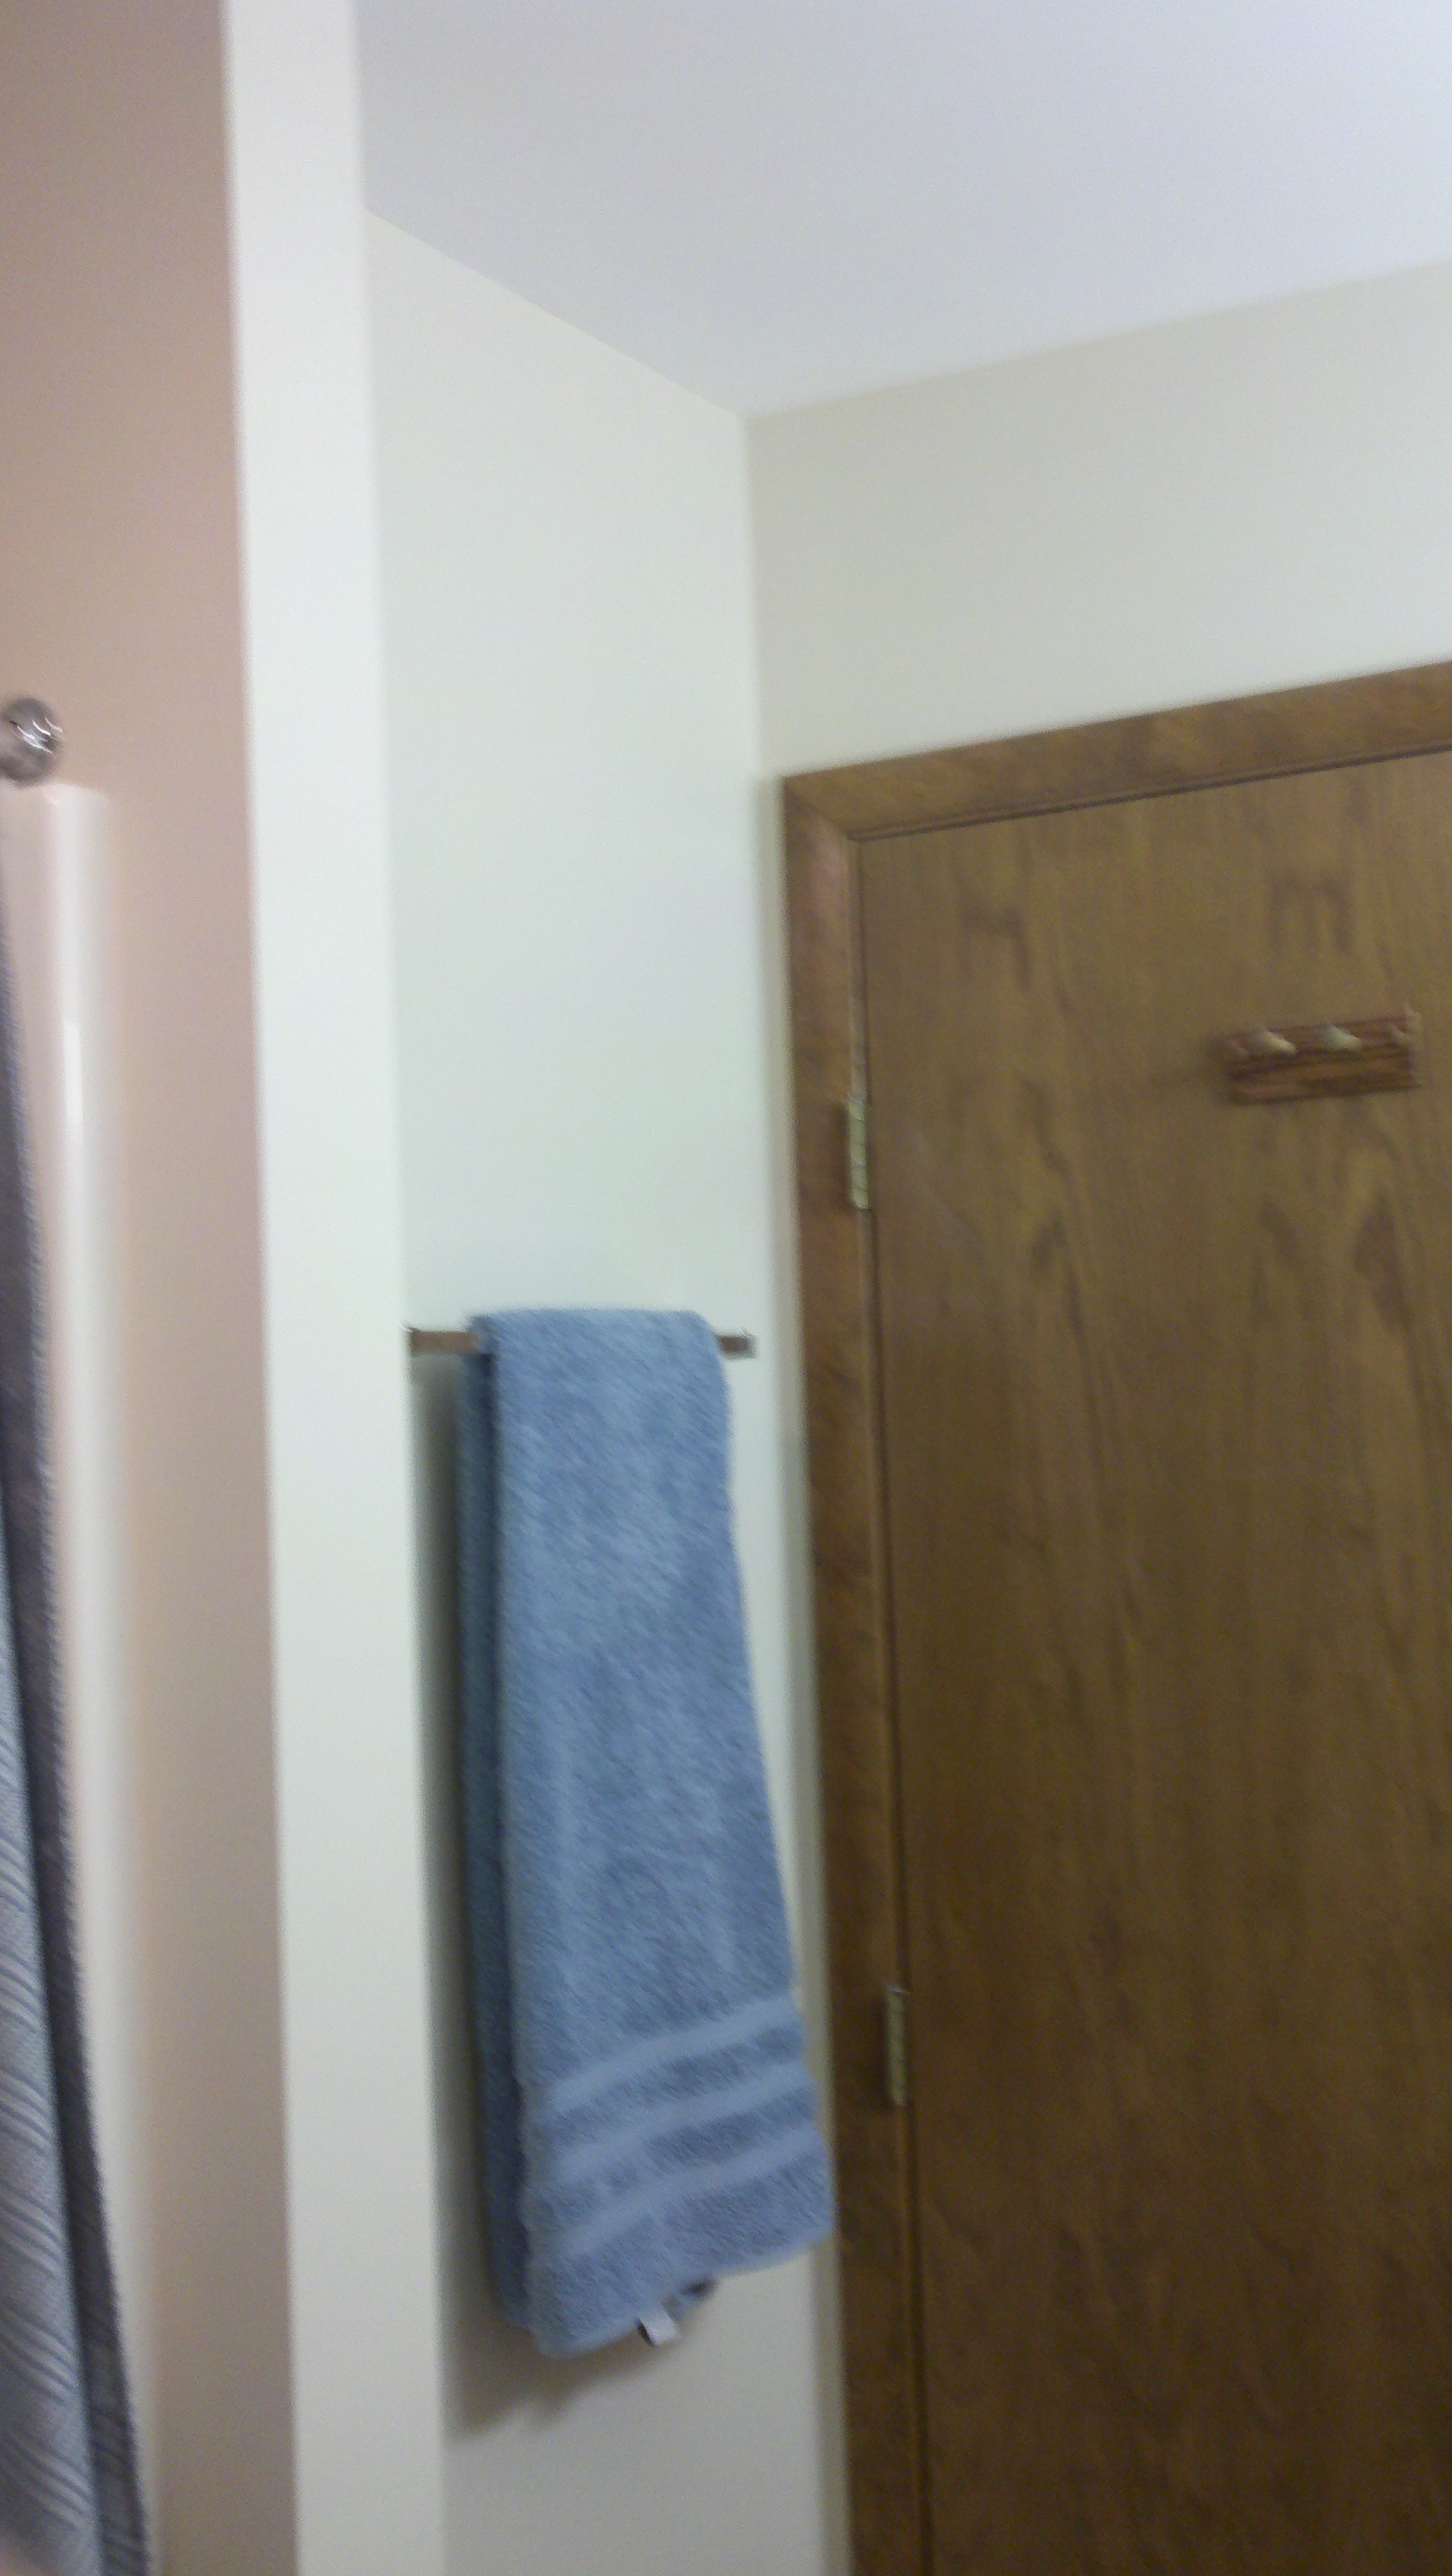
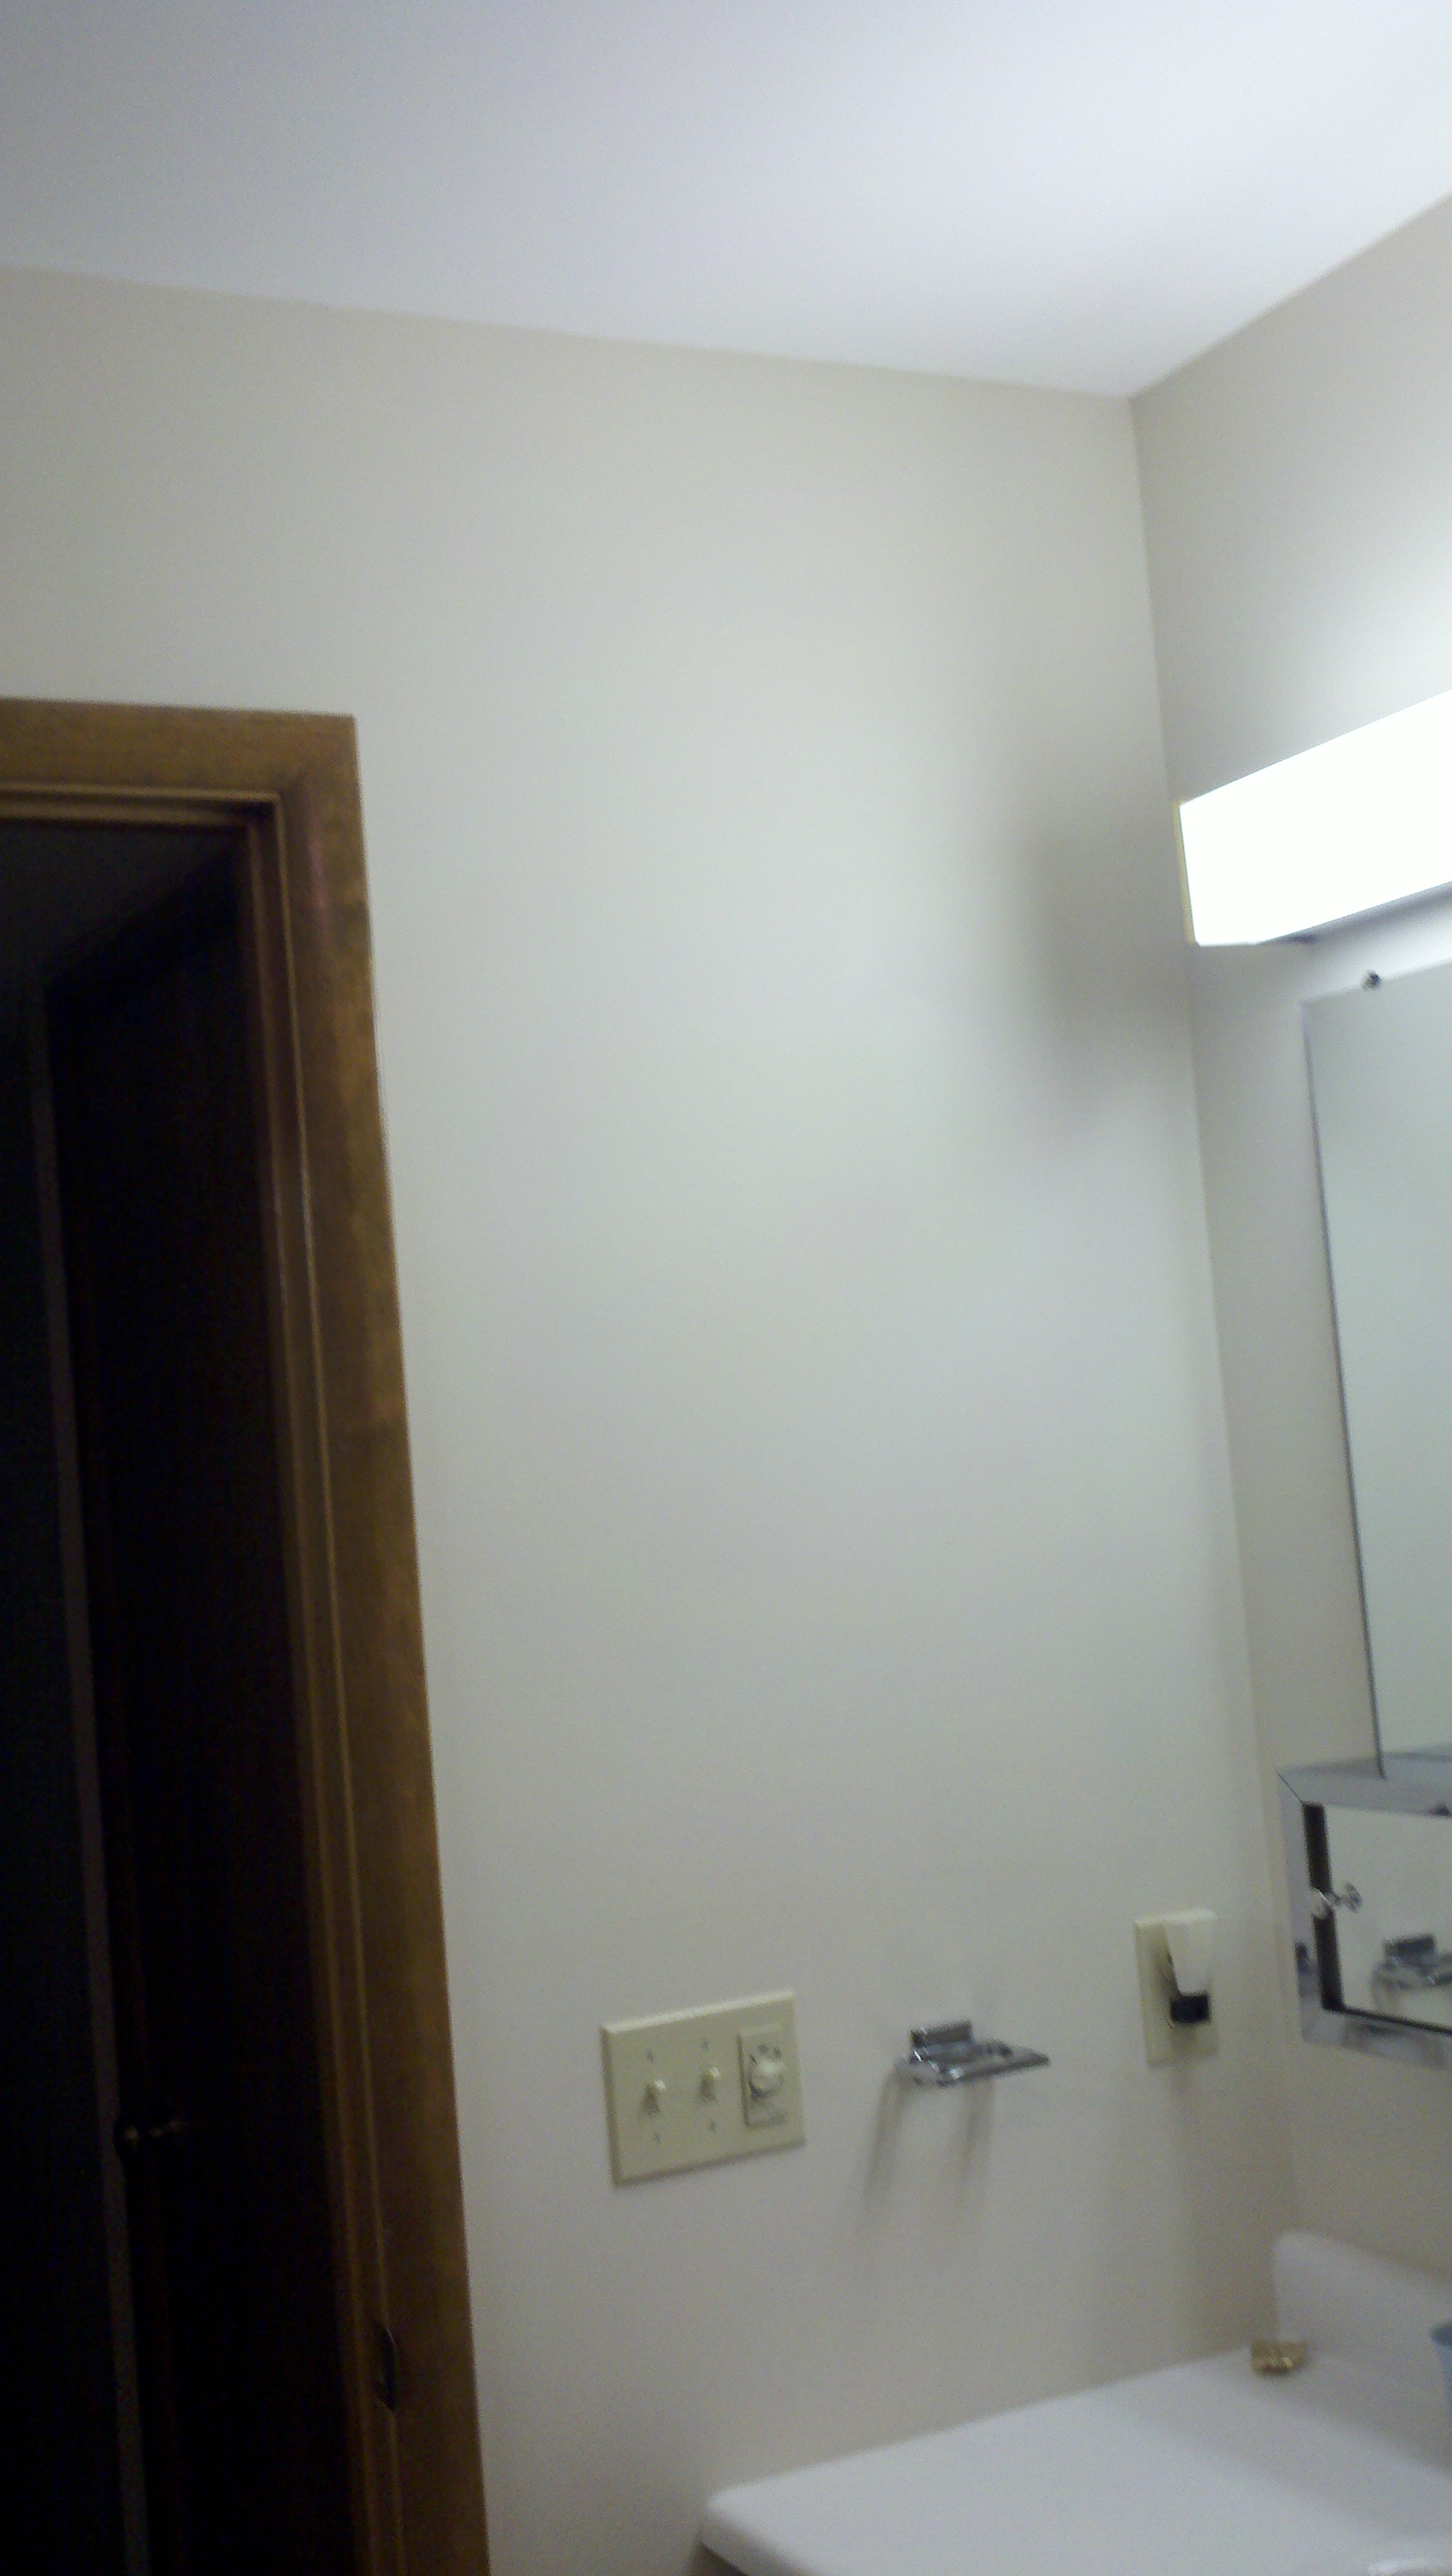
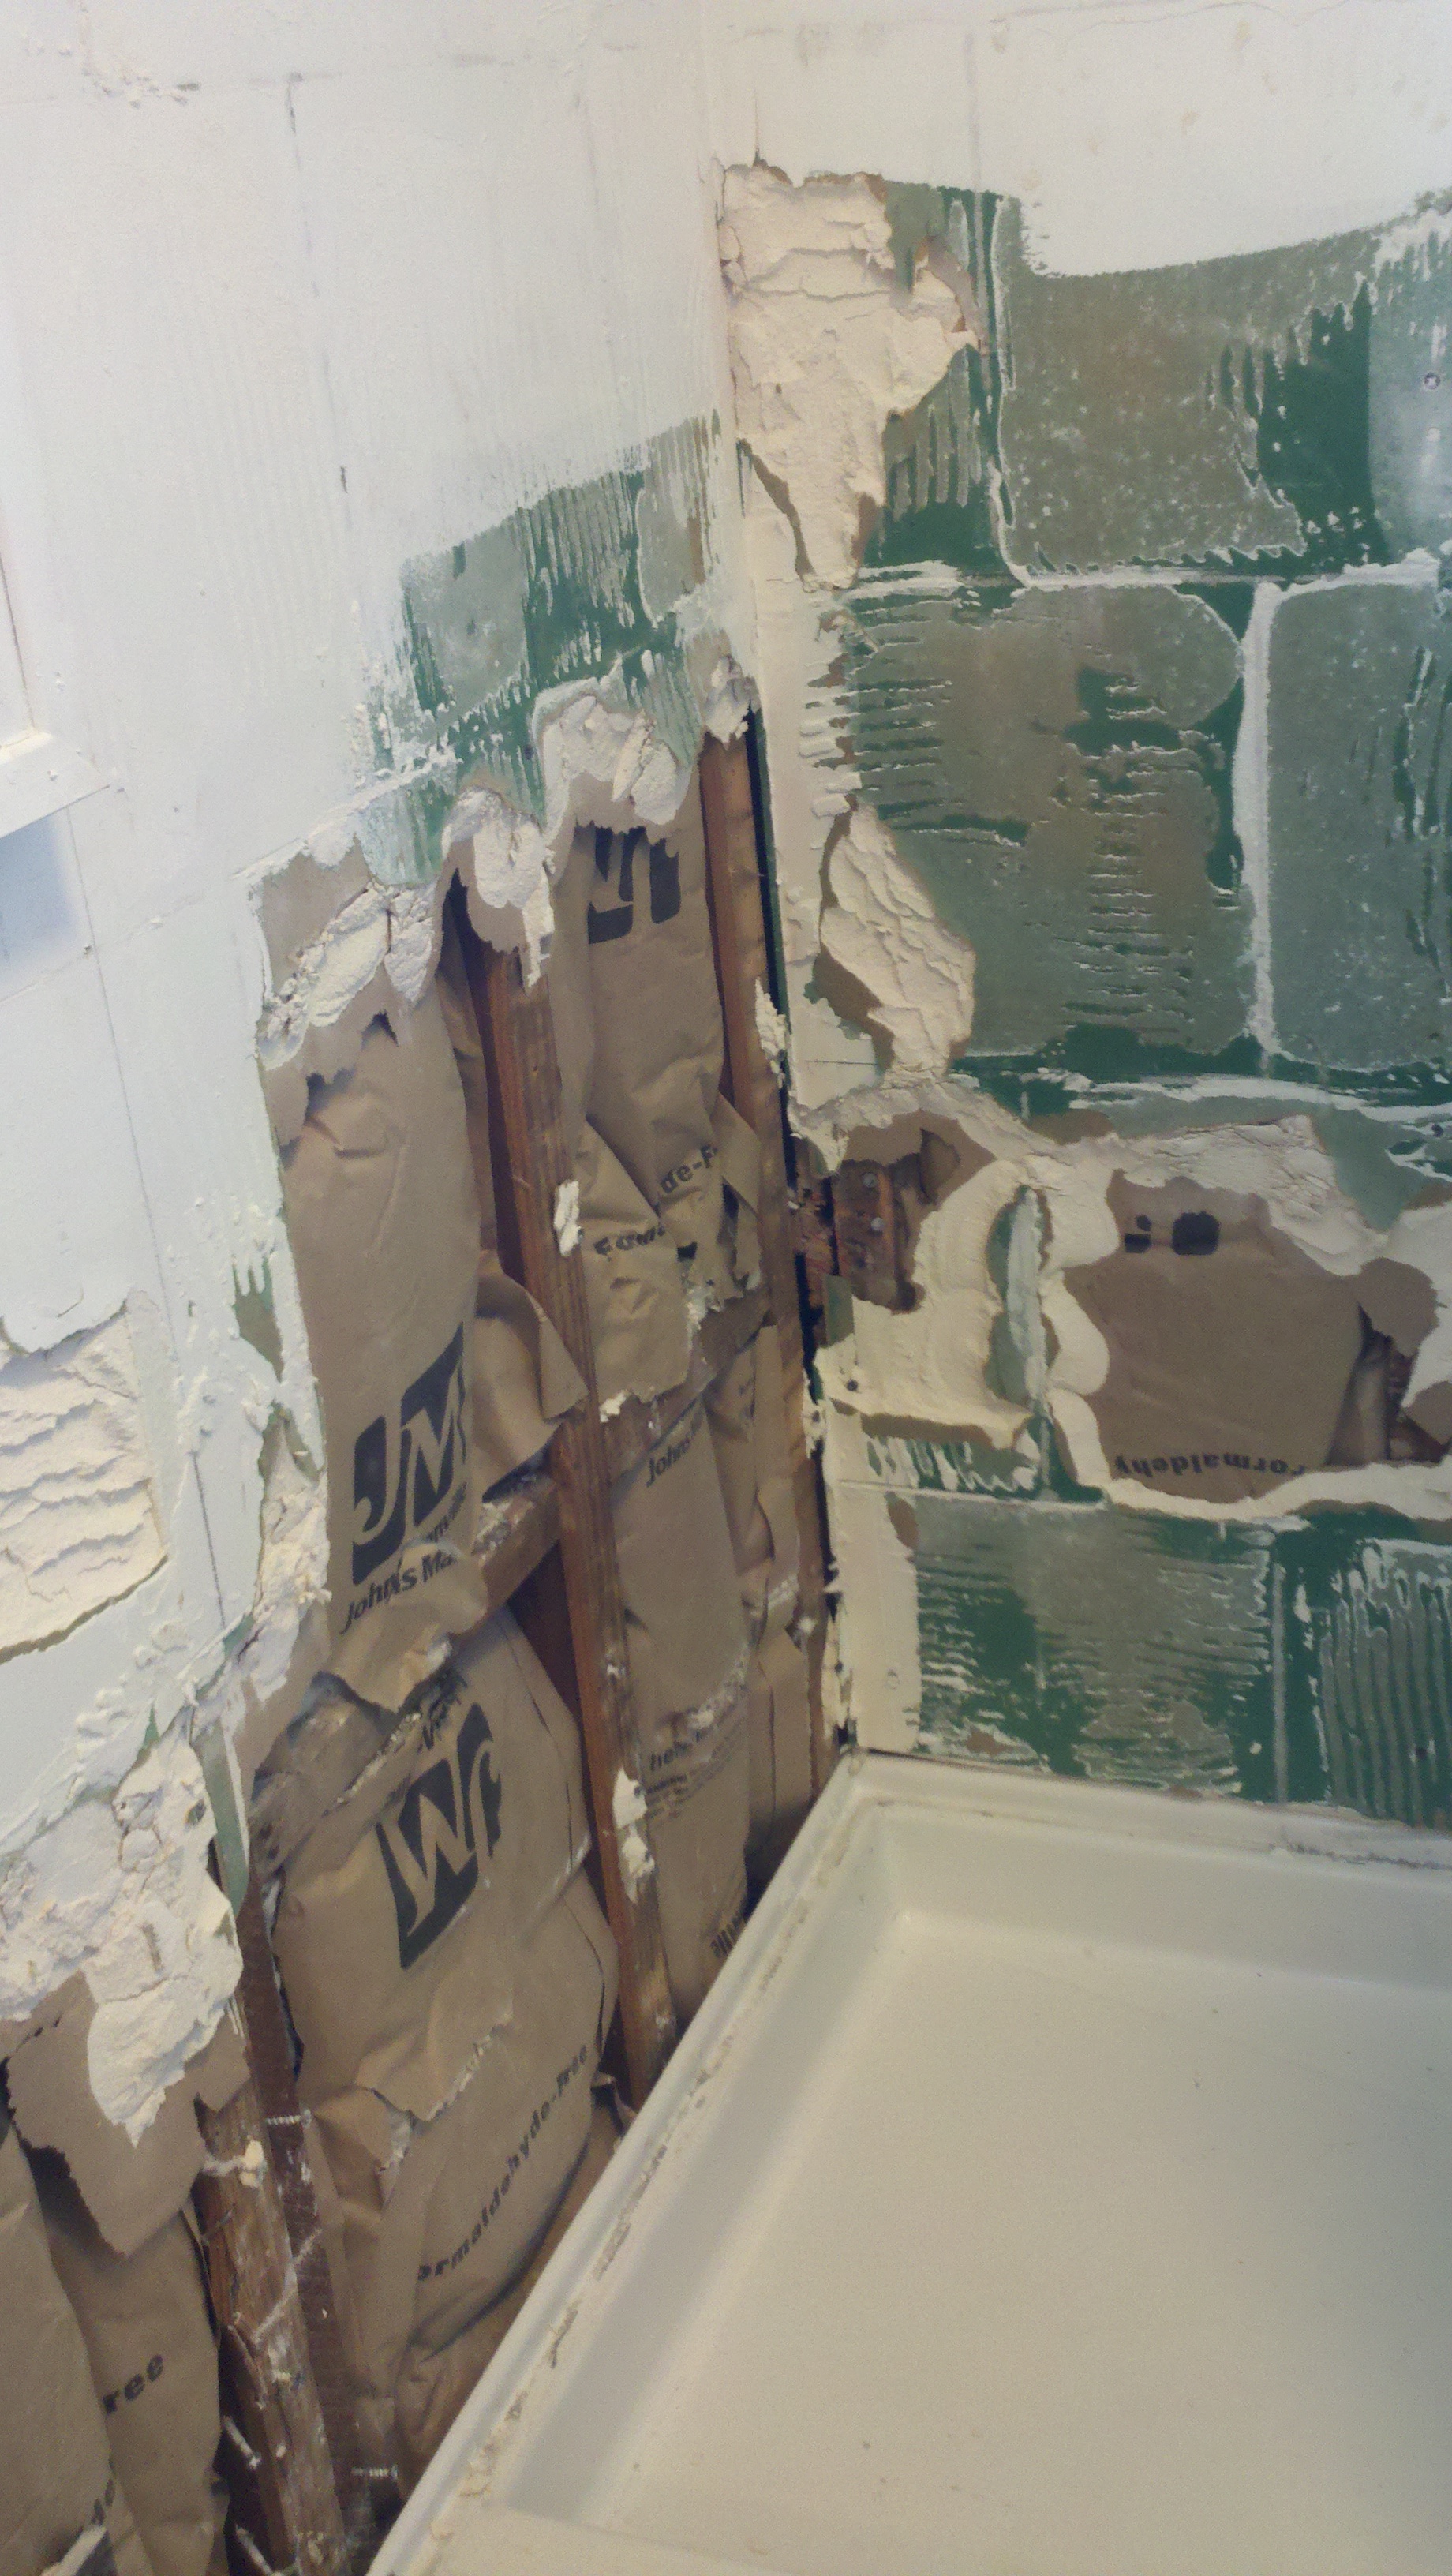
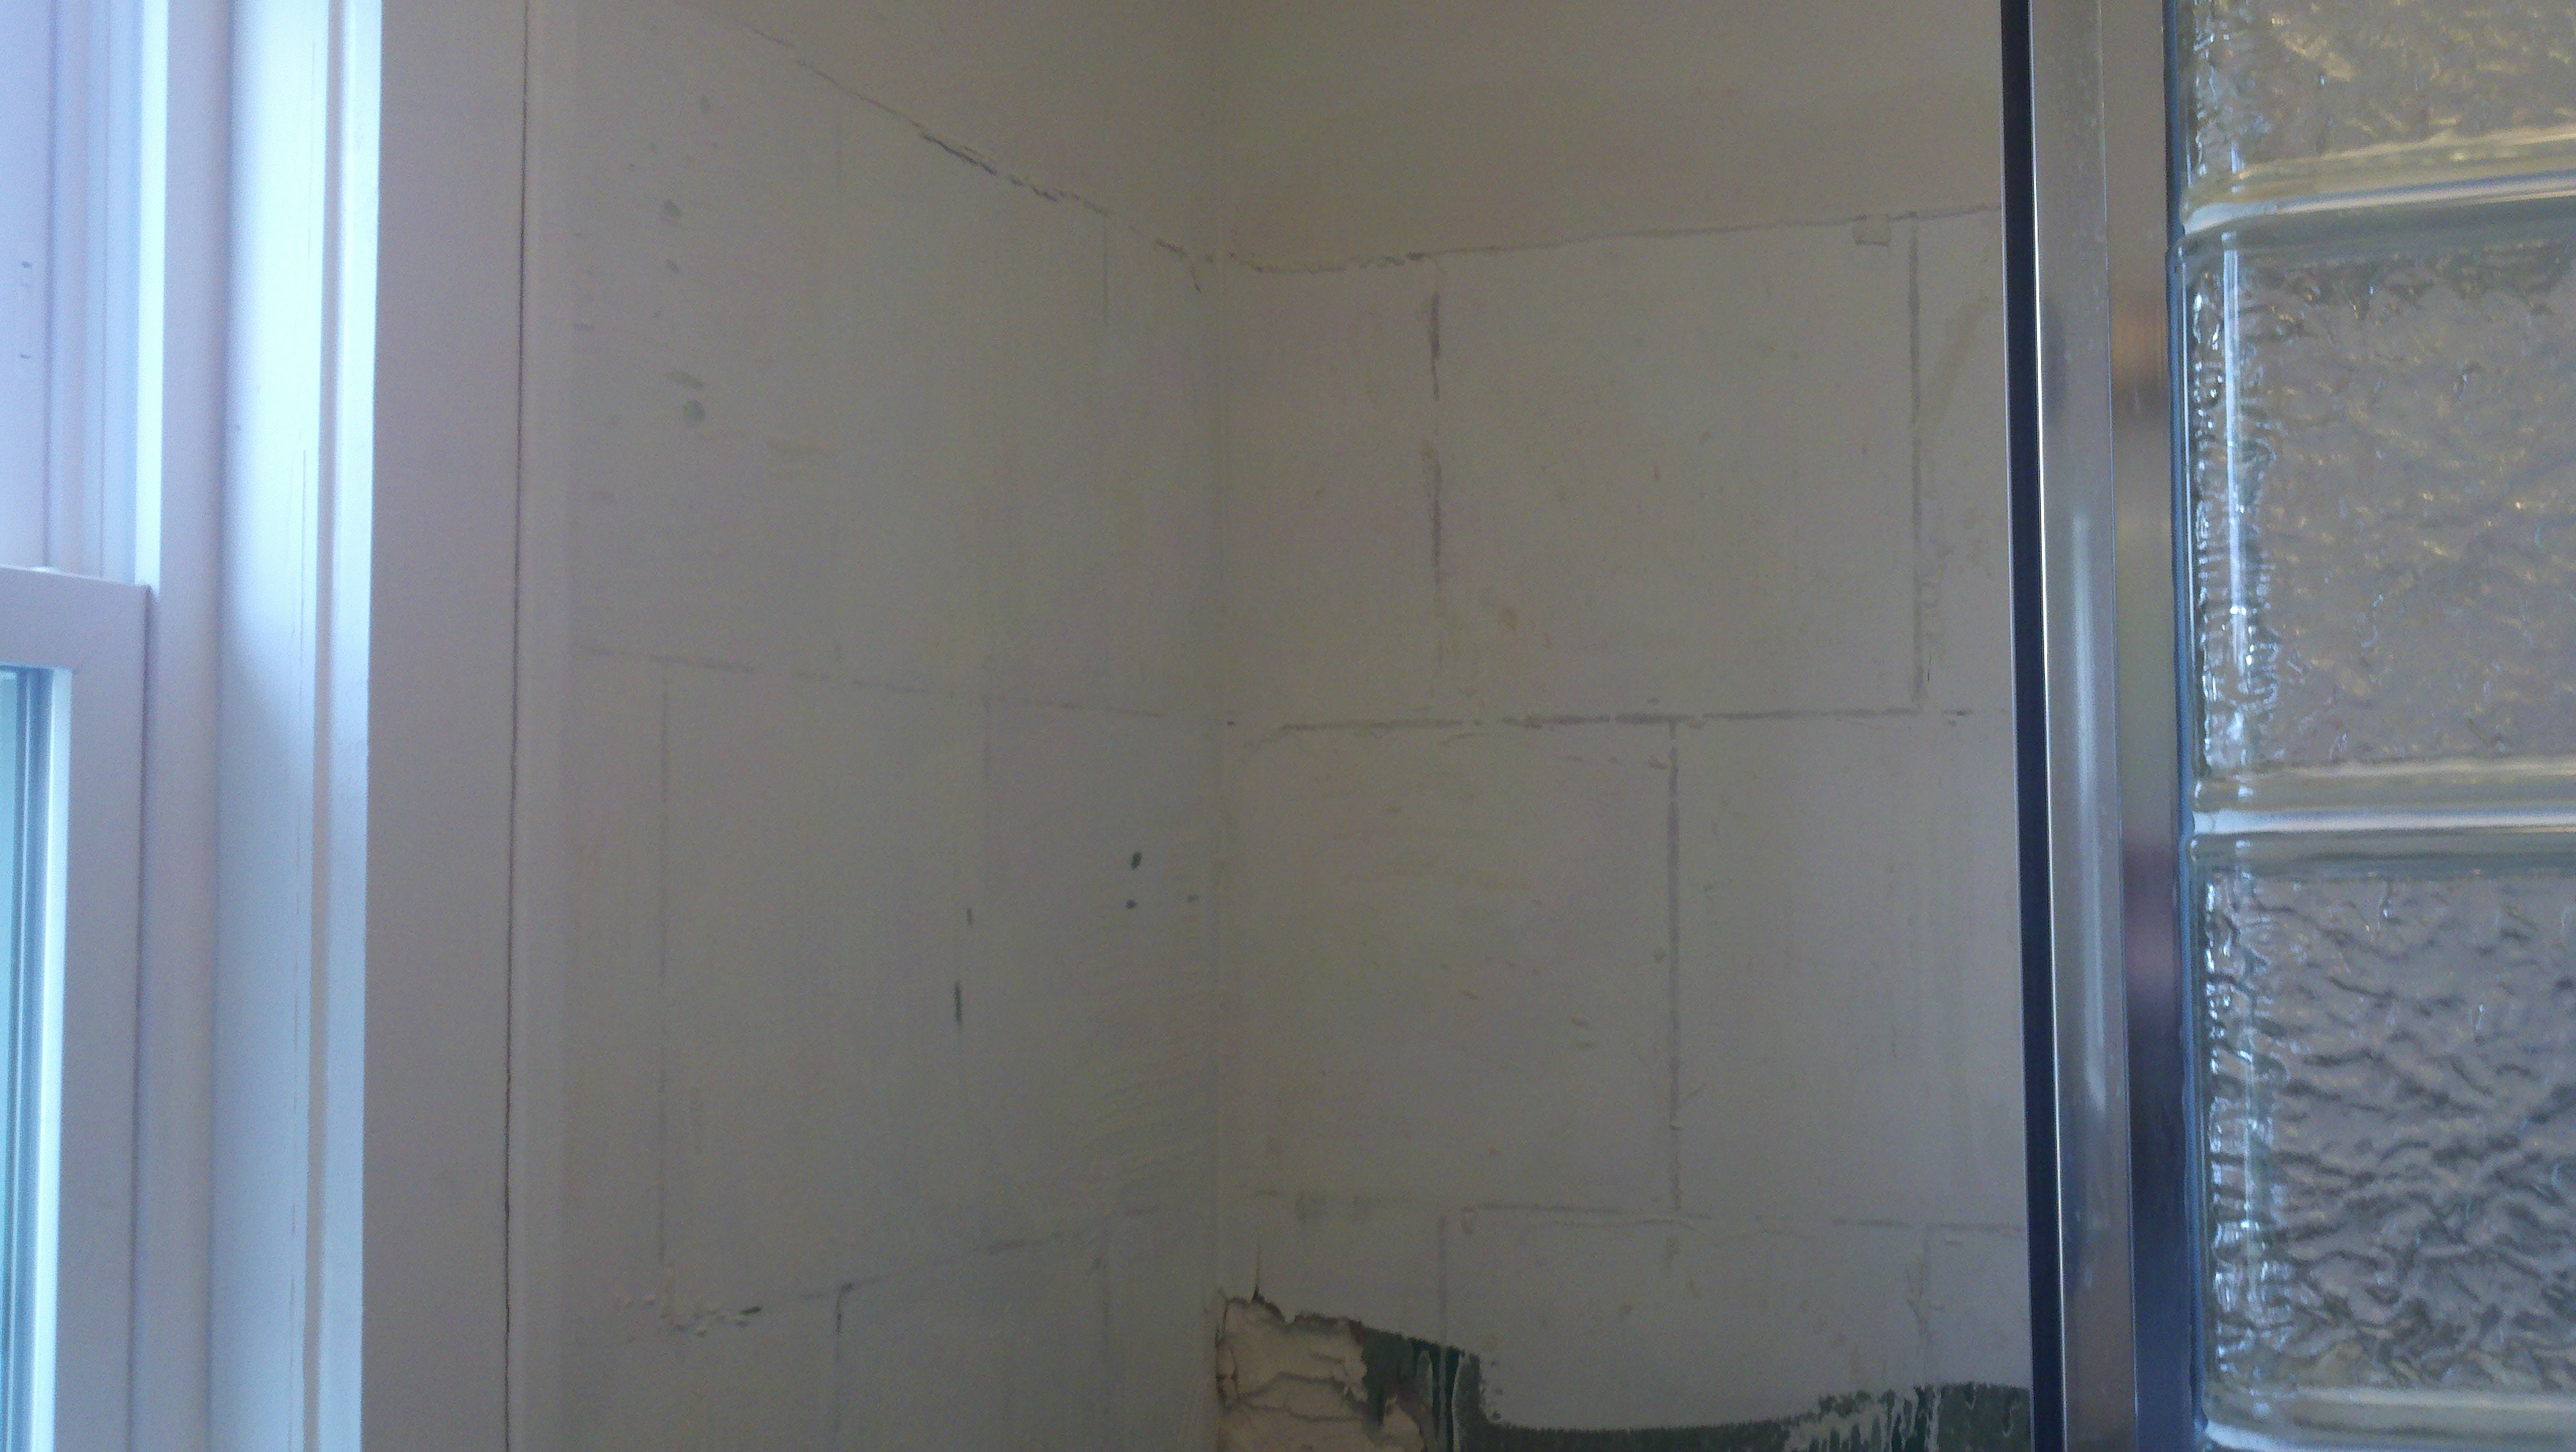
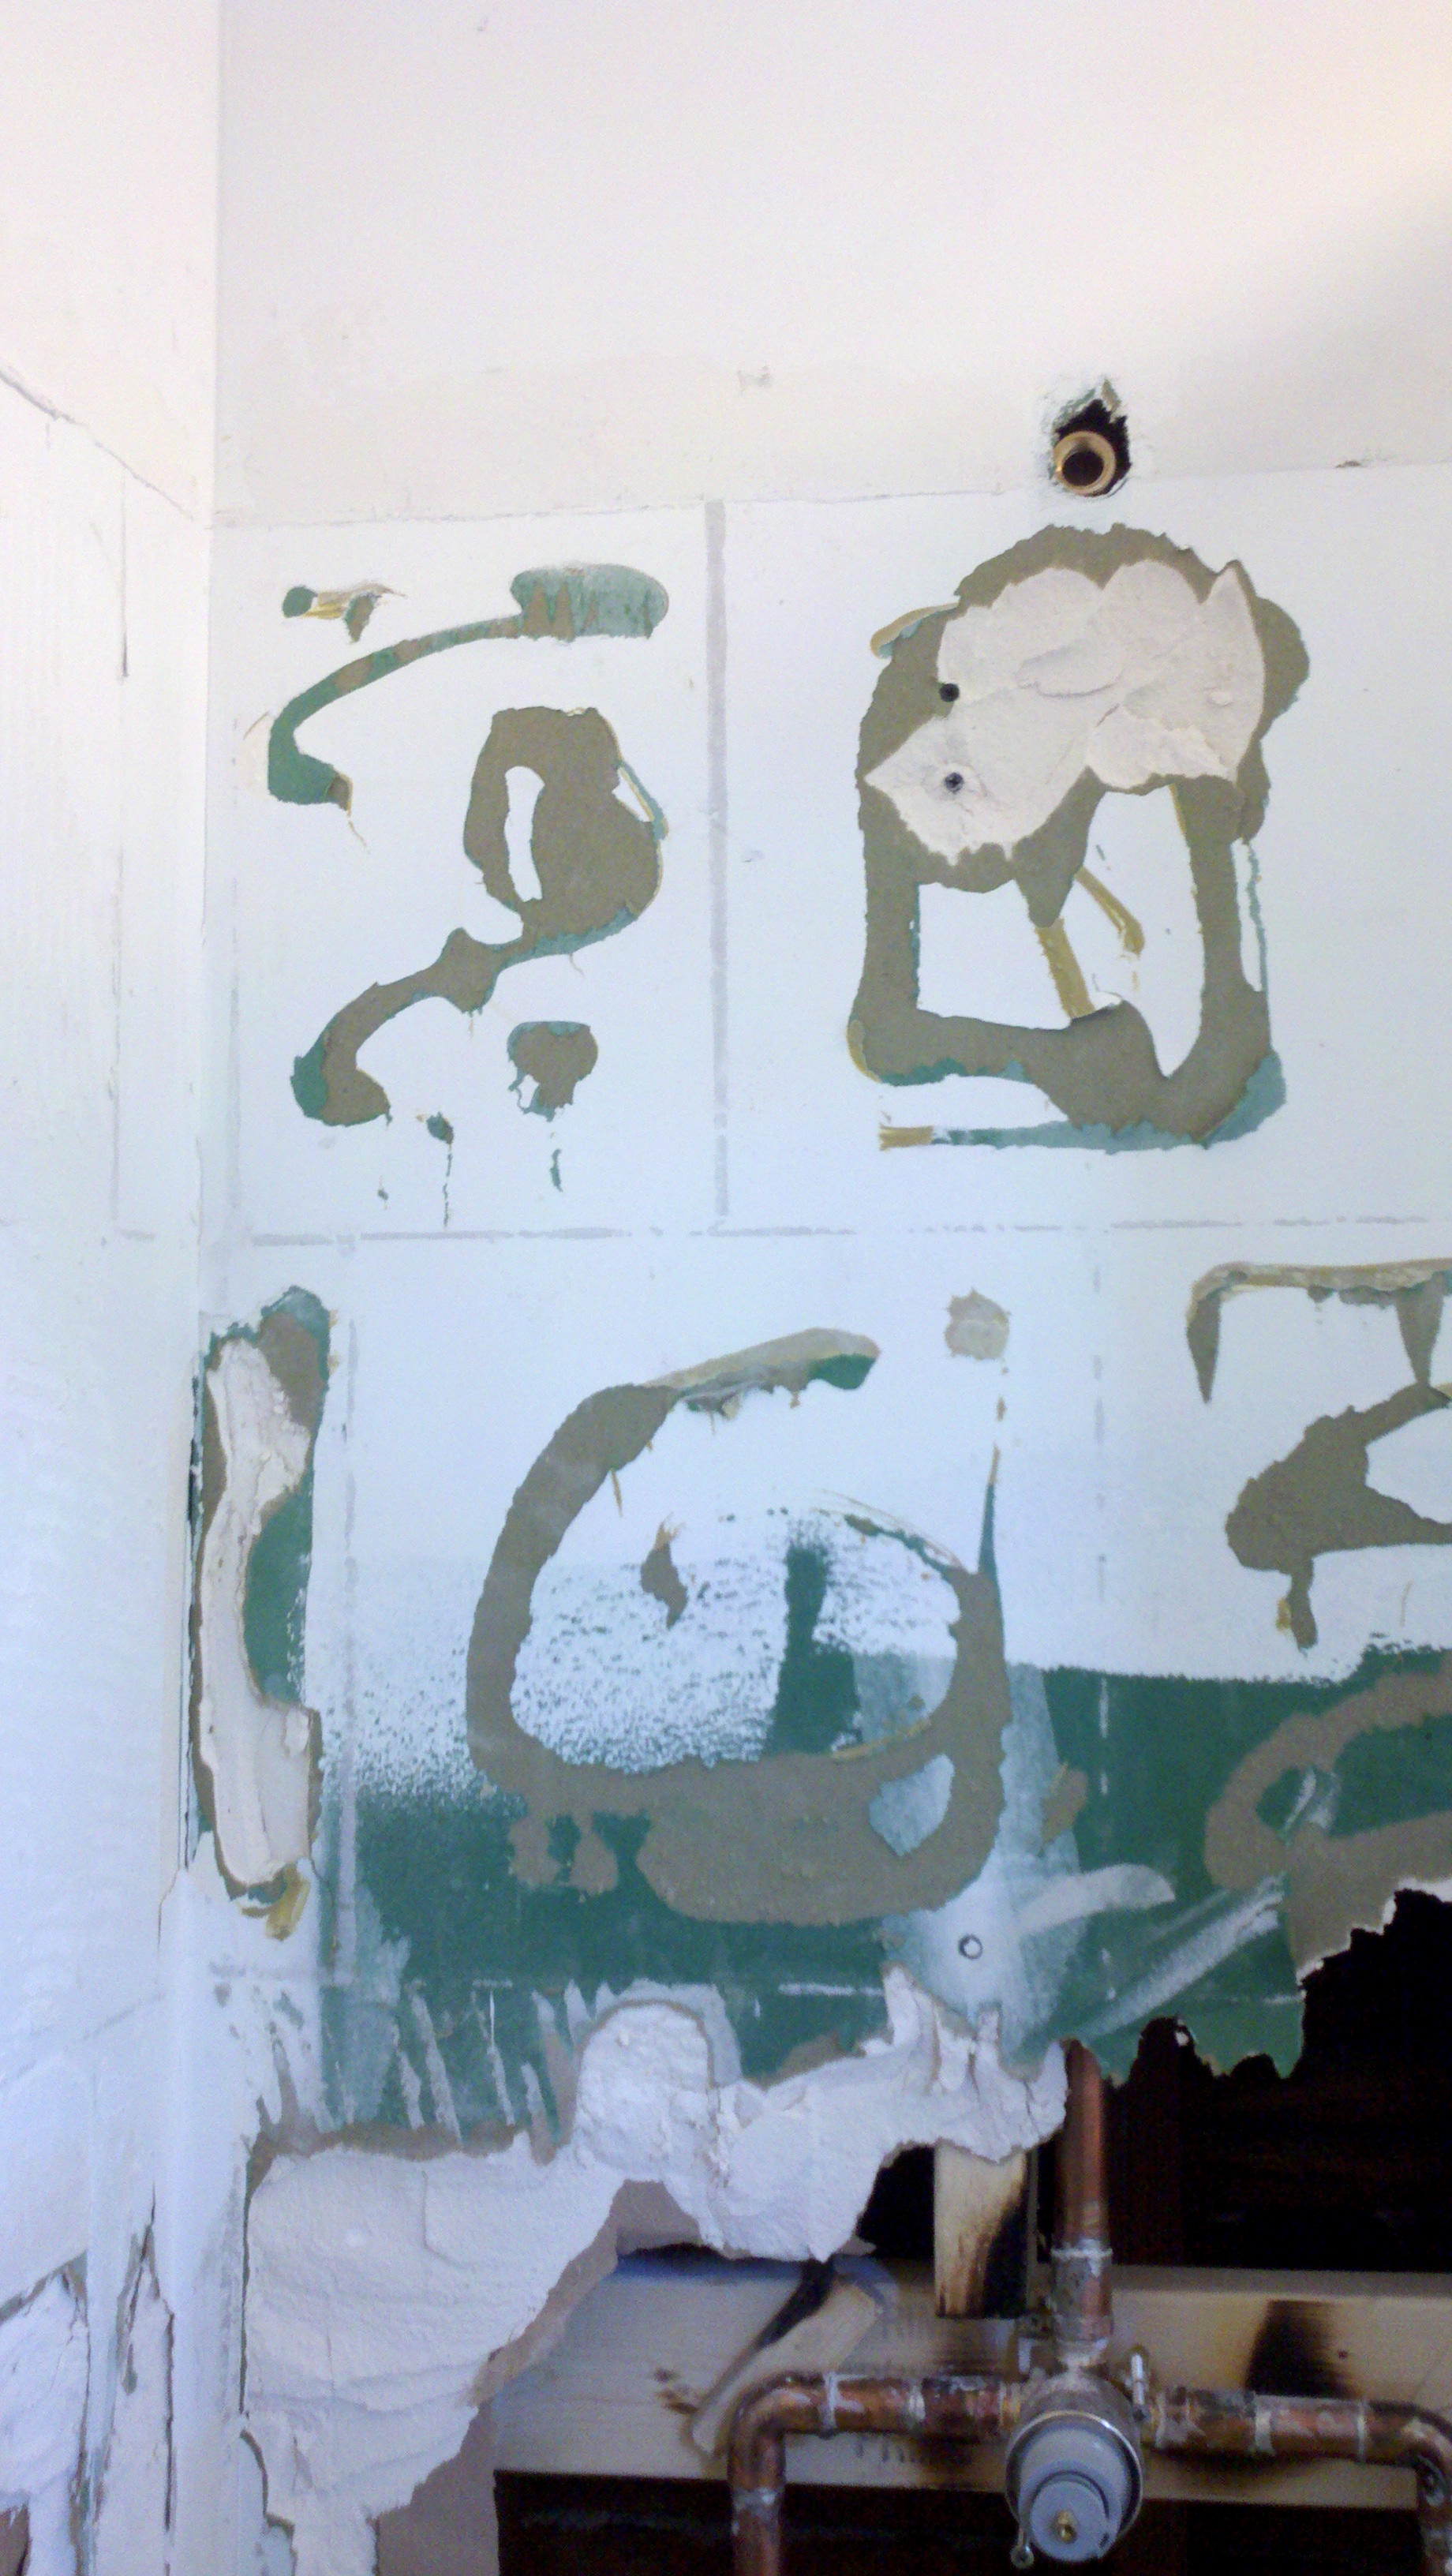
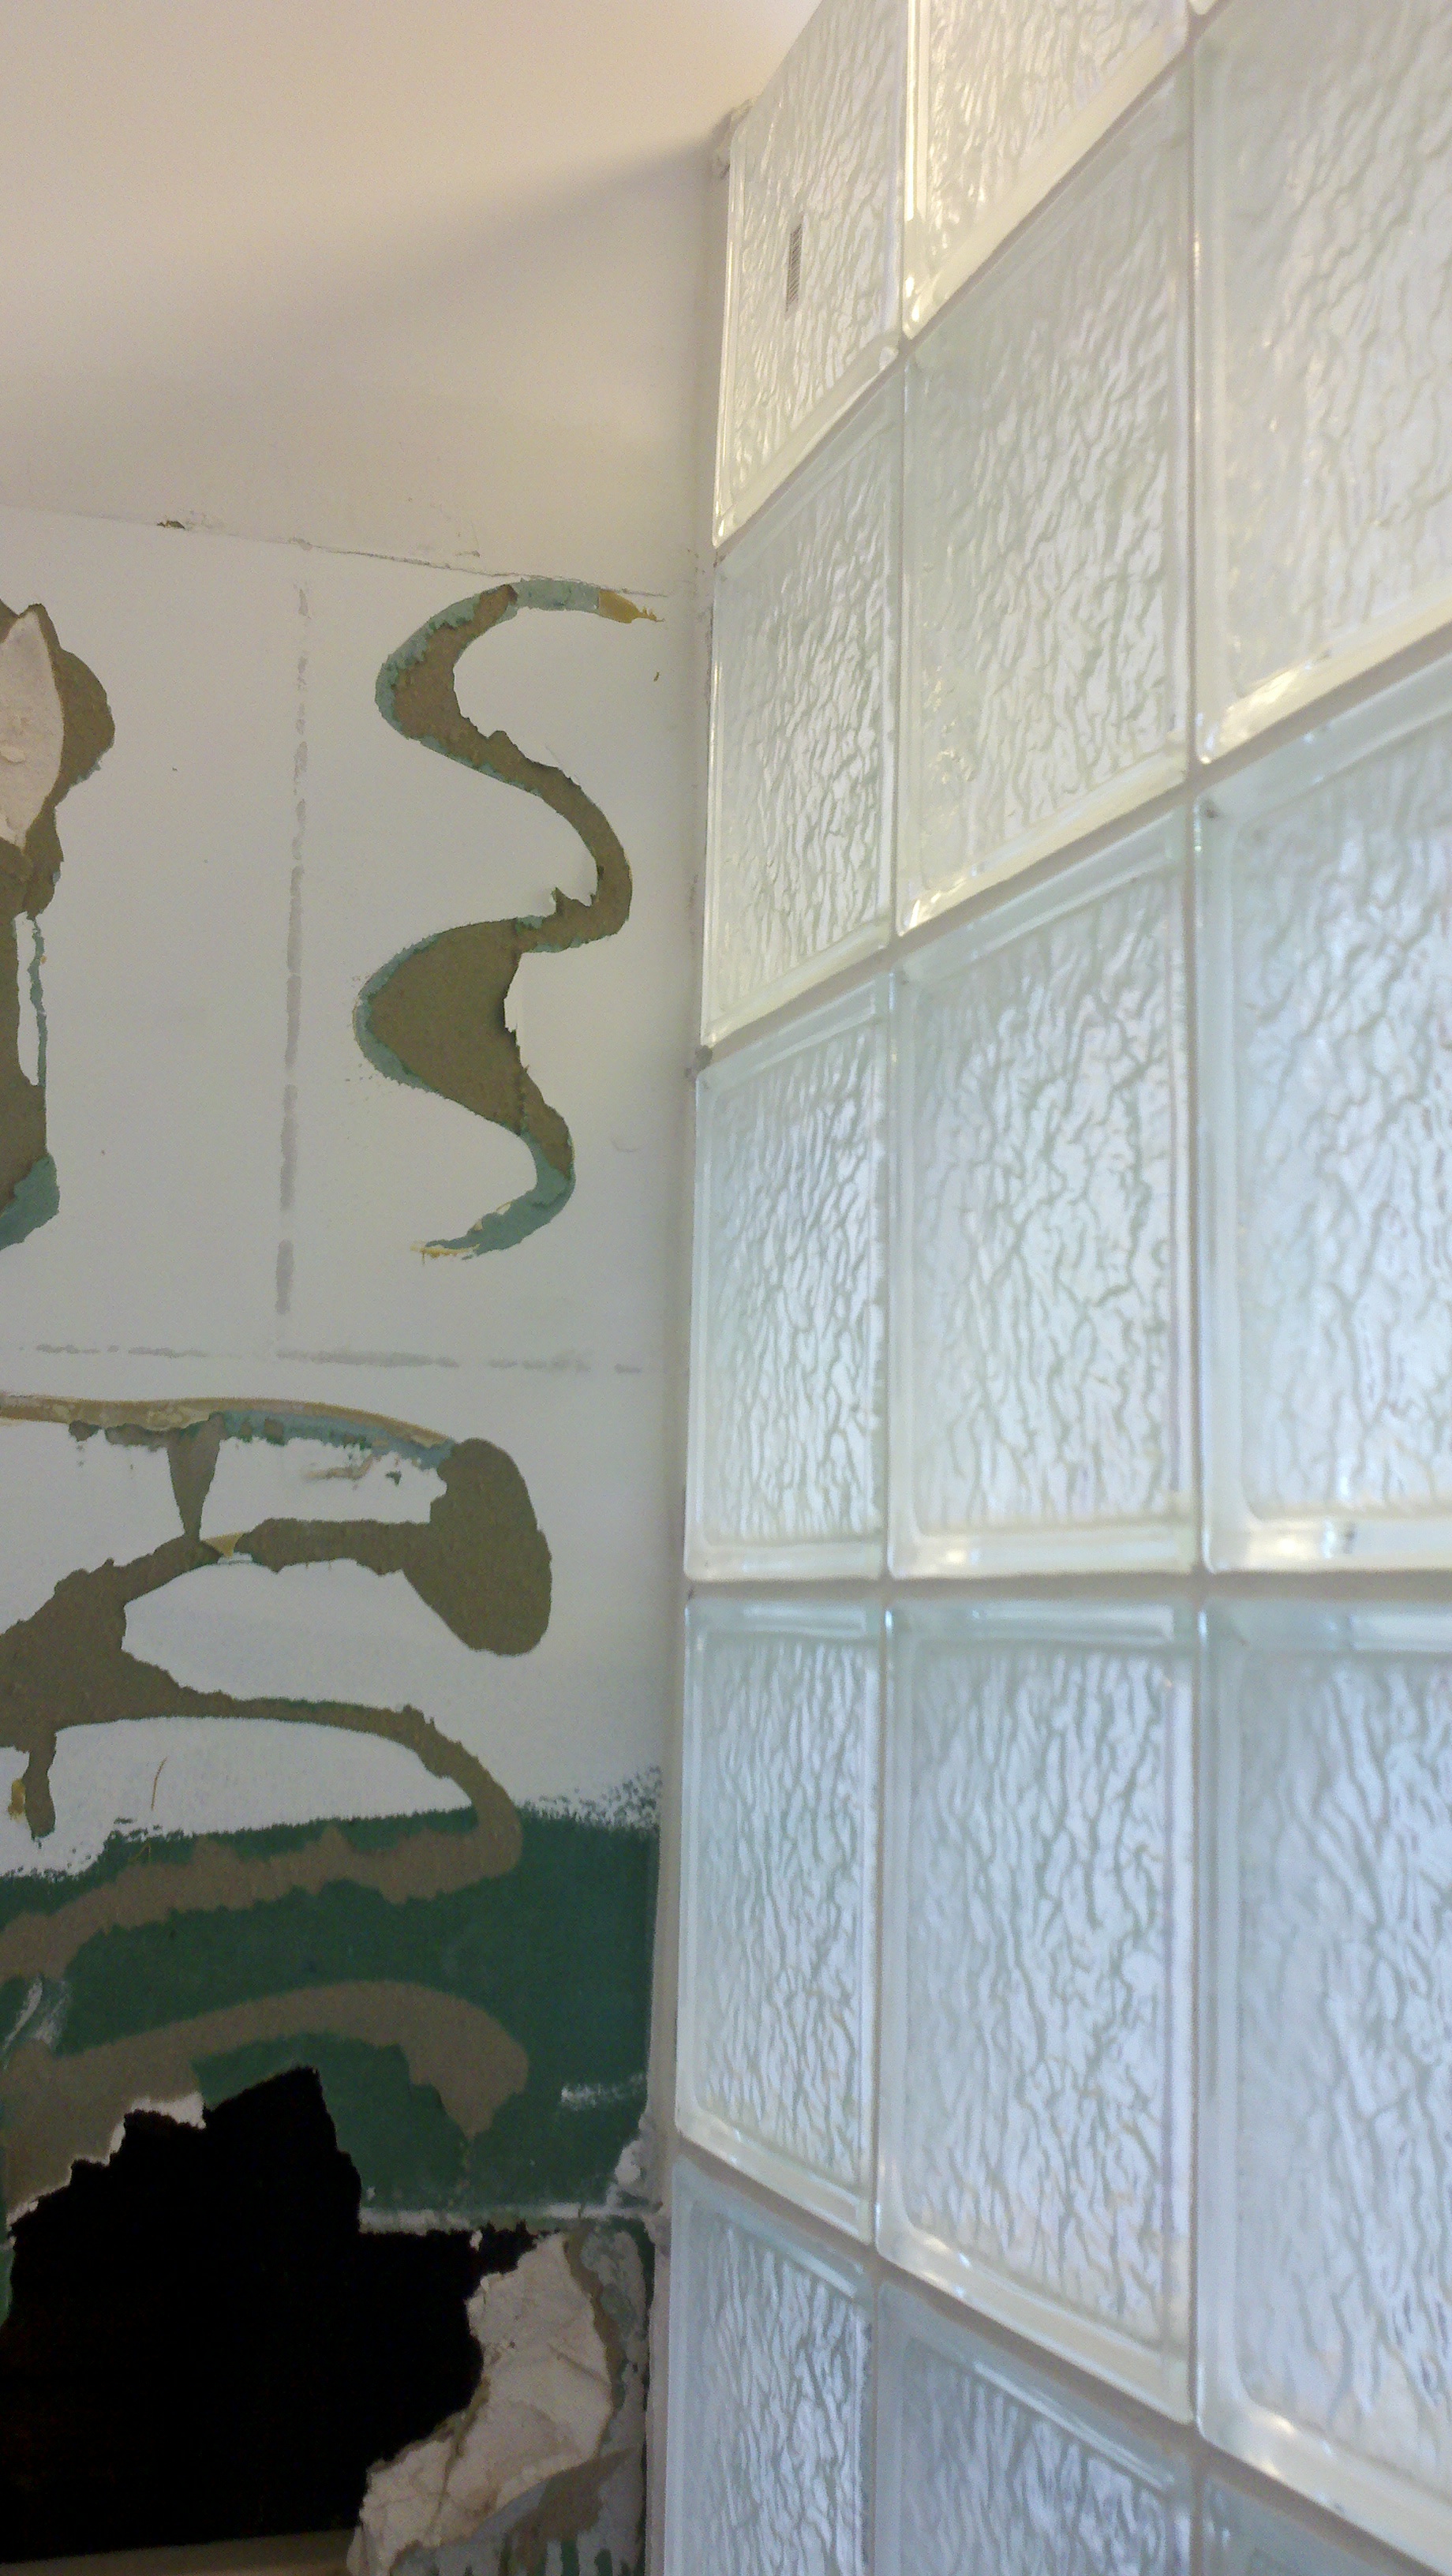
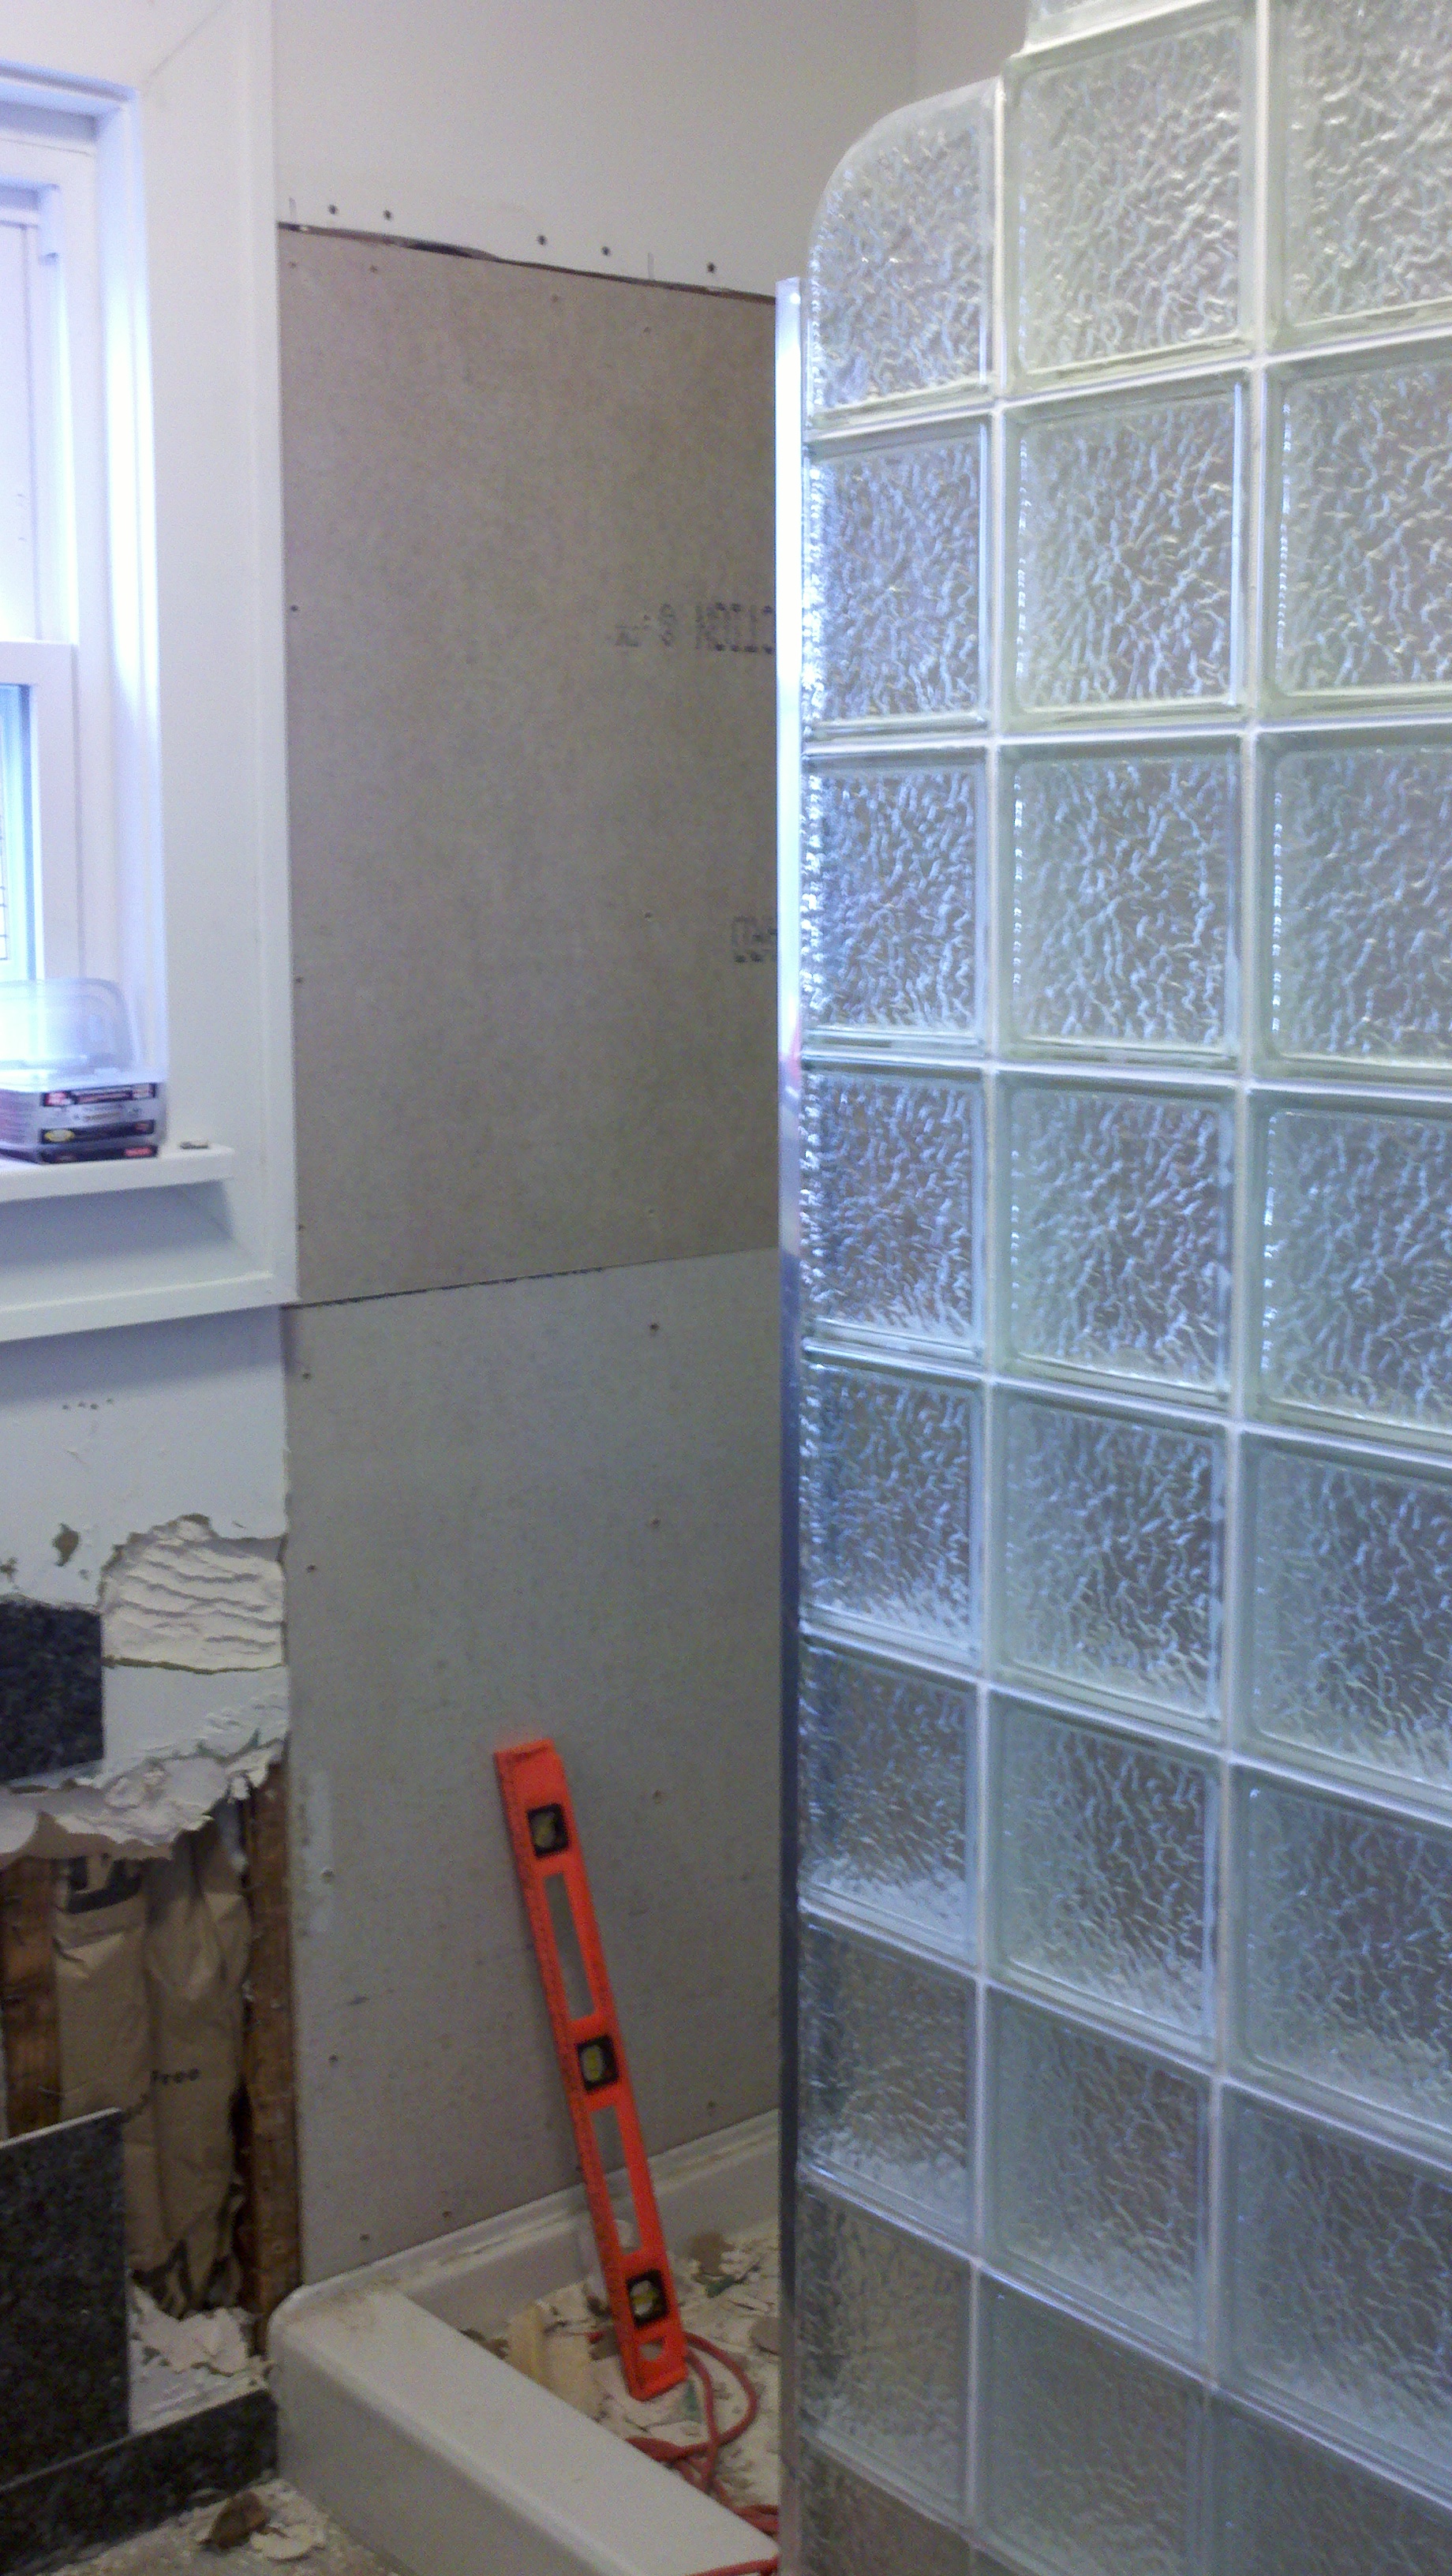
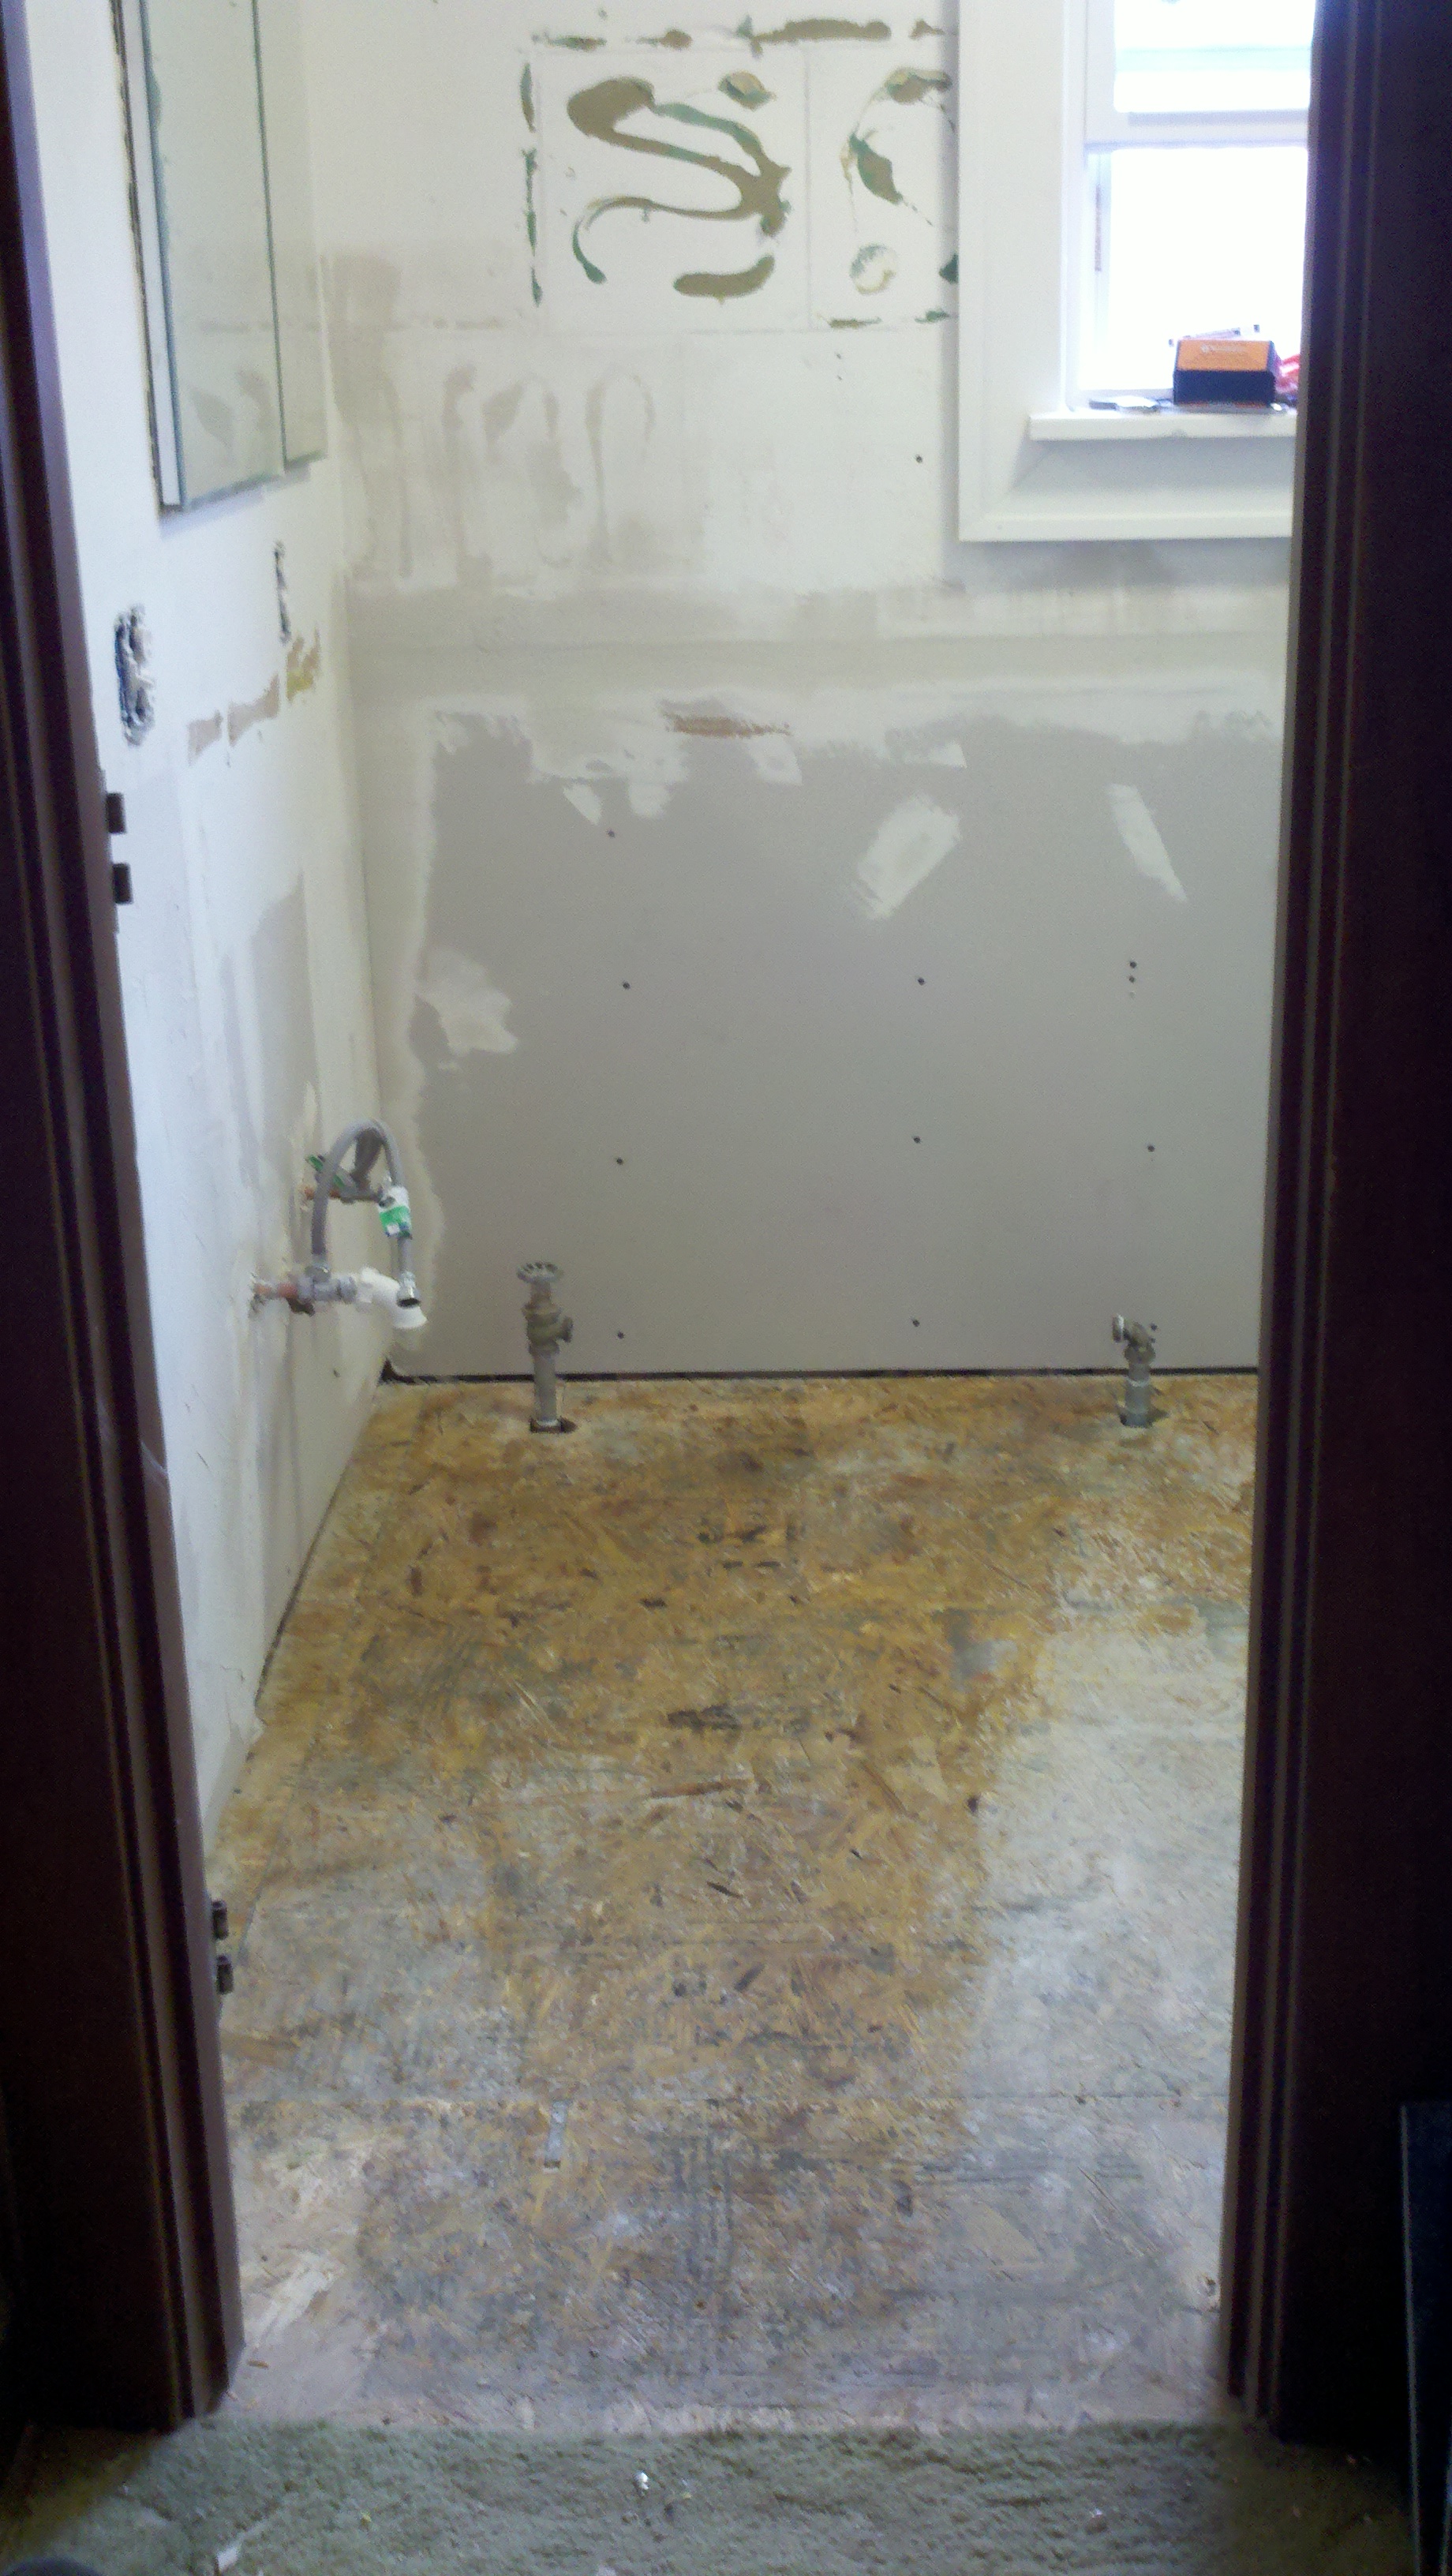
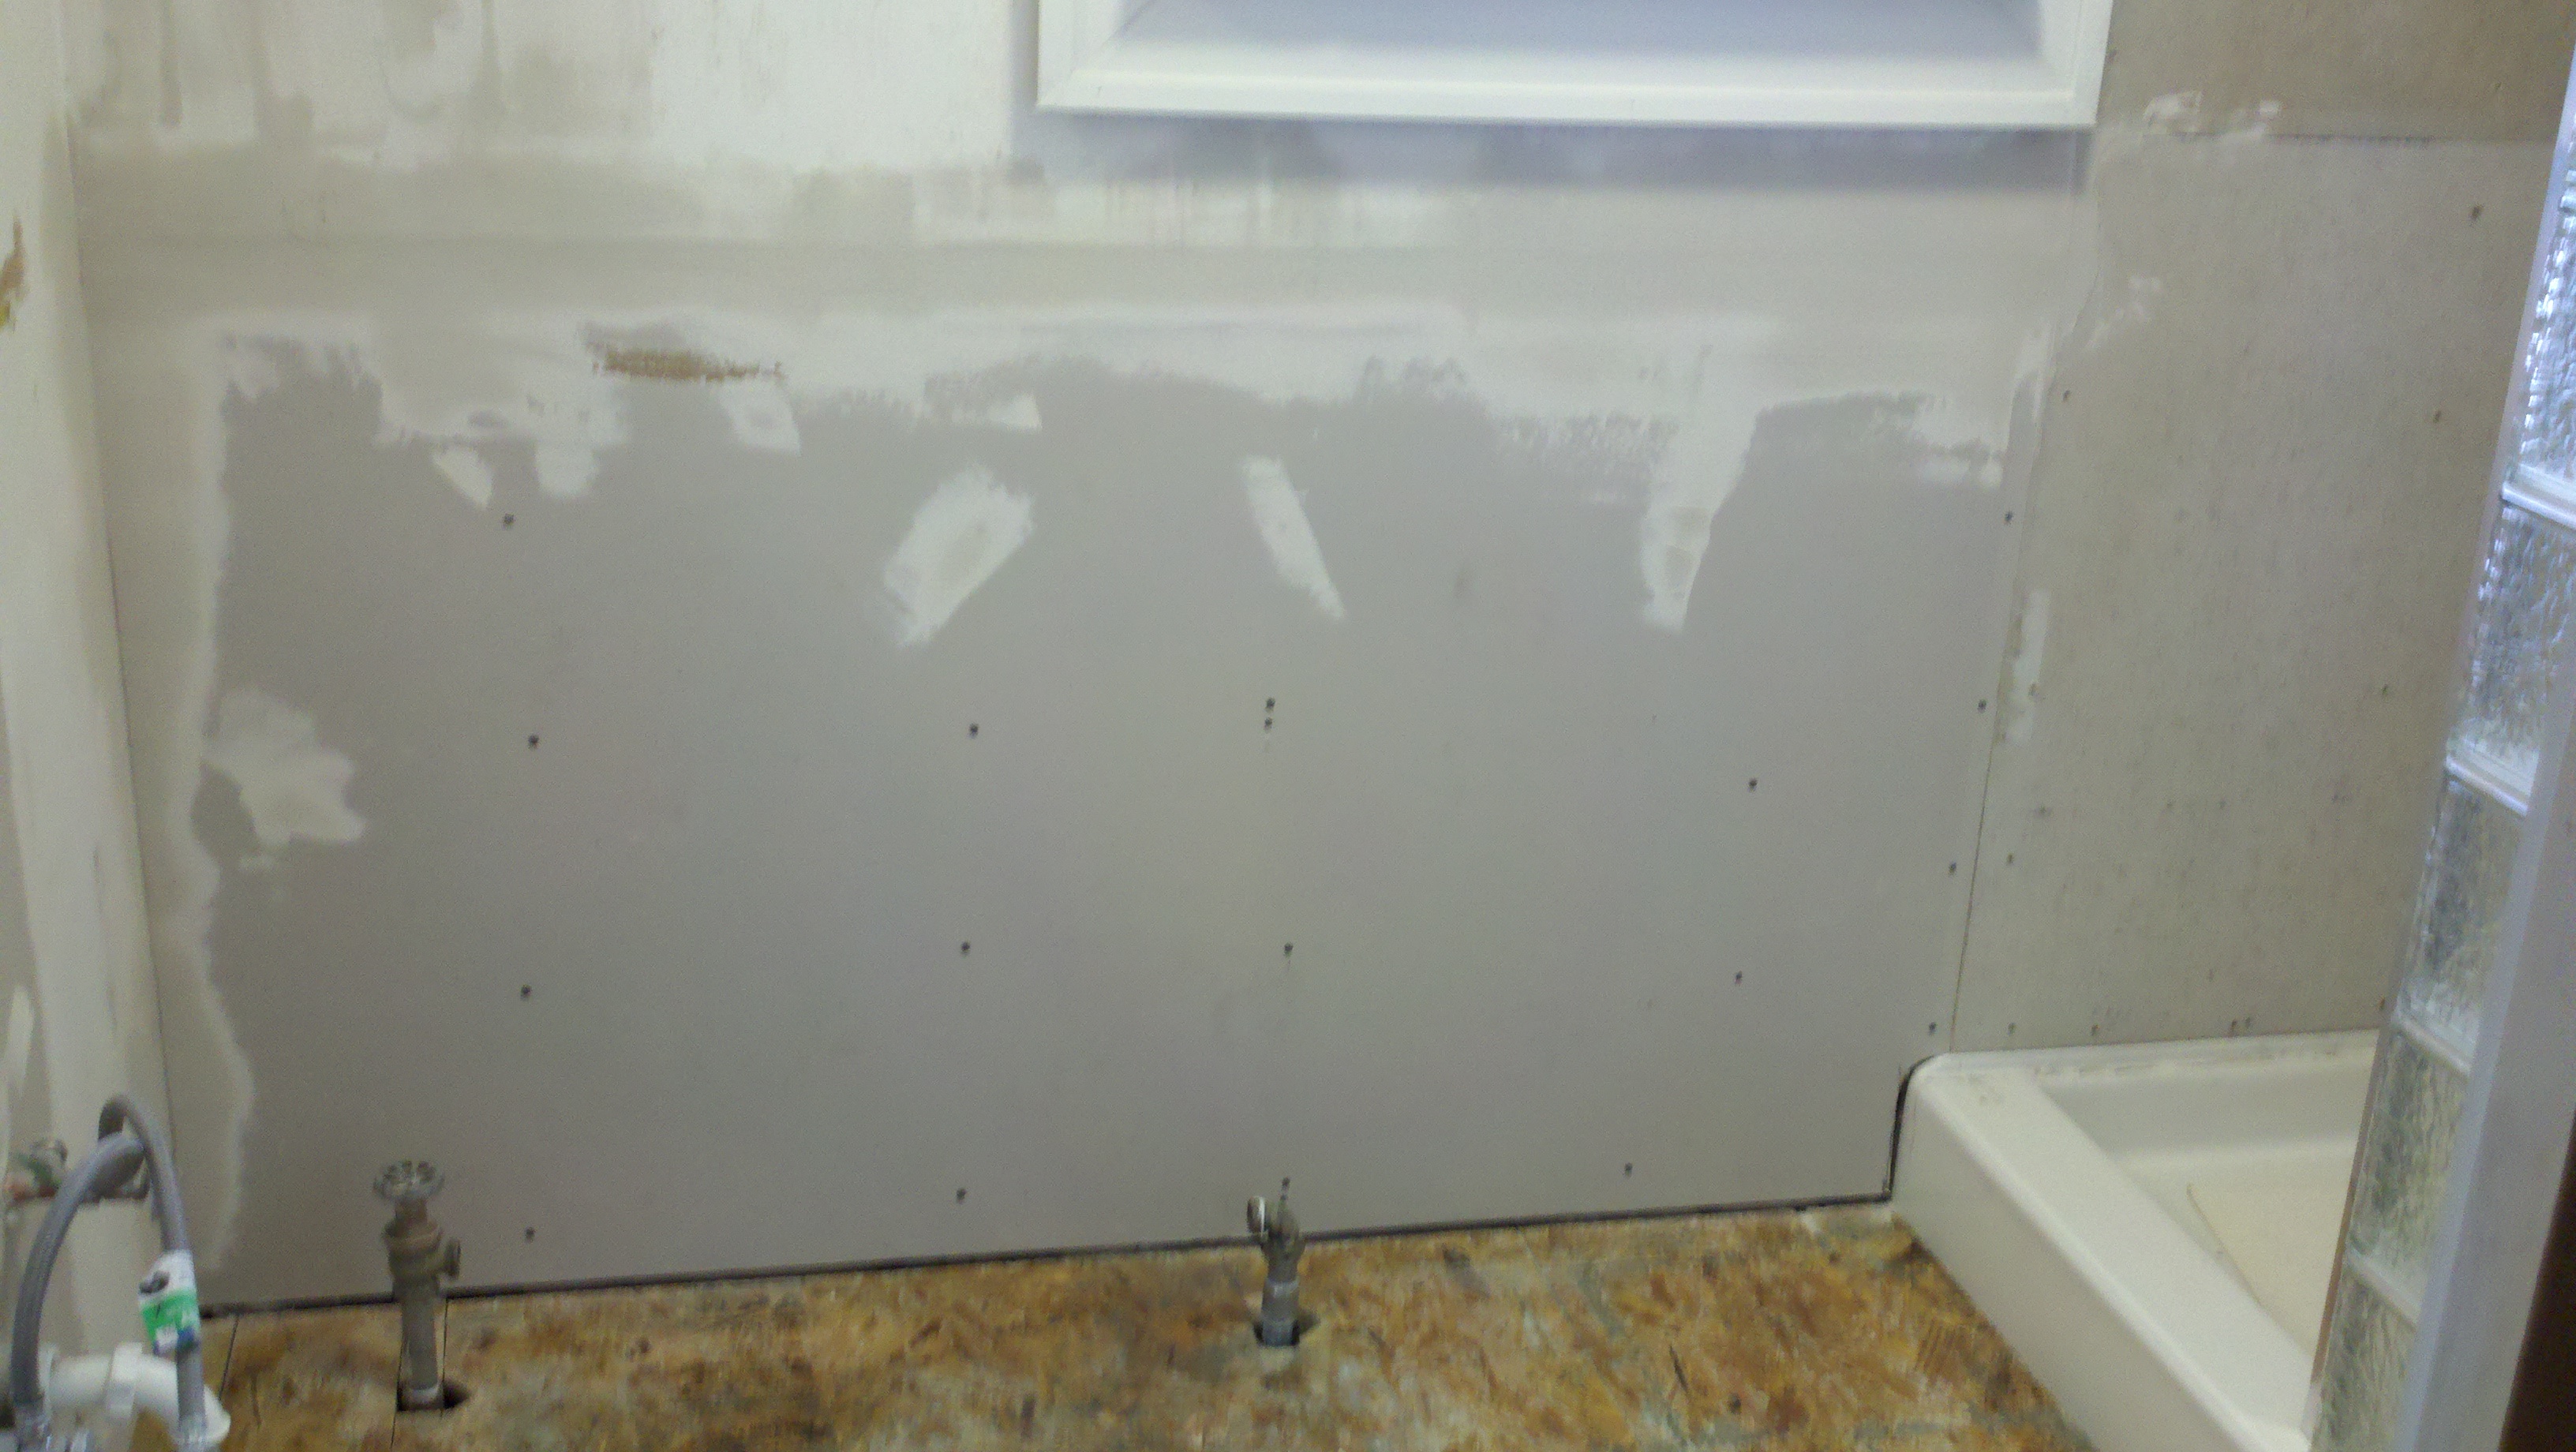
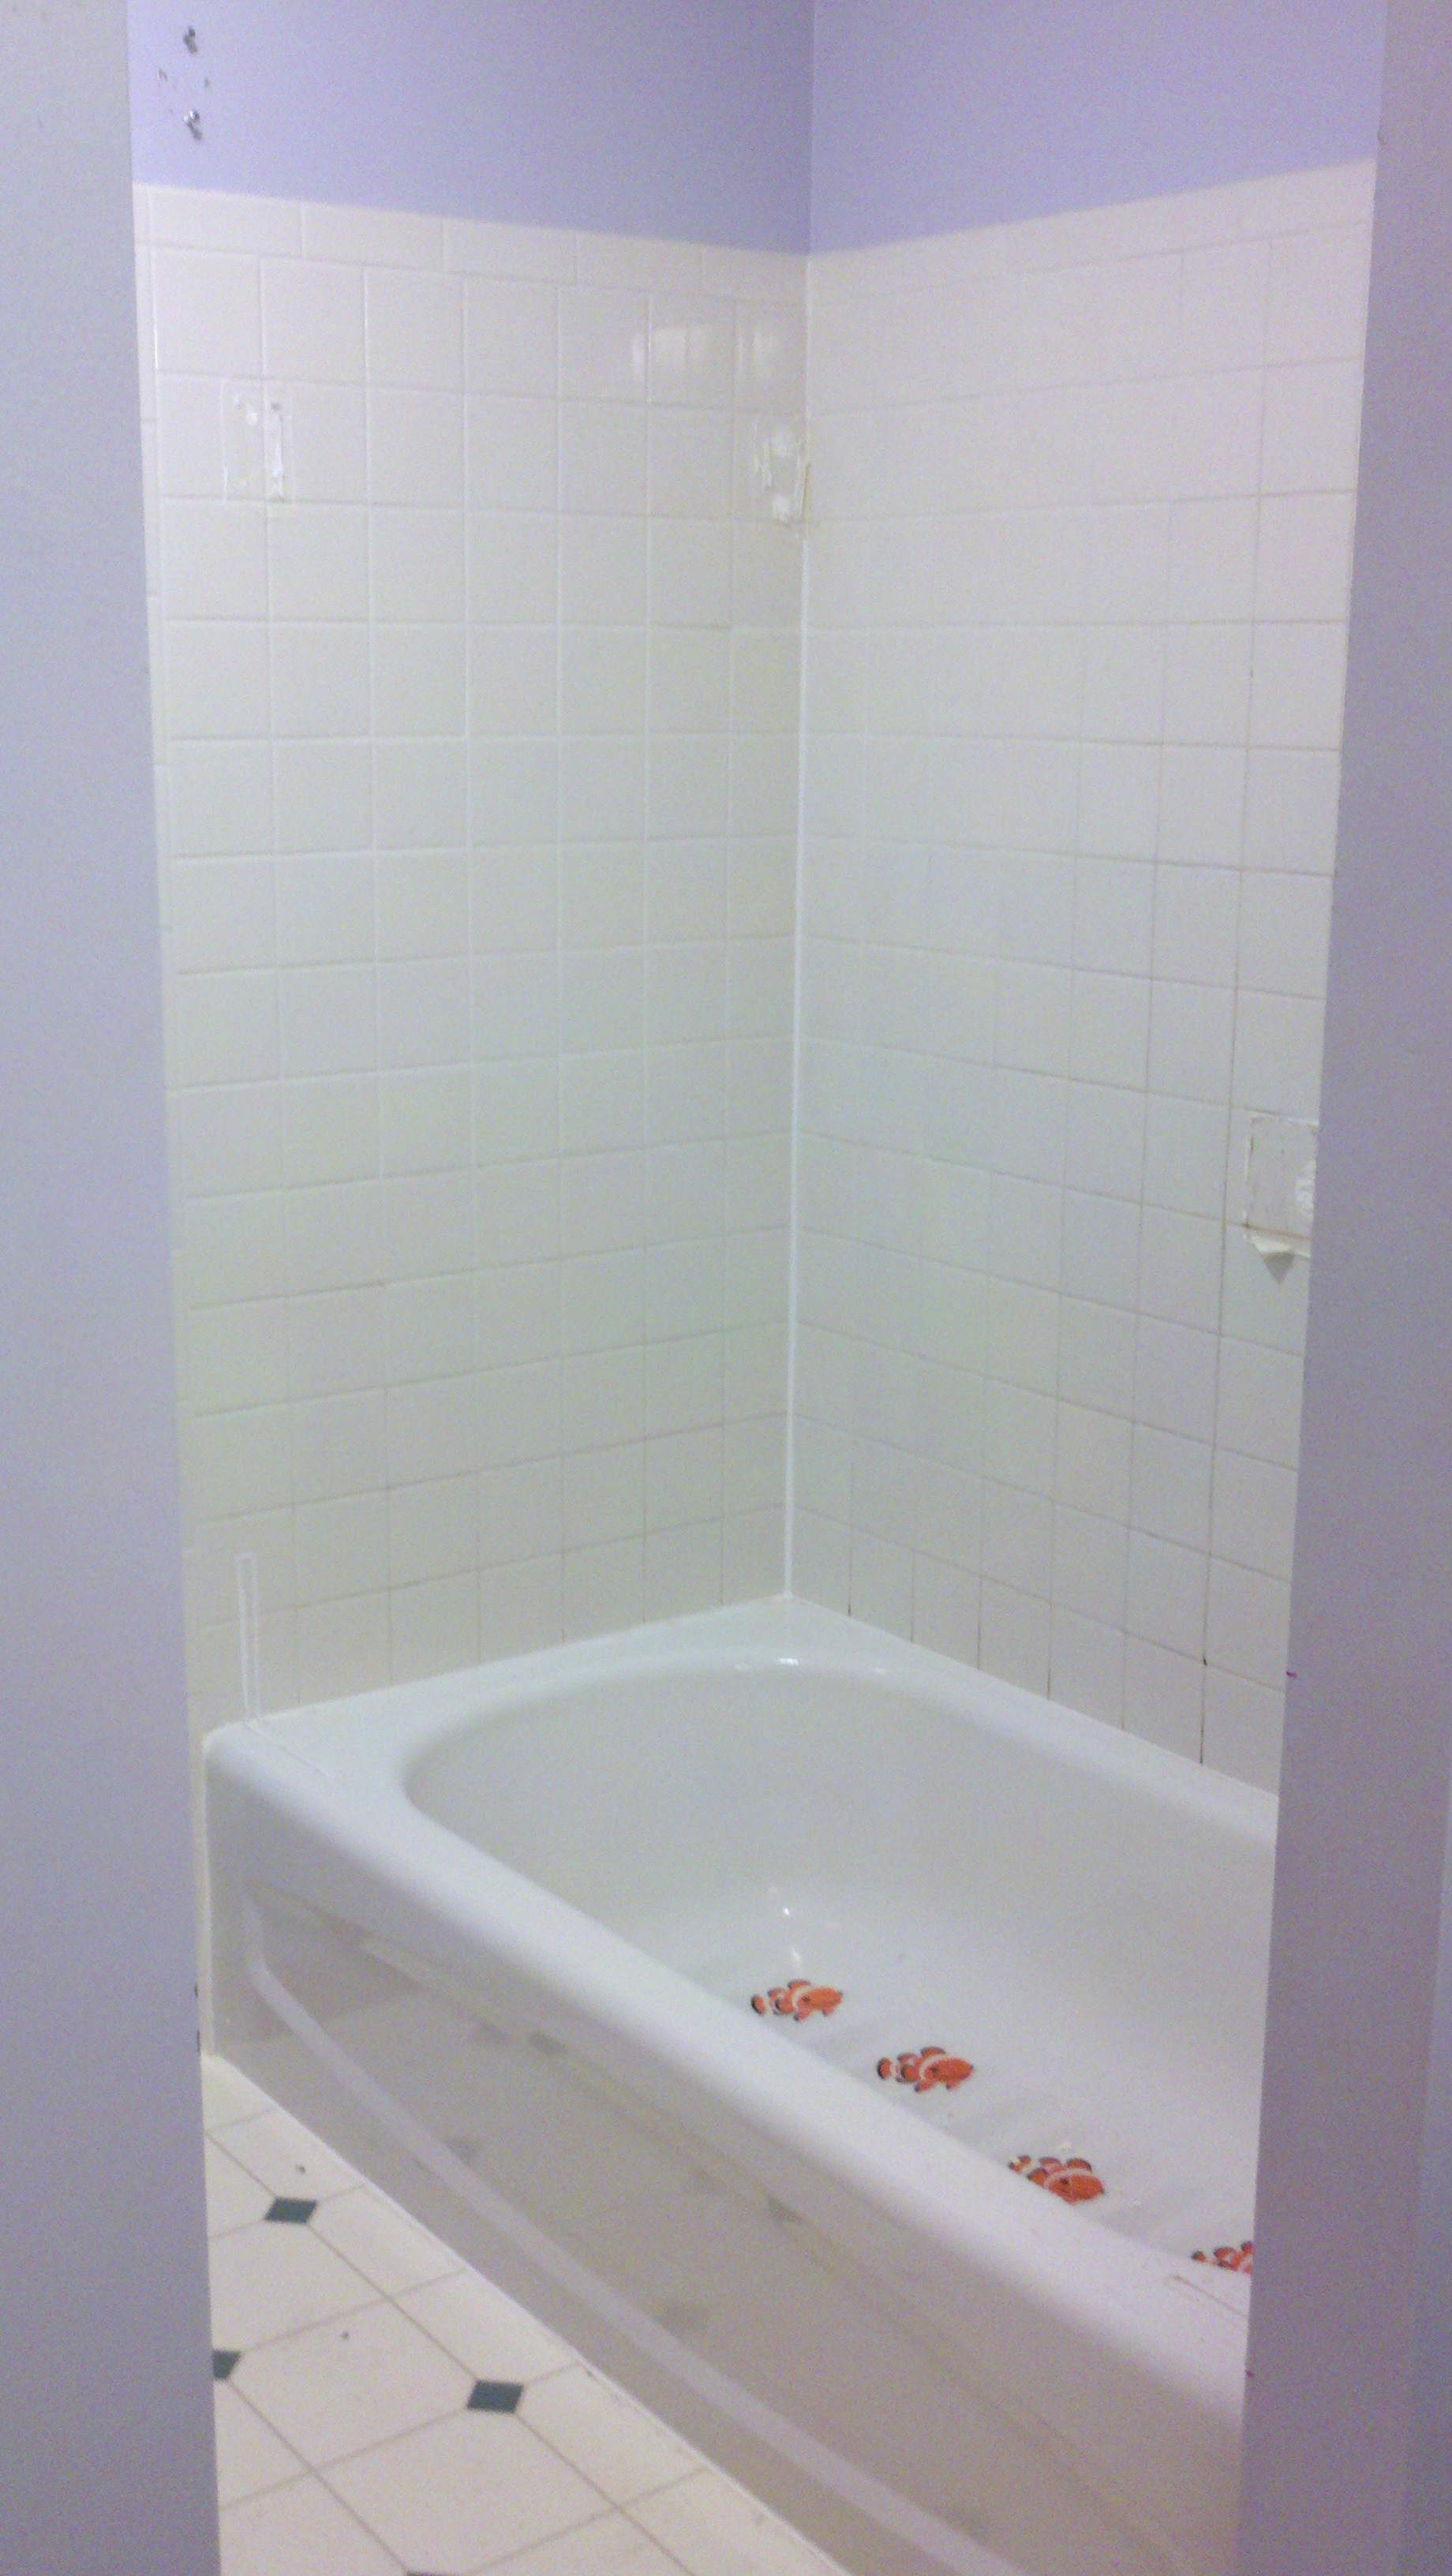
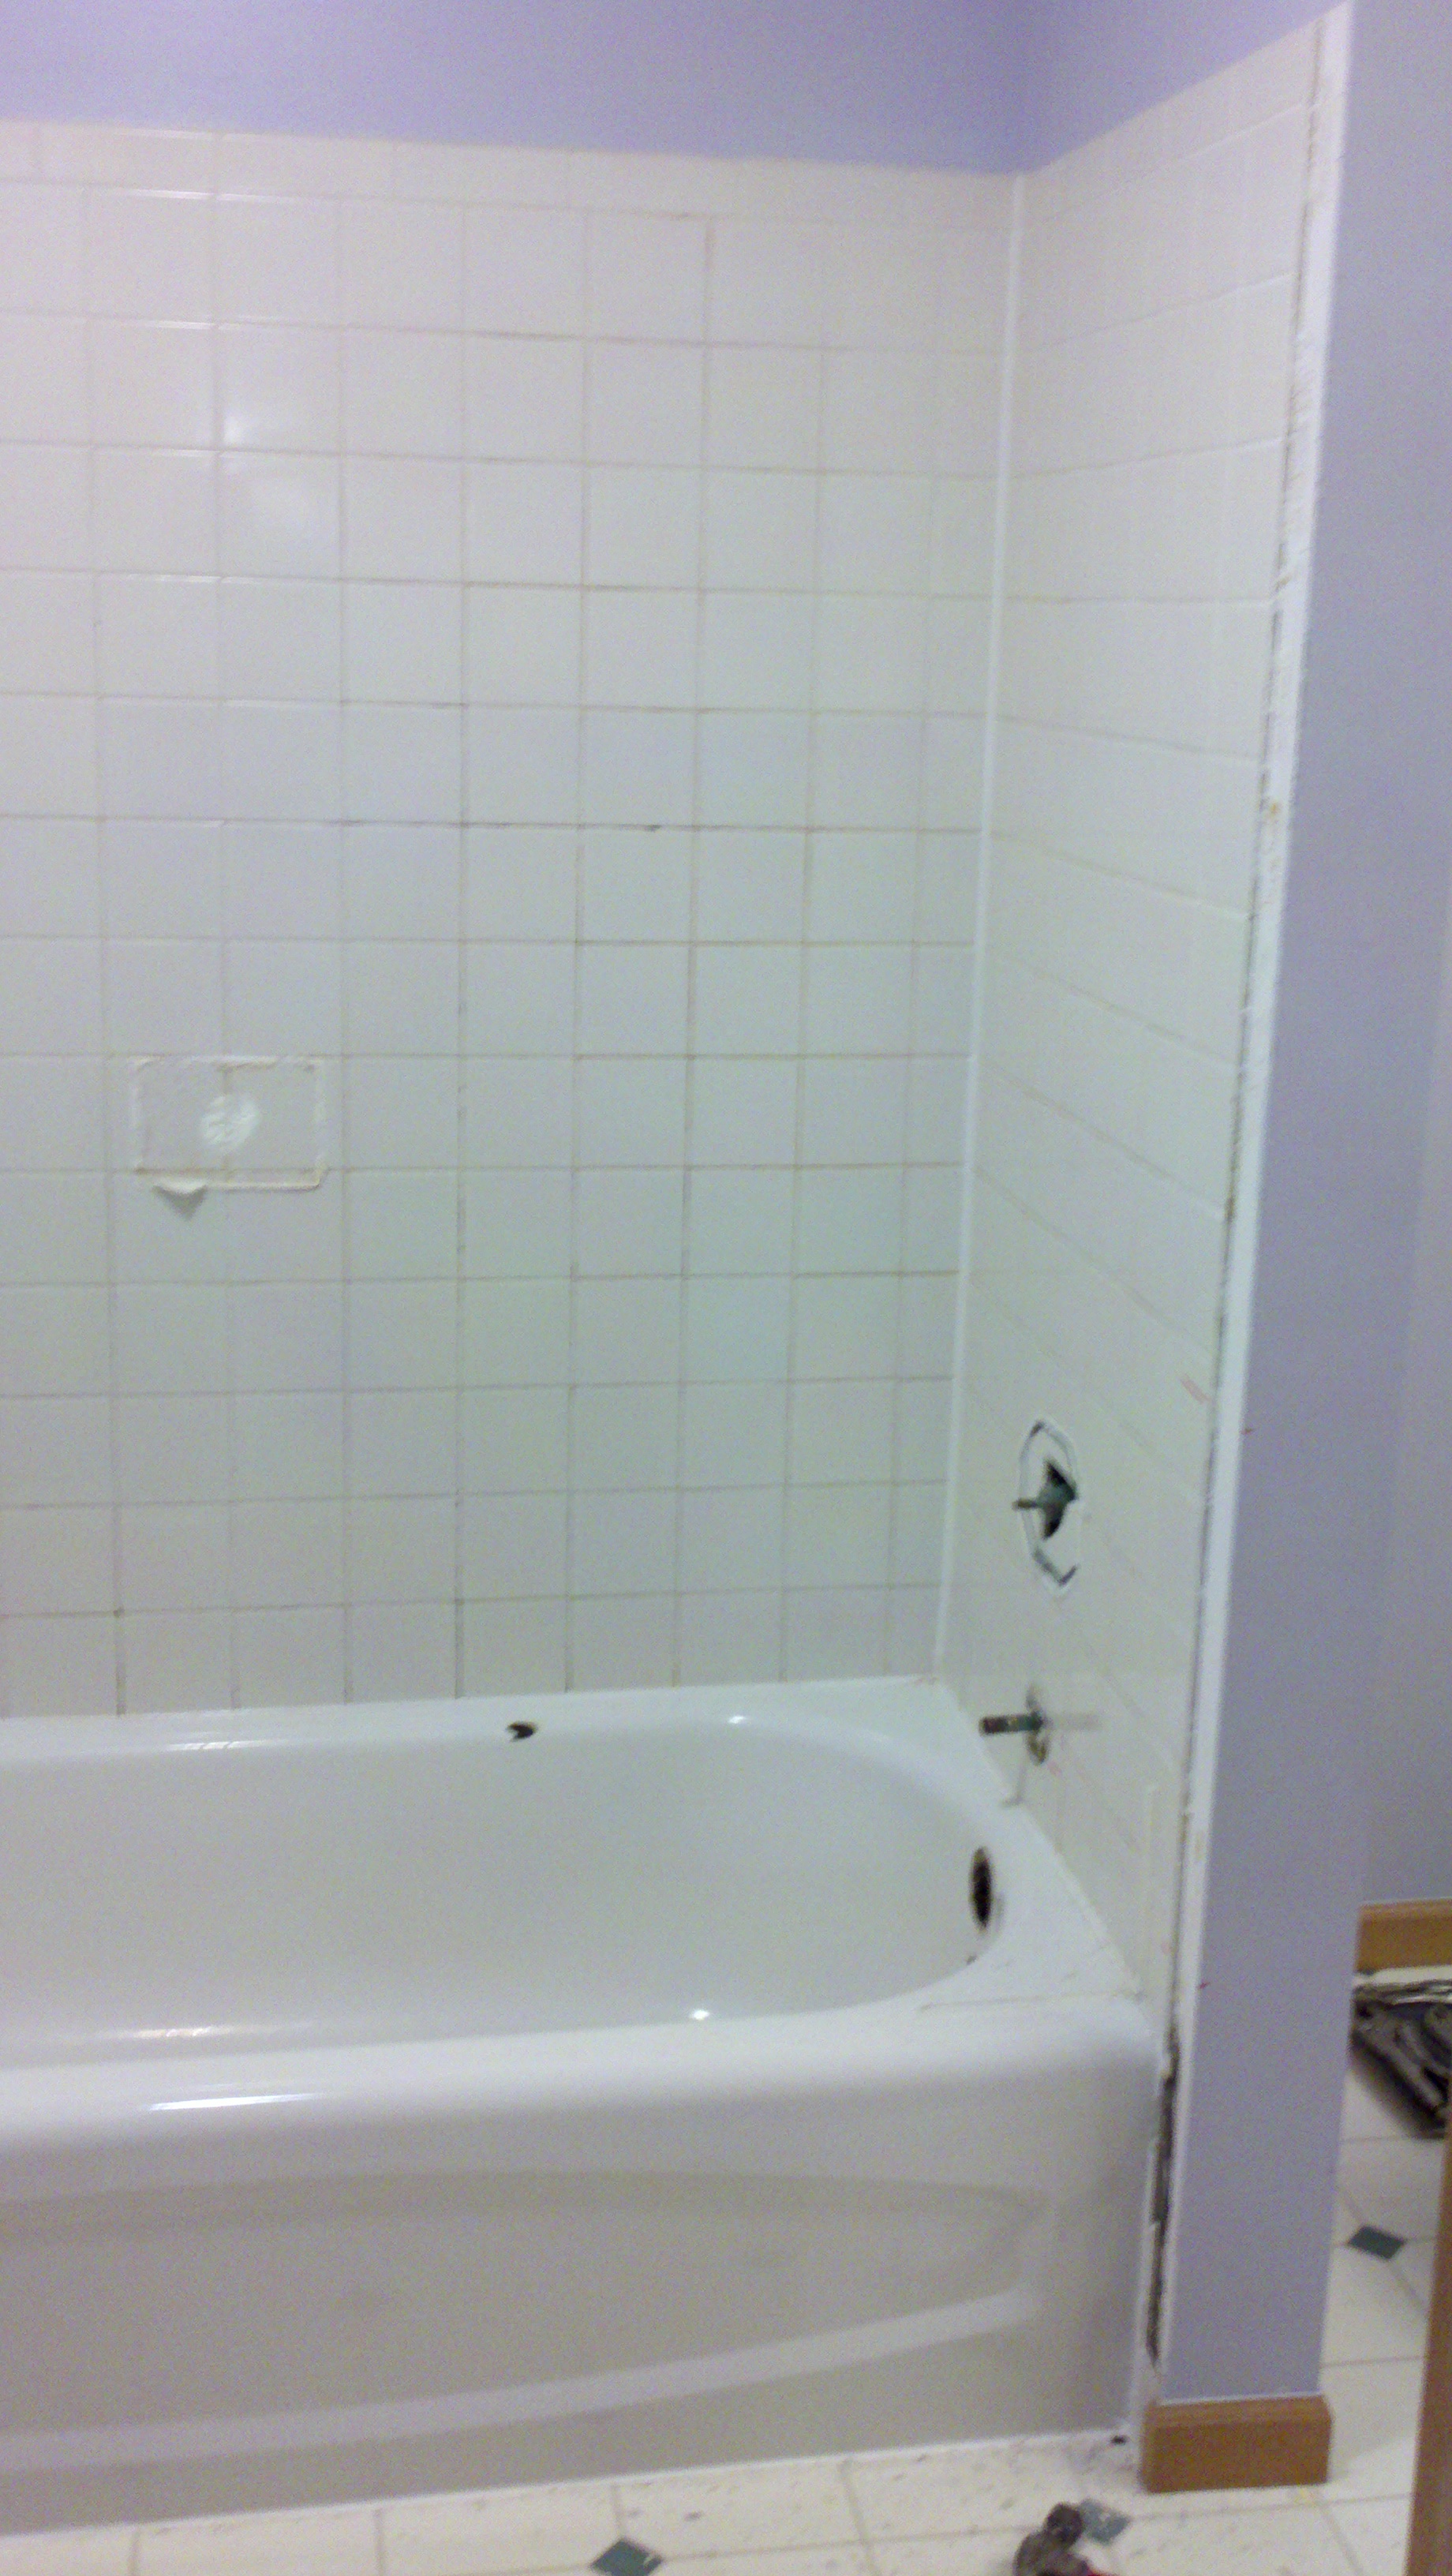
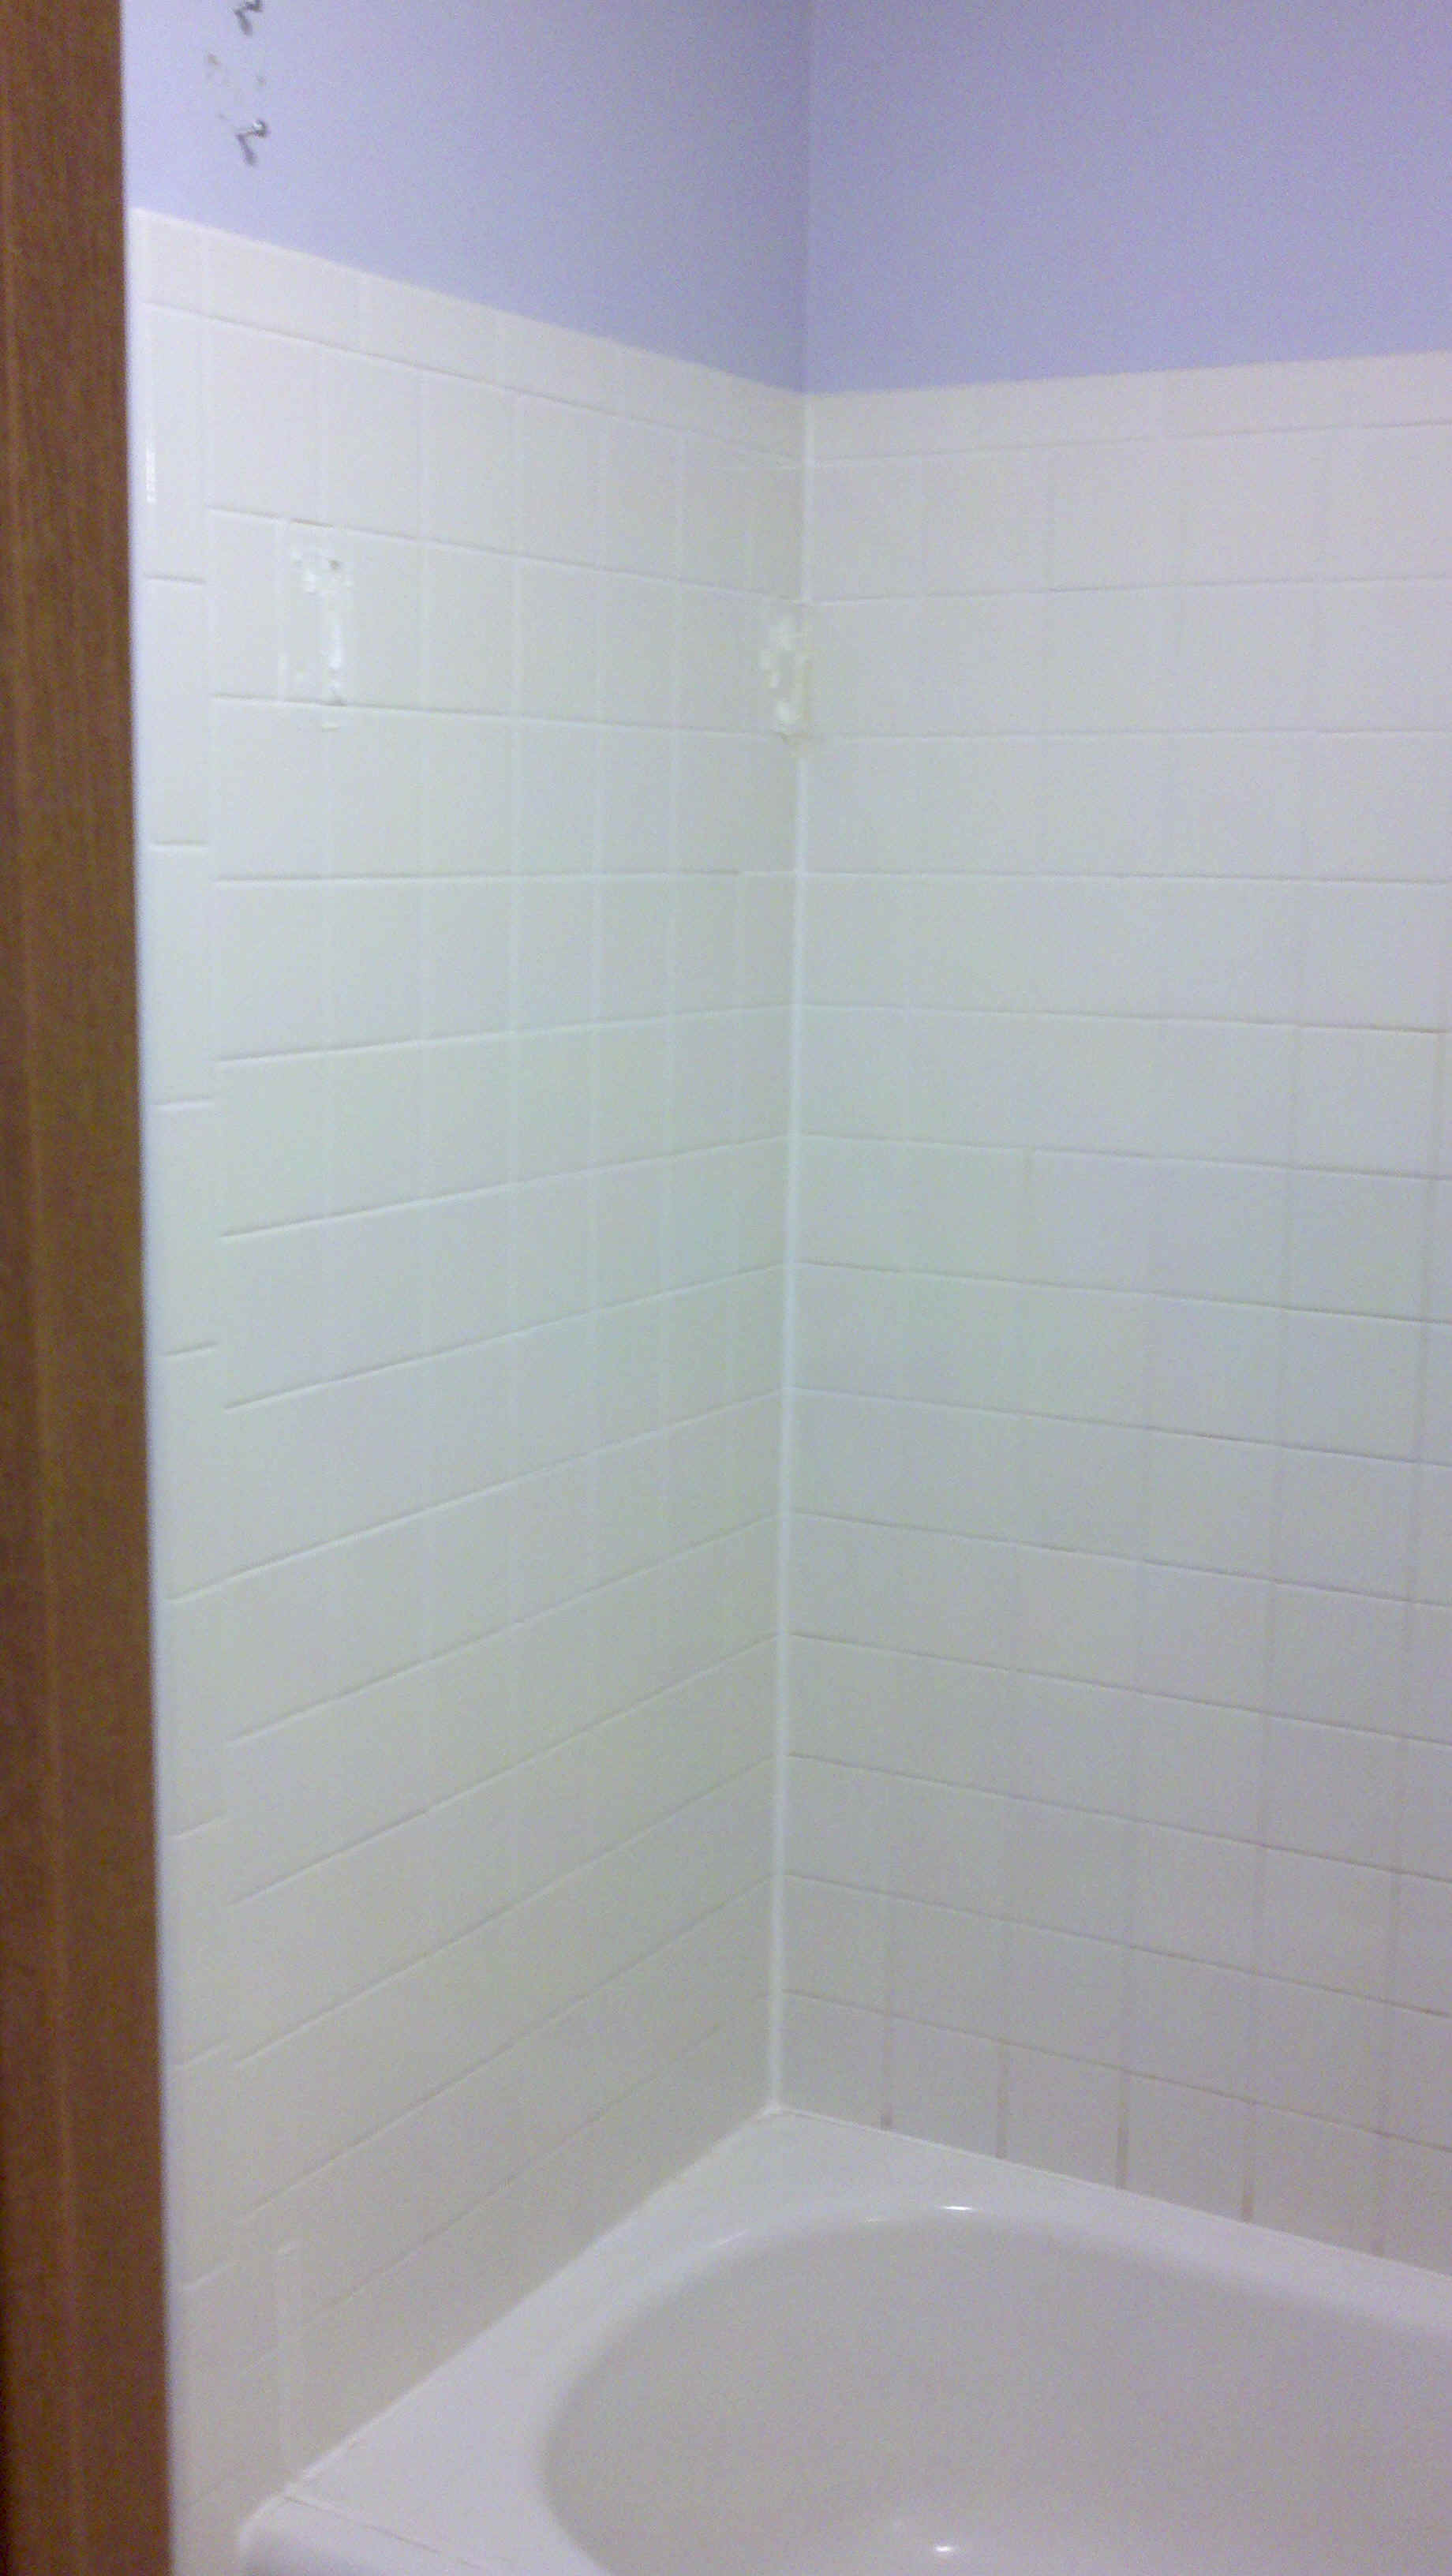
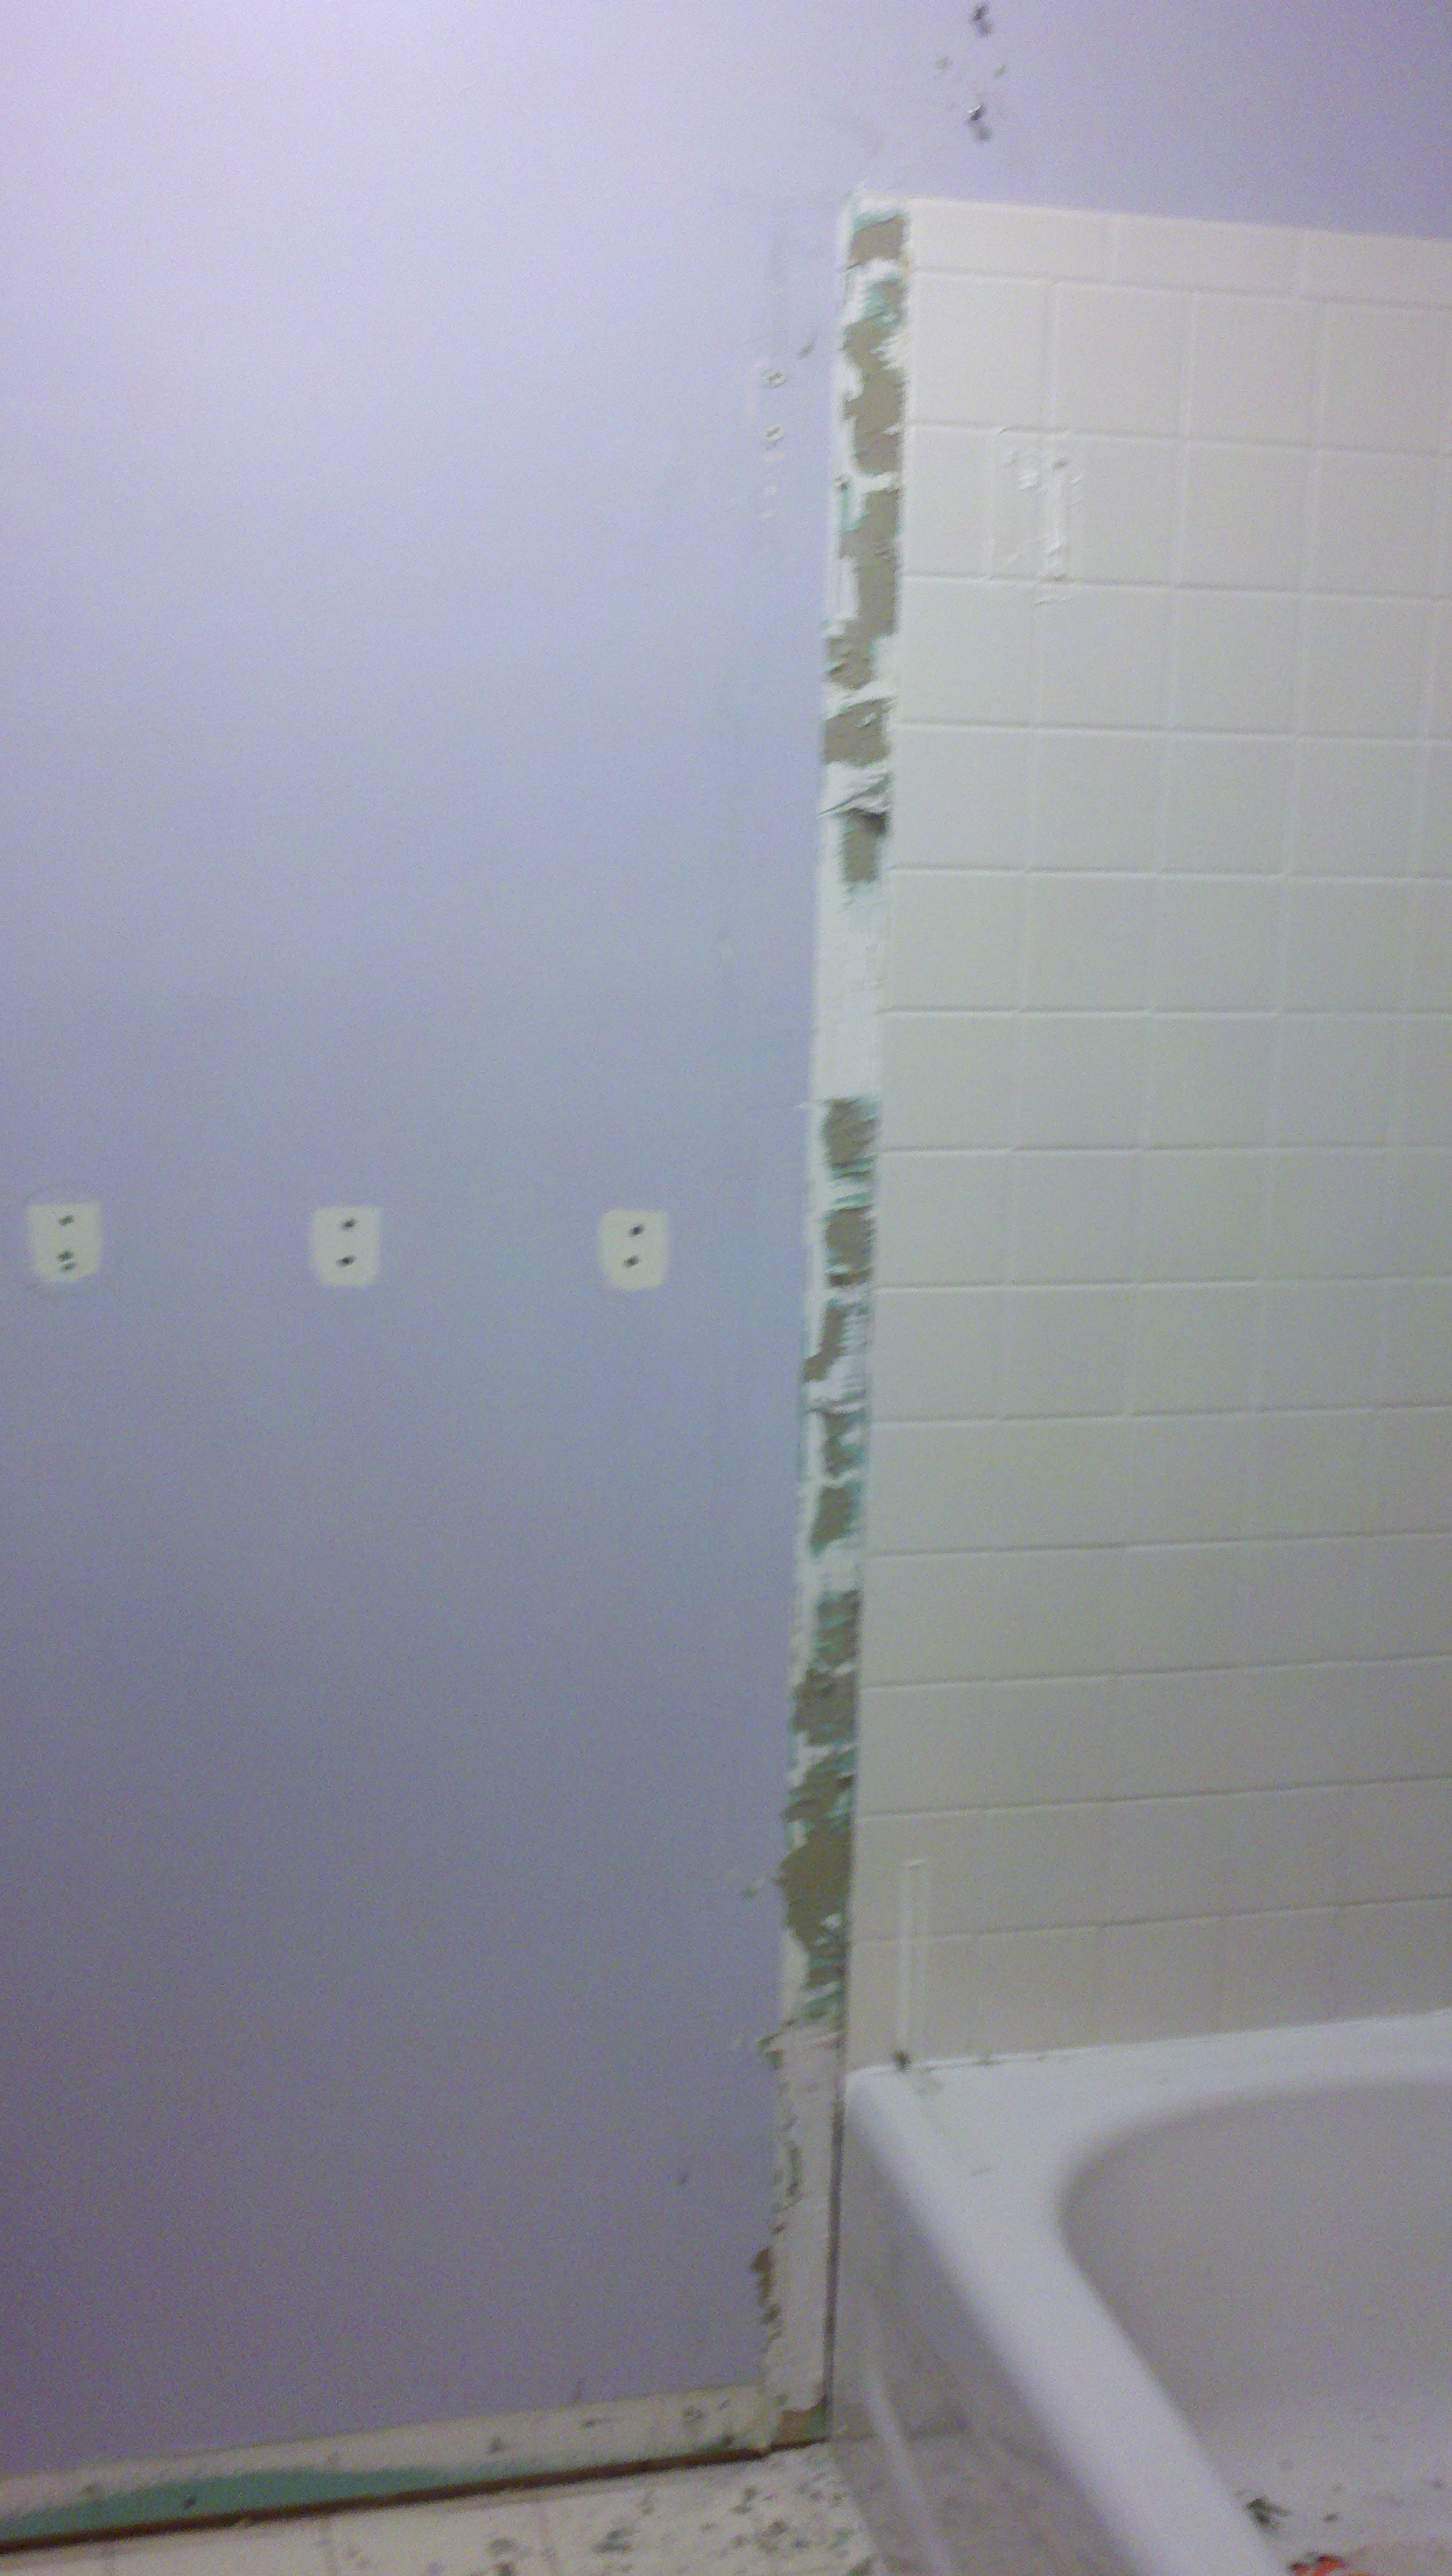
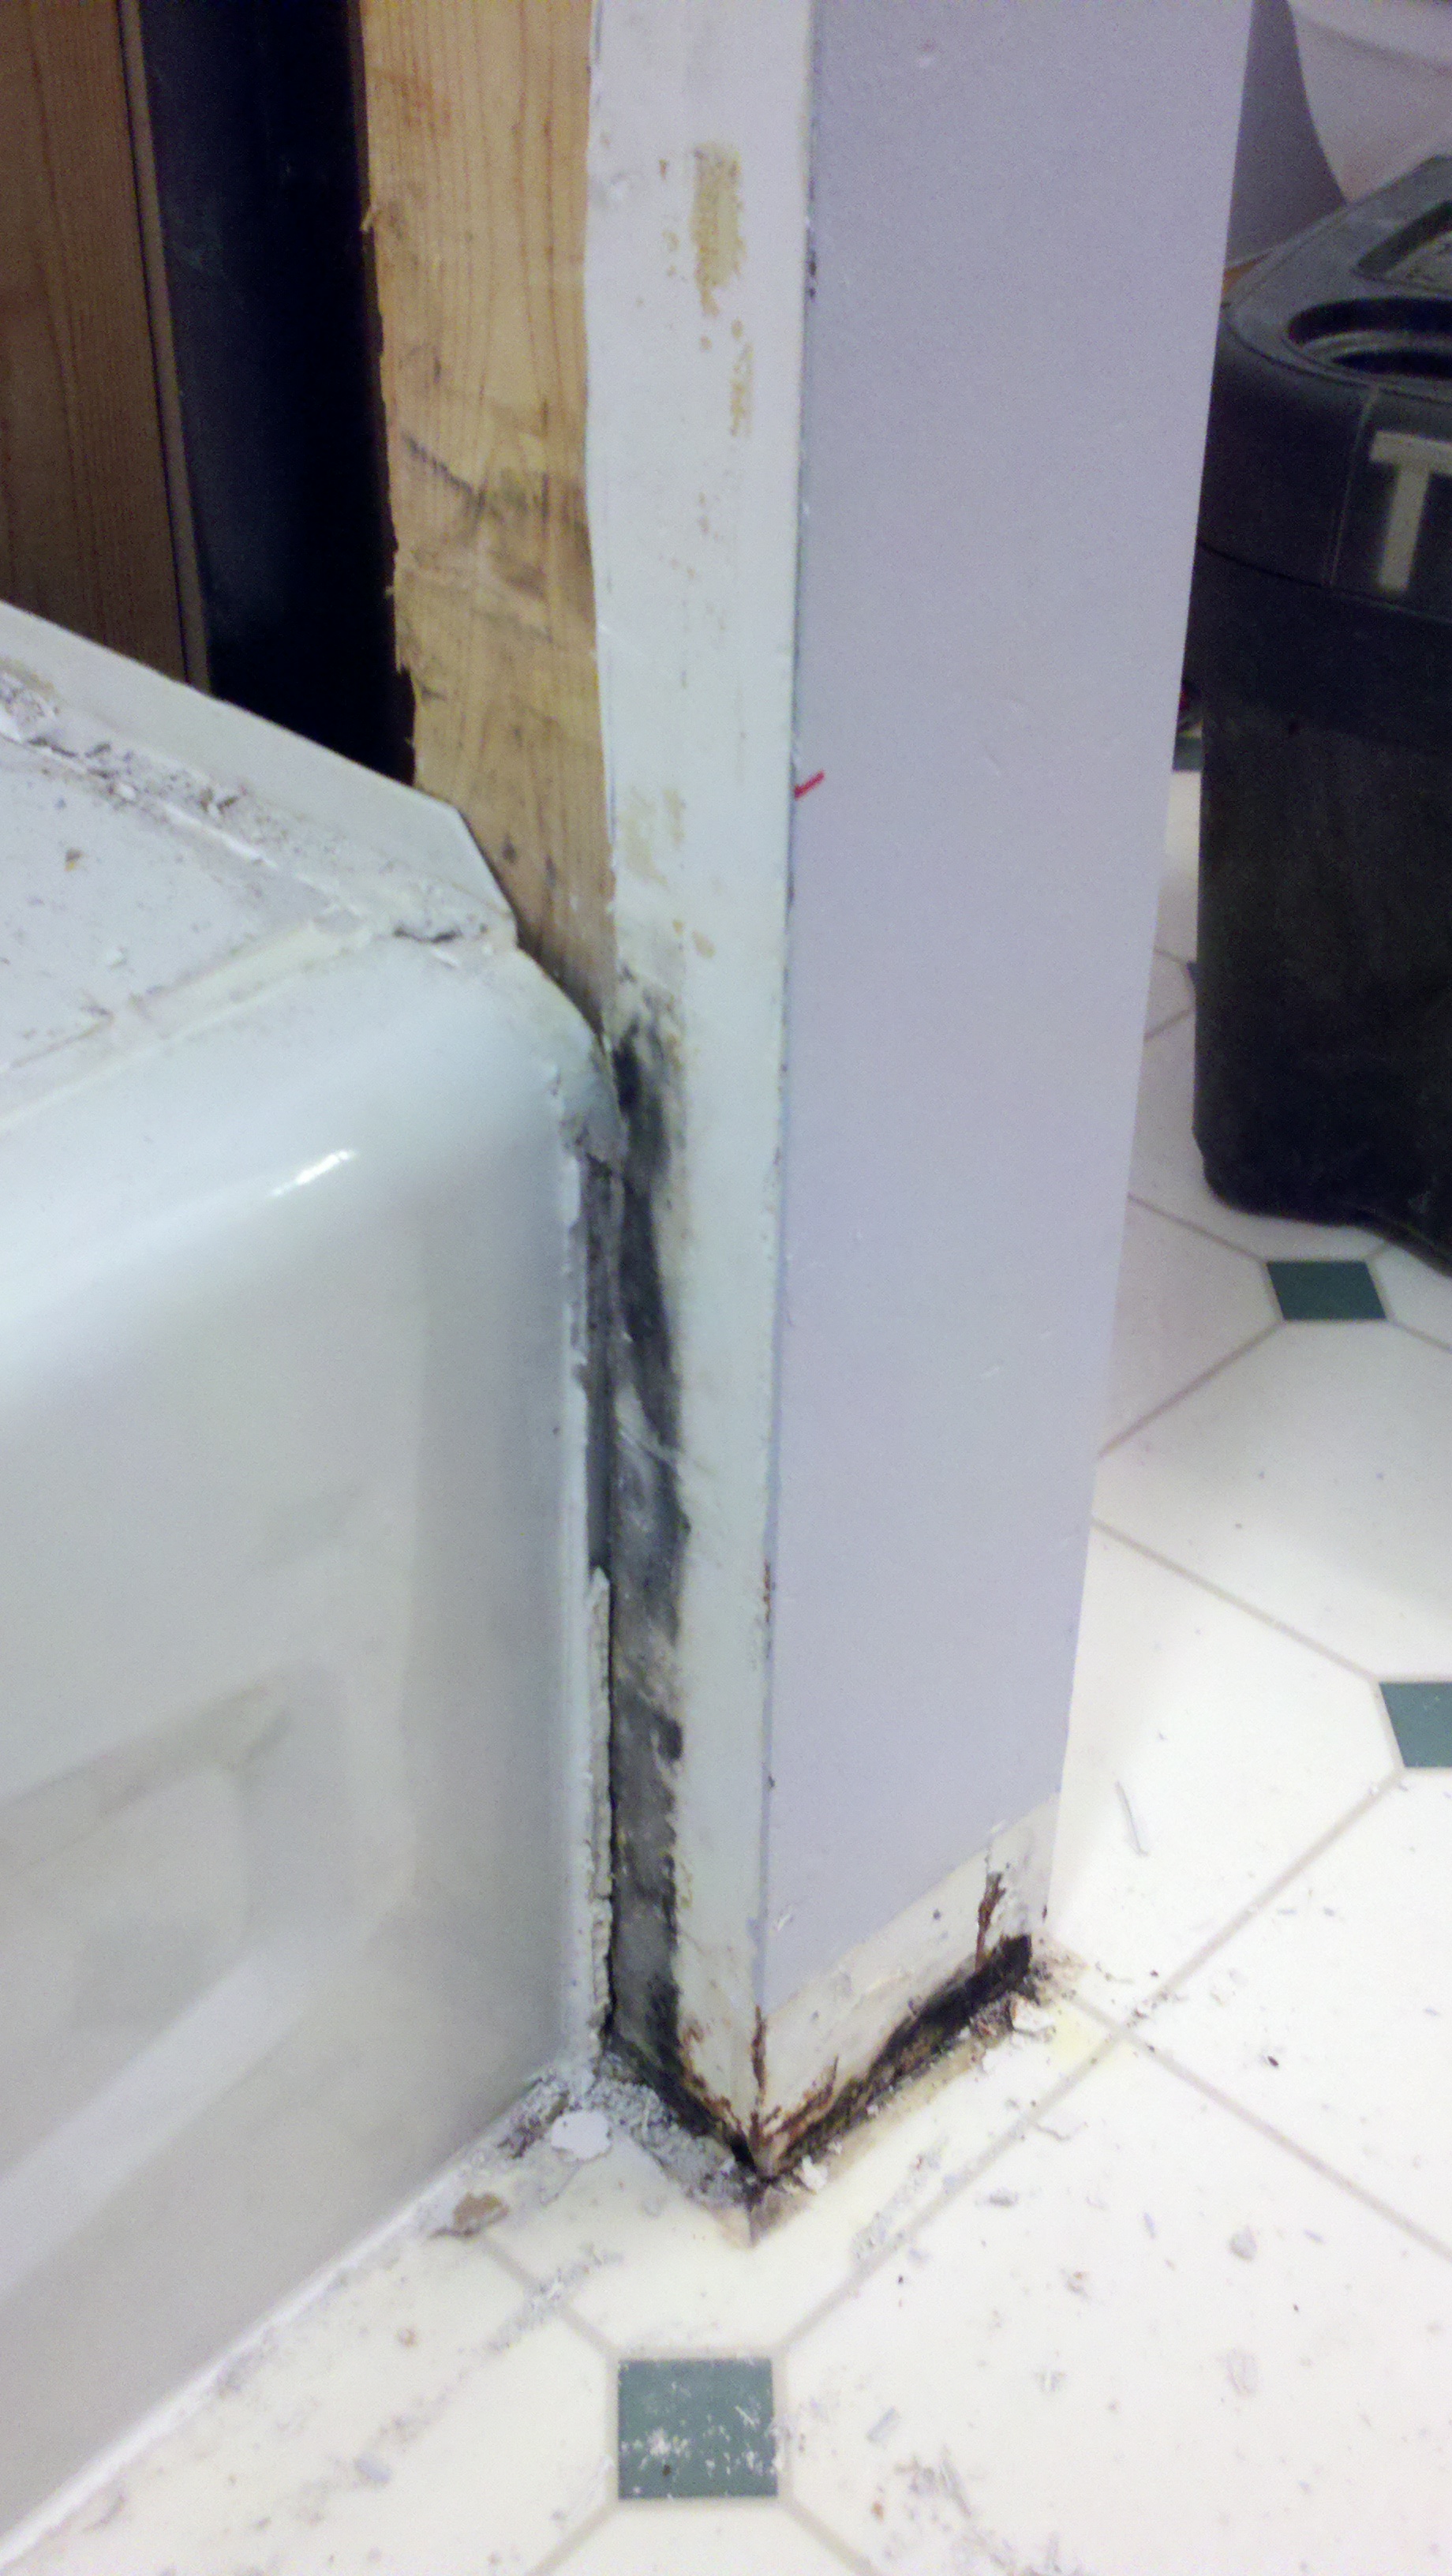
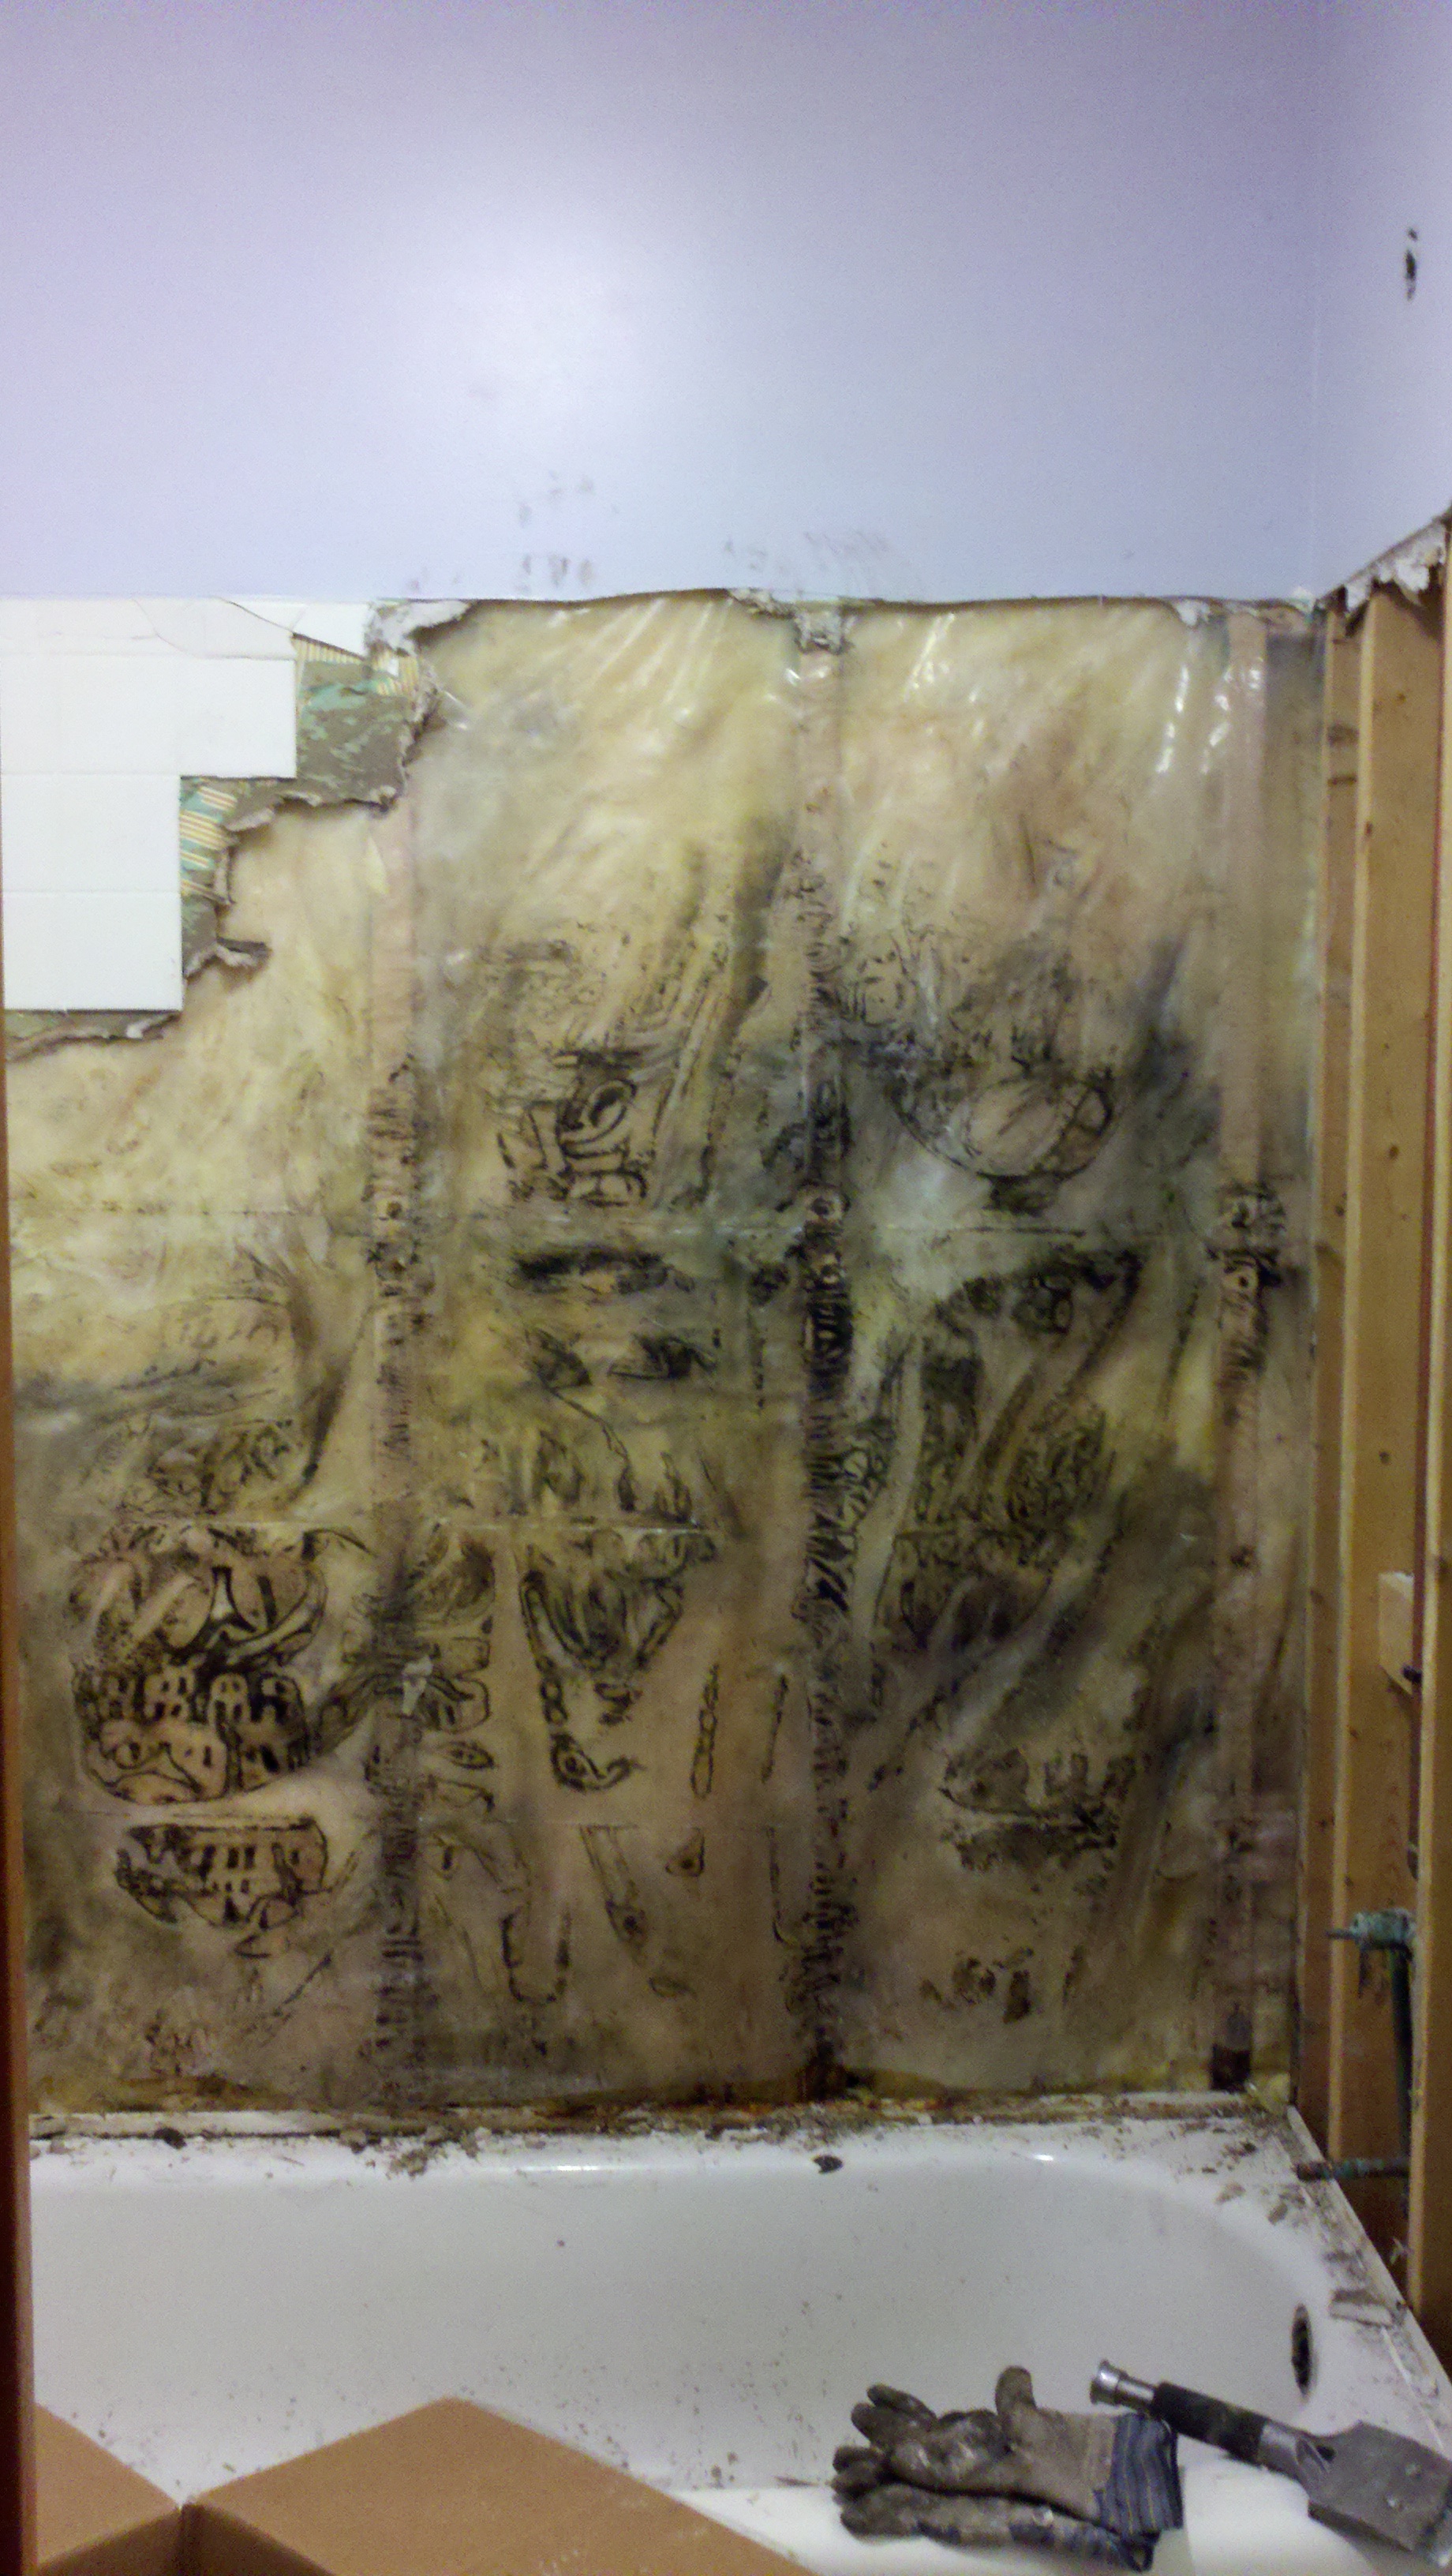
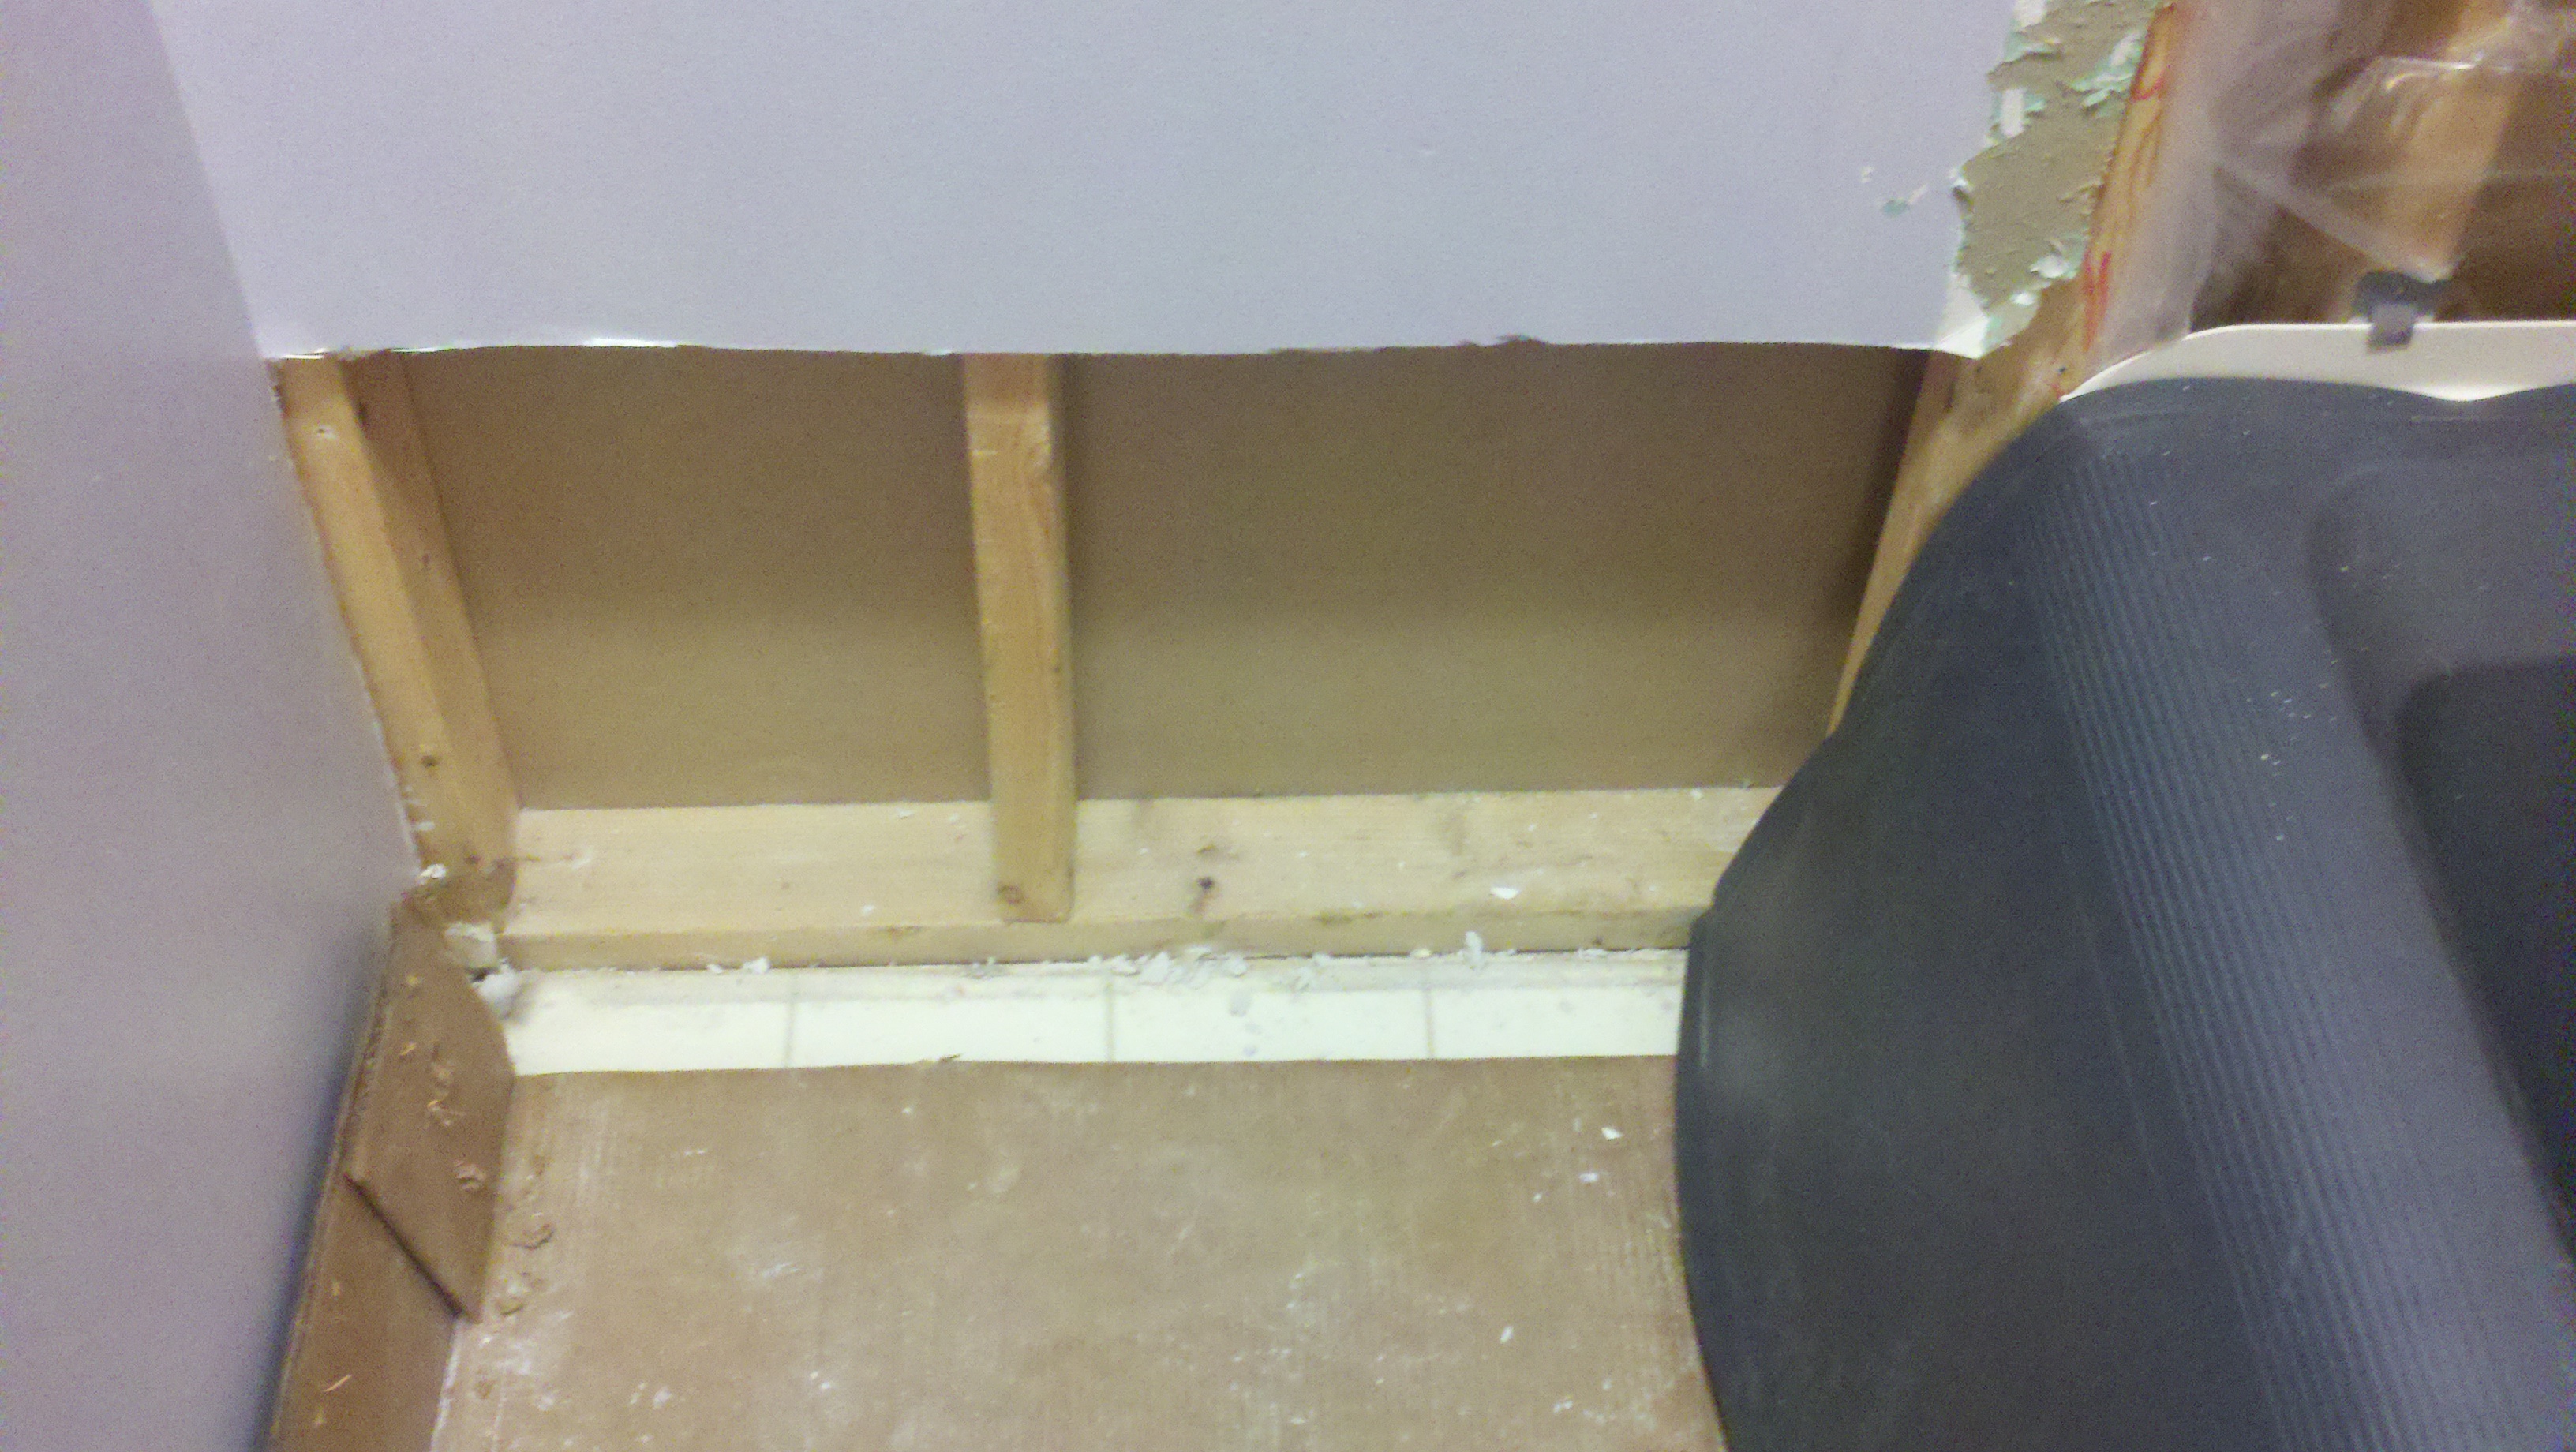
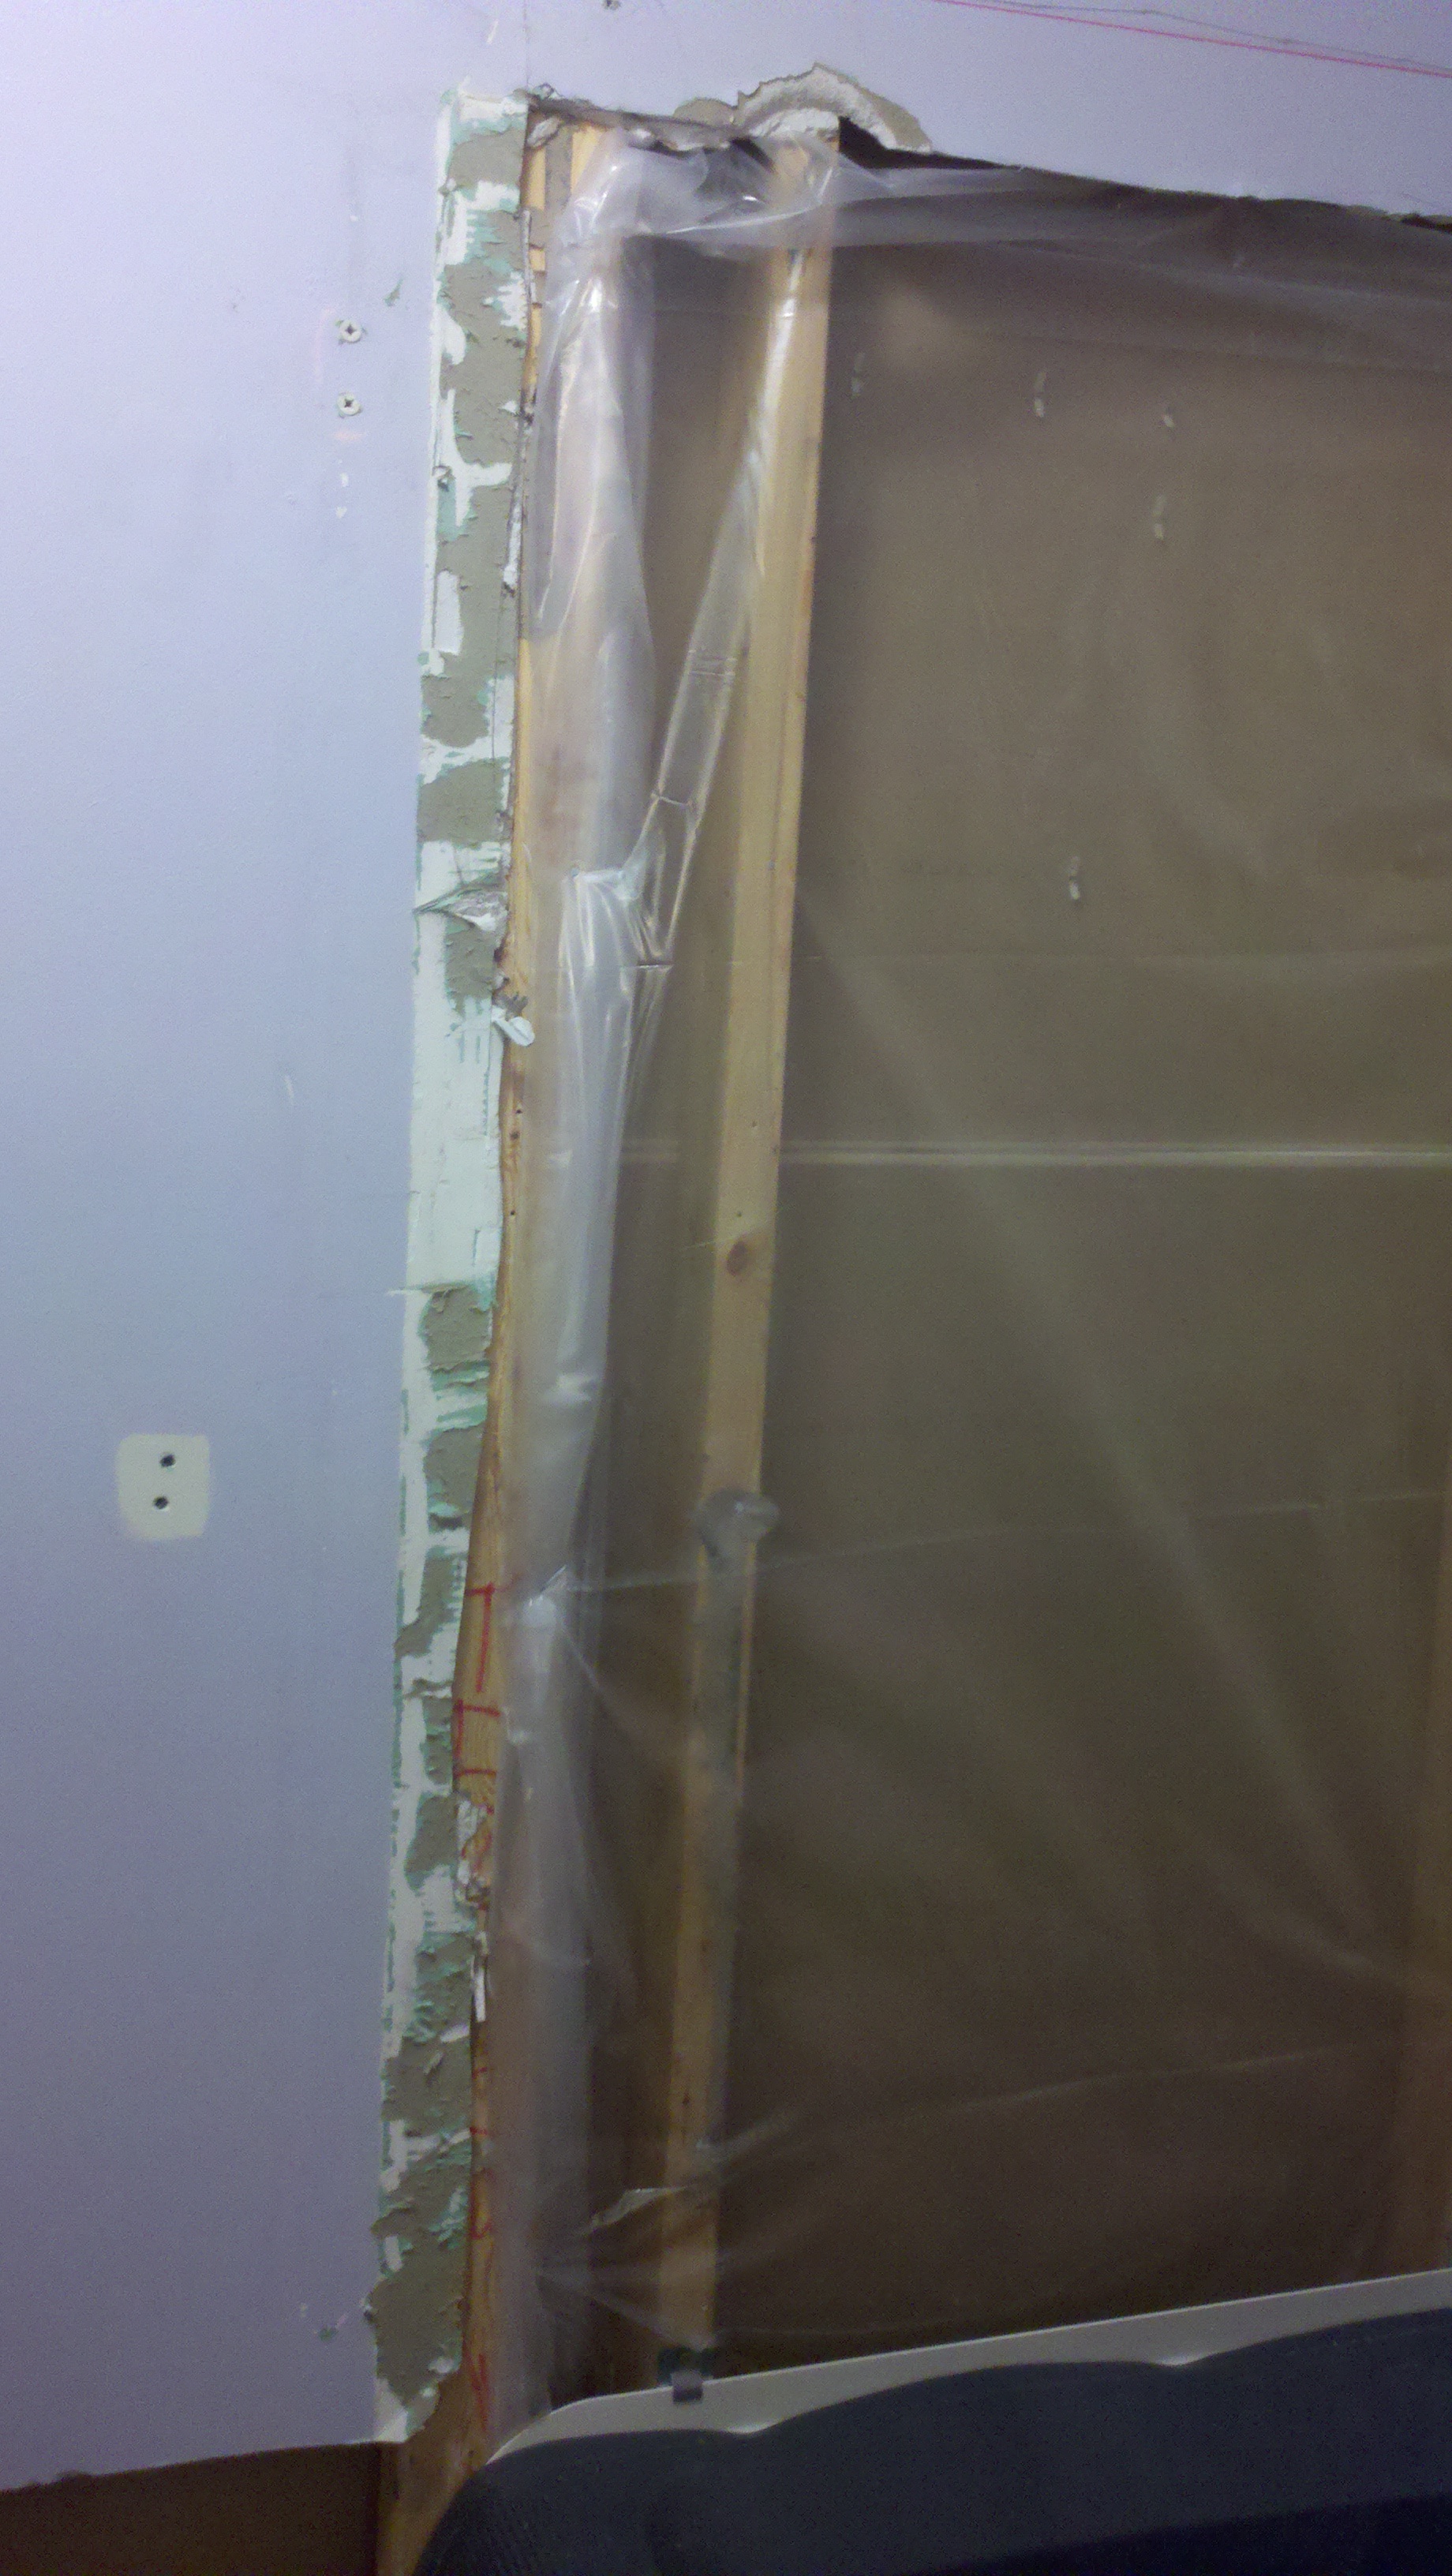
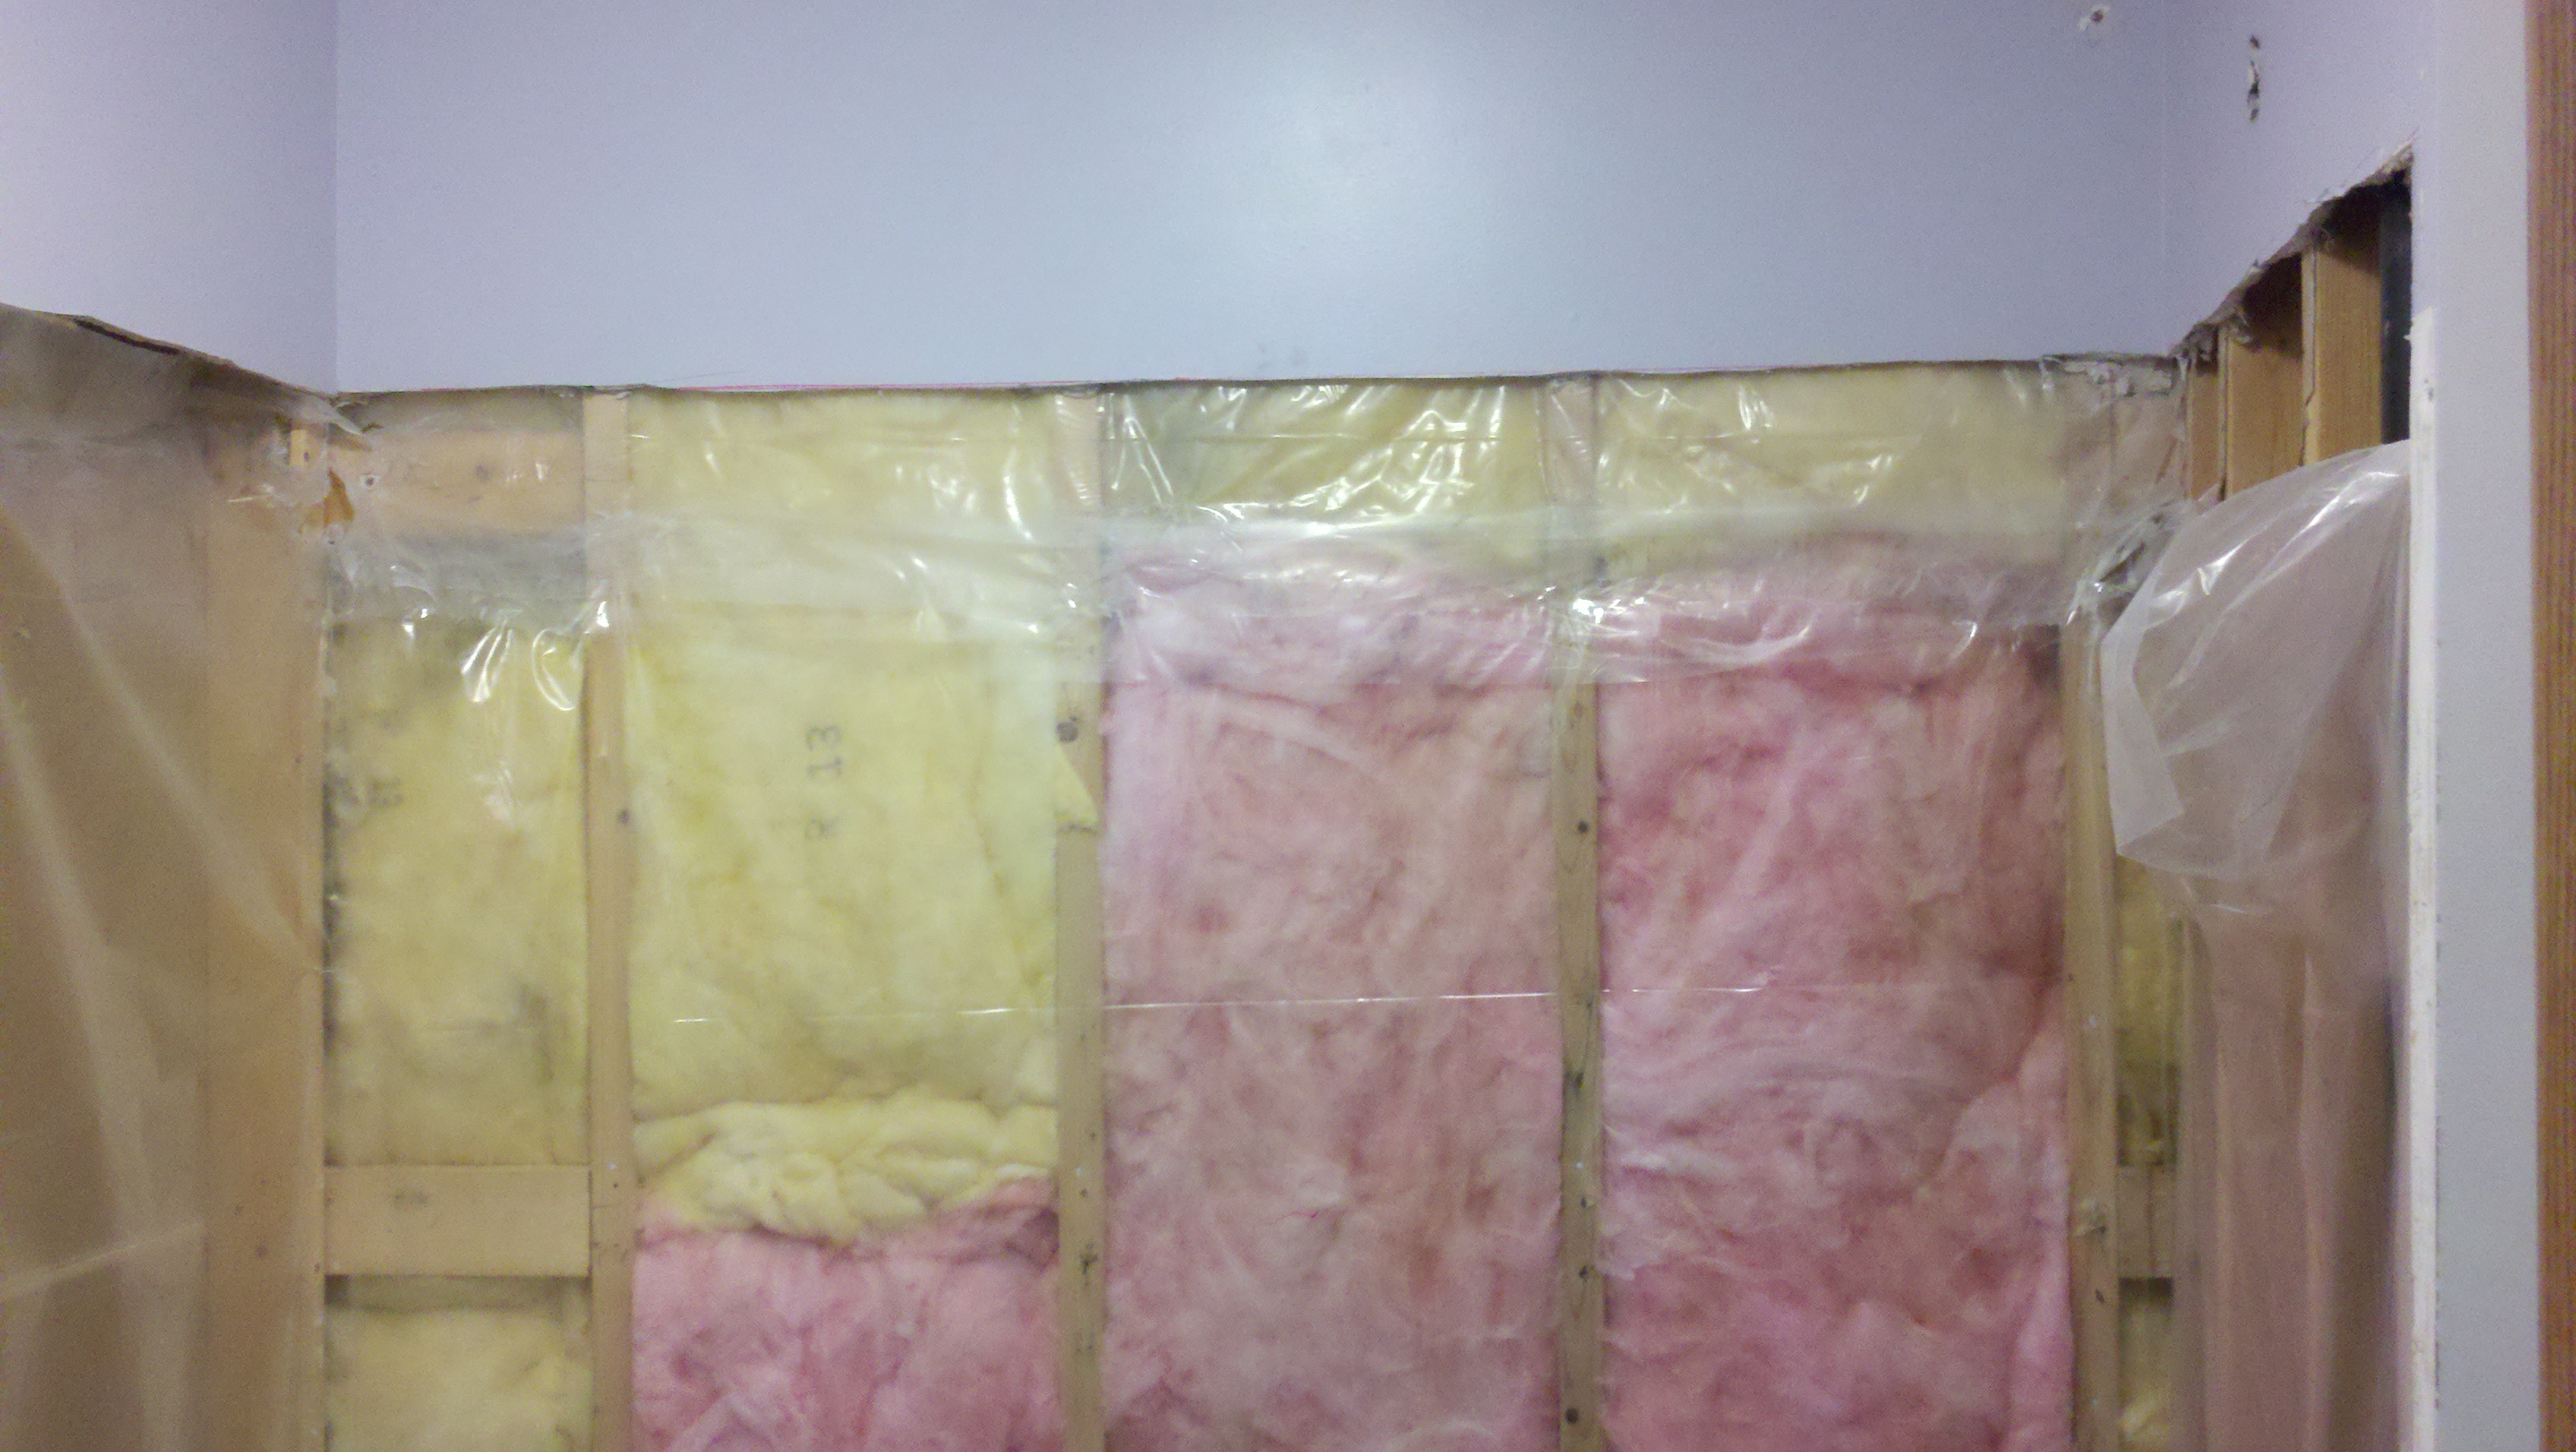
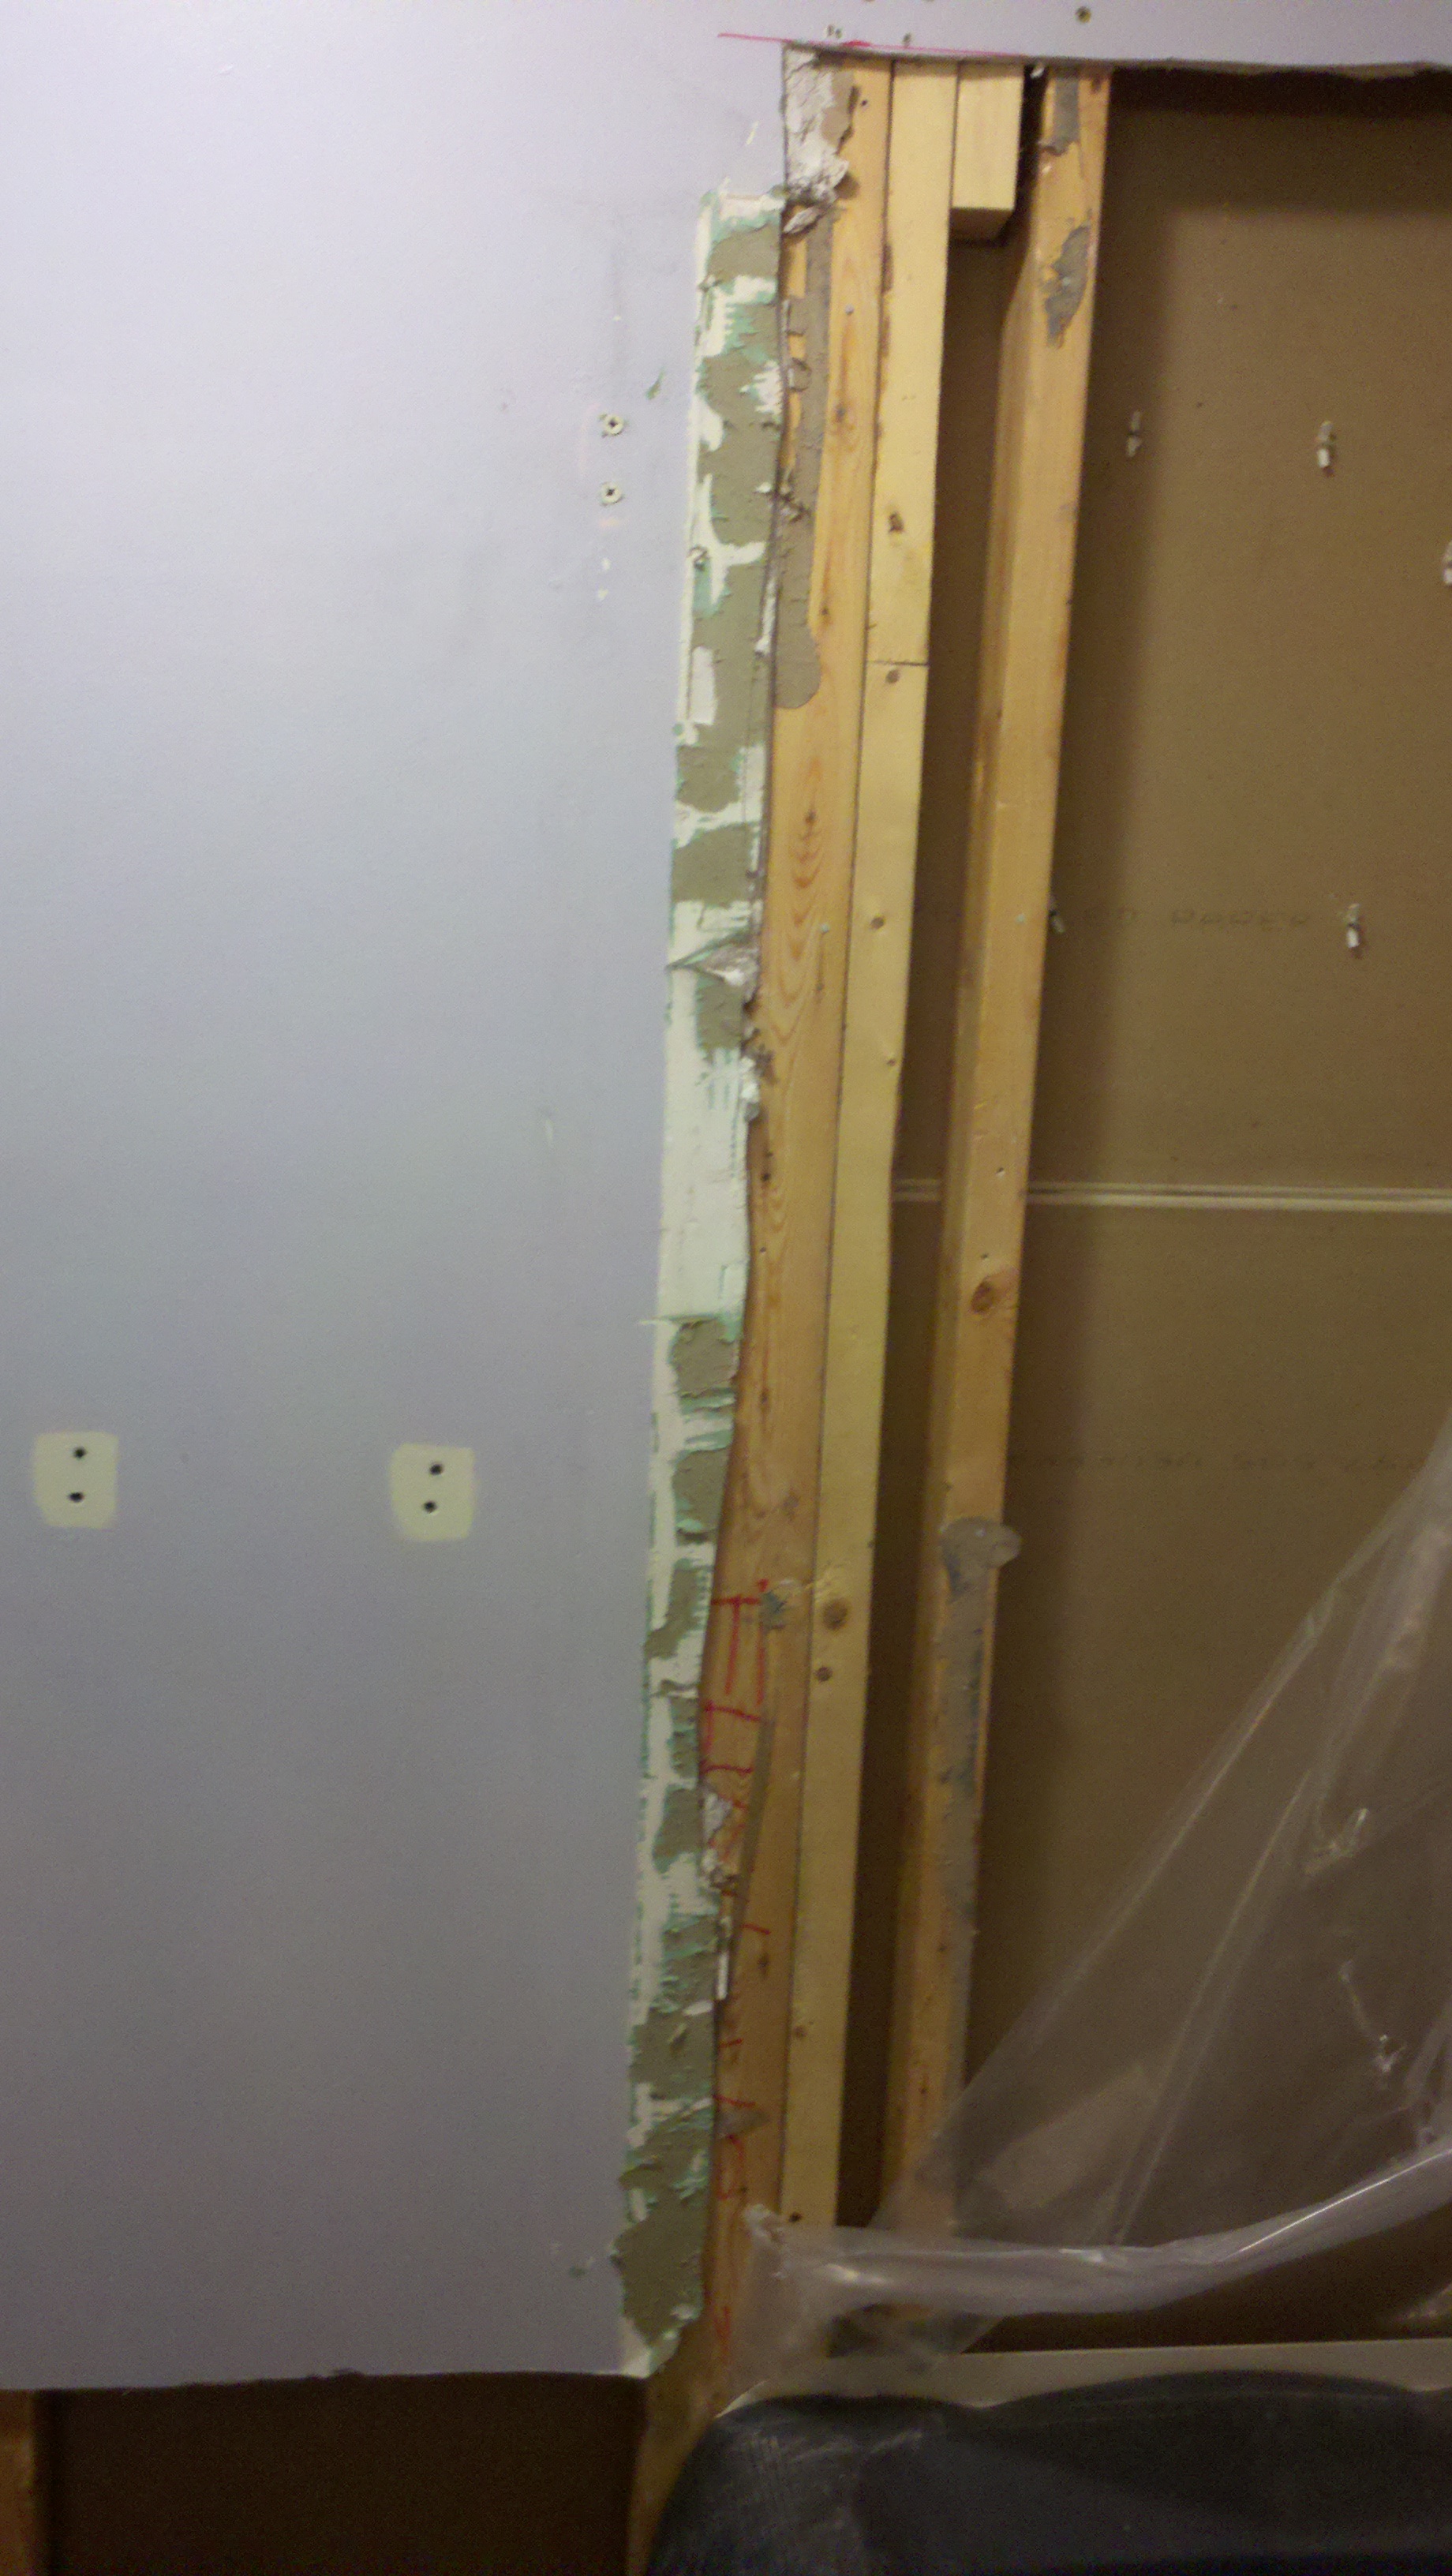
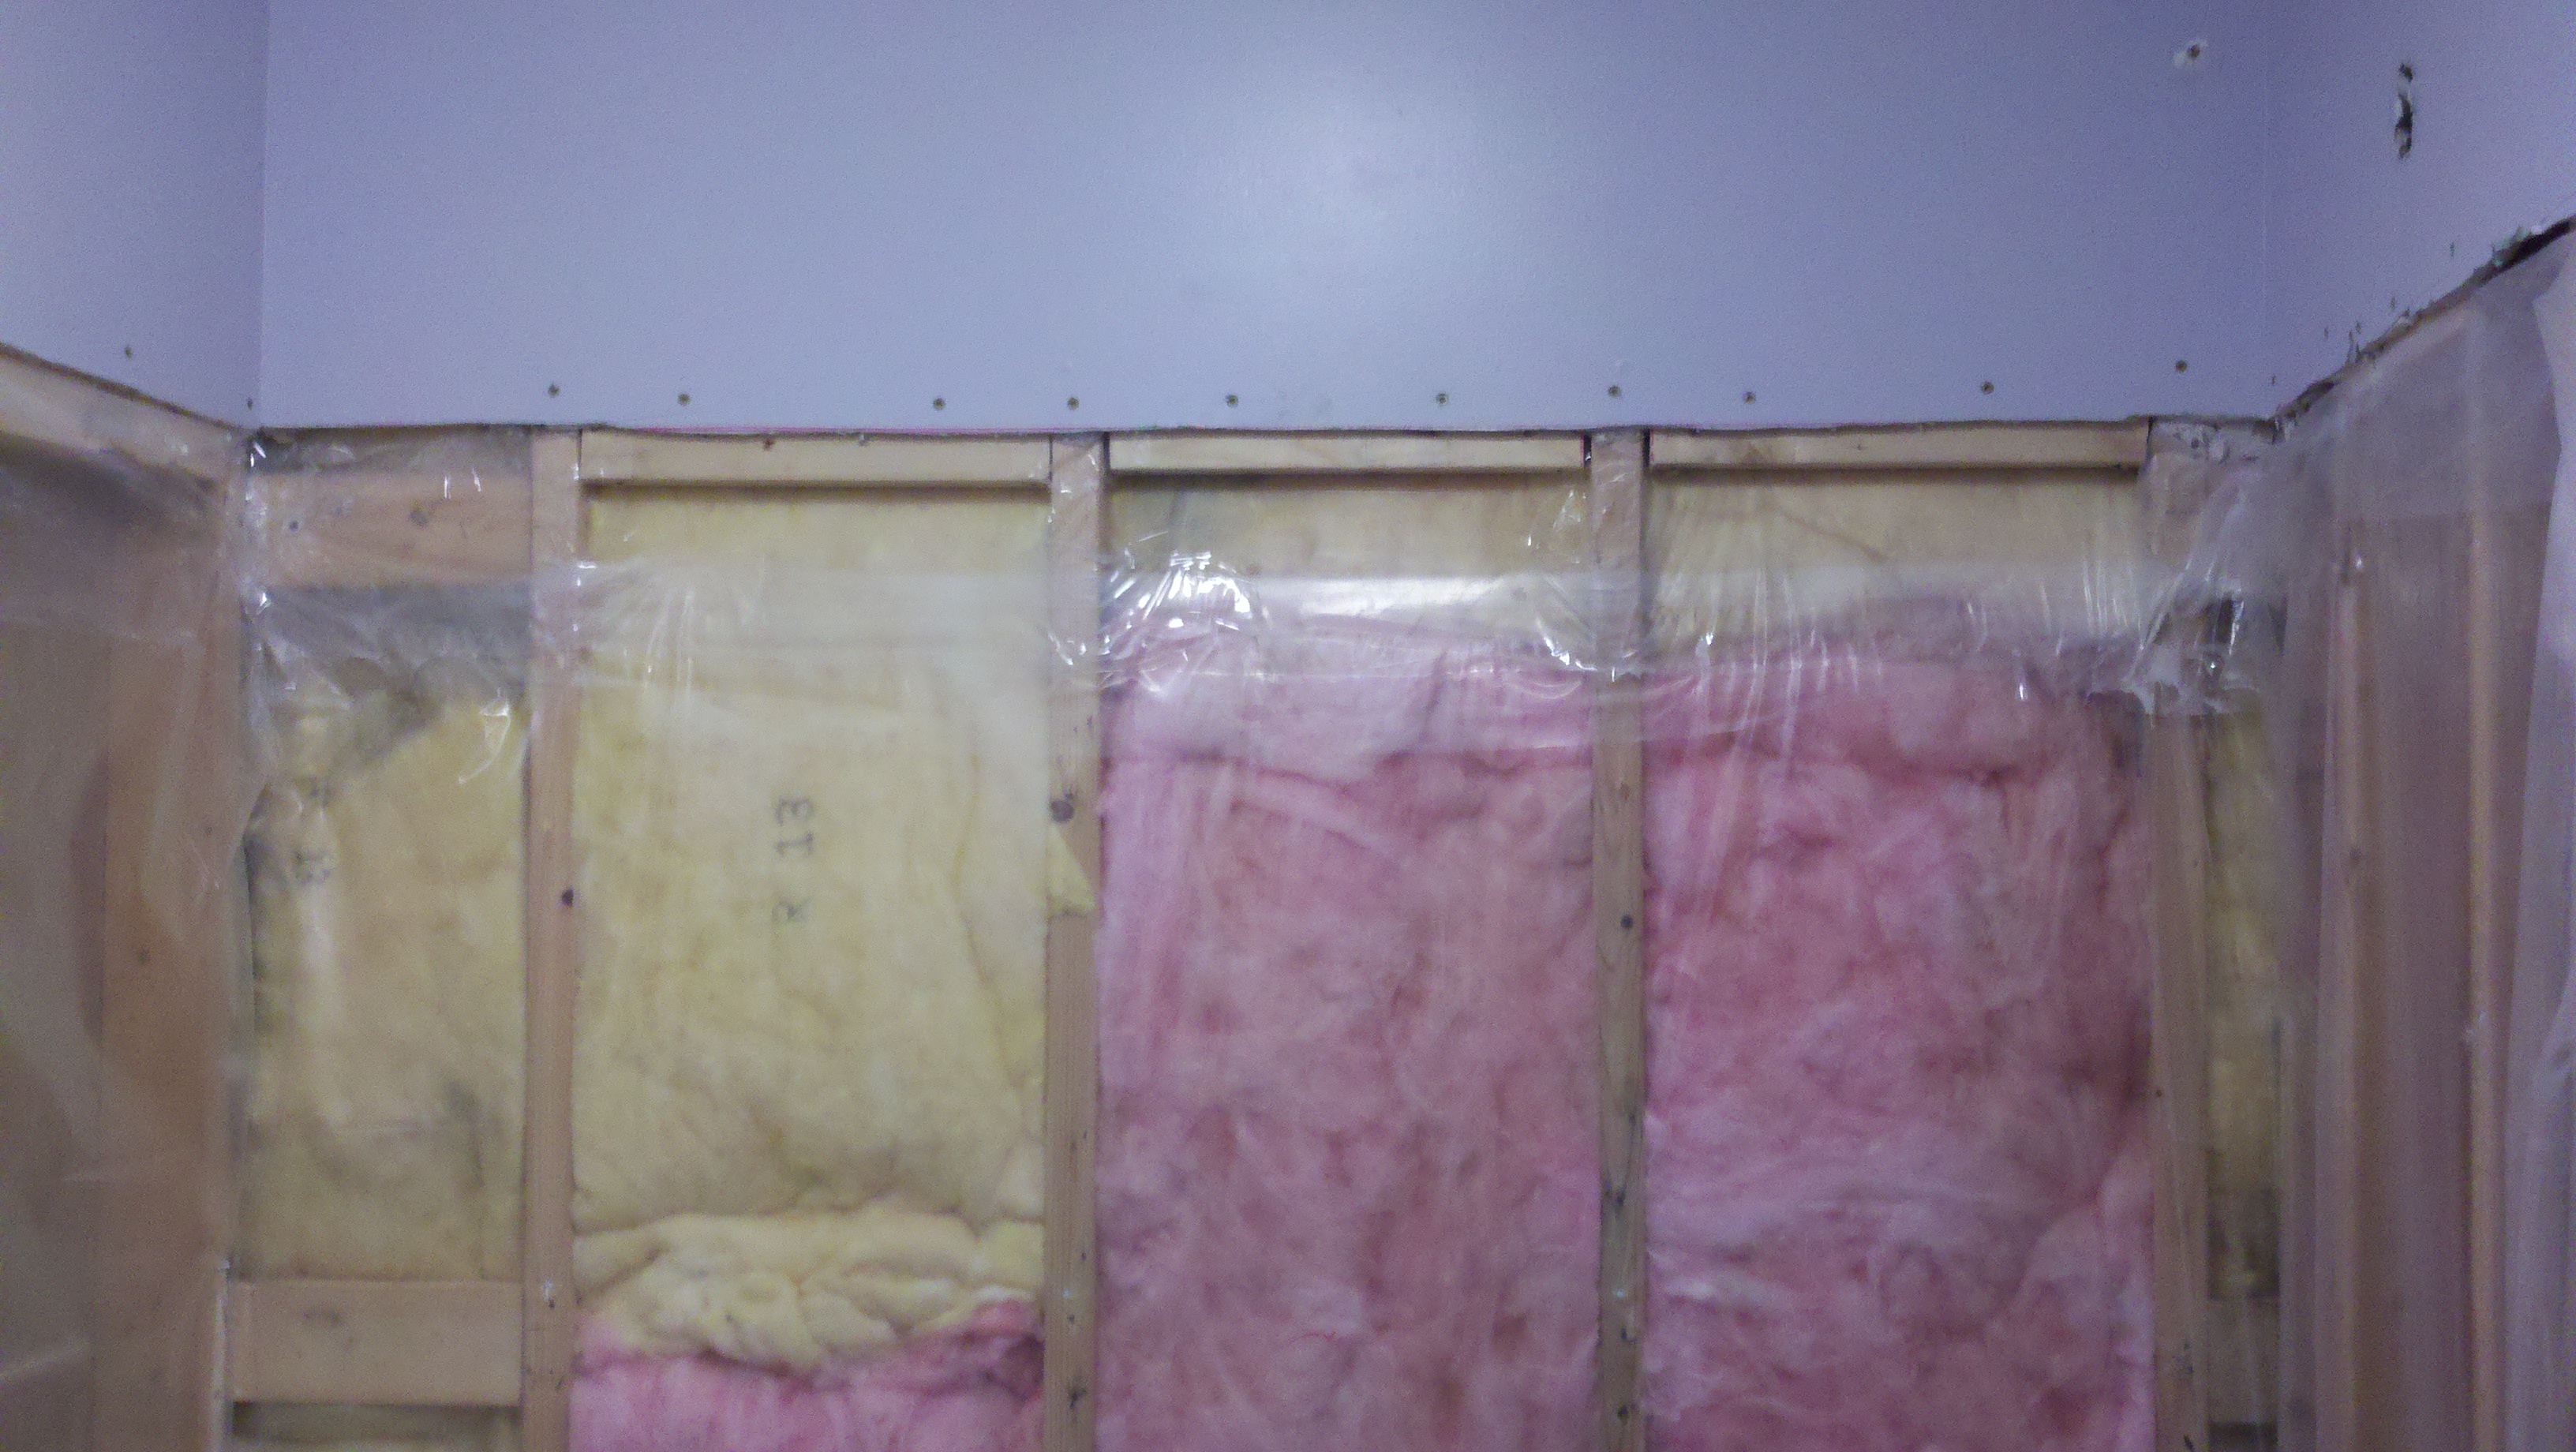
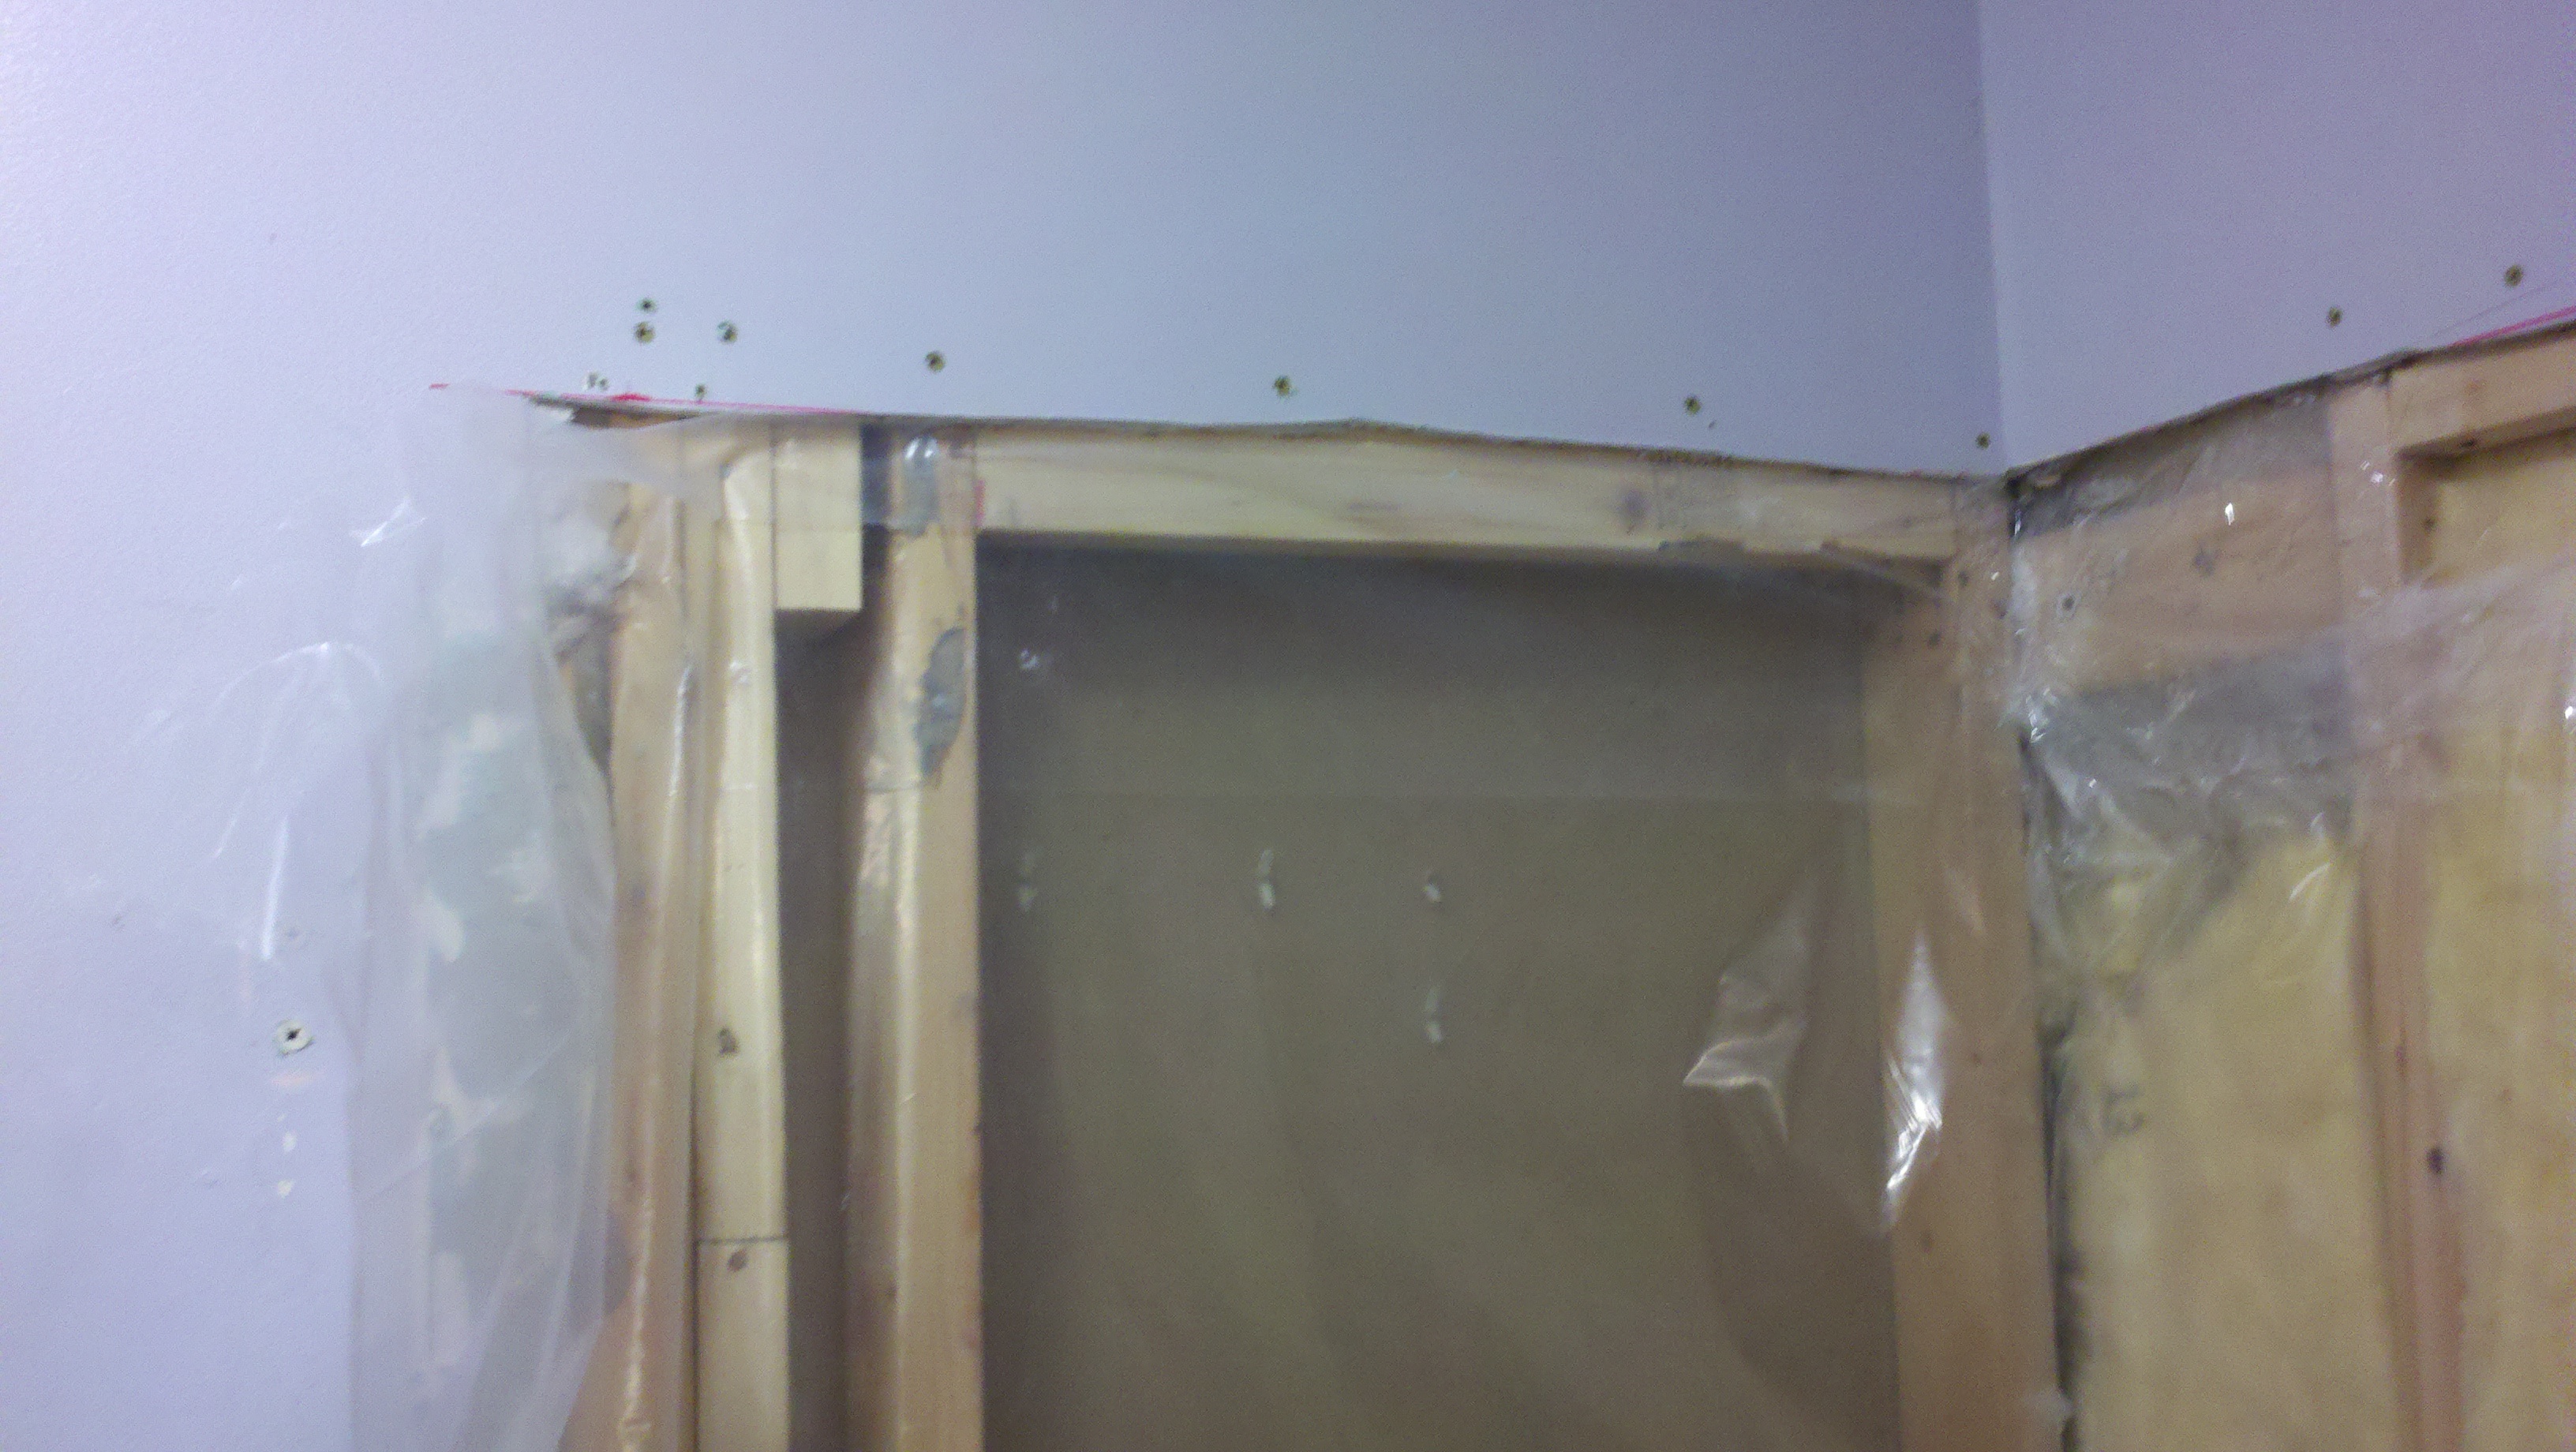
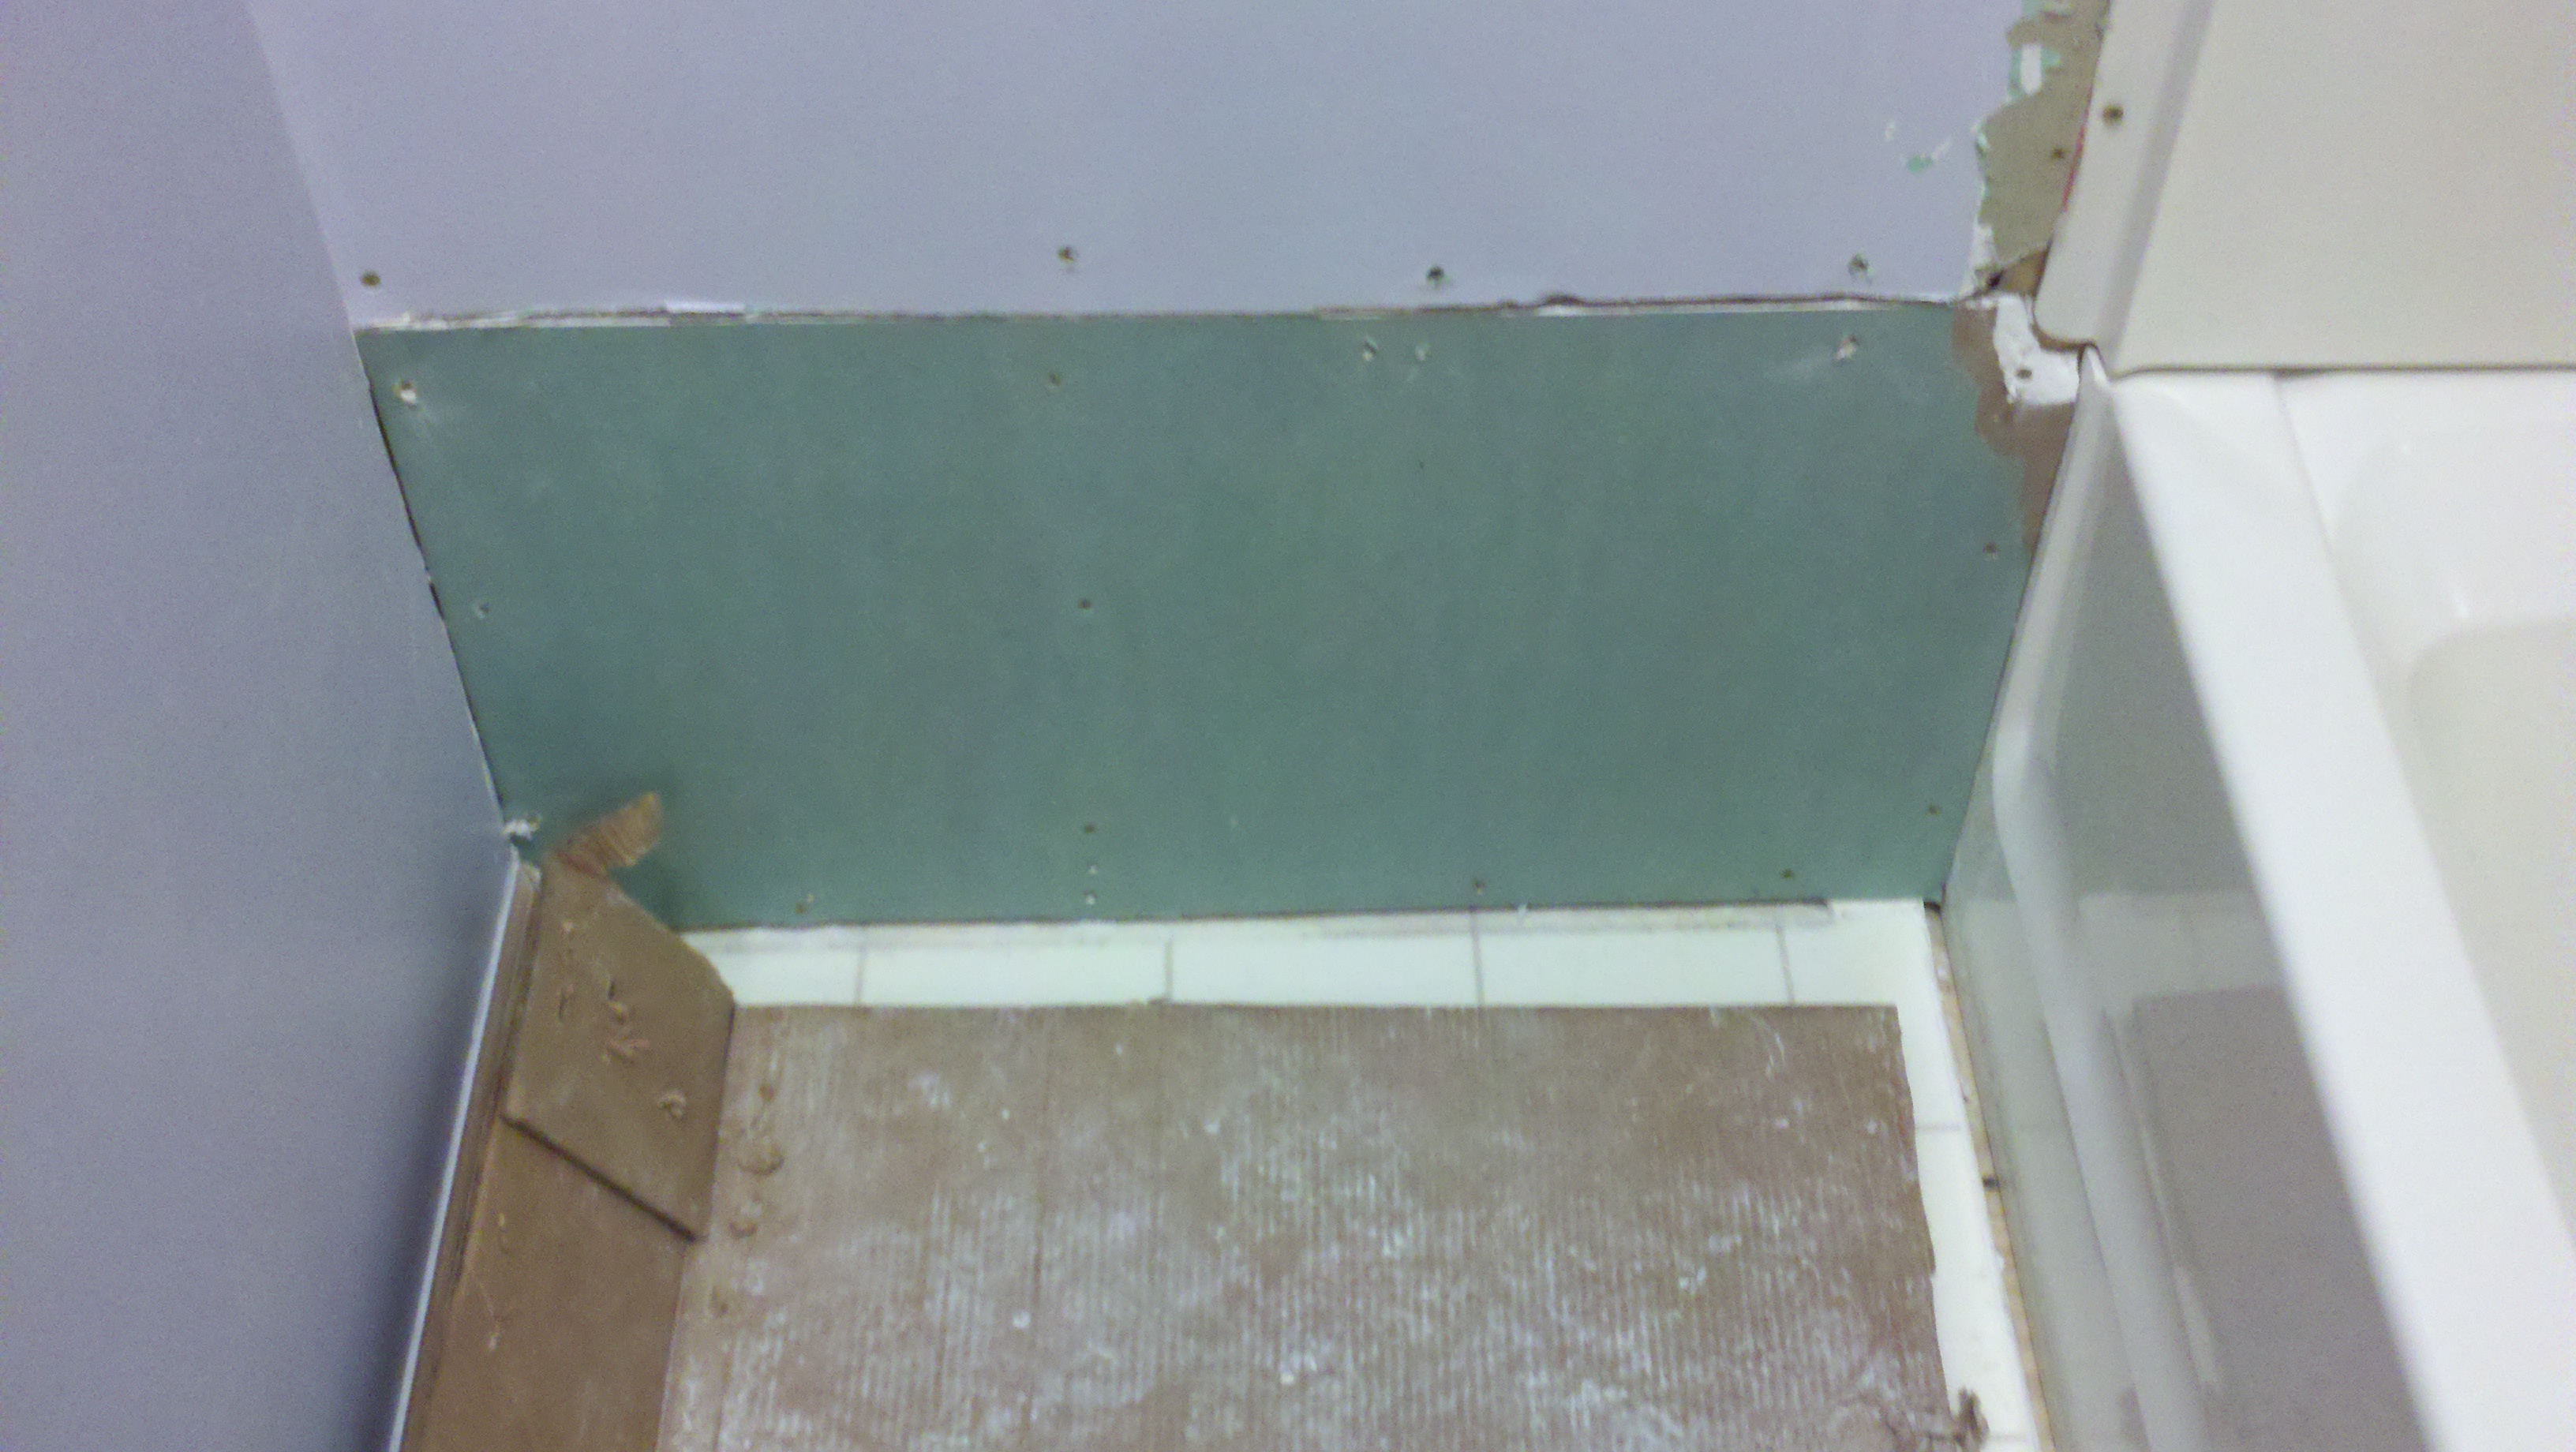
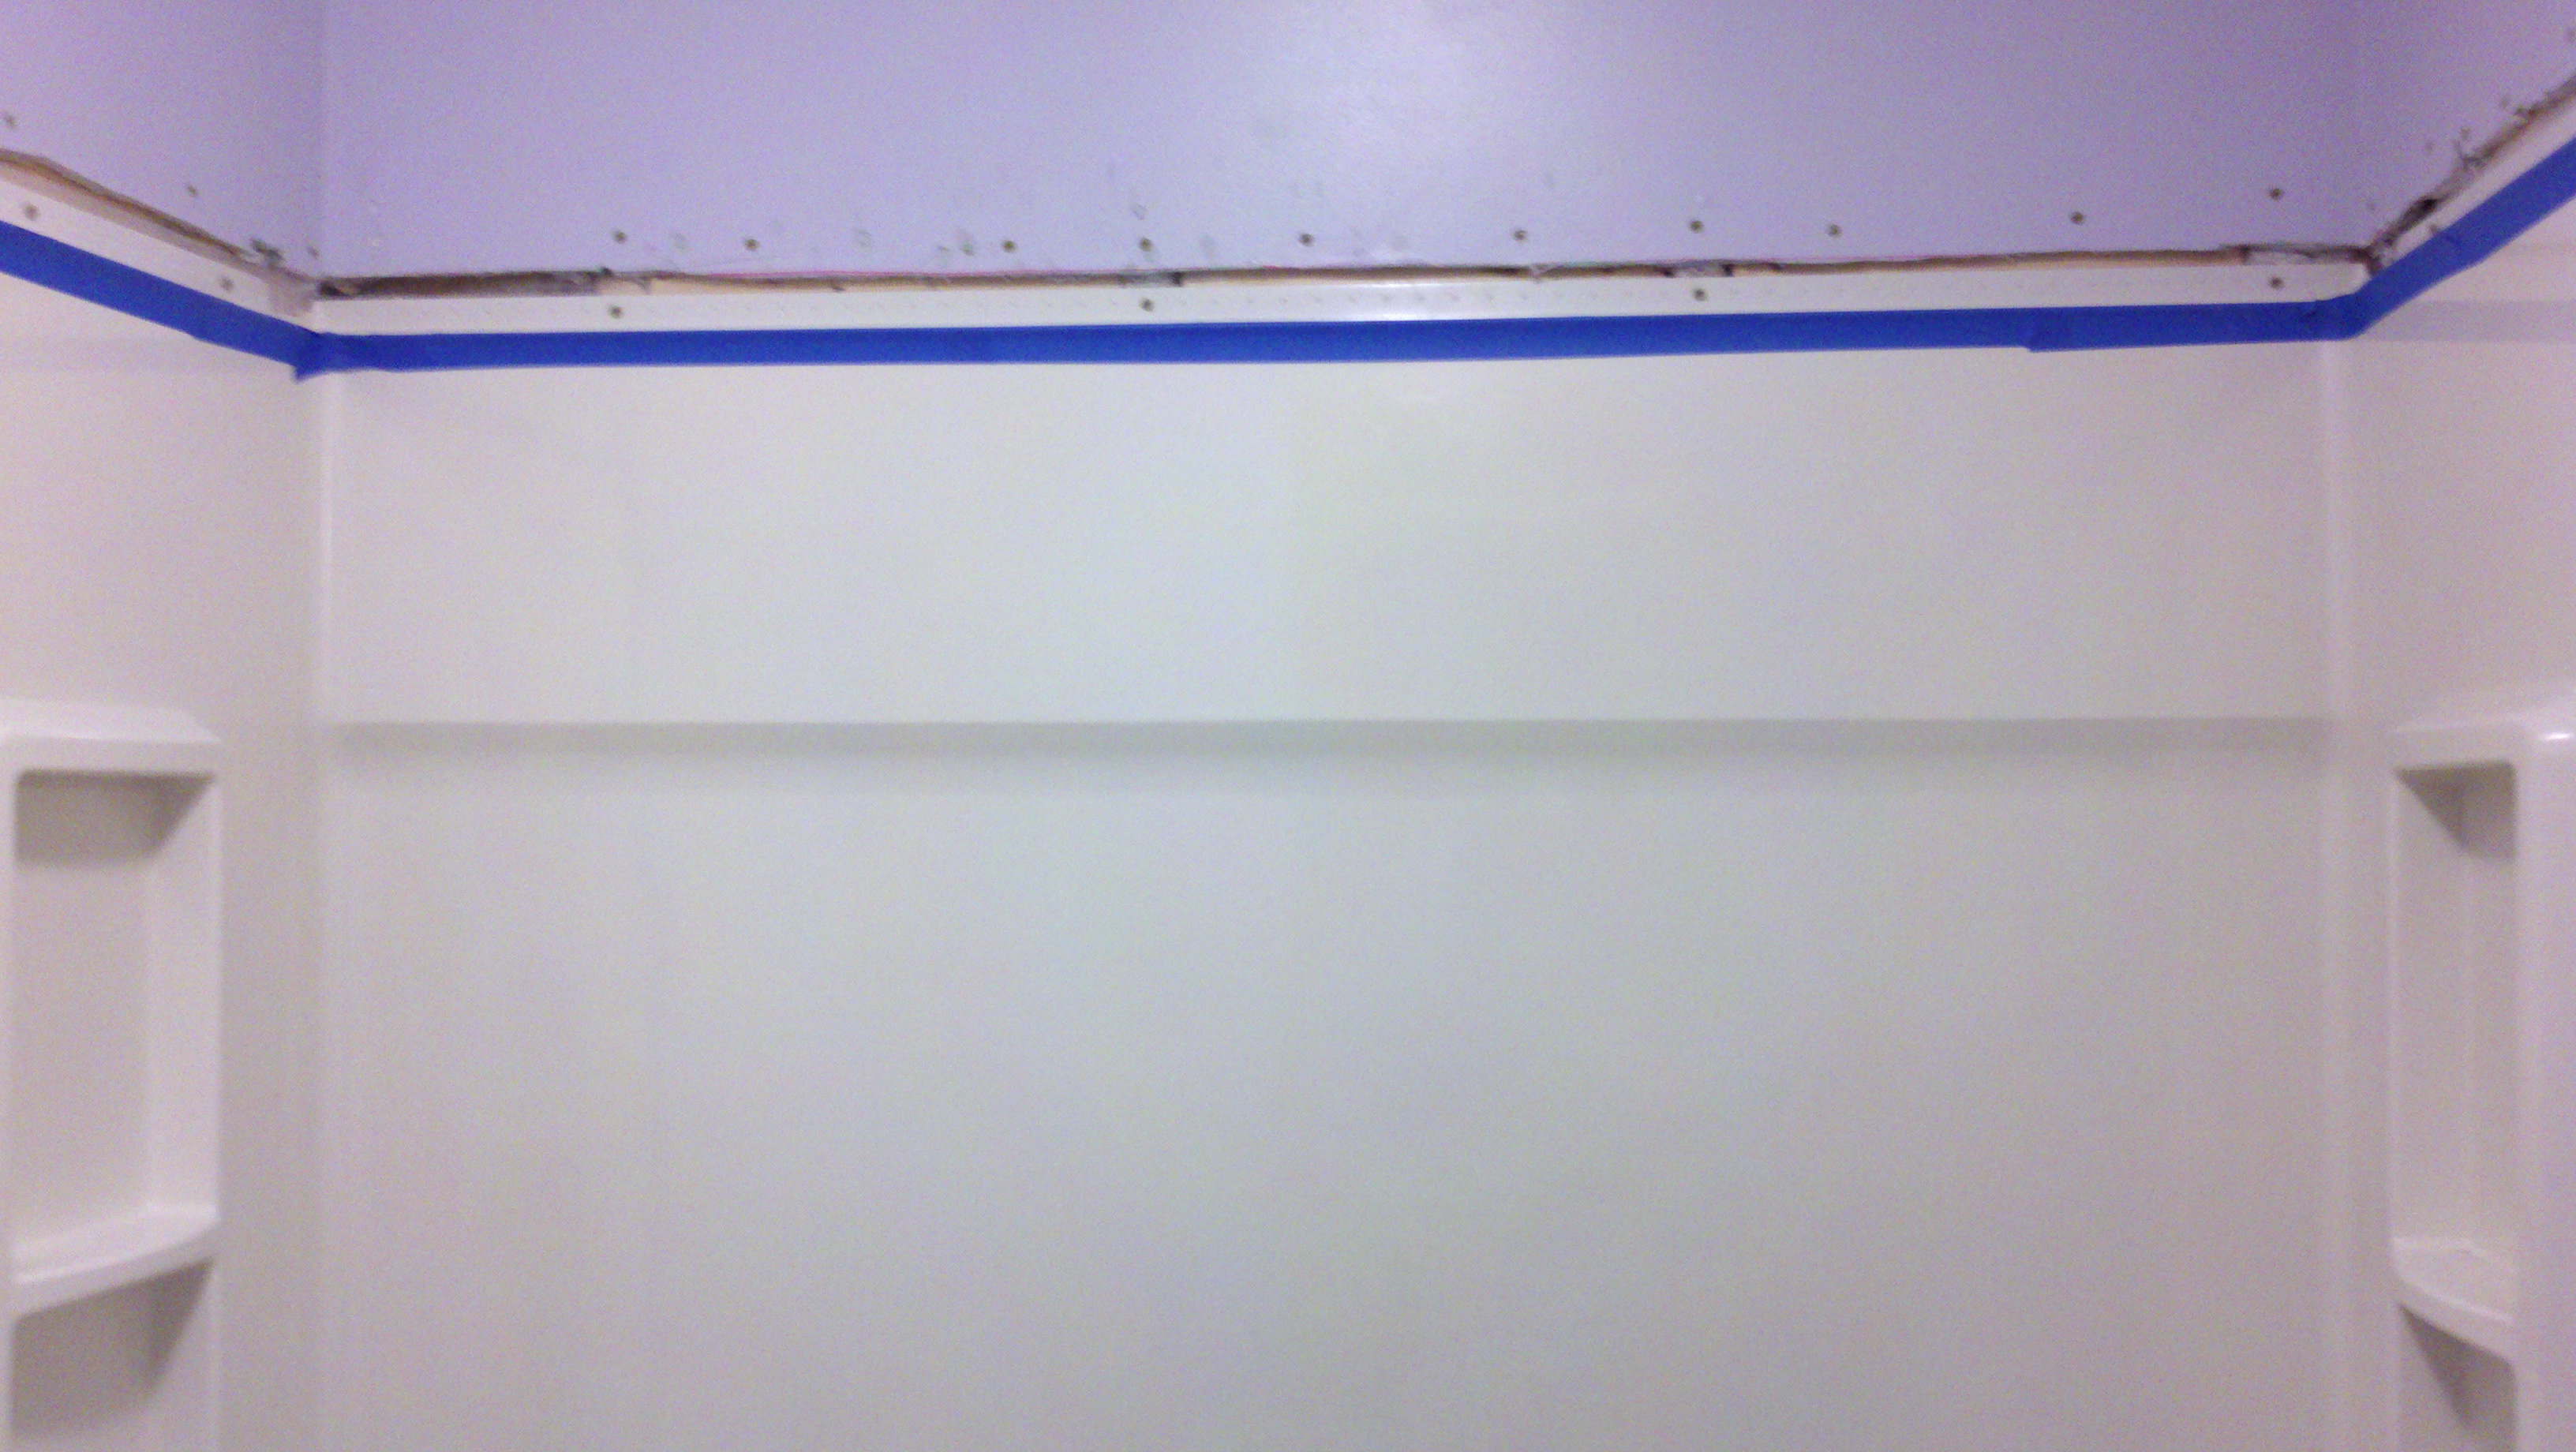
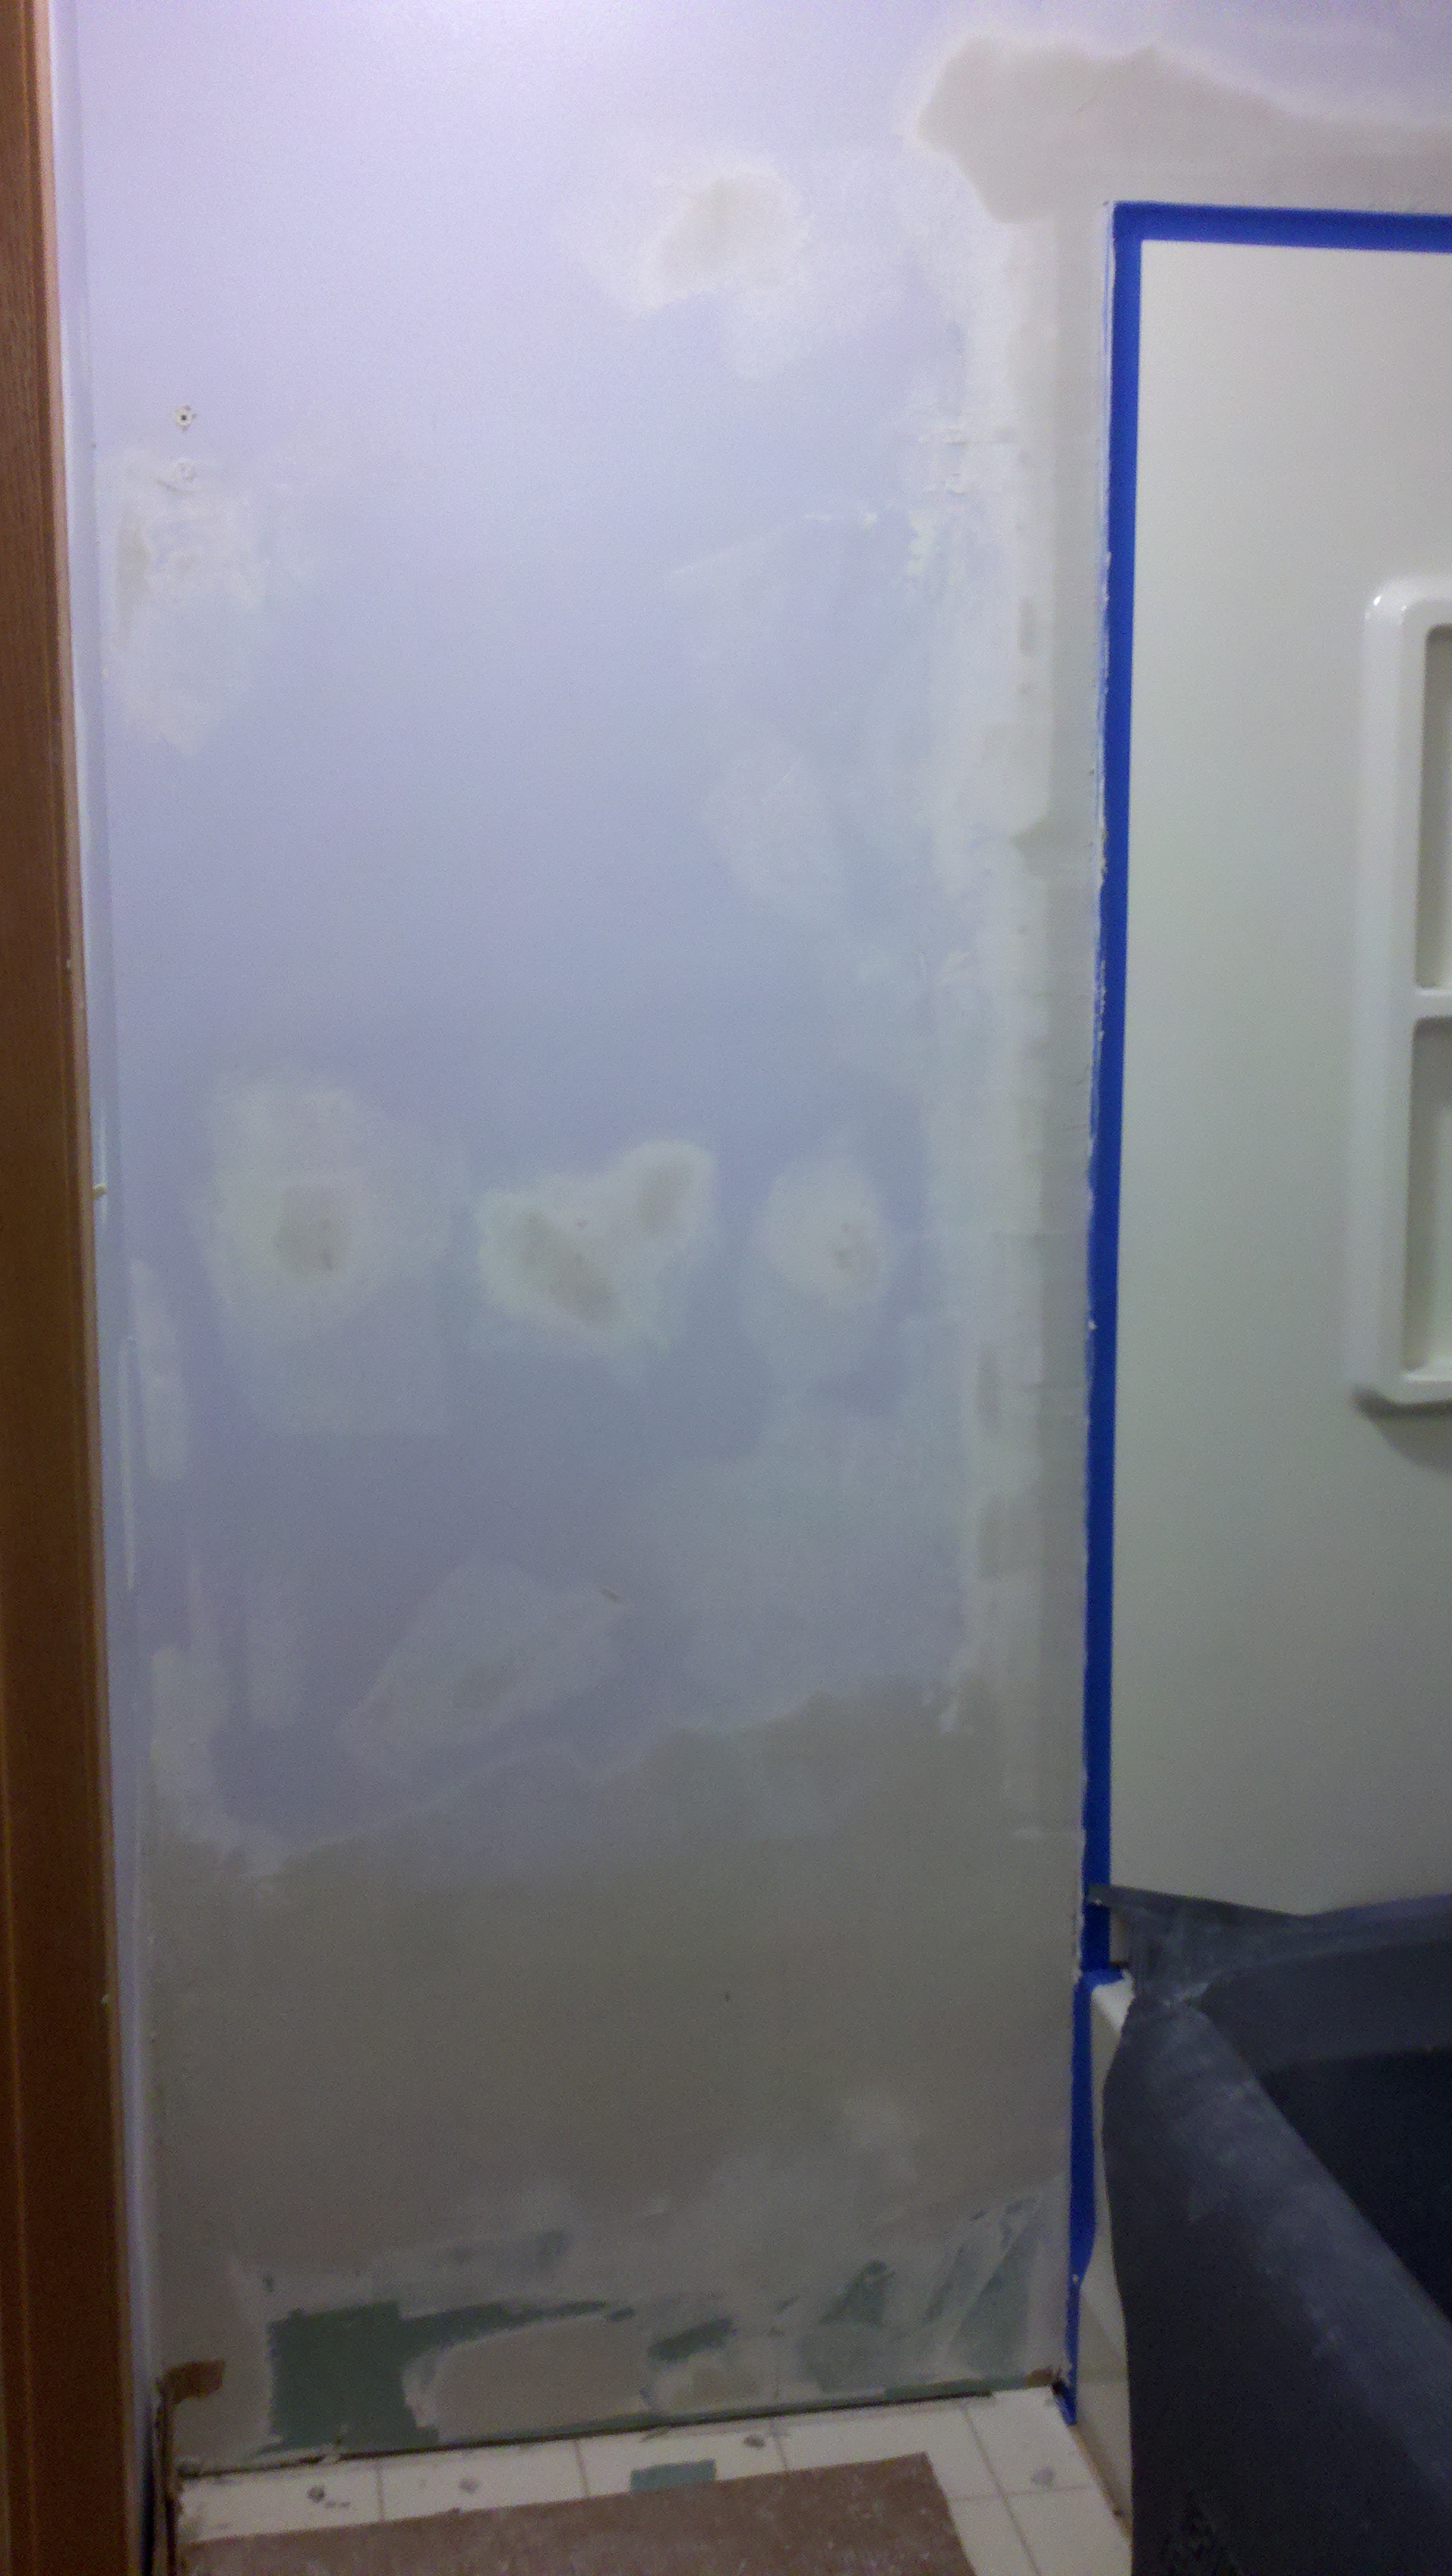
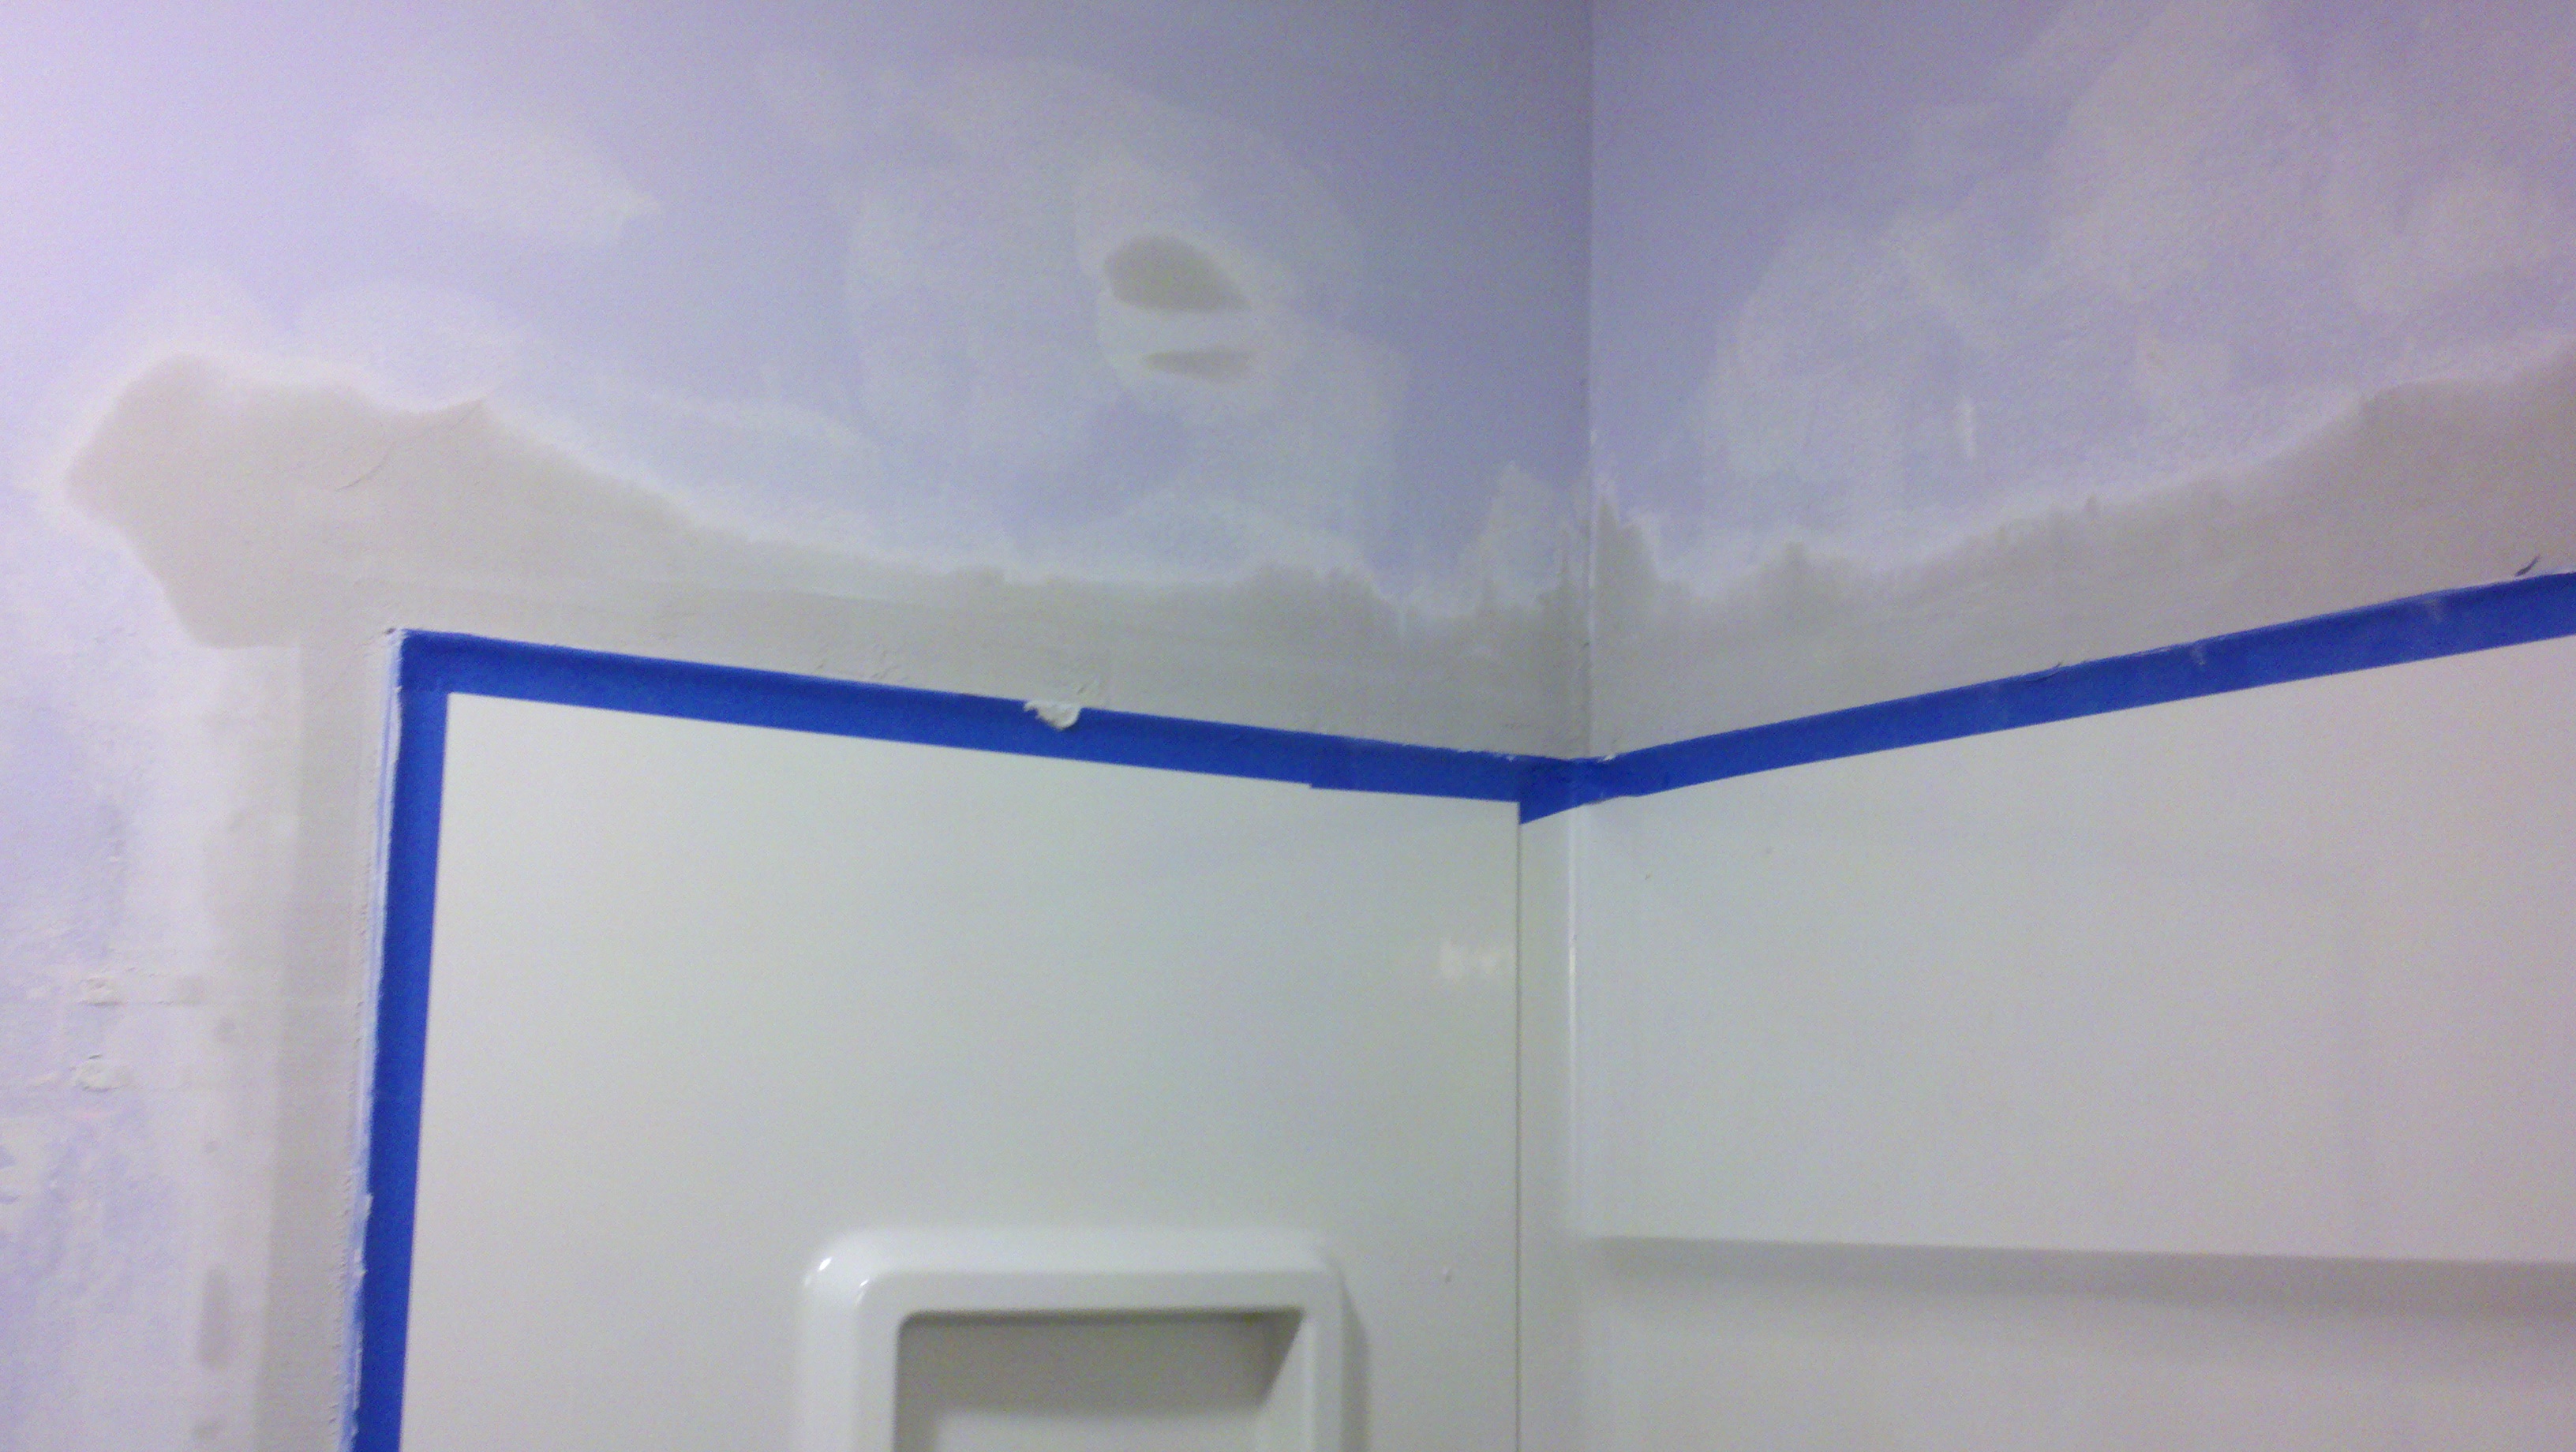
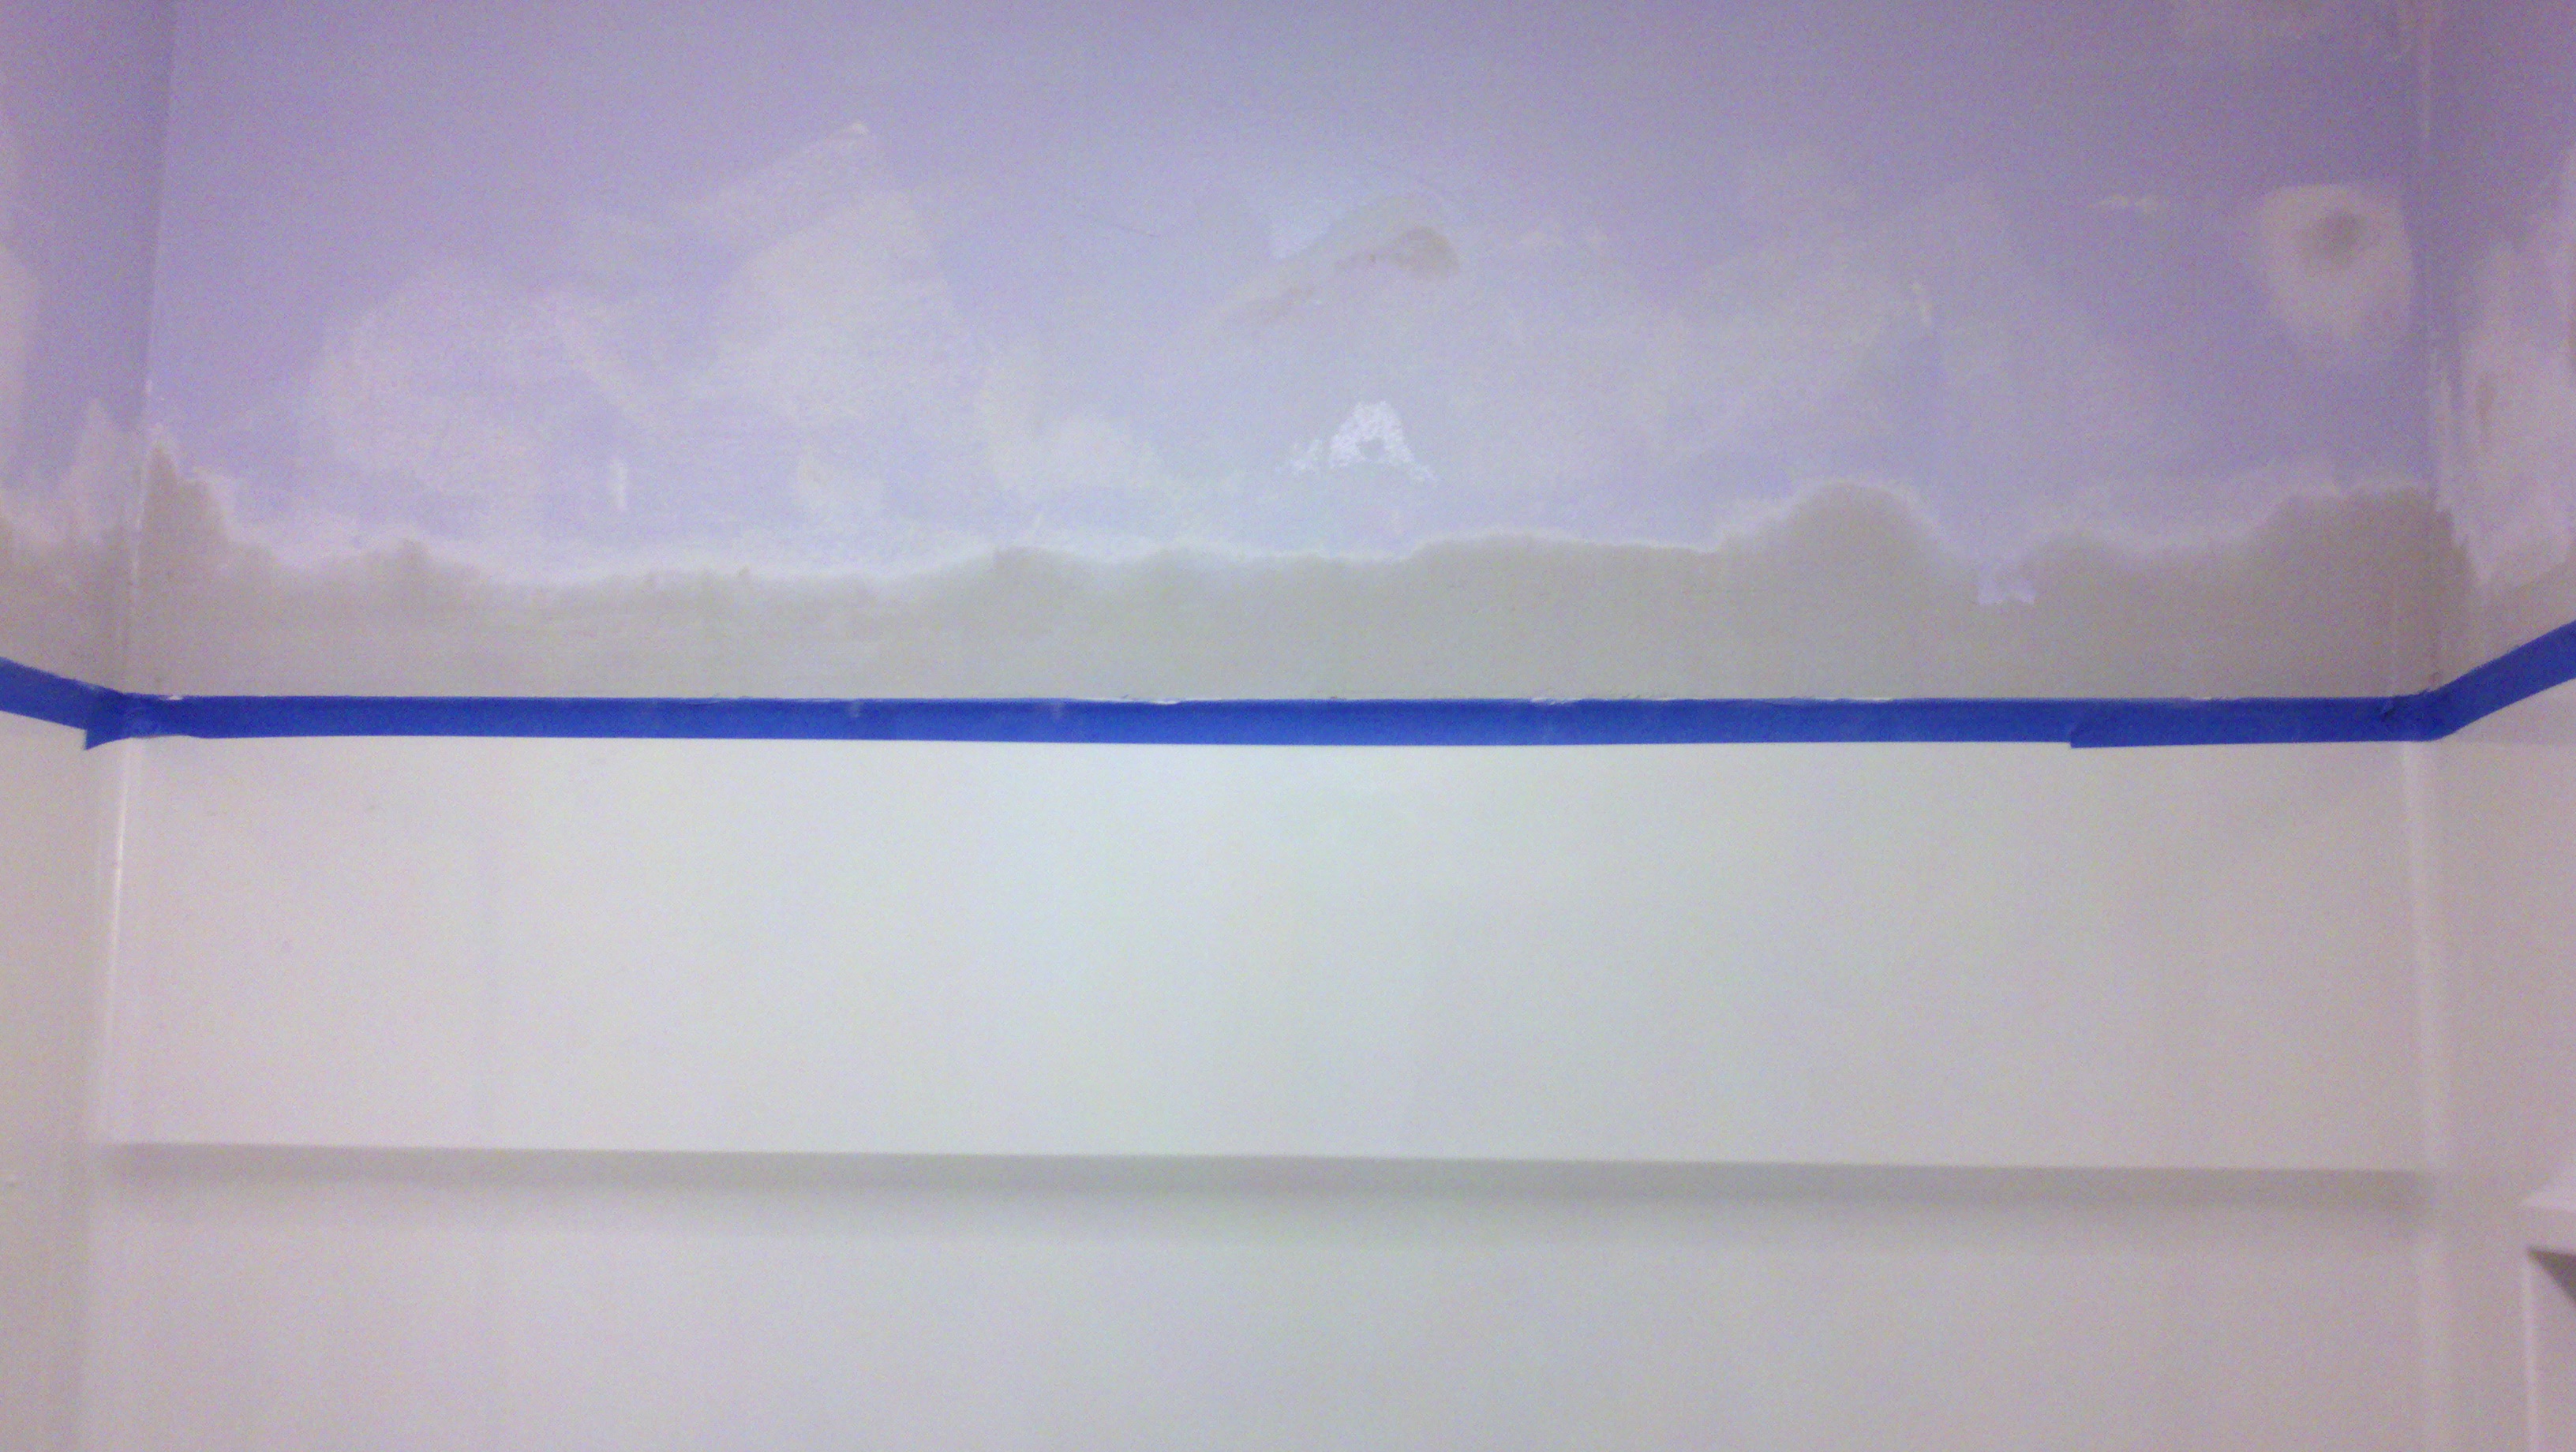
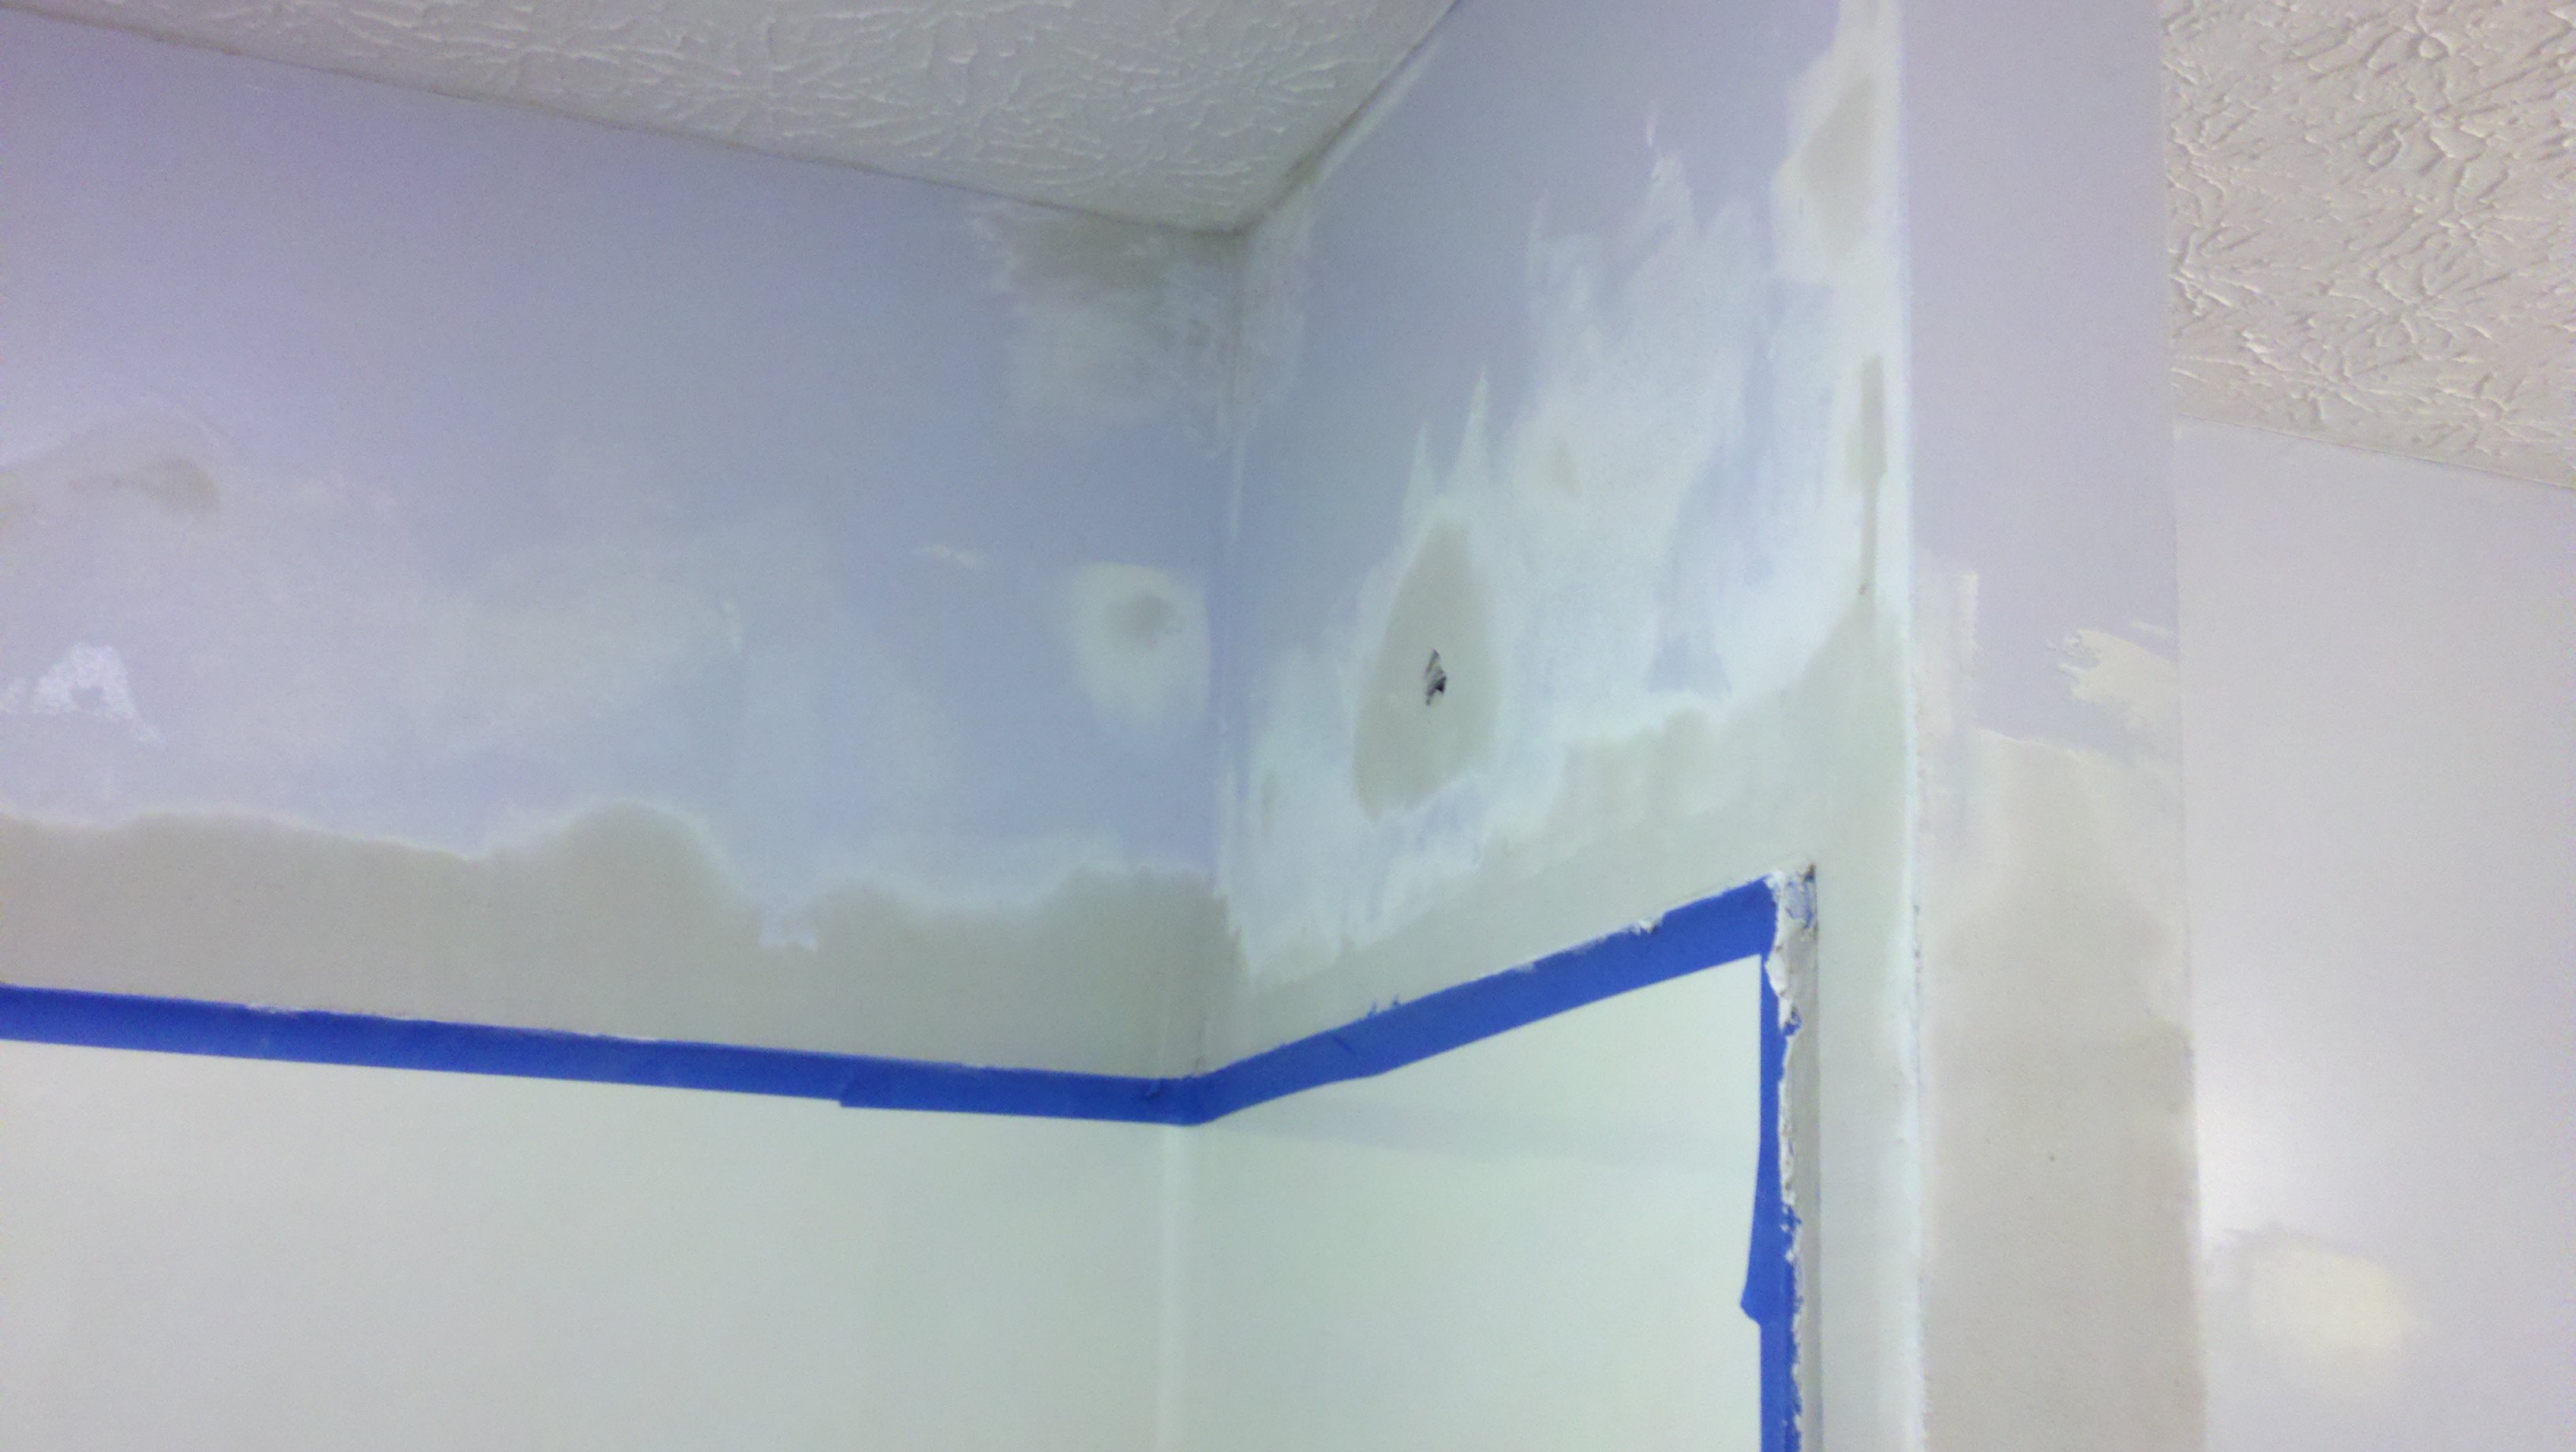
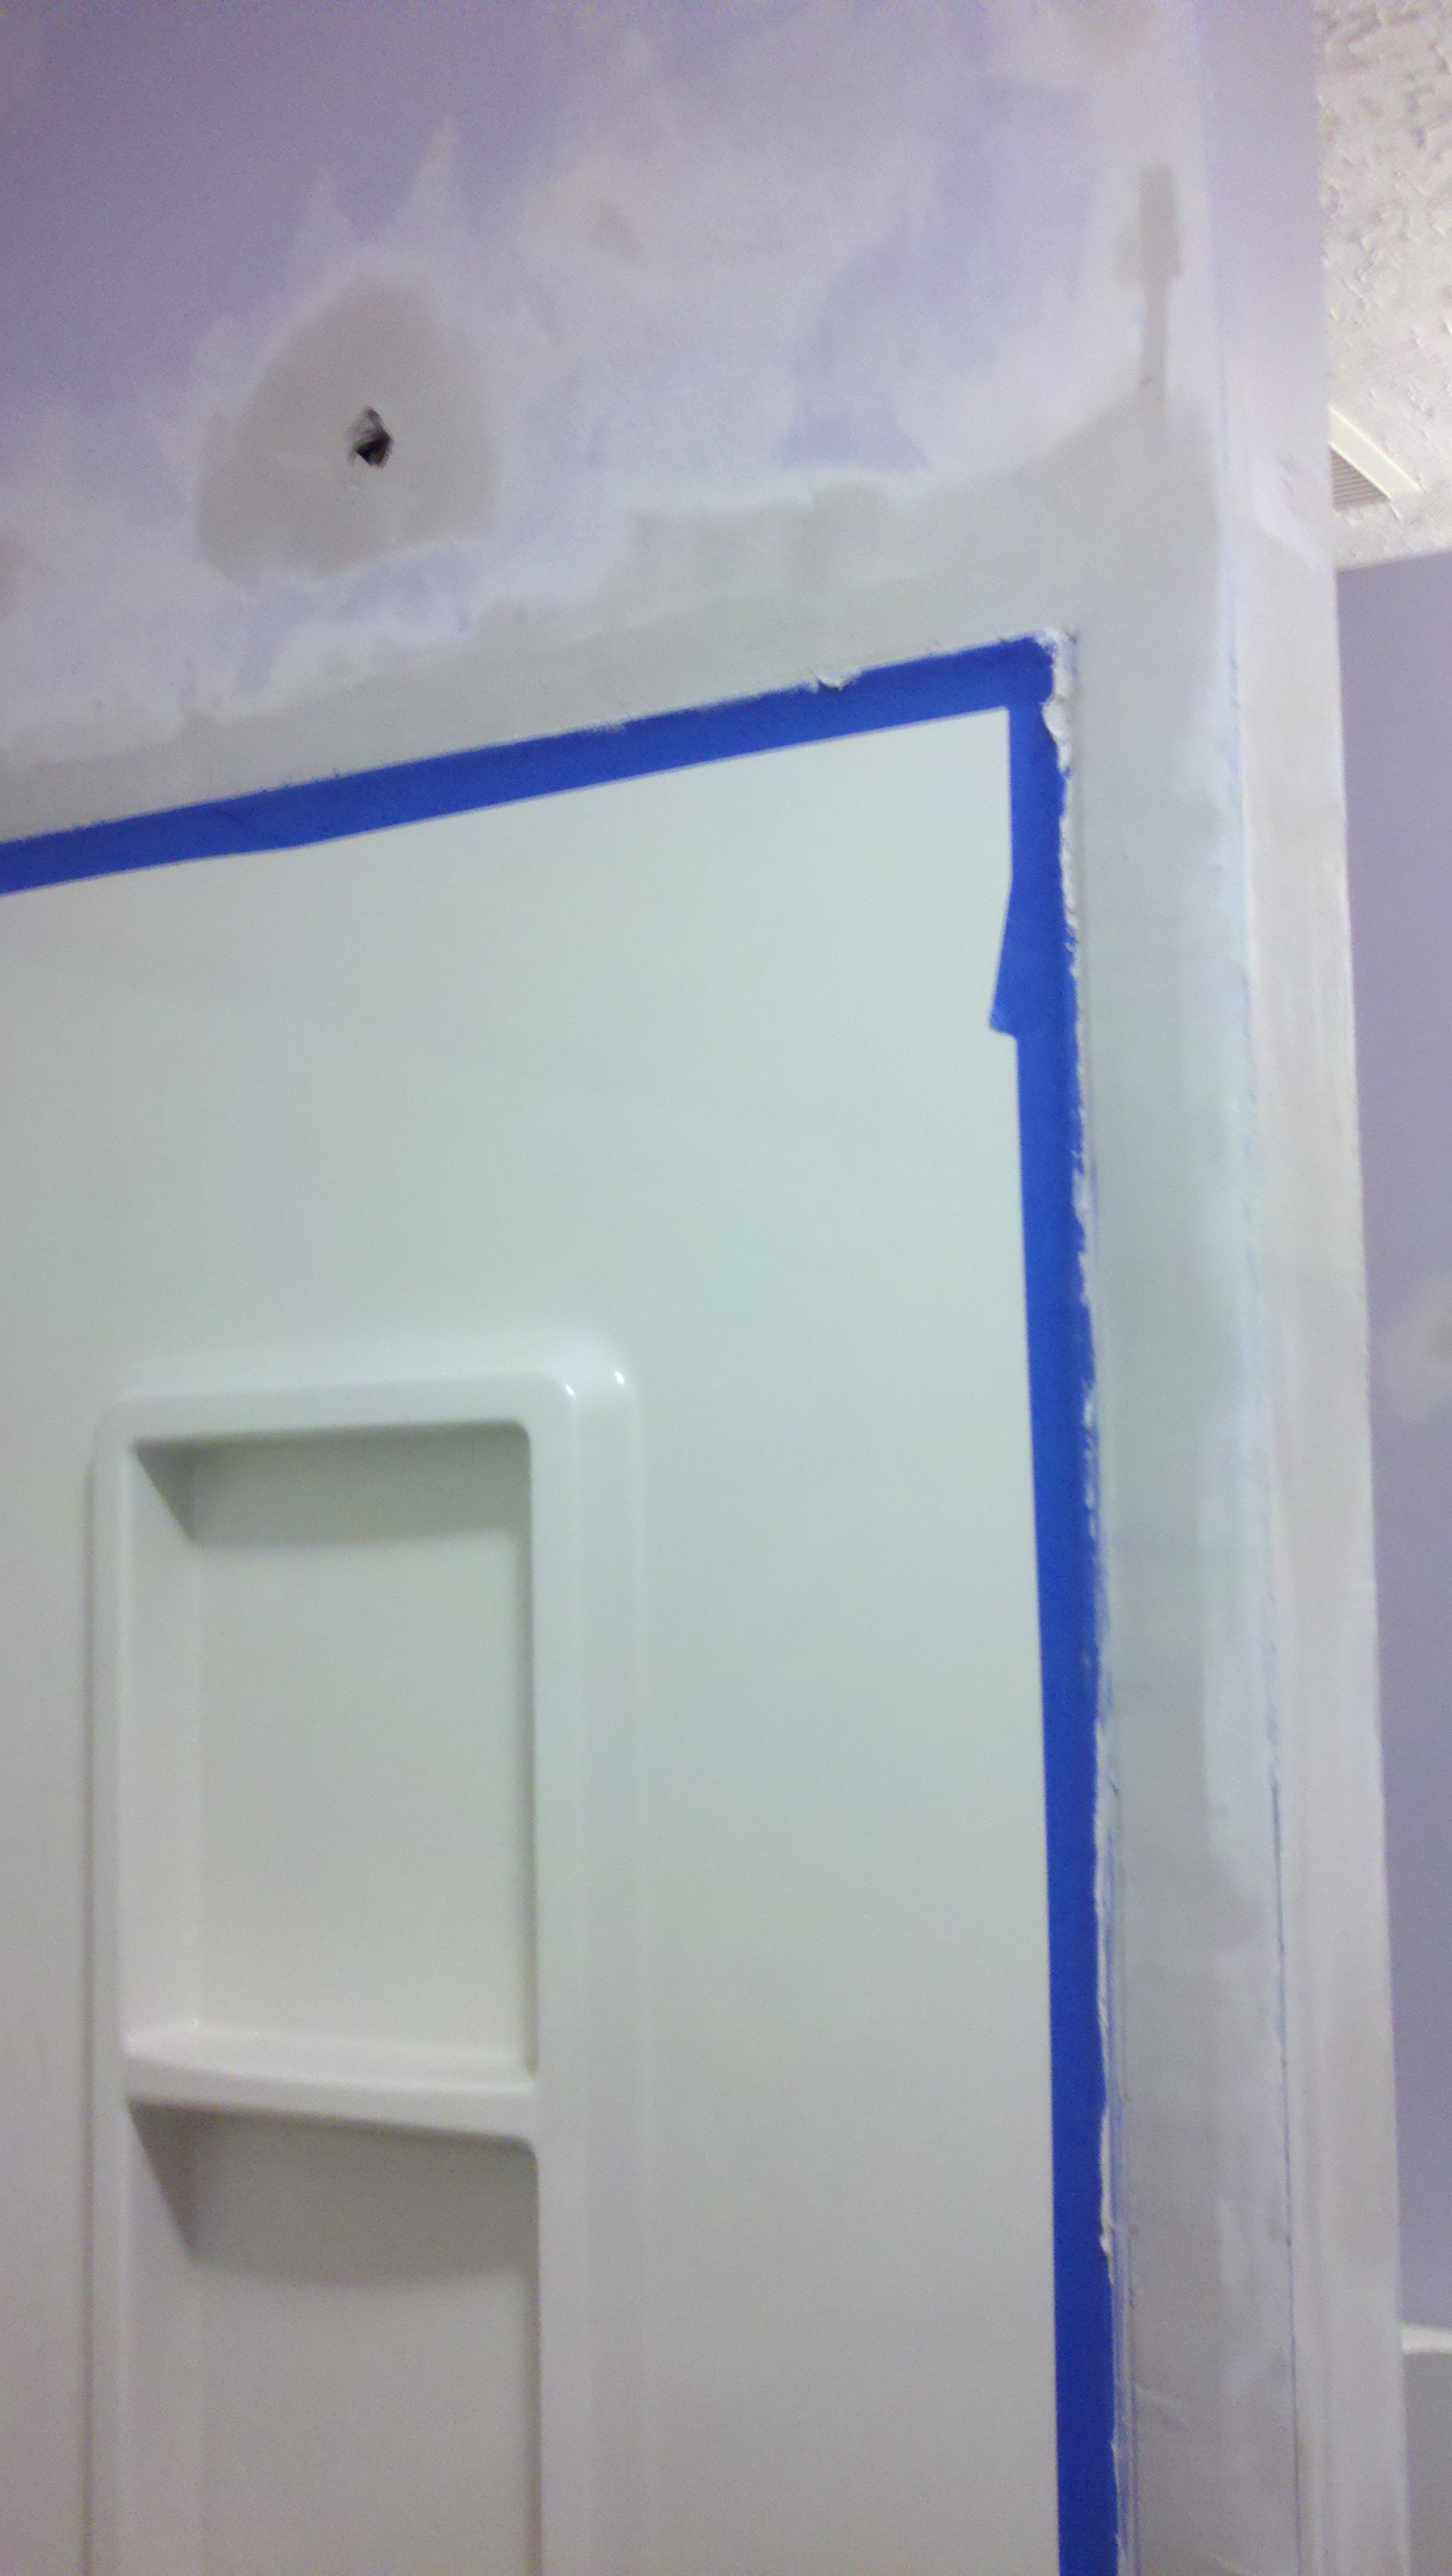
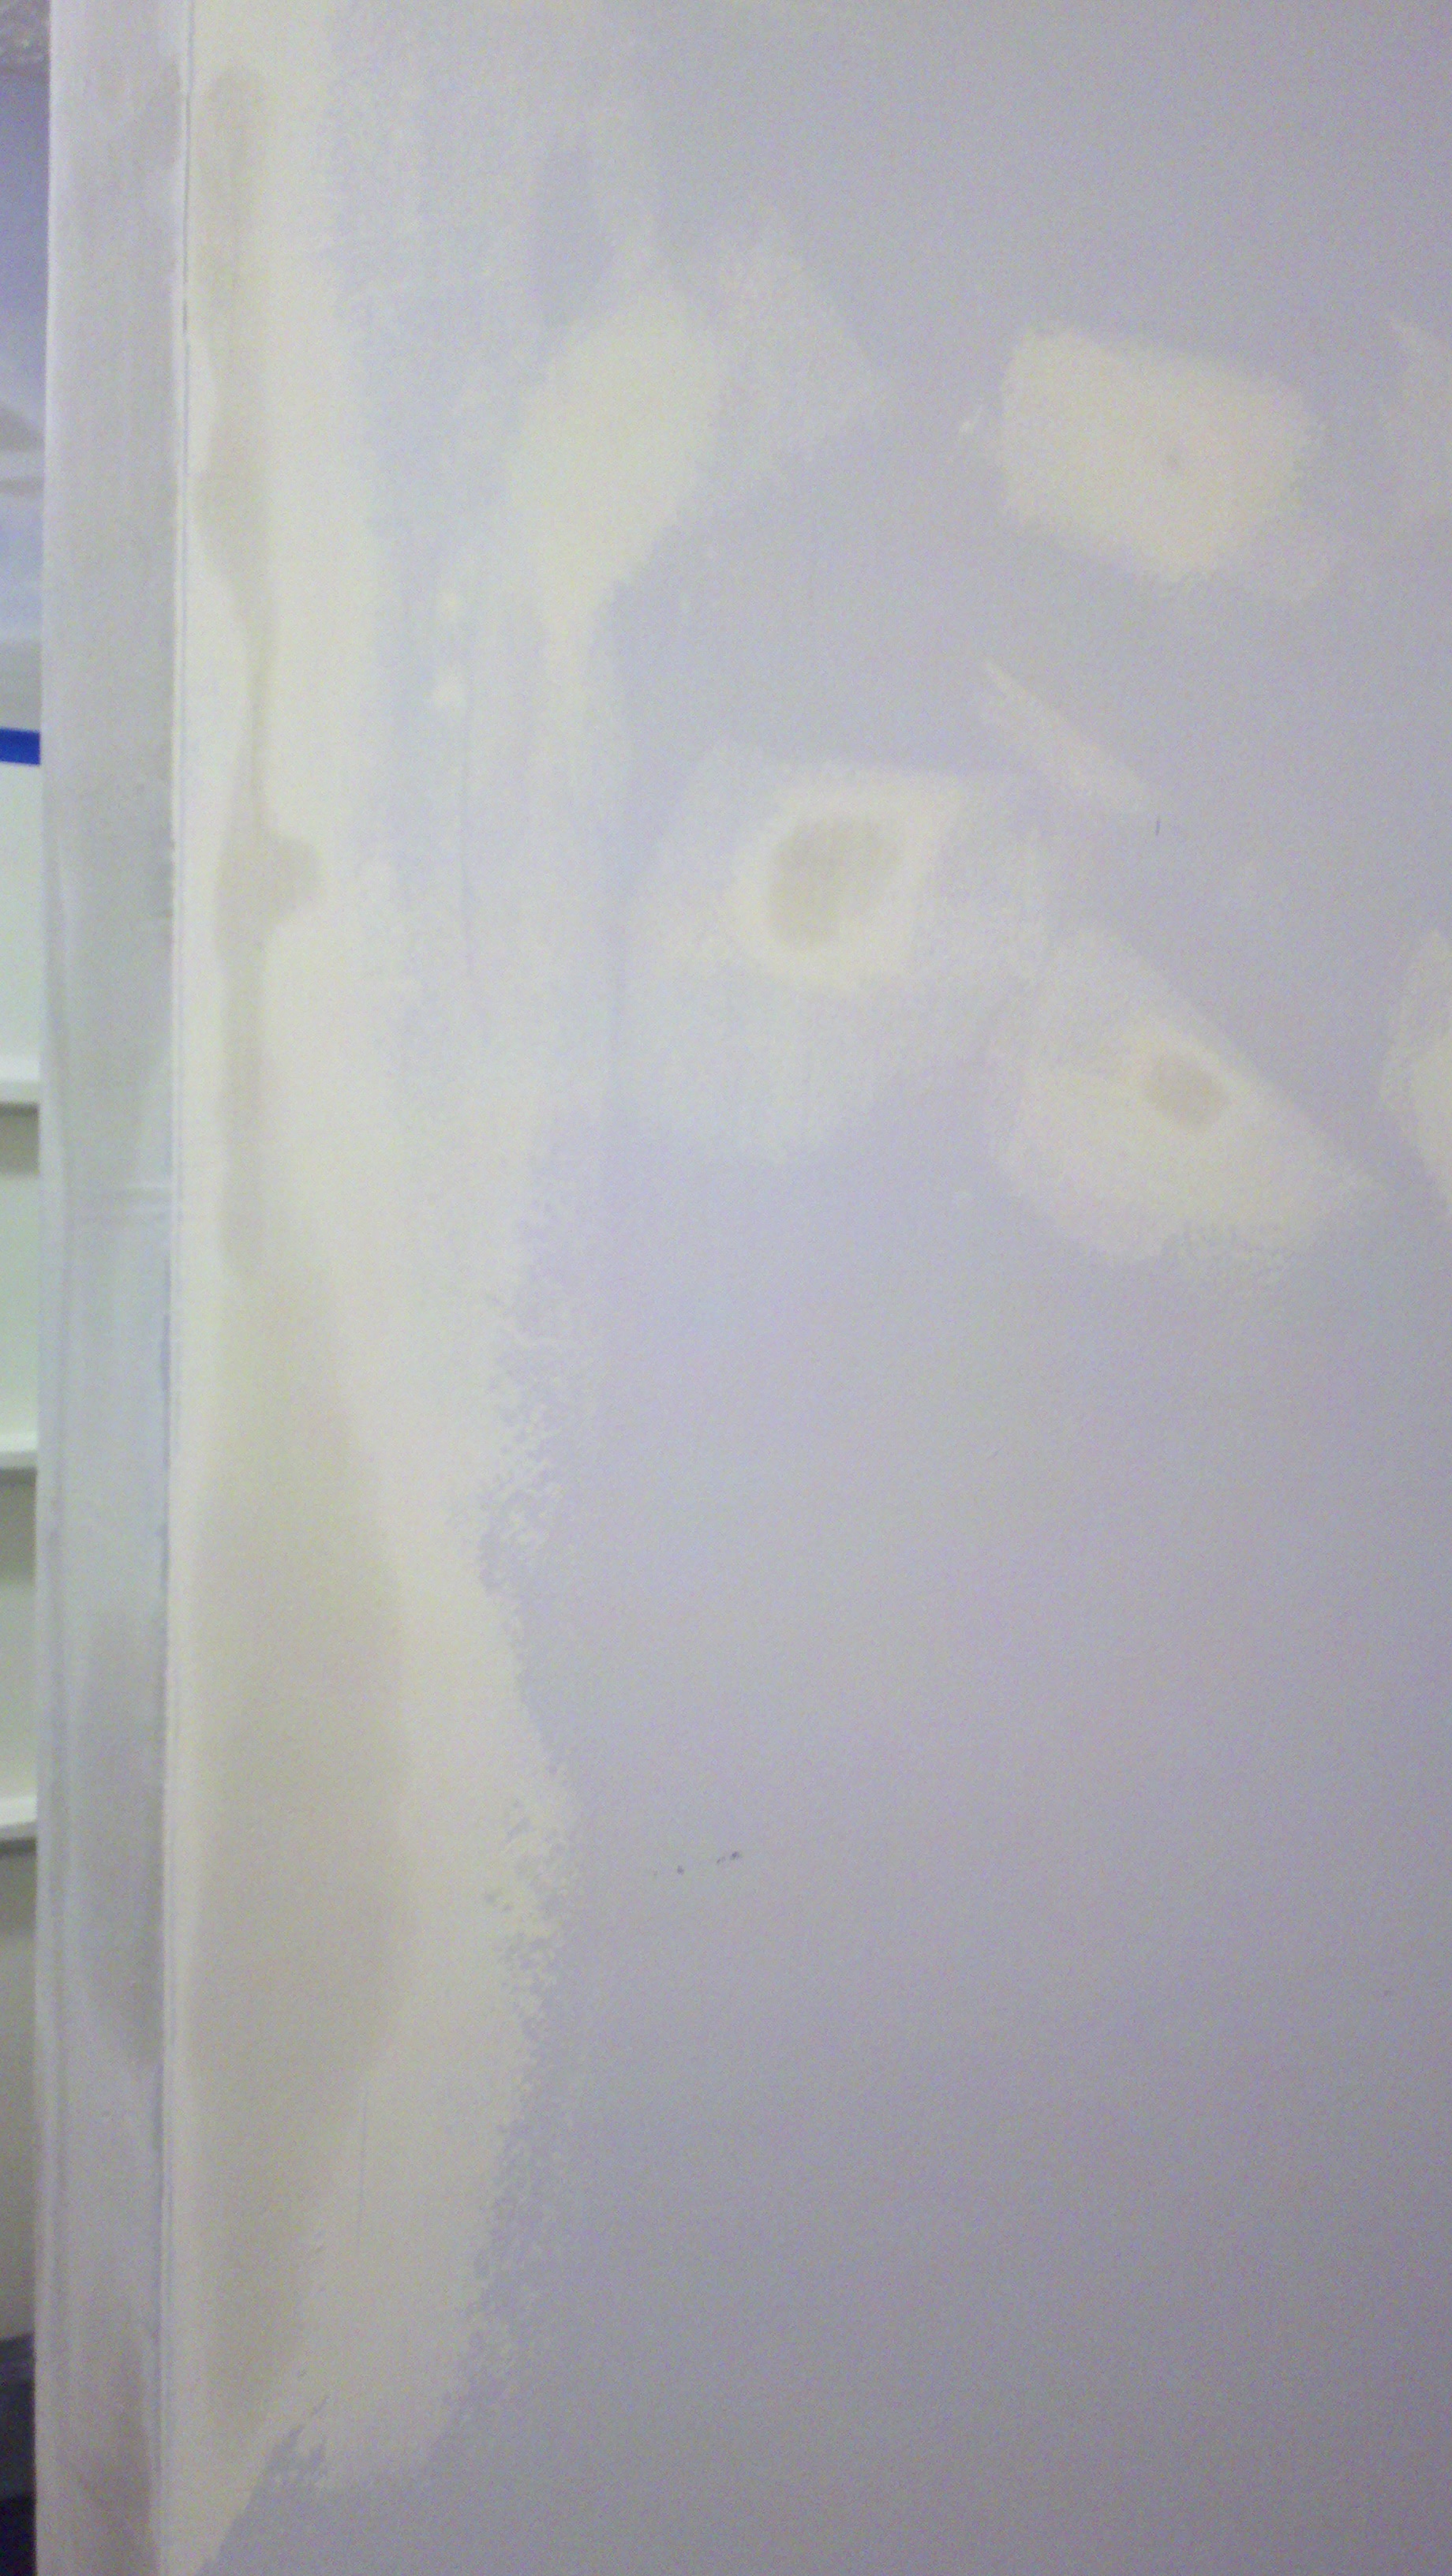
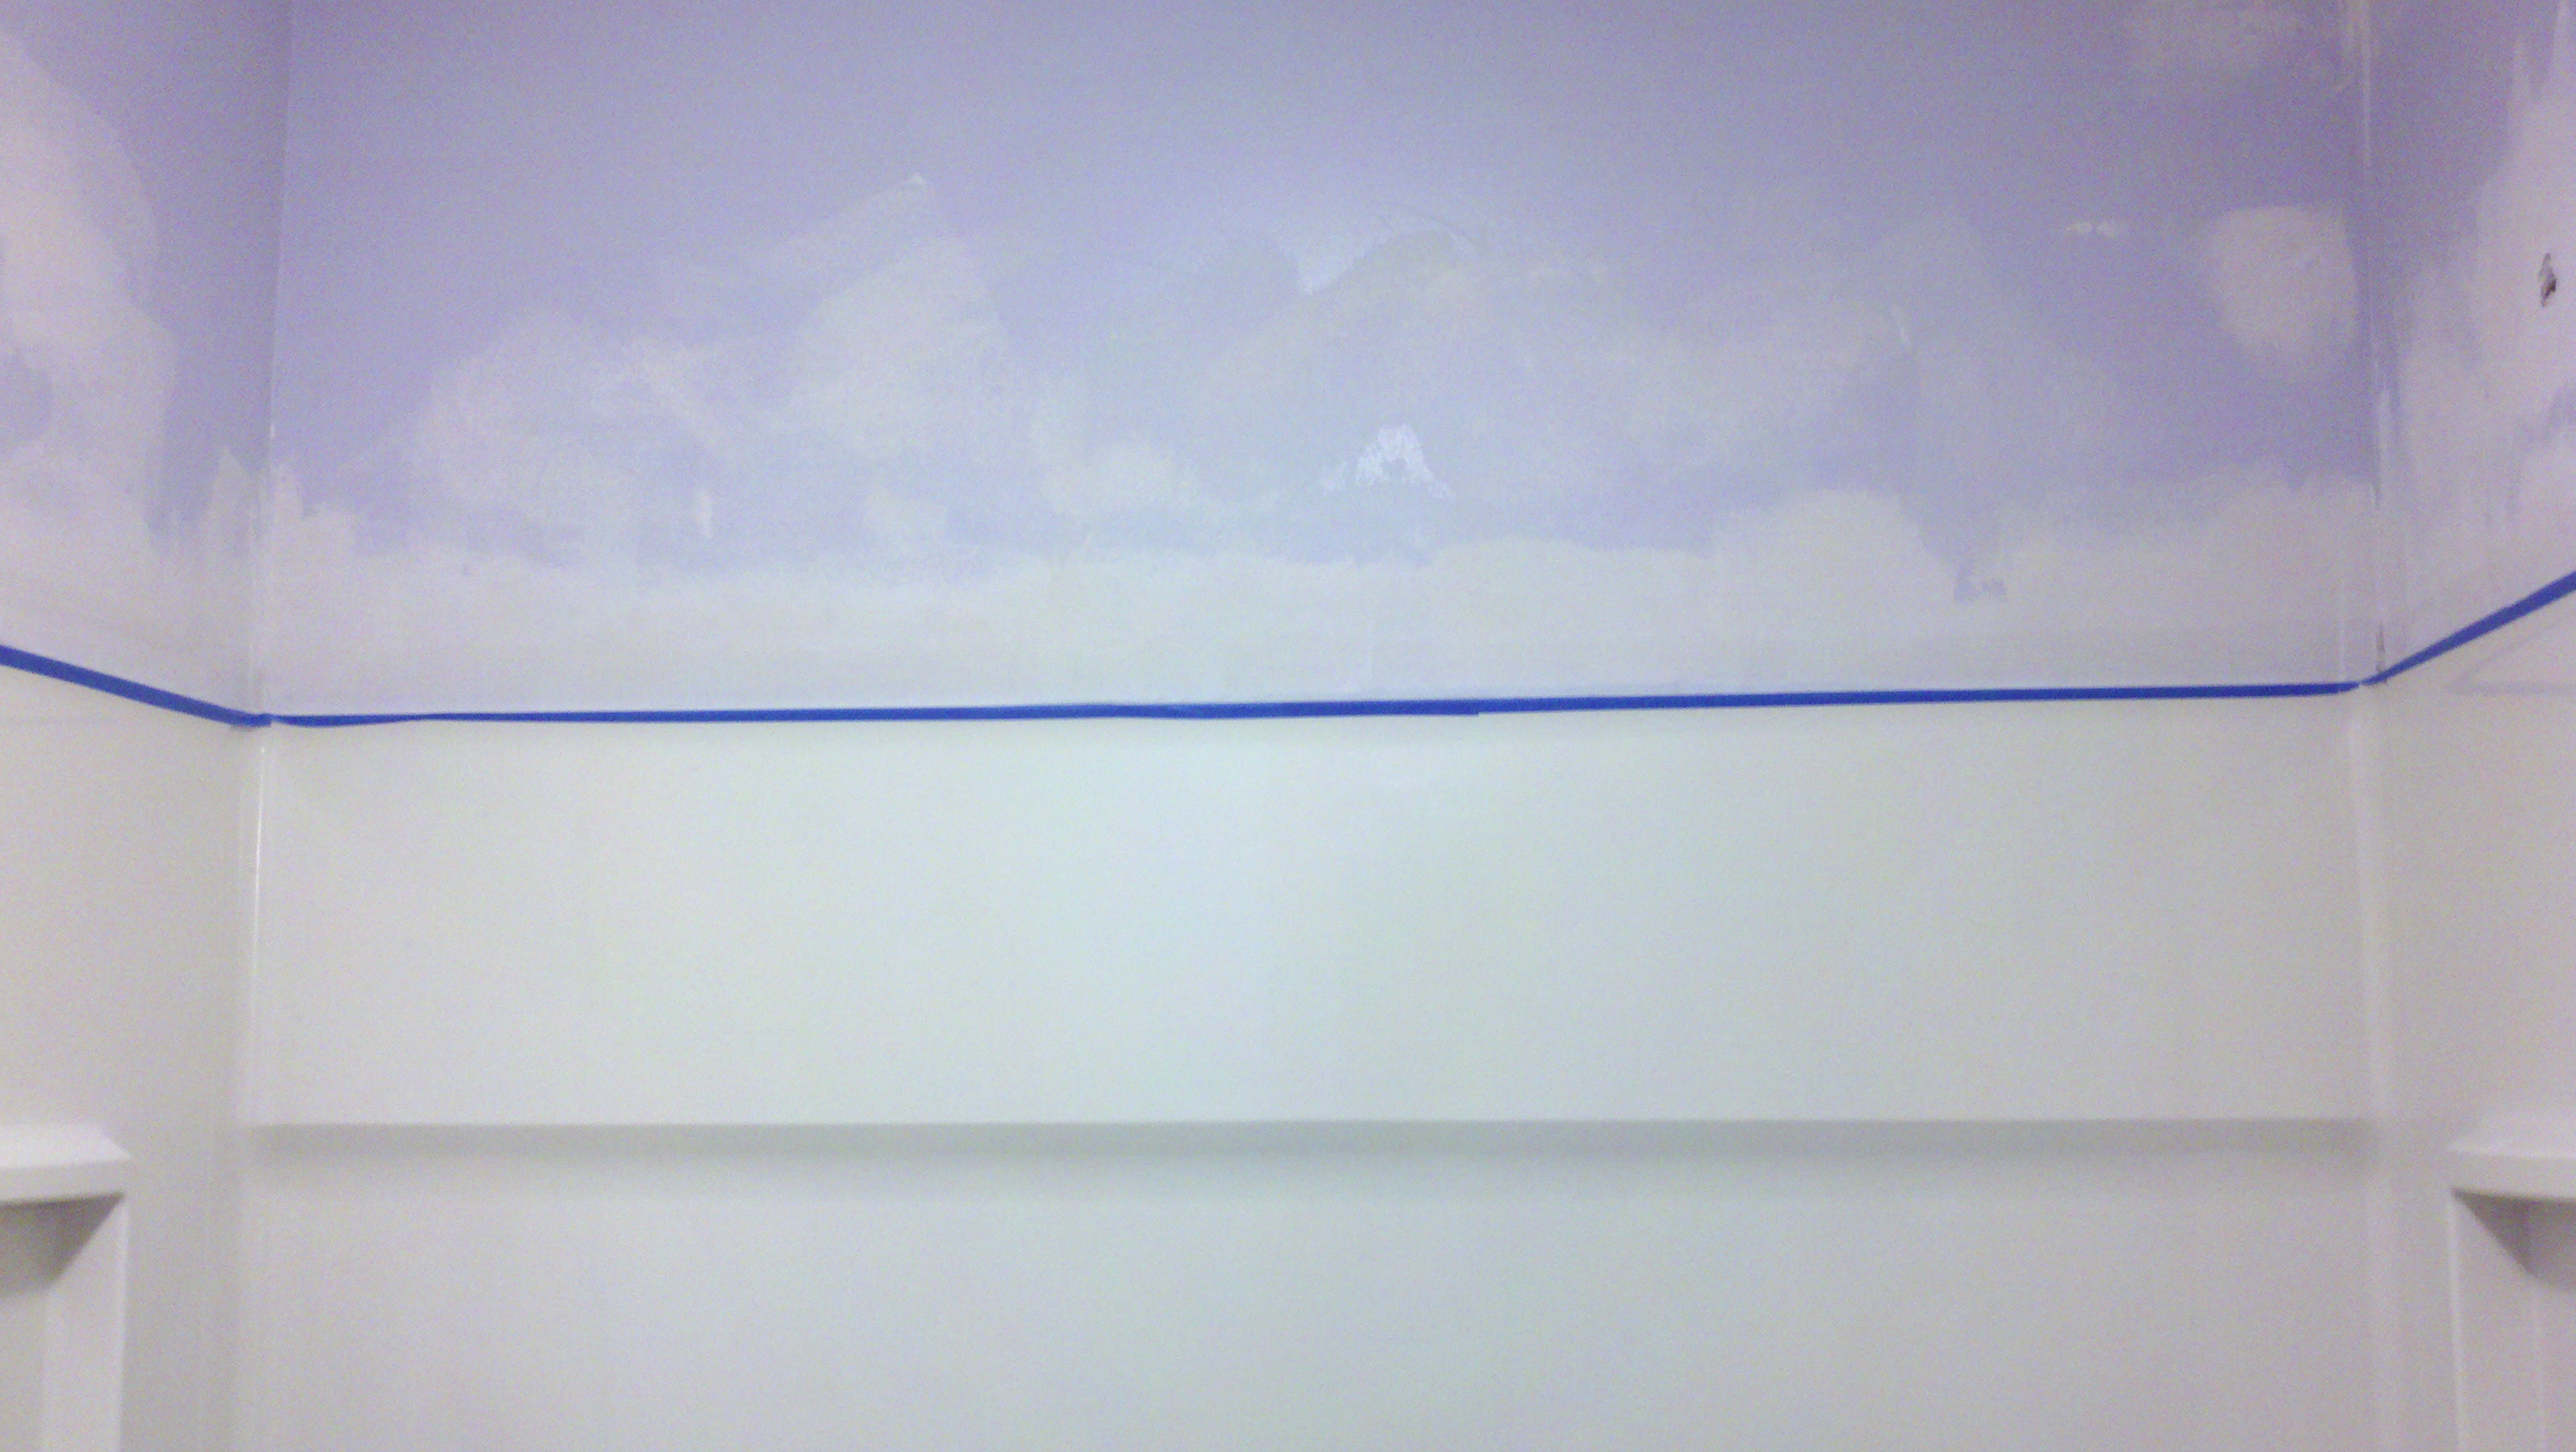
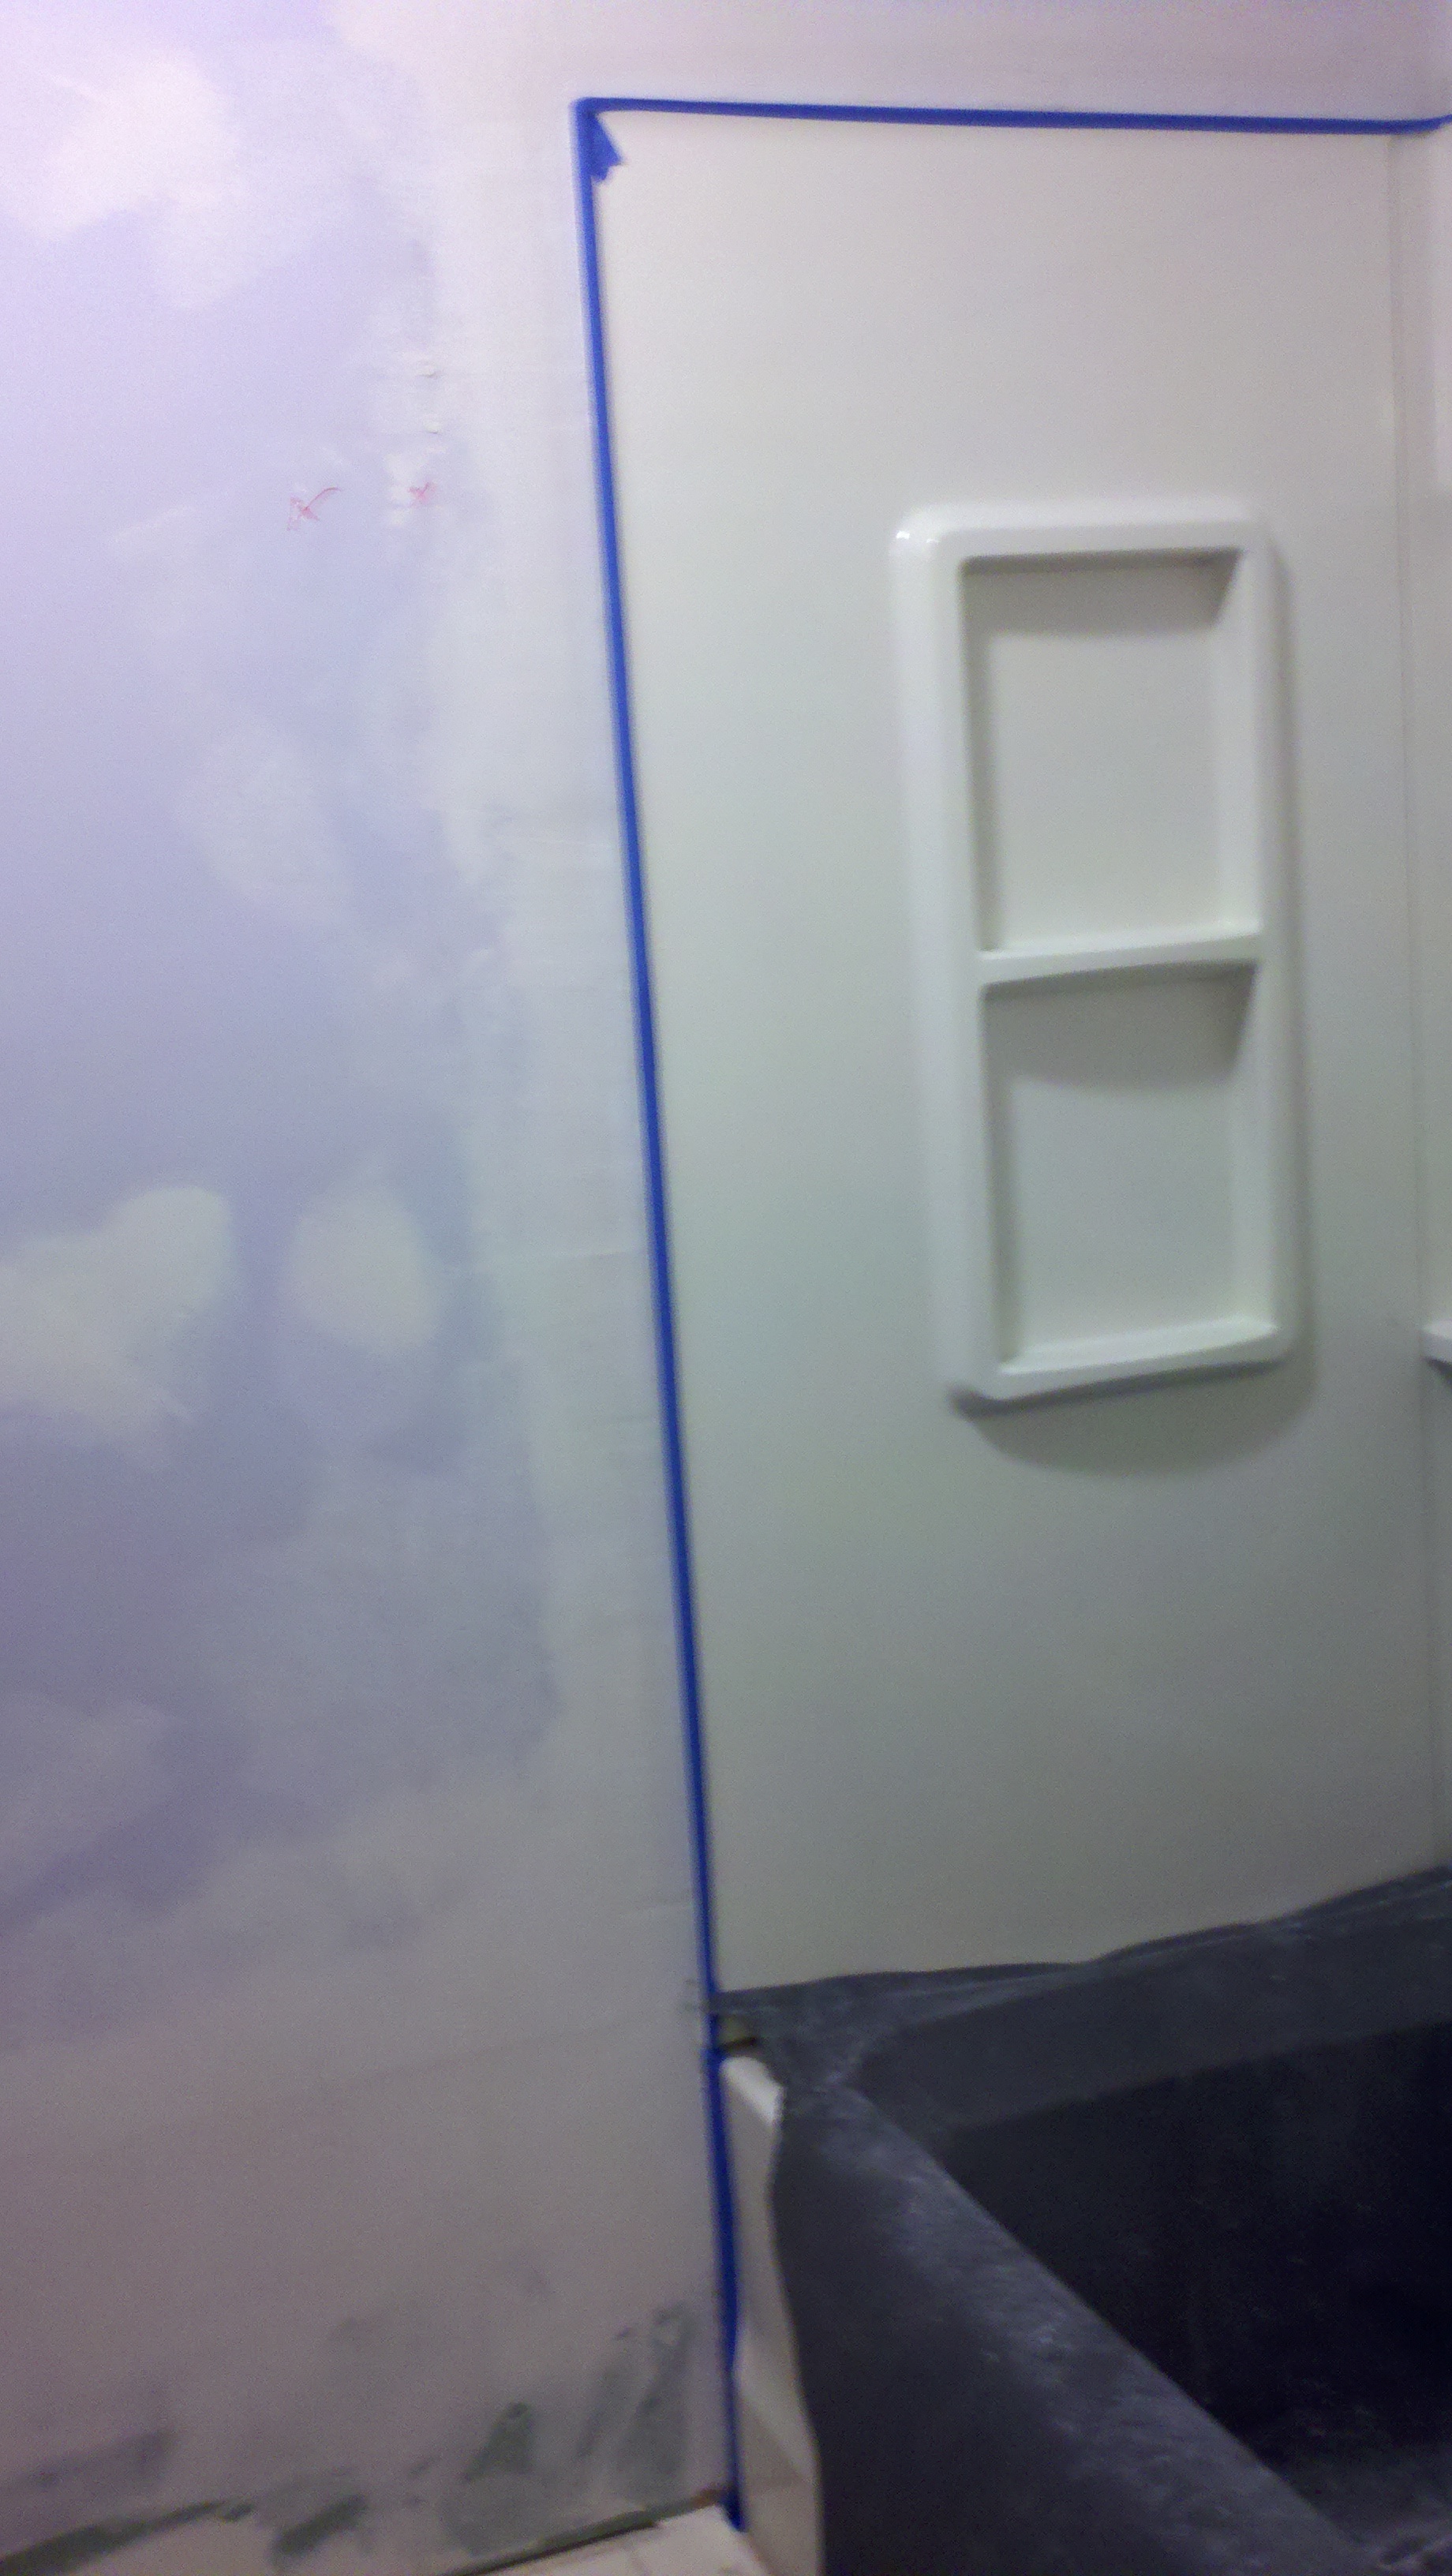
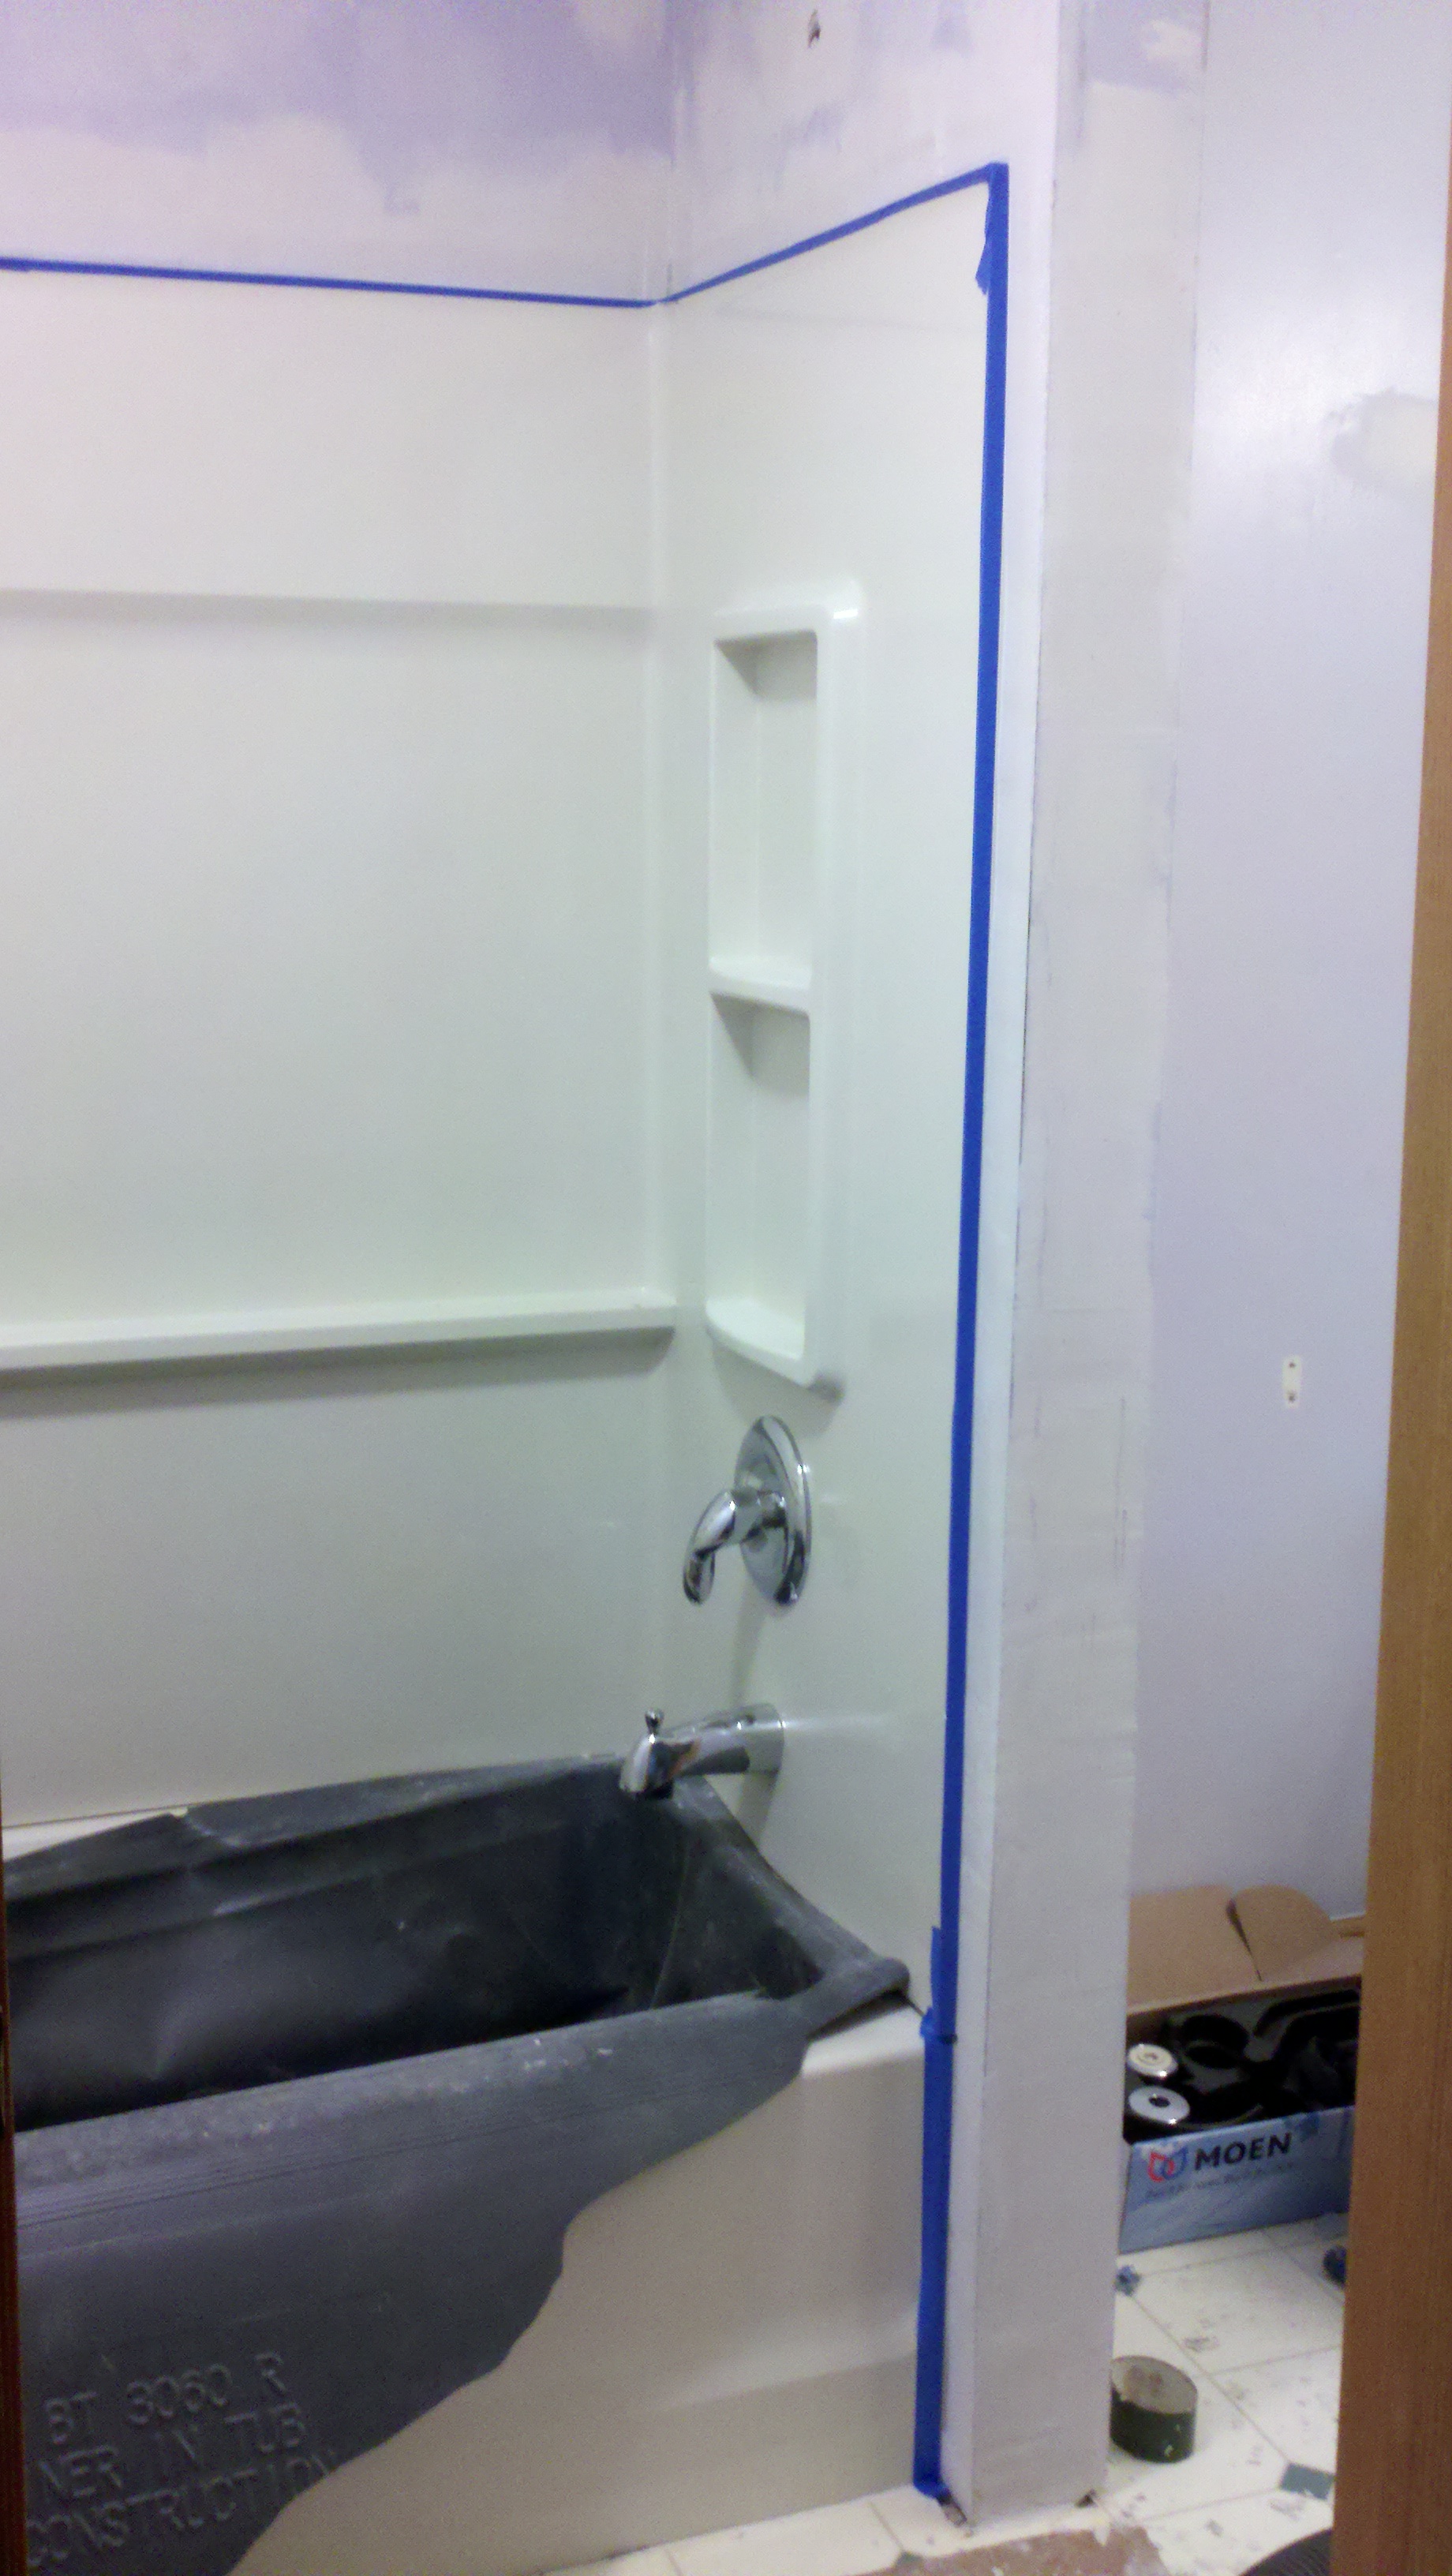
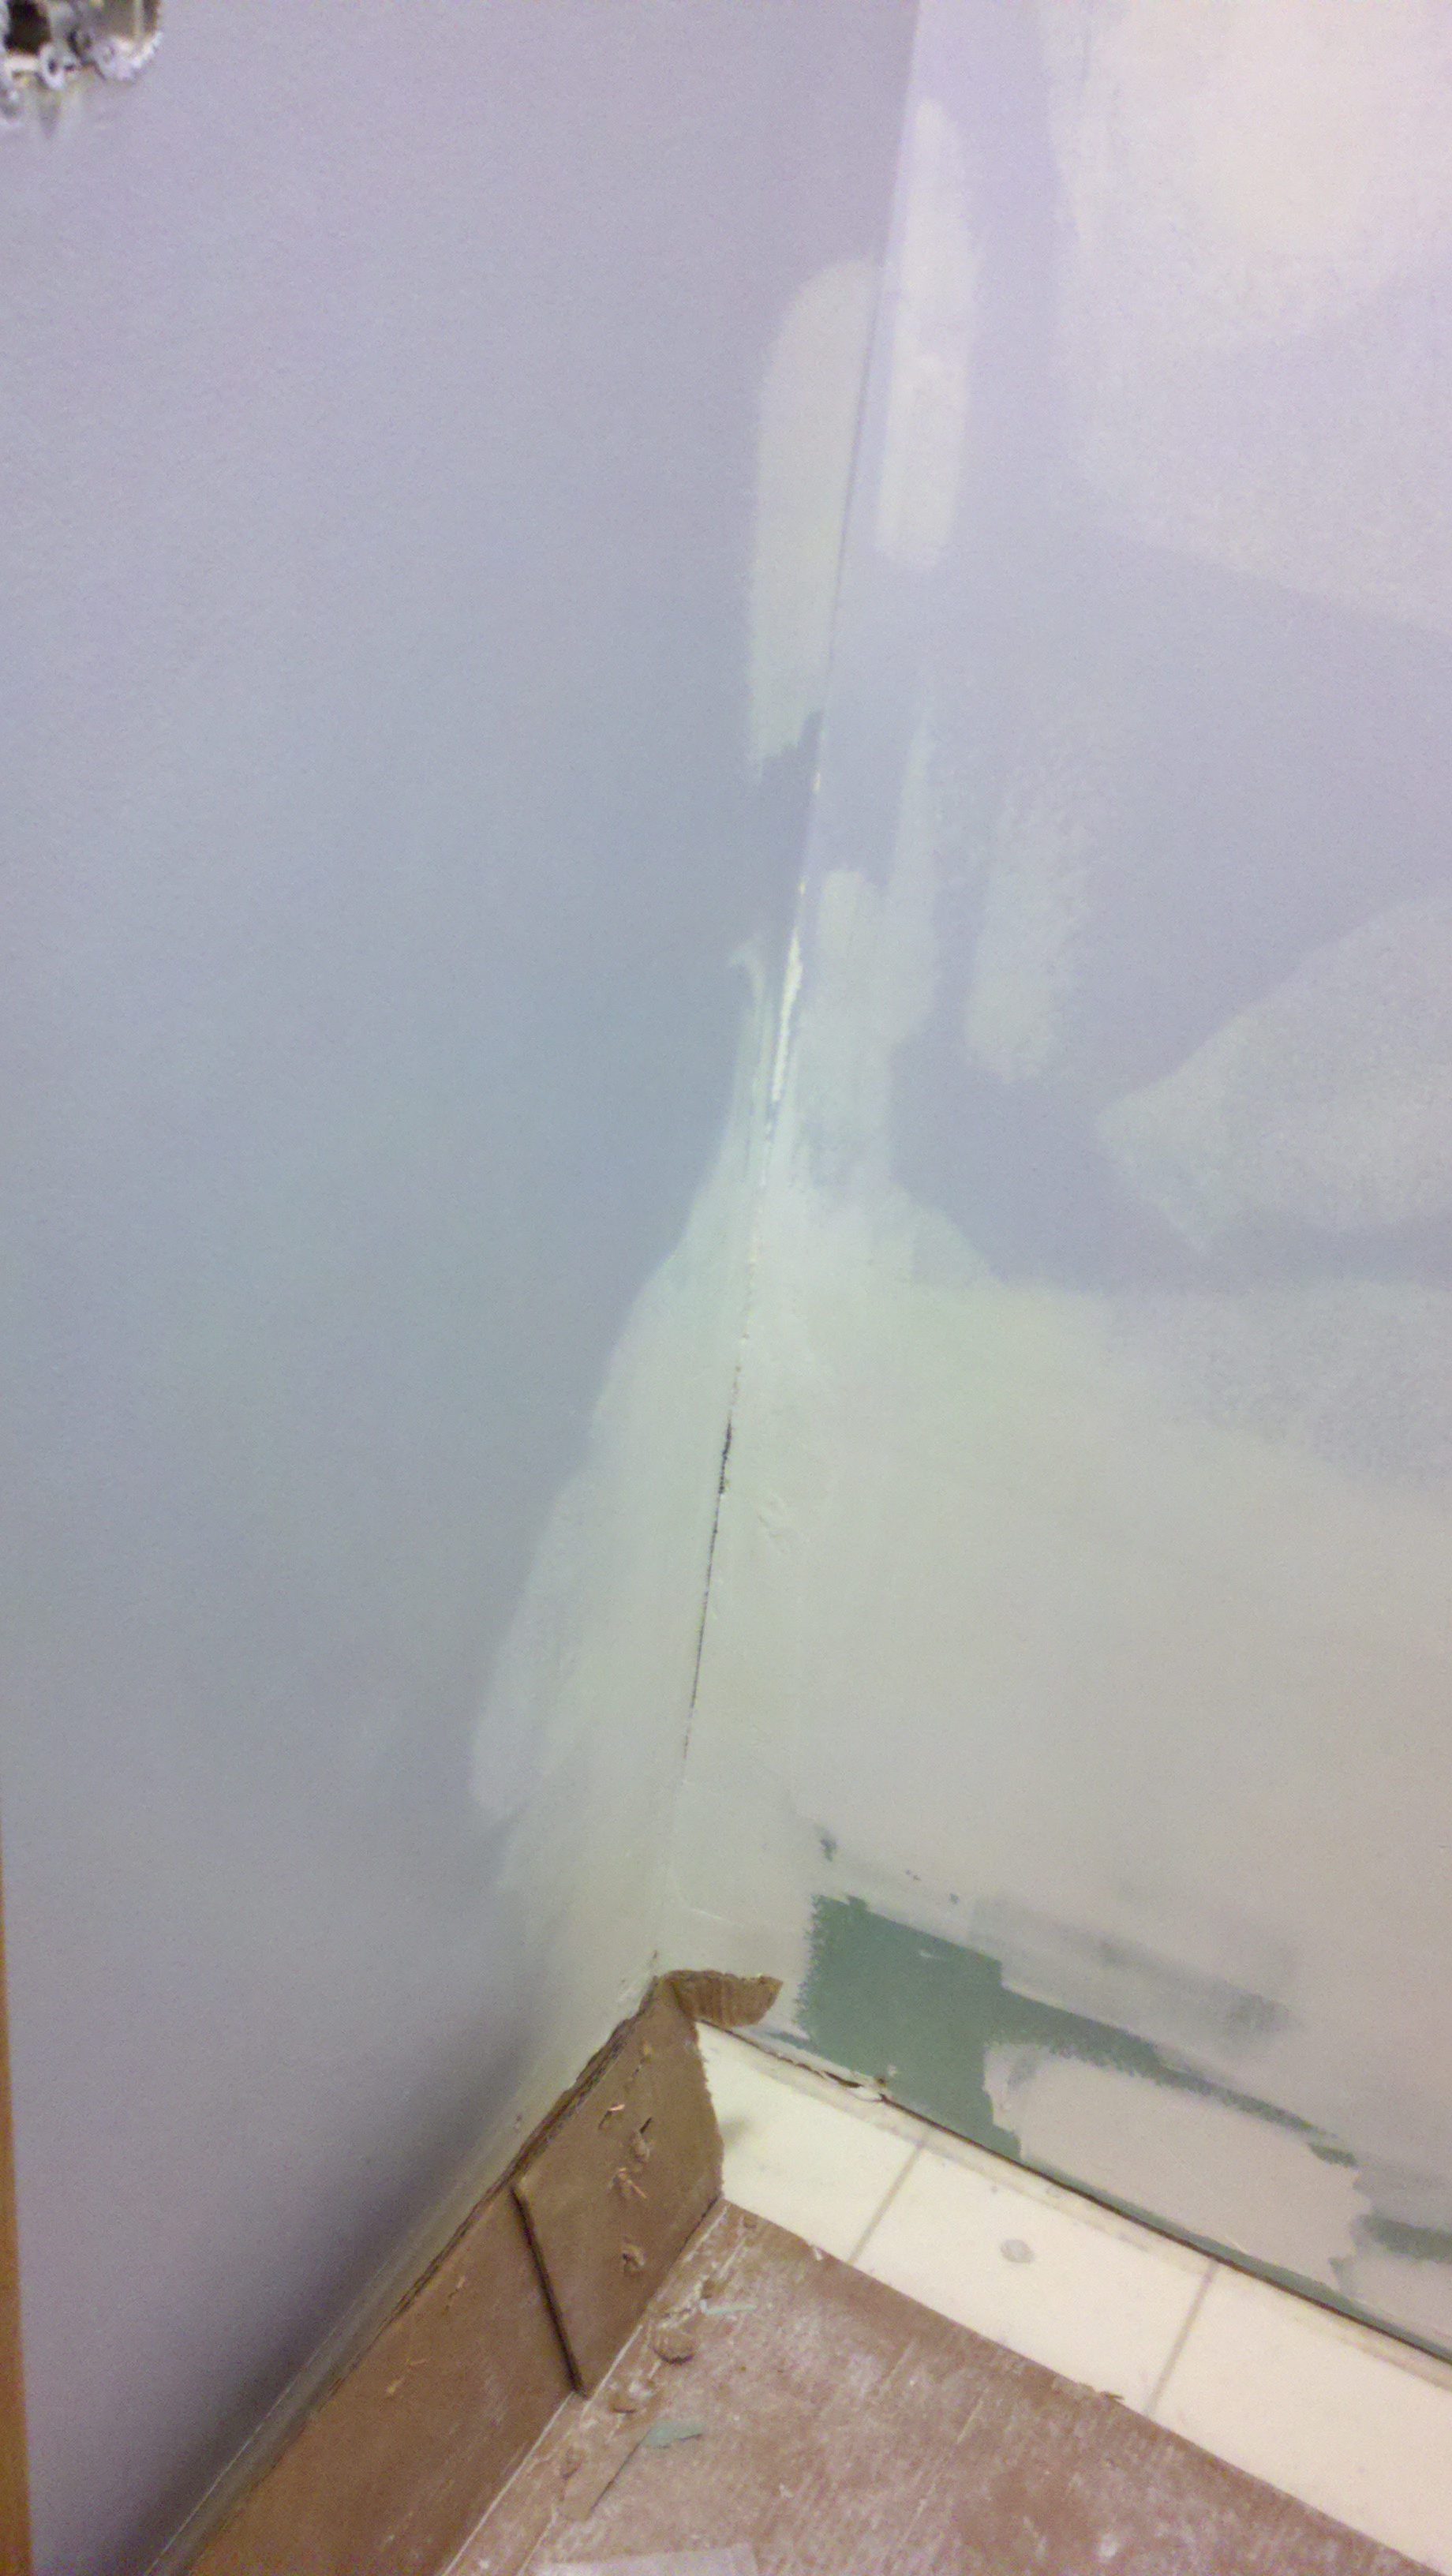
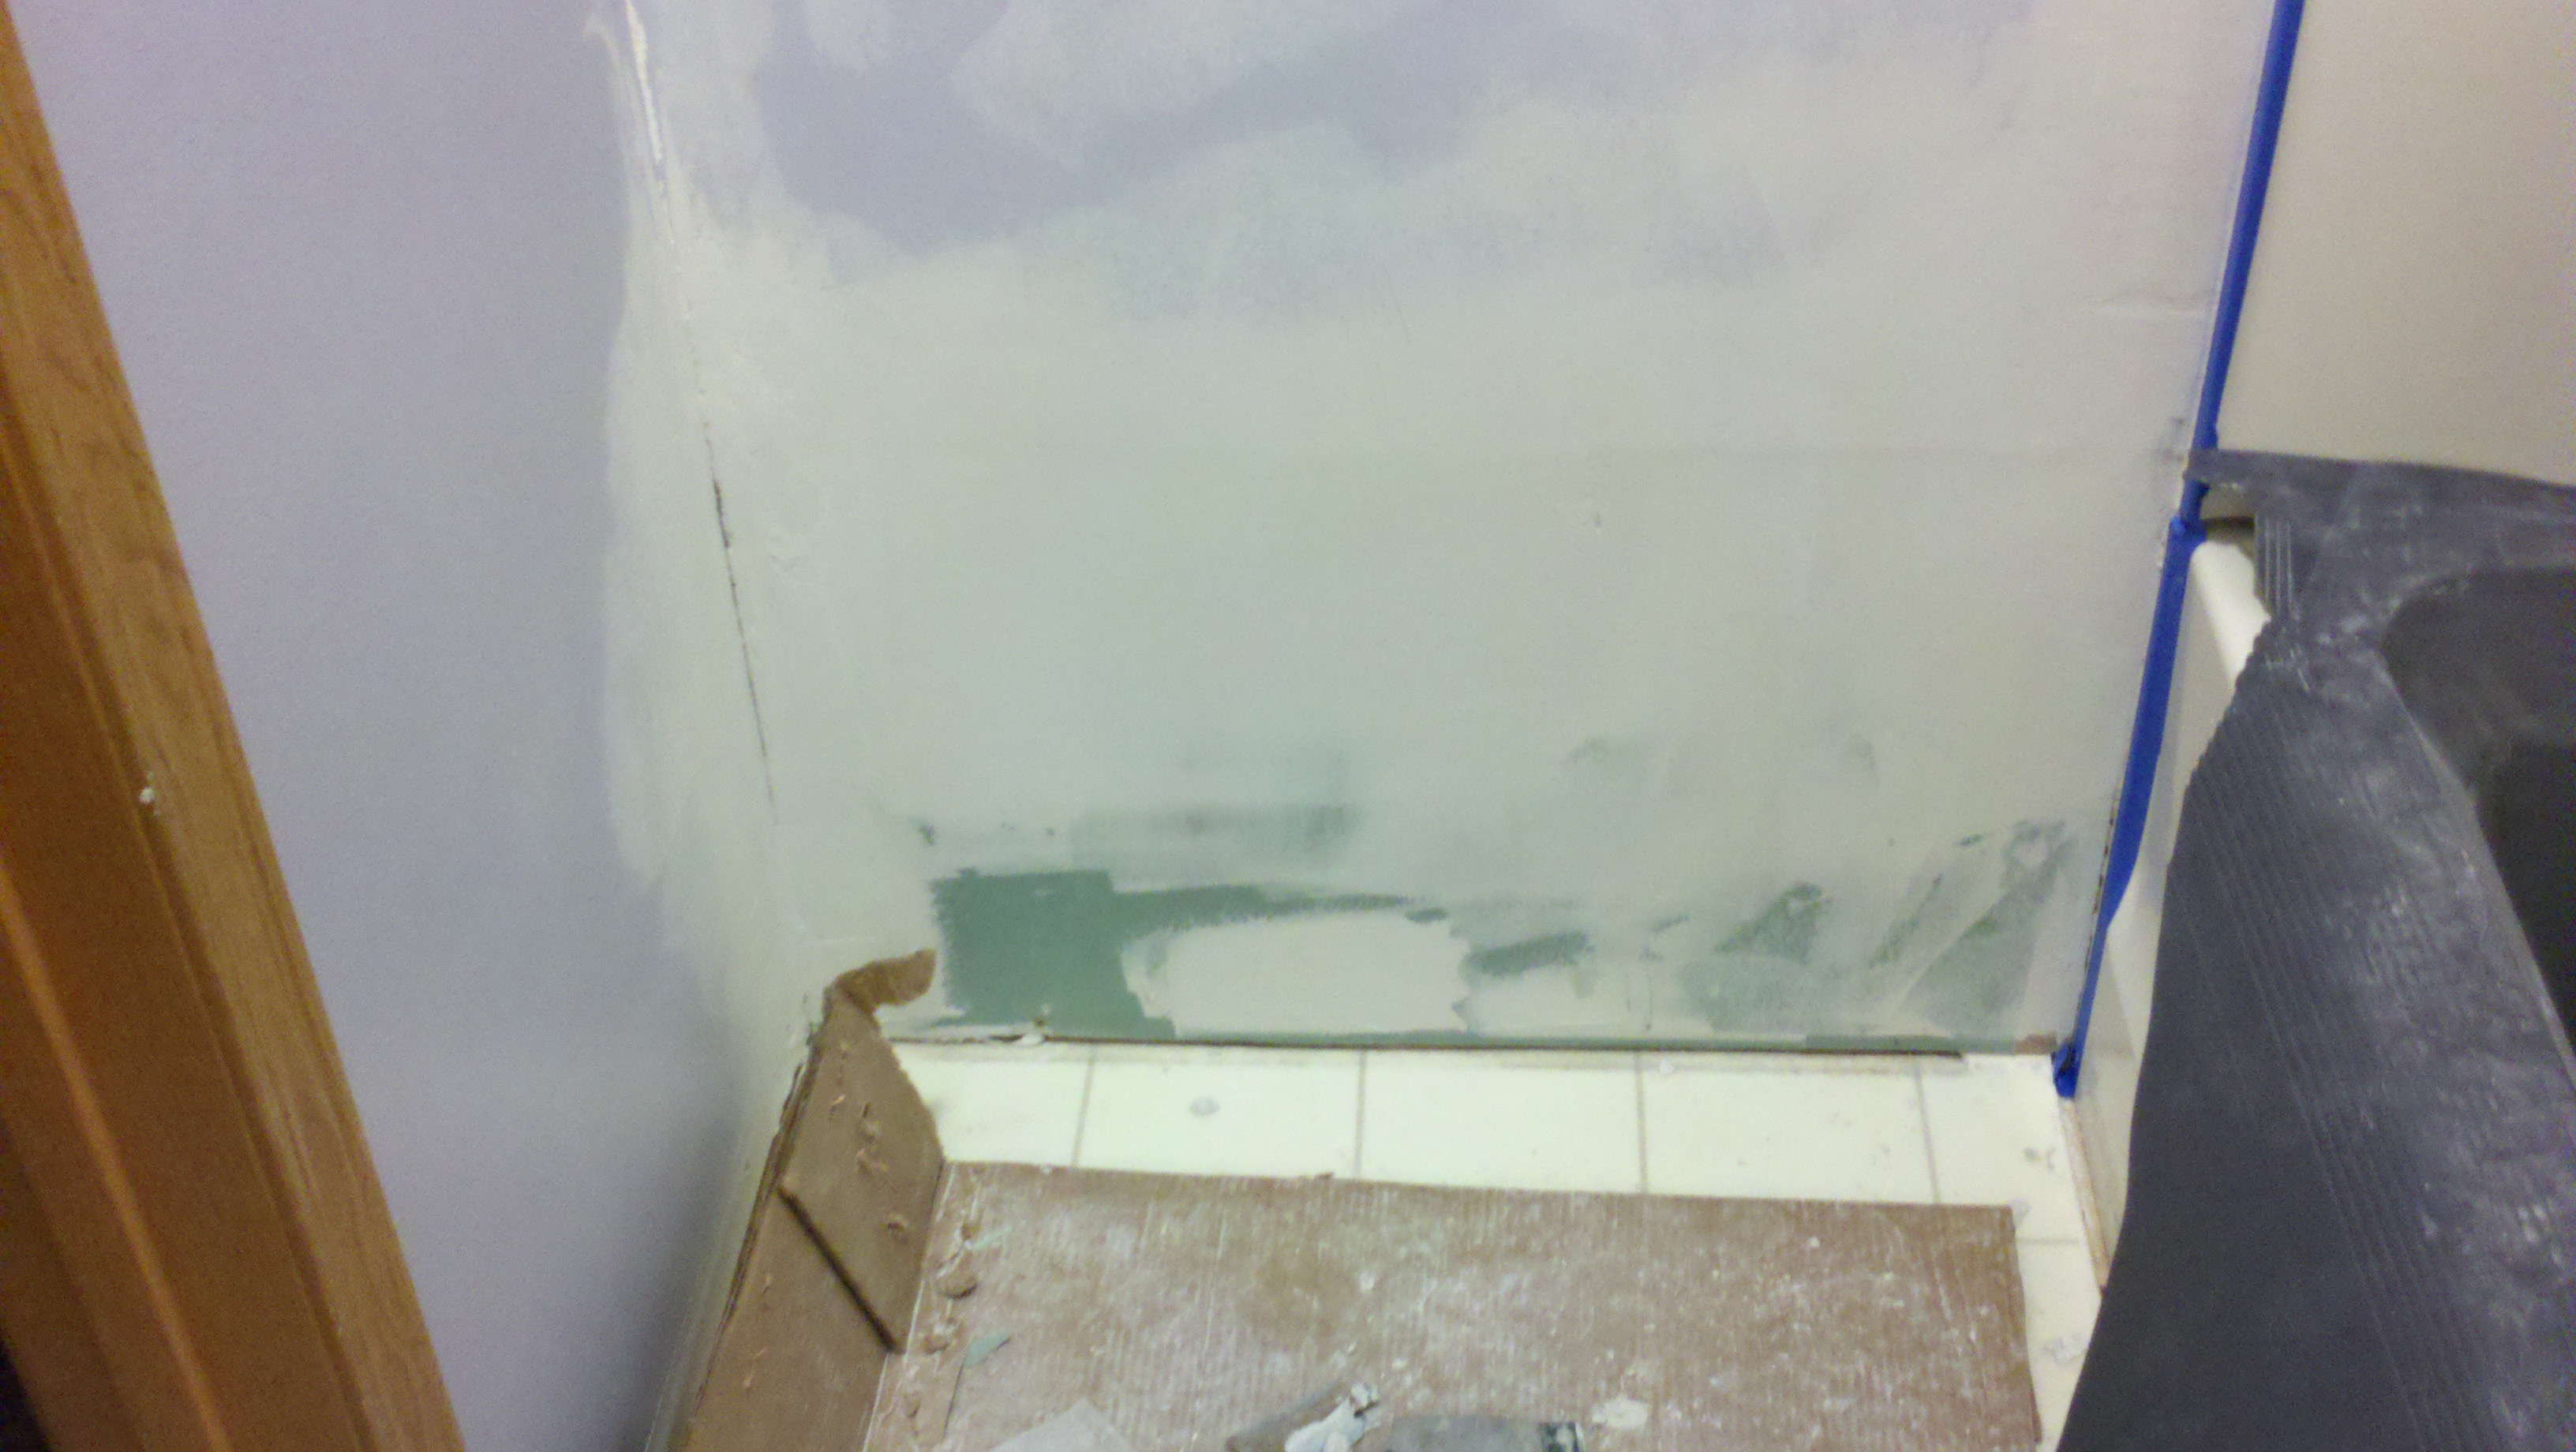
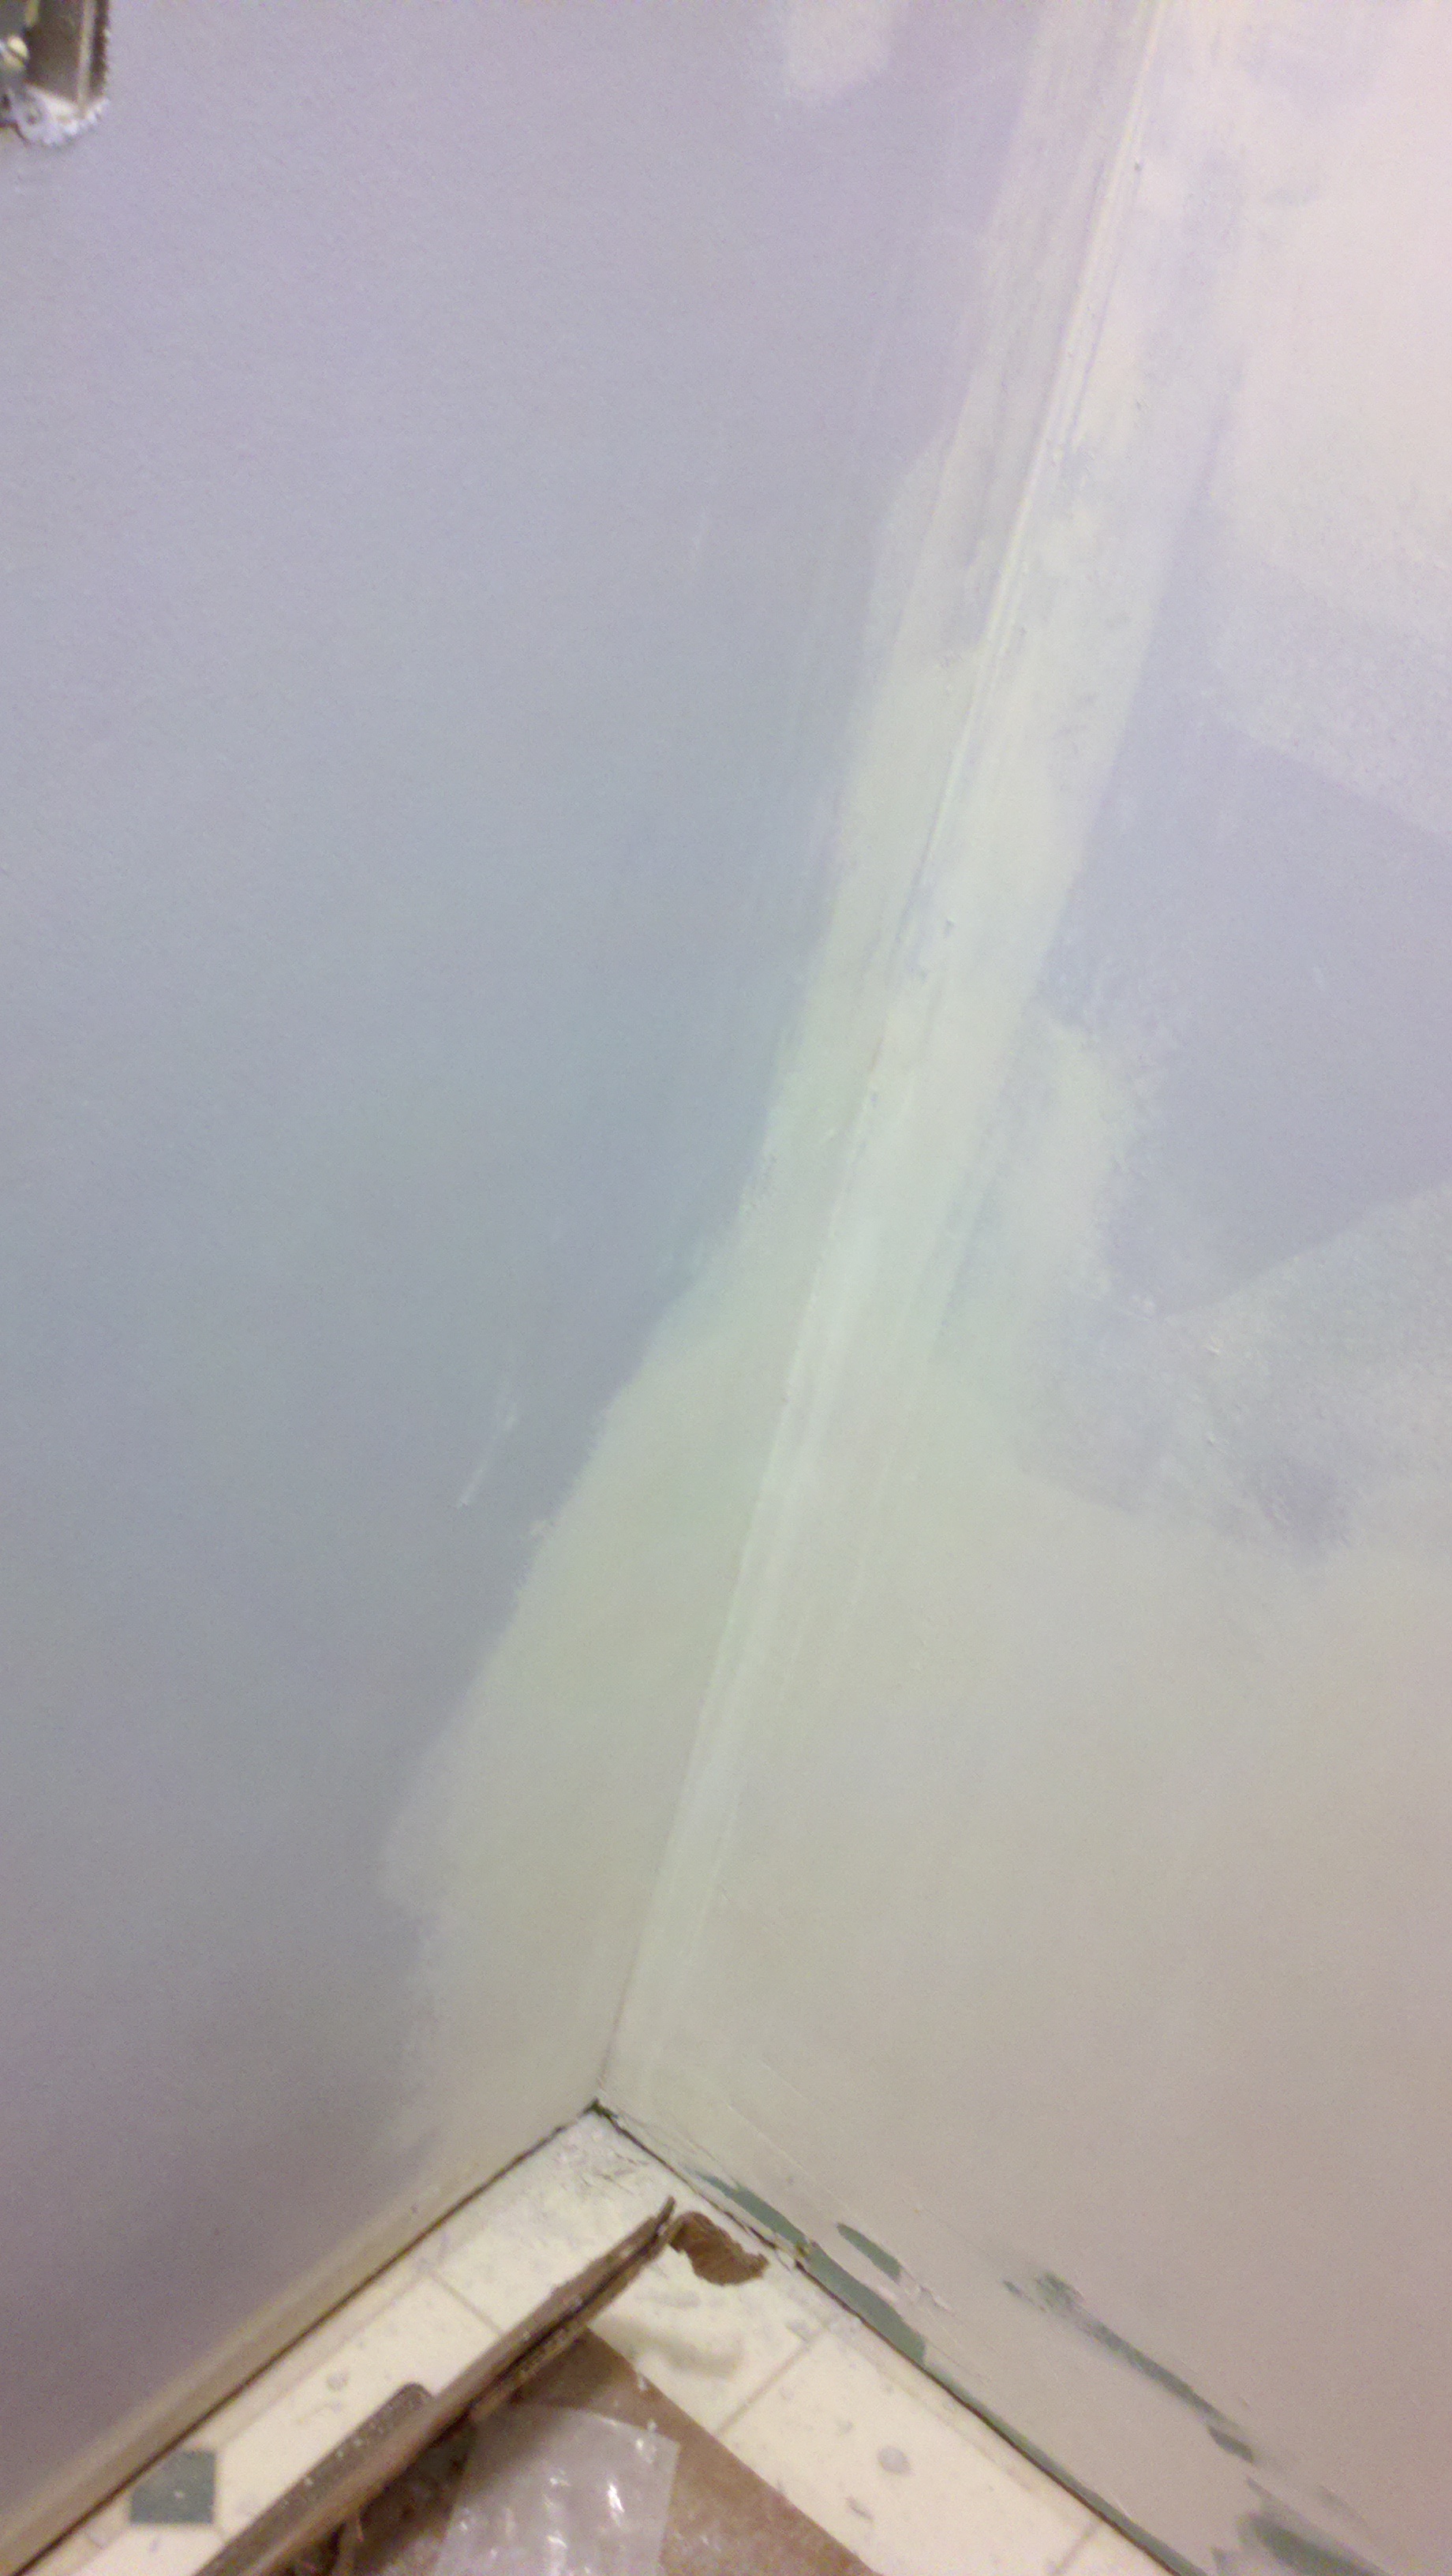
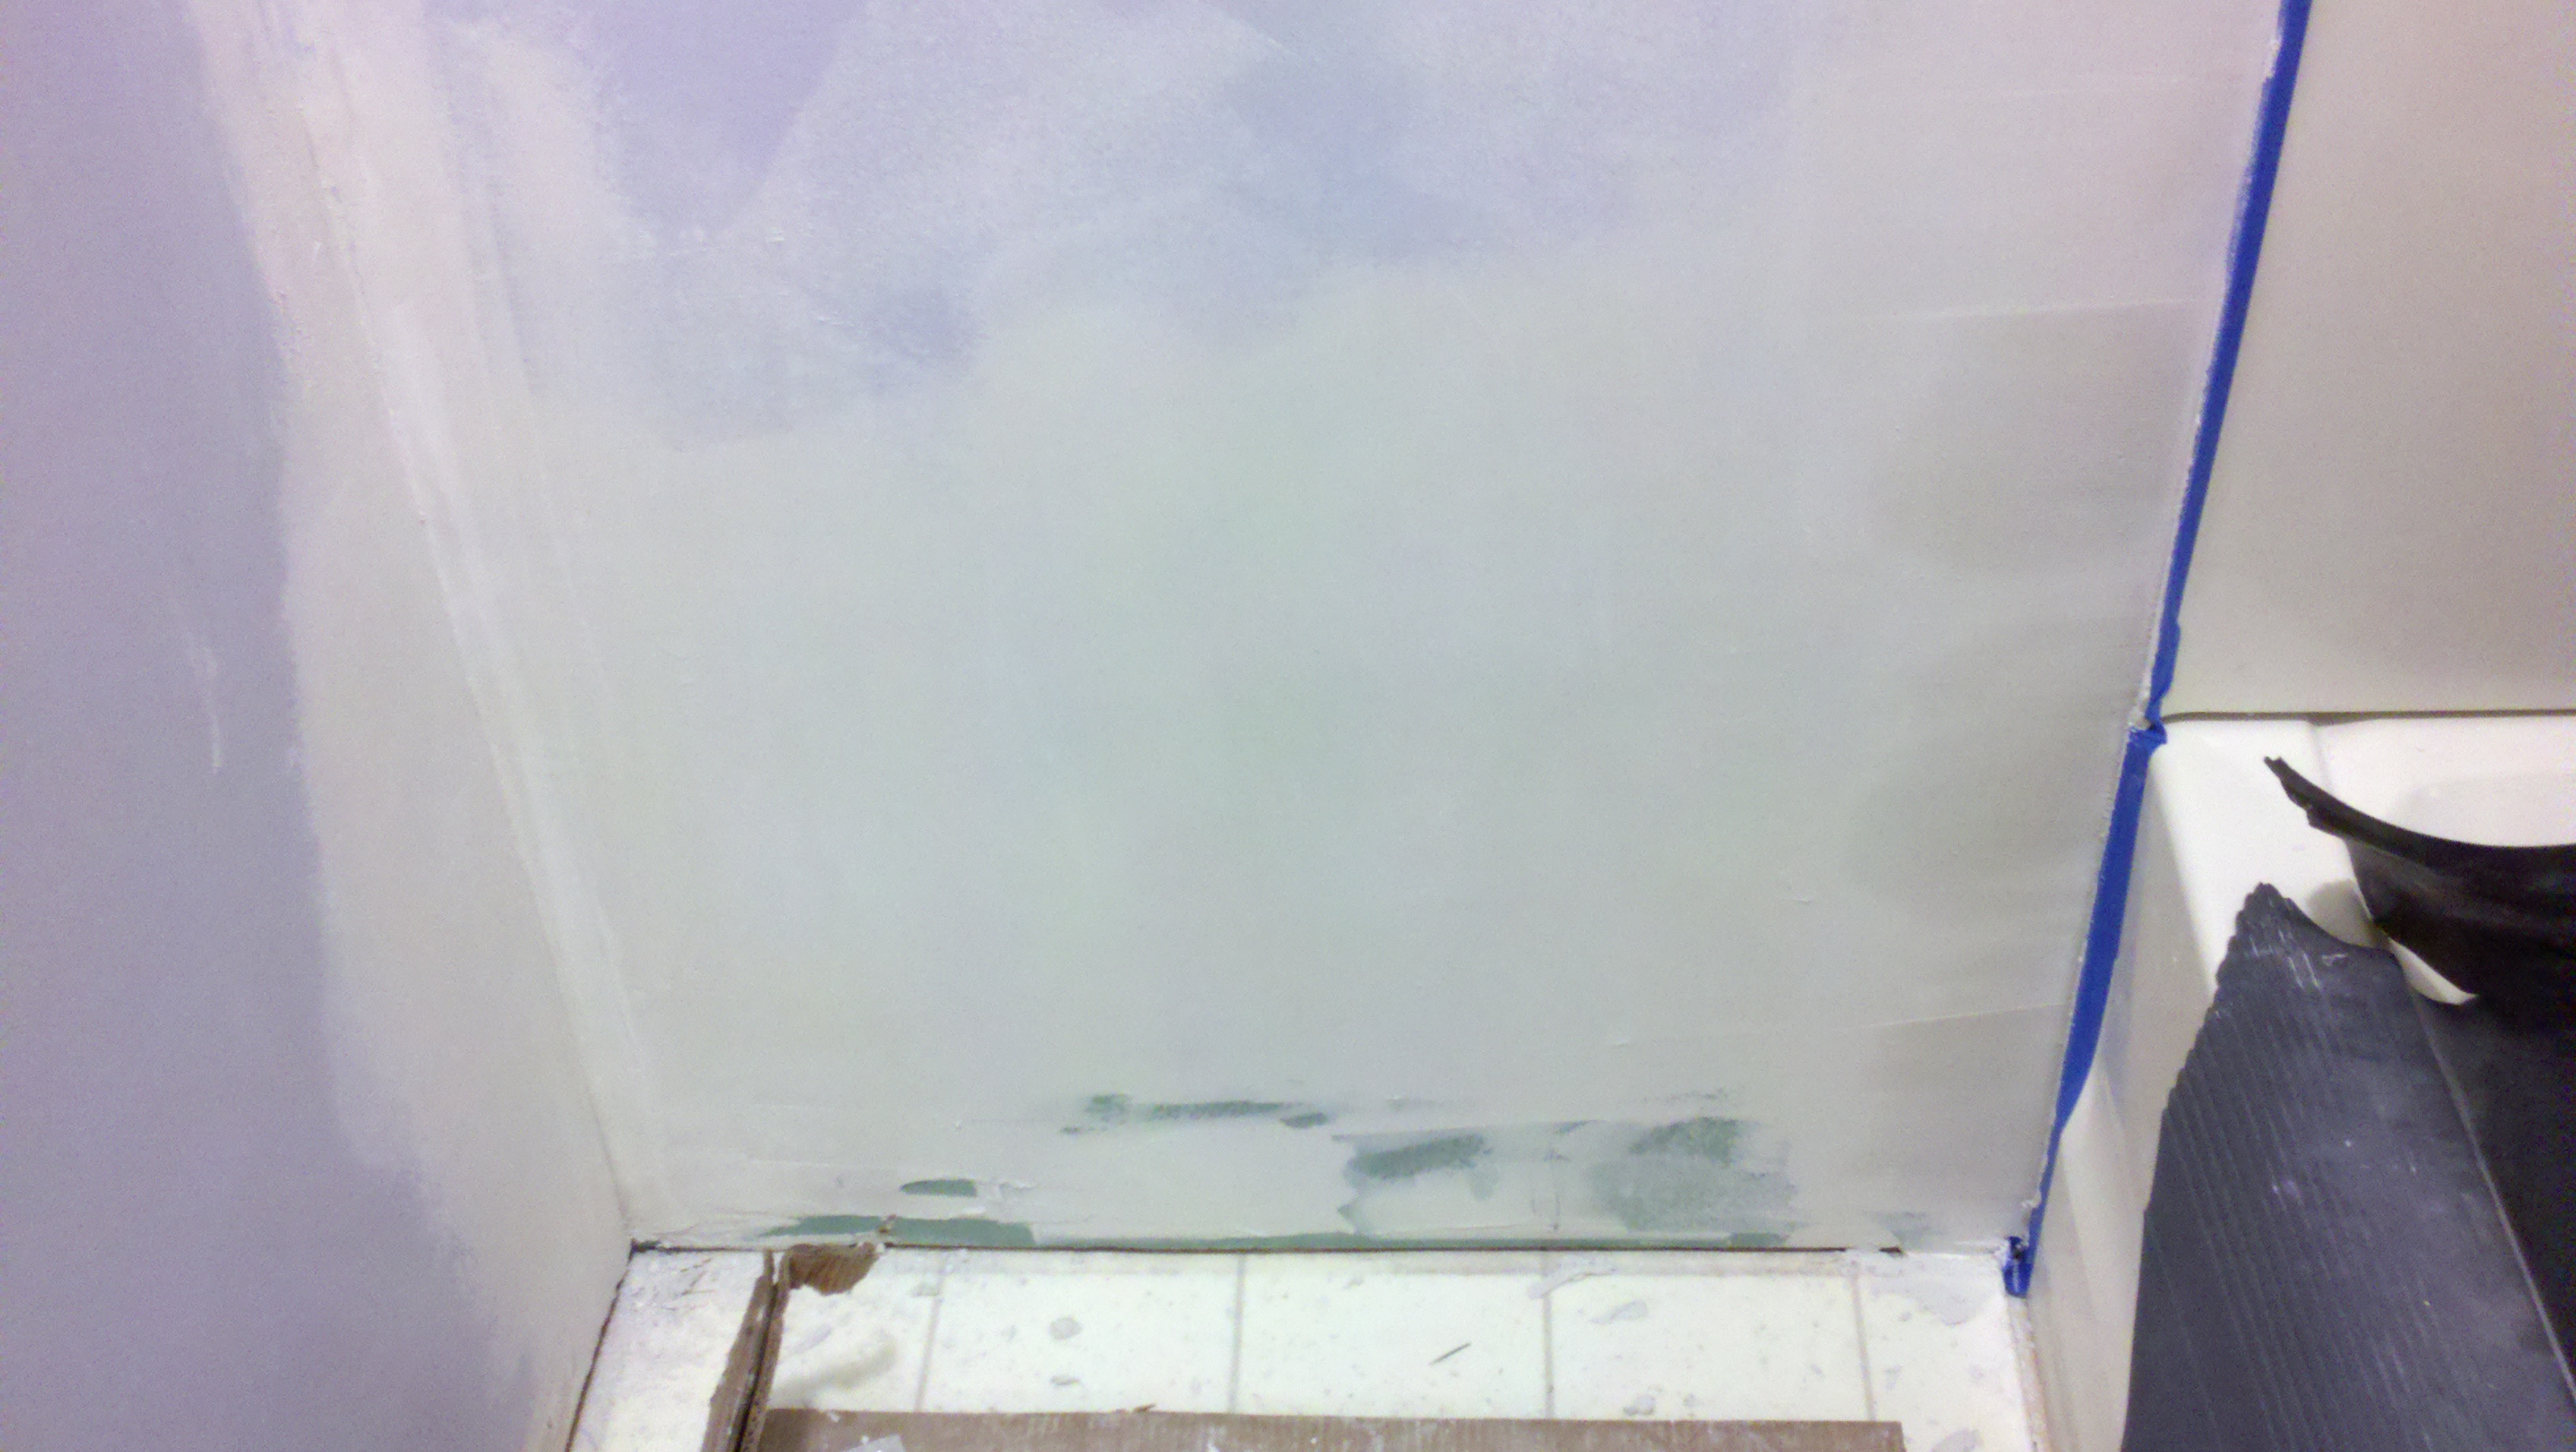
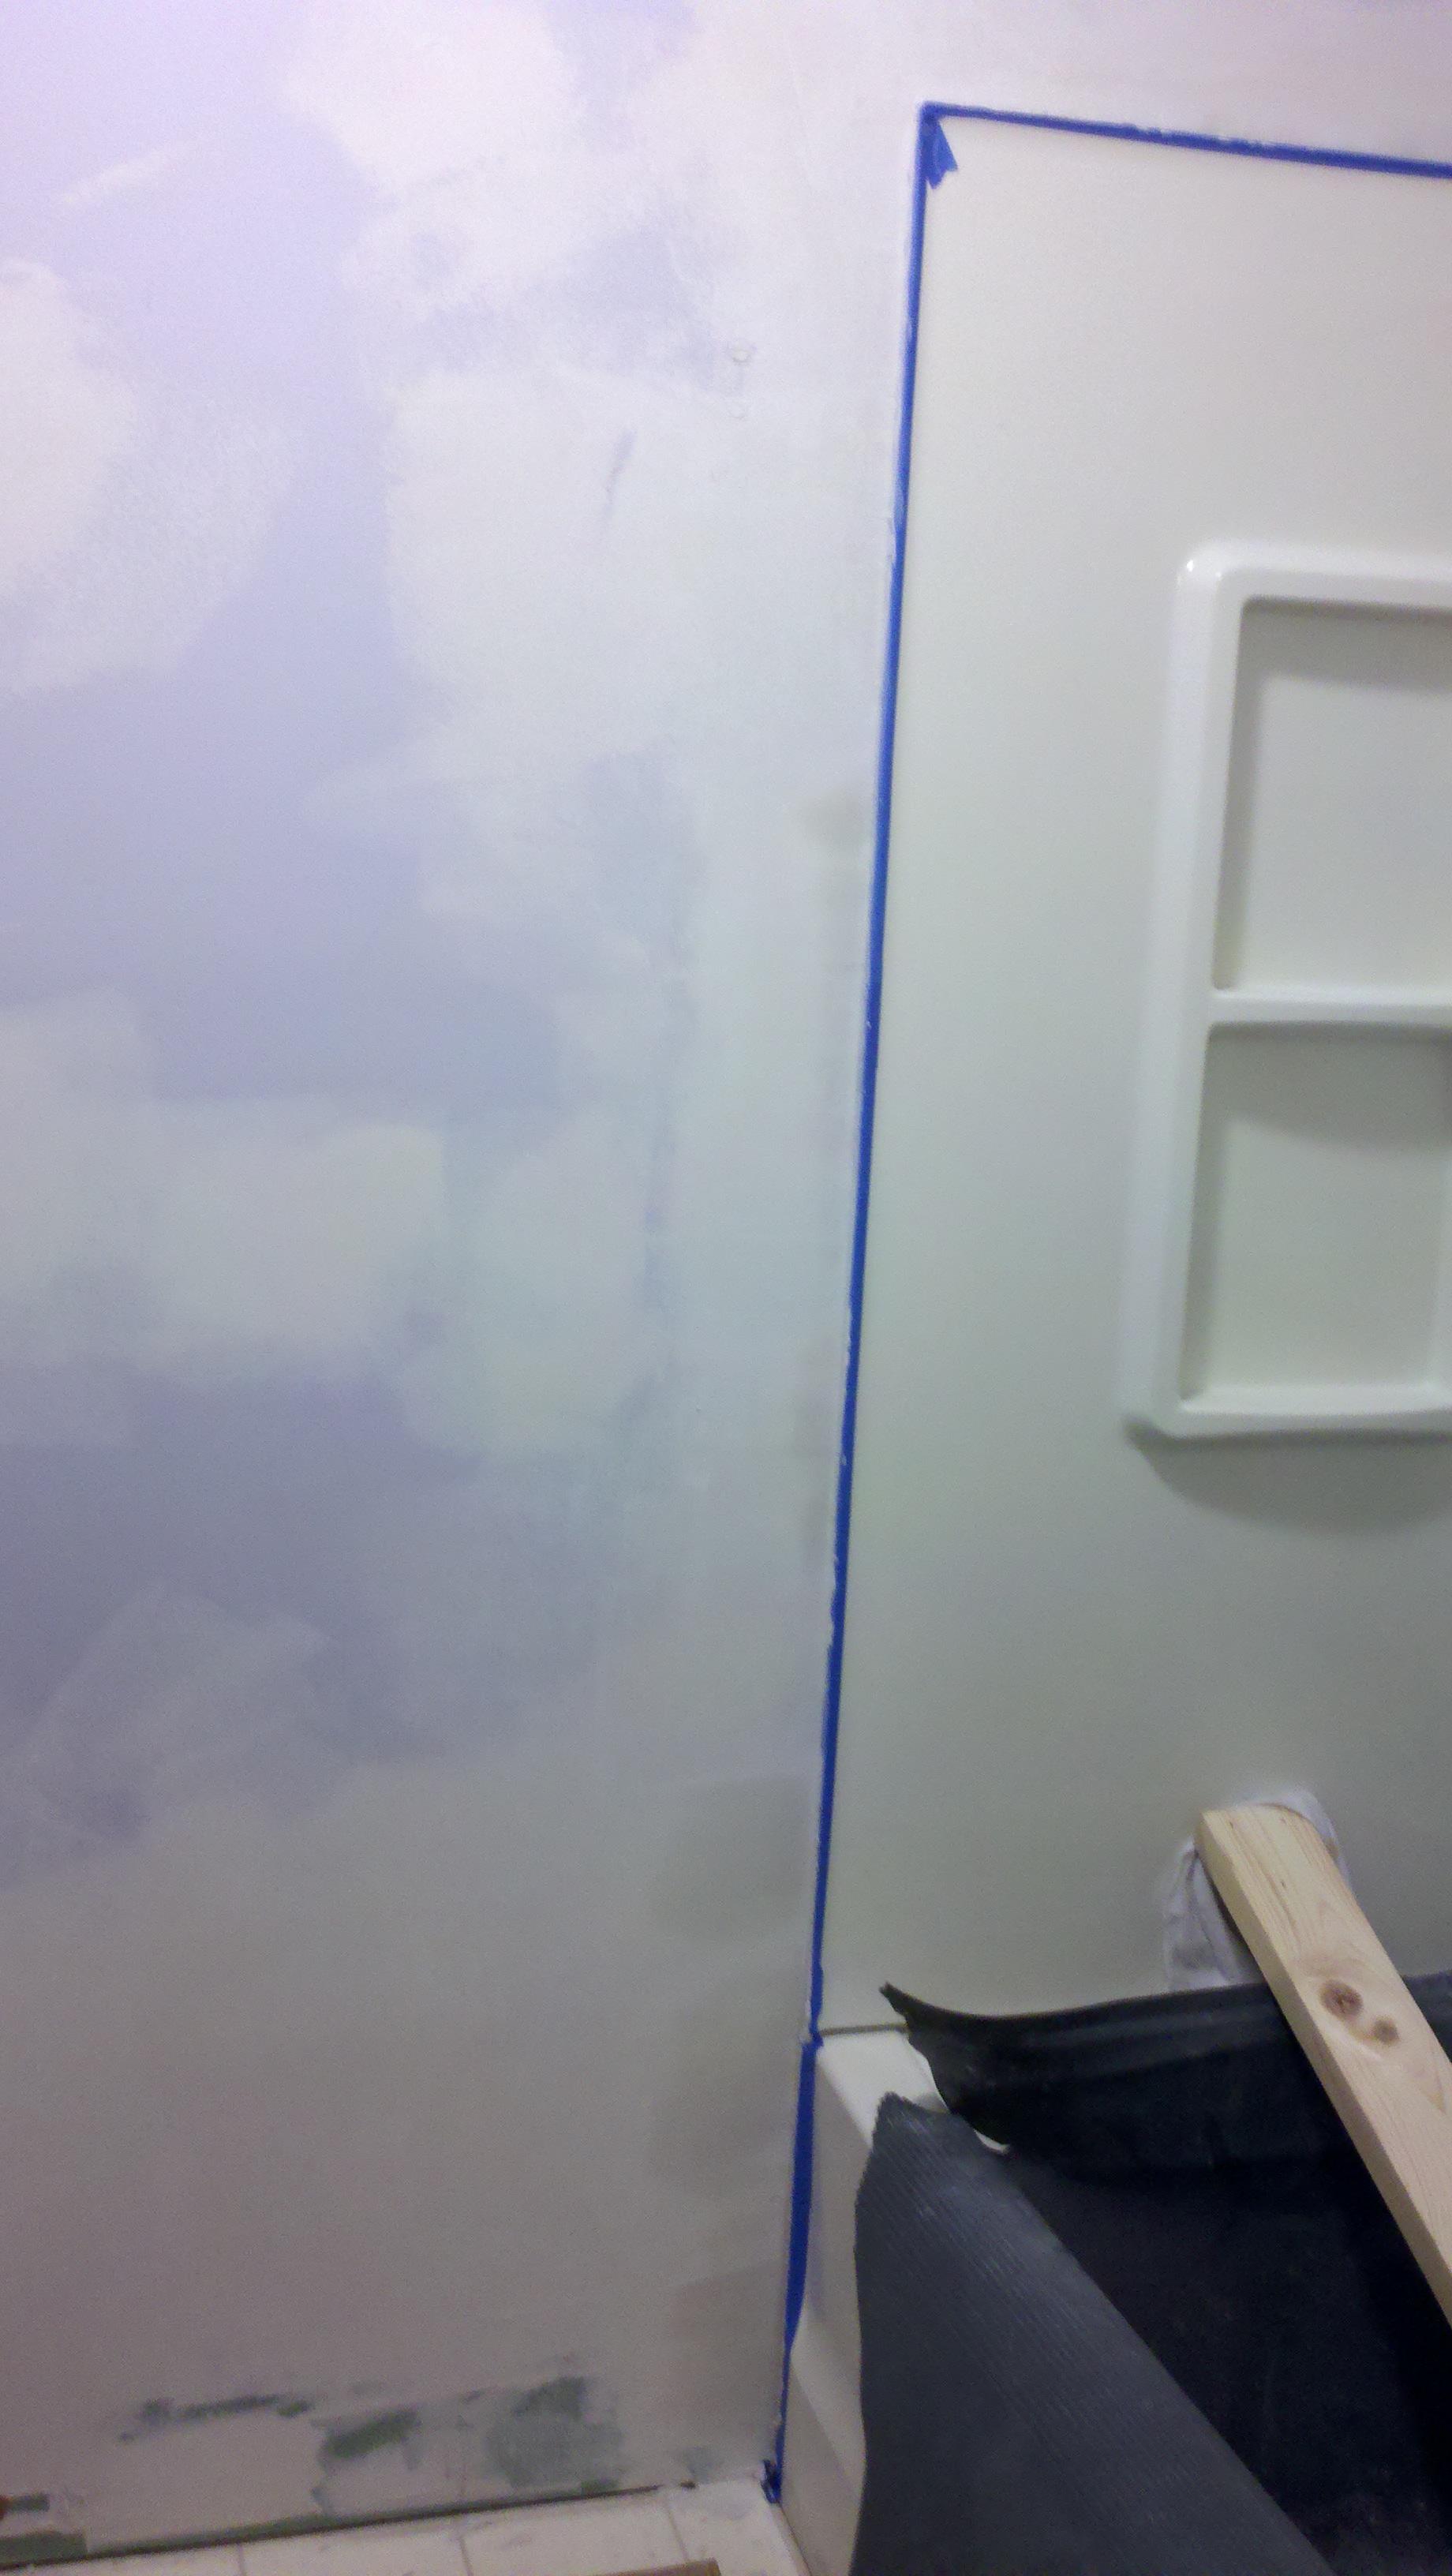
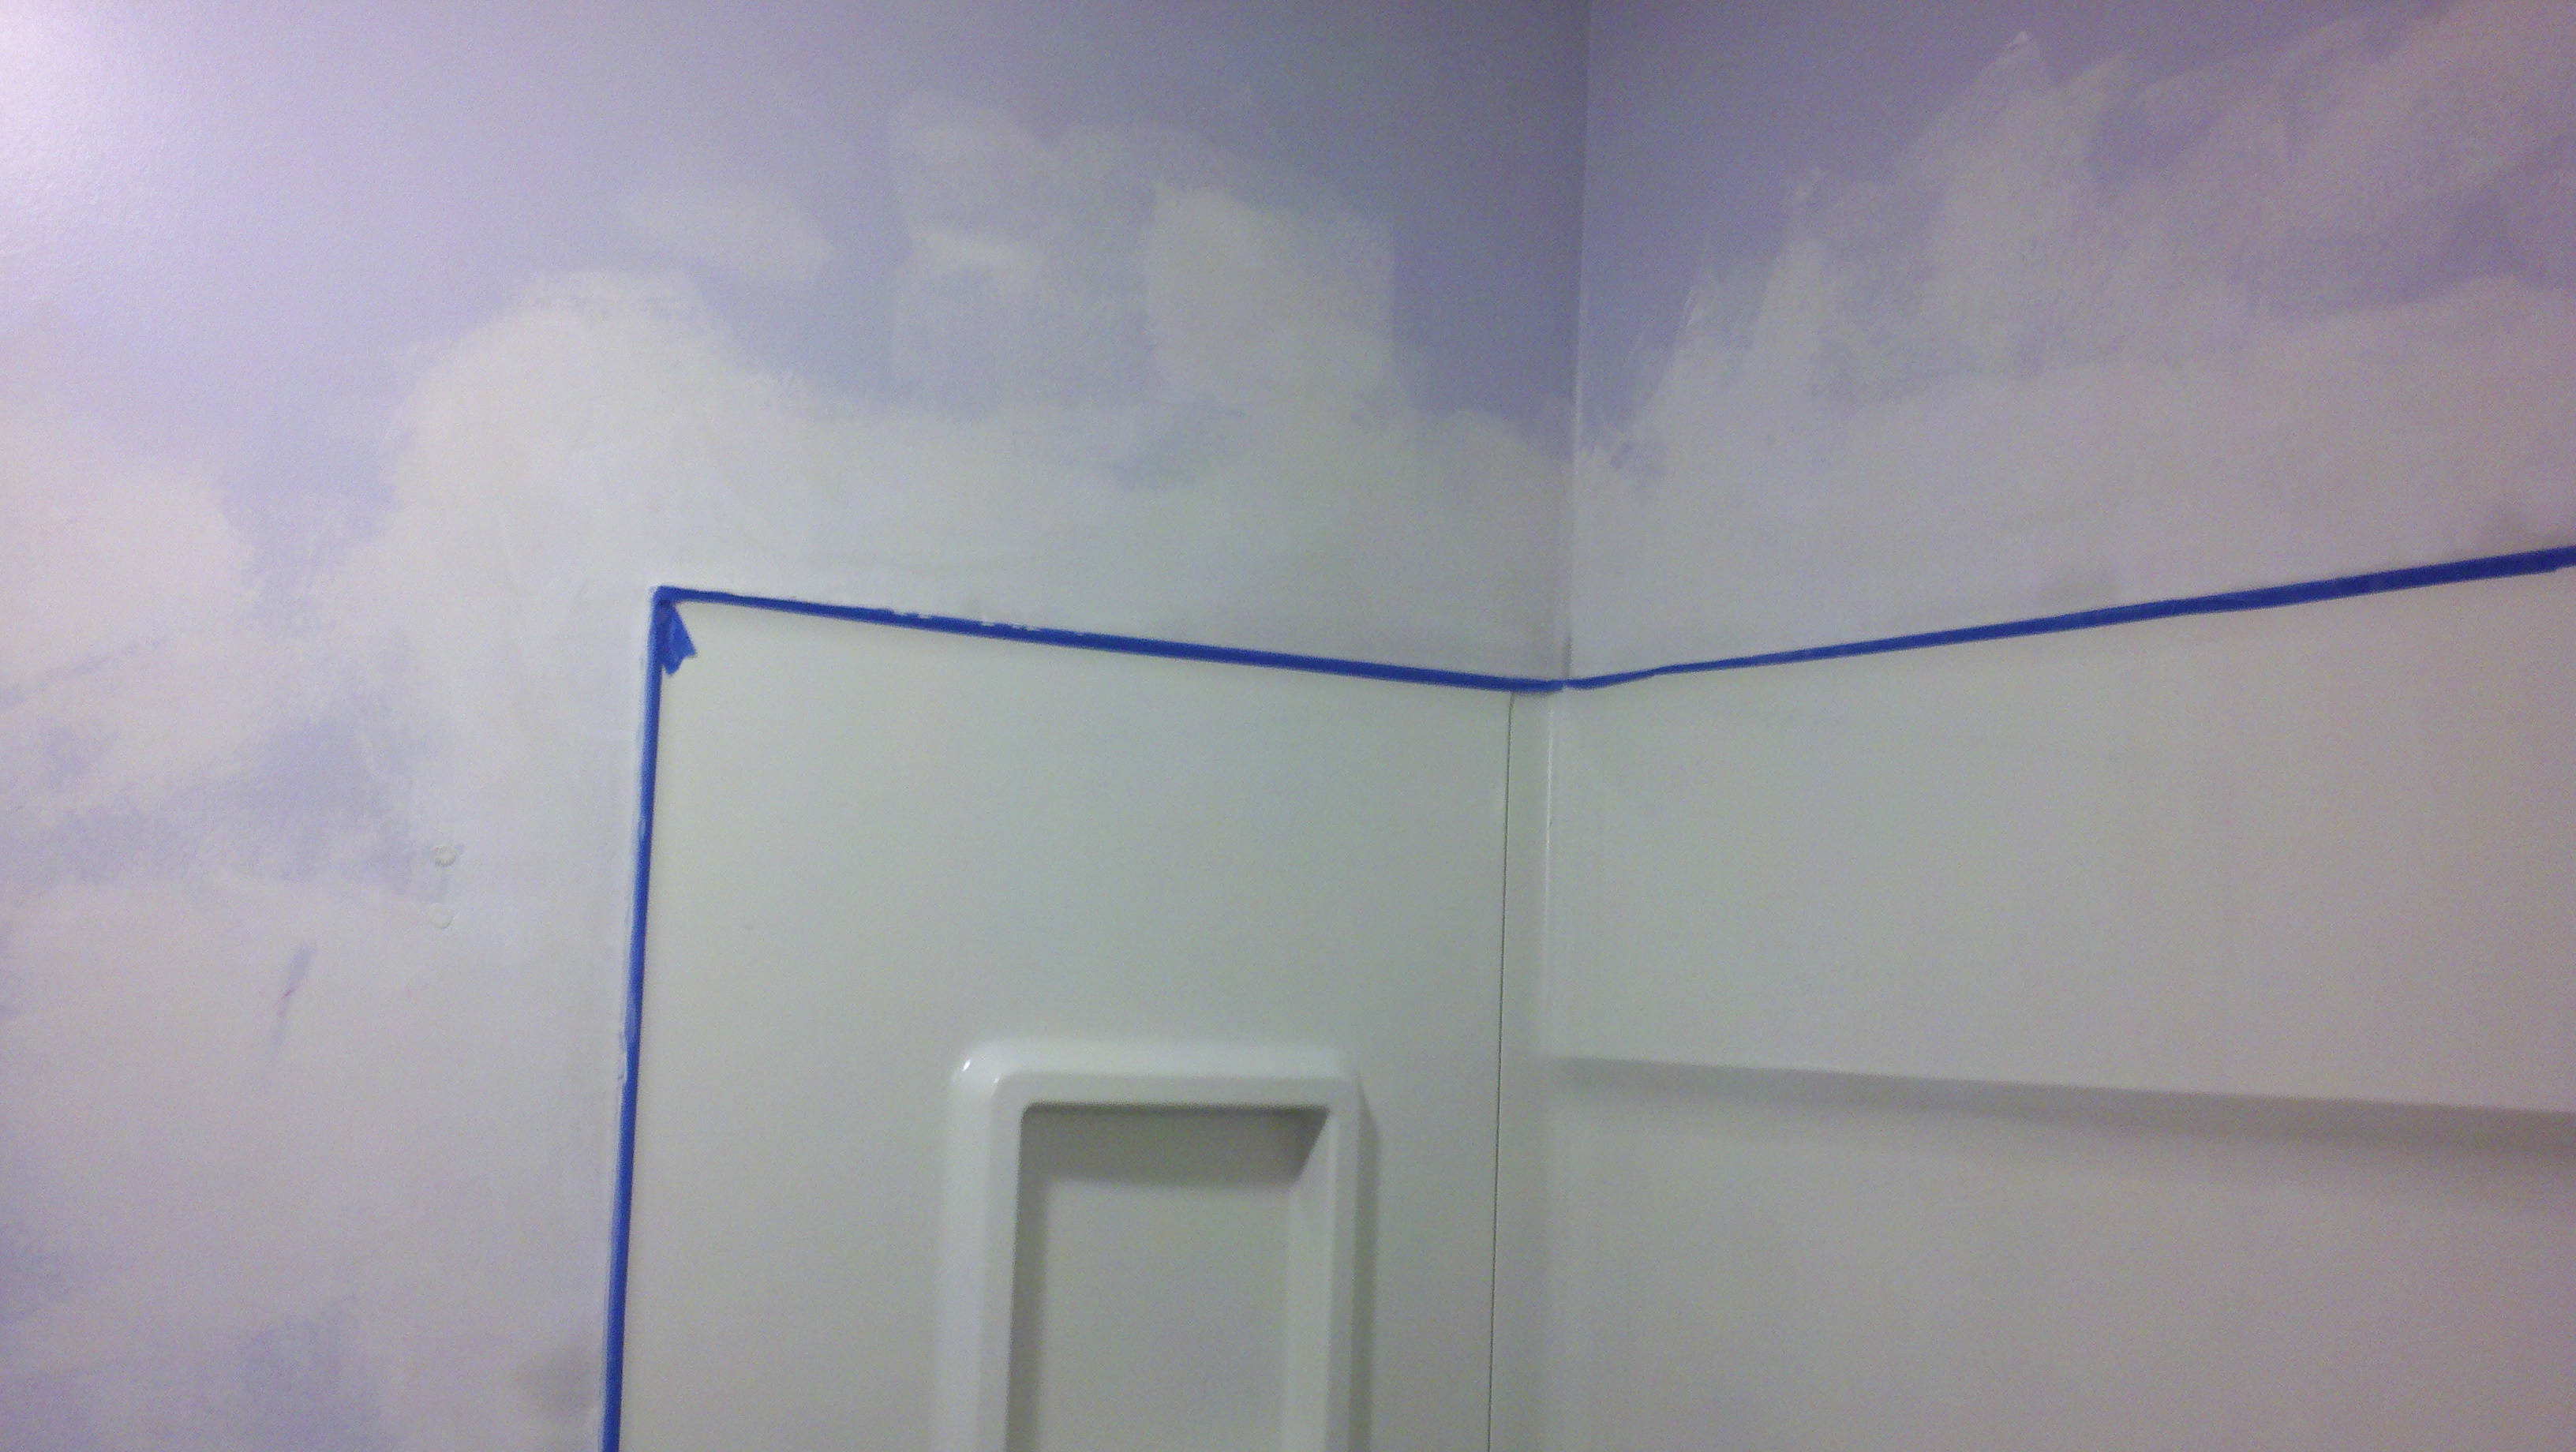
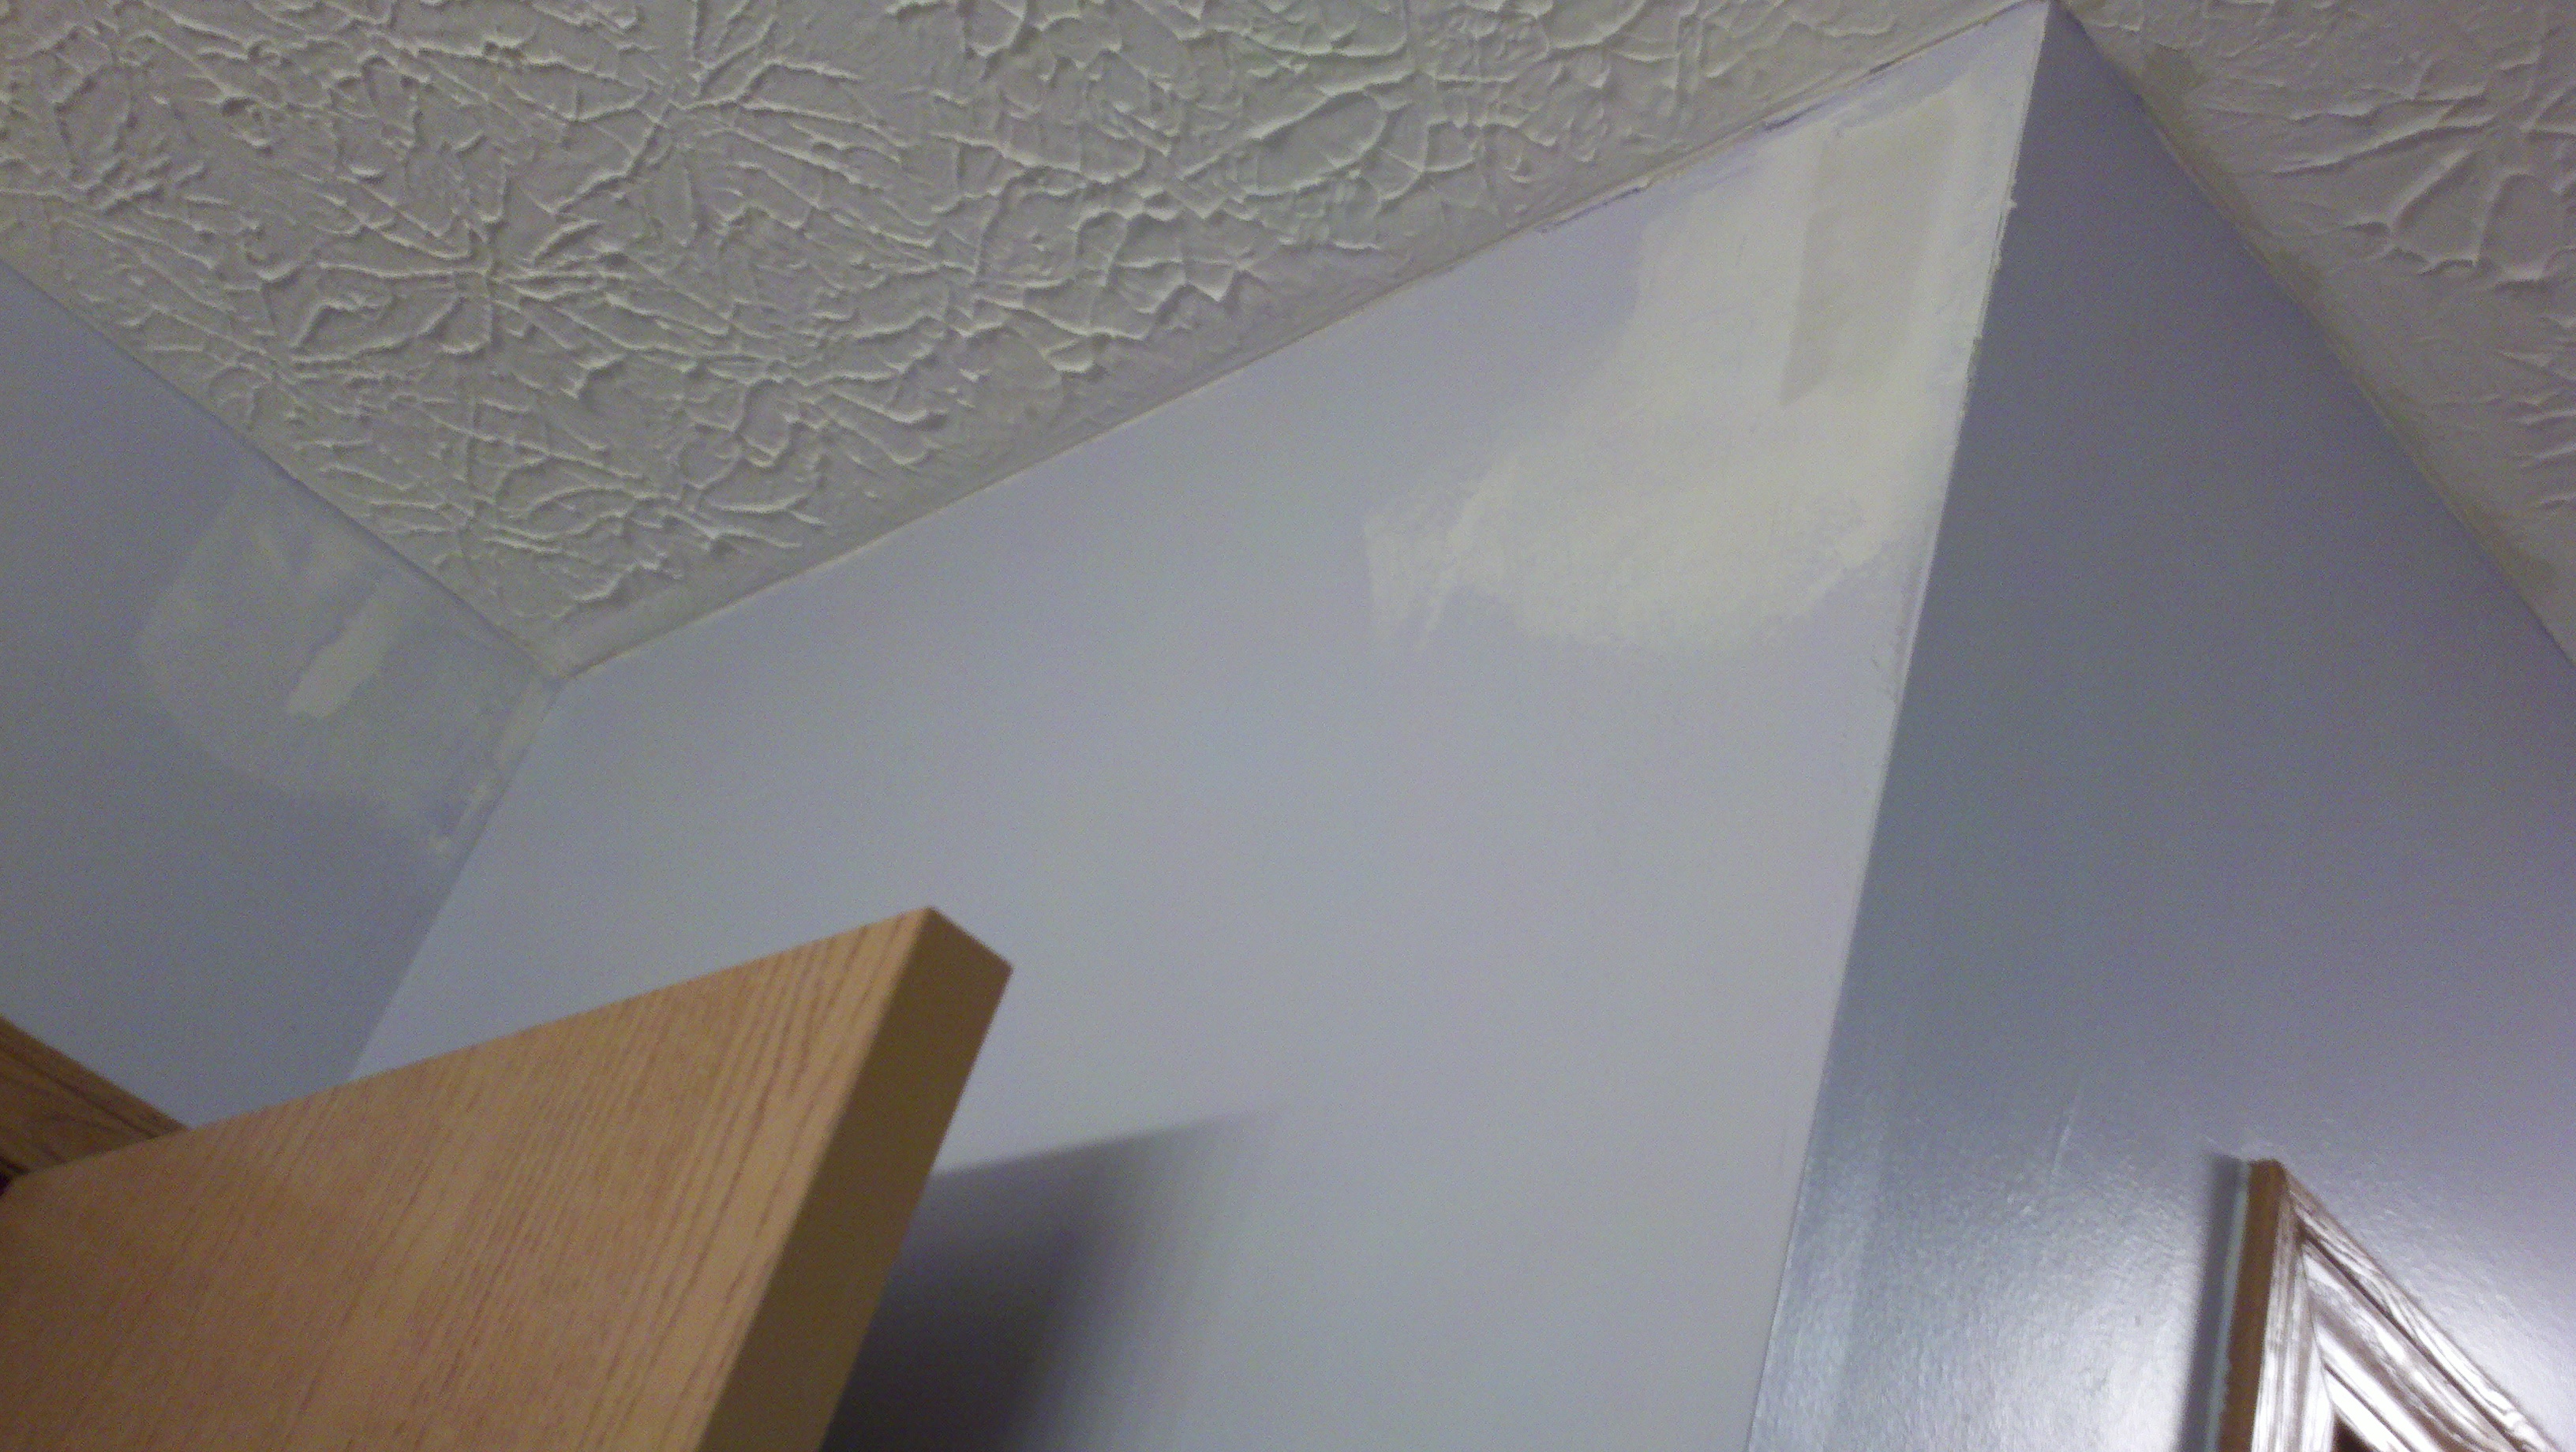
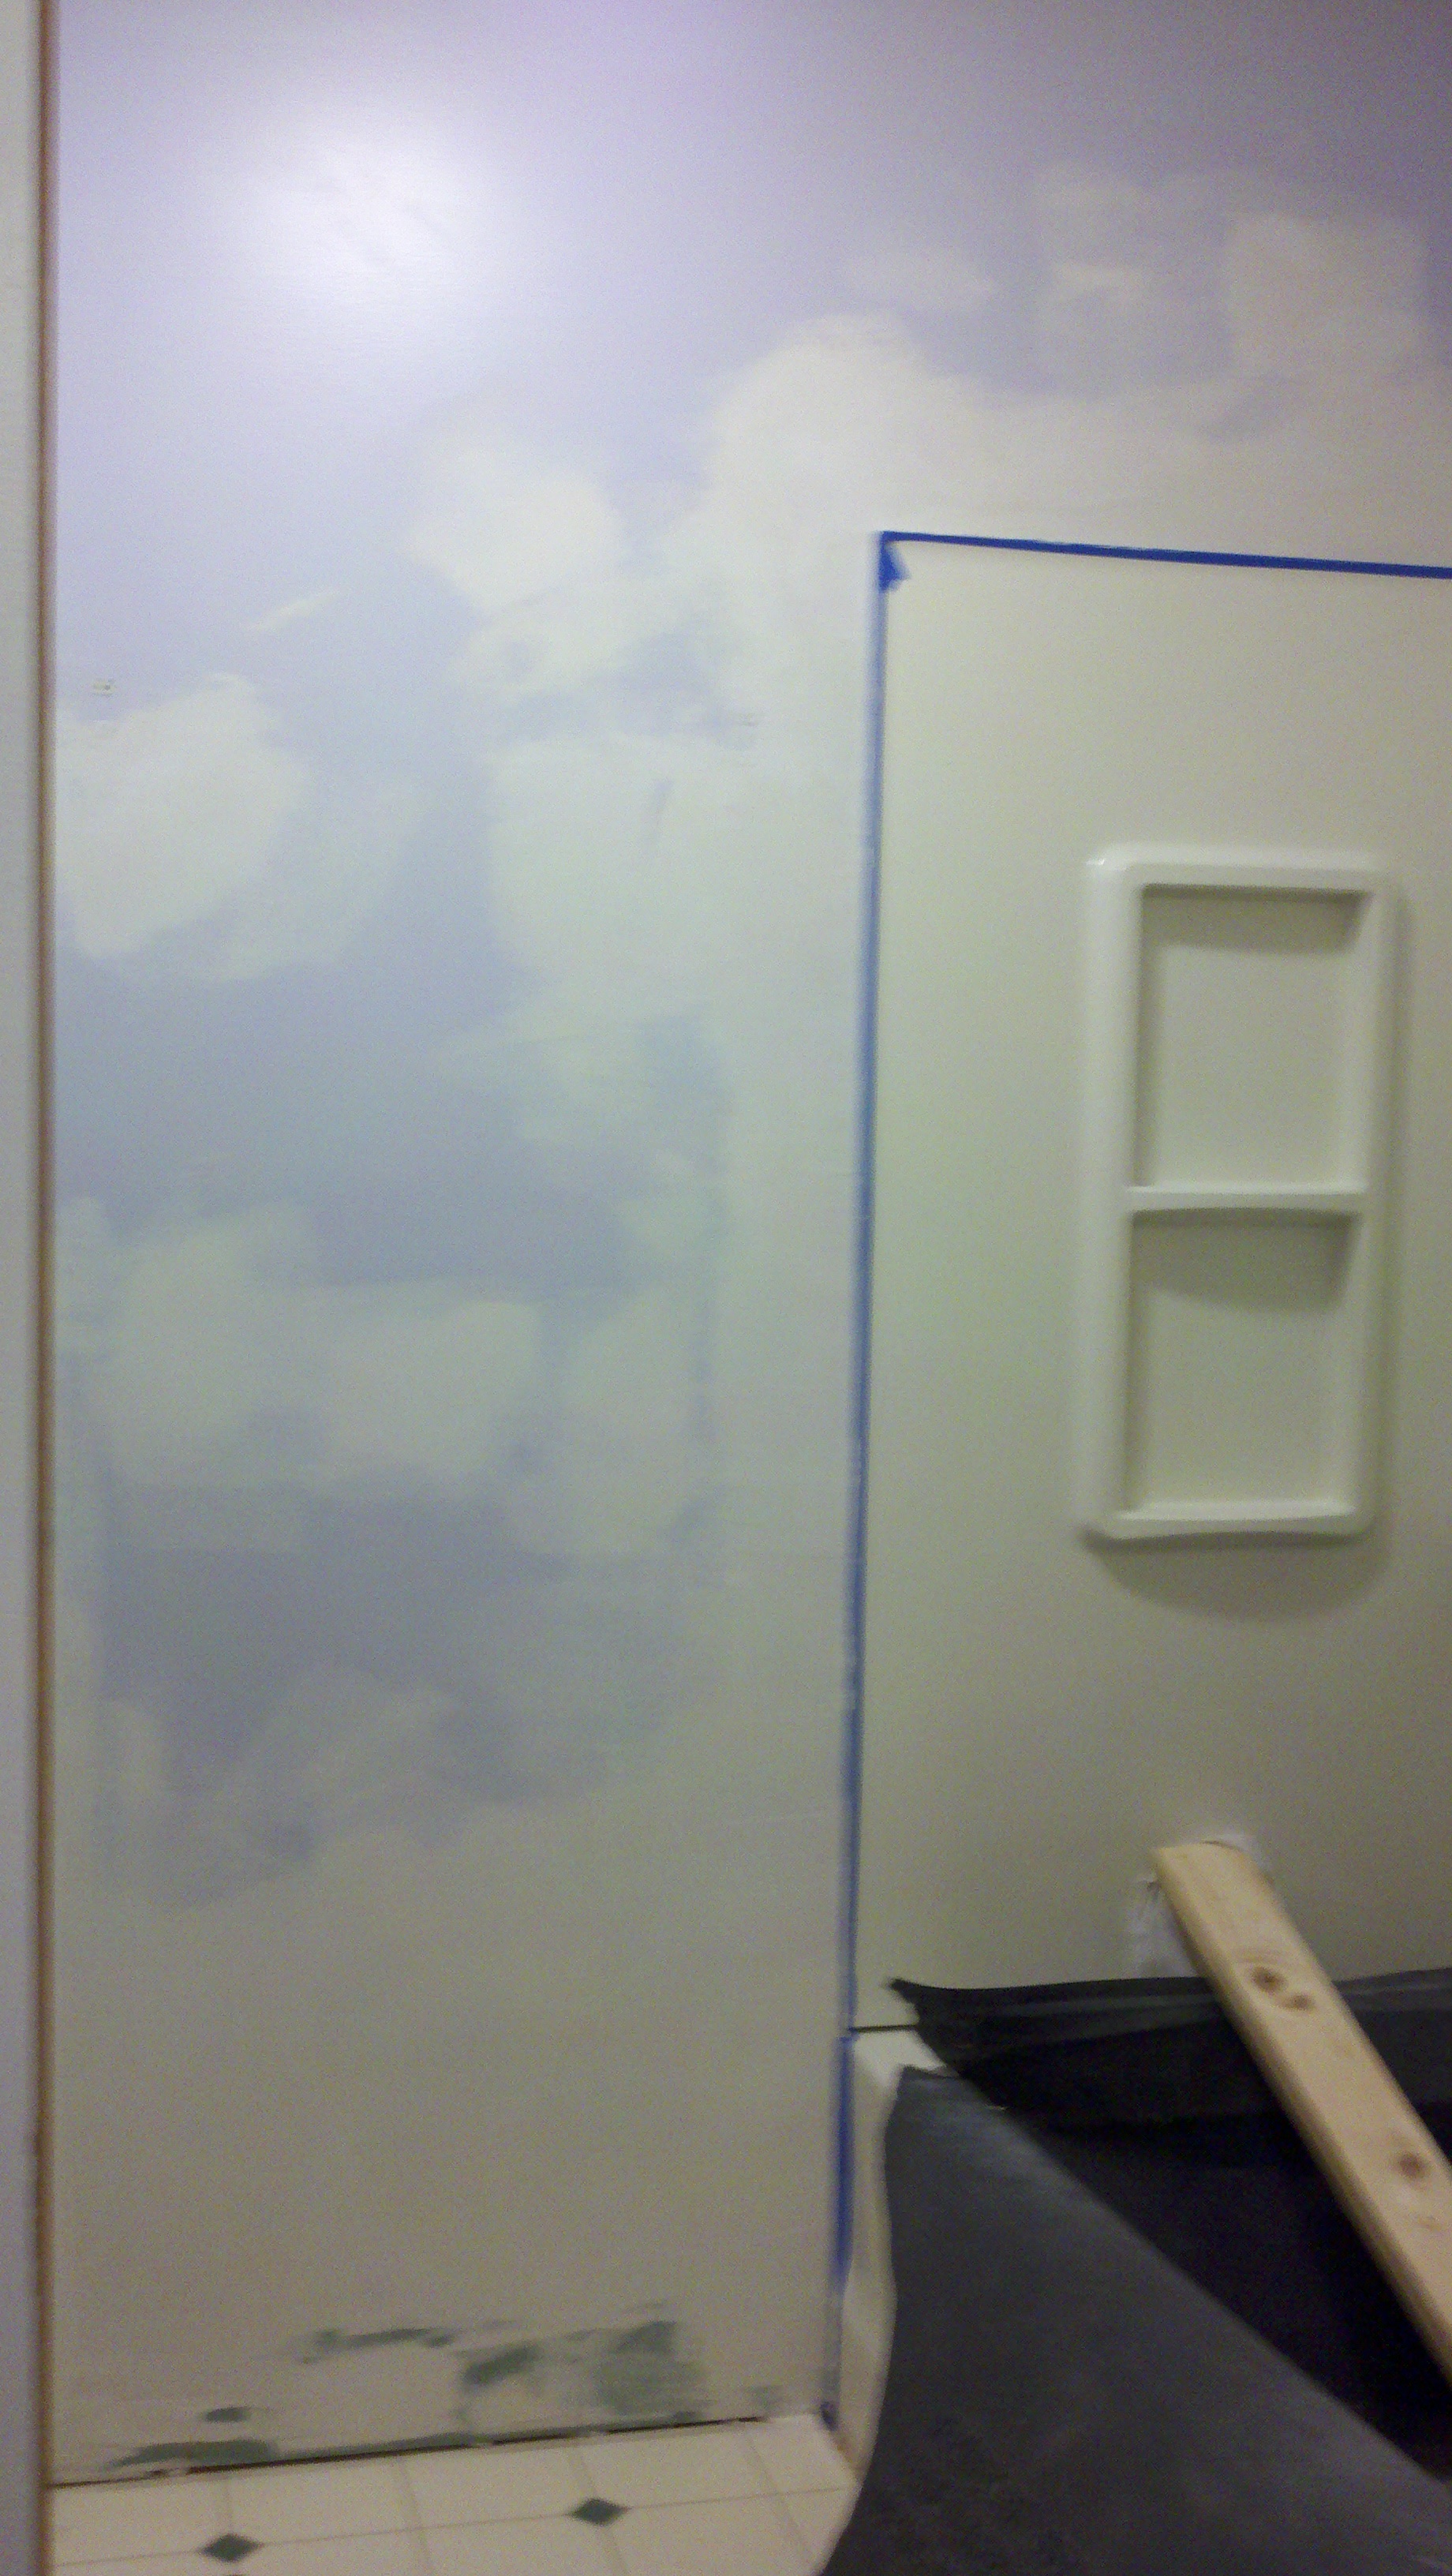
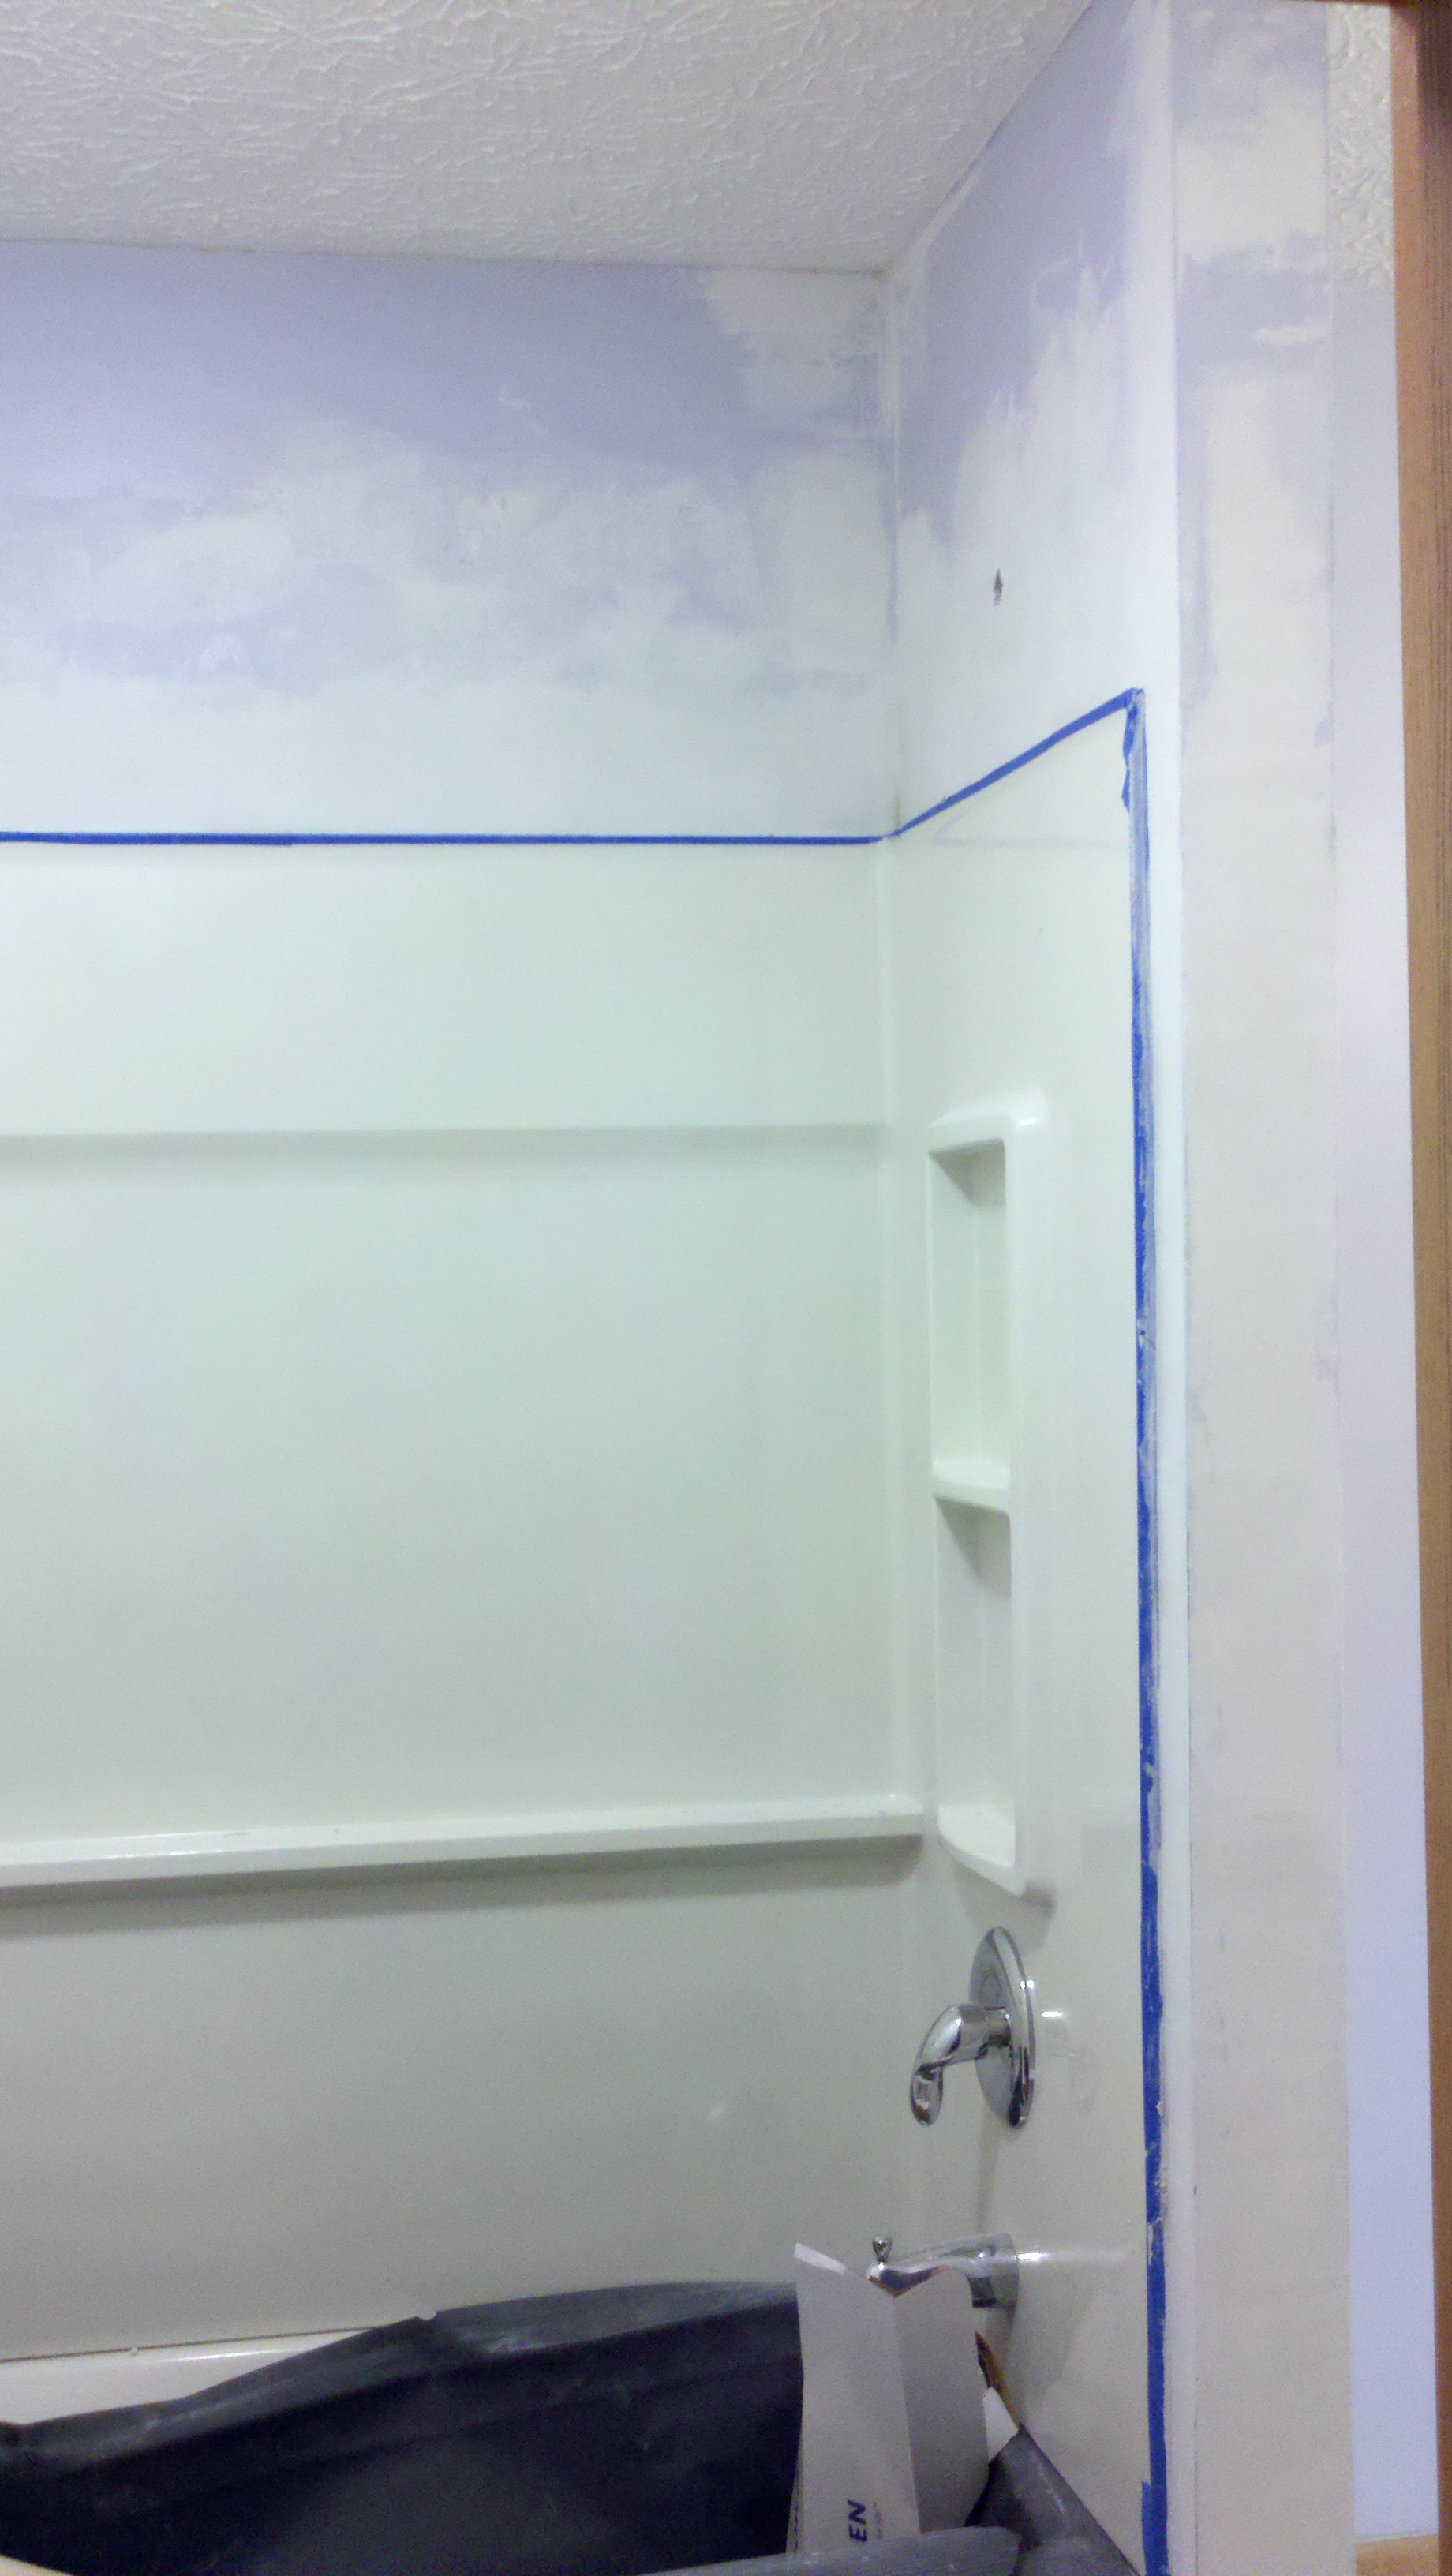
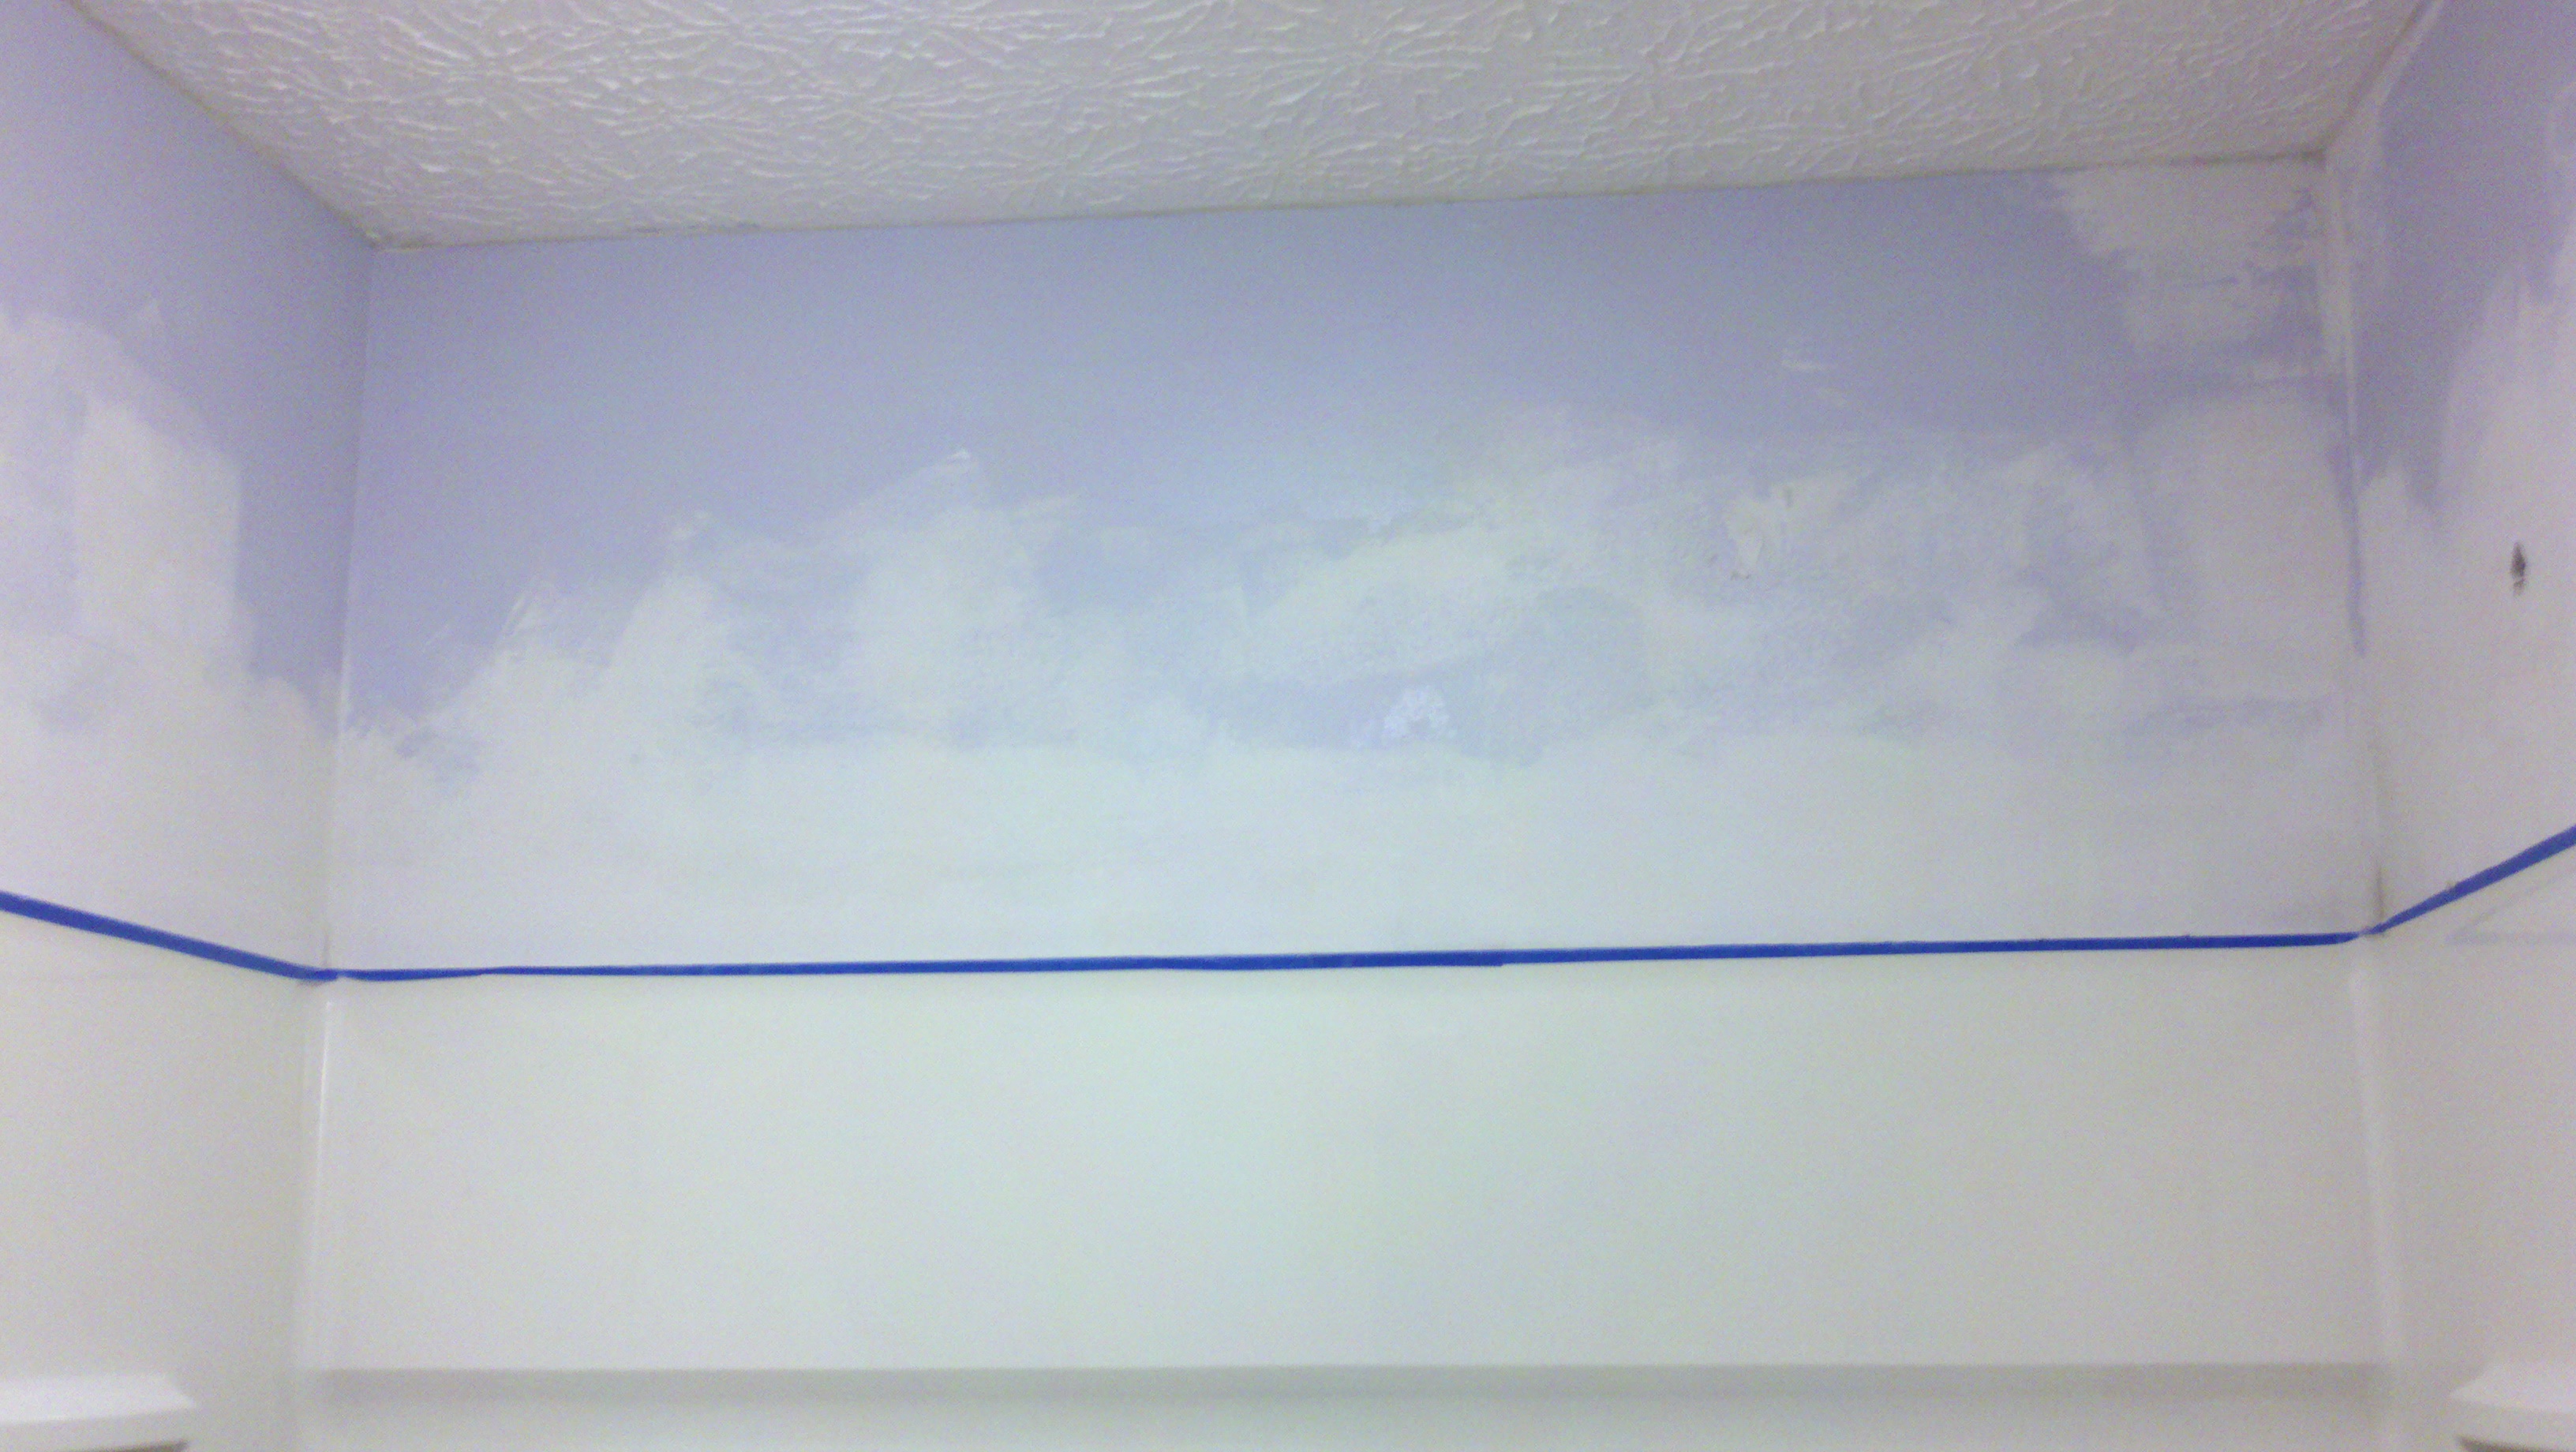
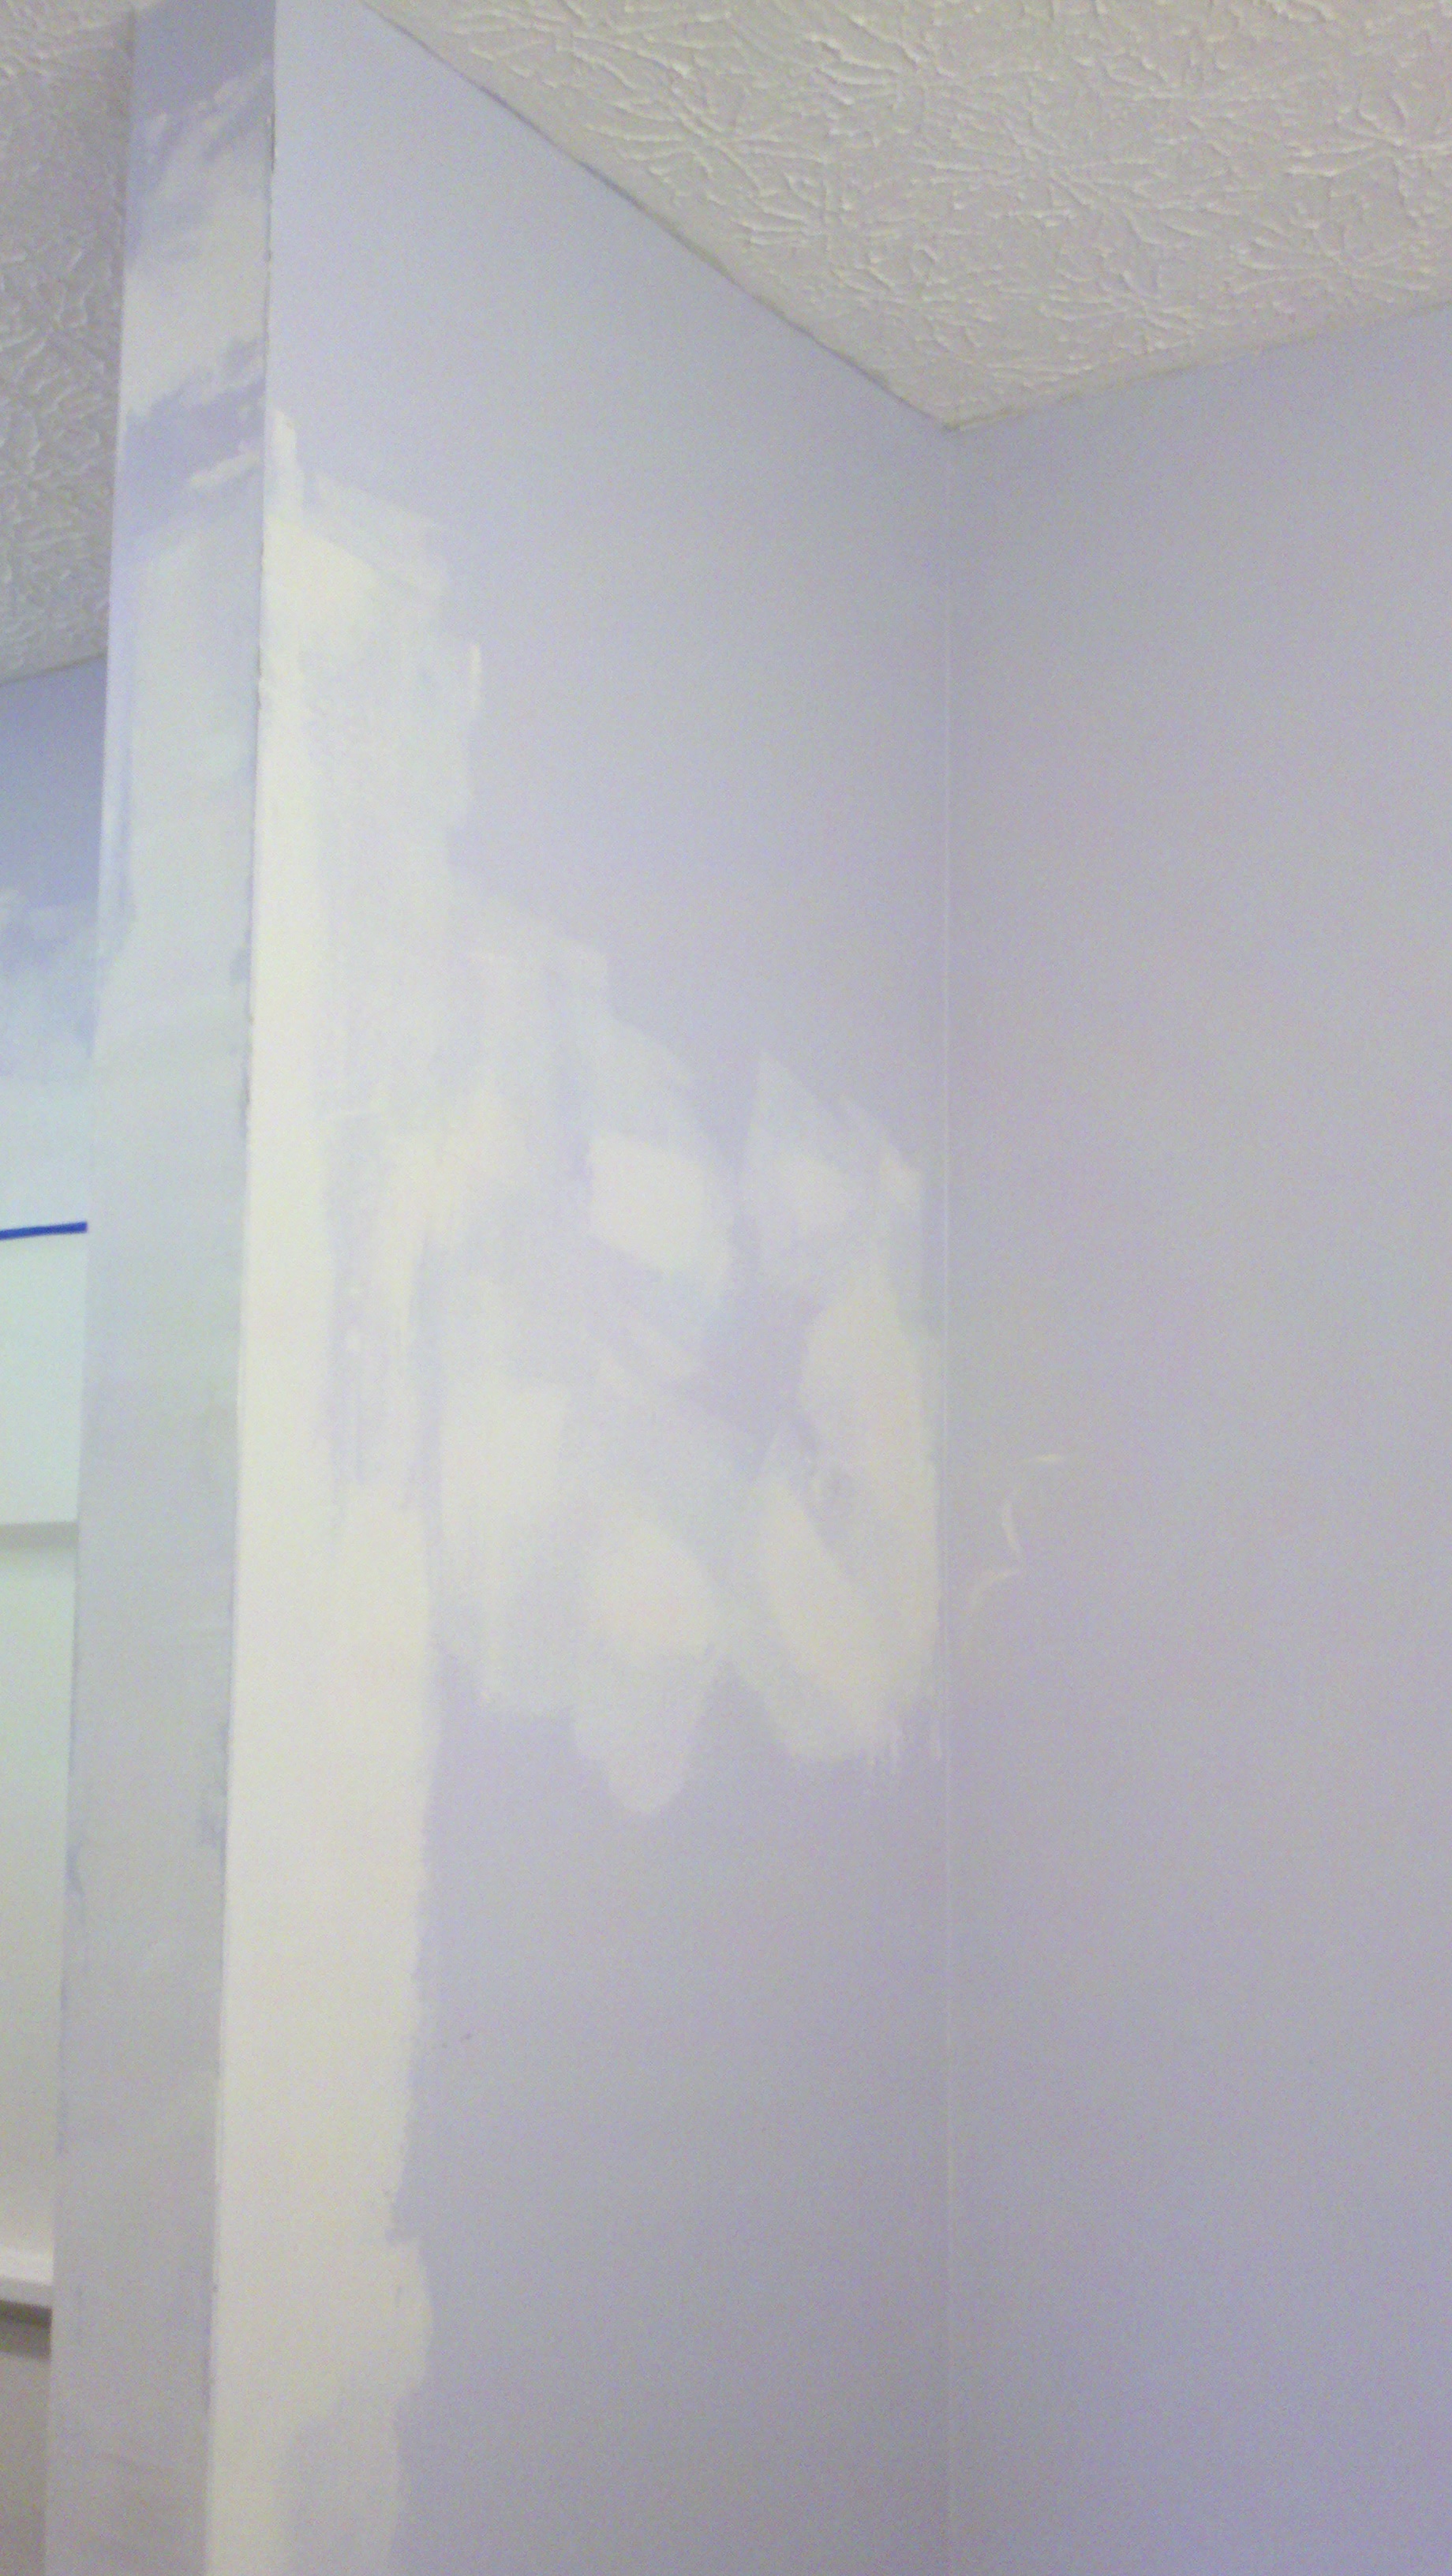
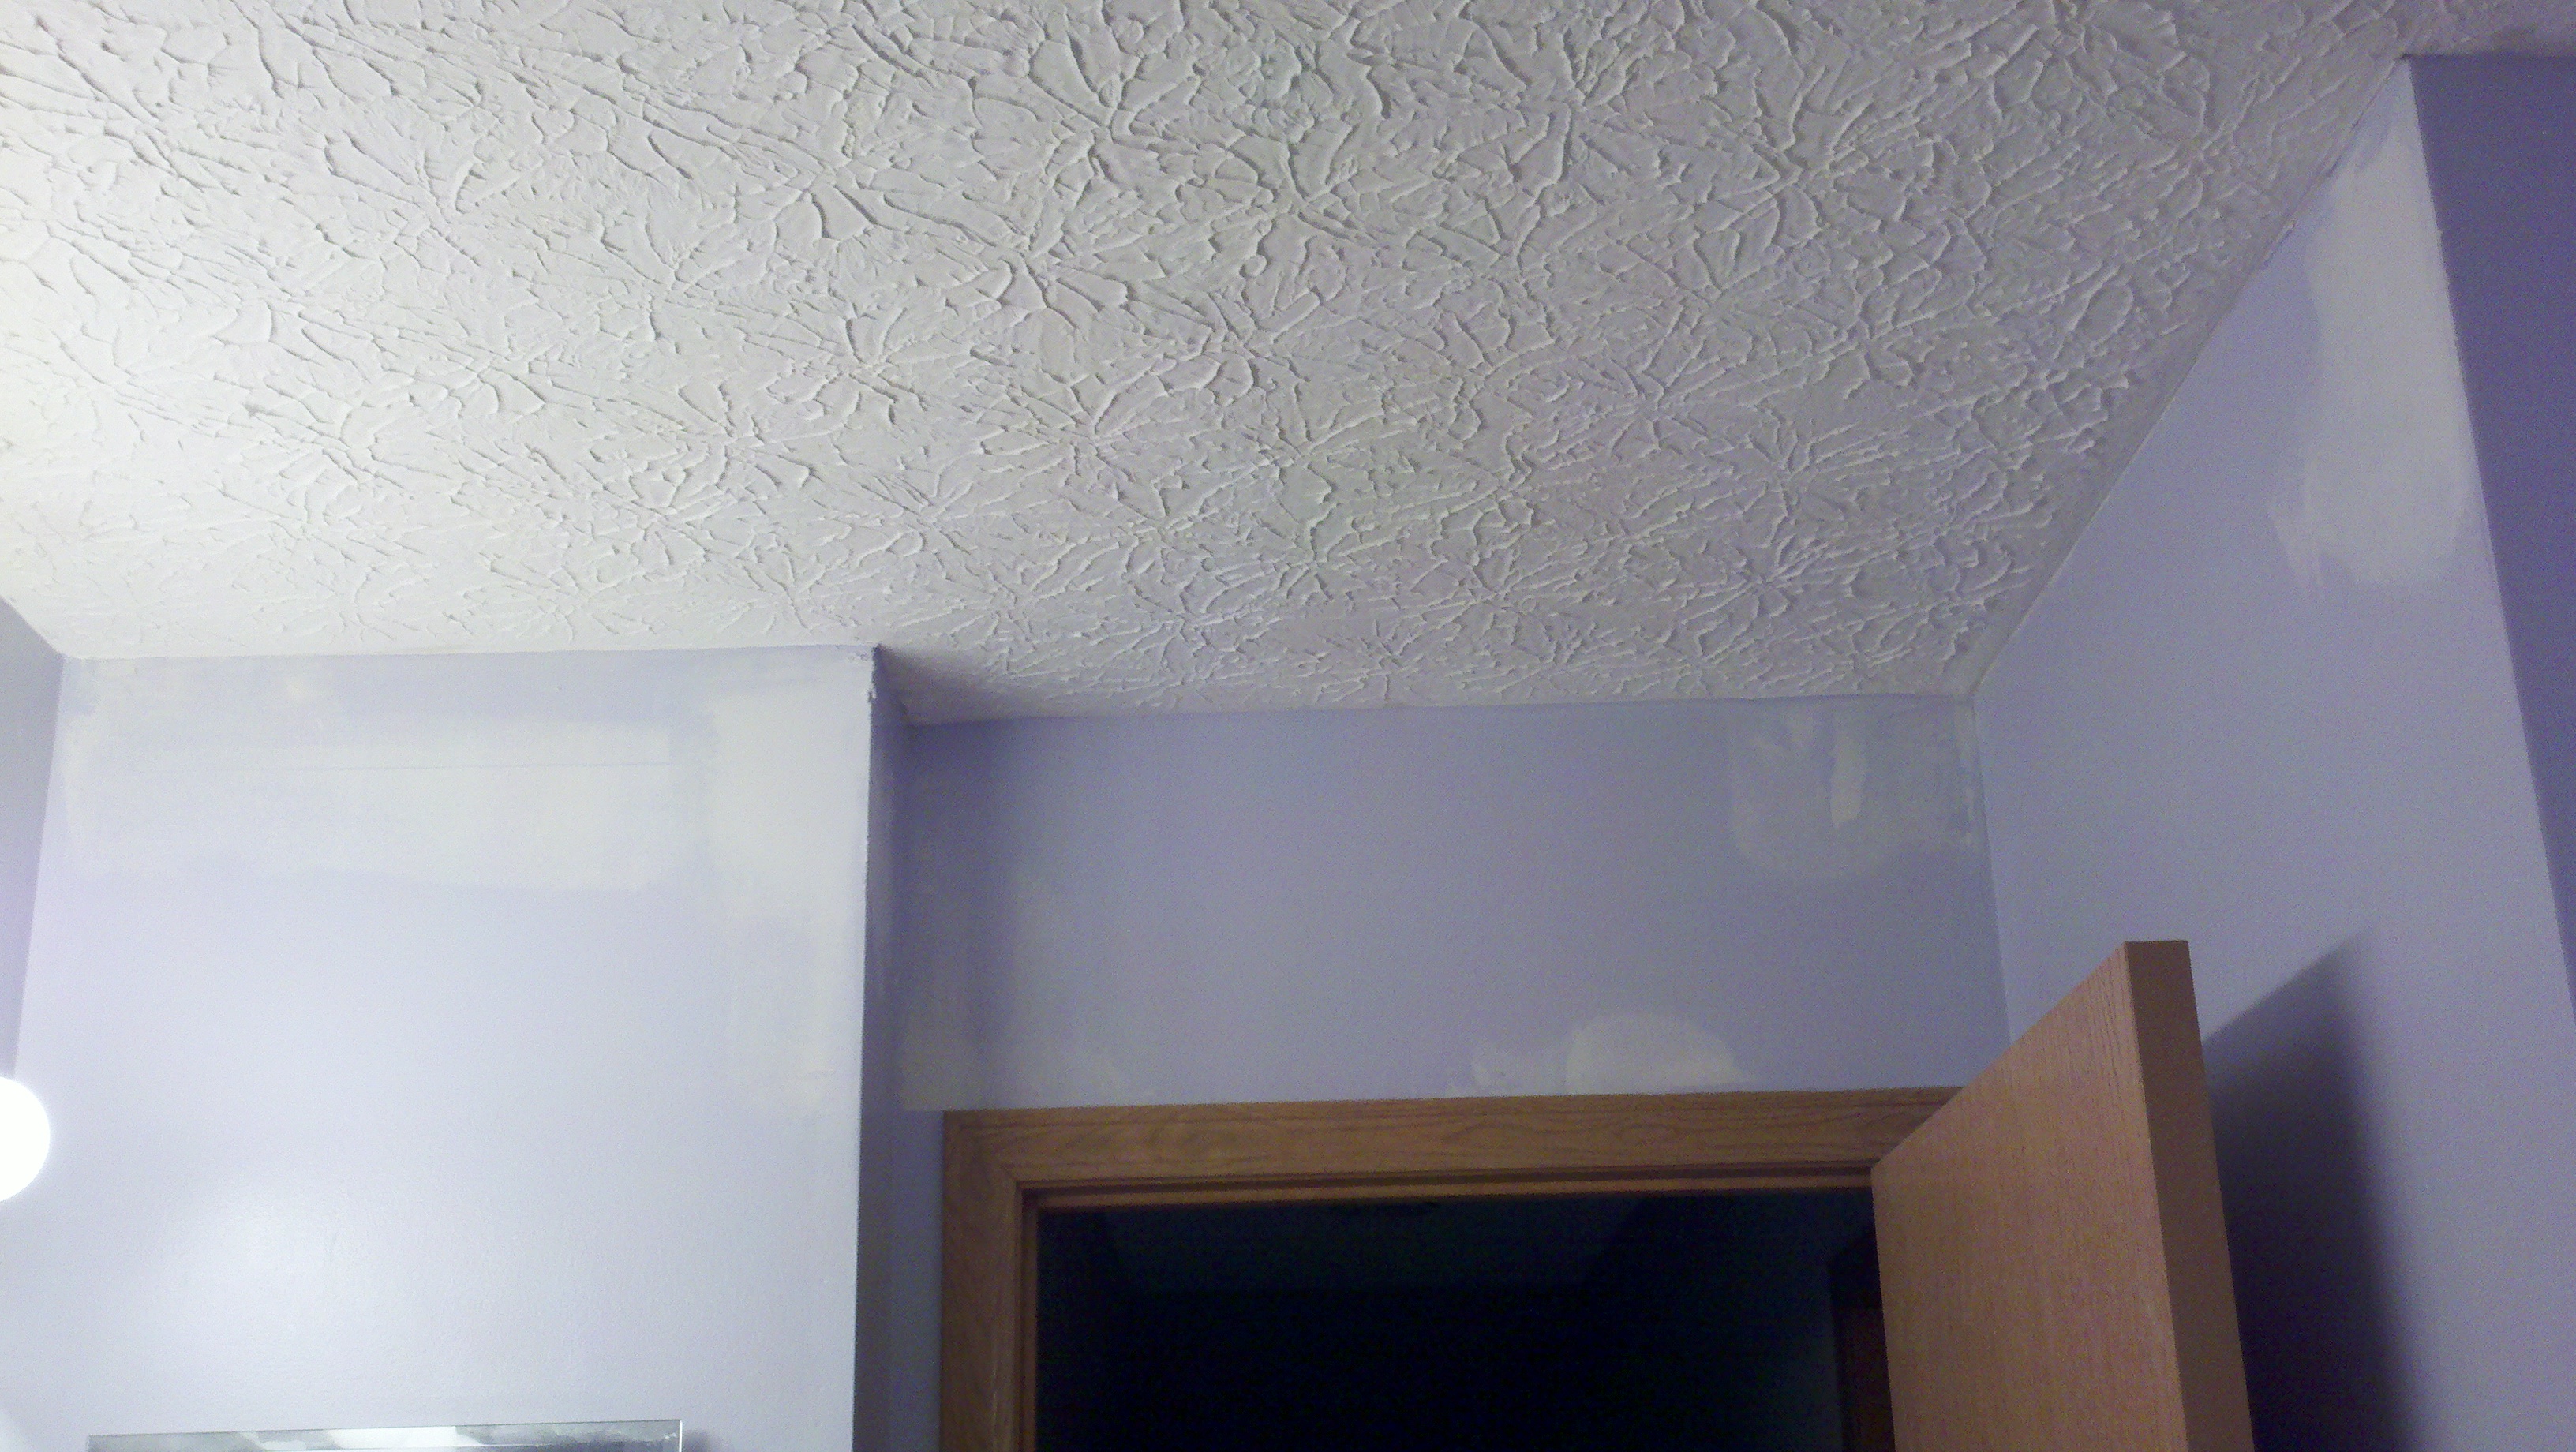
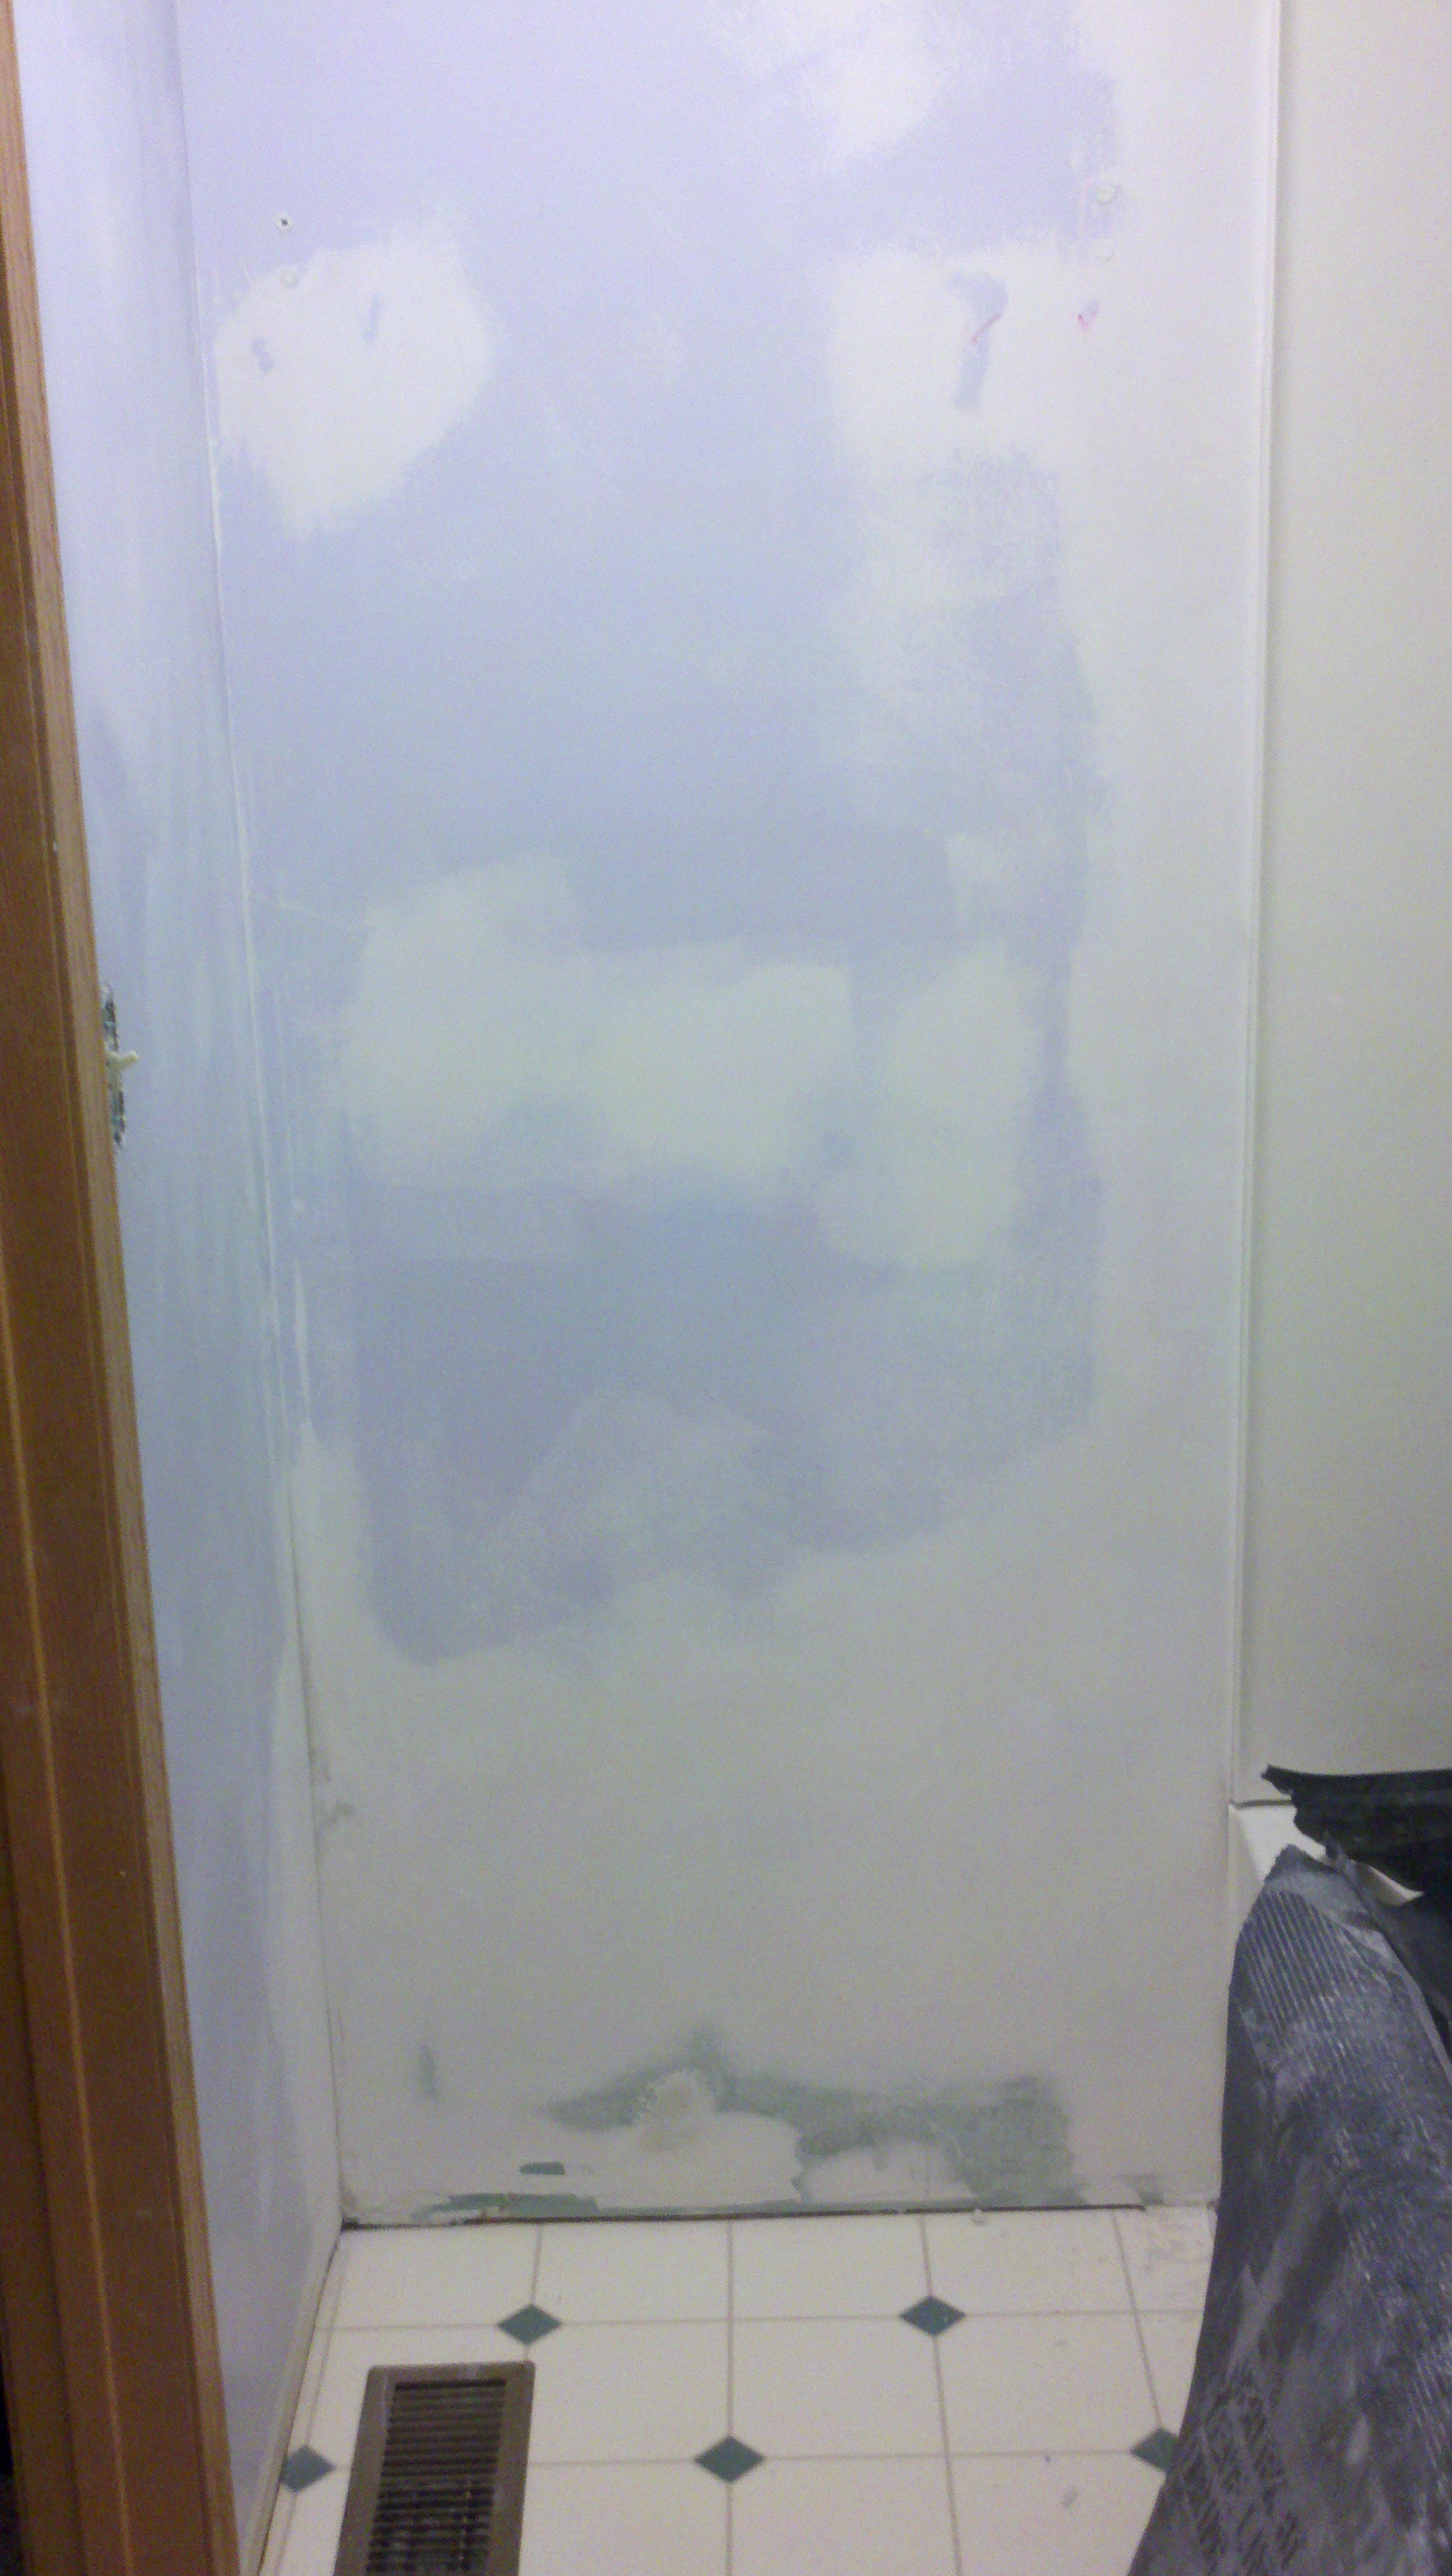
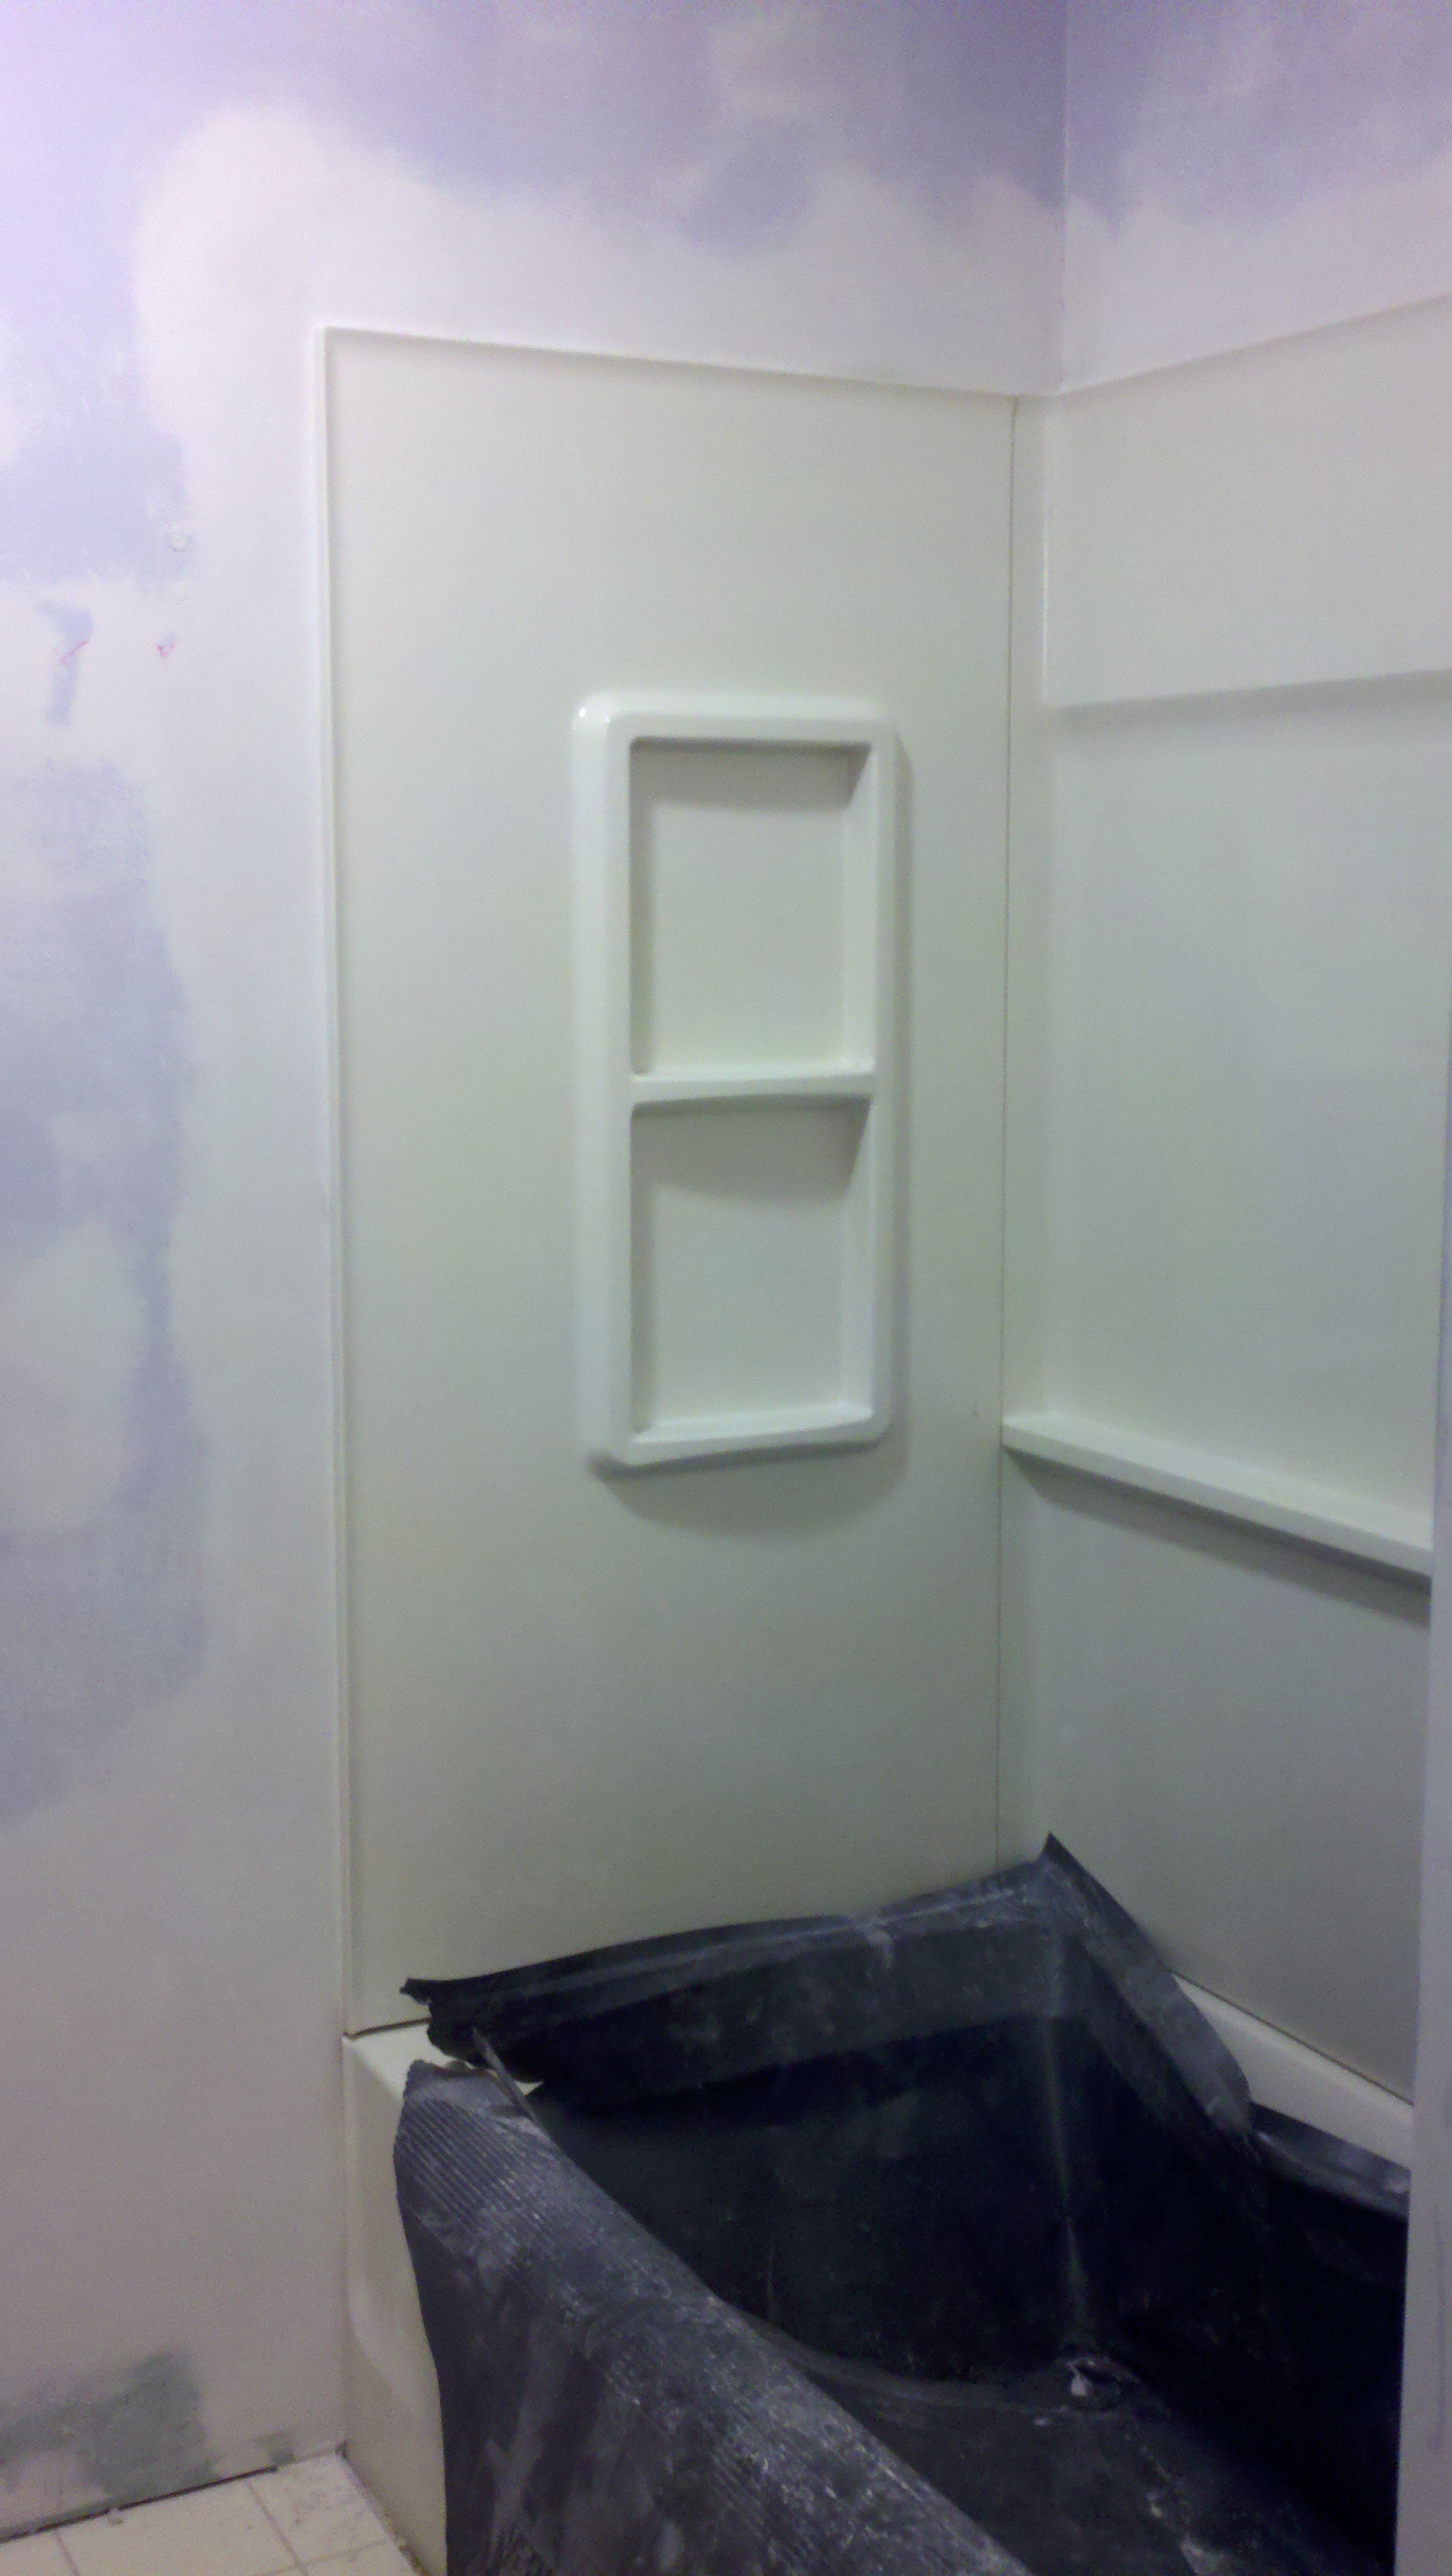
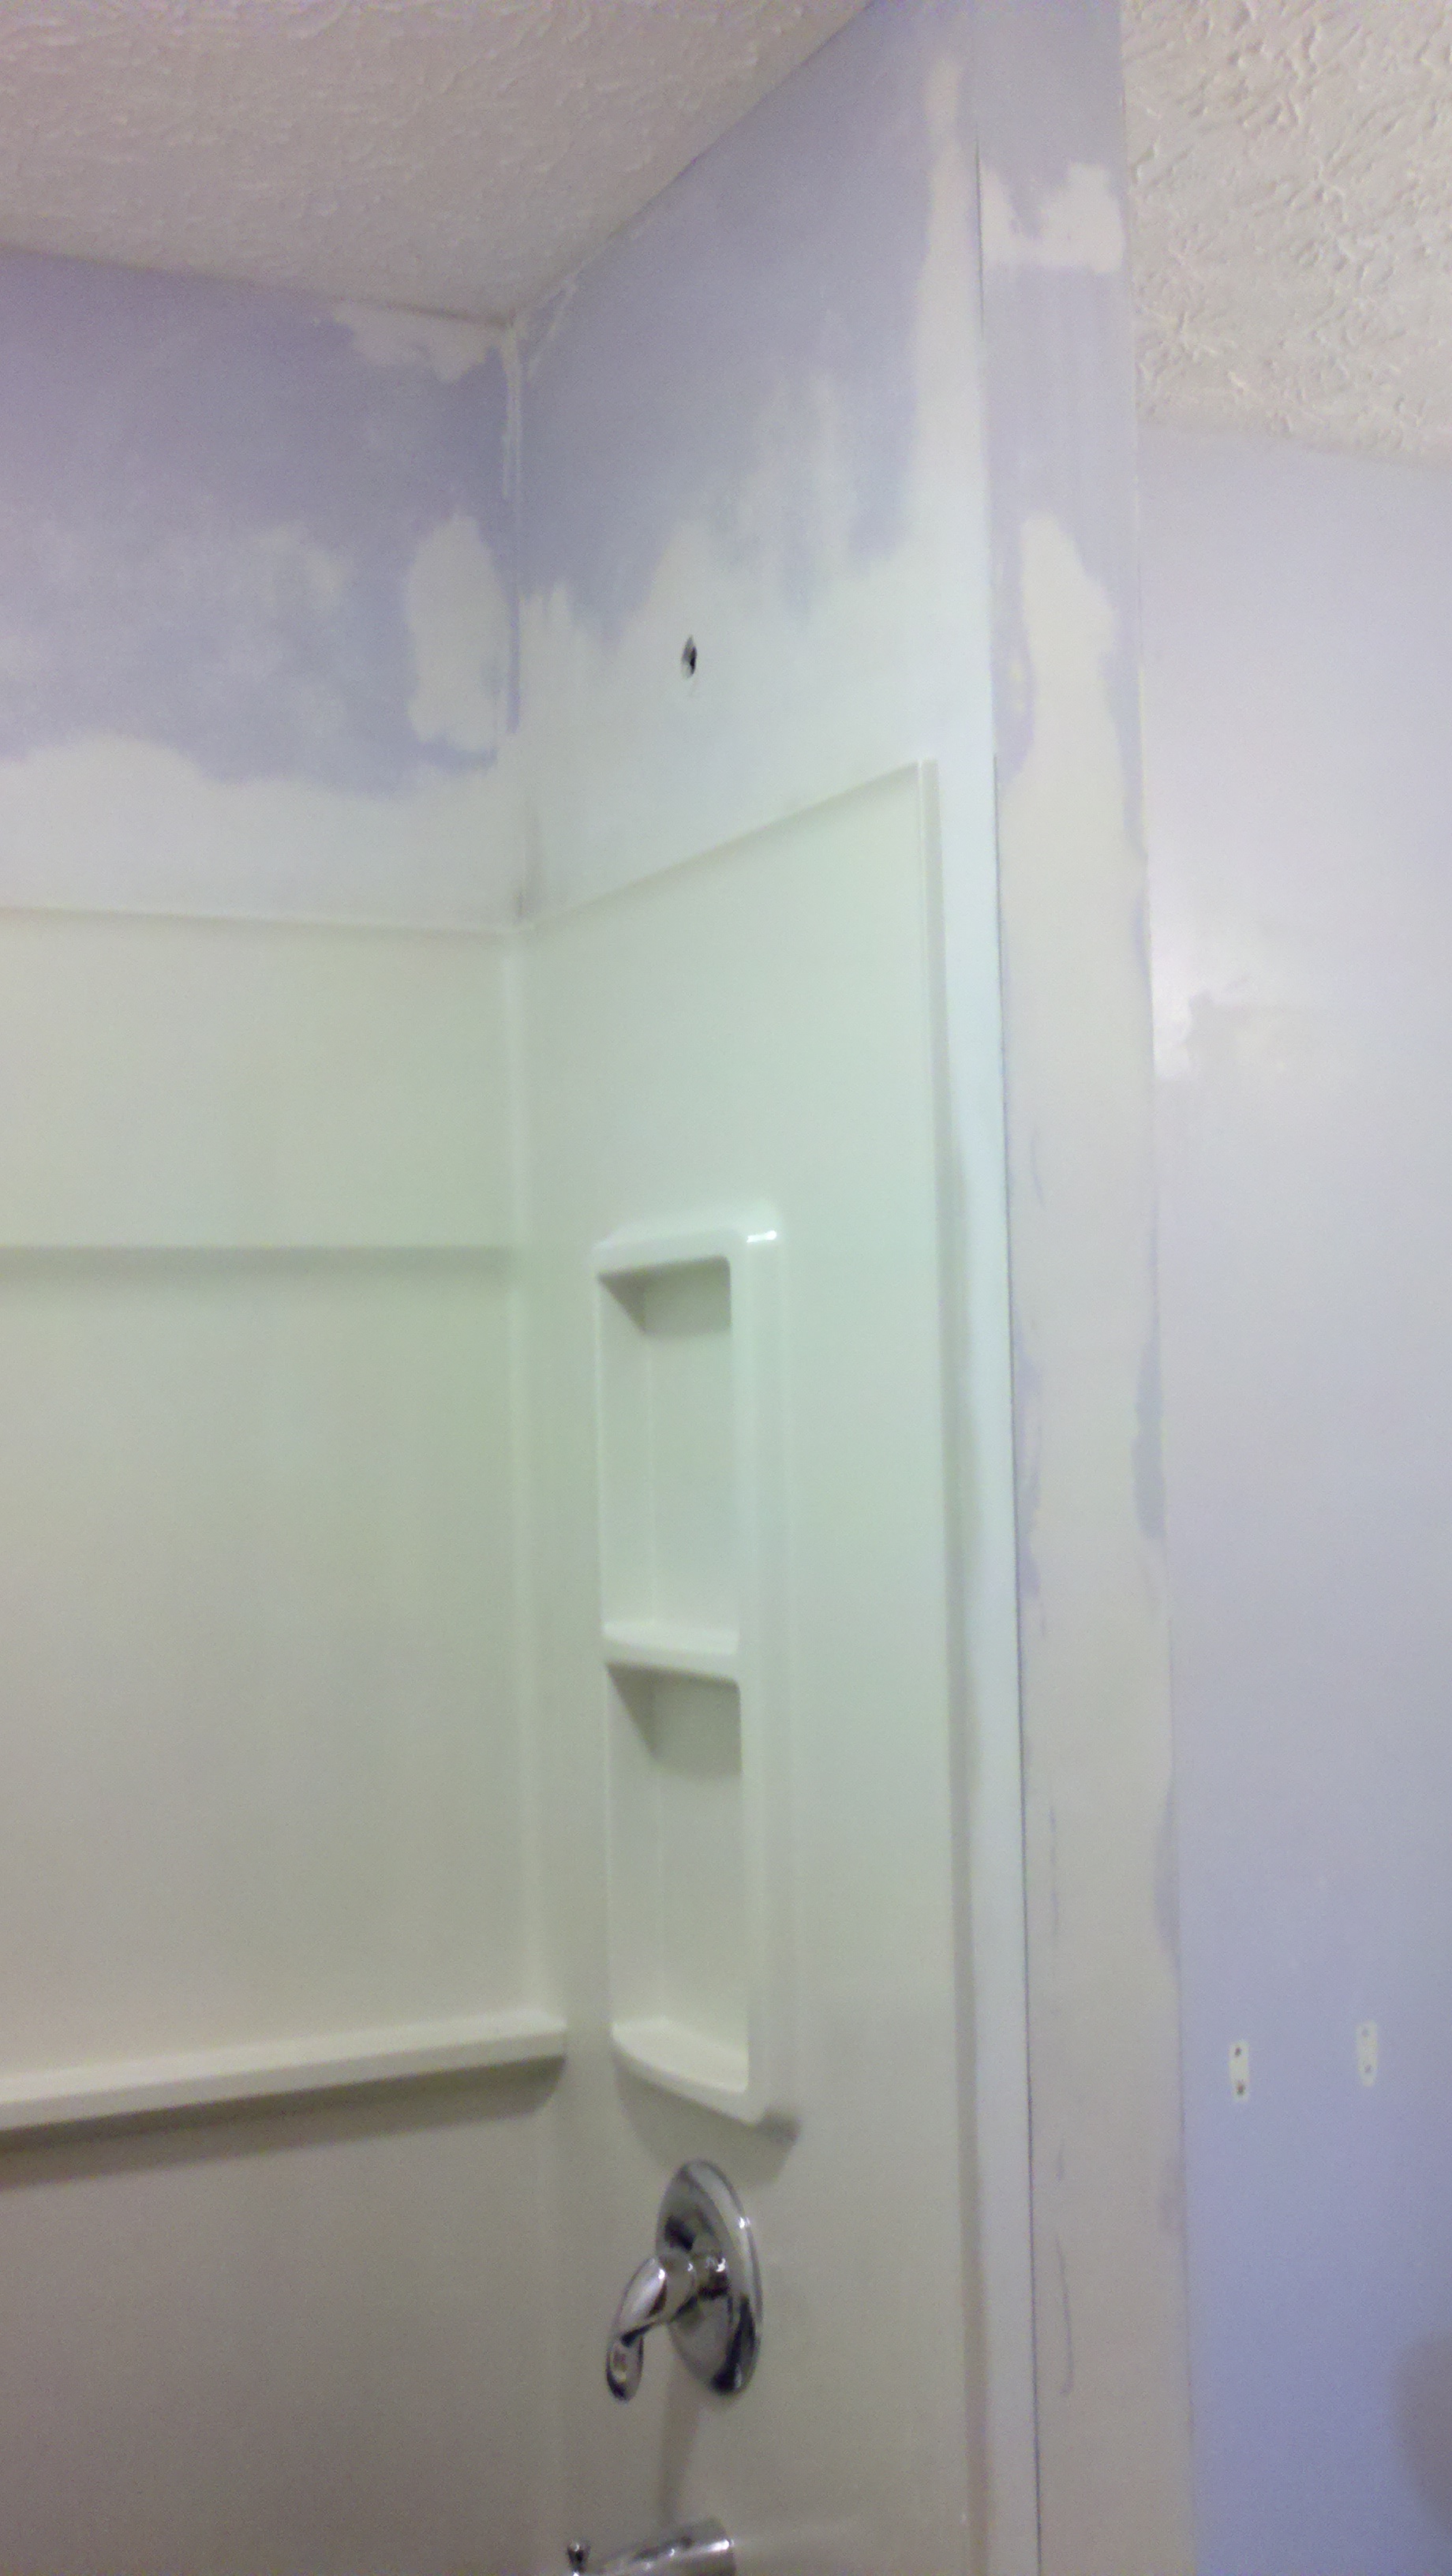
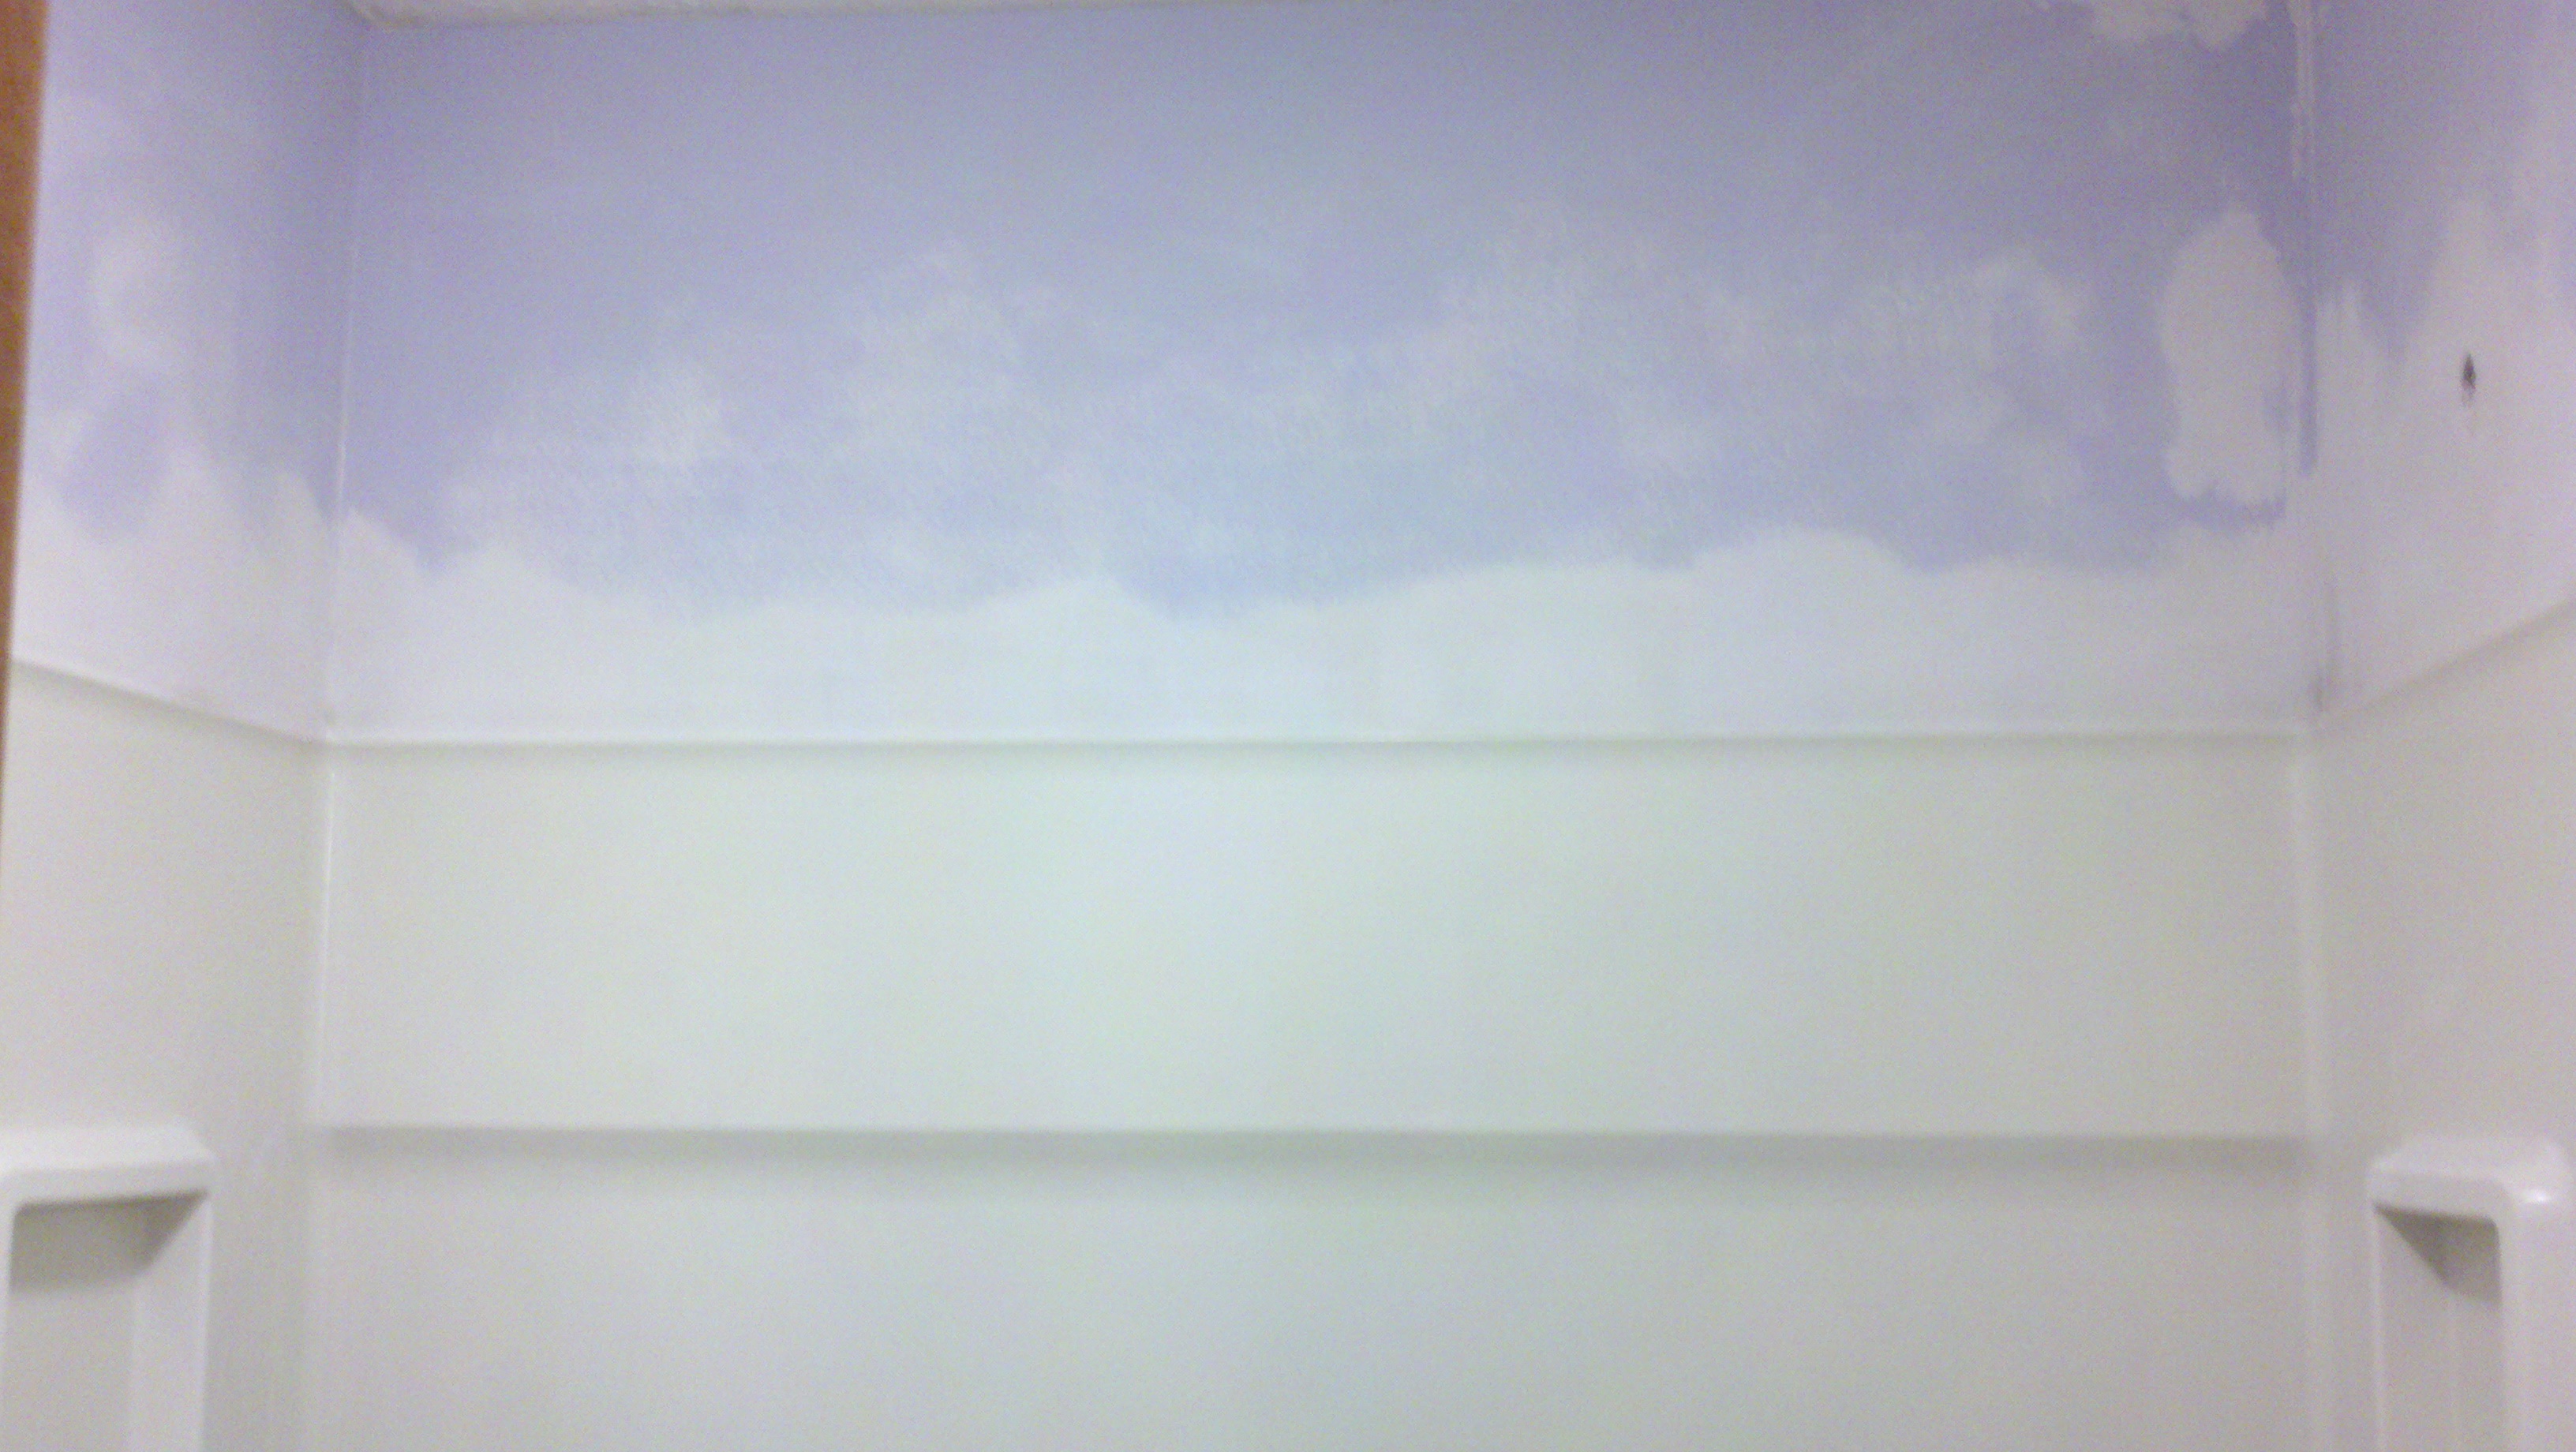
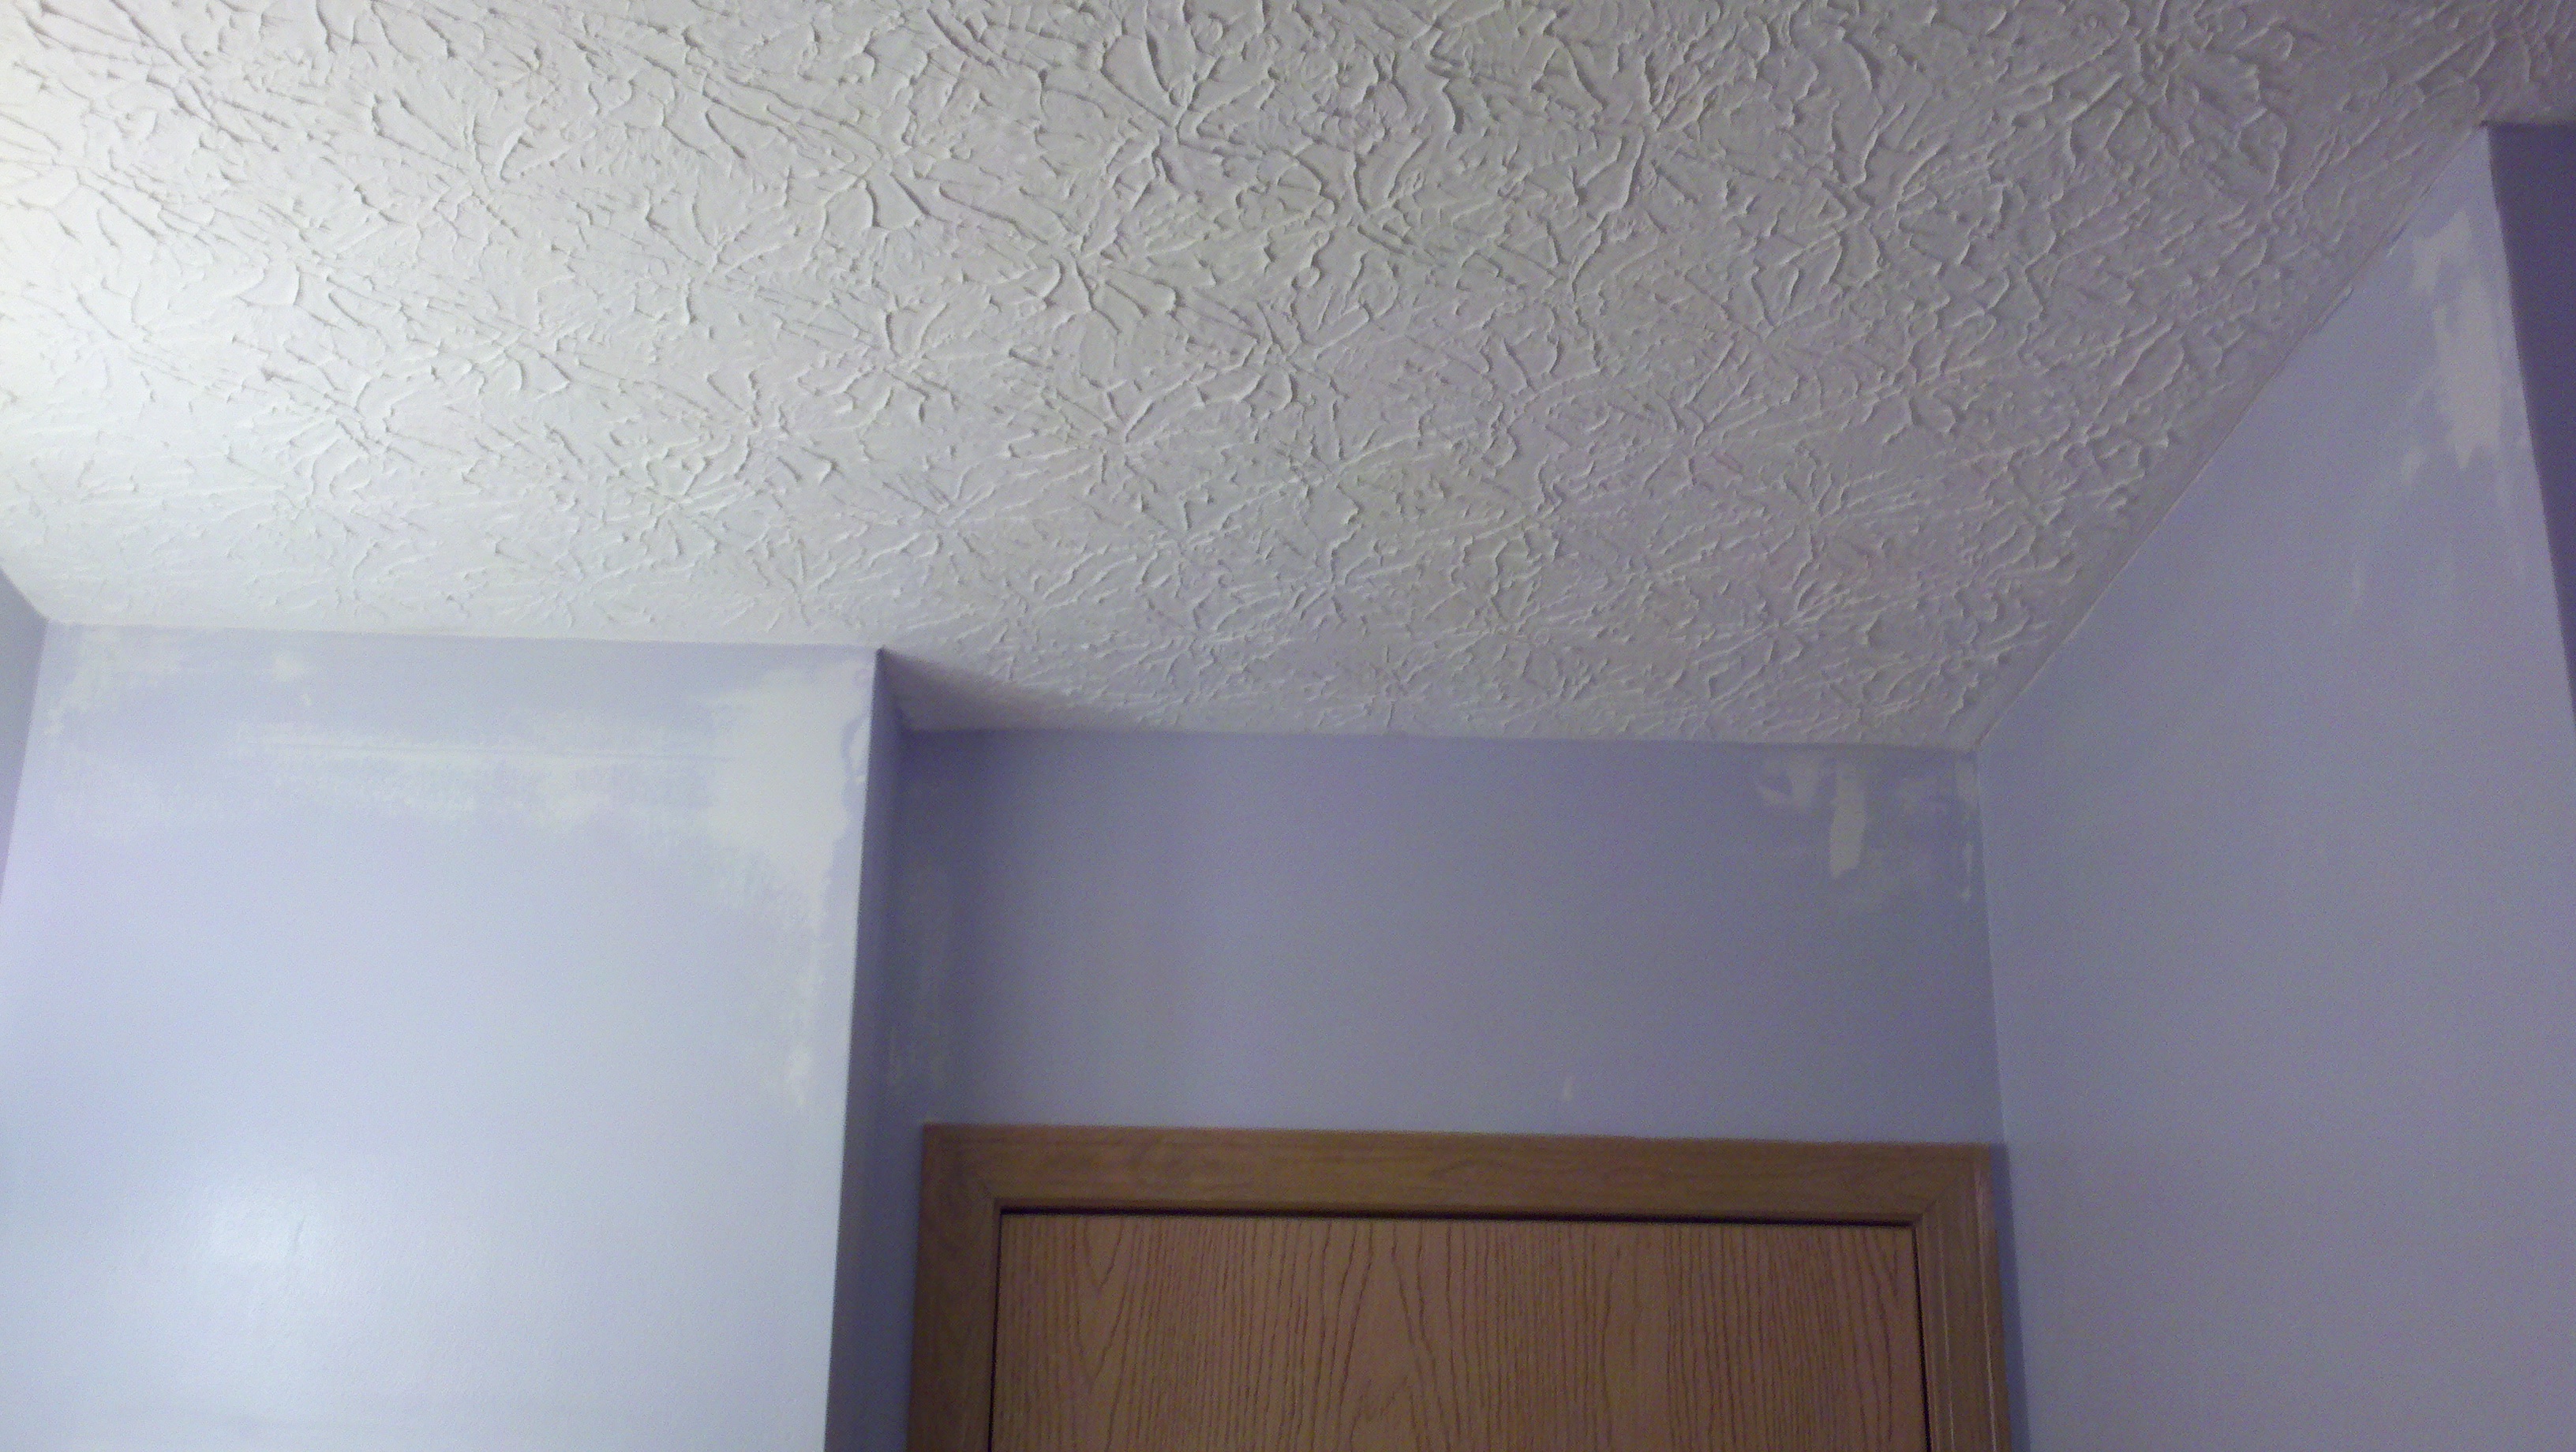
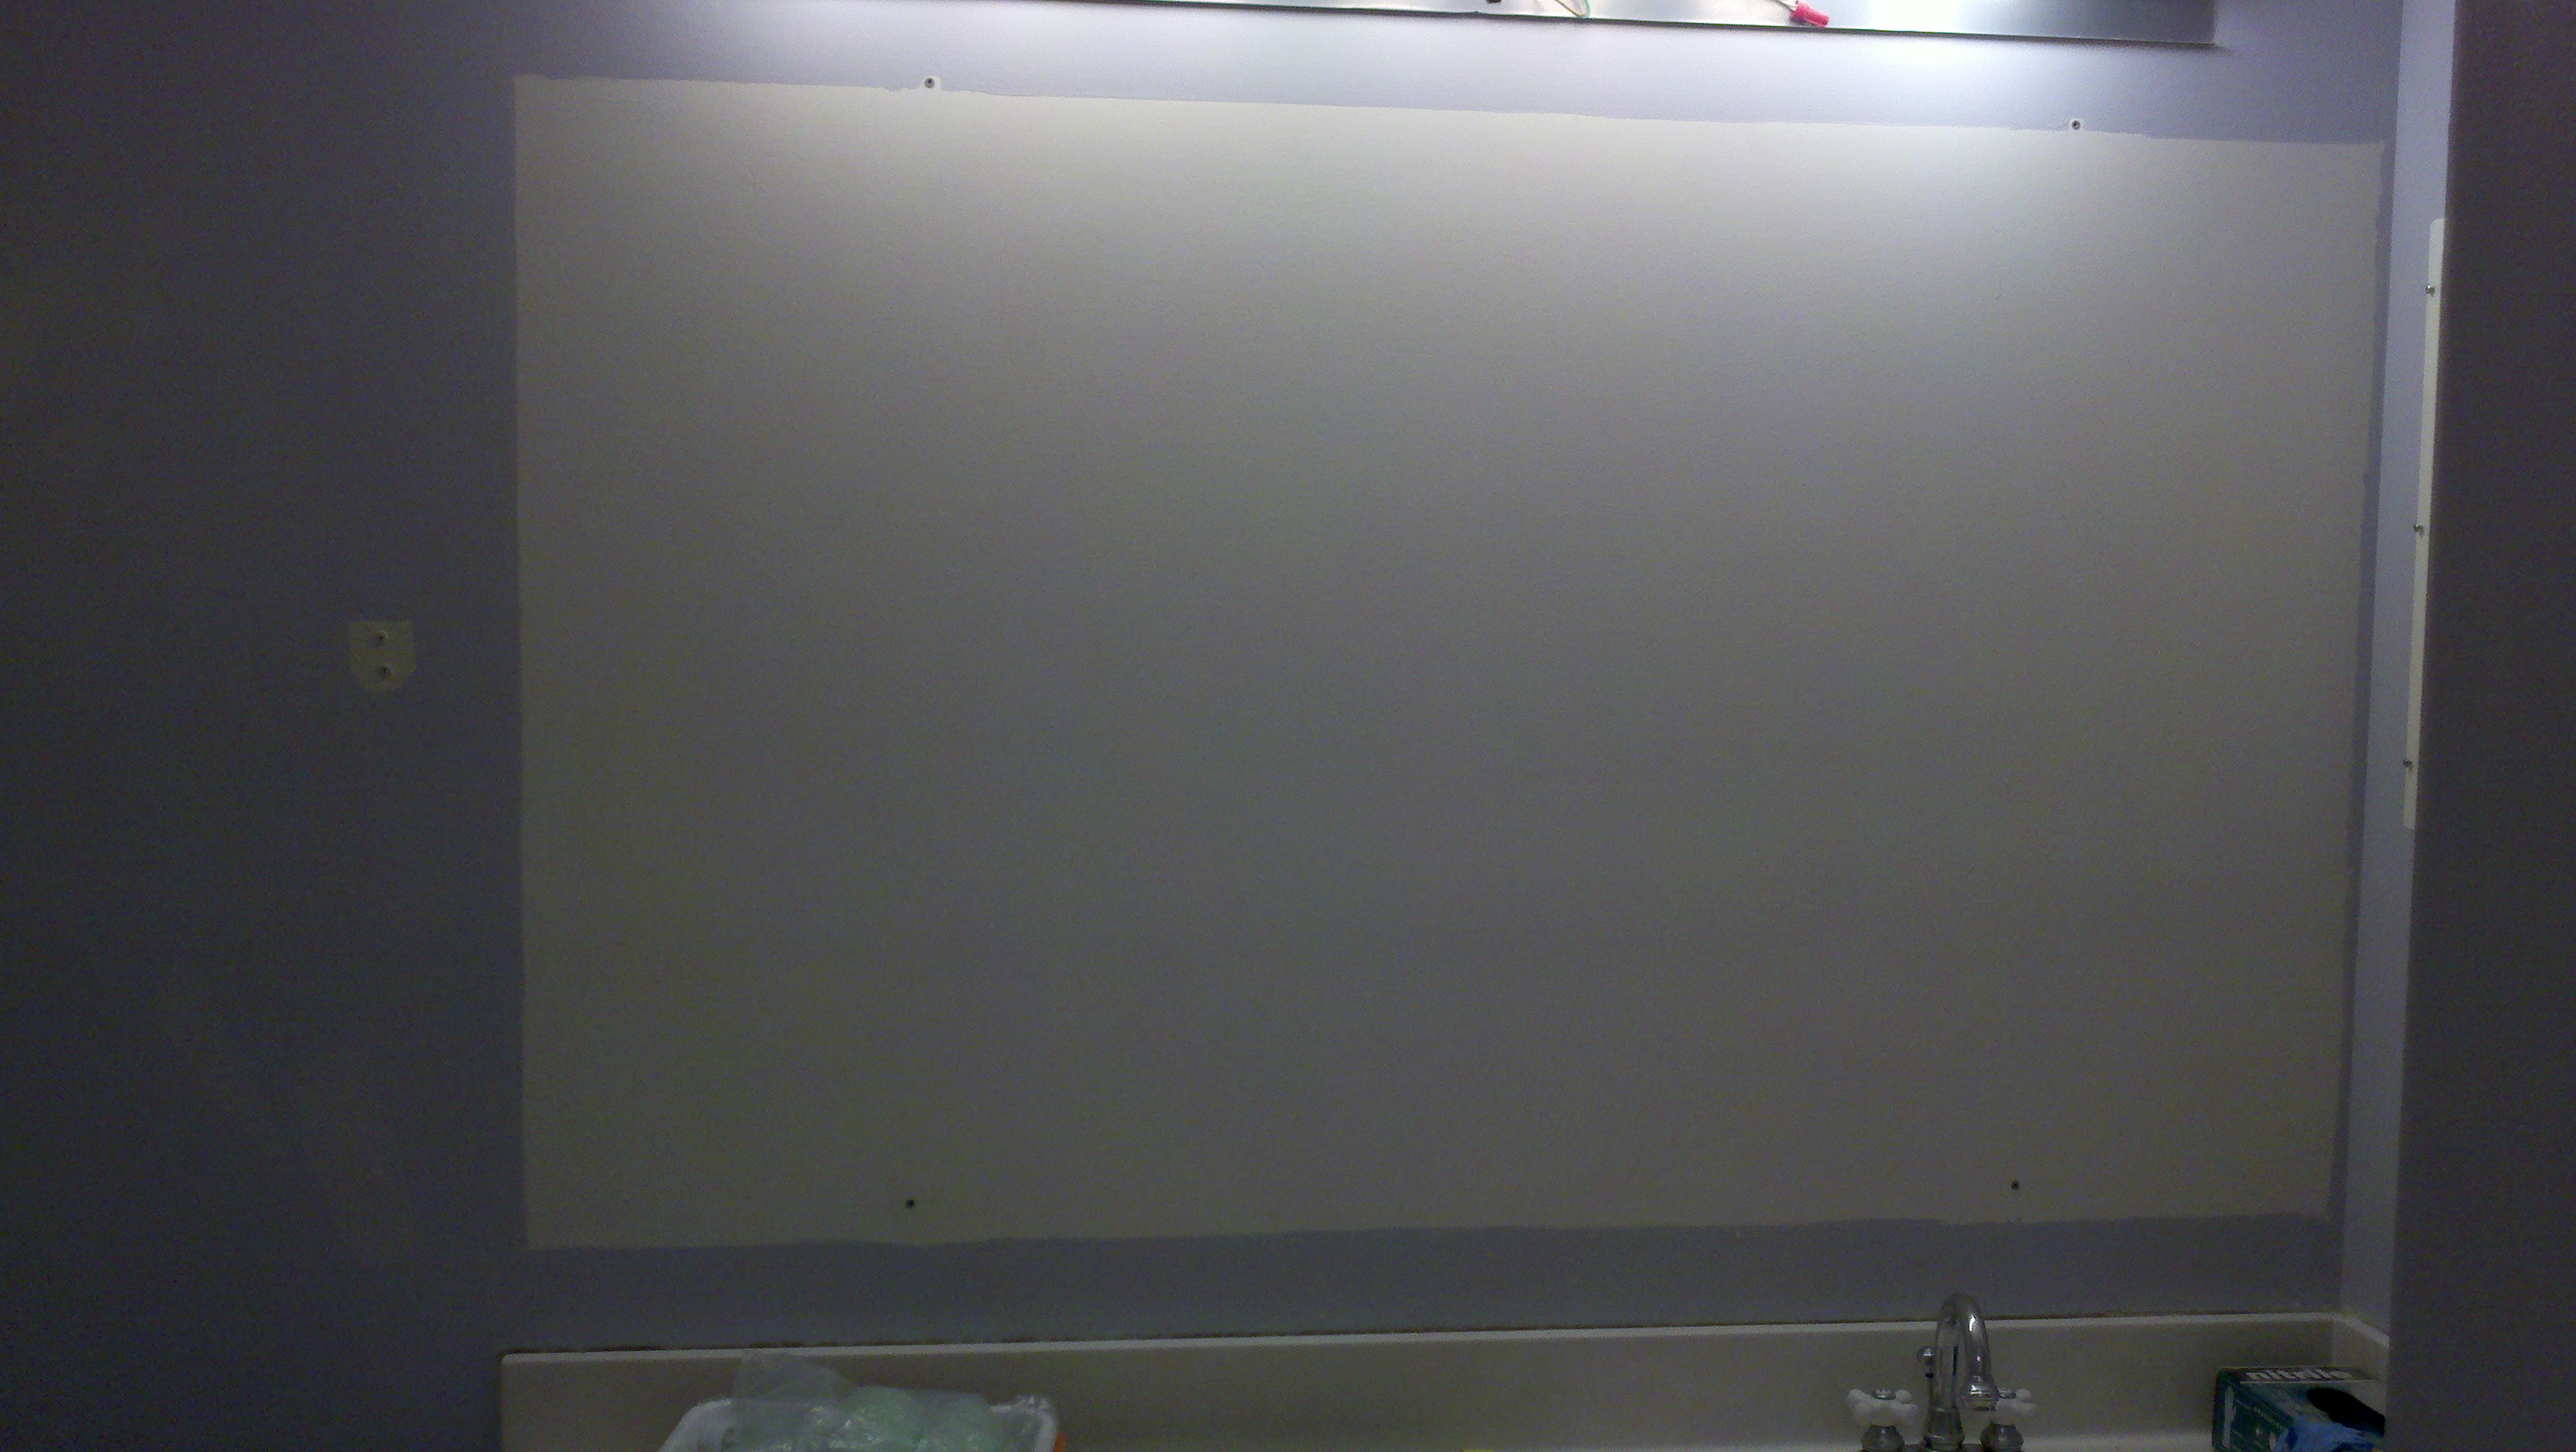
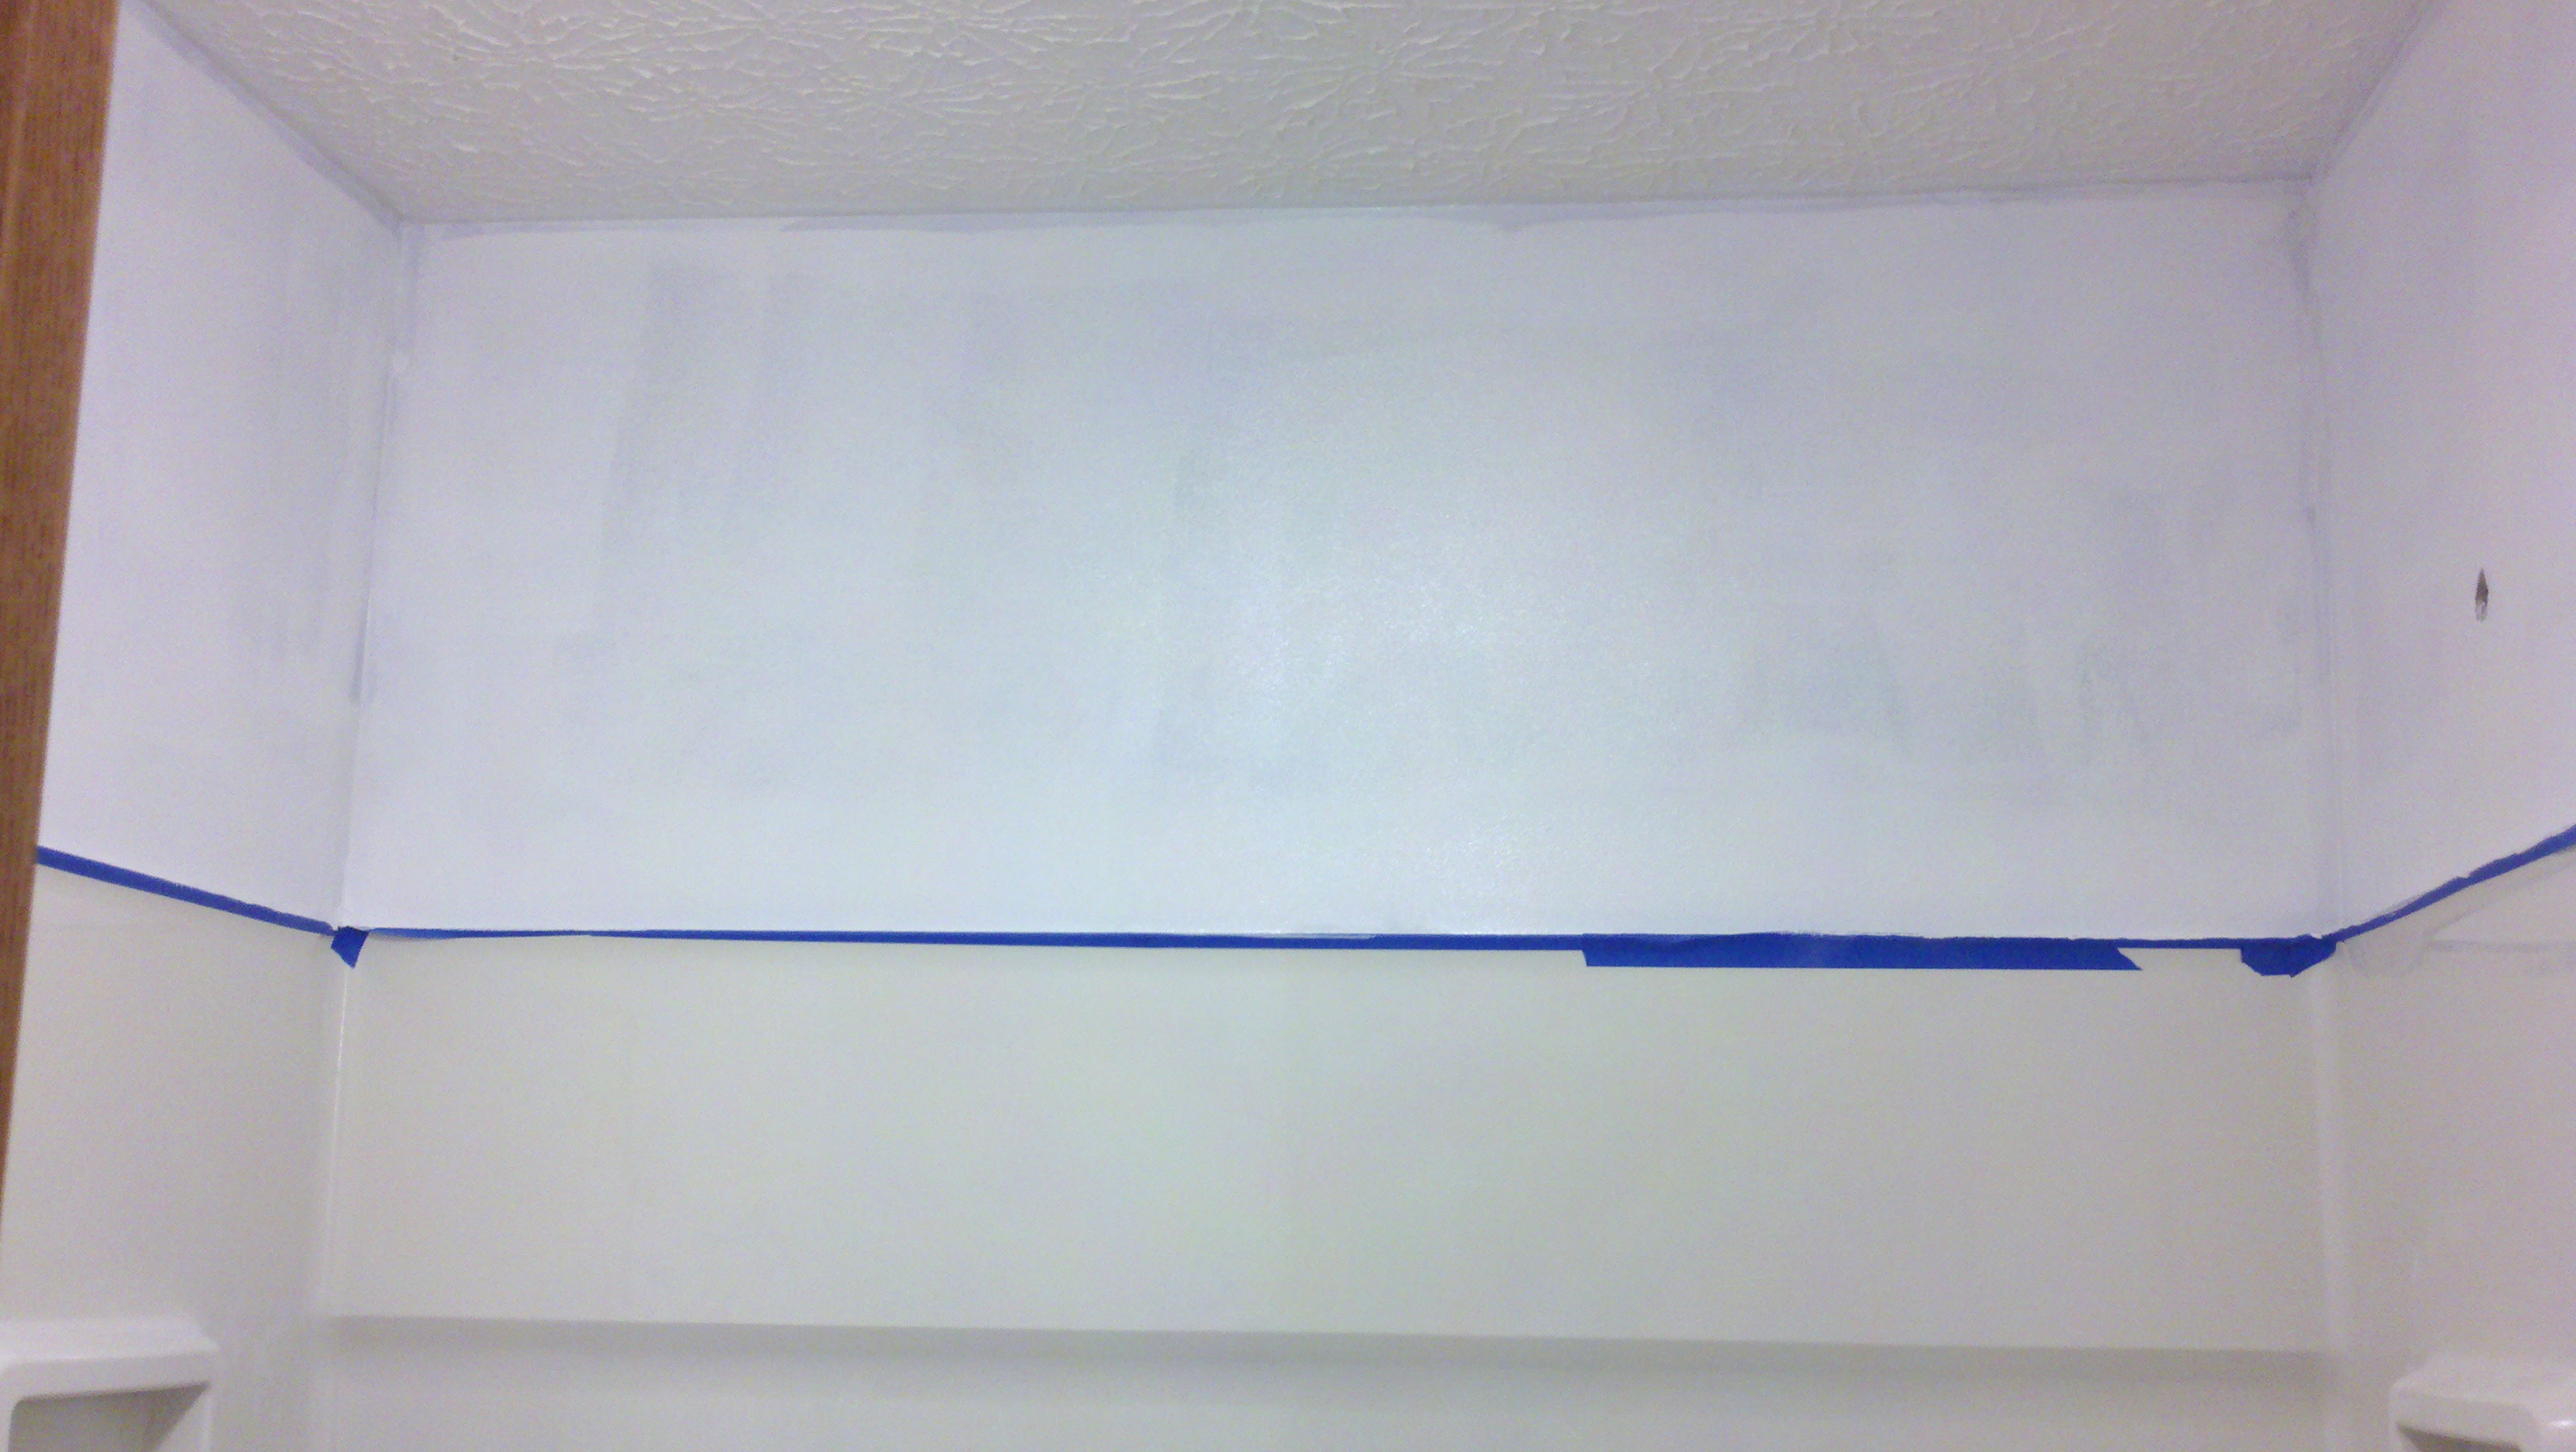
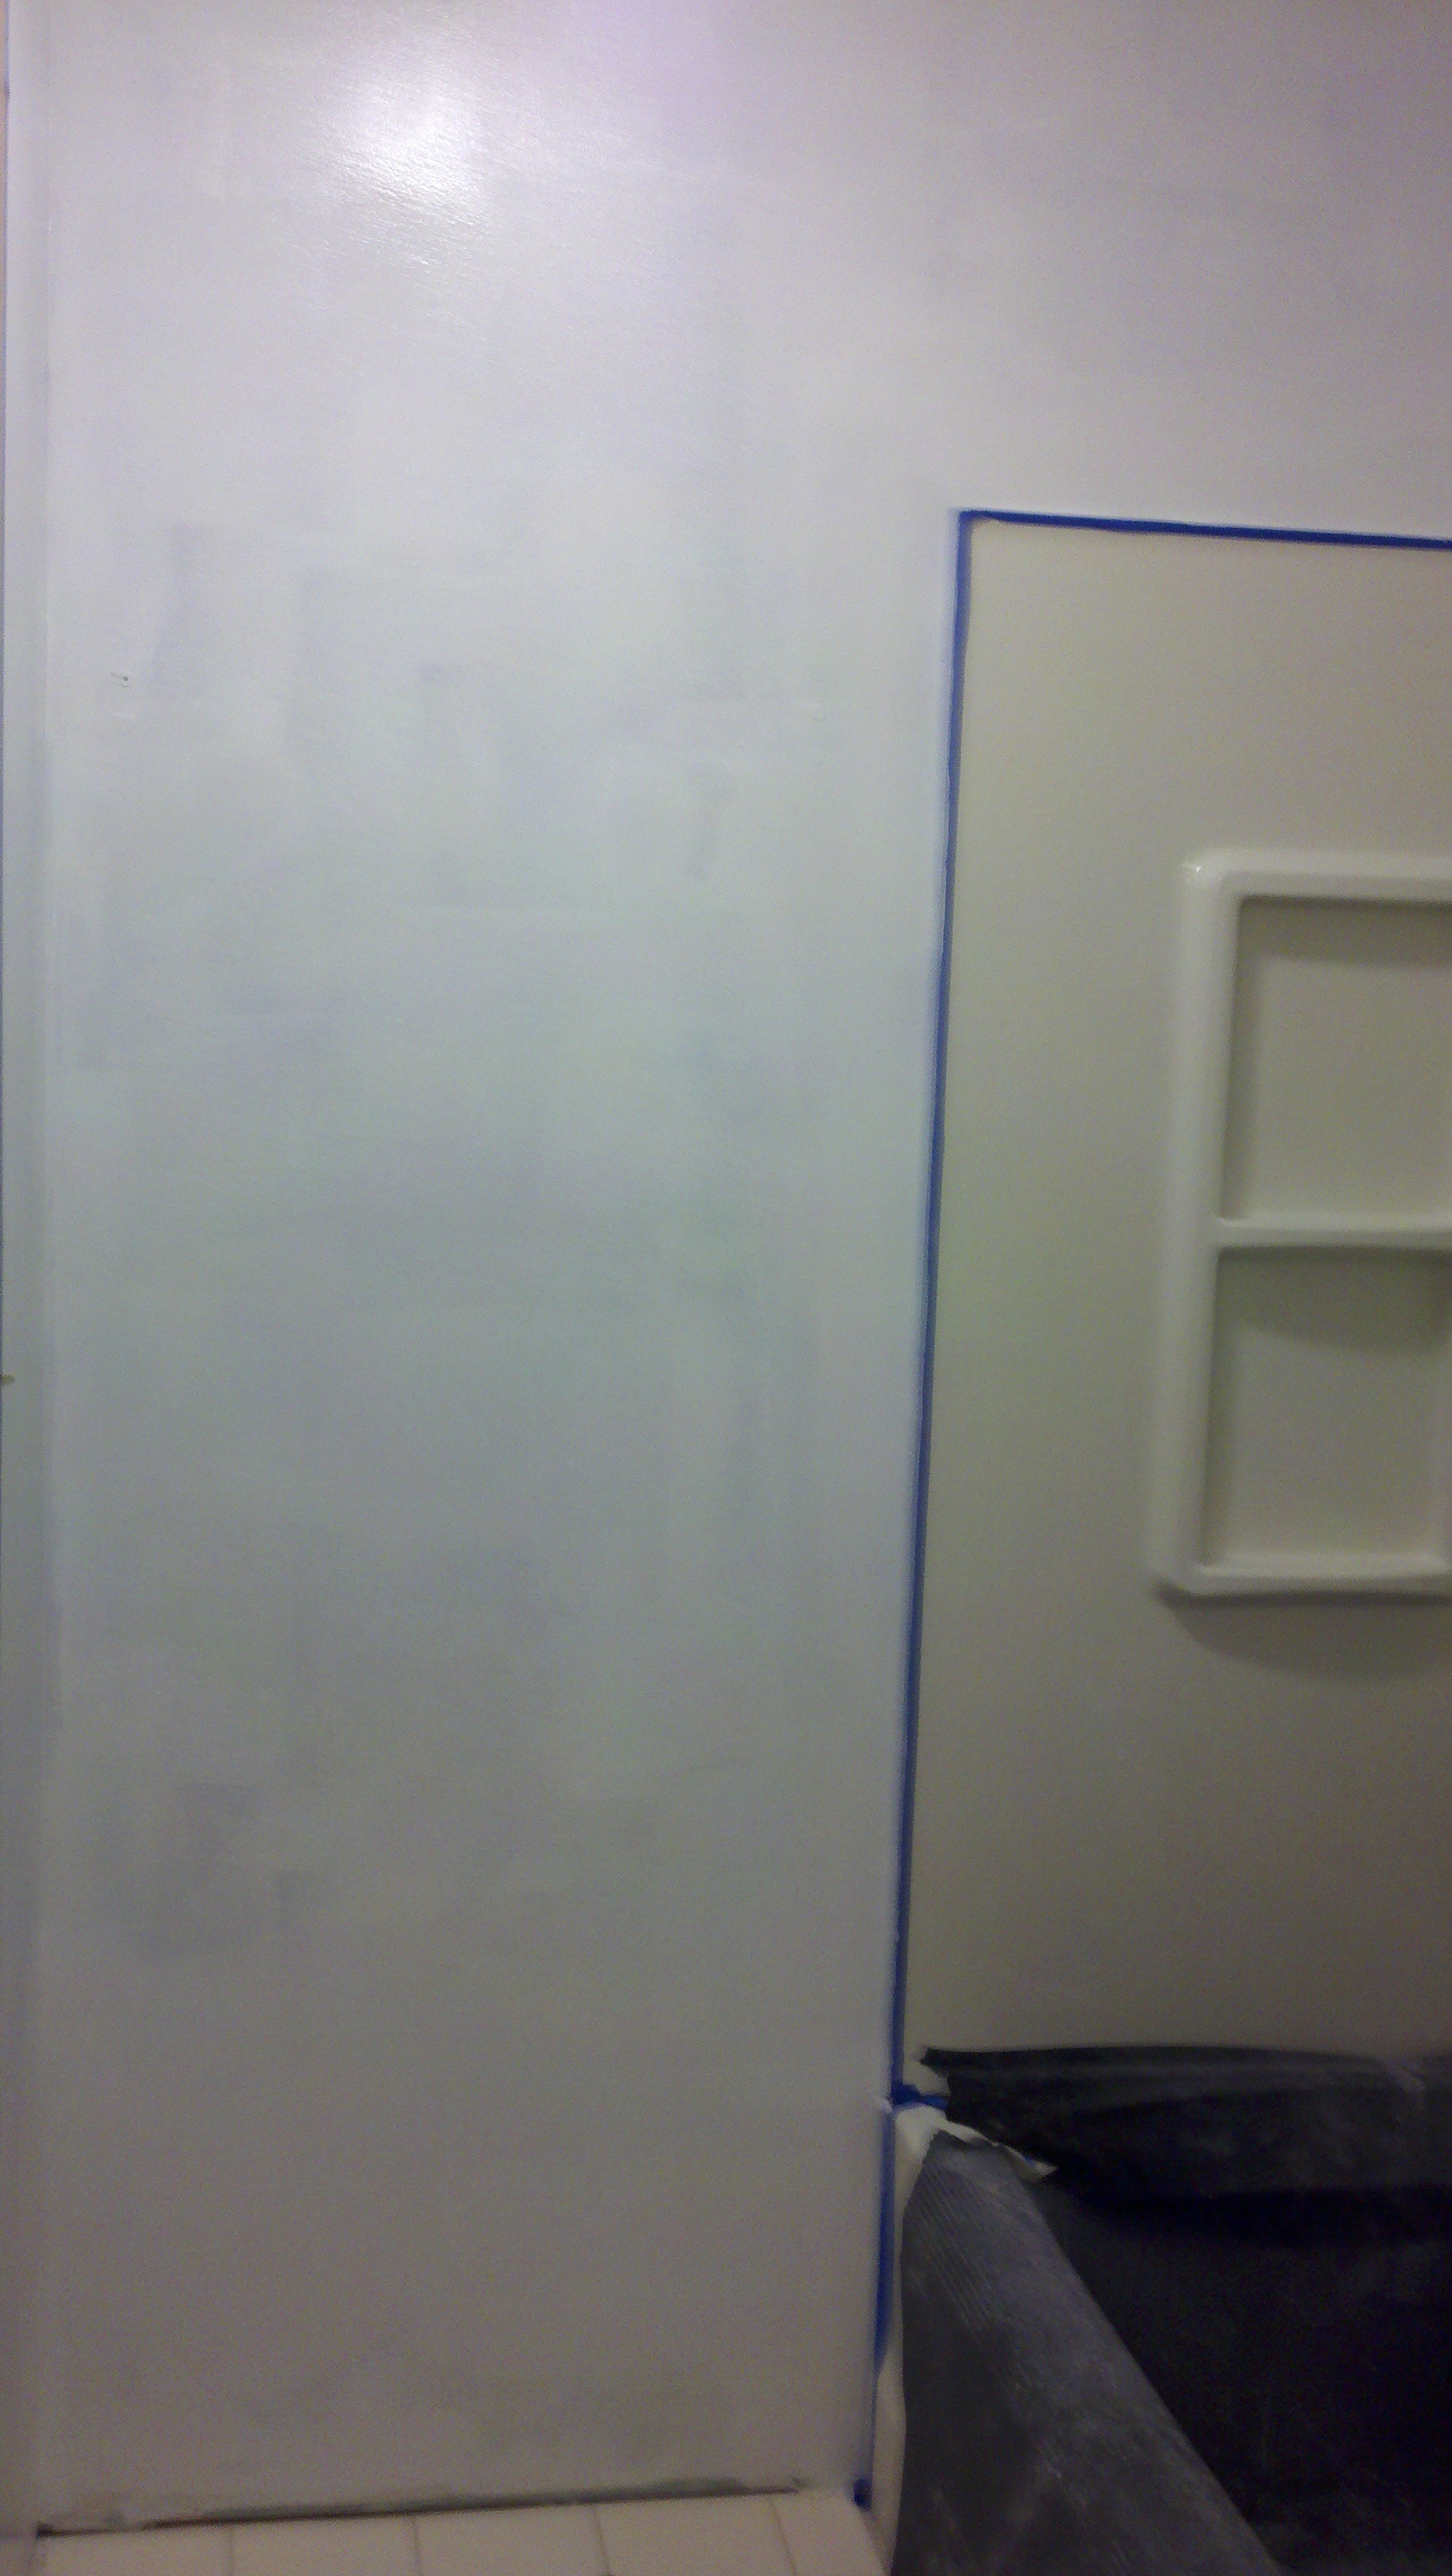
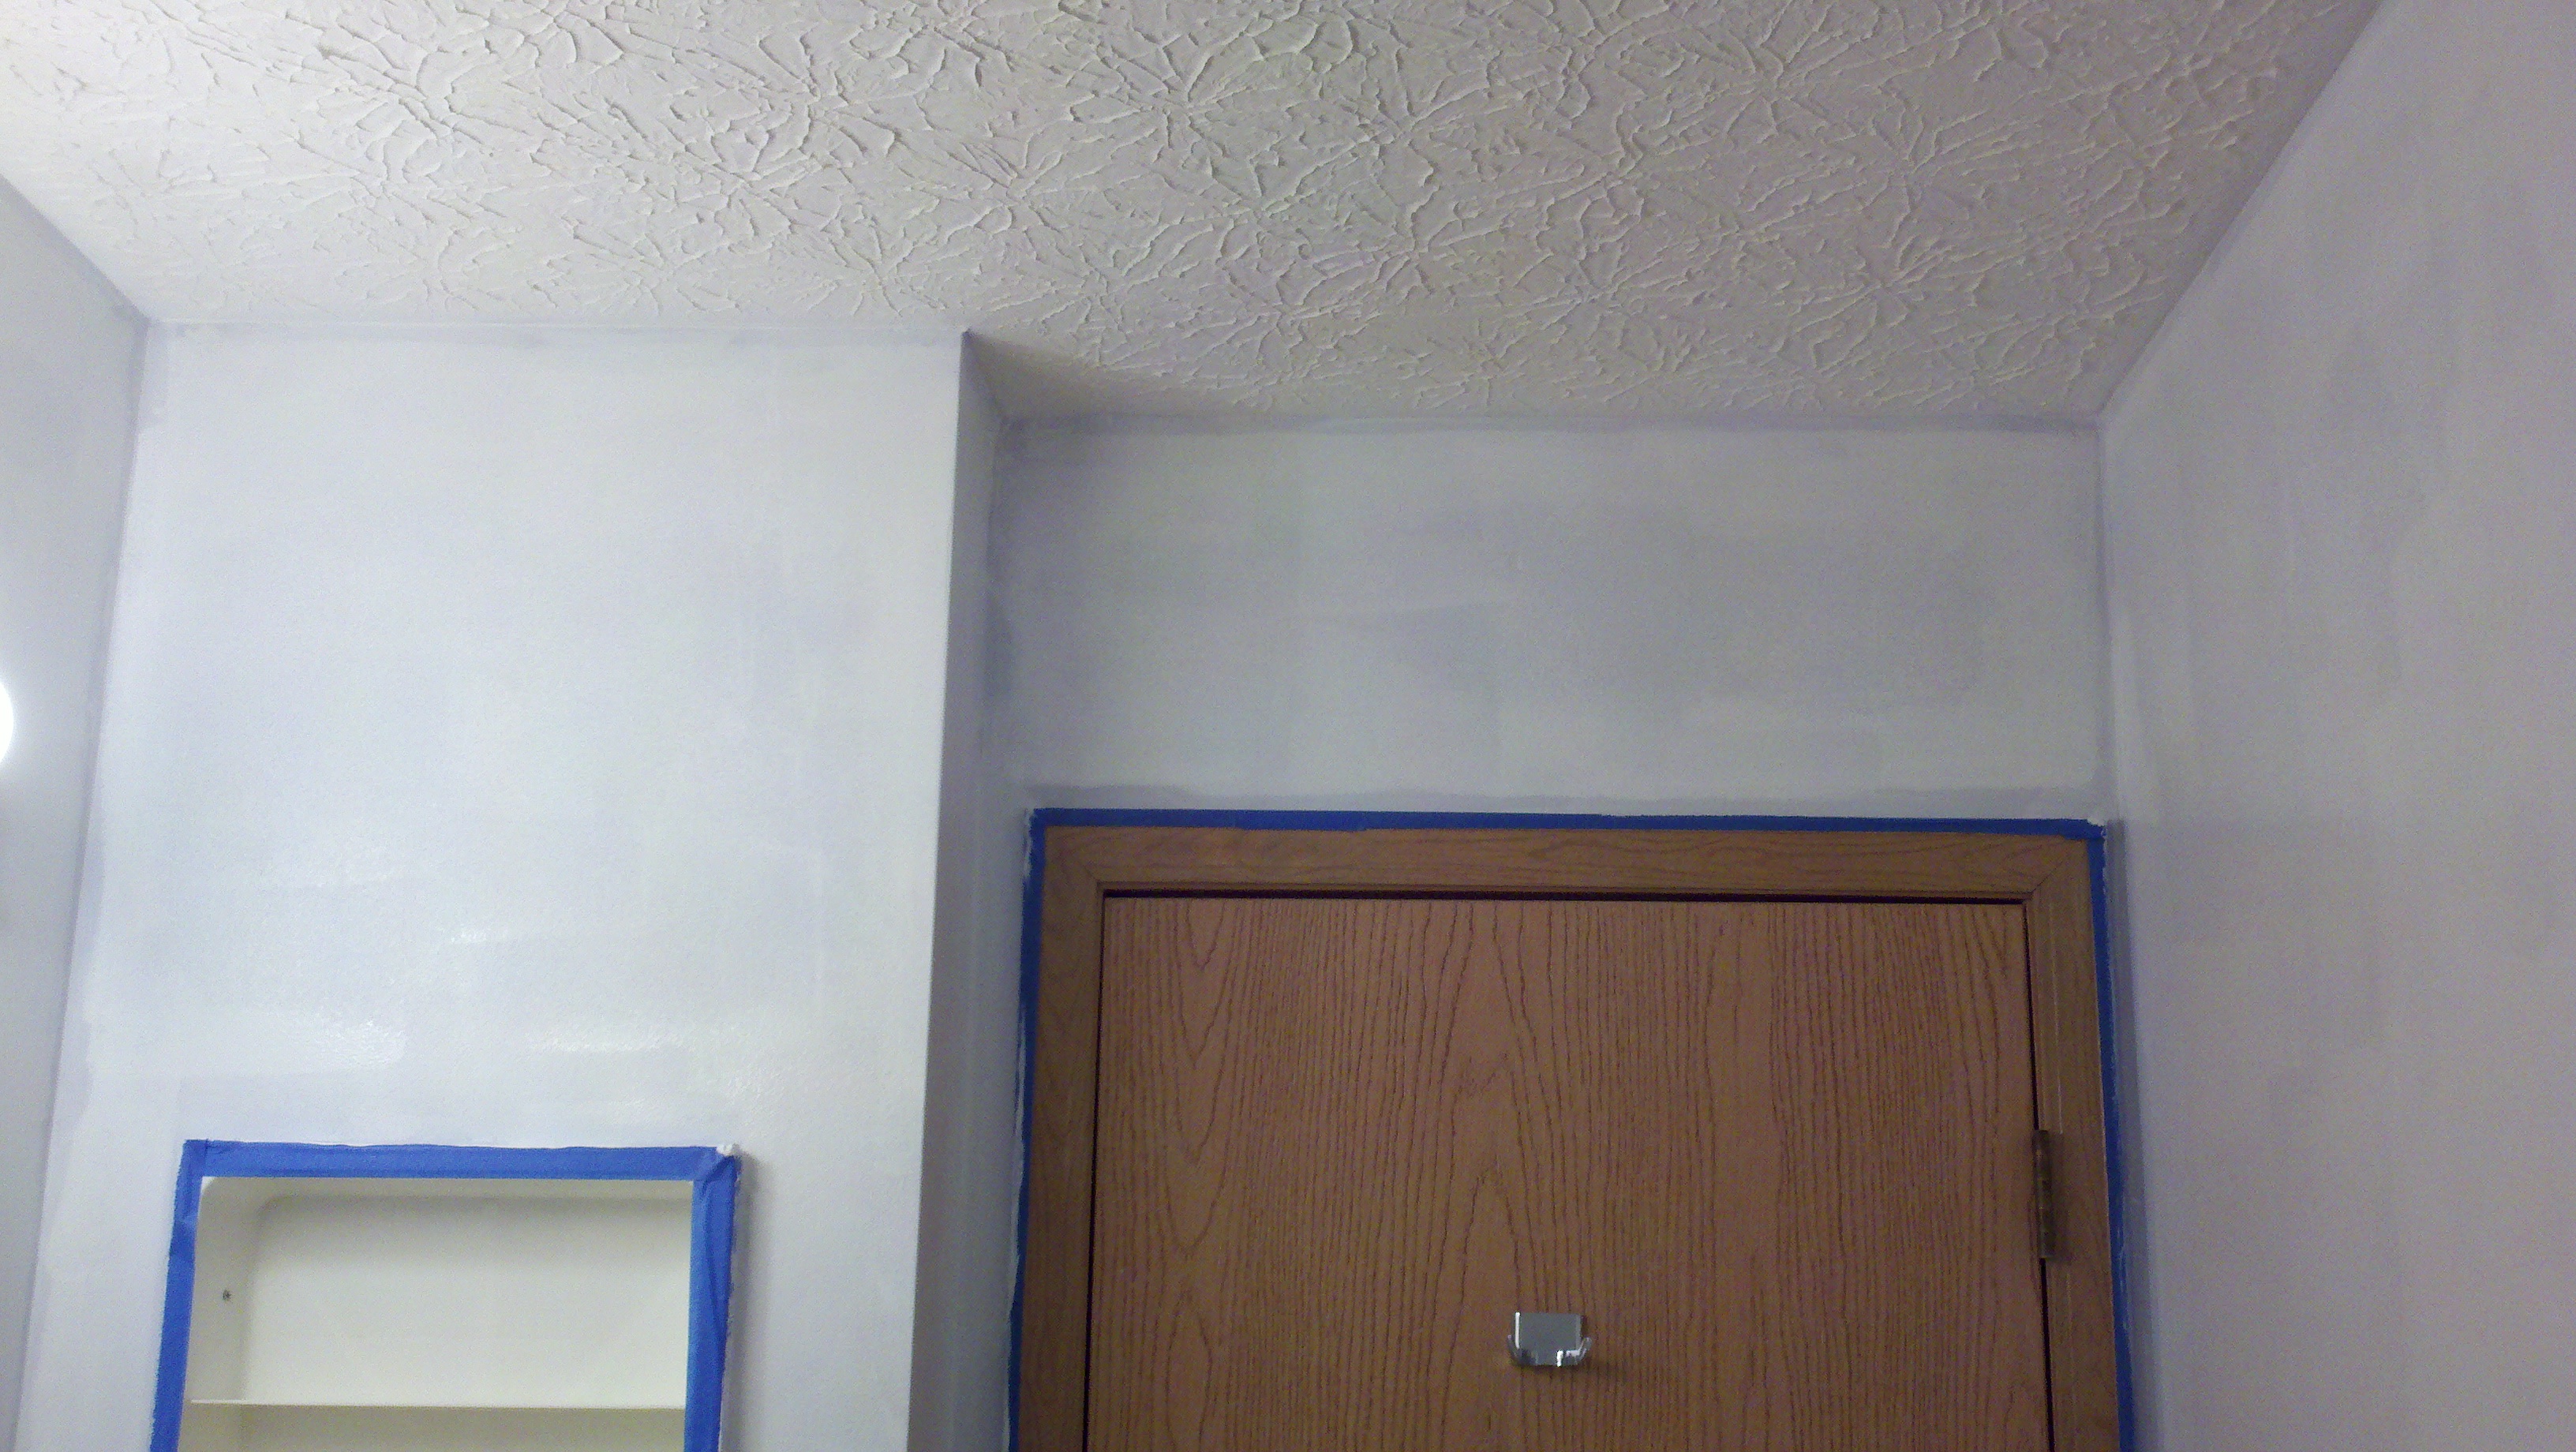
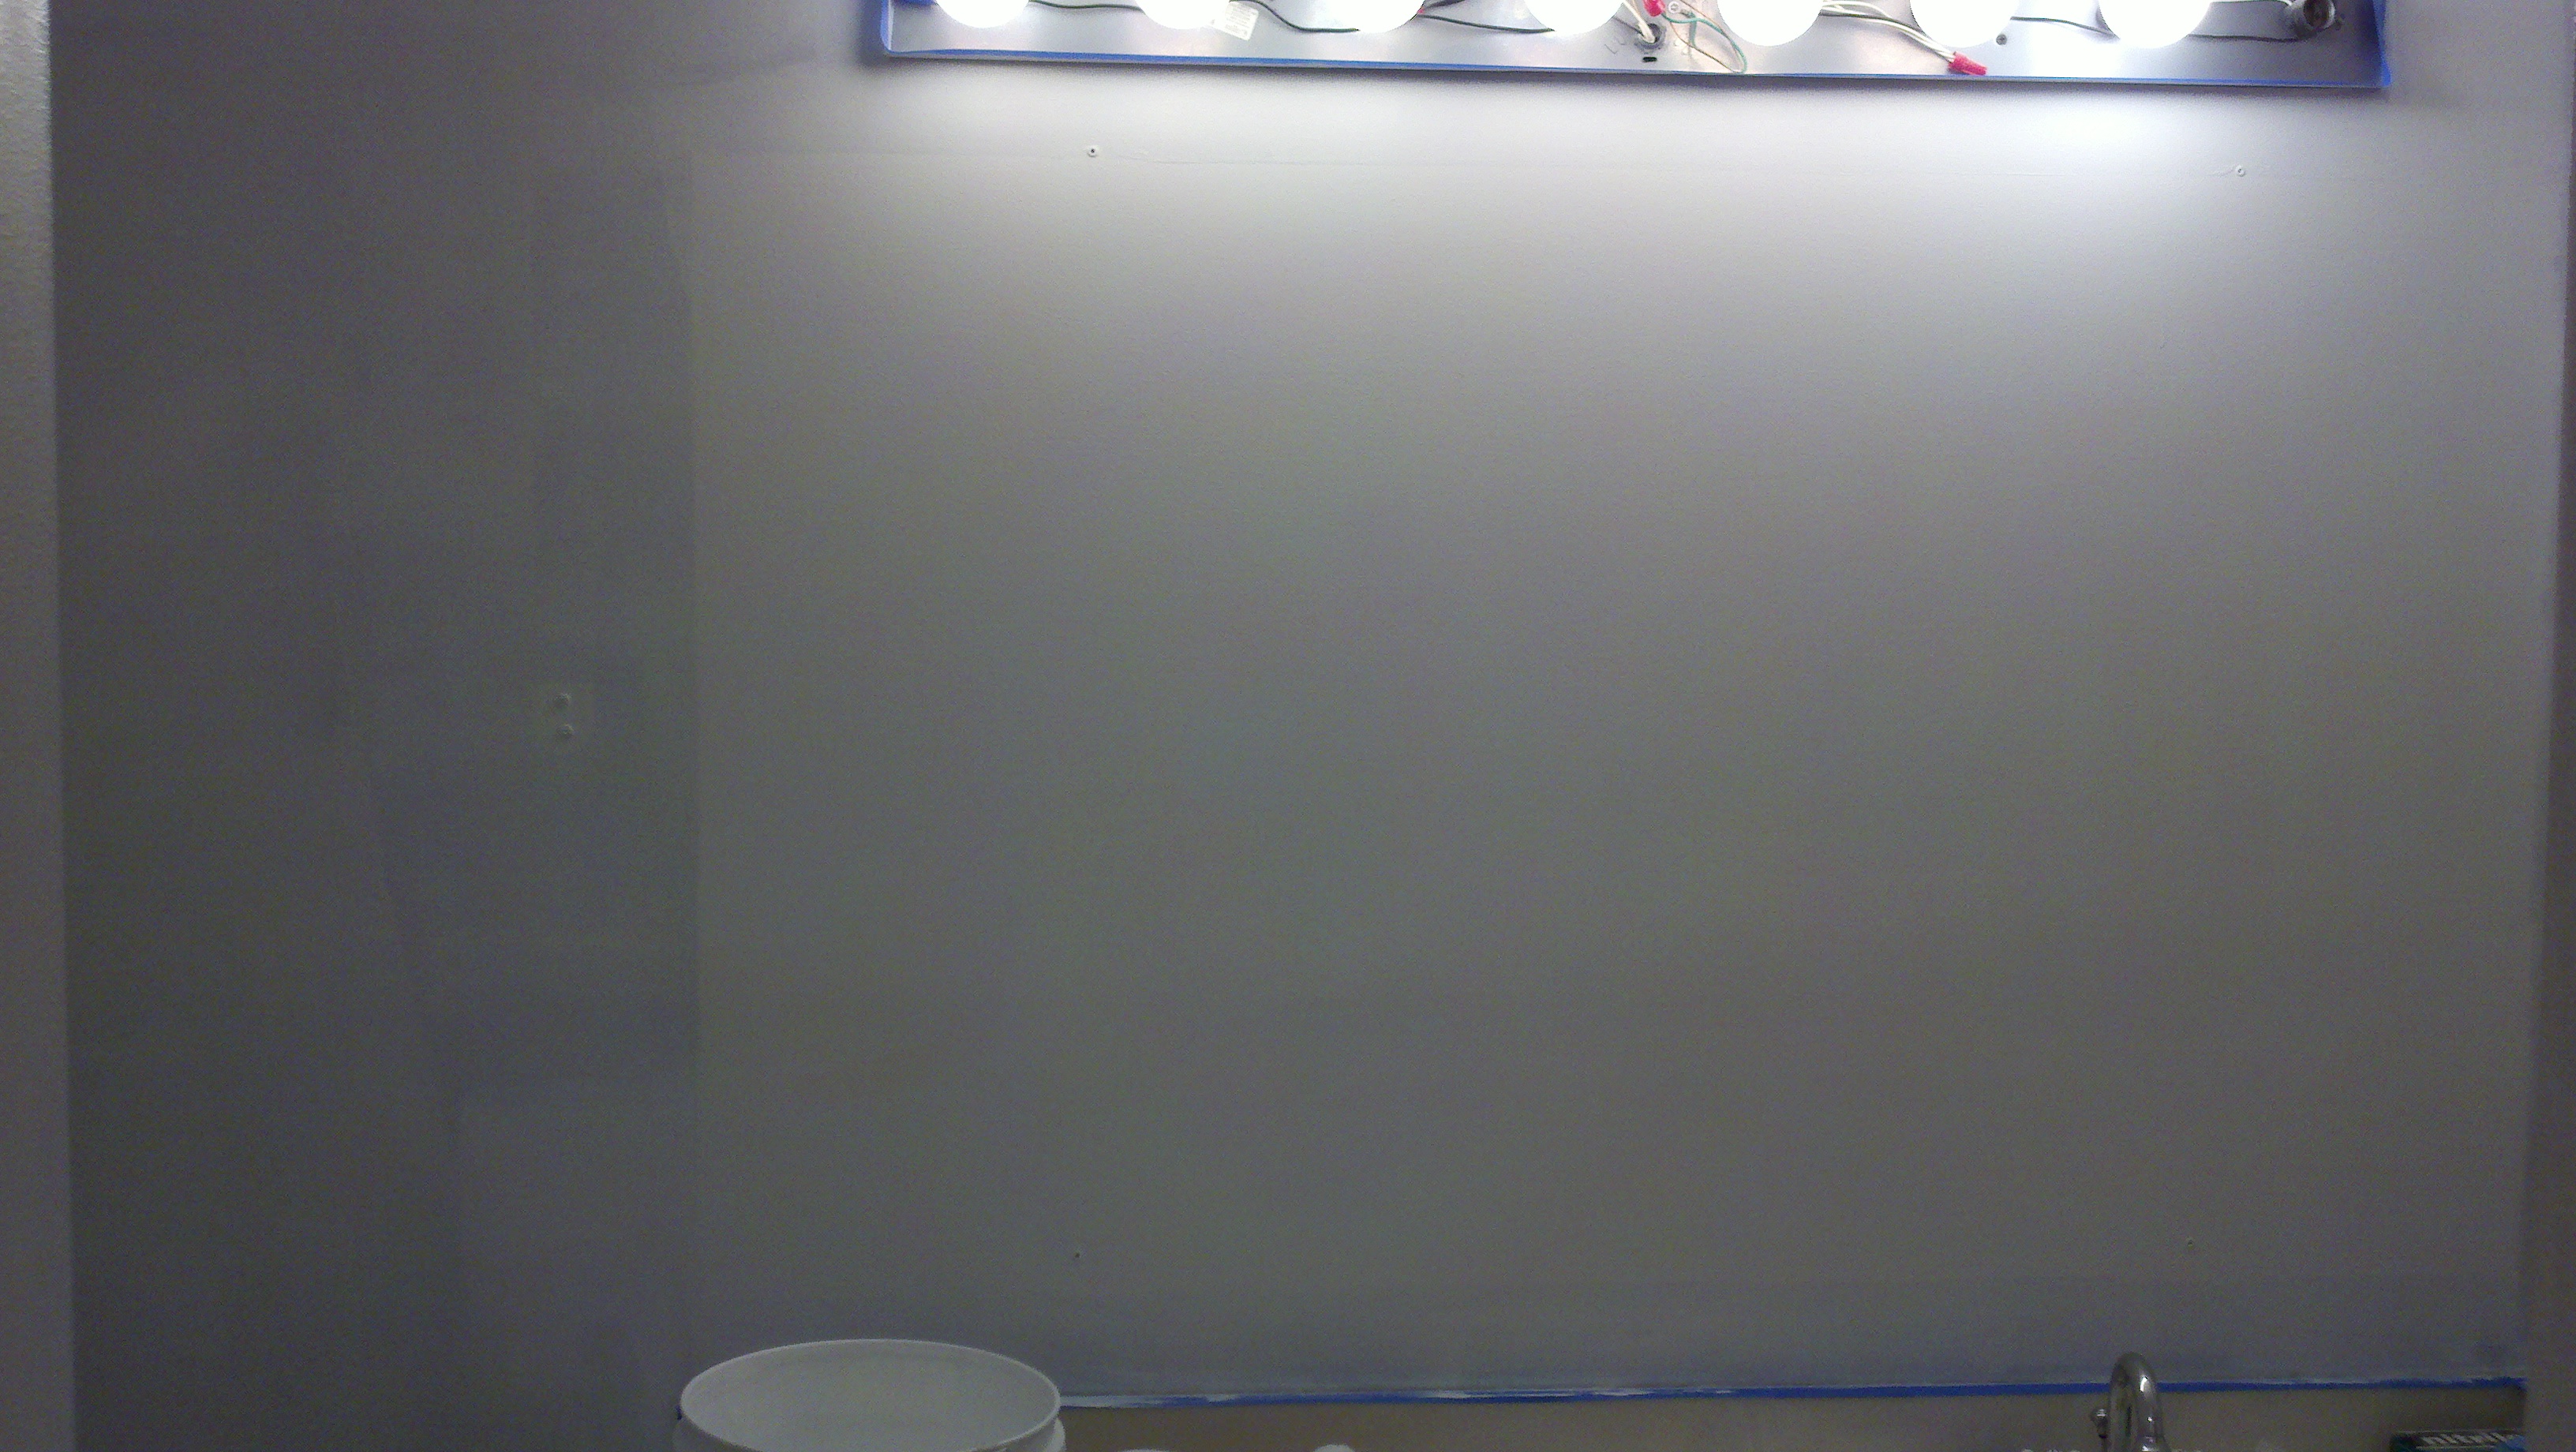
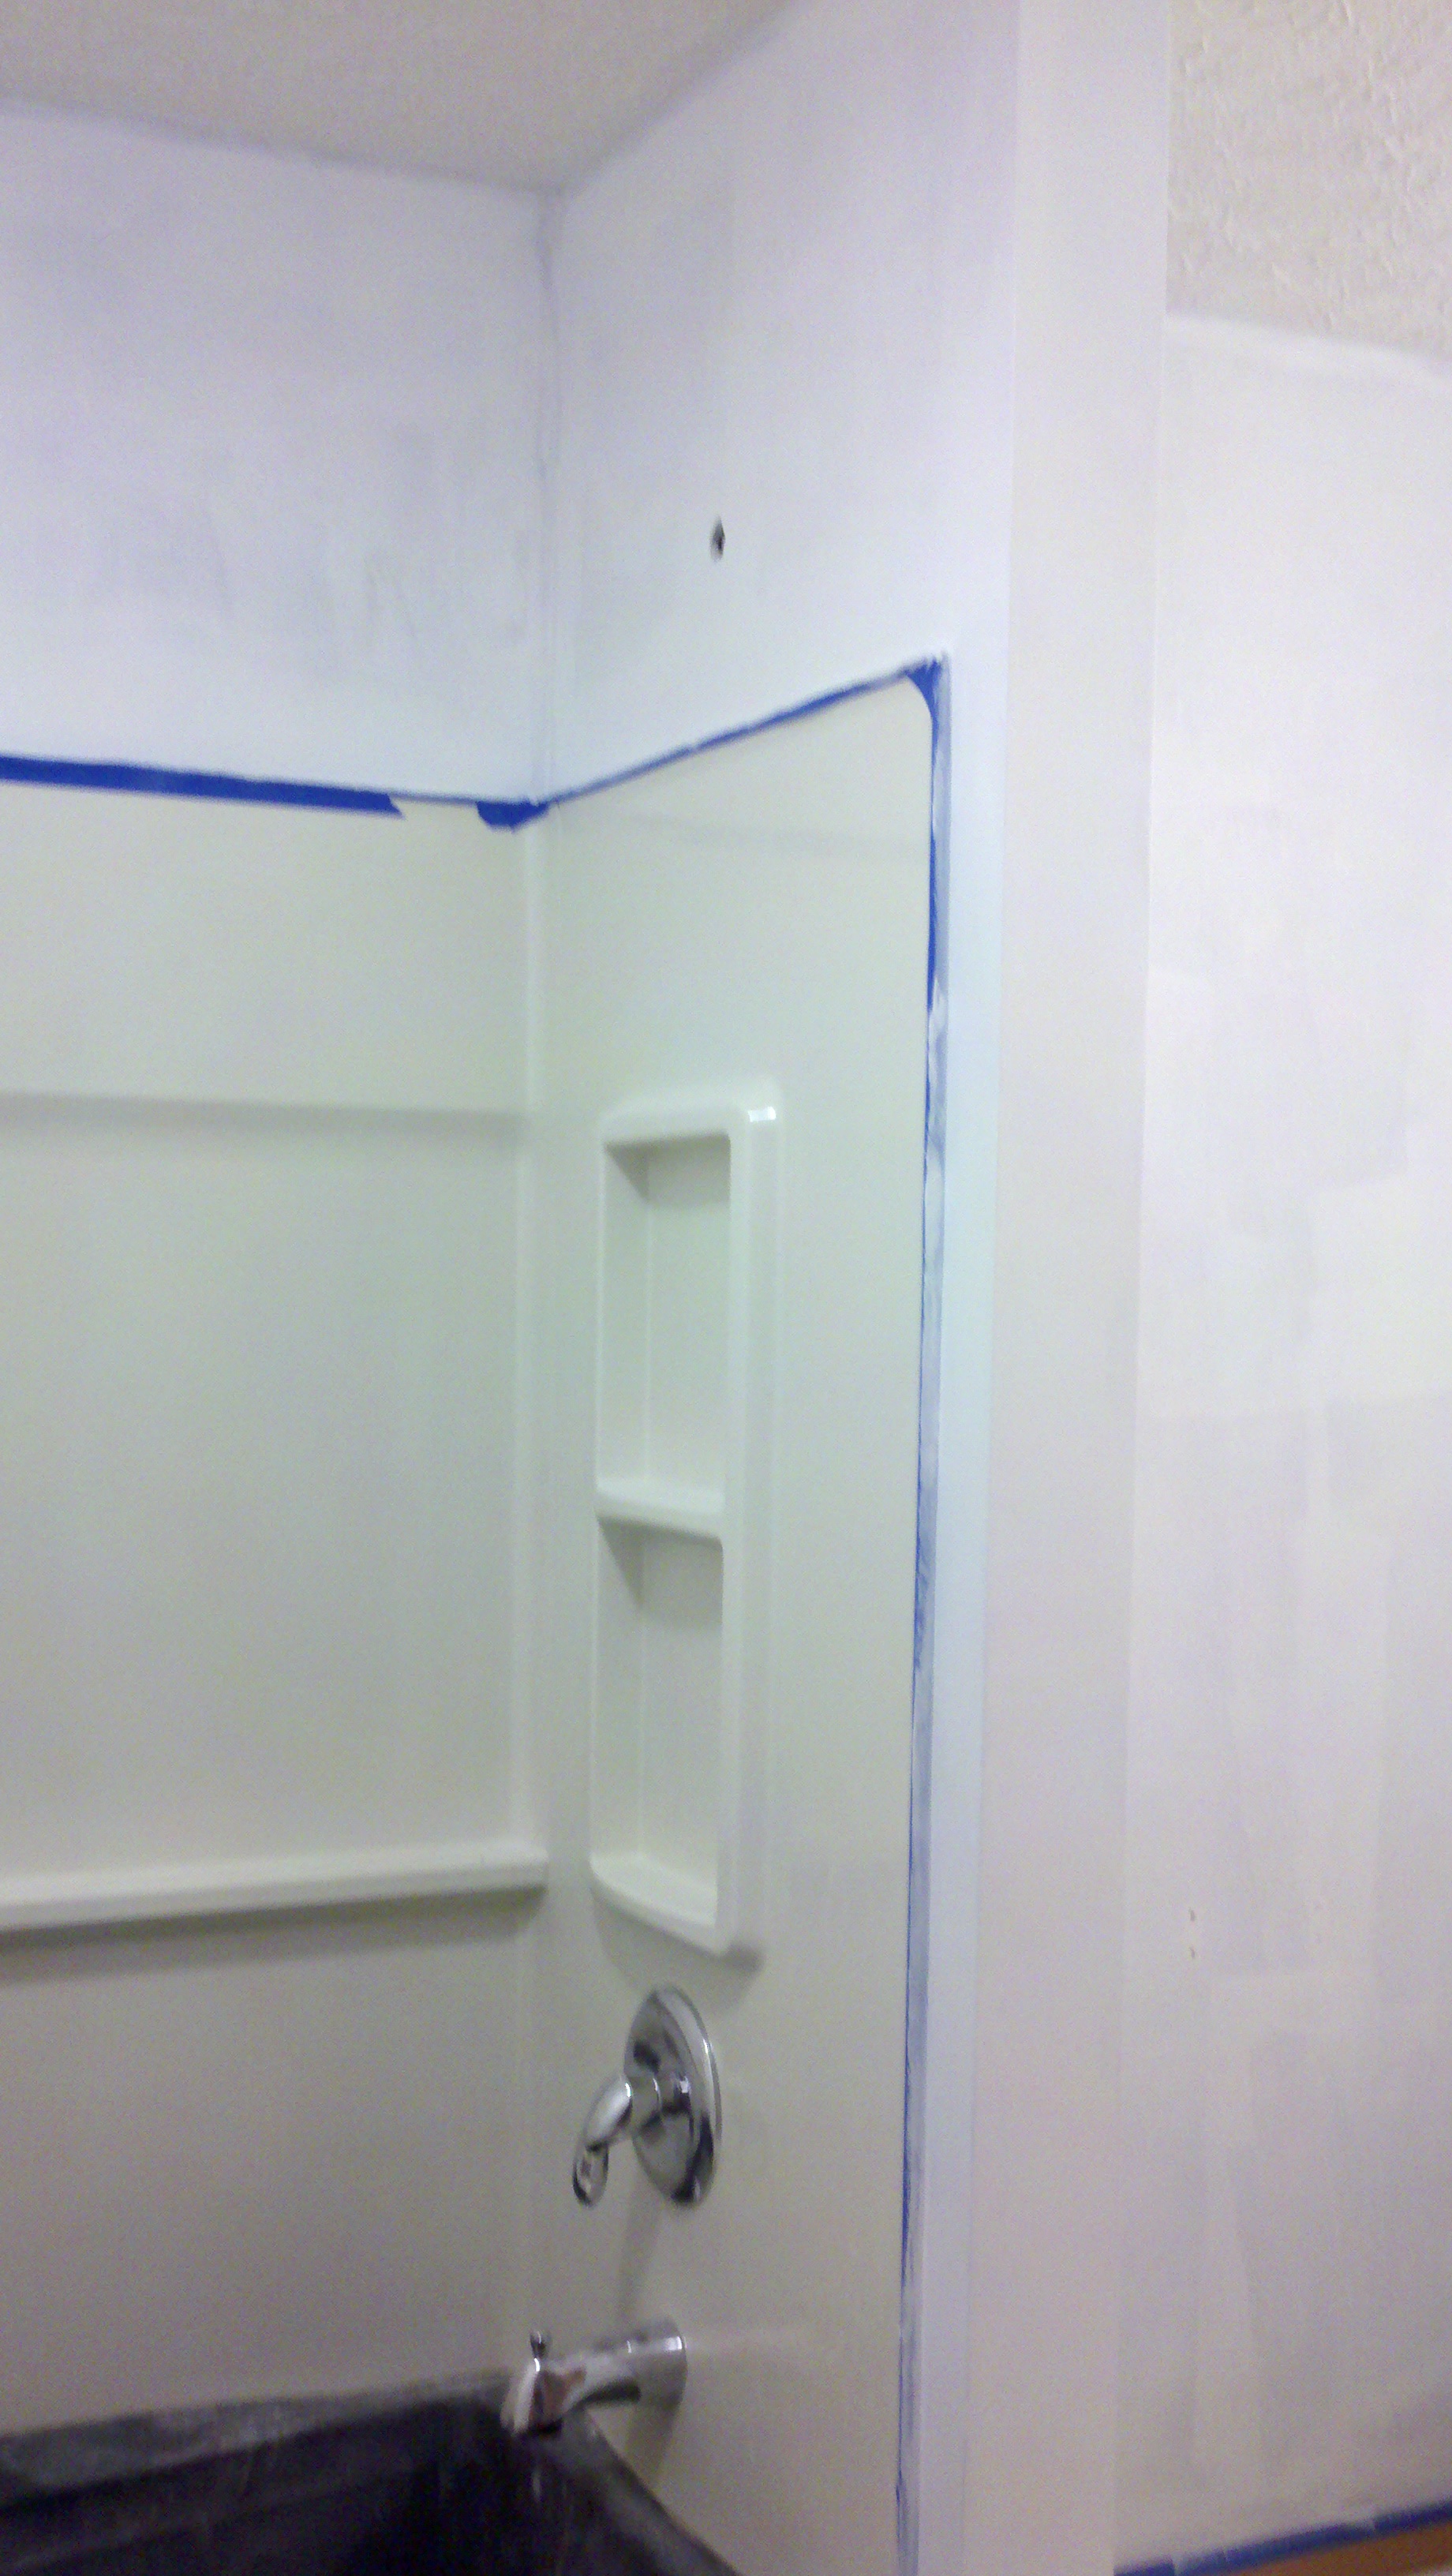
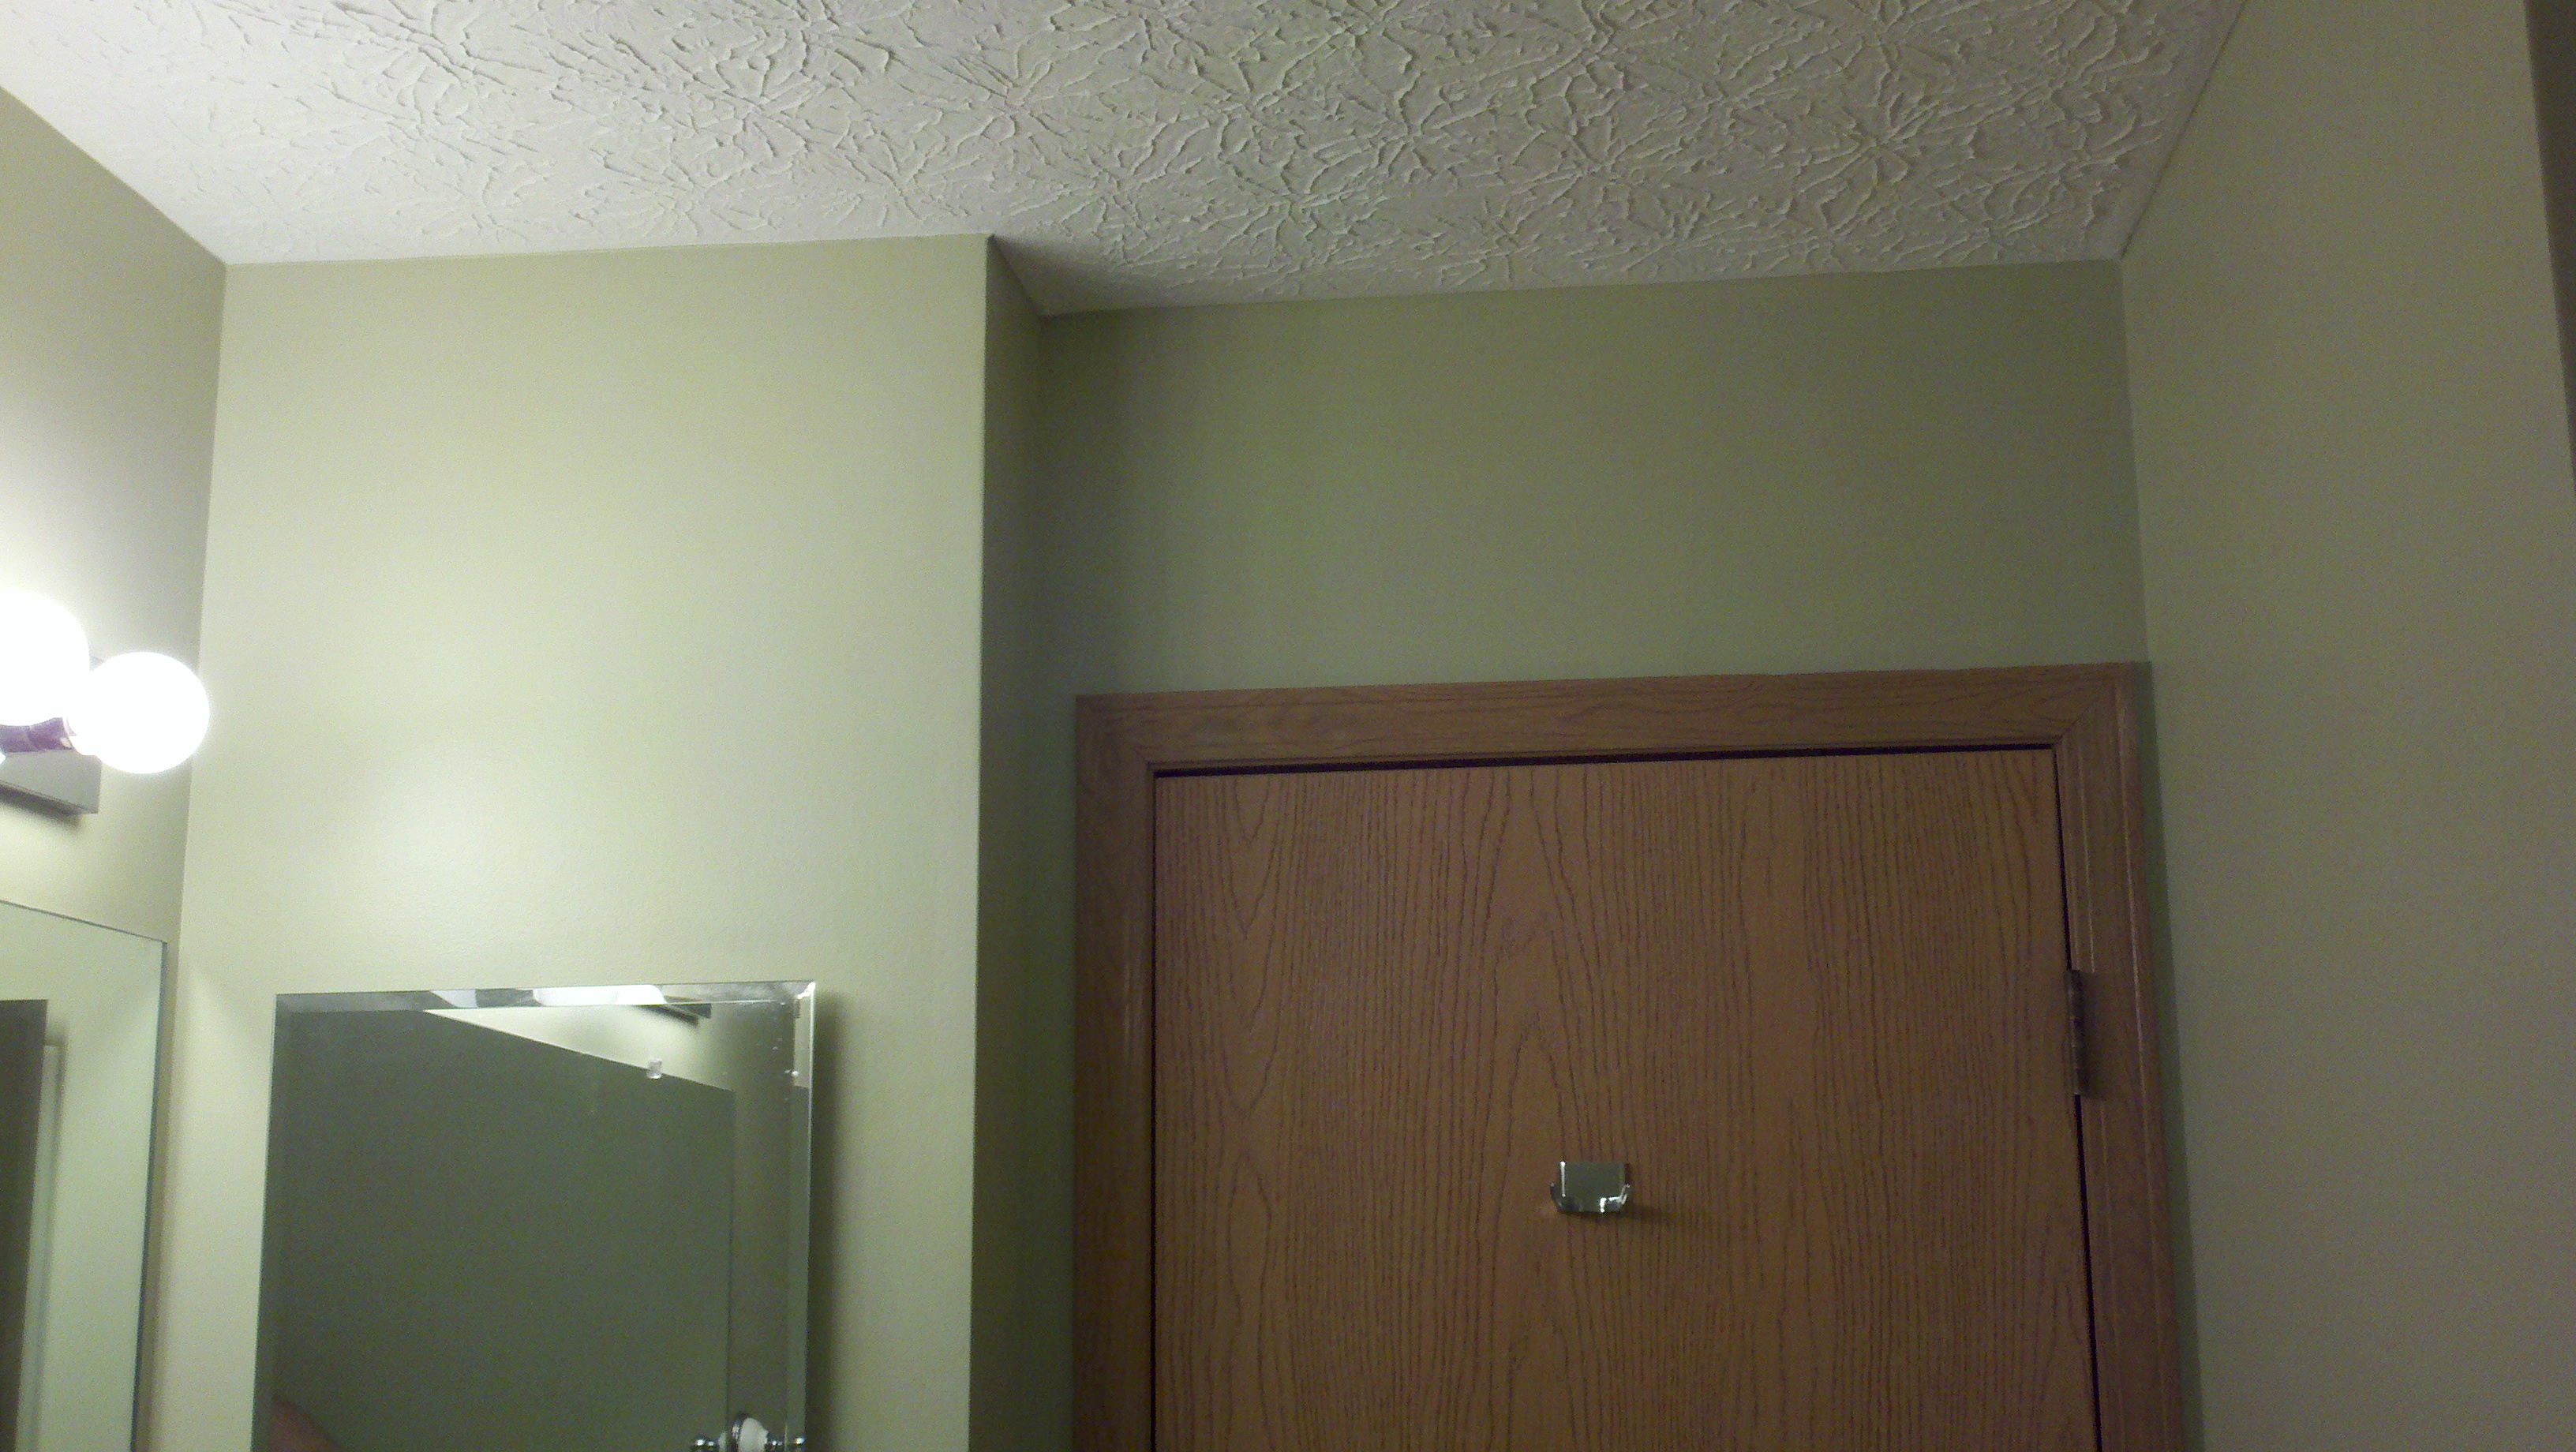
| Bathroom Repair
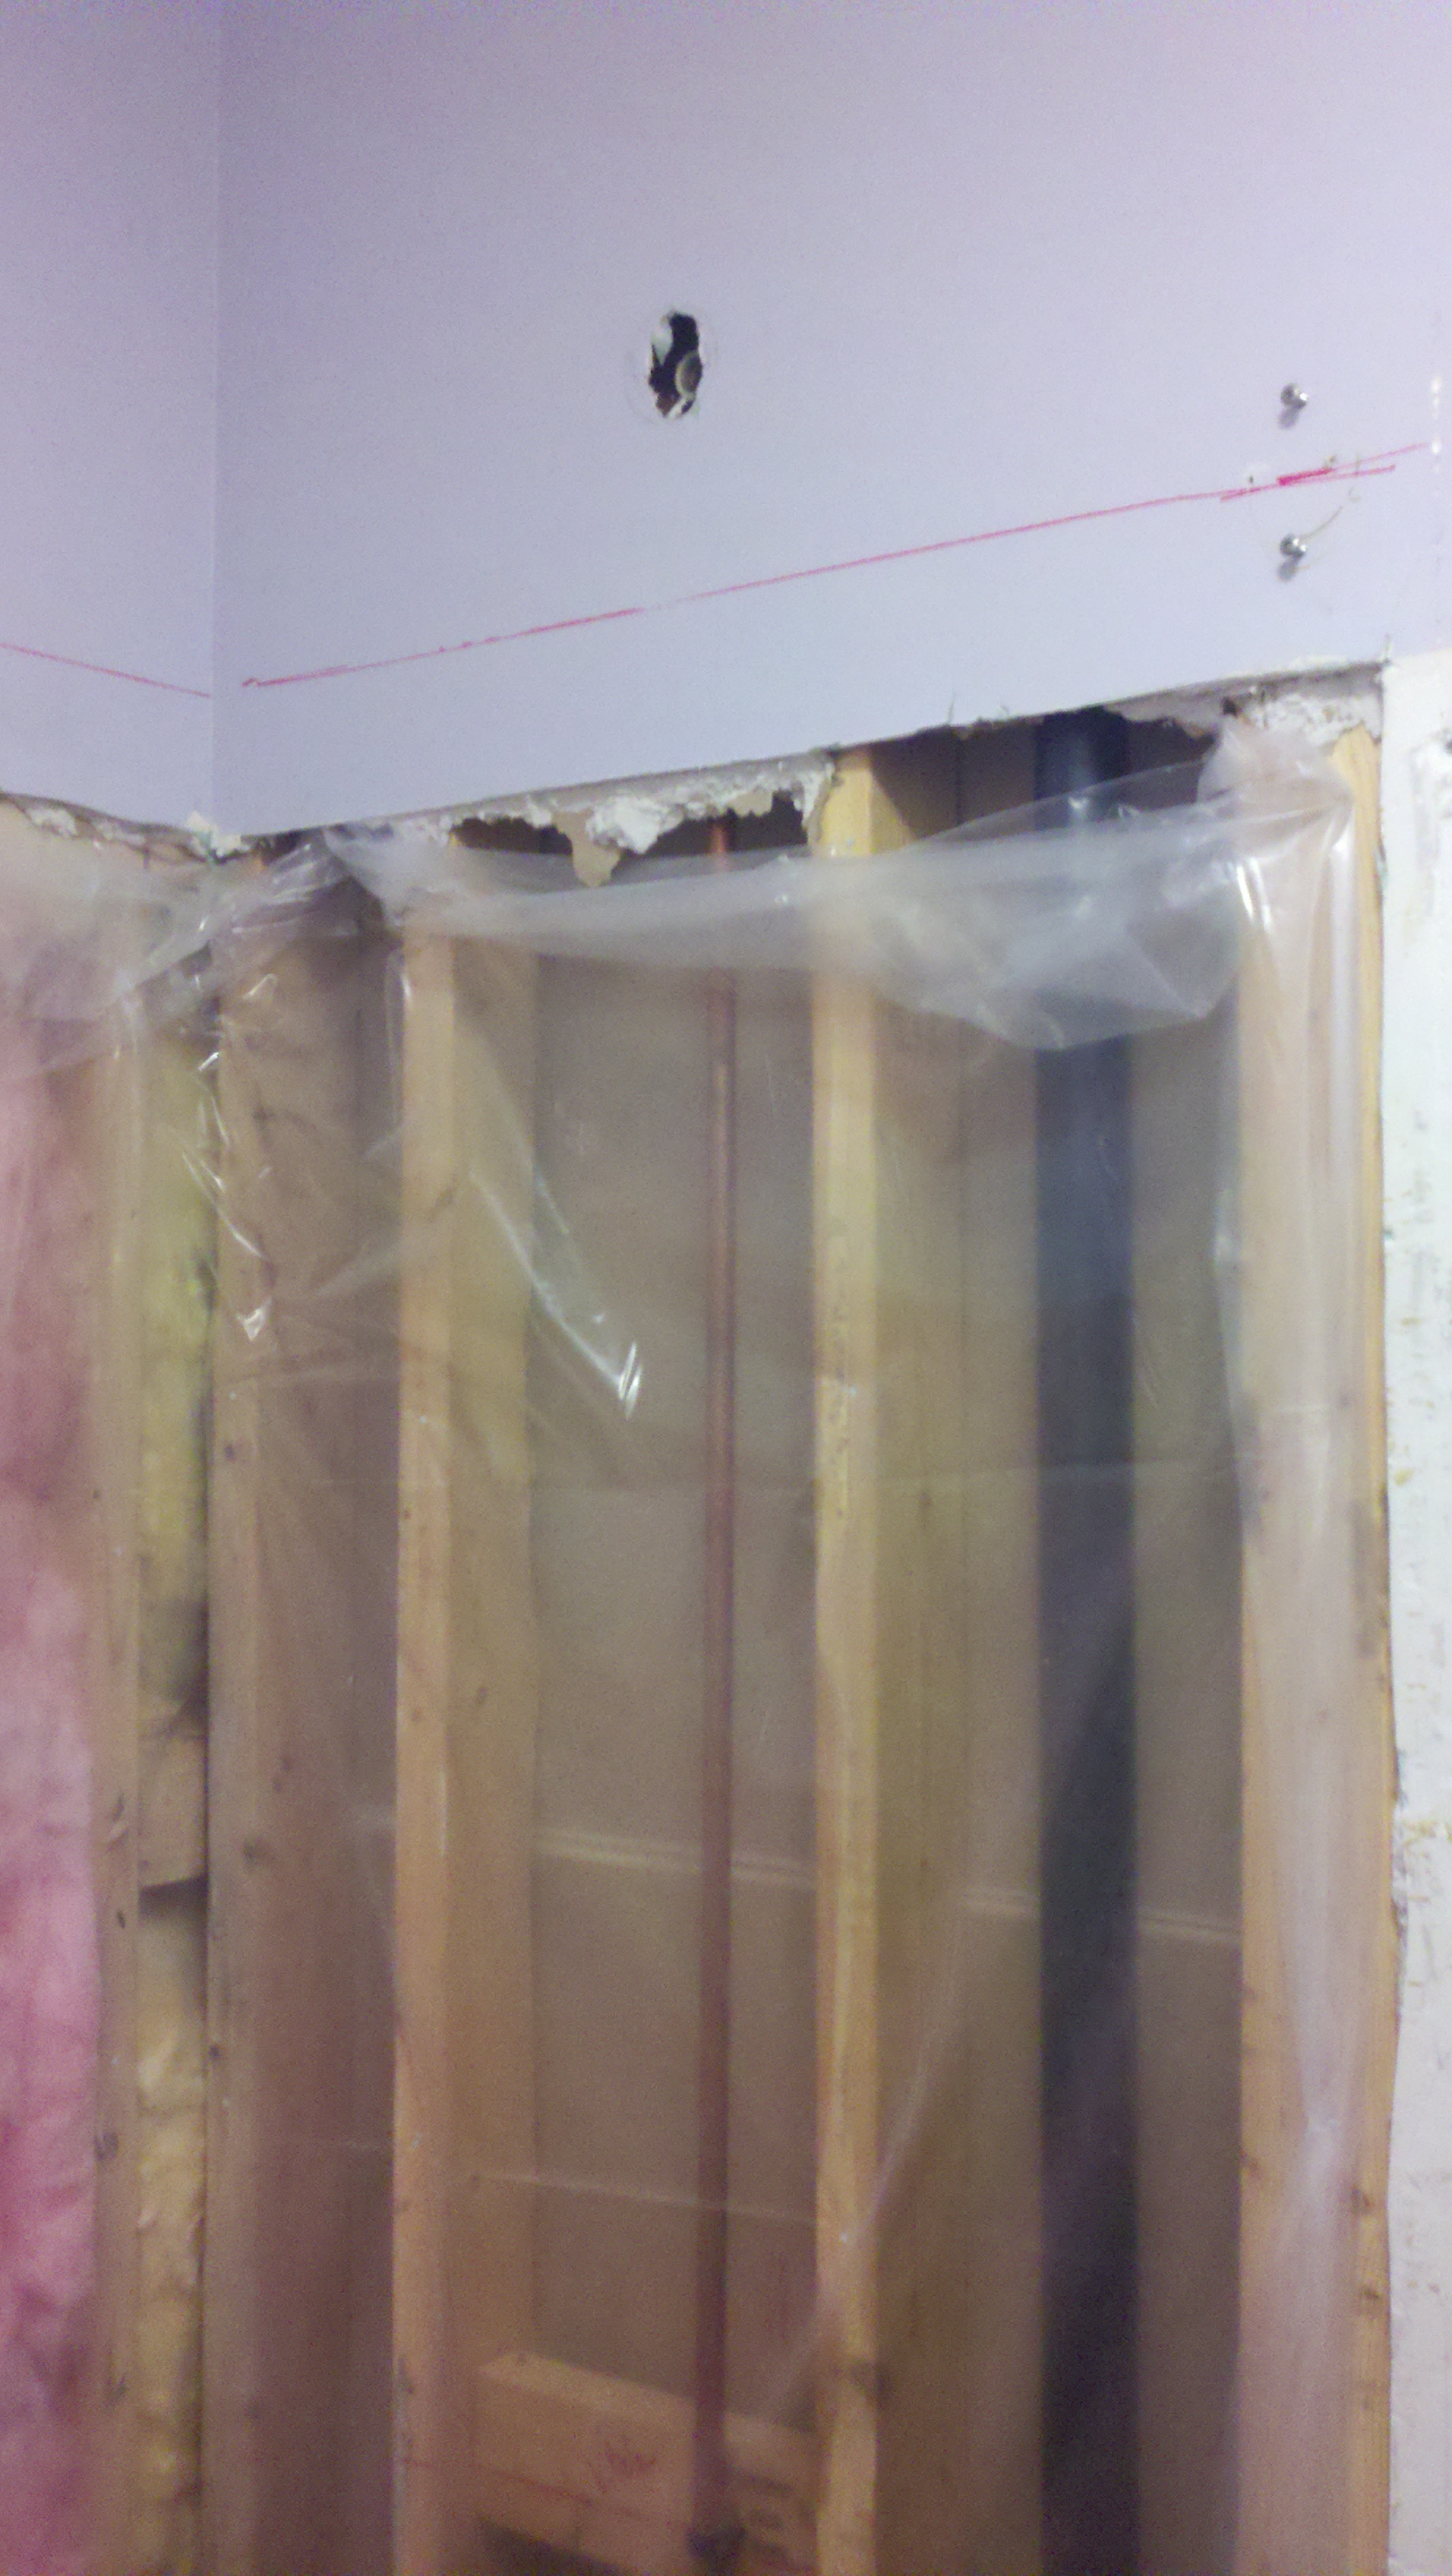
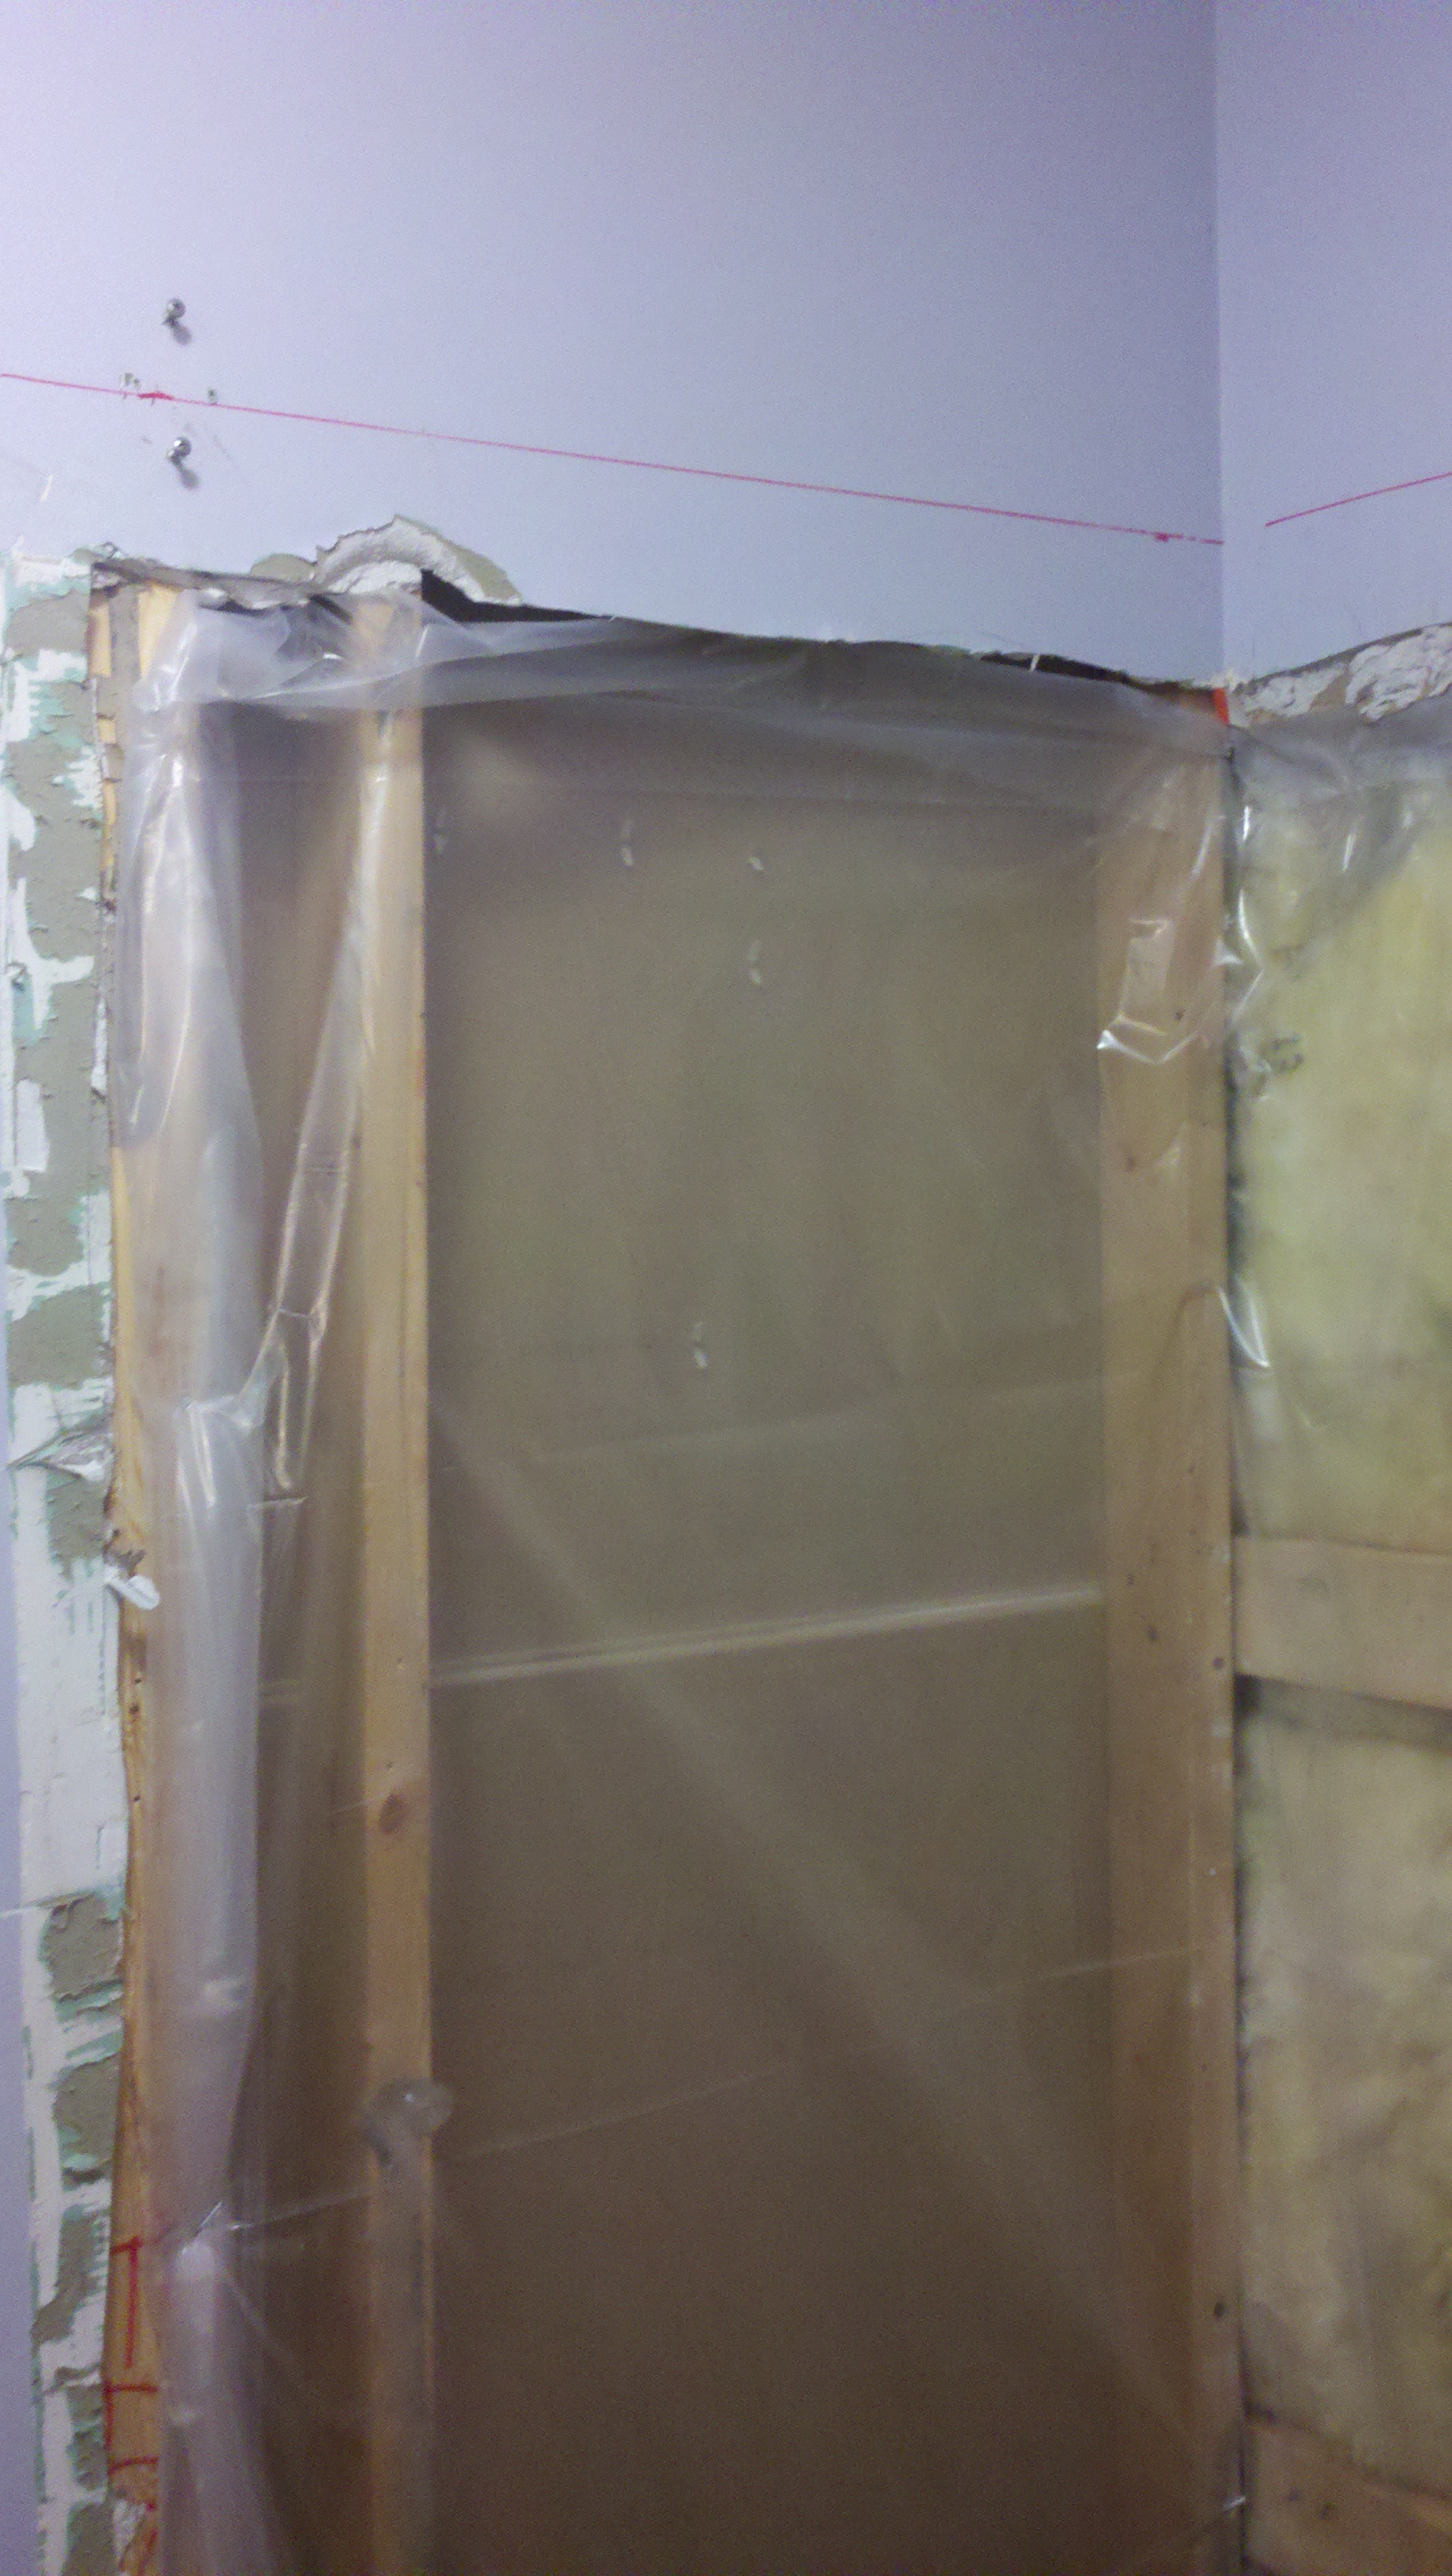
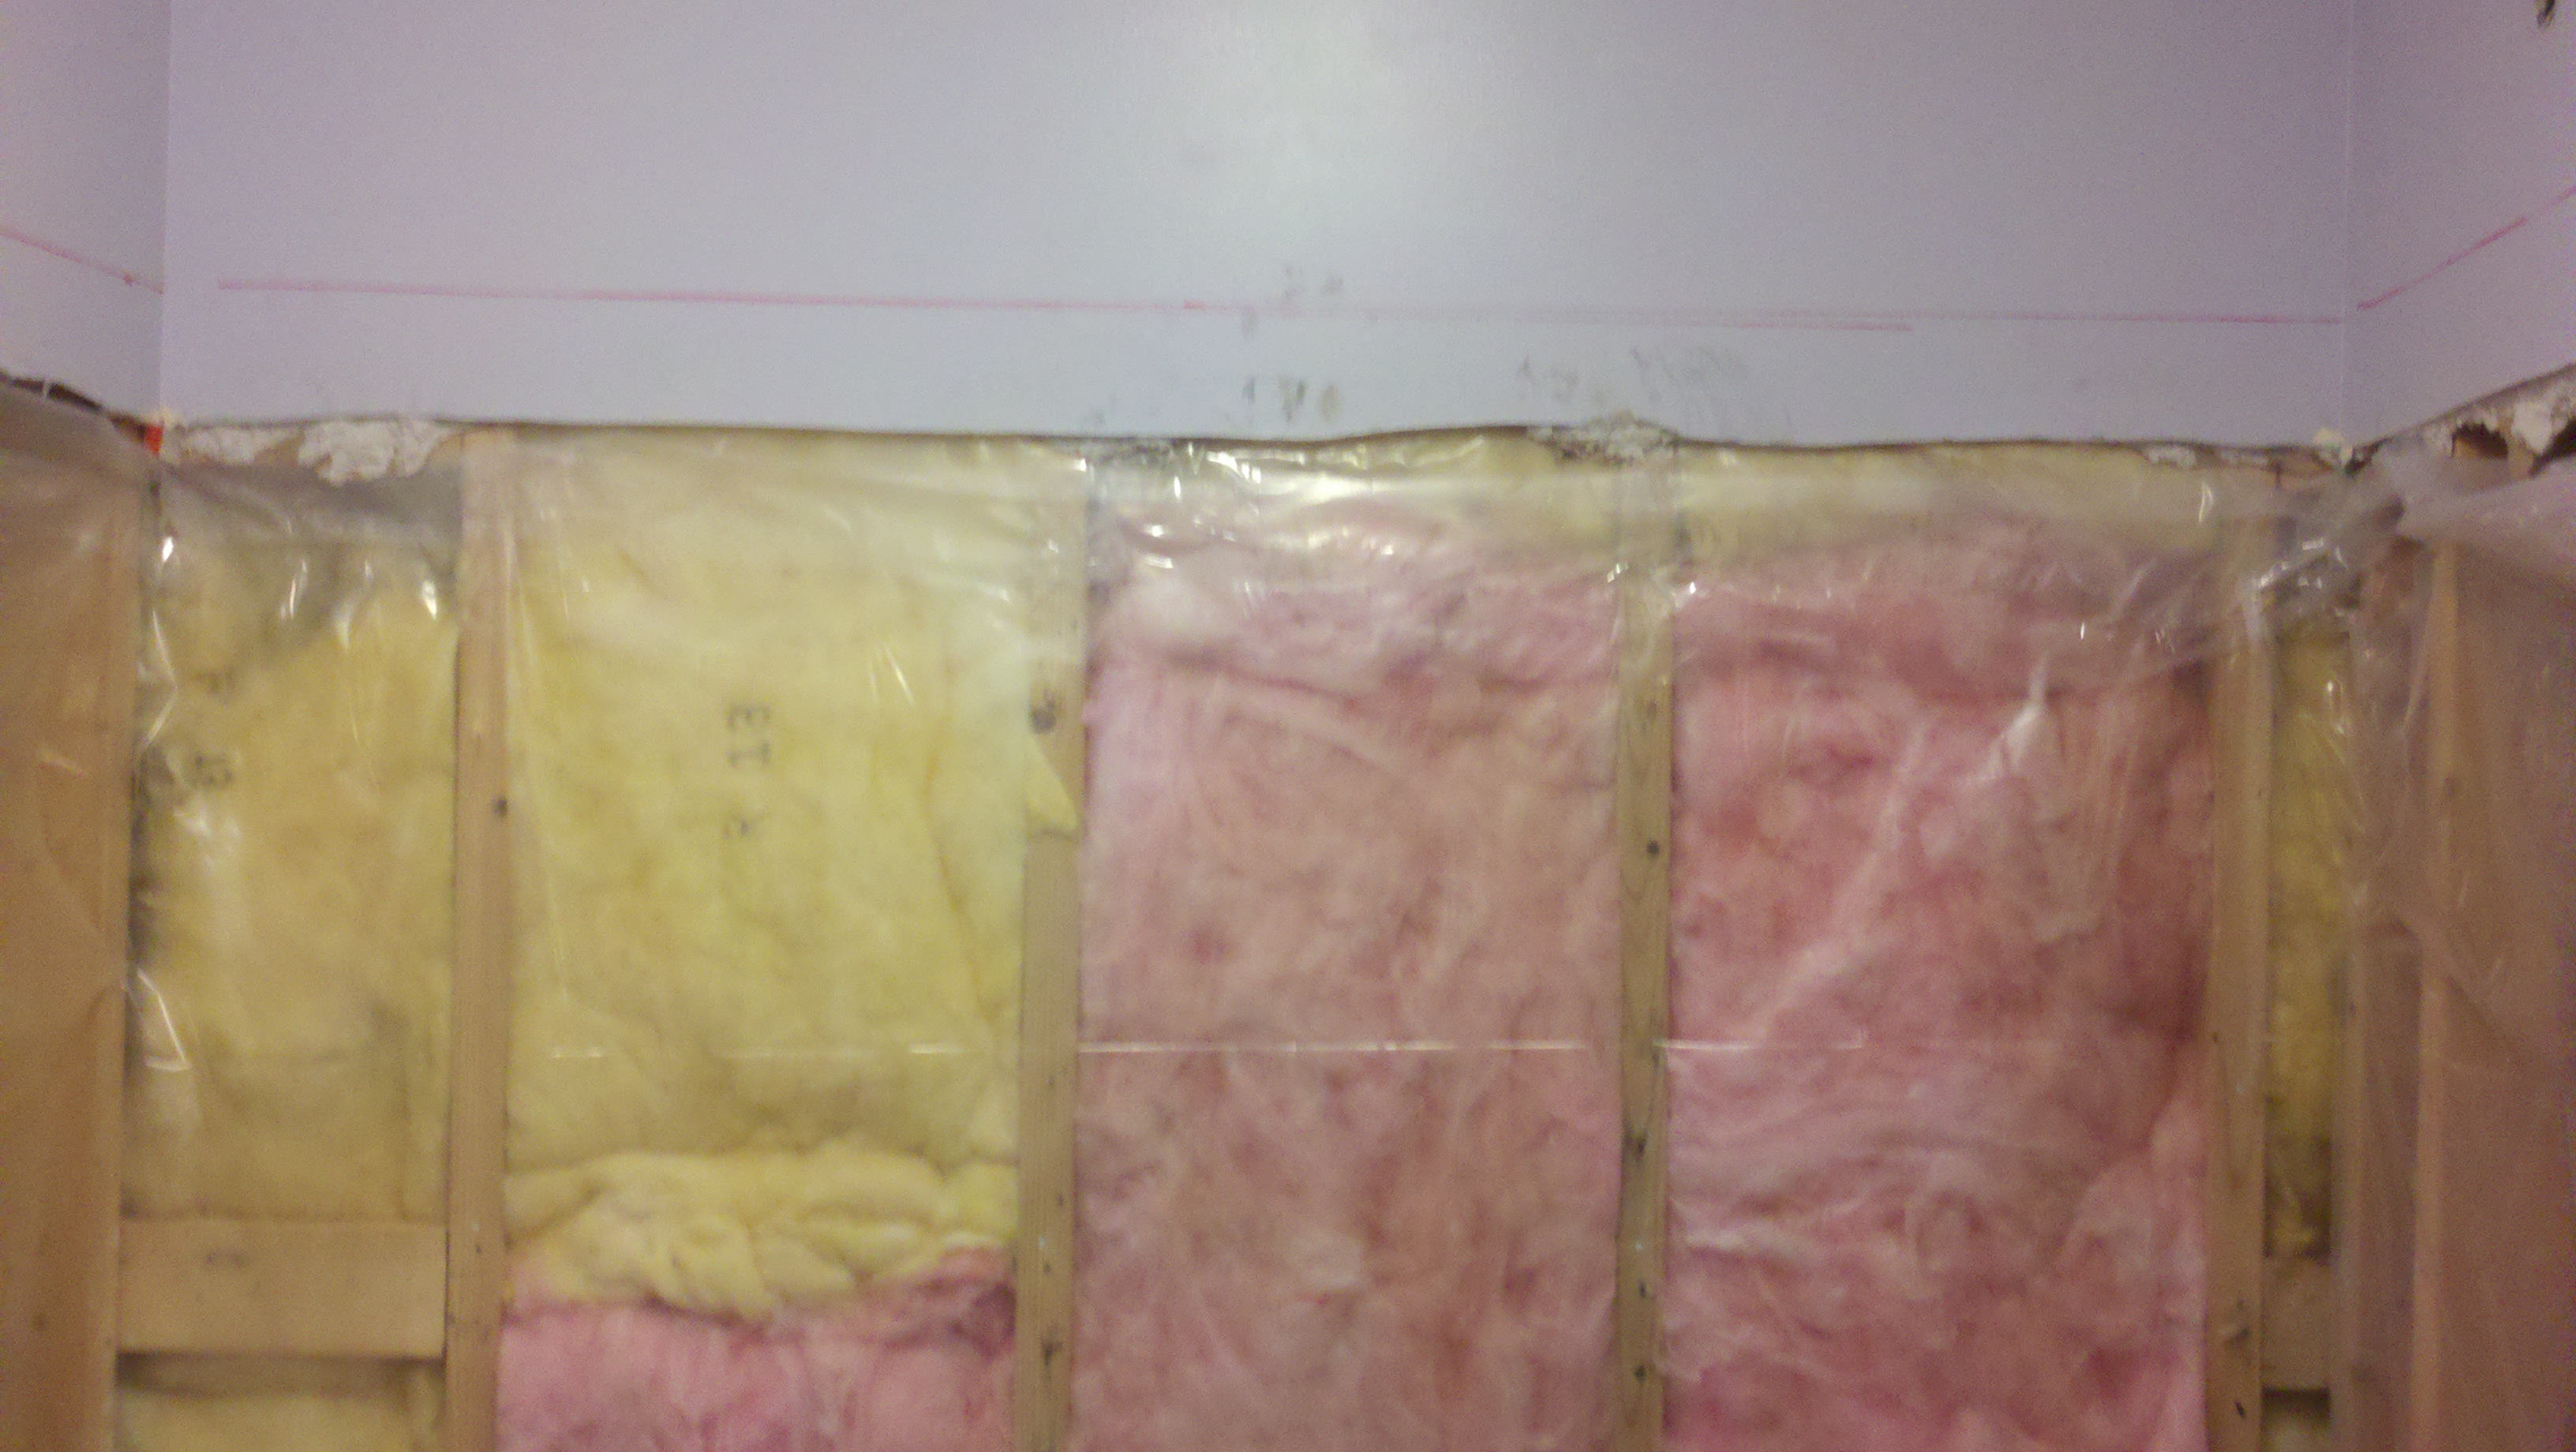
Removal of the damaged gypsum was completed the first part of the repair. Application of the joint compound provided a clean and immaculate result. Completion of the resurfacing required sanding of the compound to unveil a clean ceiling to wall 90 degree corner. Application of primer was completed to seal the compound. A fresh coat of ceiling paint provided a good clean white surround for the fresh coat of wall paint. The wall paint was used from the excess from the original job of selective wall repair and repaint from the previous year.
|
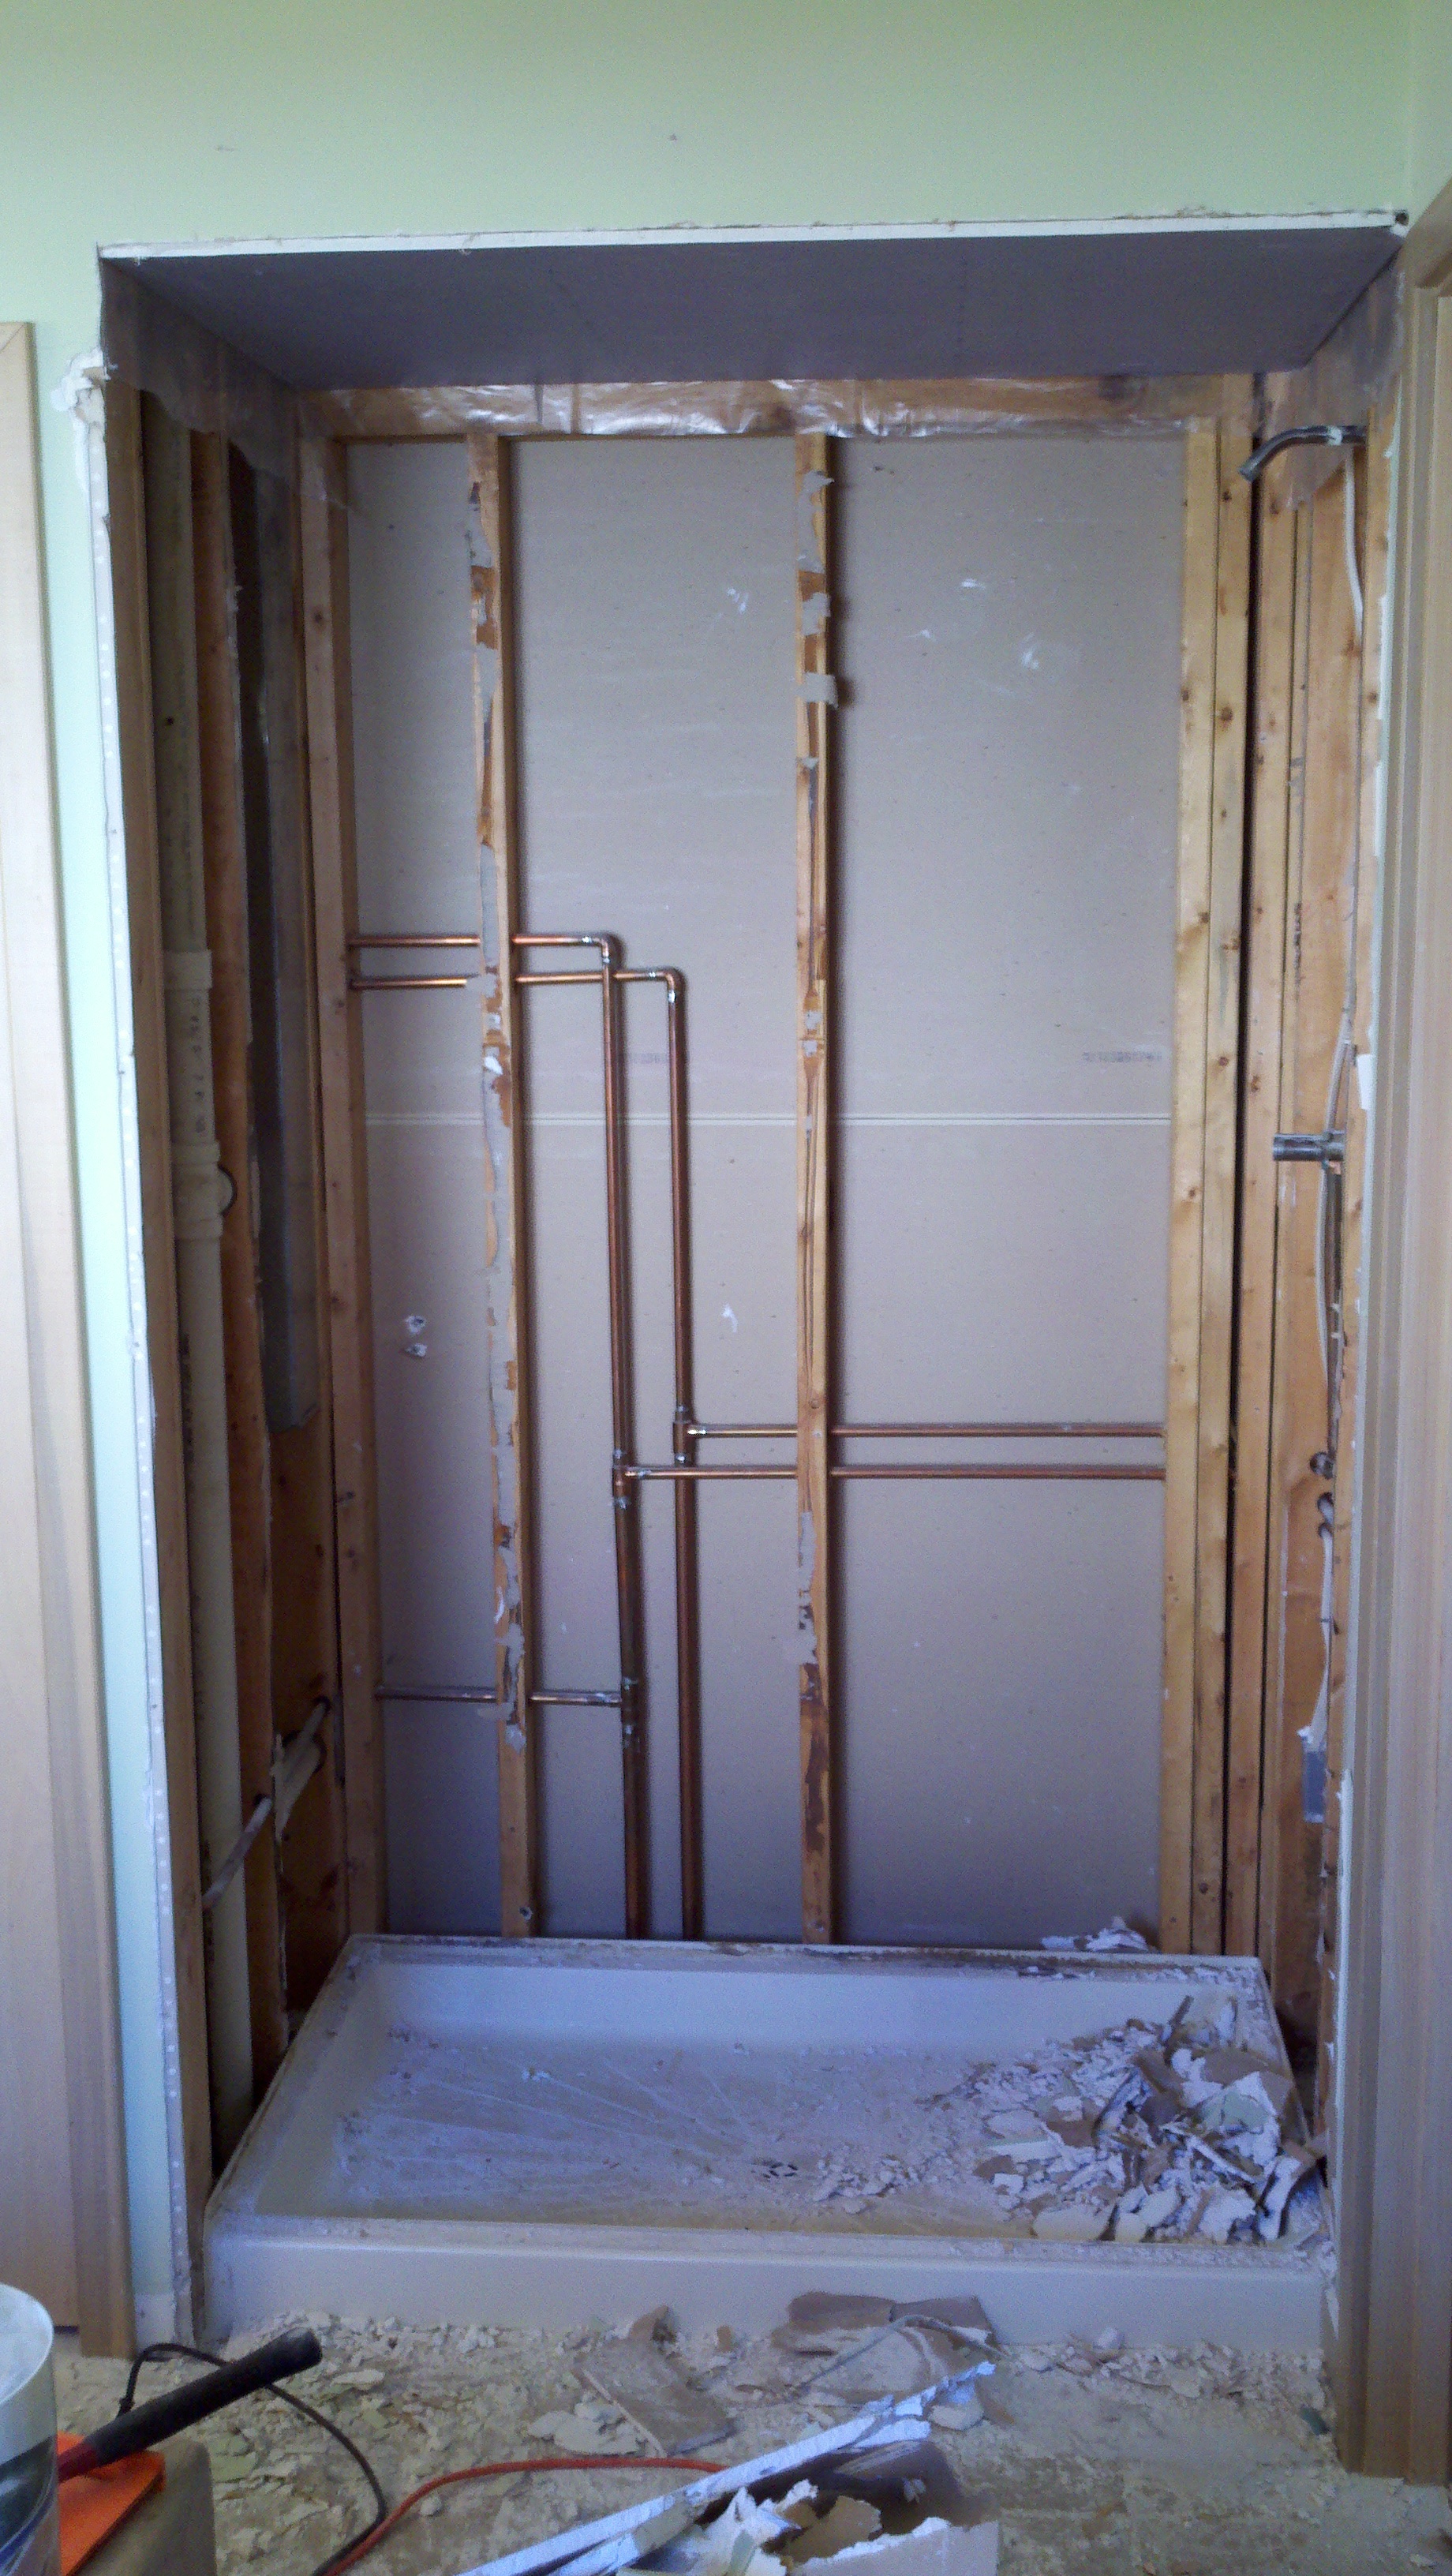
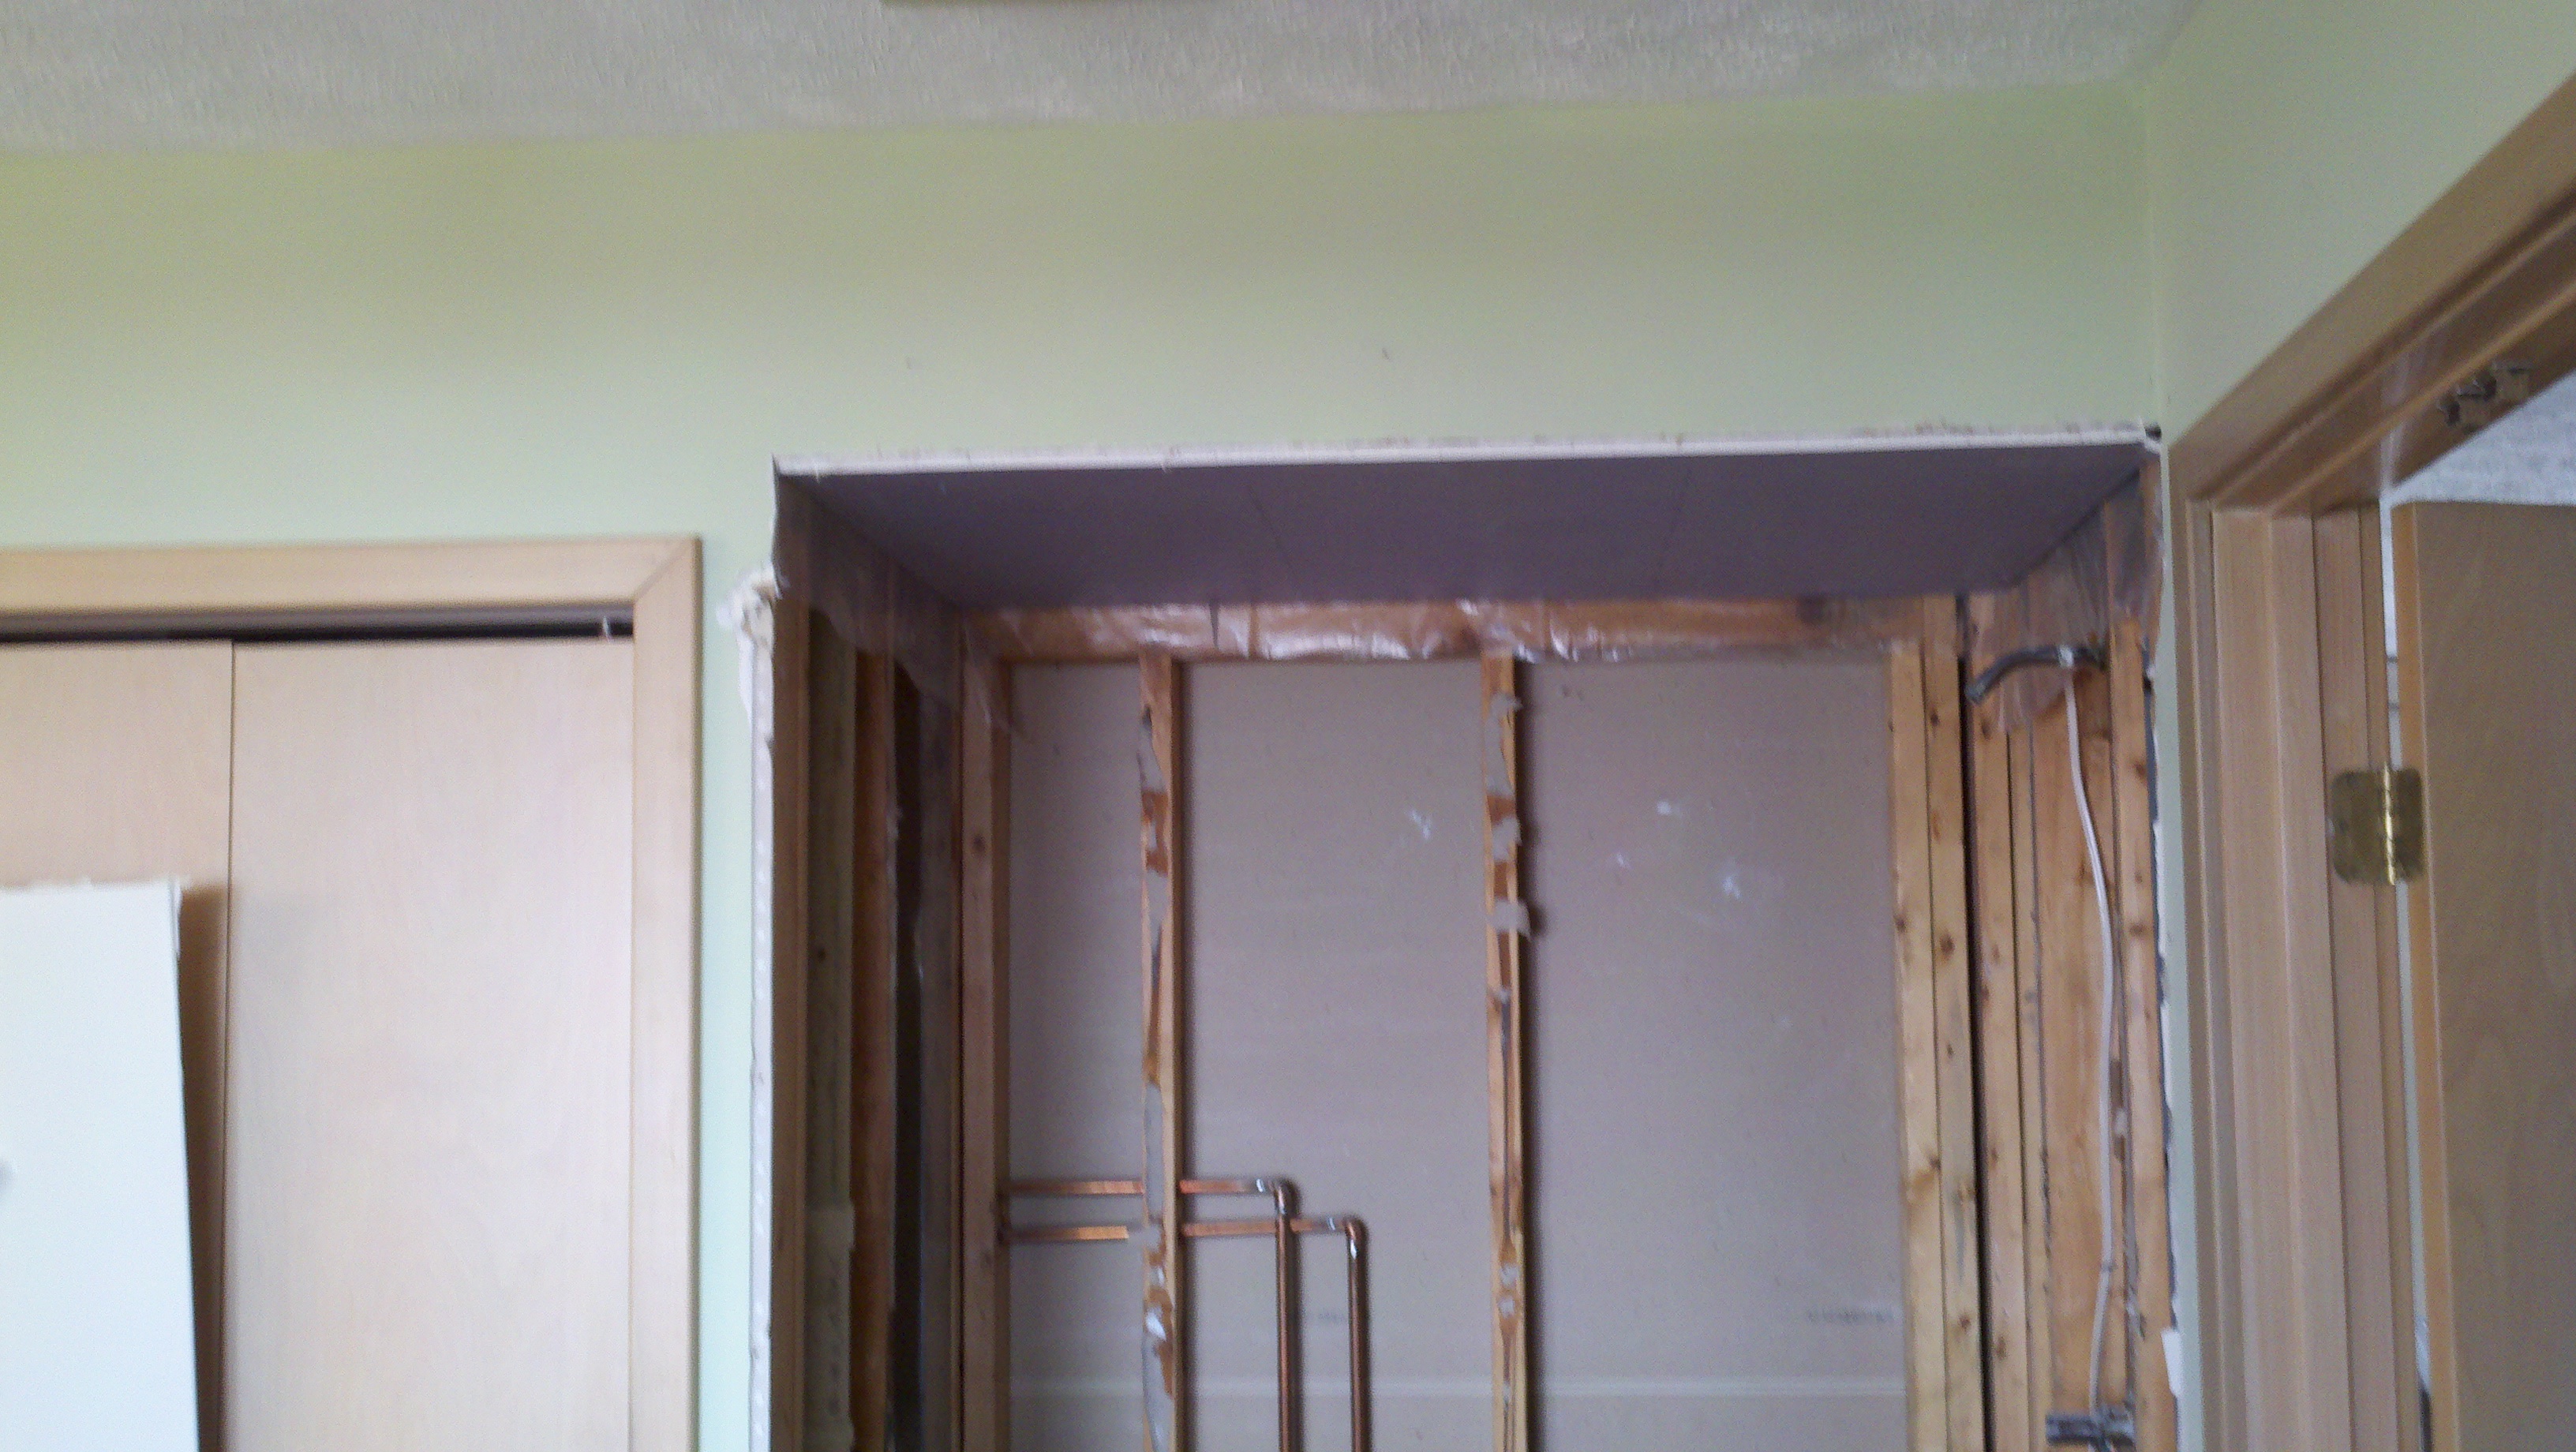
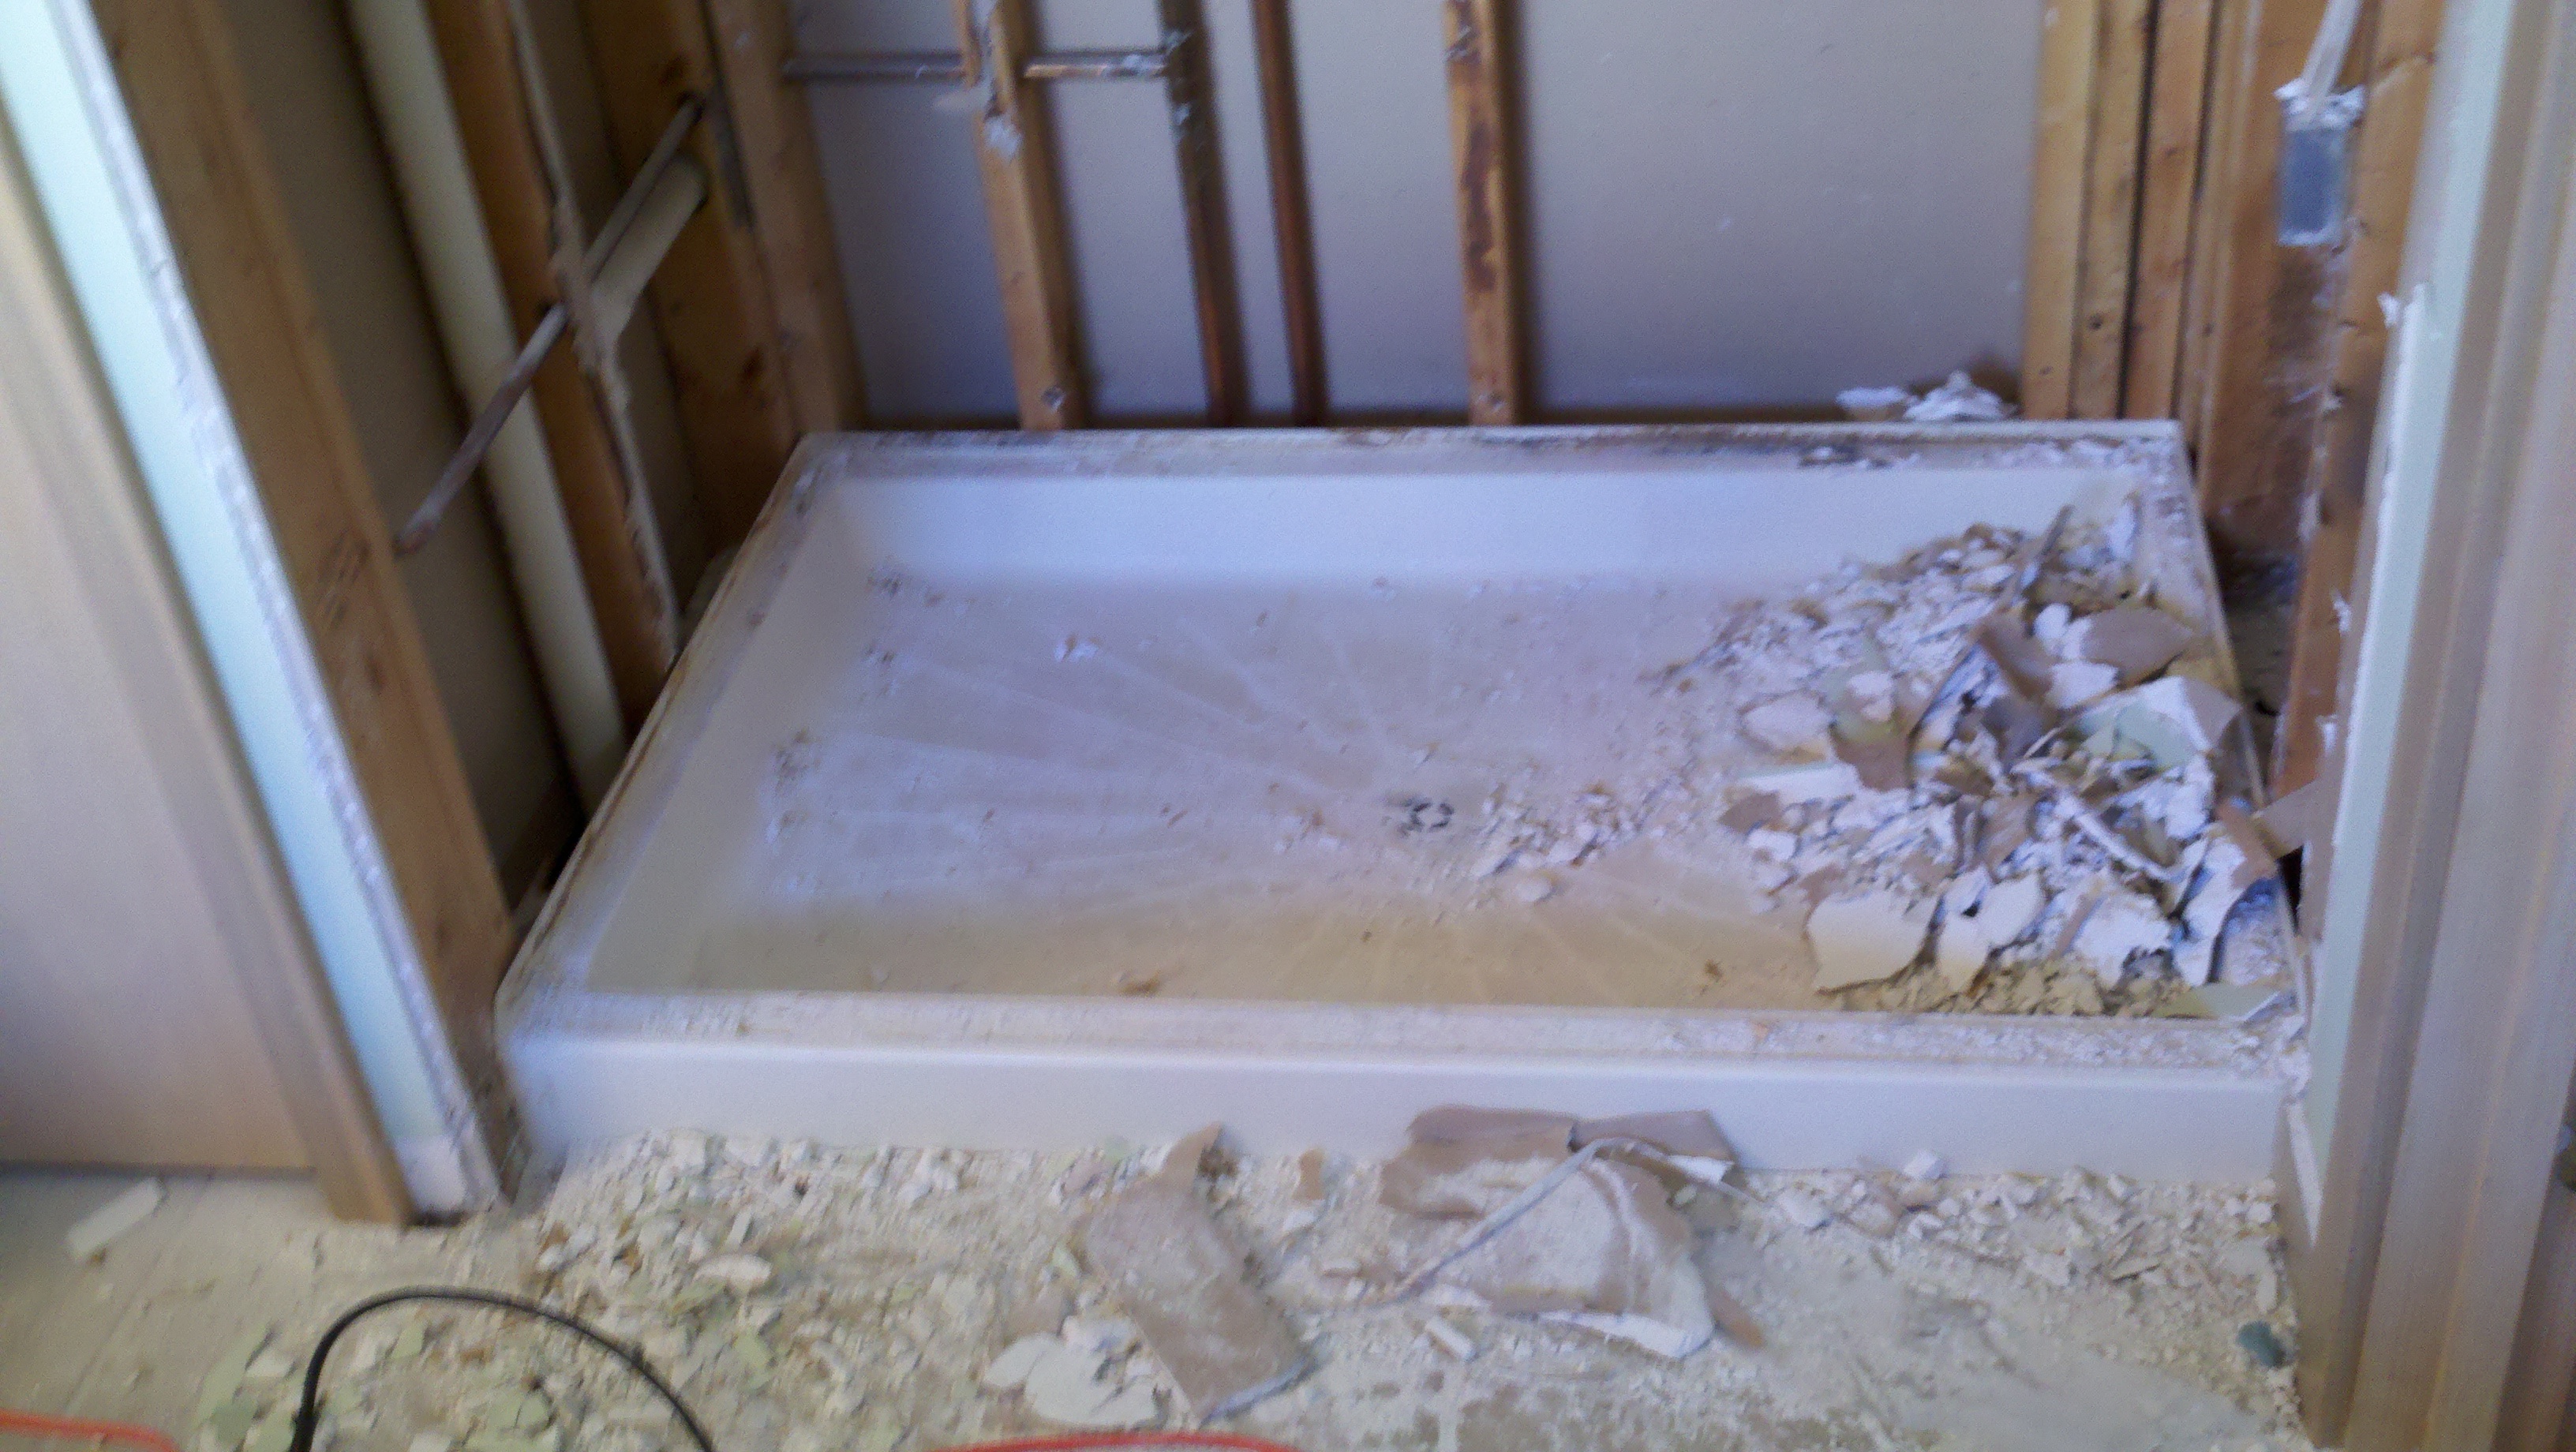
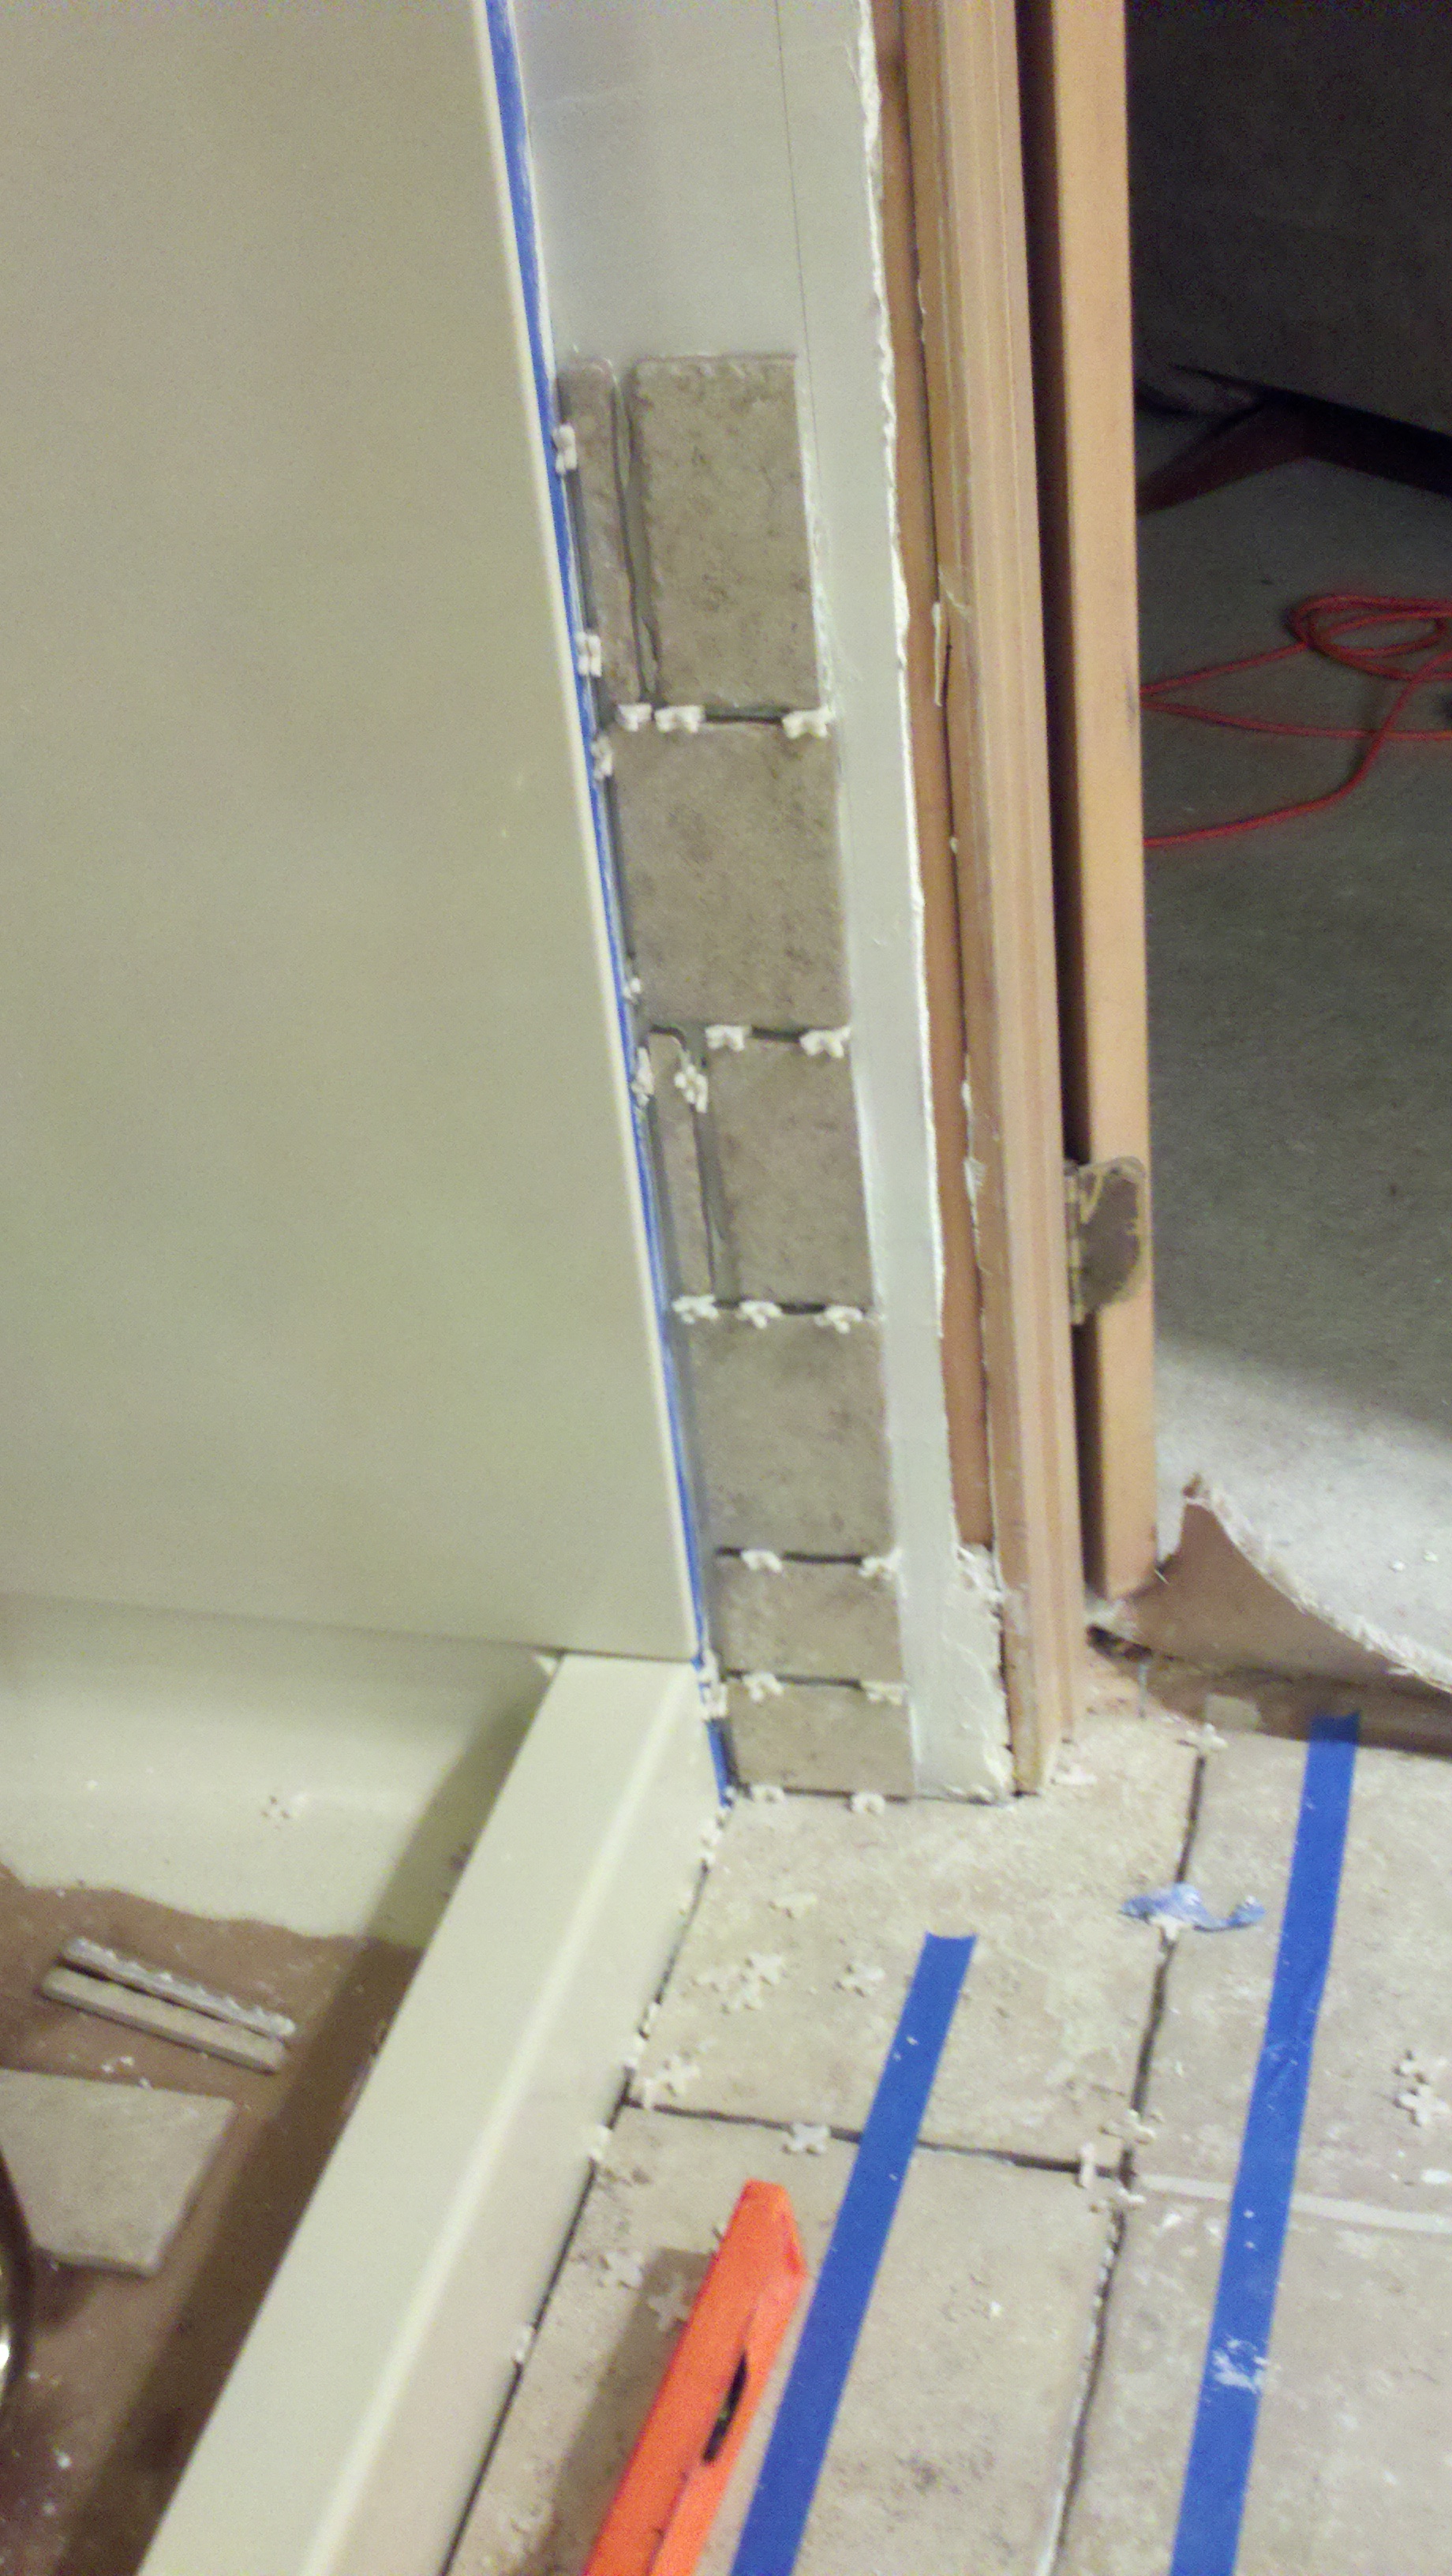
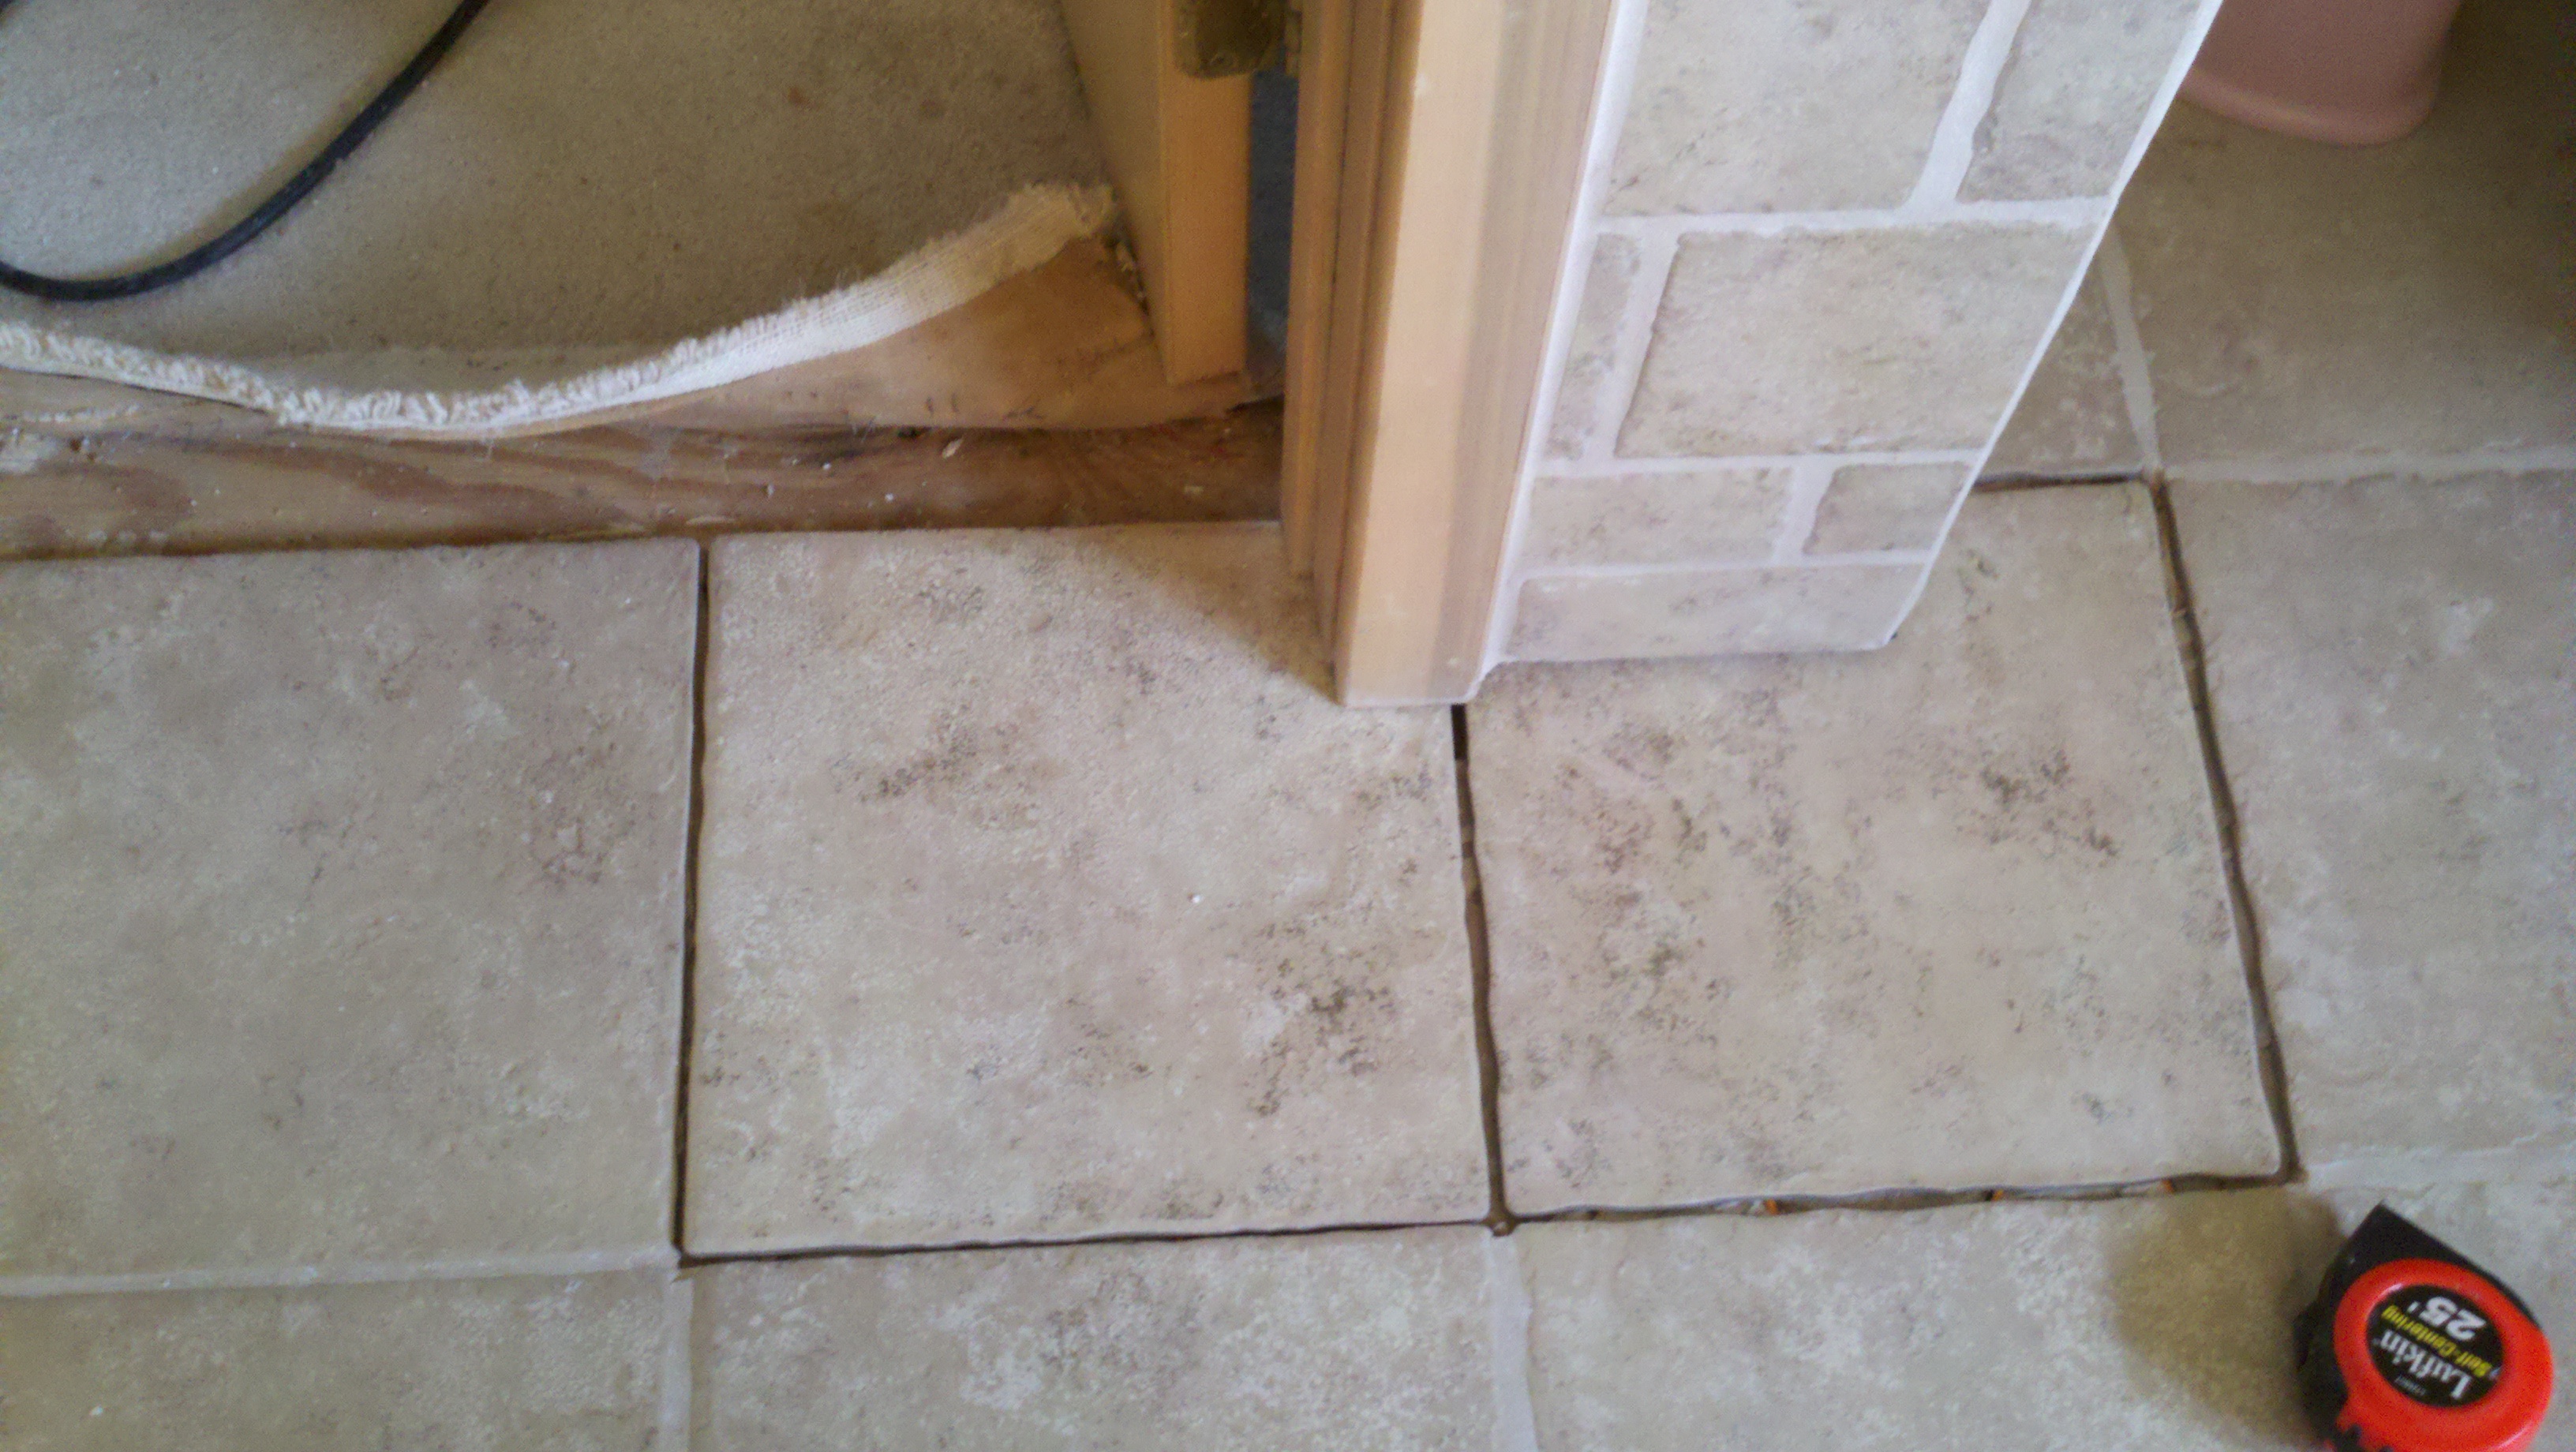
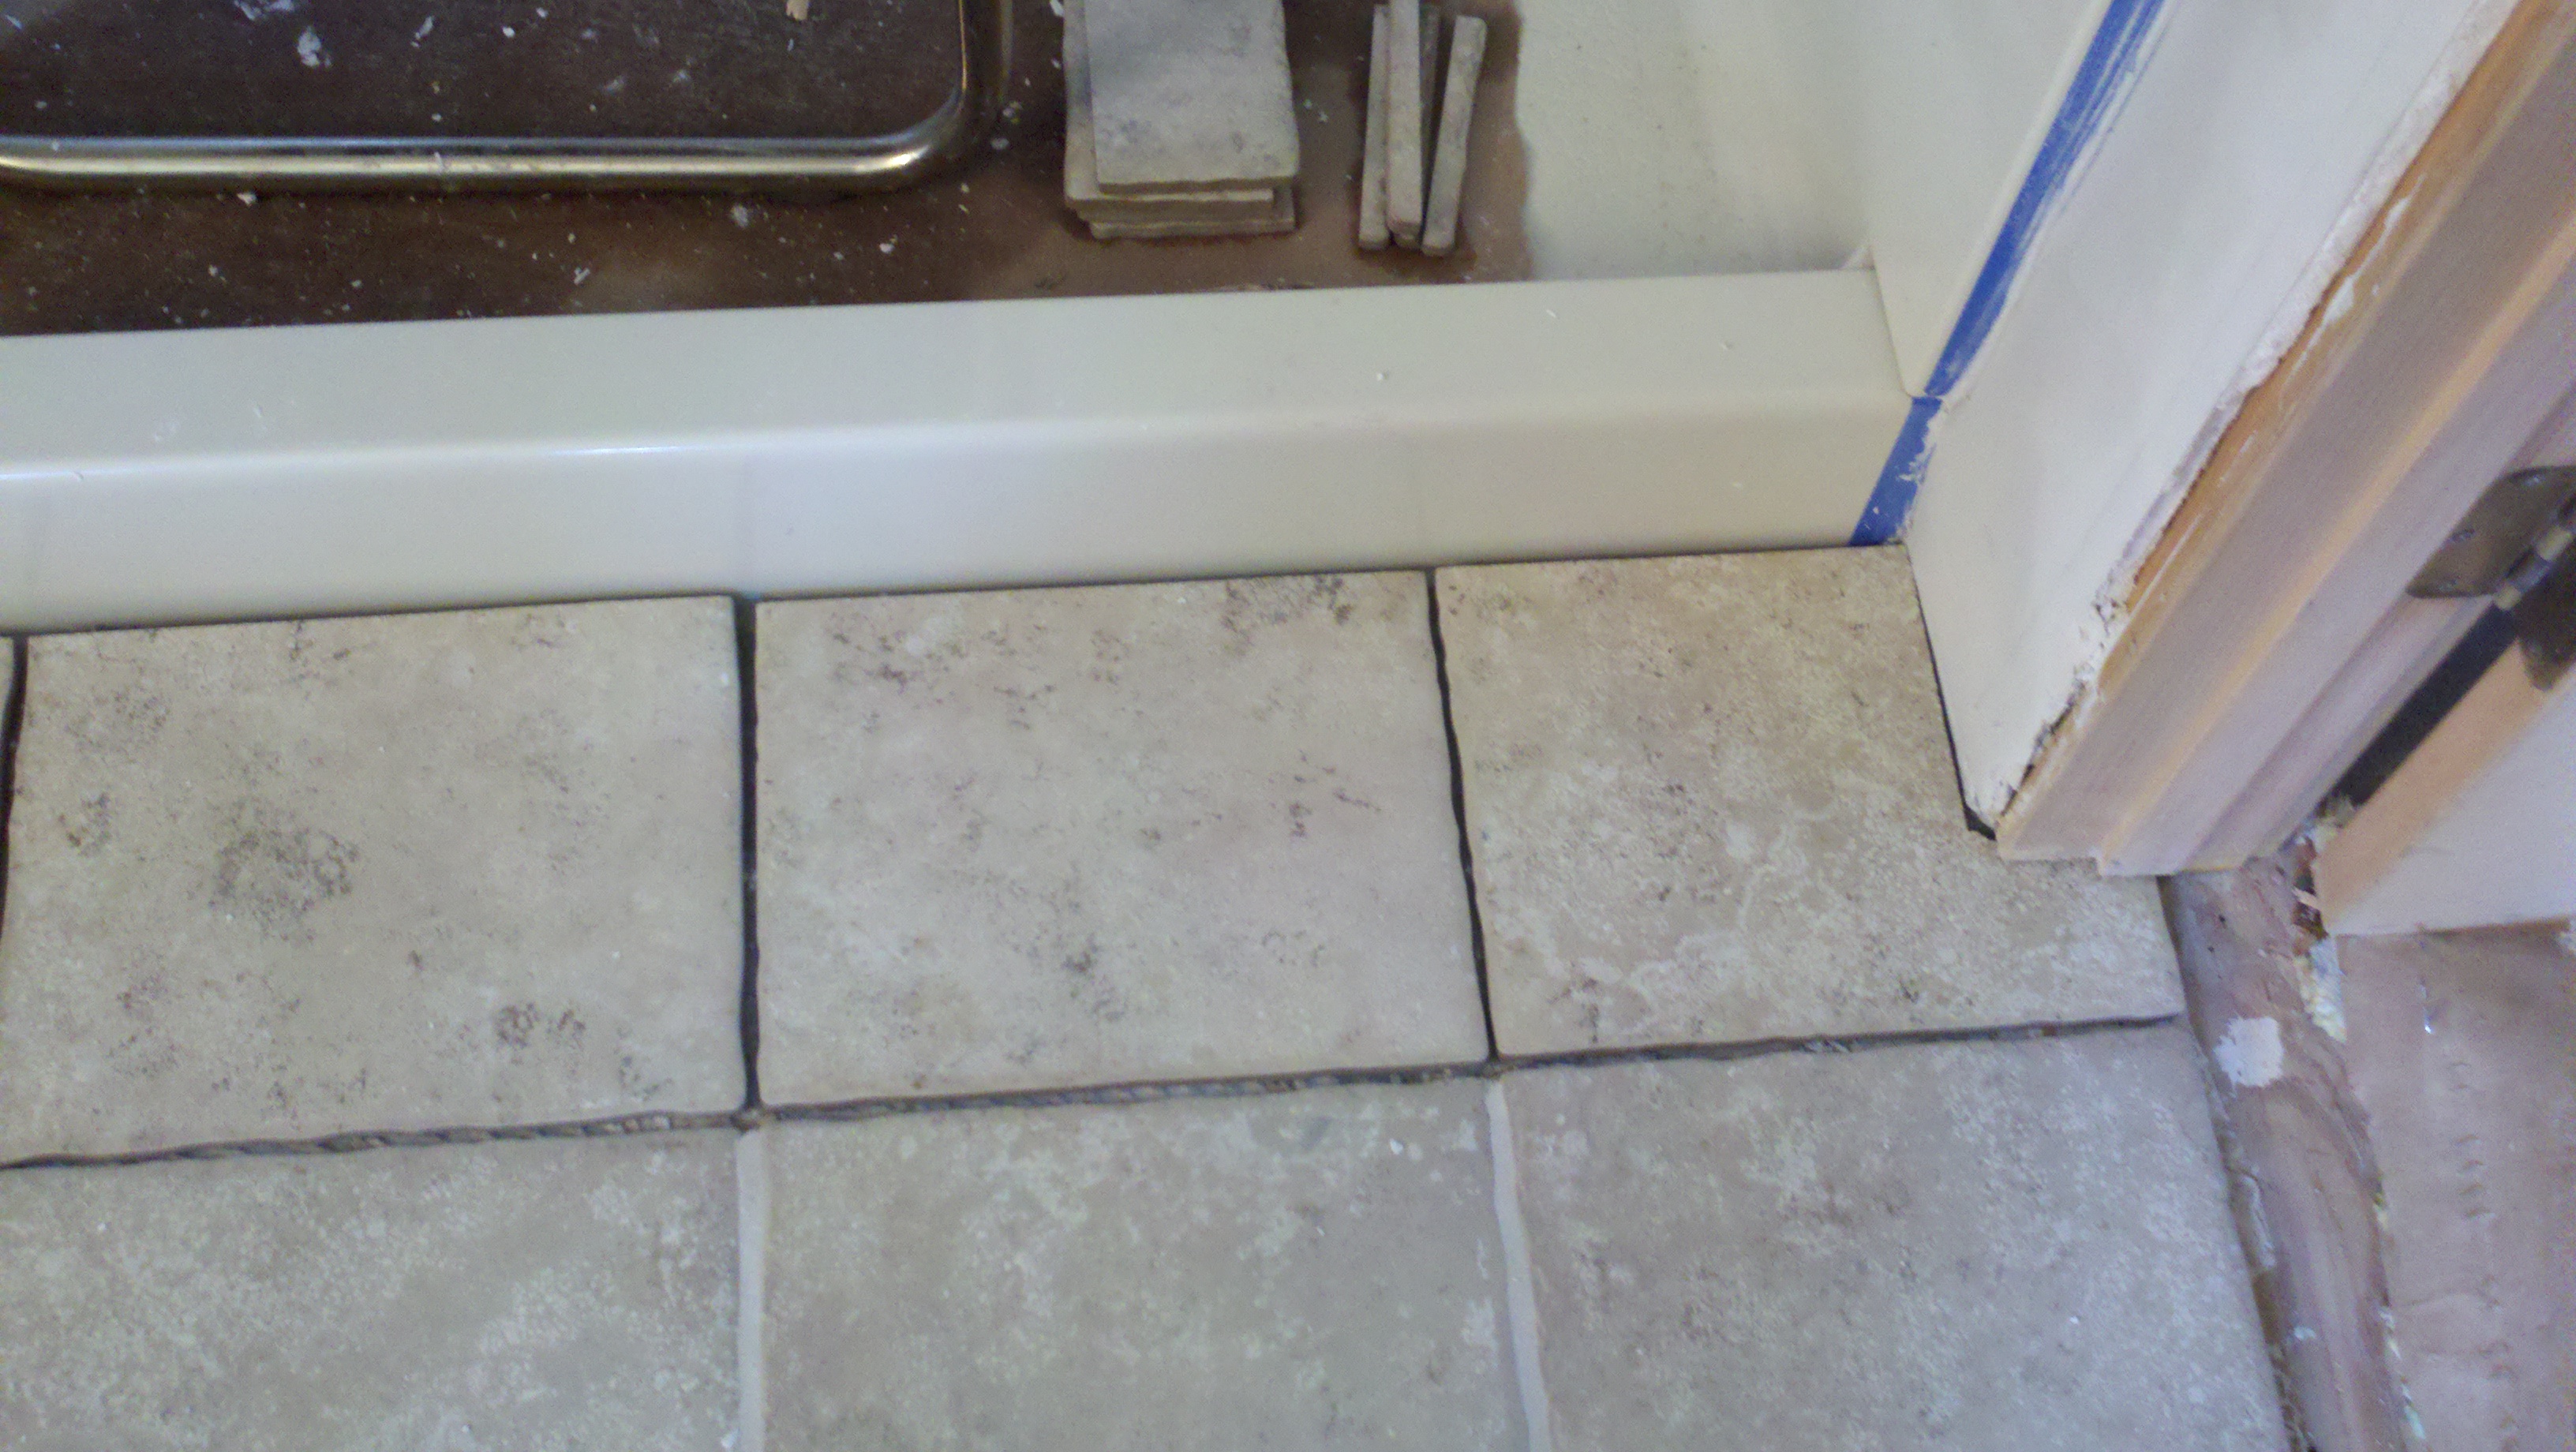
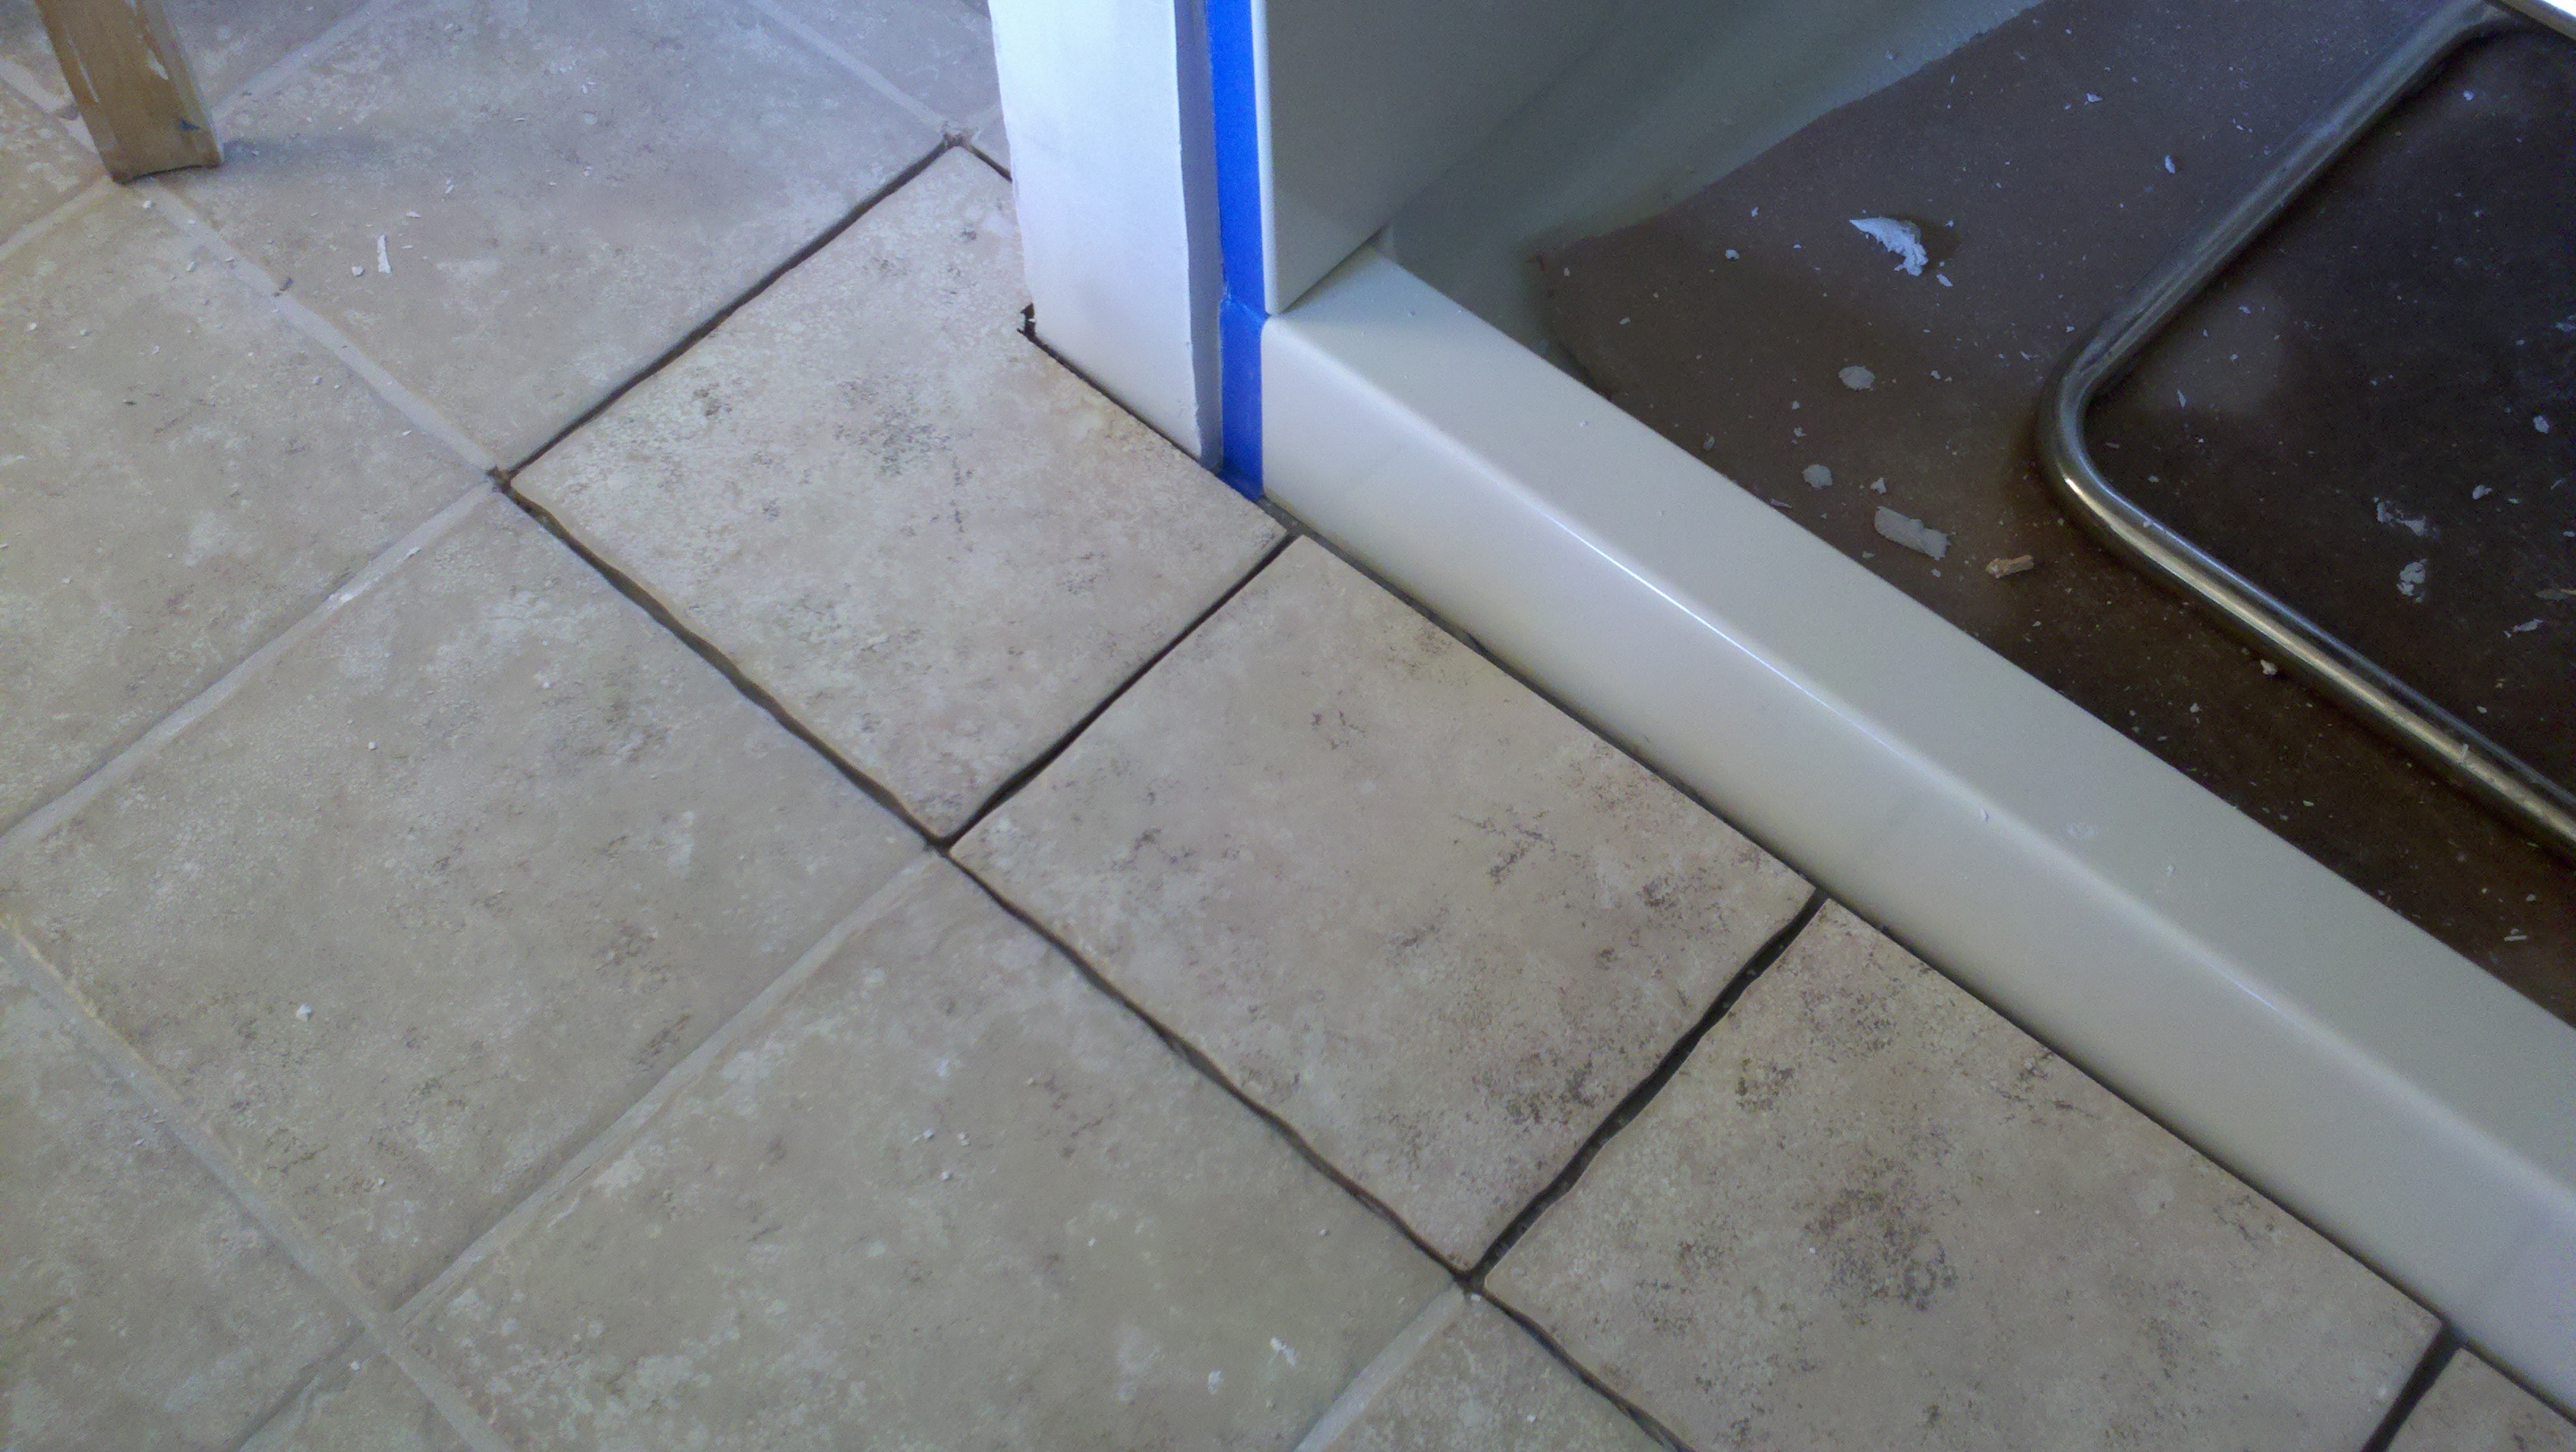
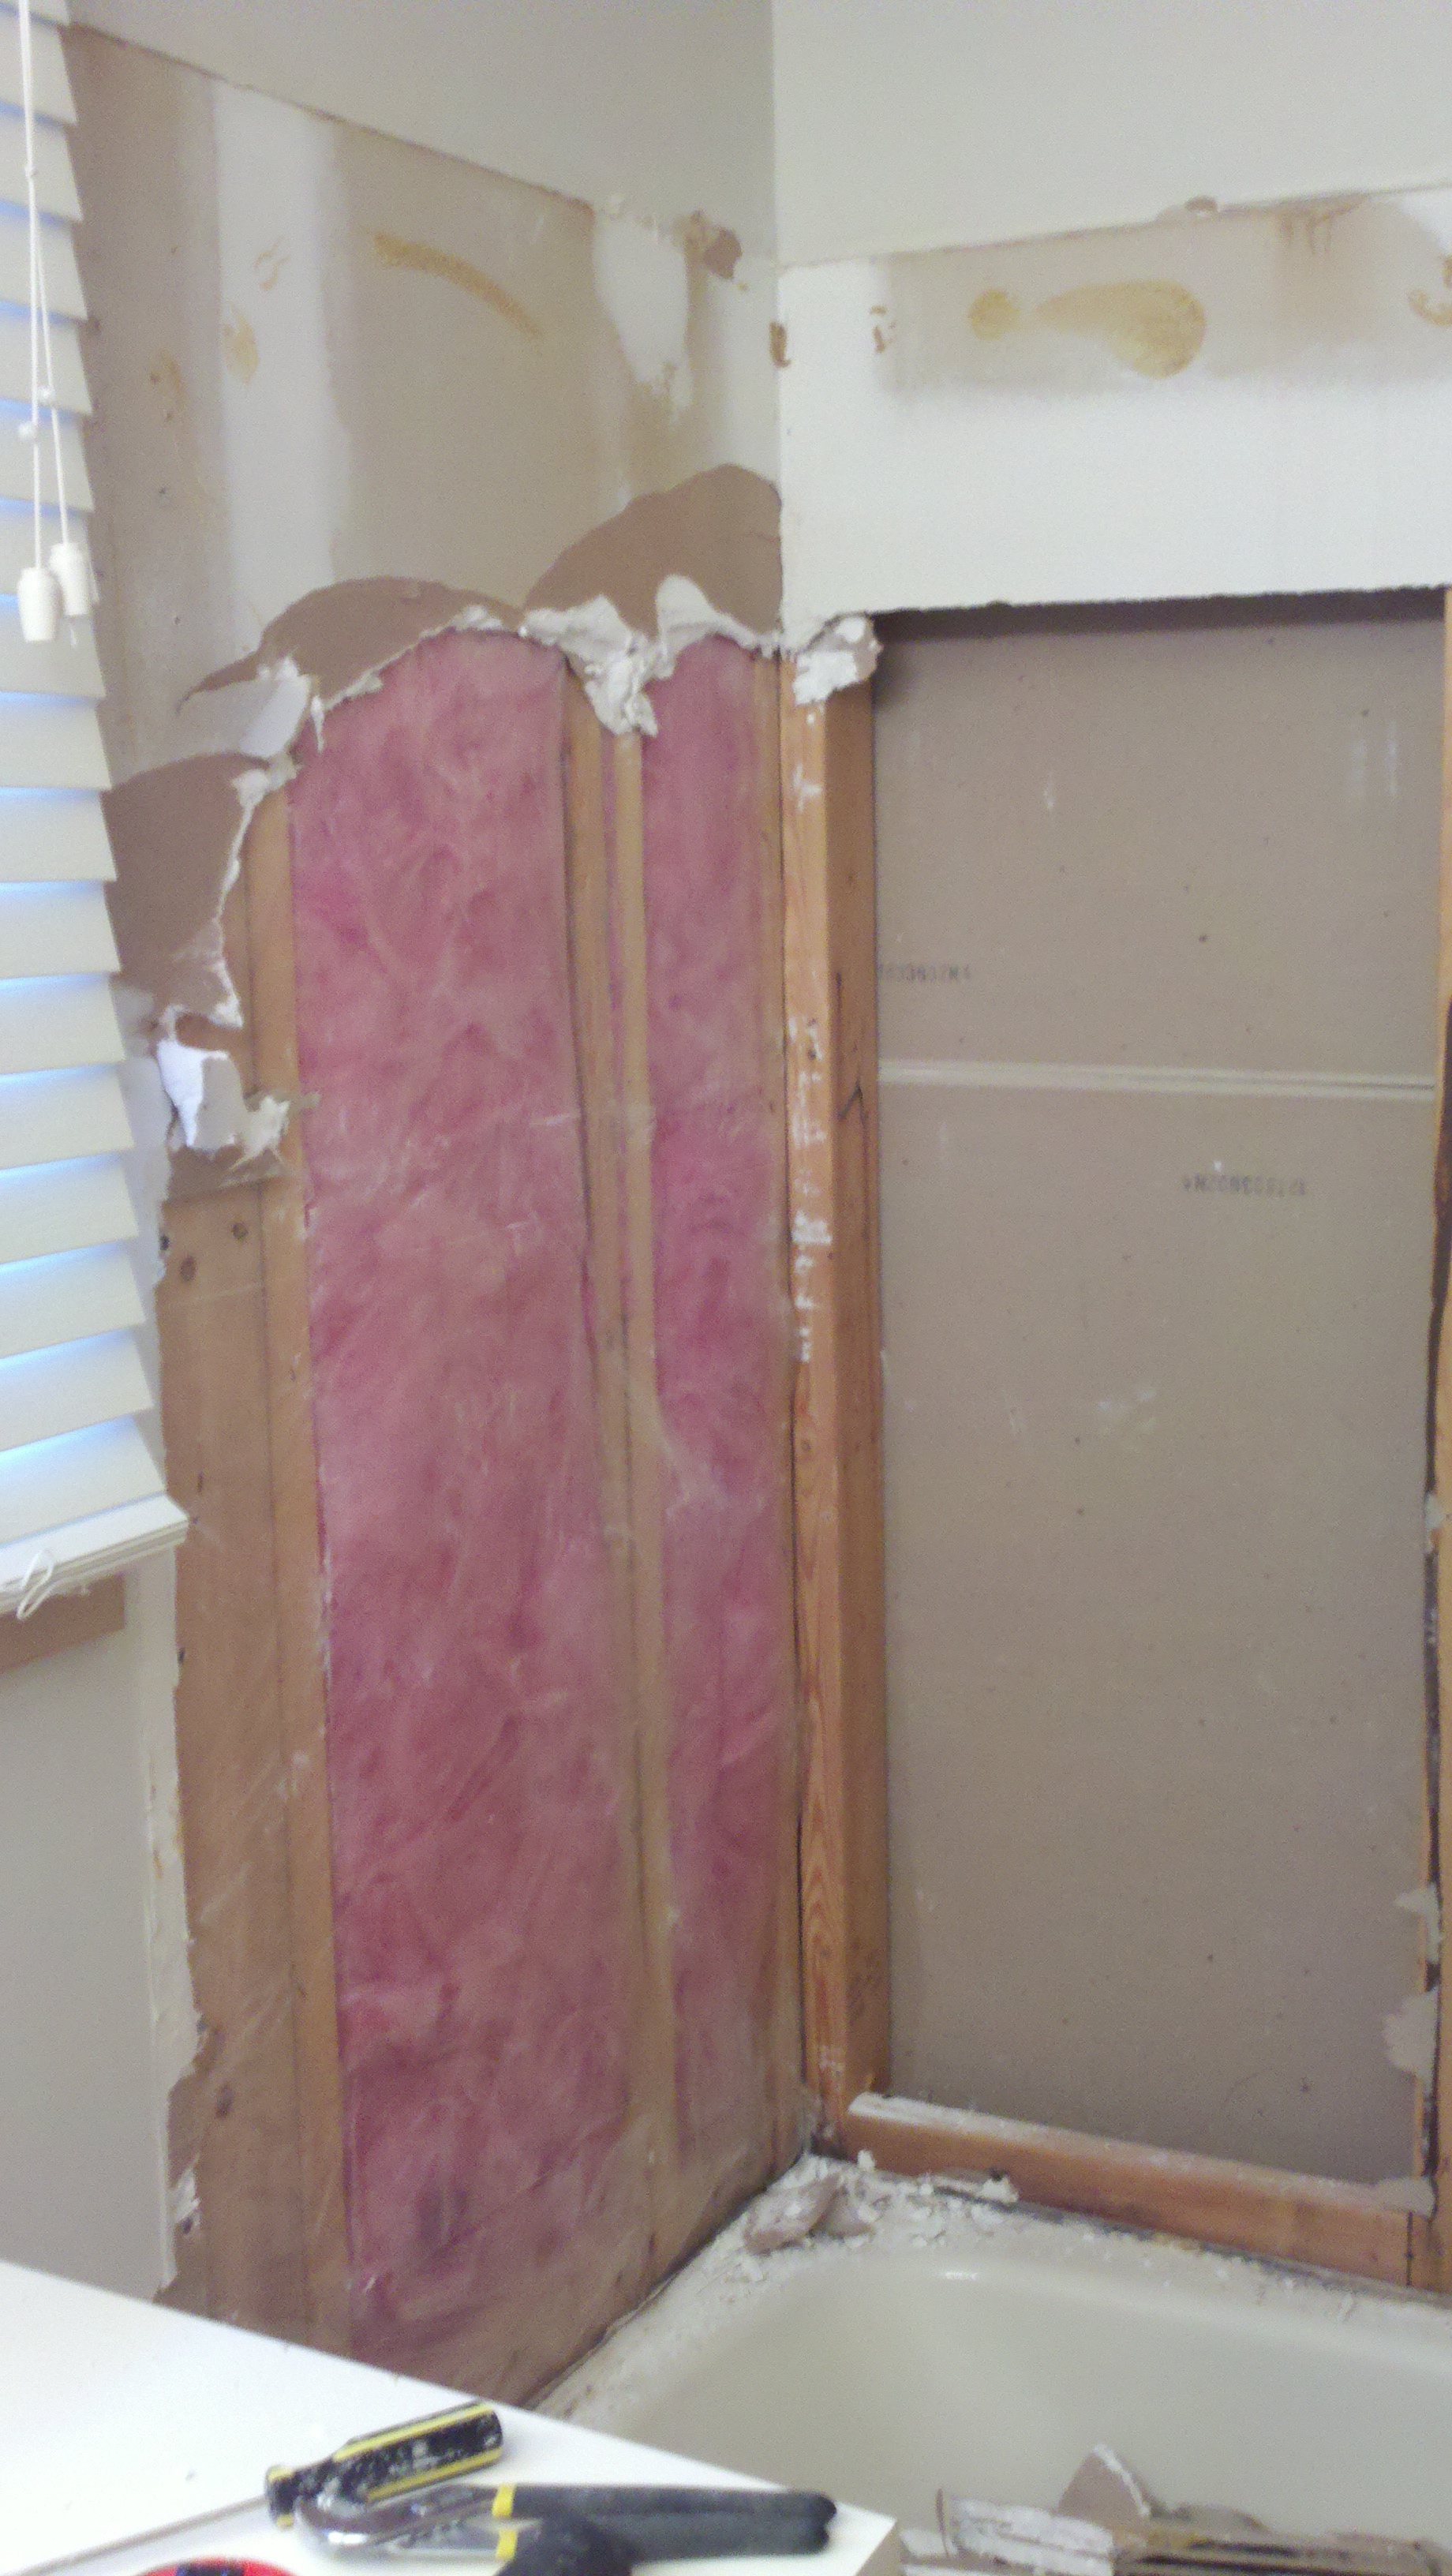
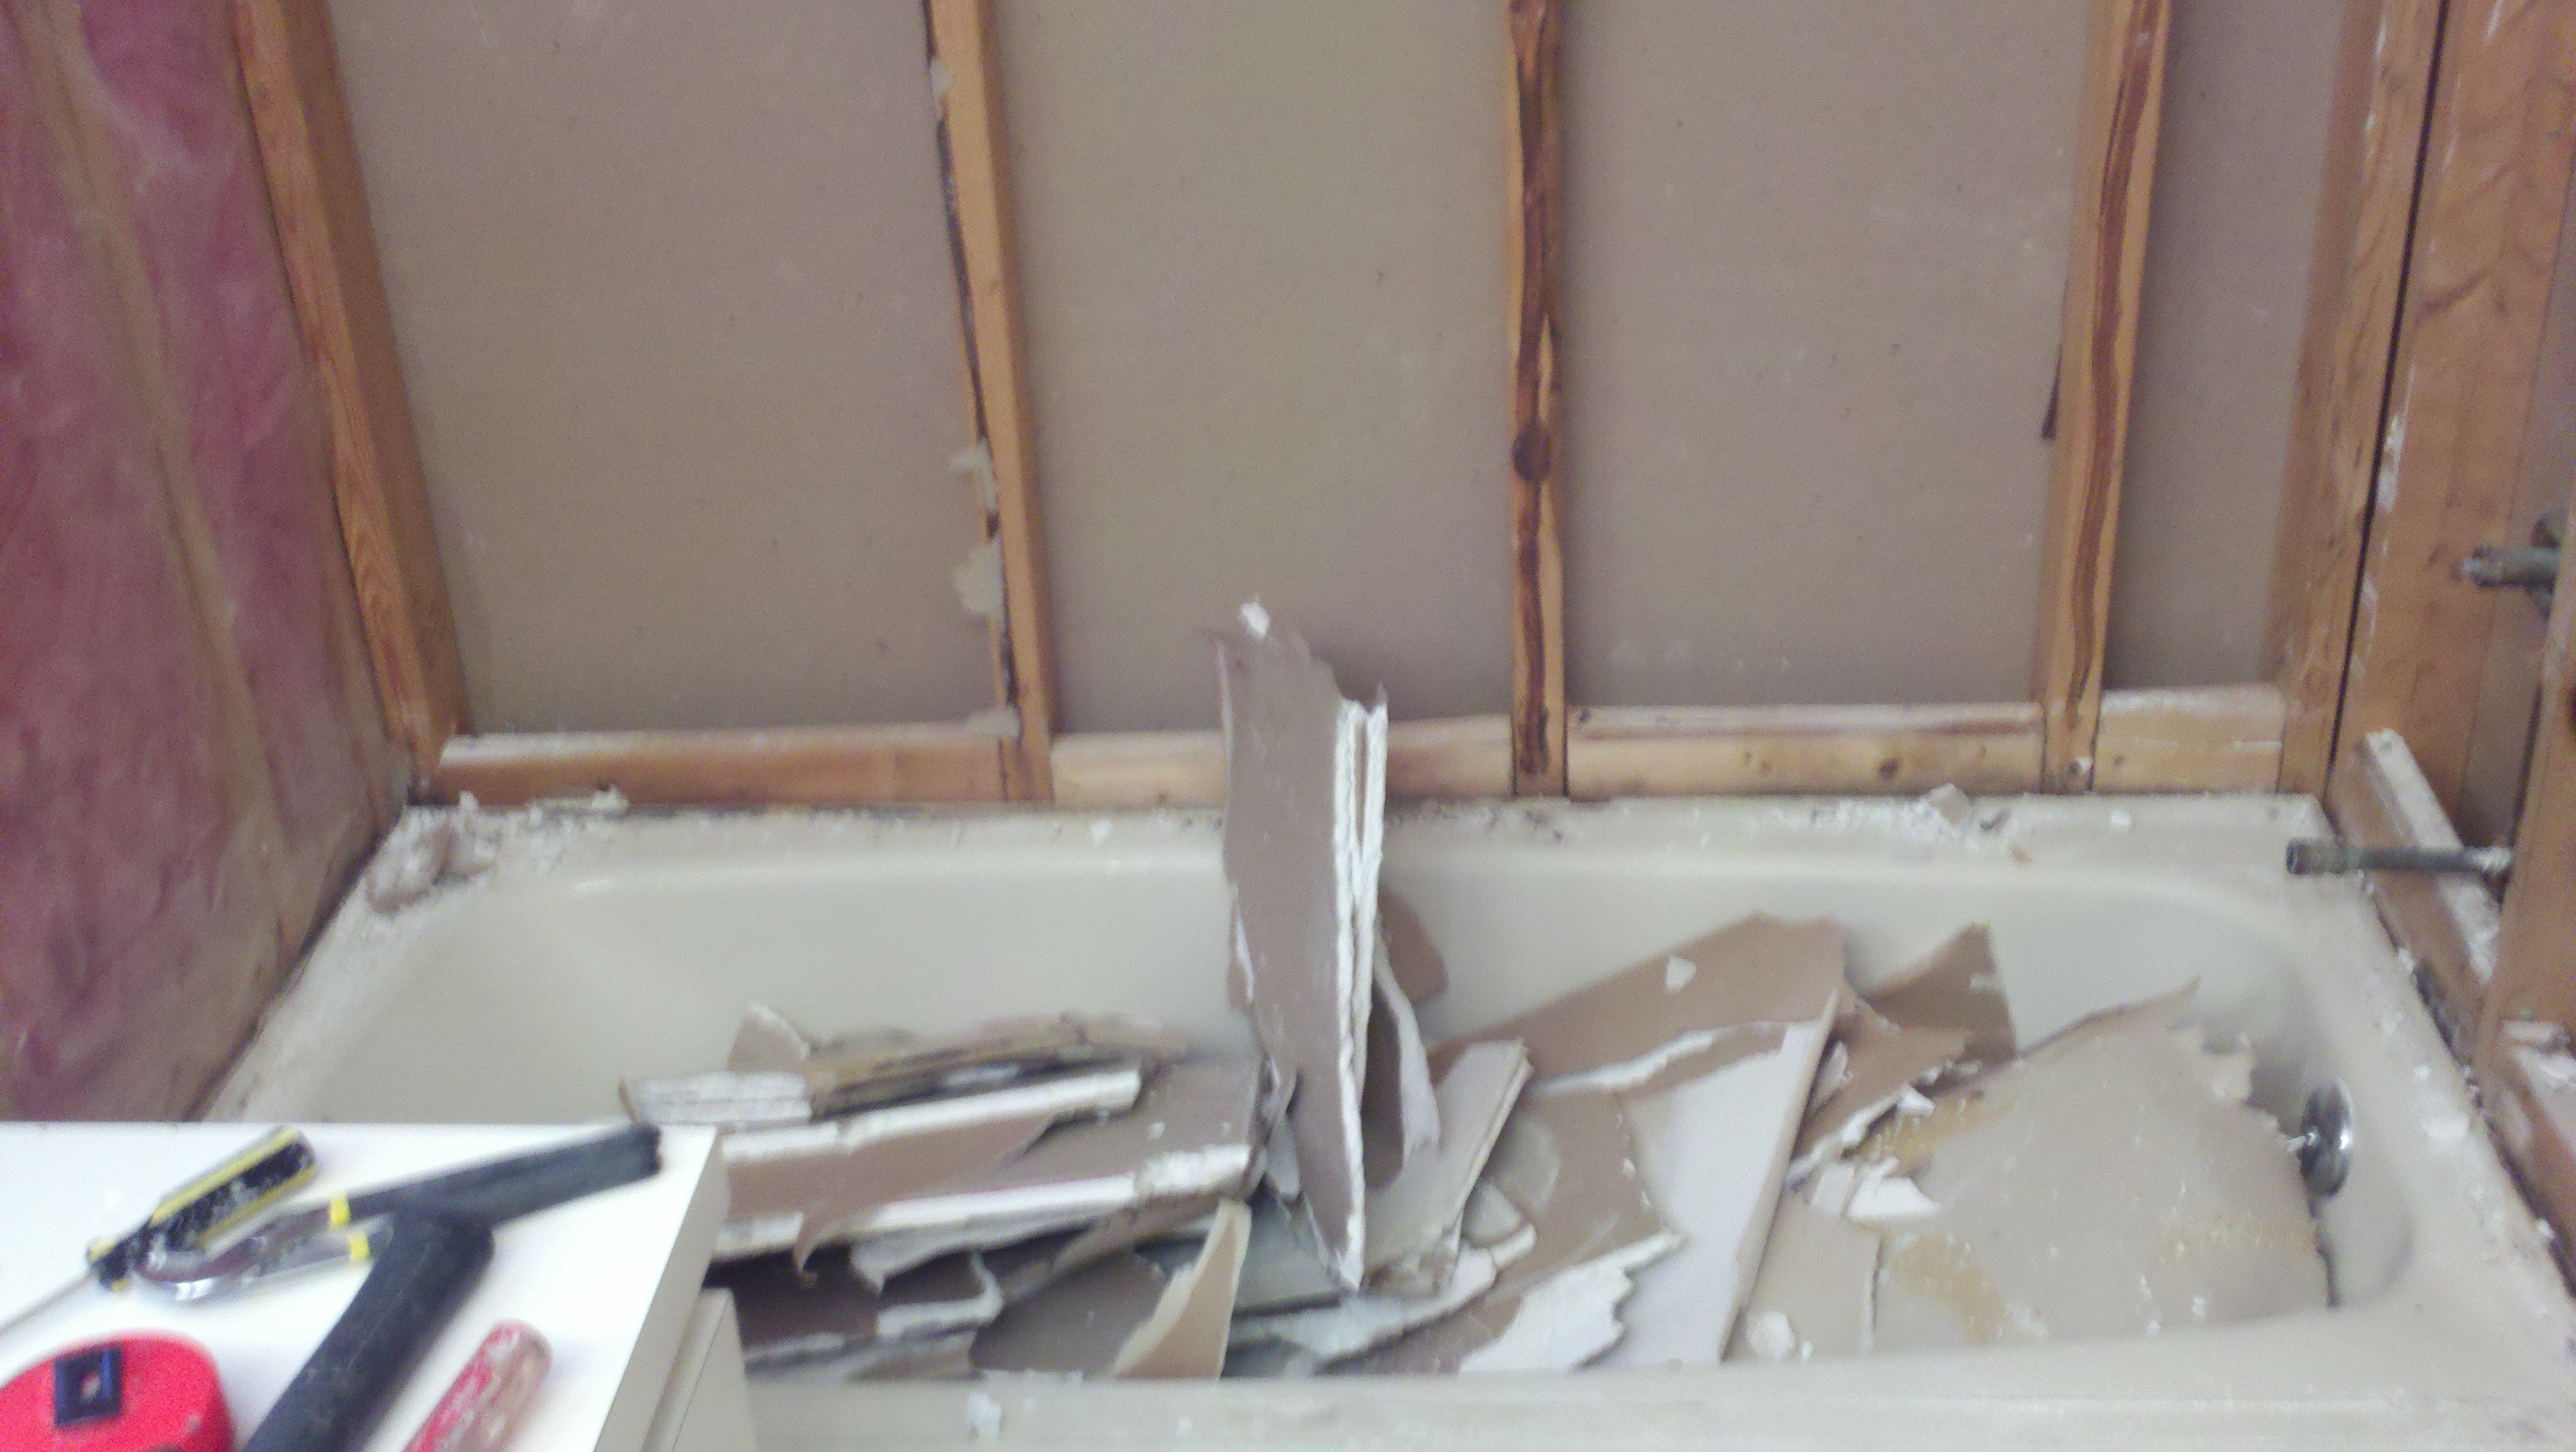
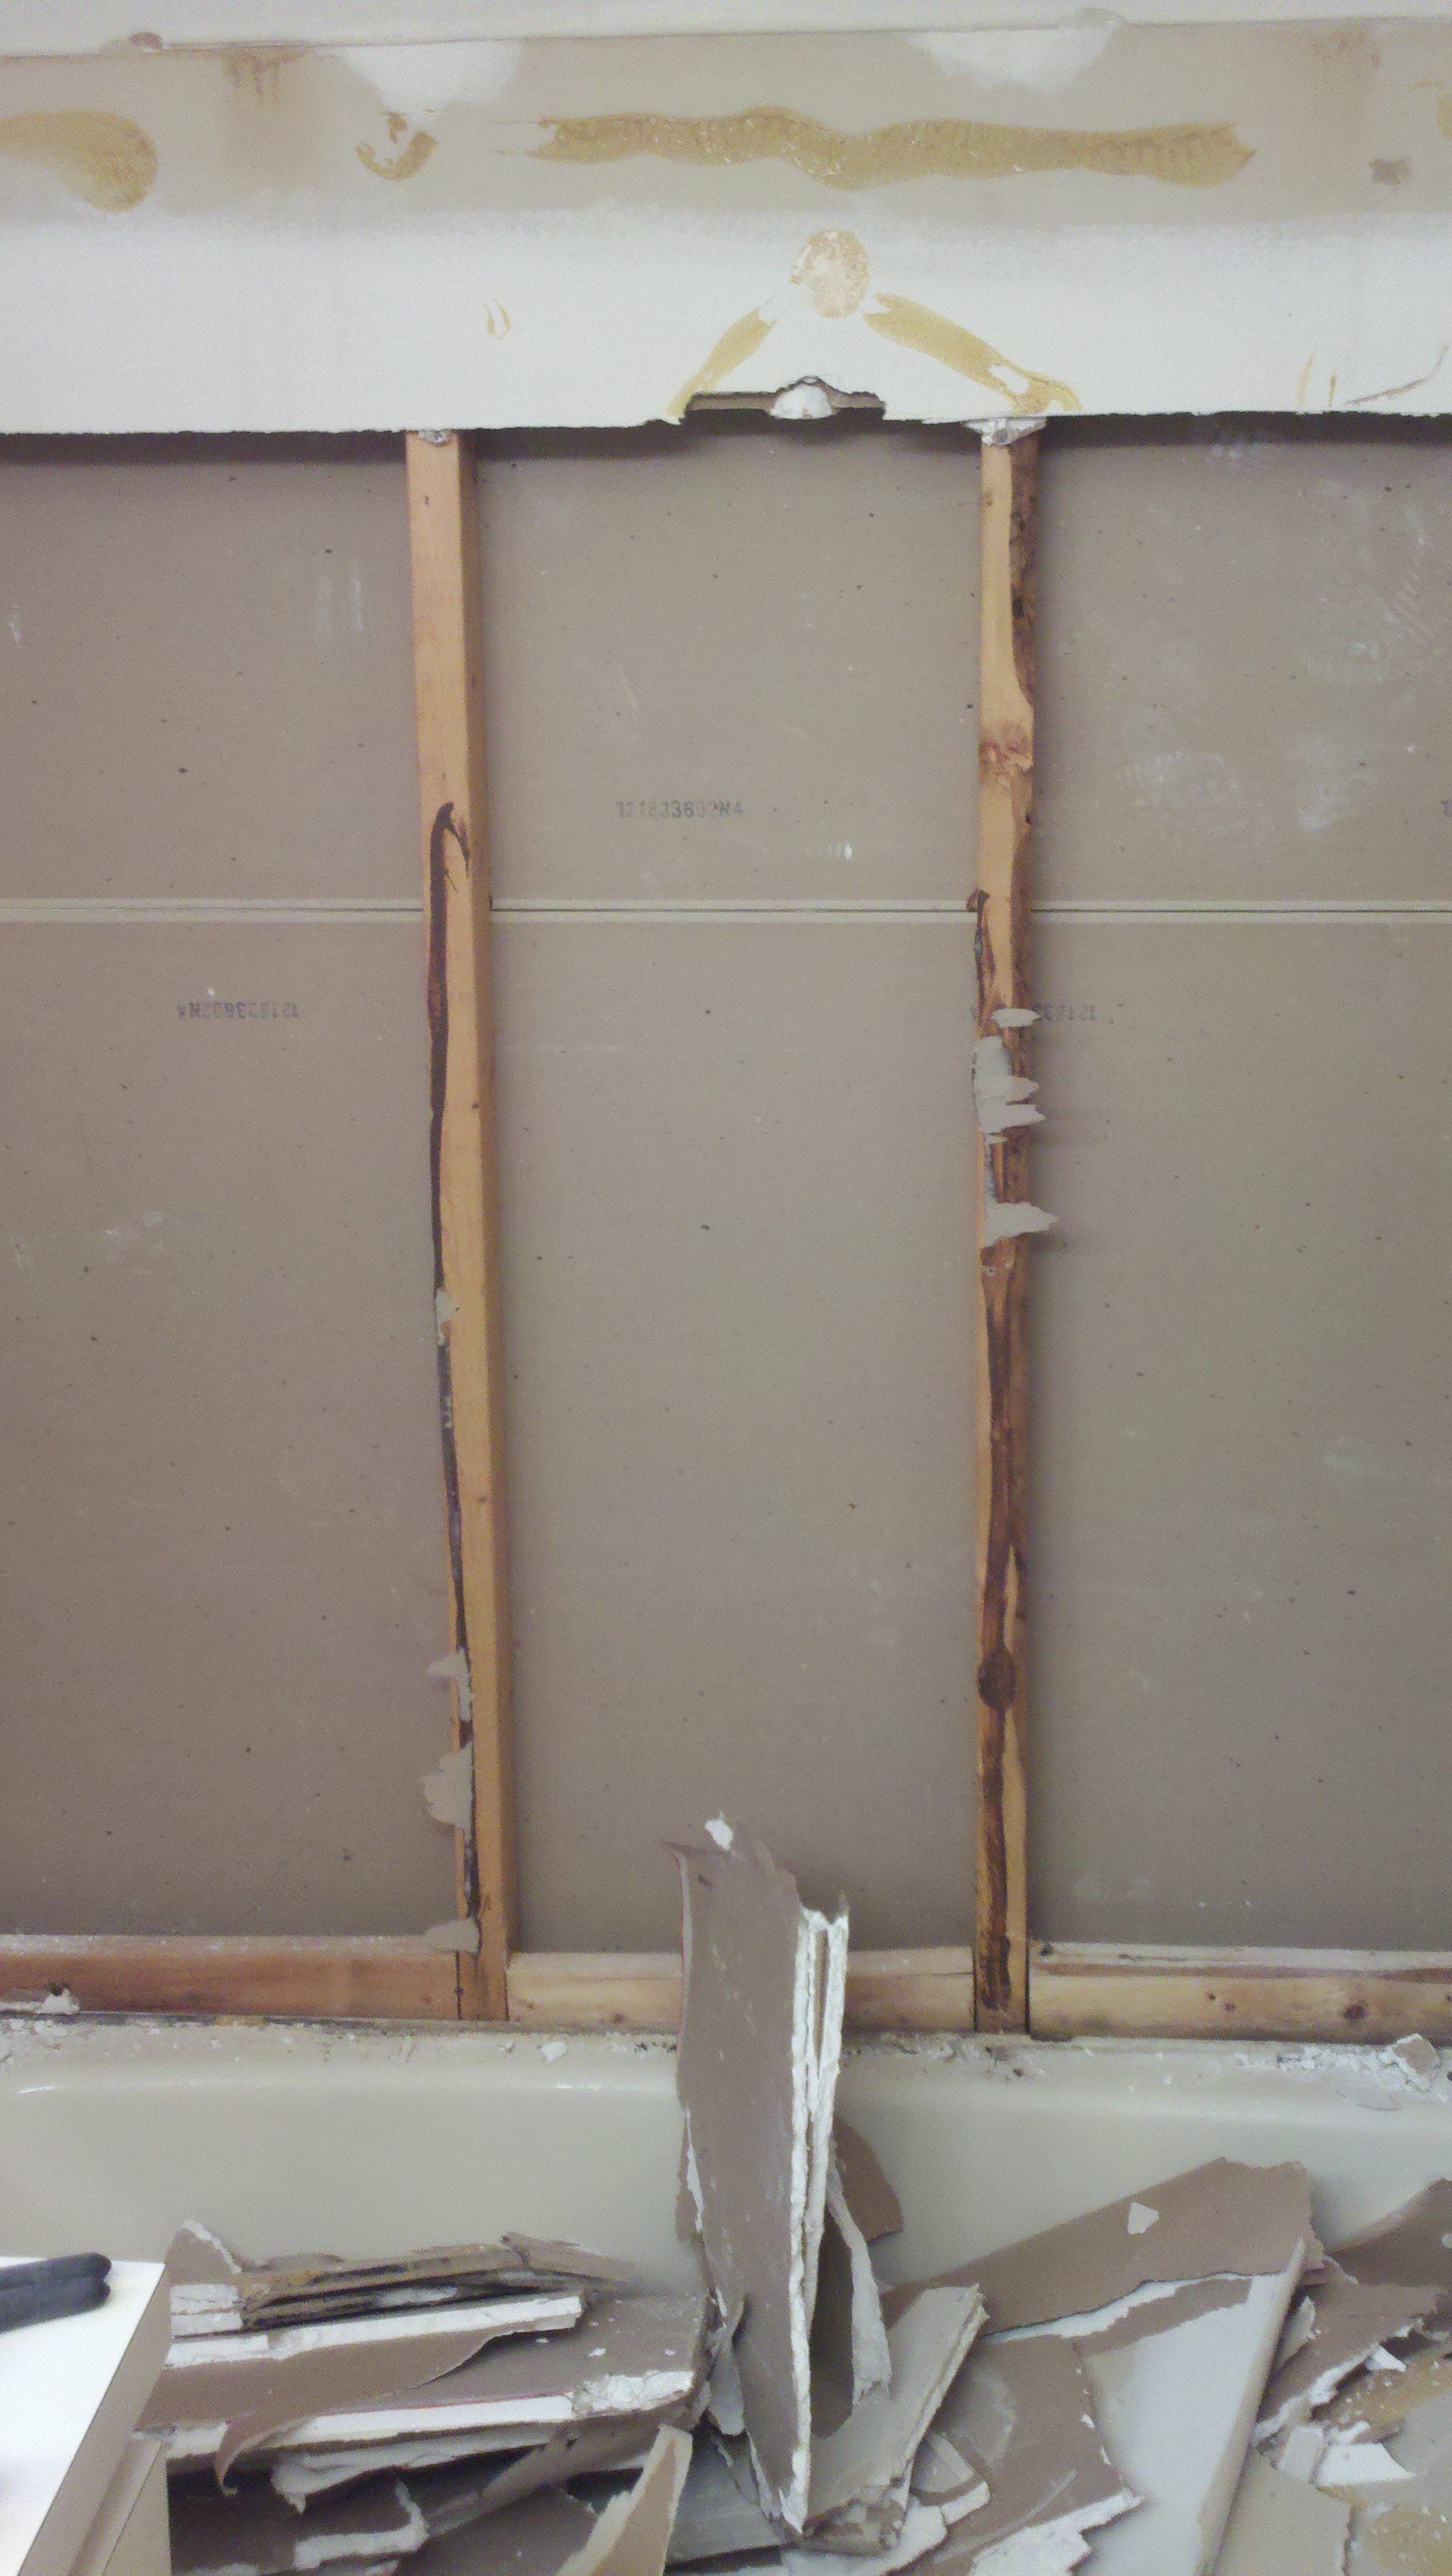
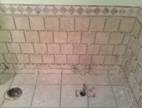
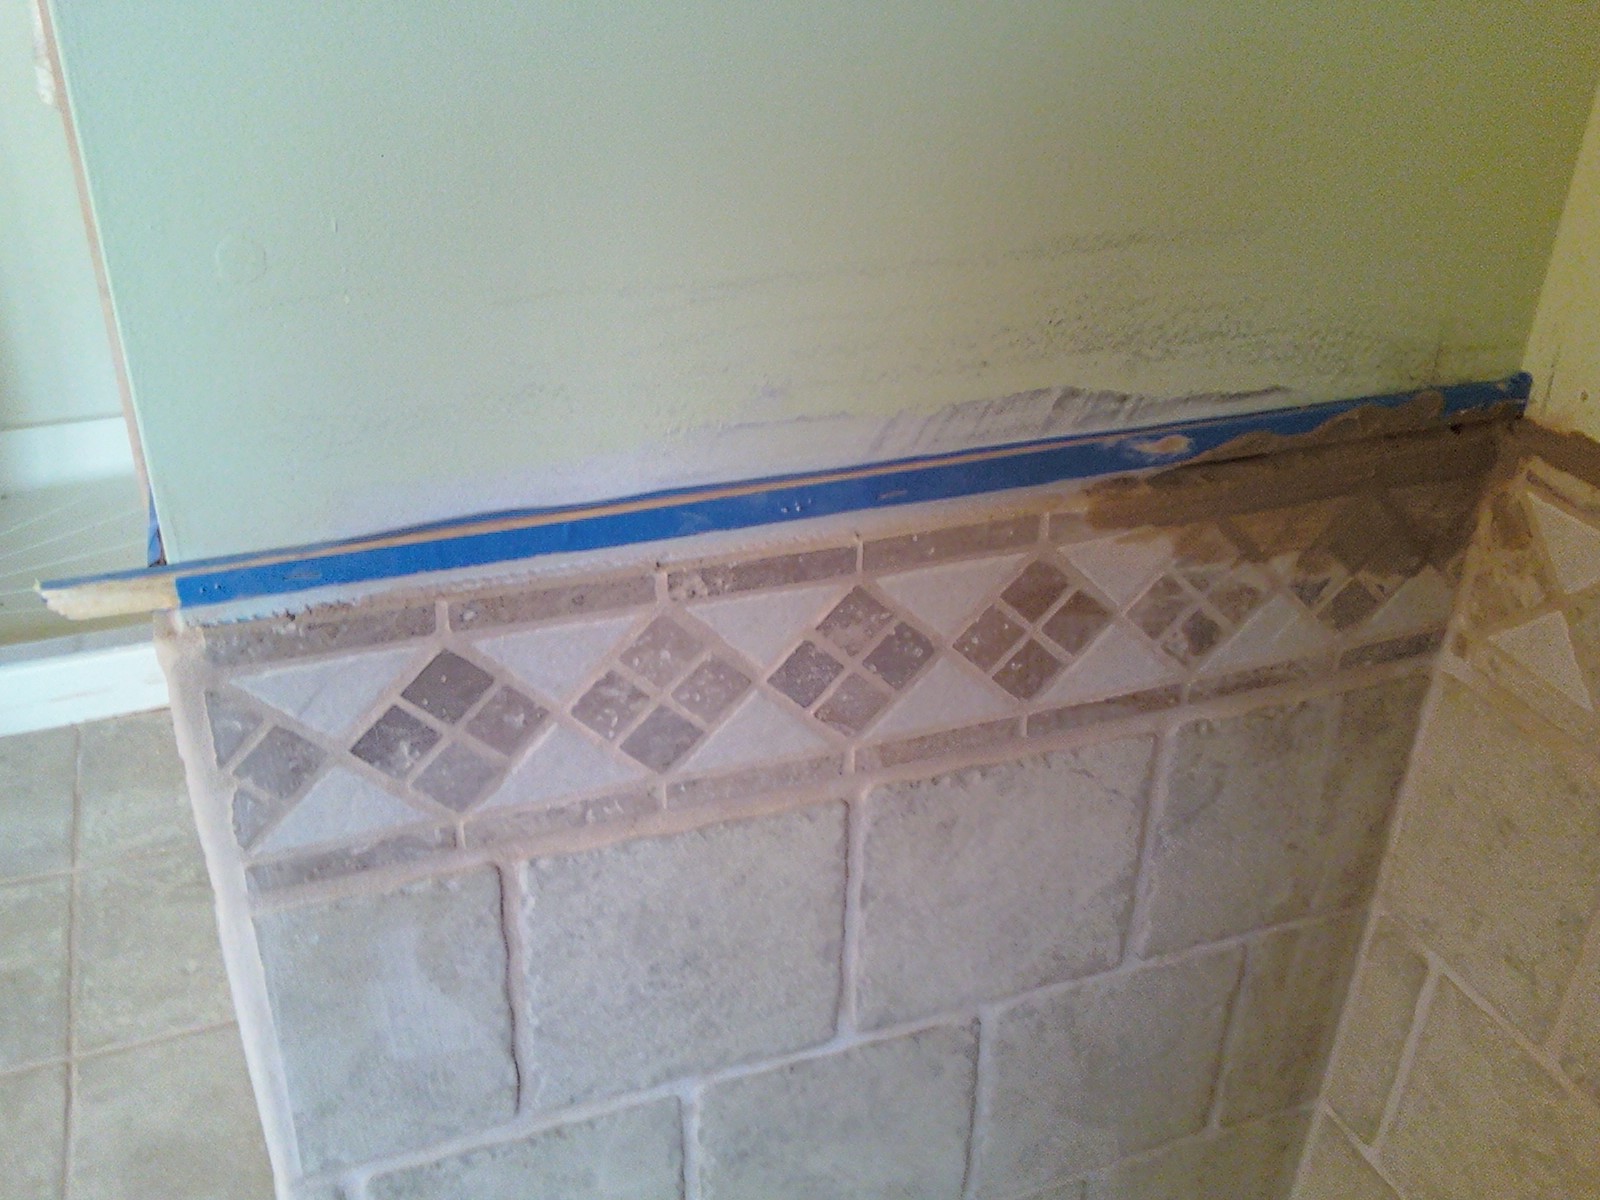
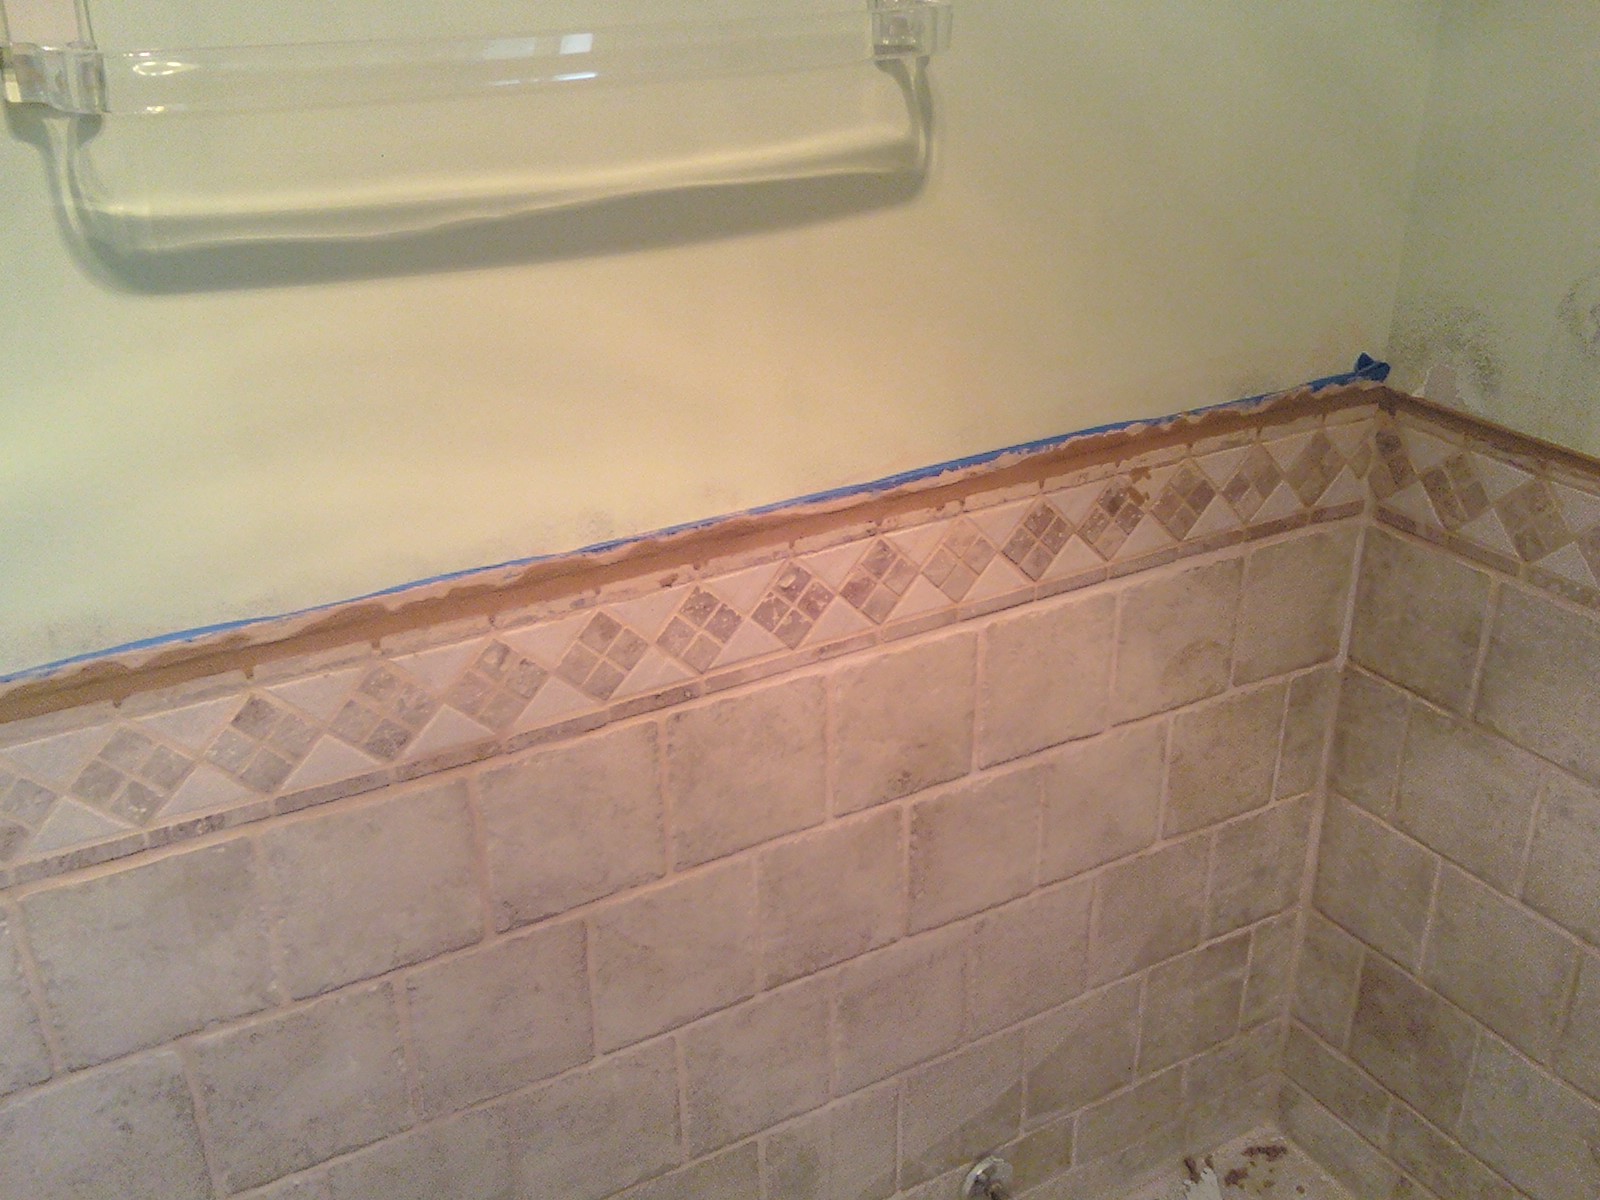
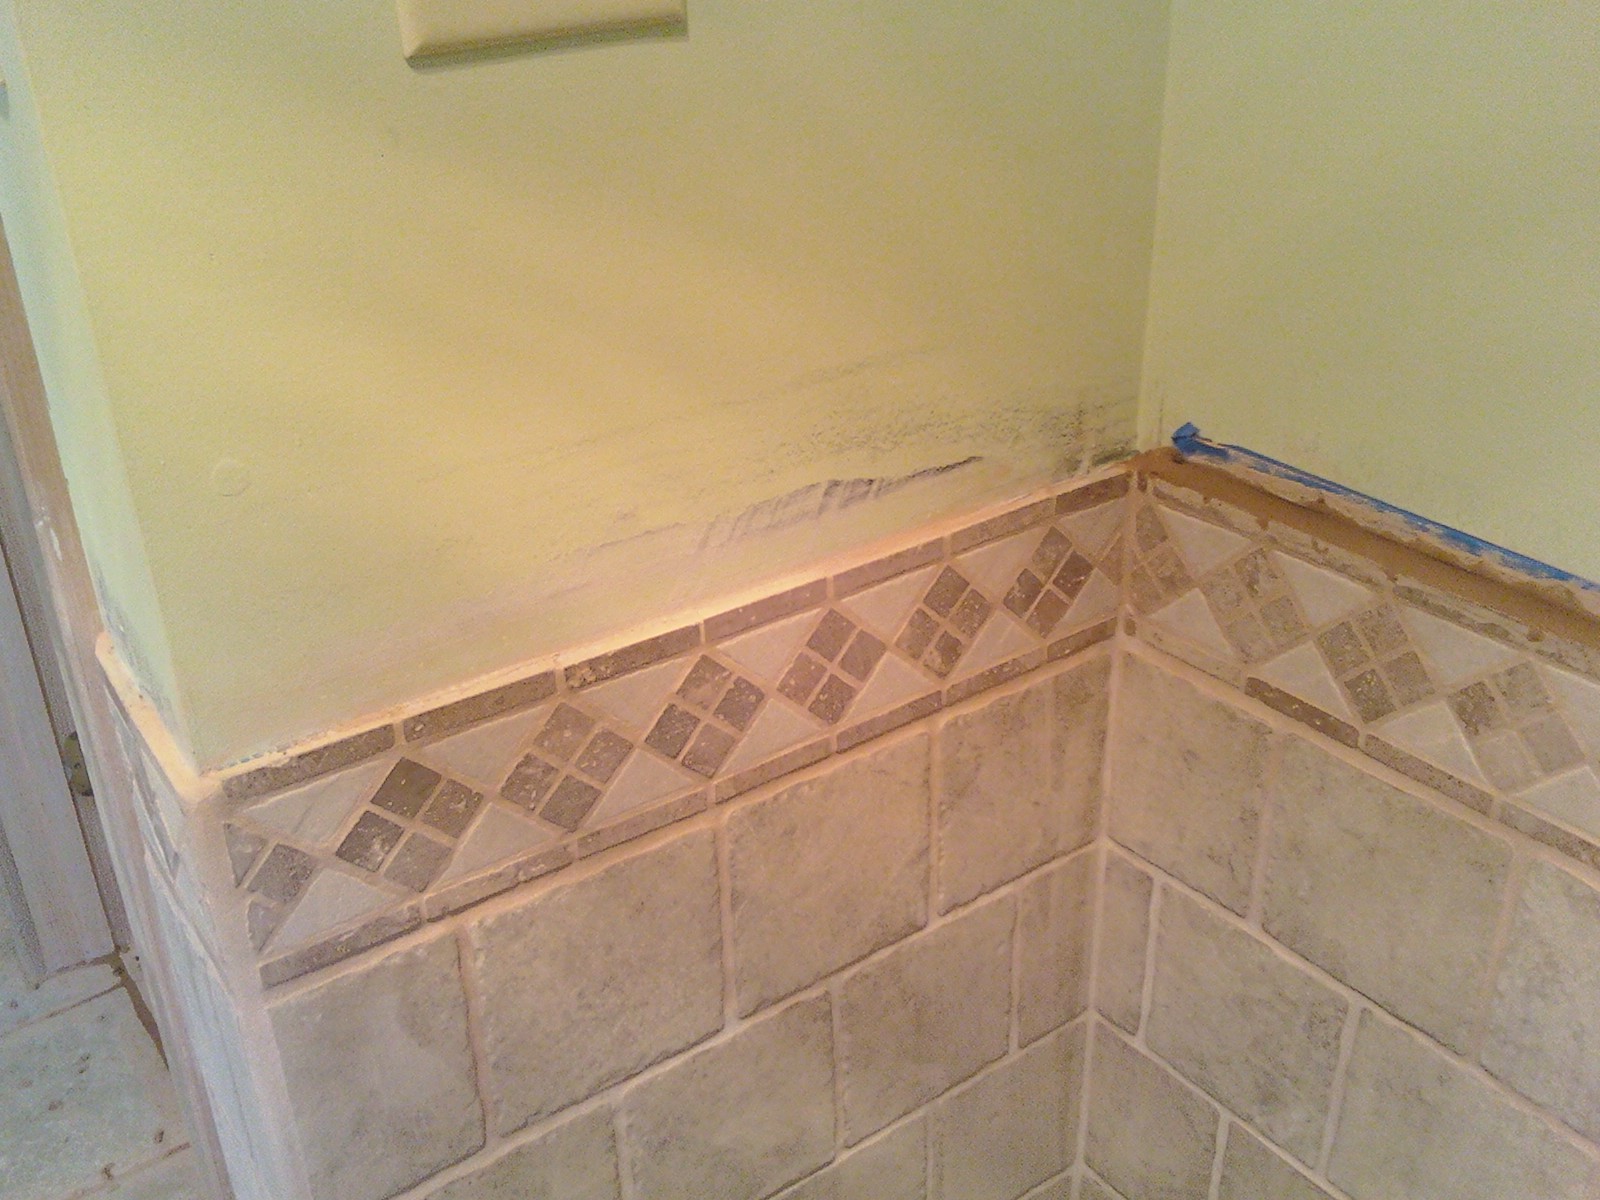
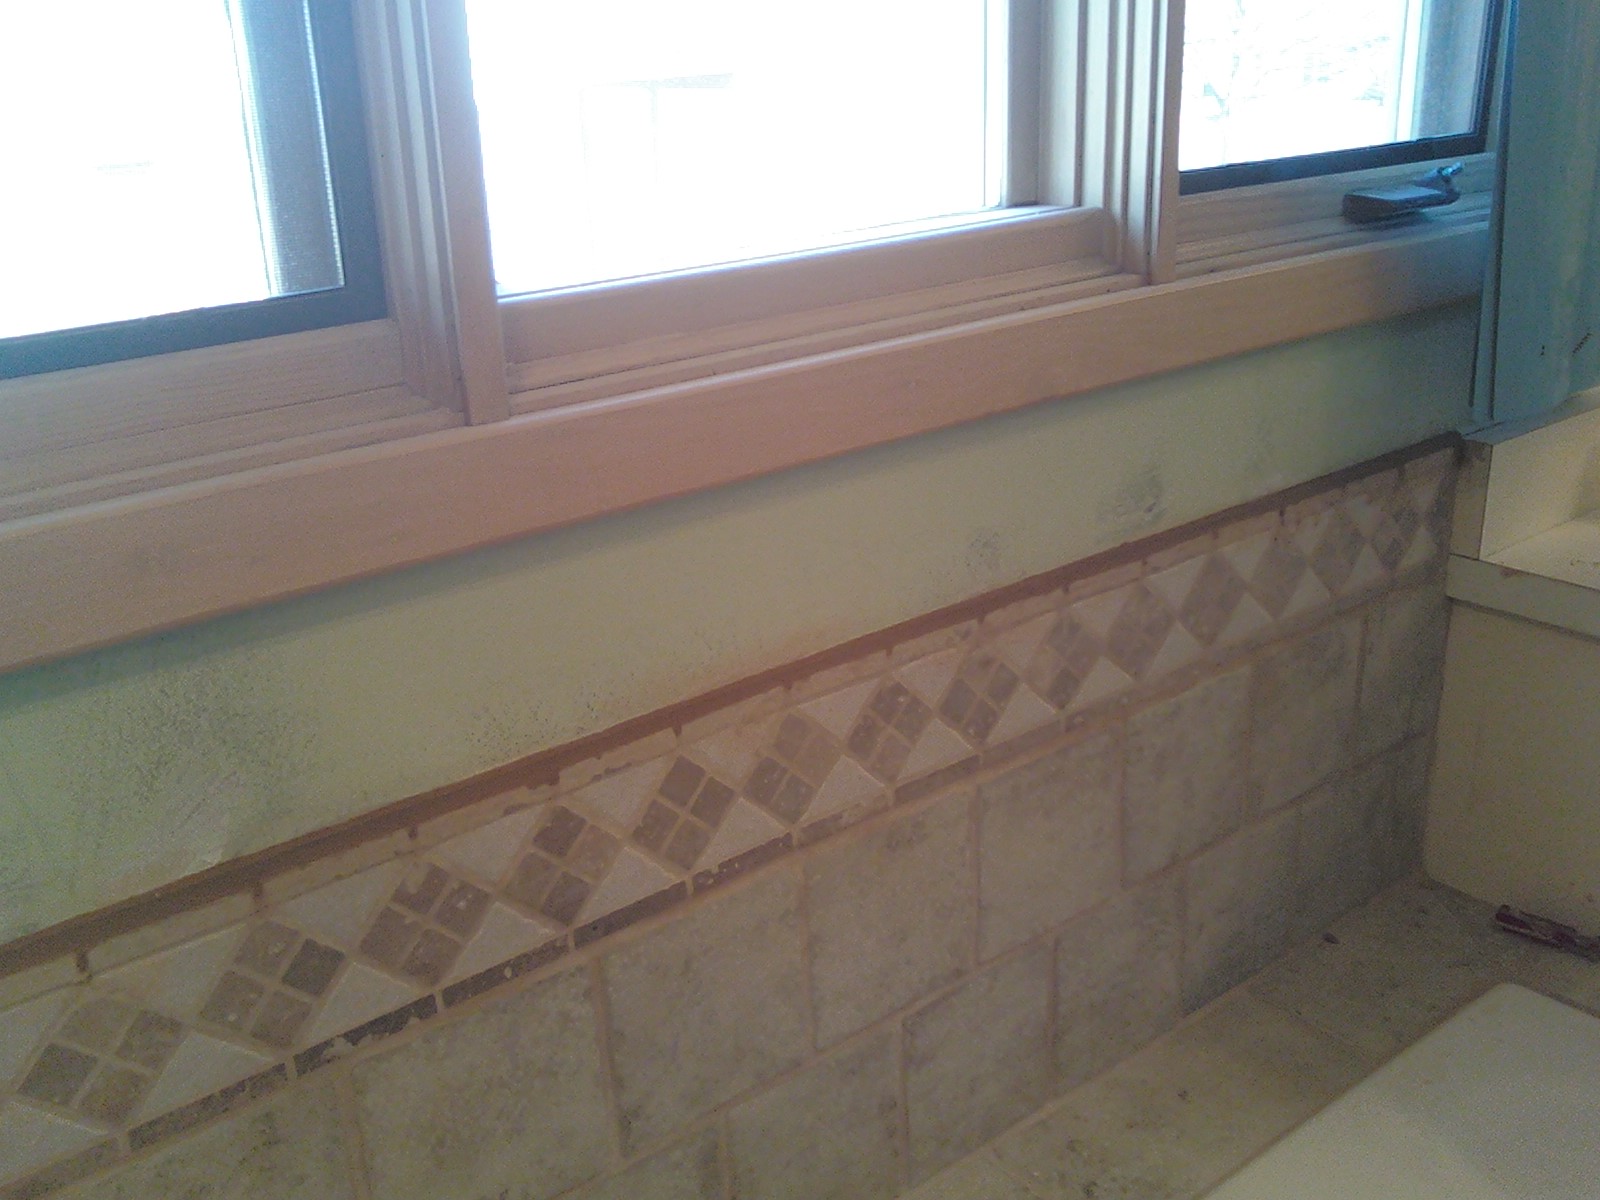
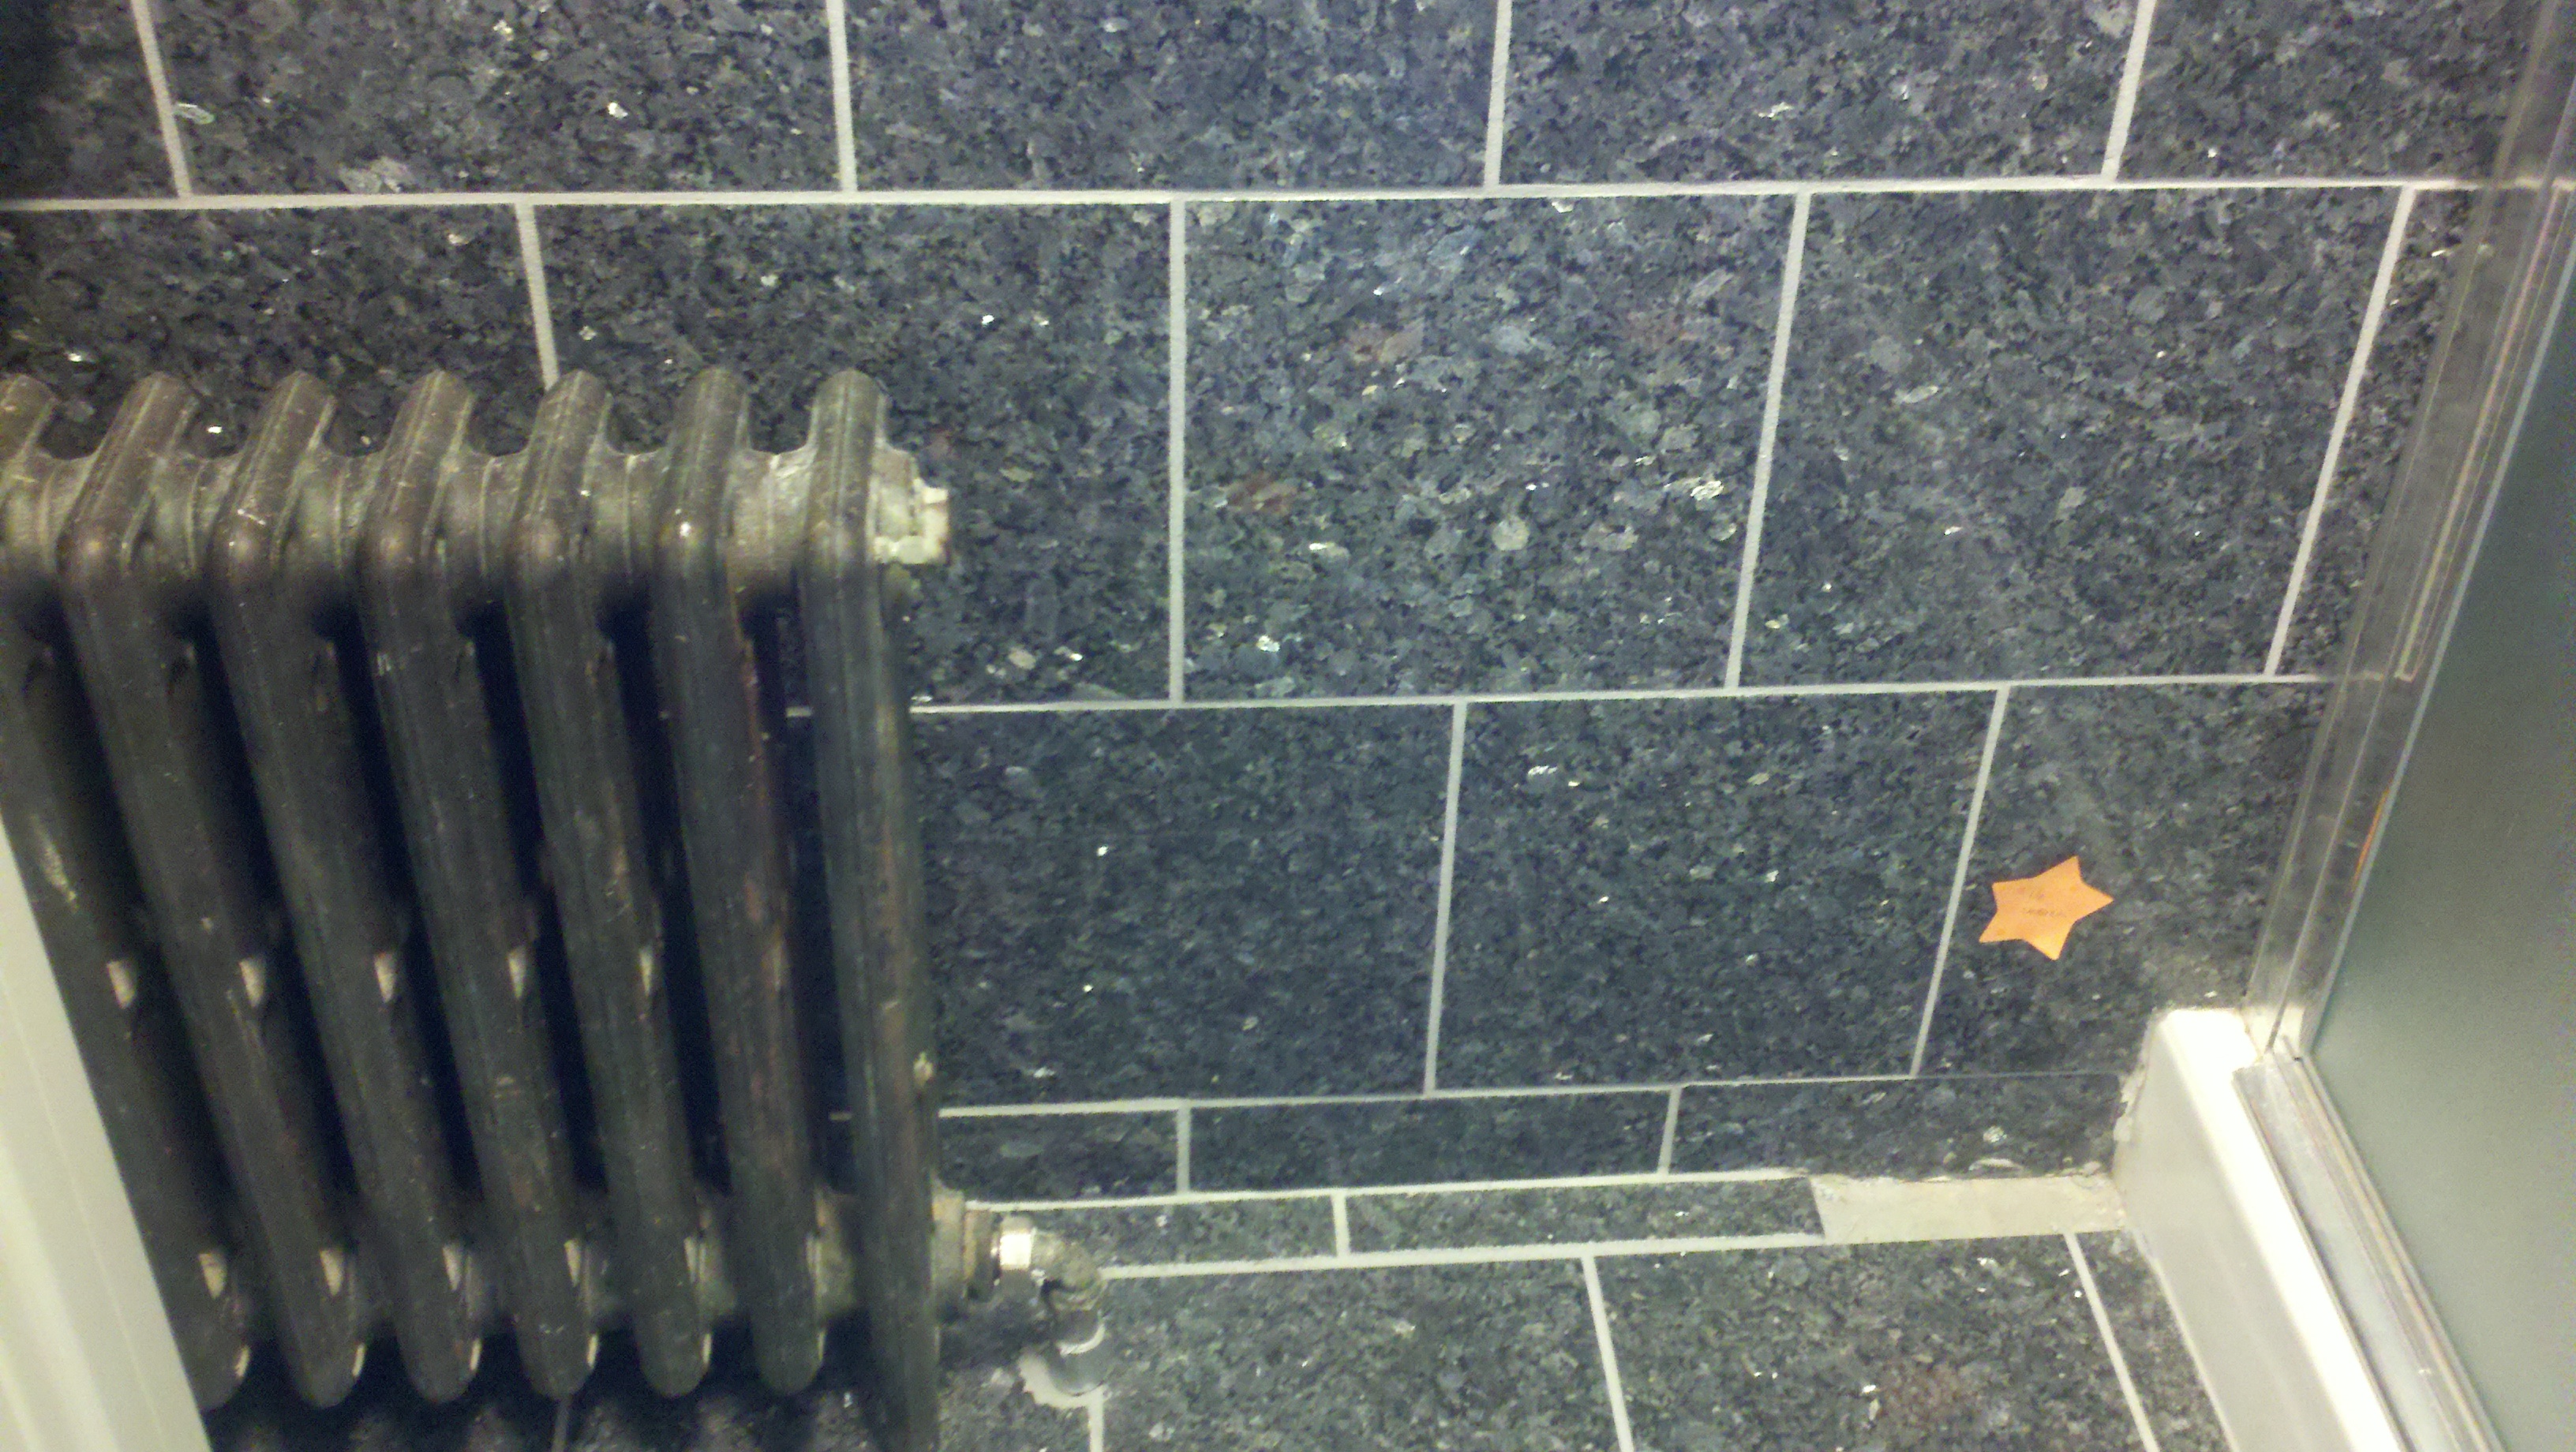
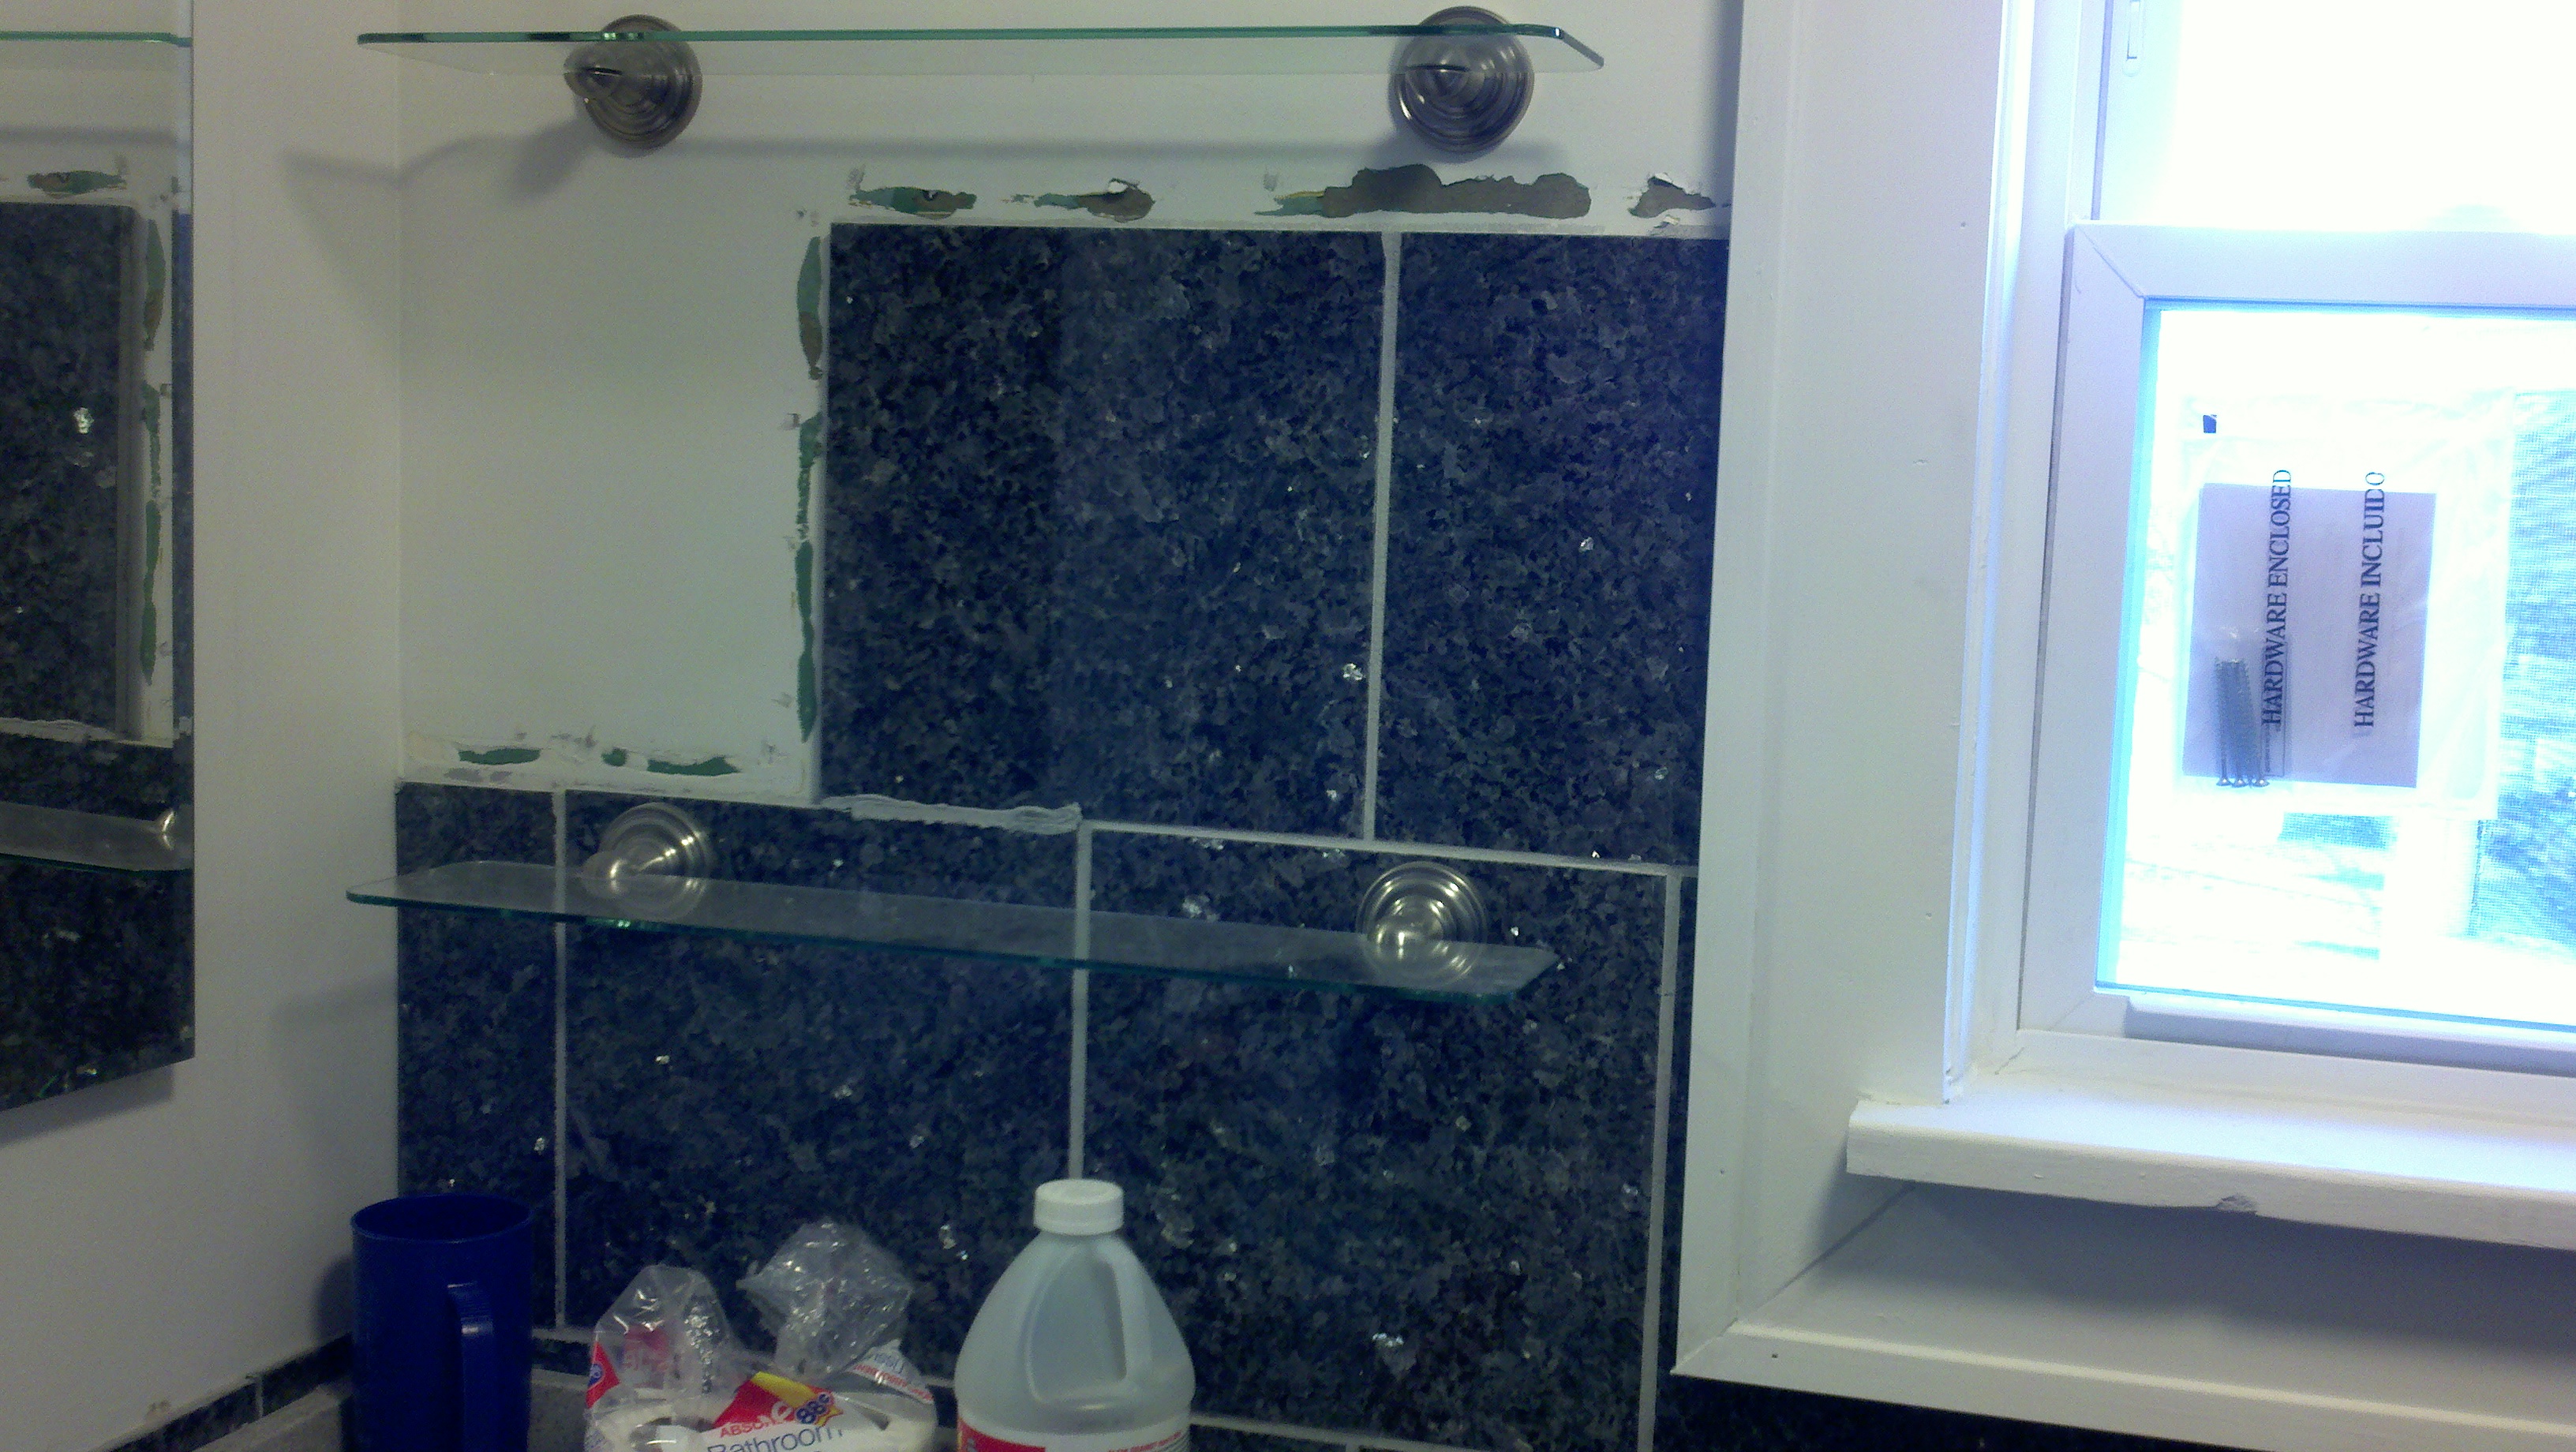
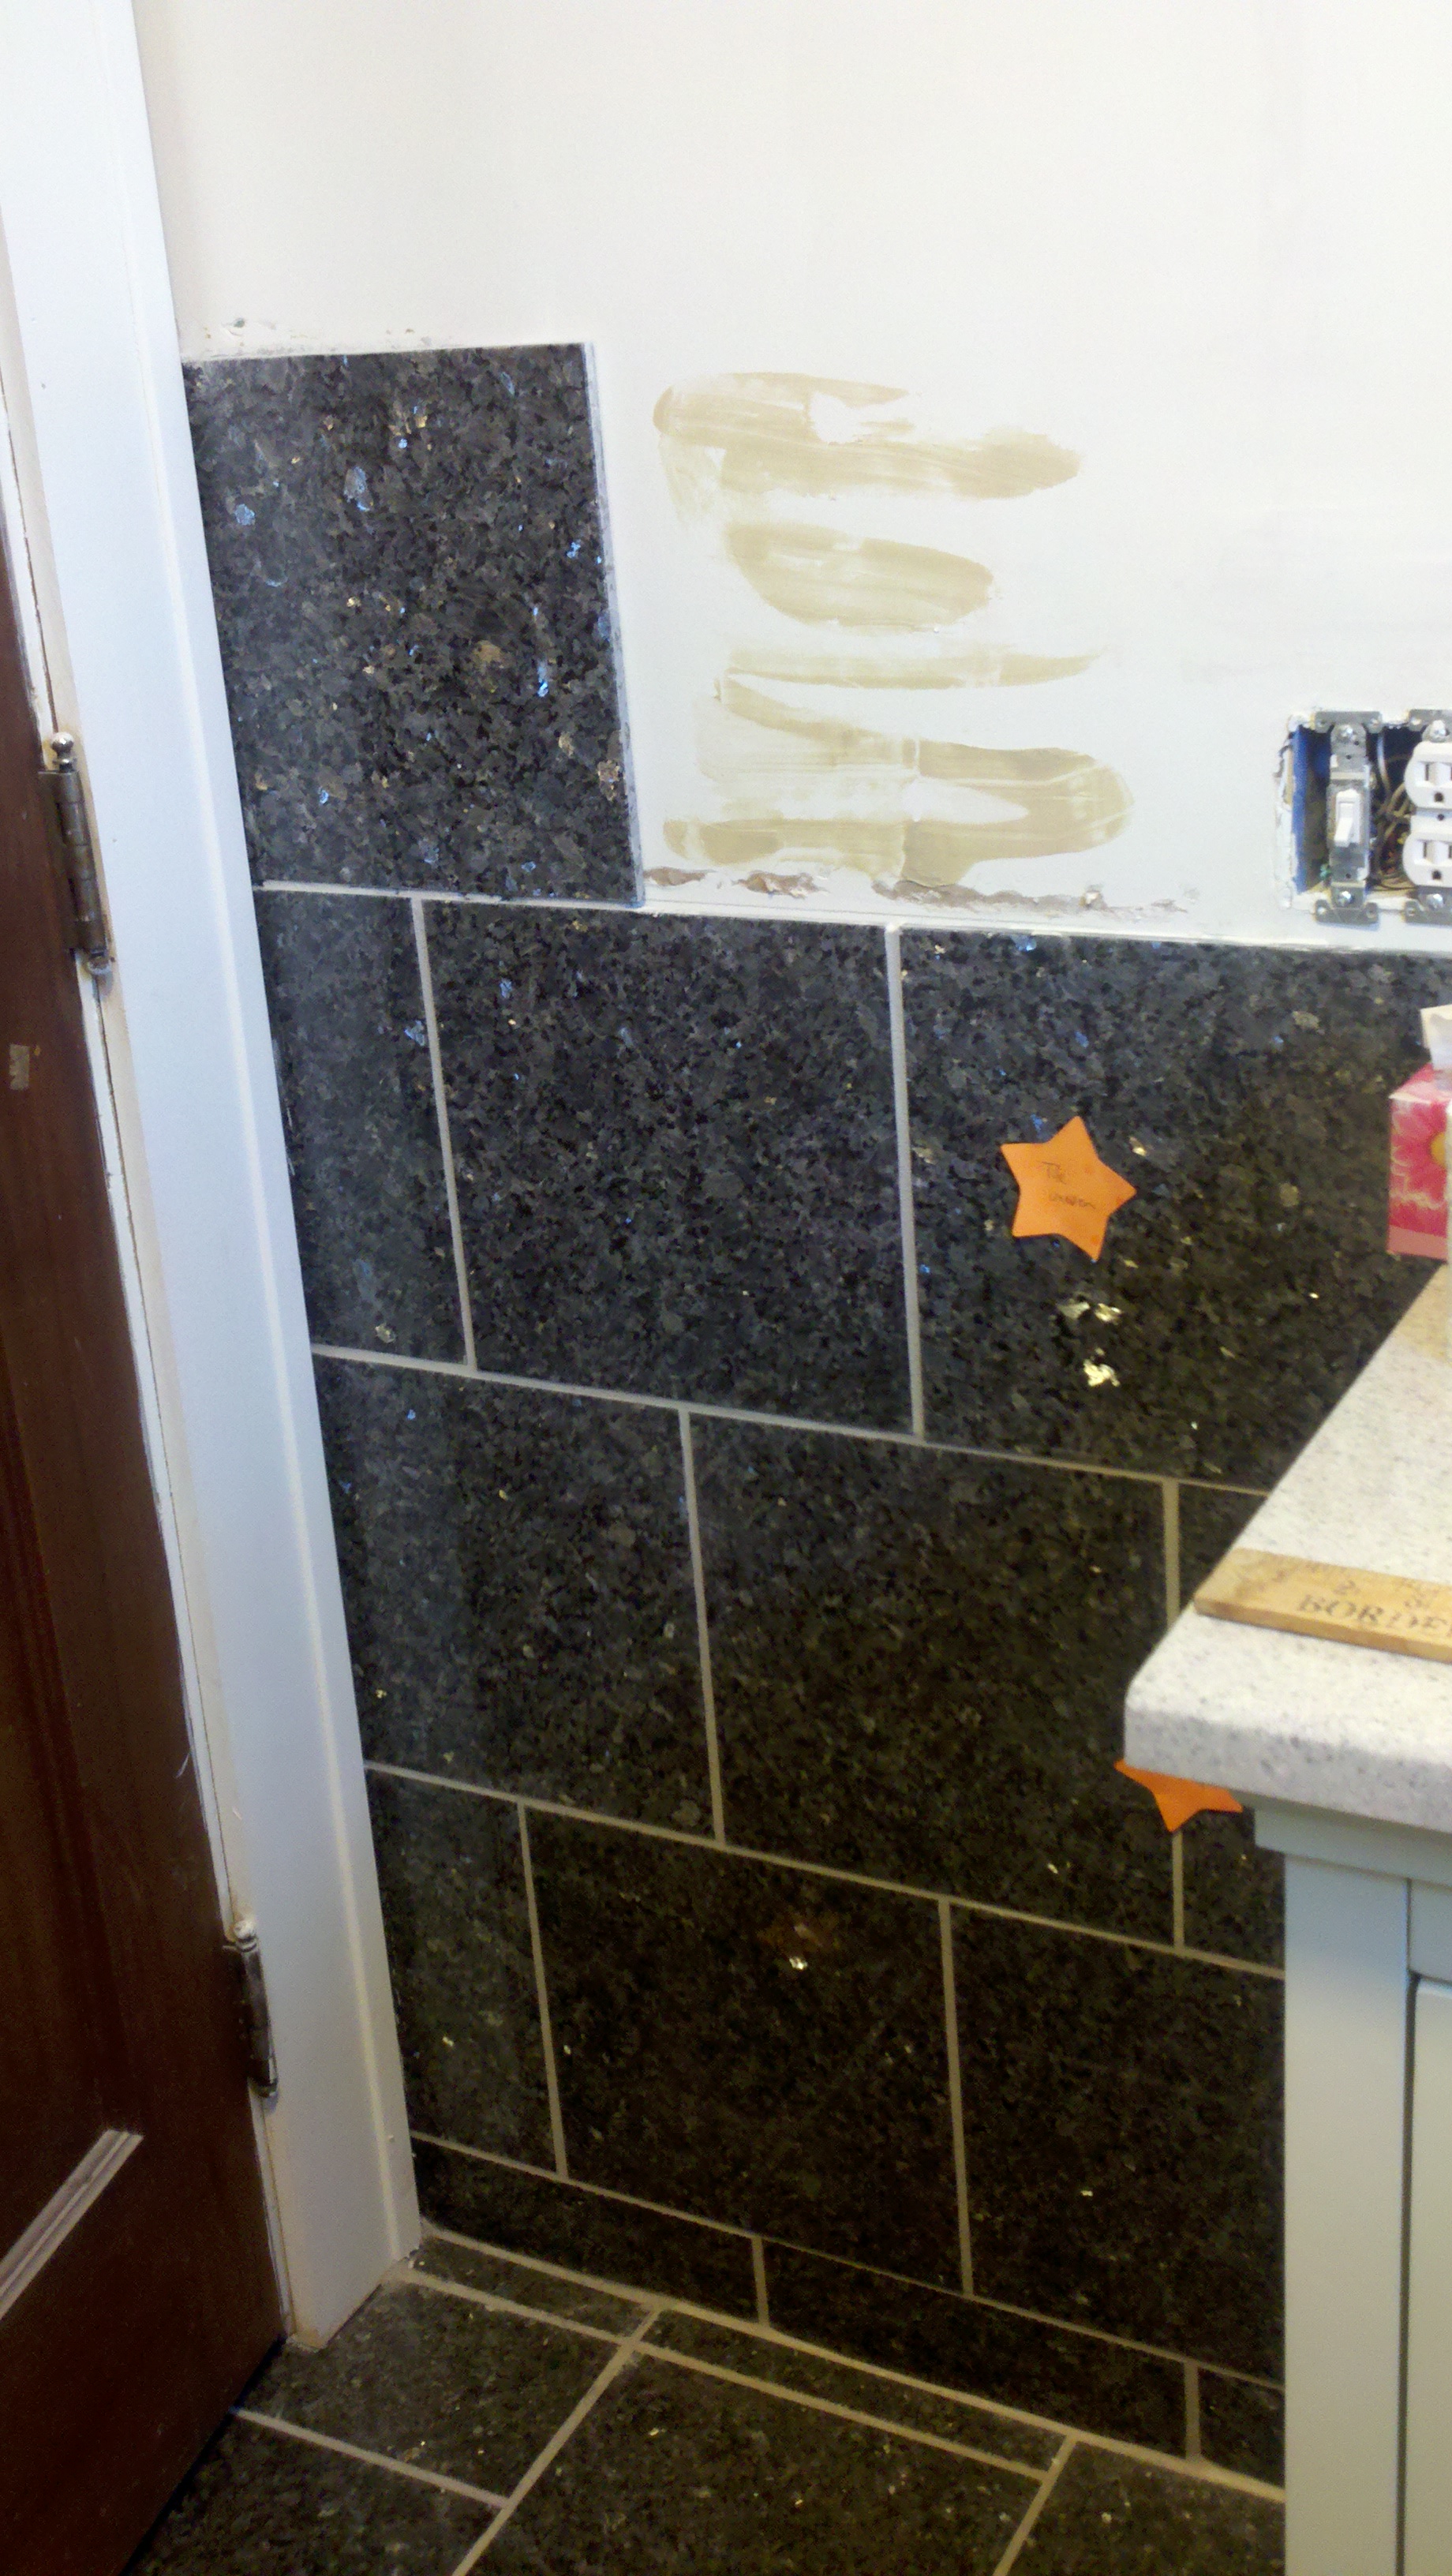
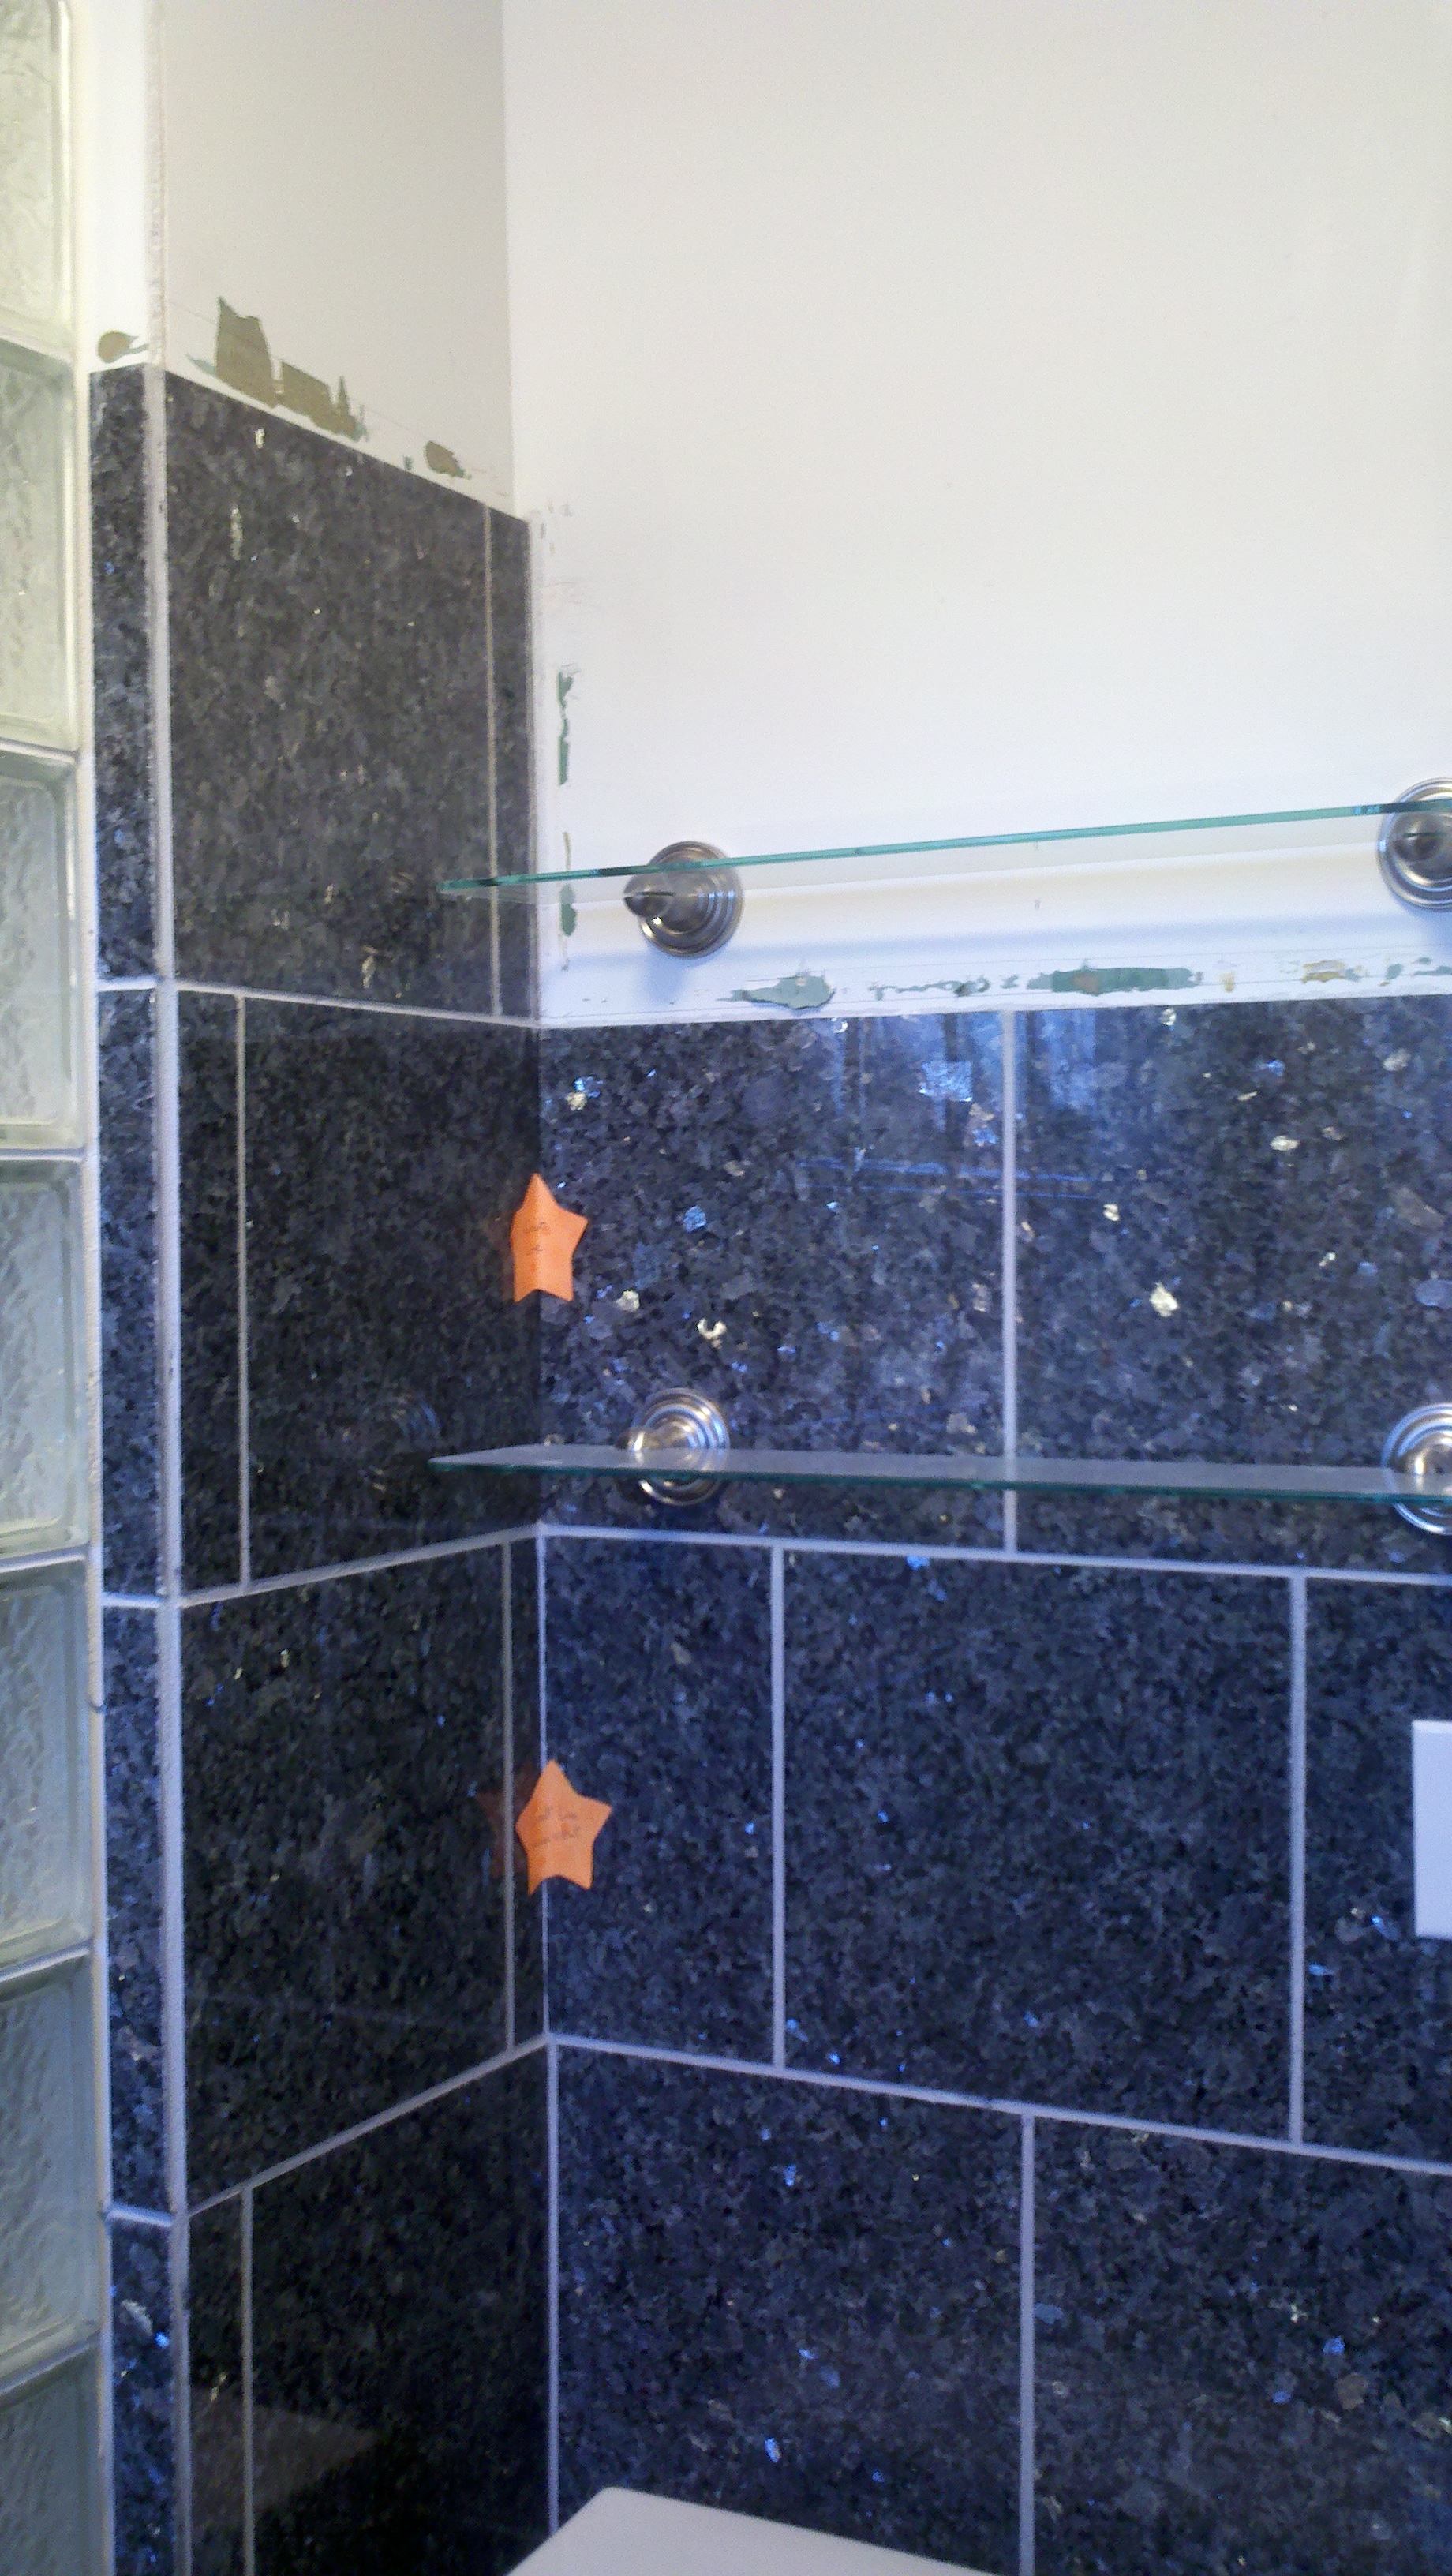
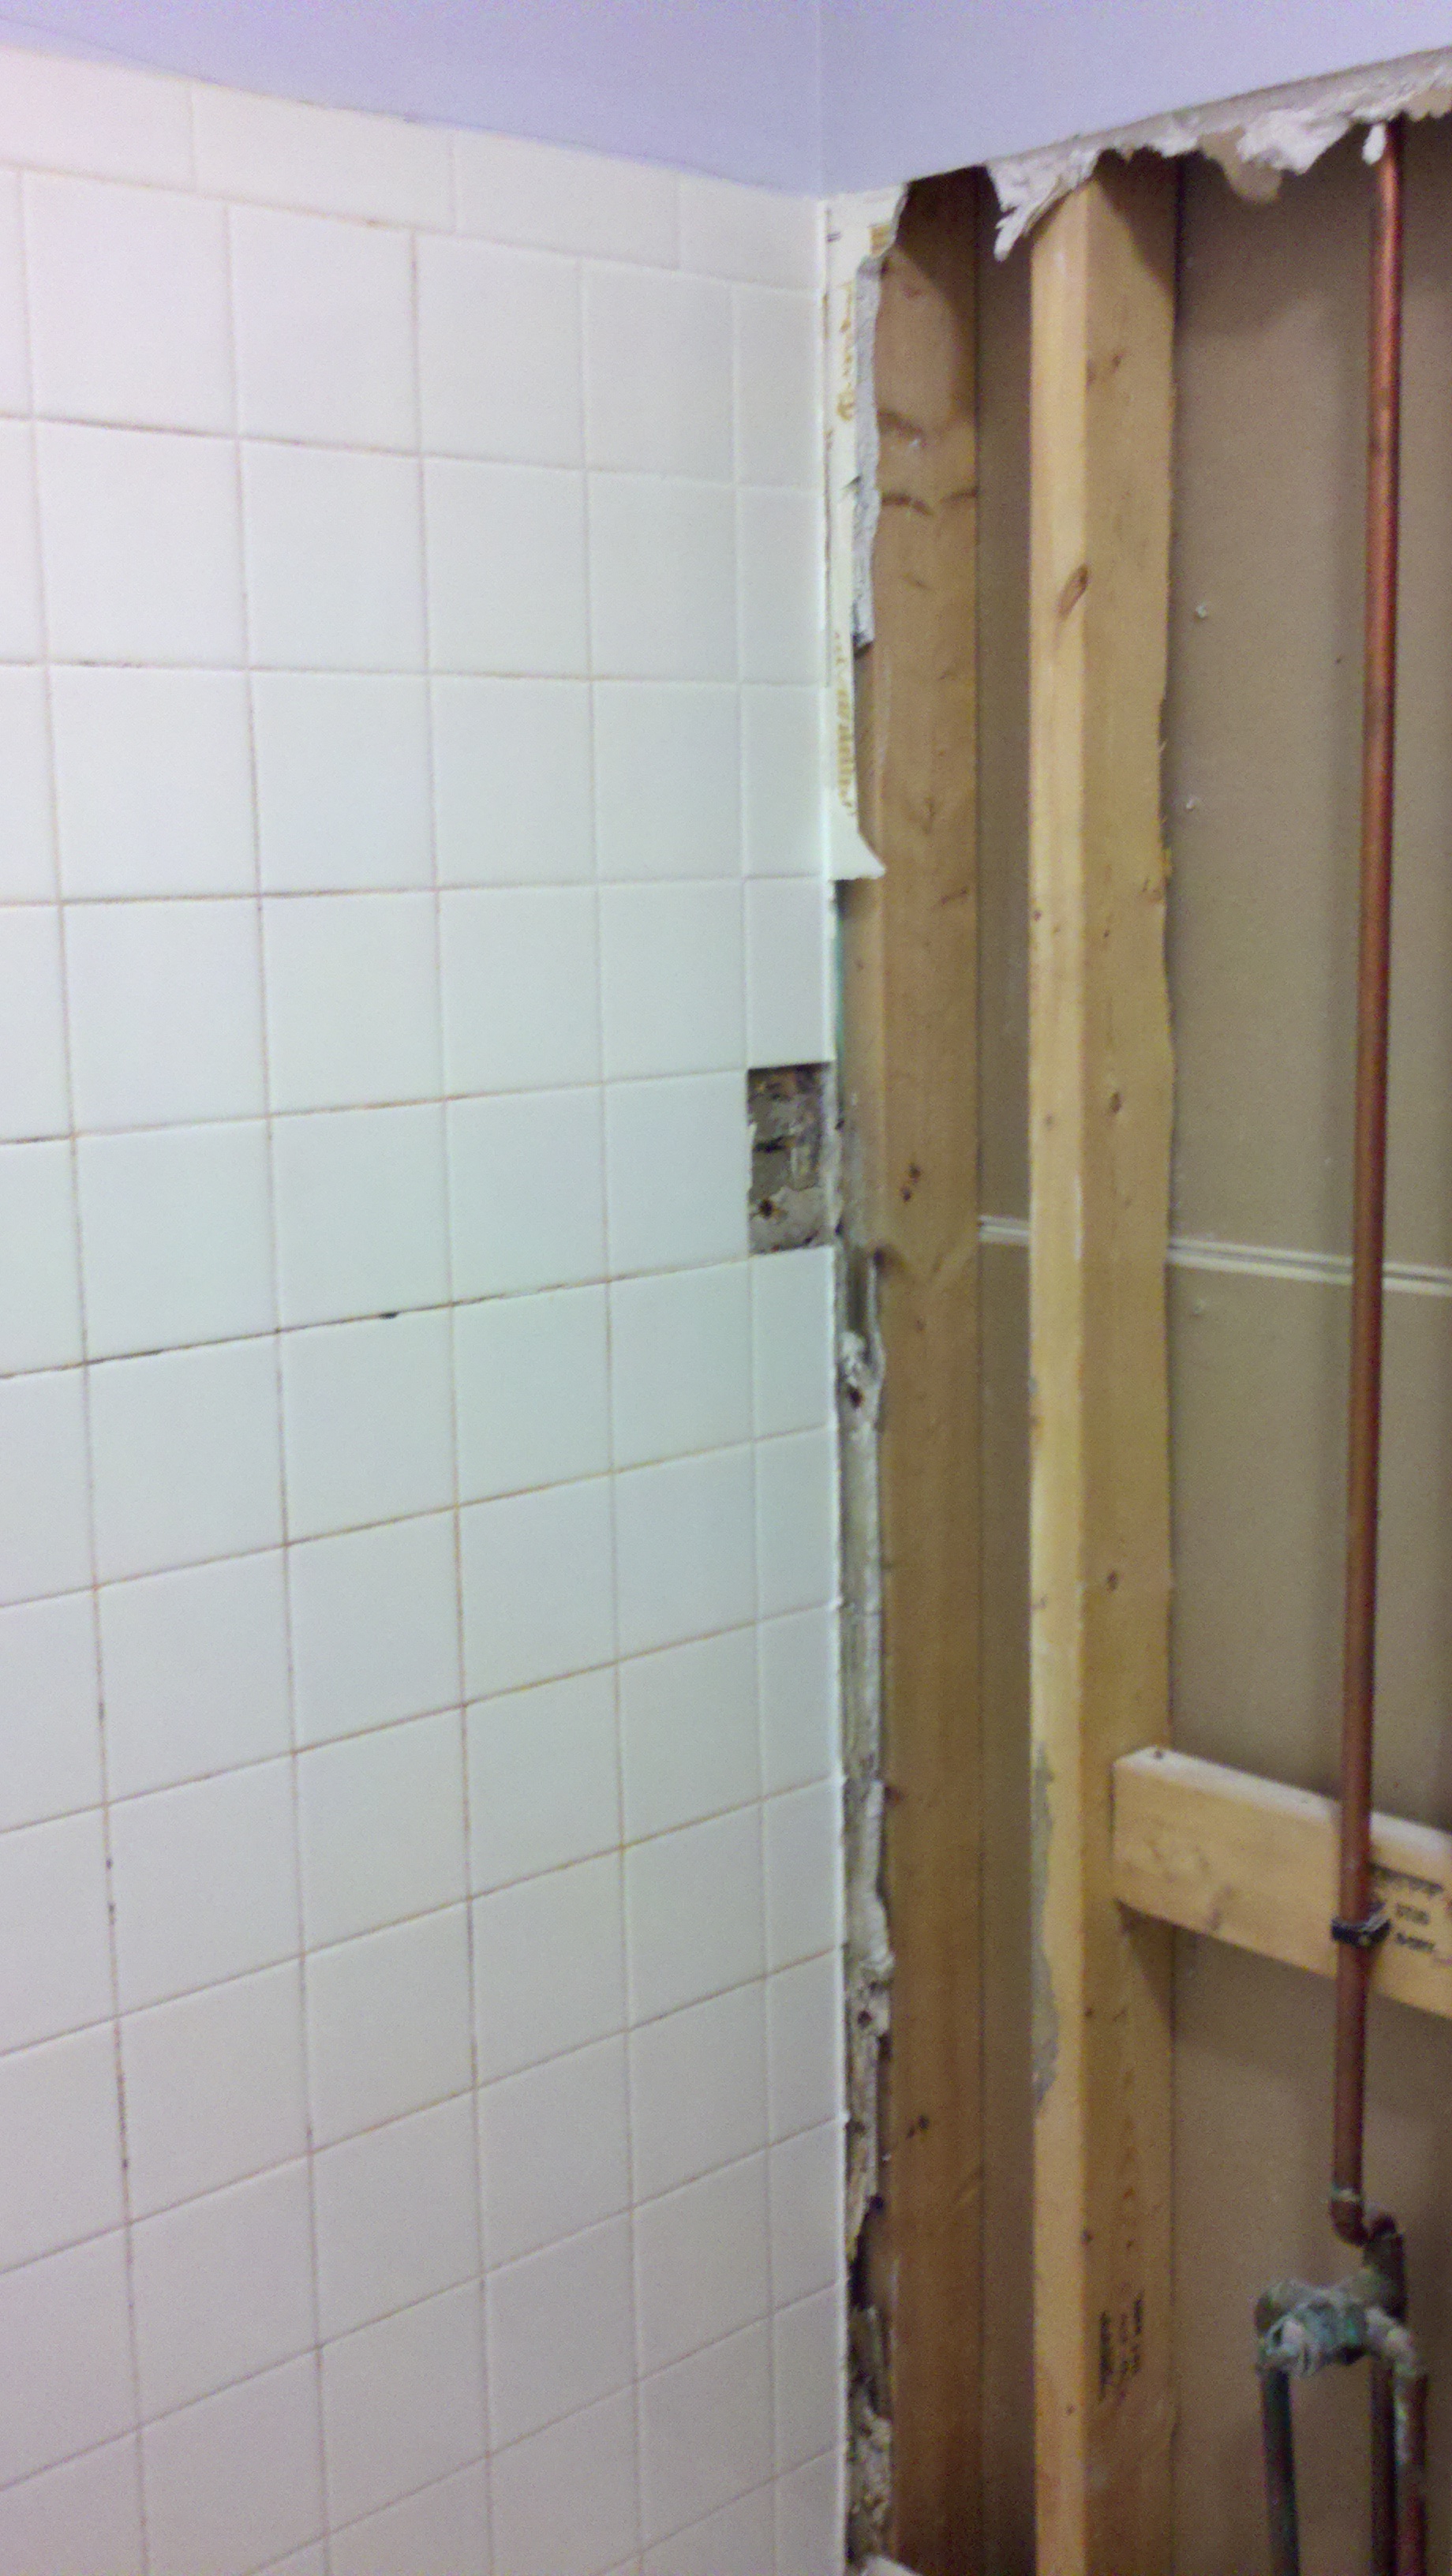
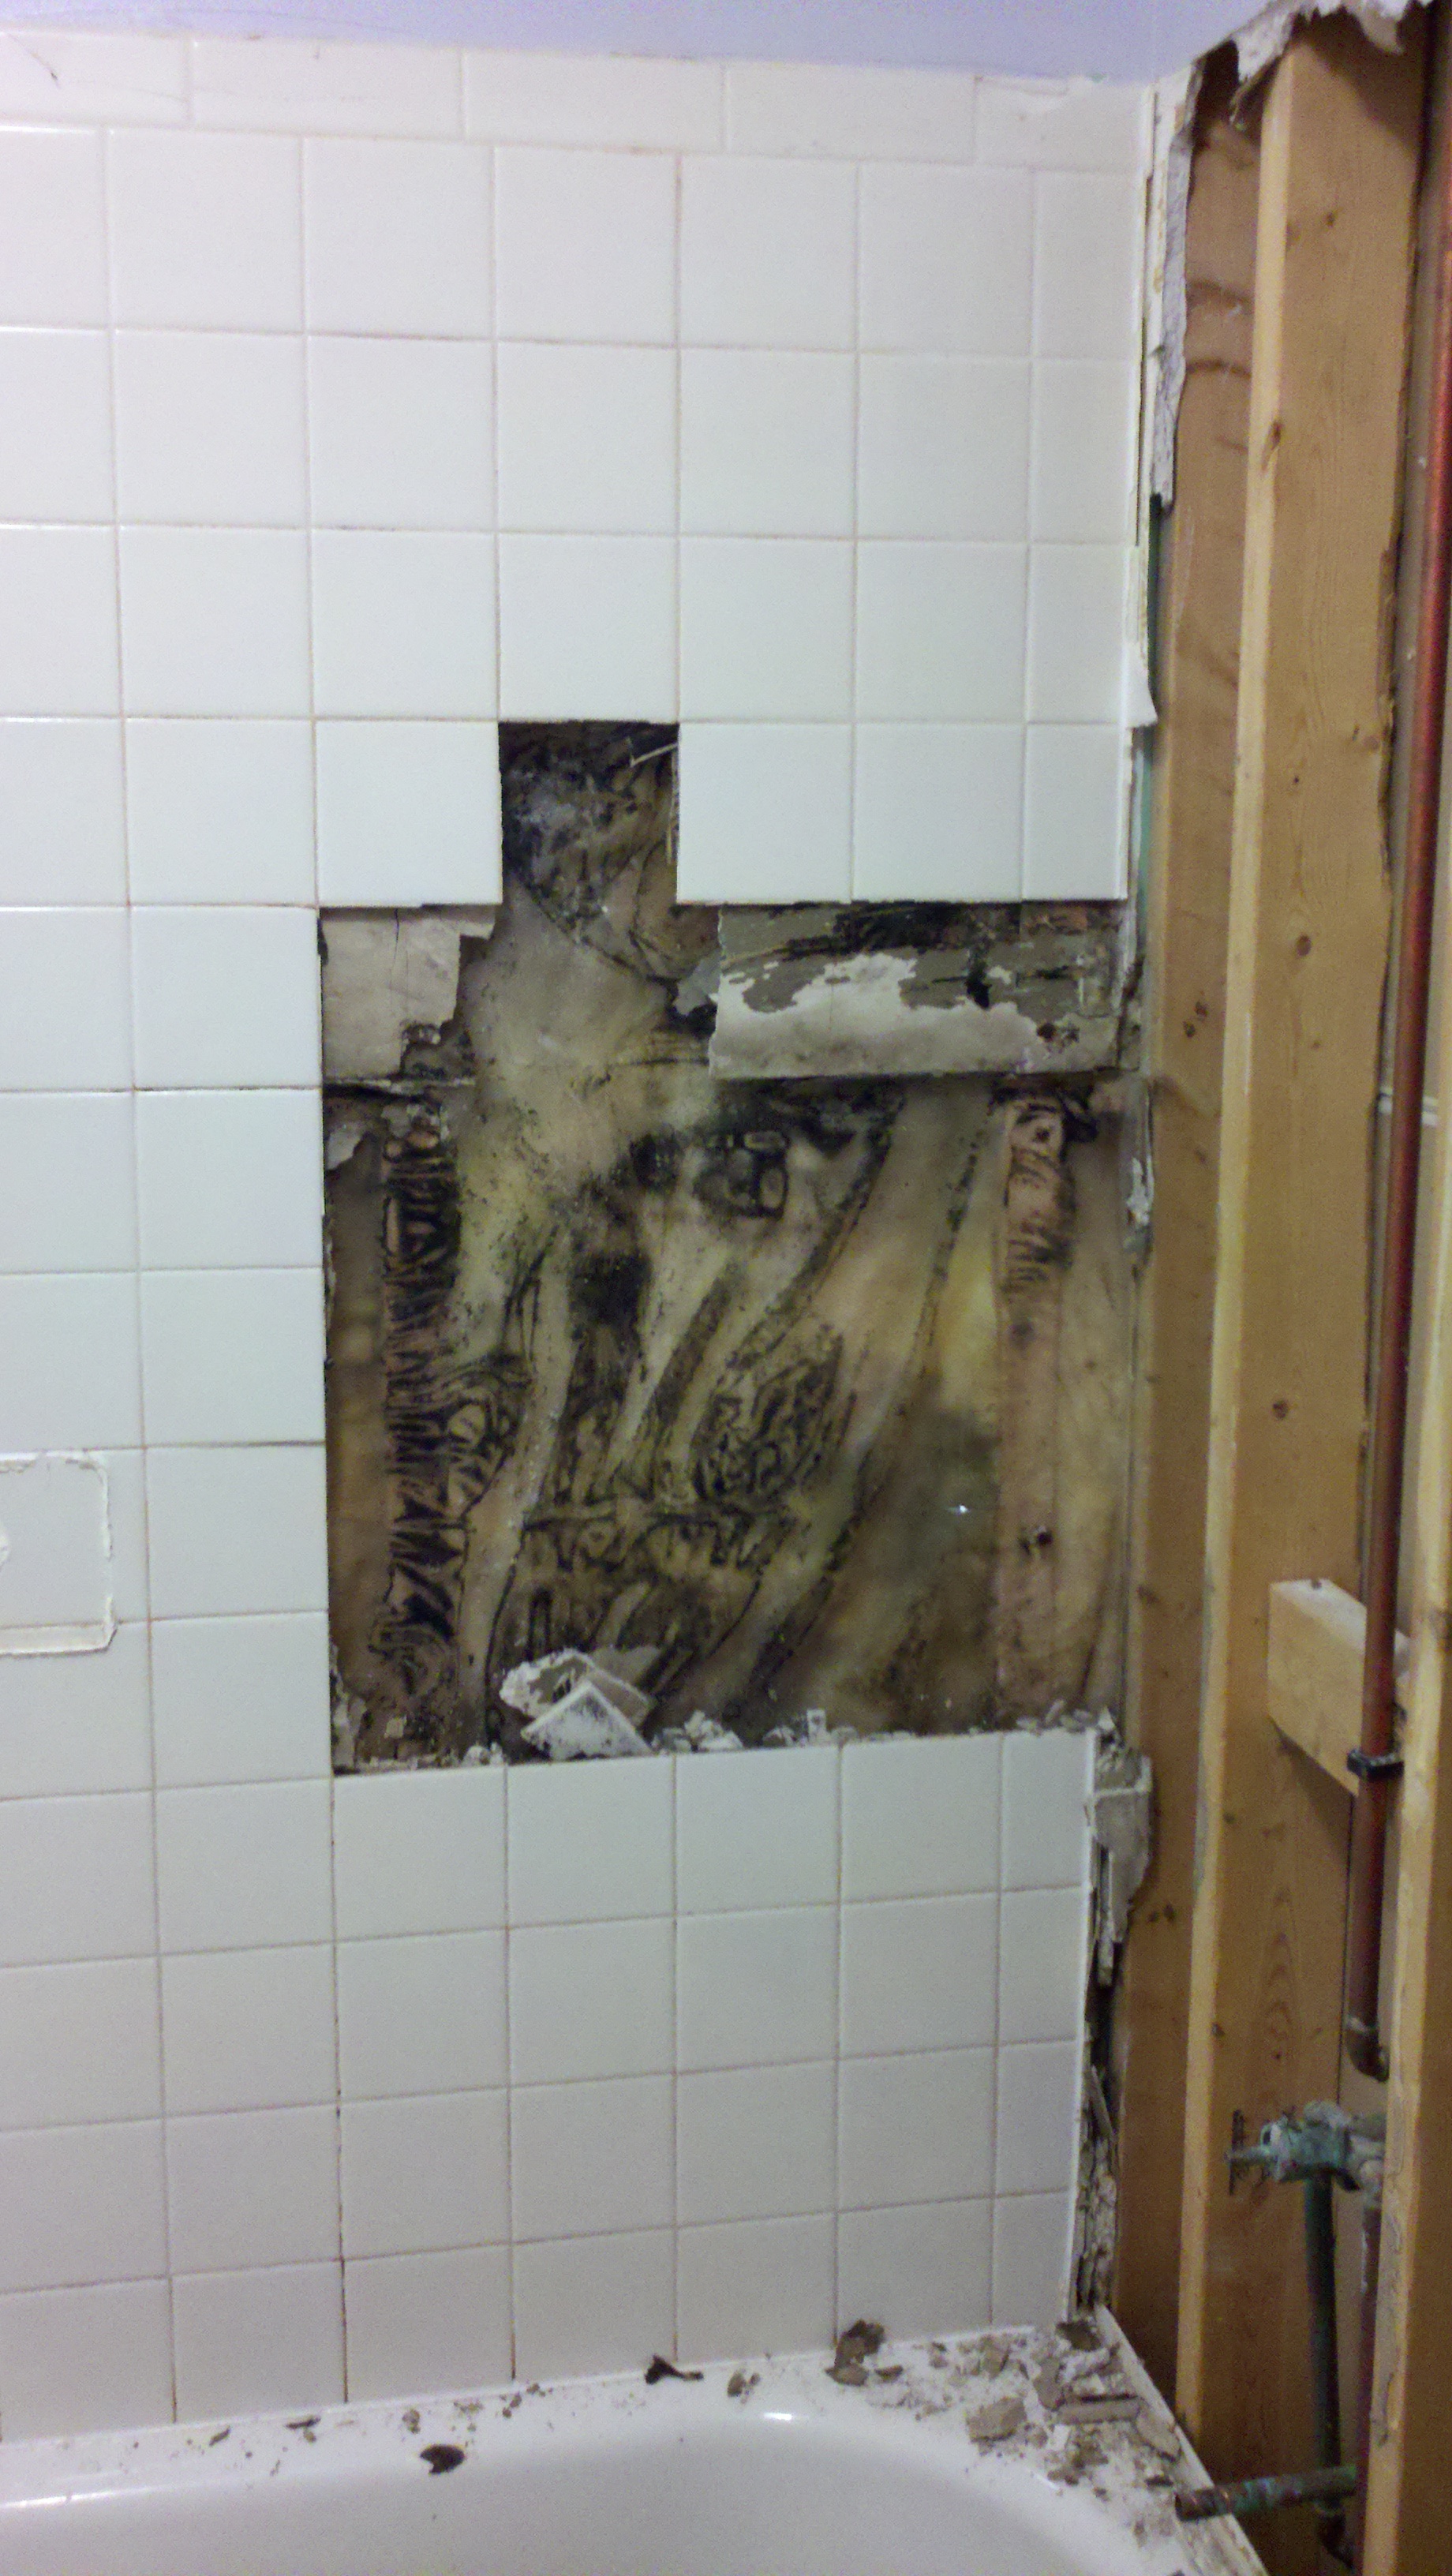
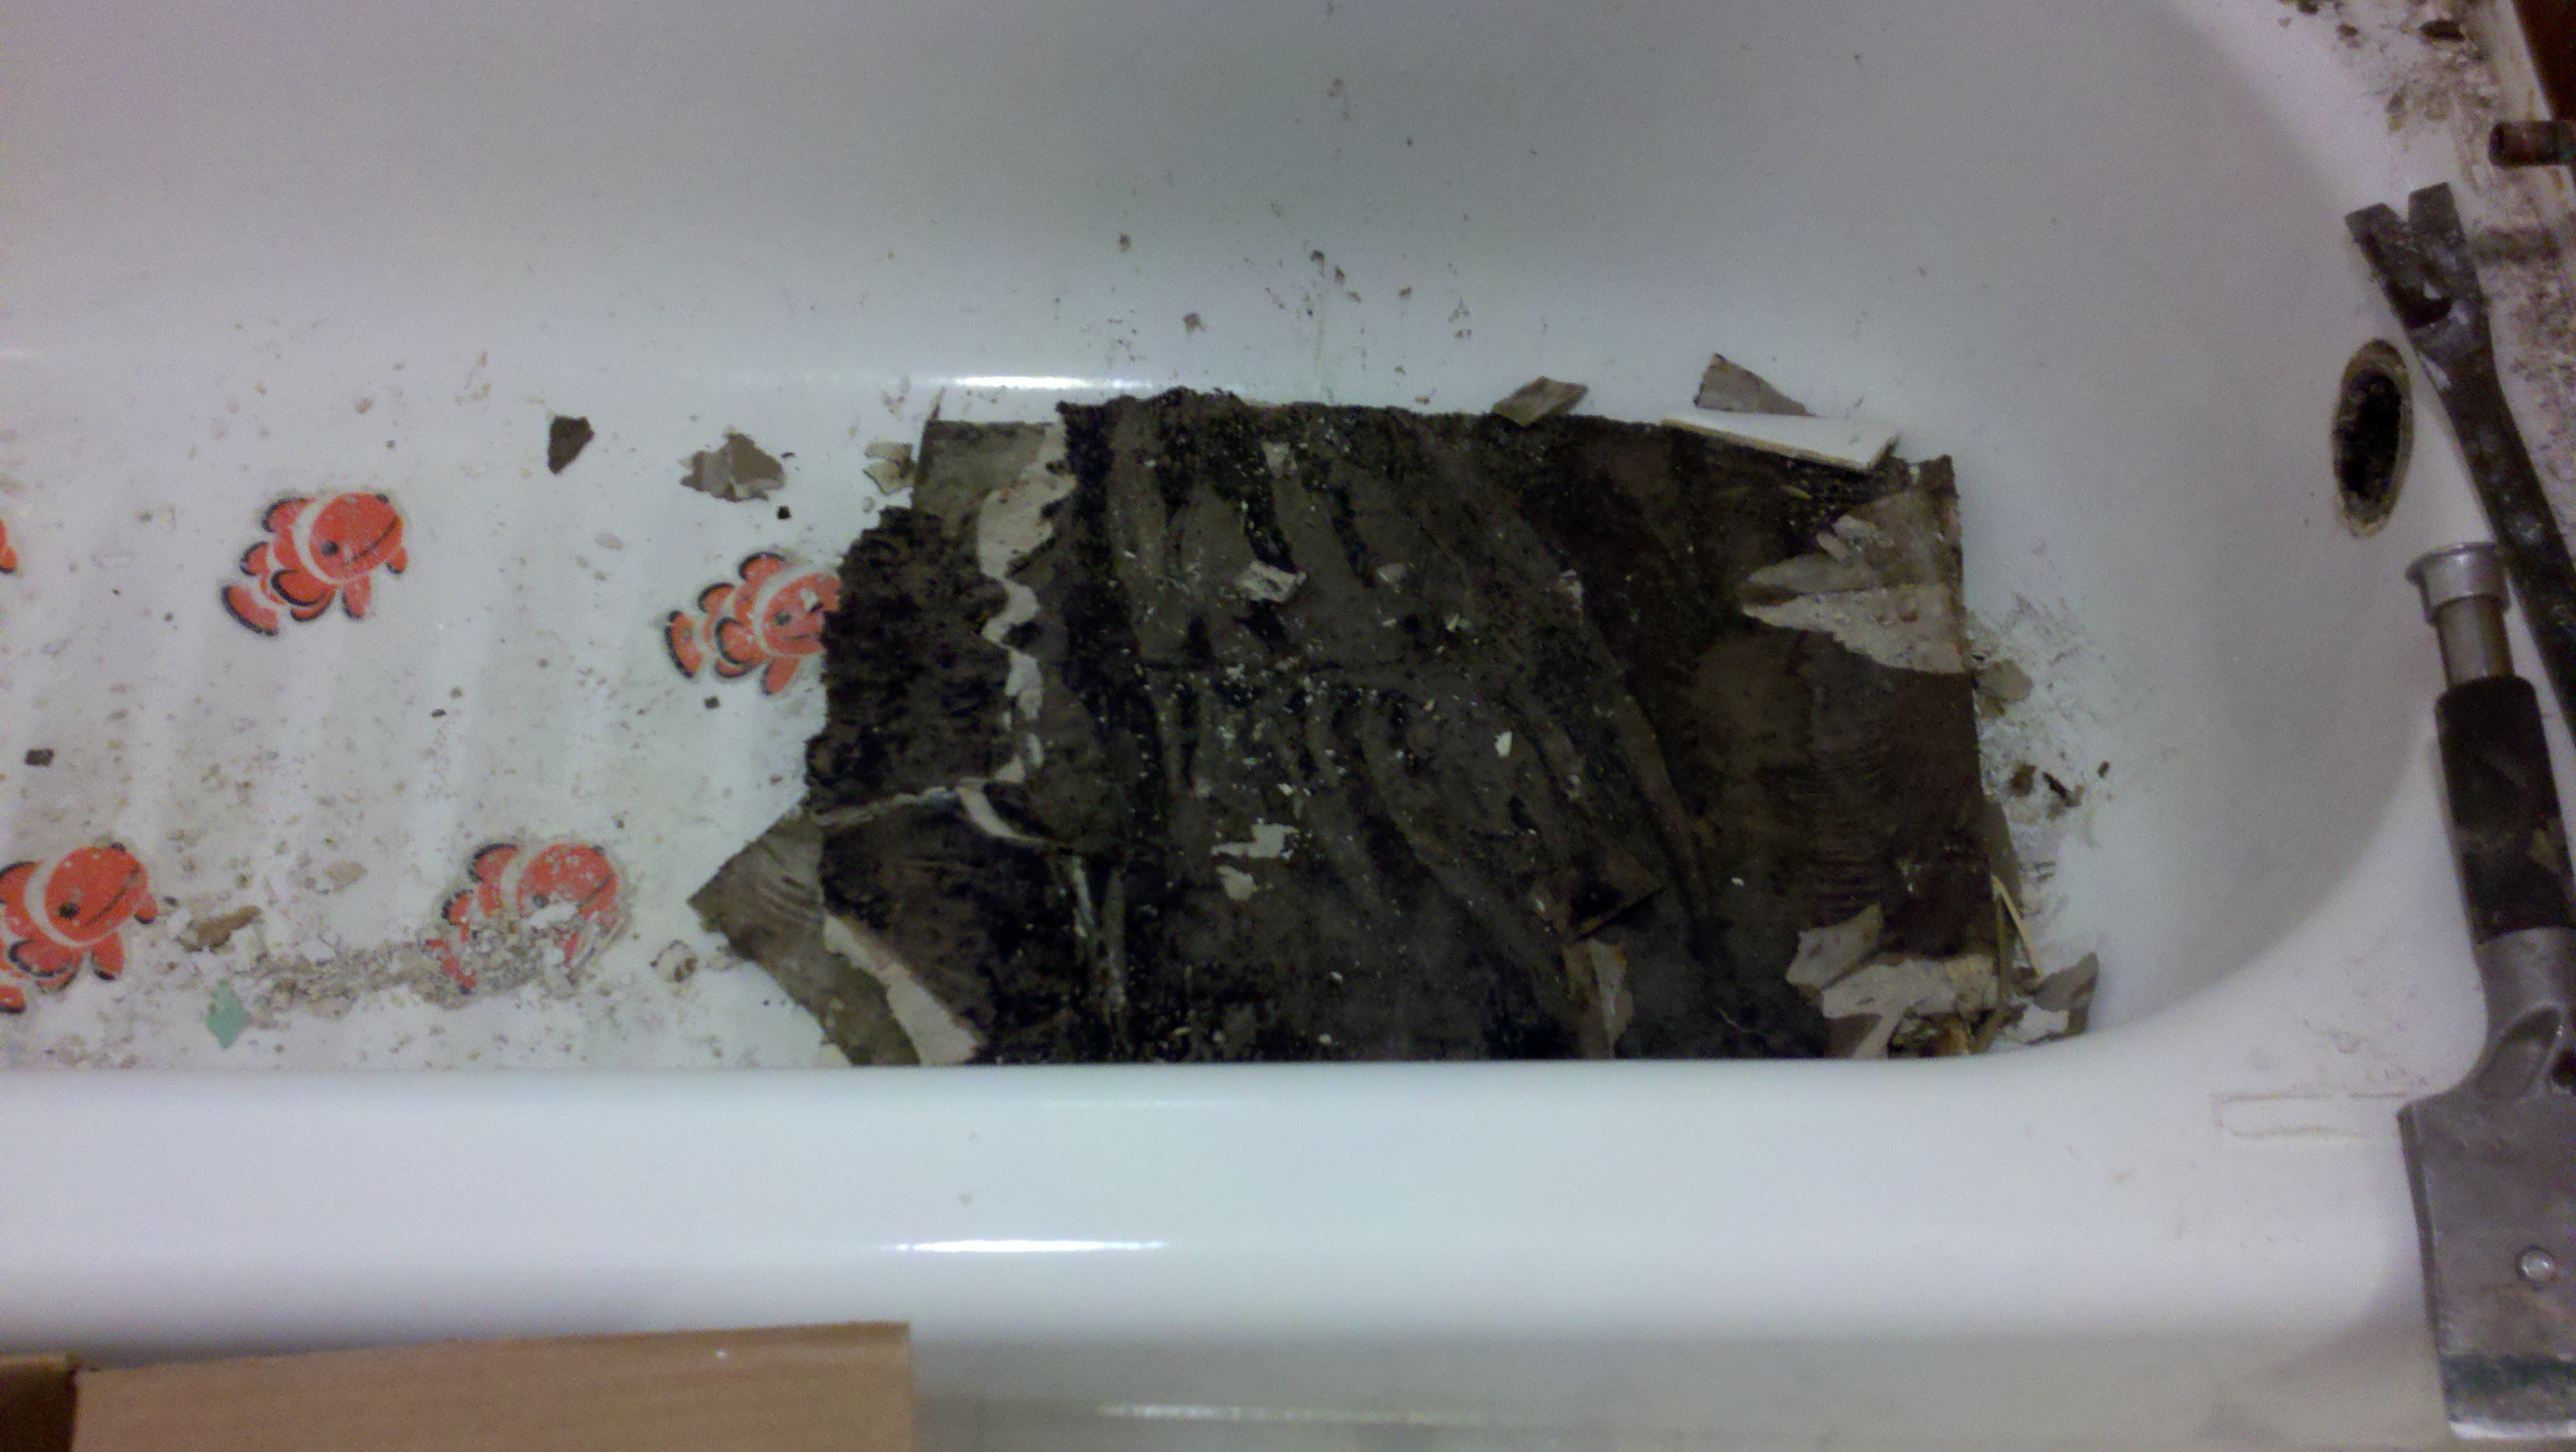
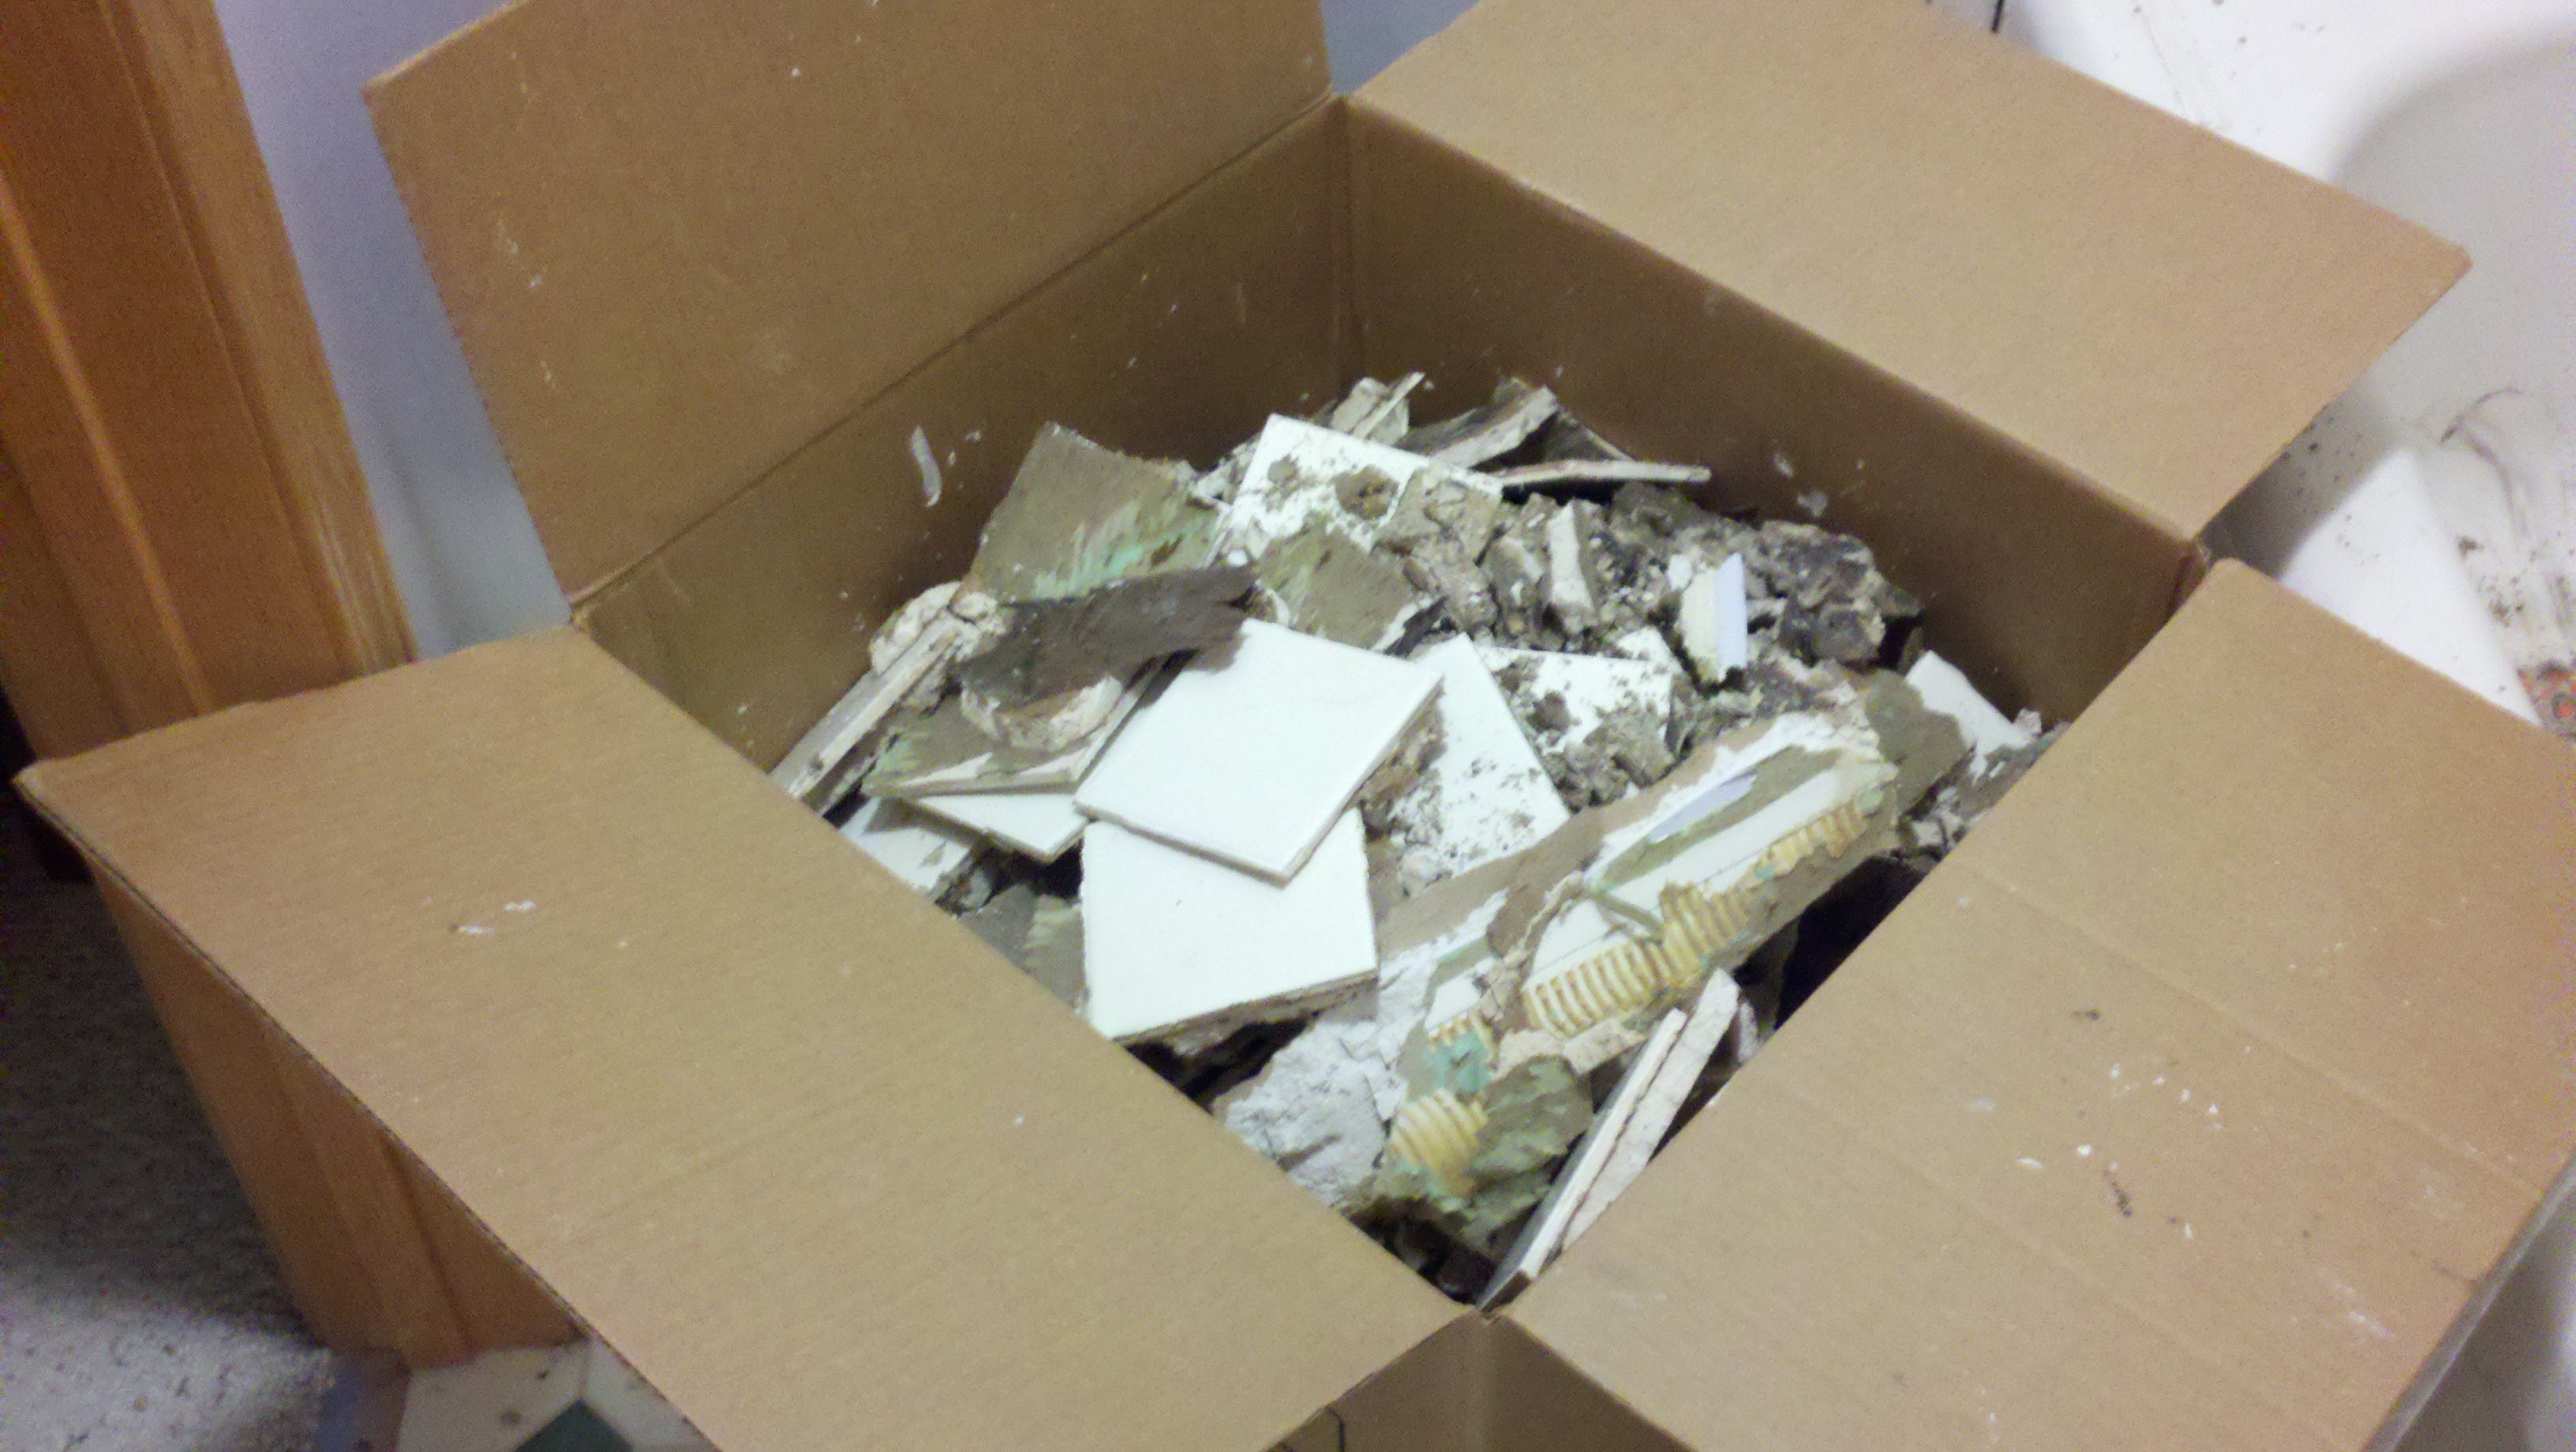
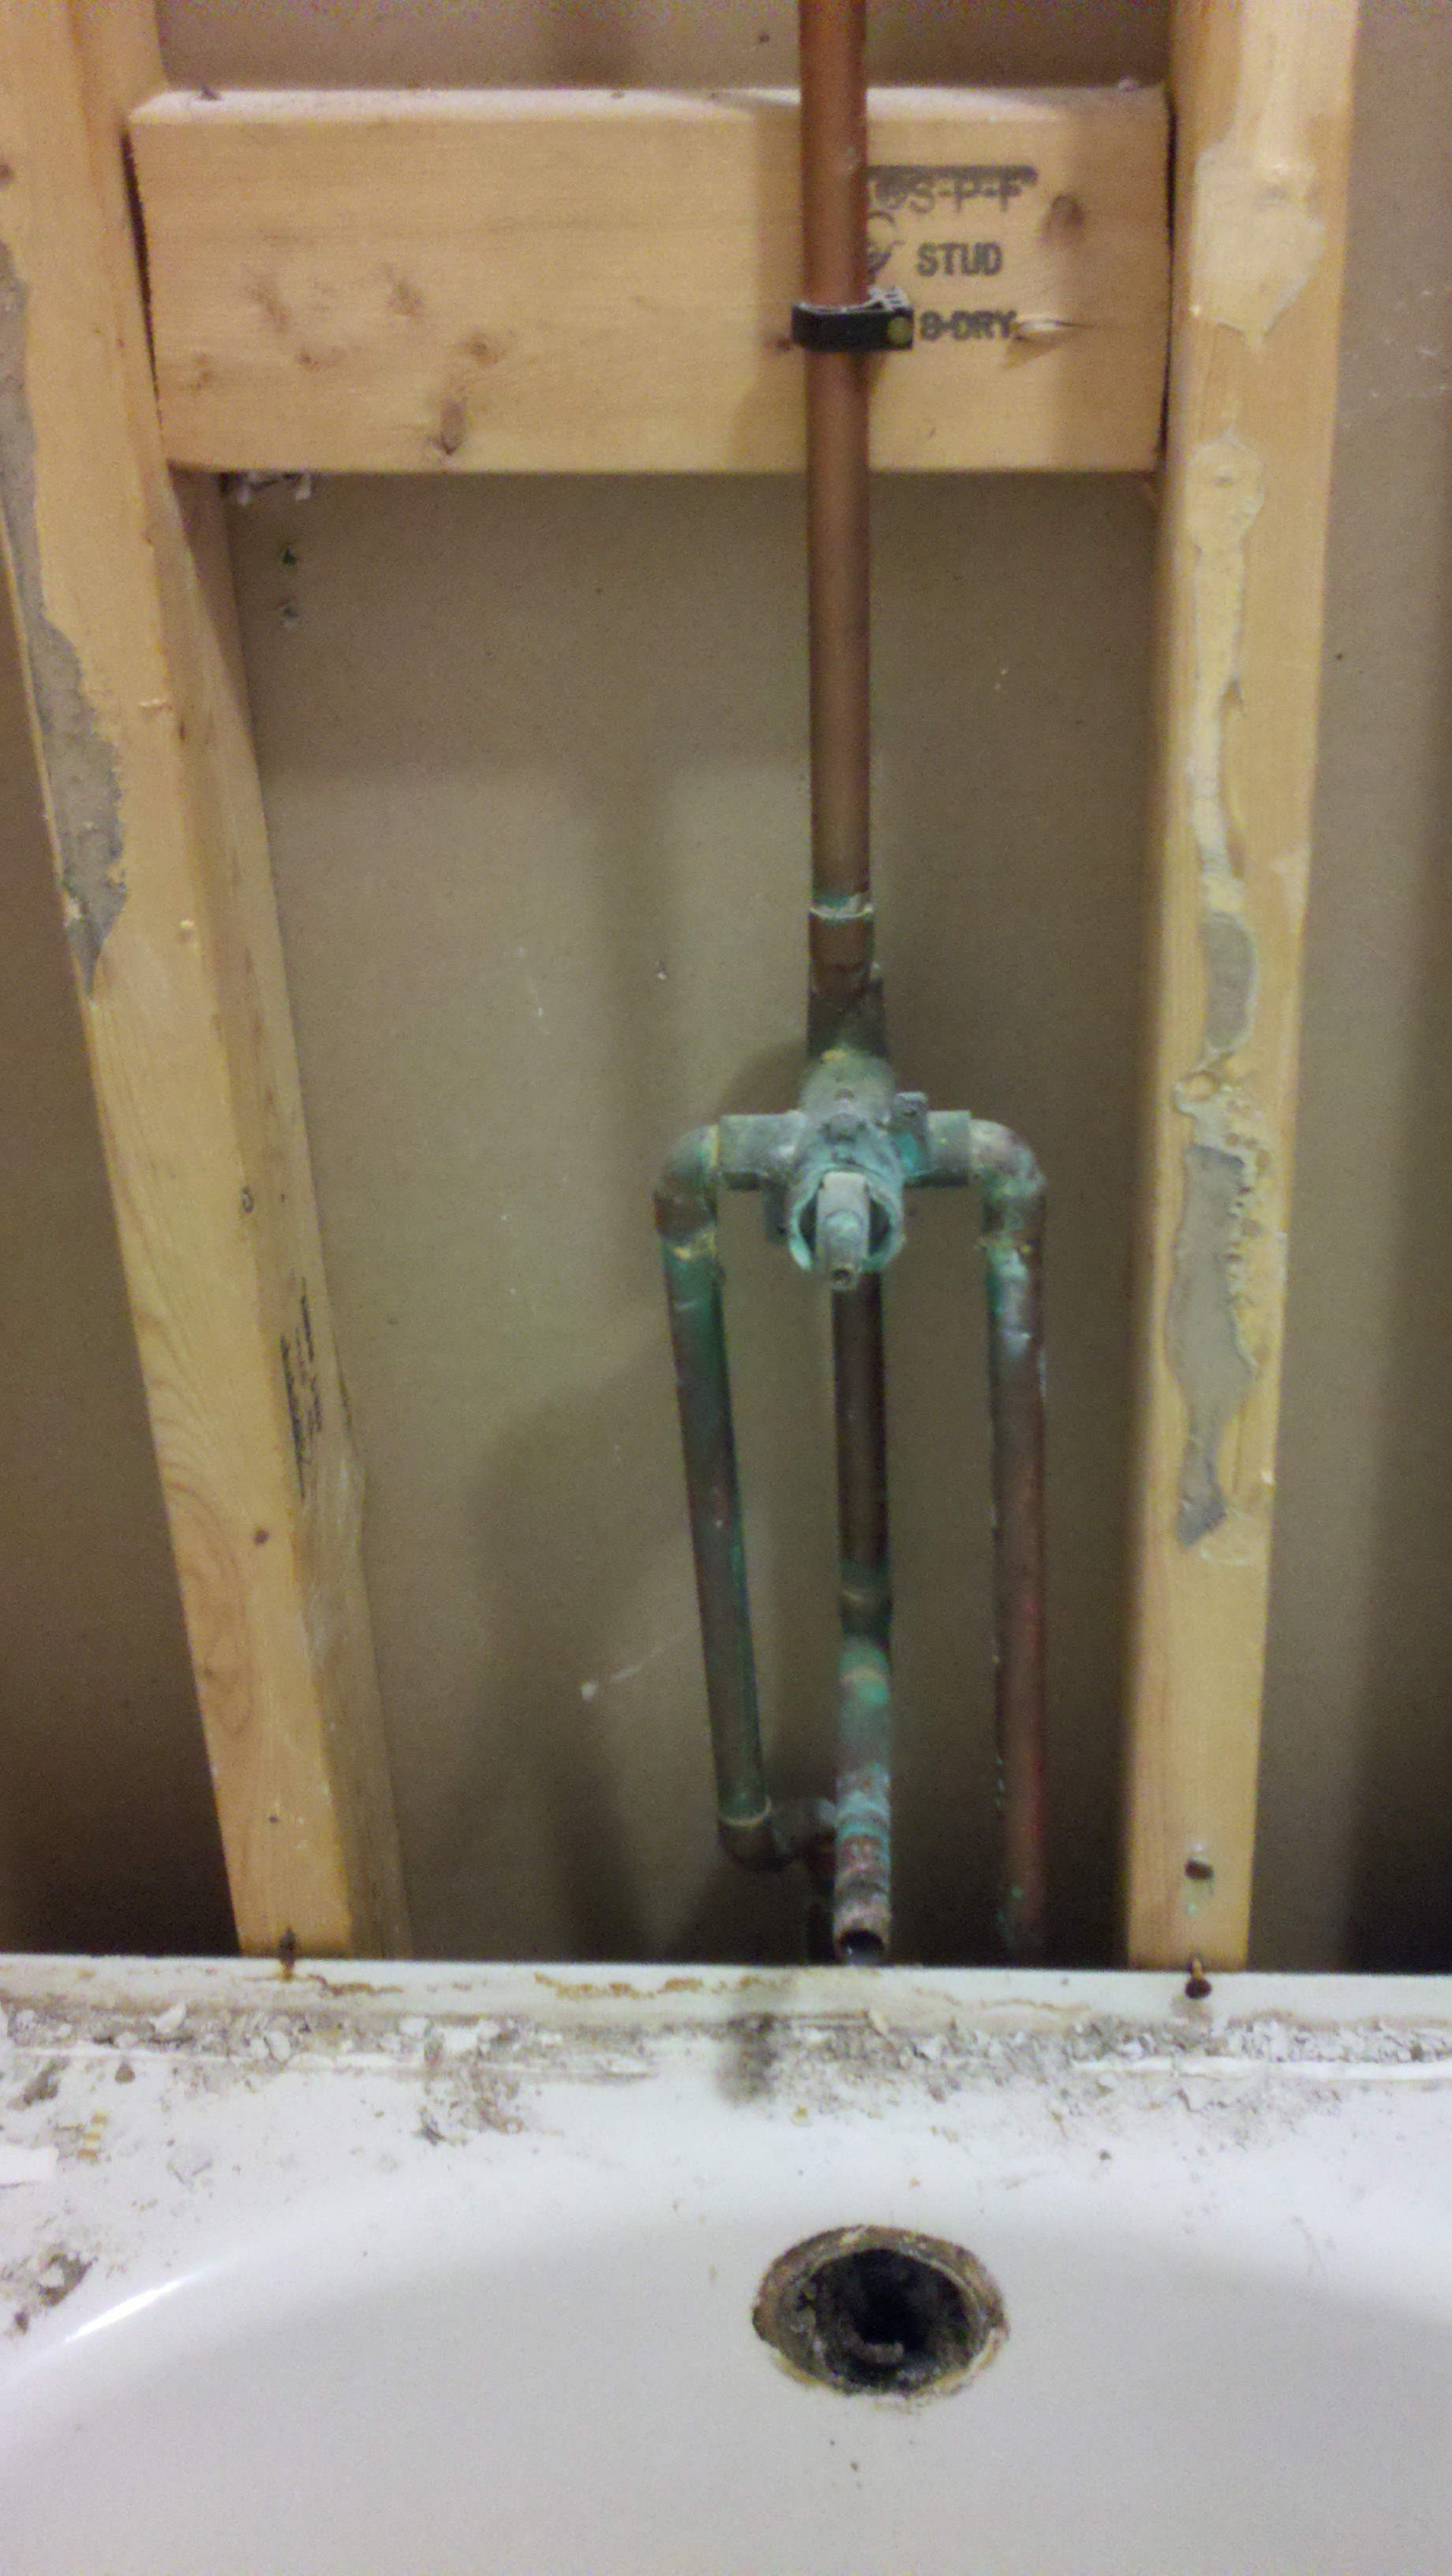
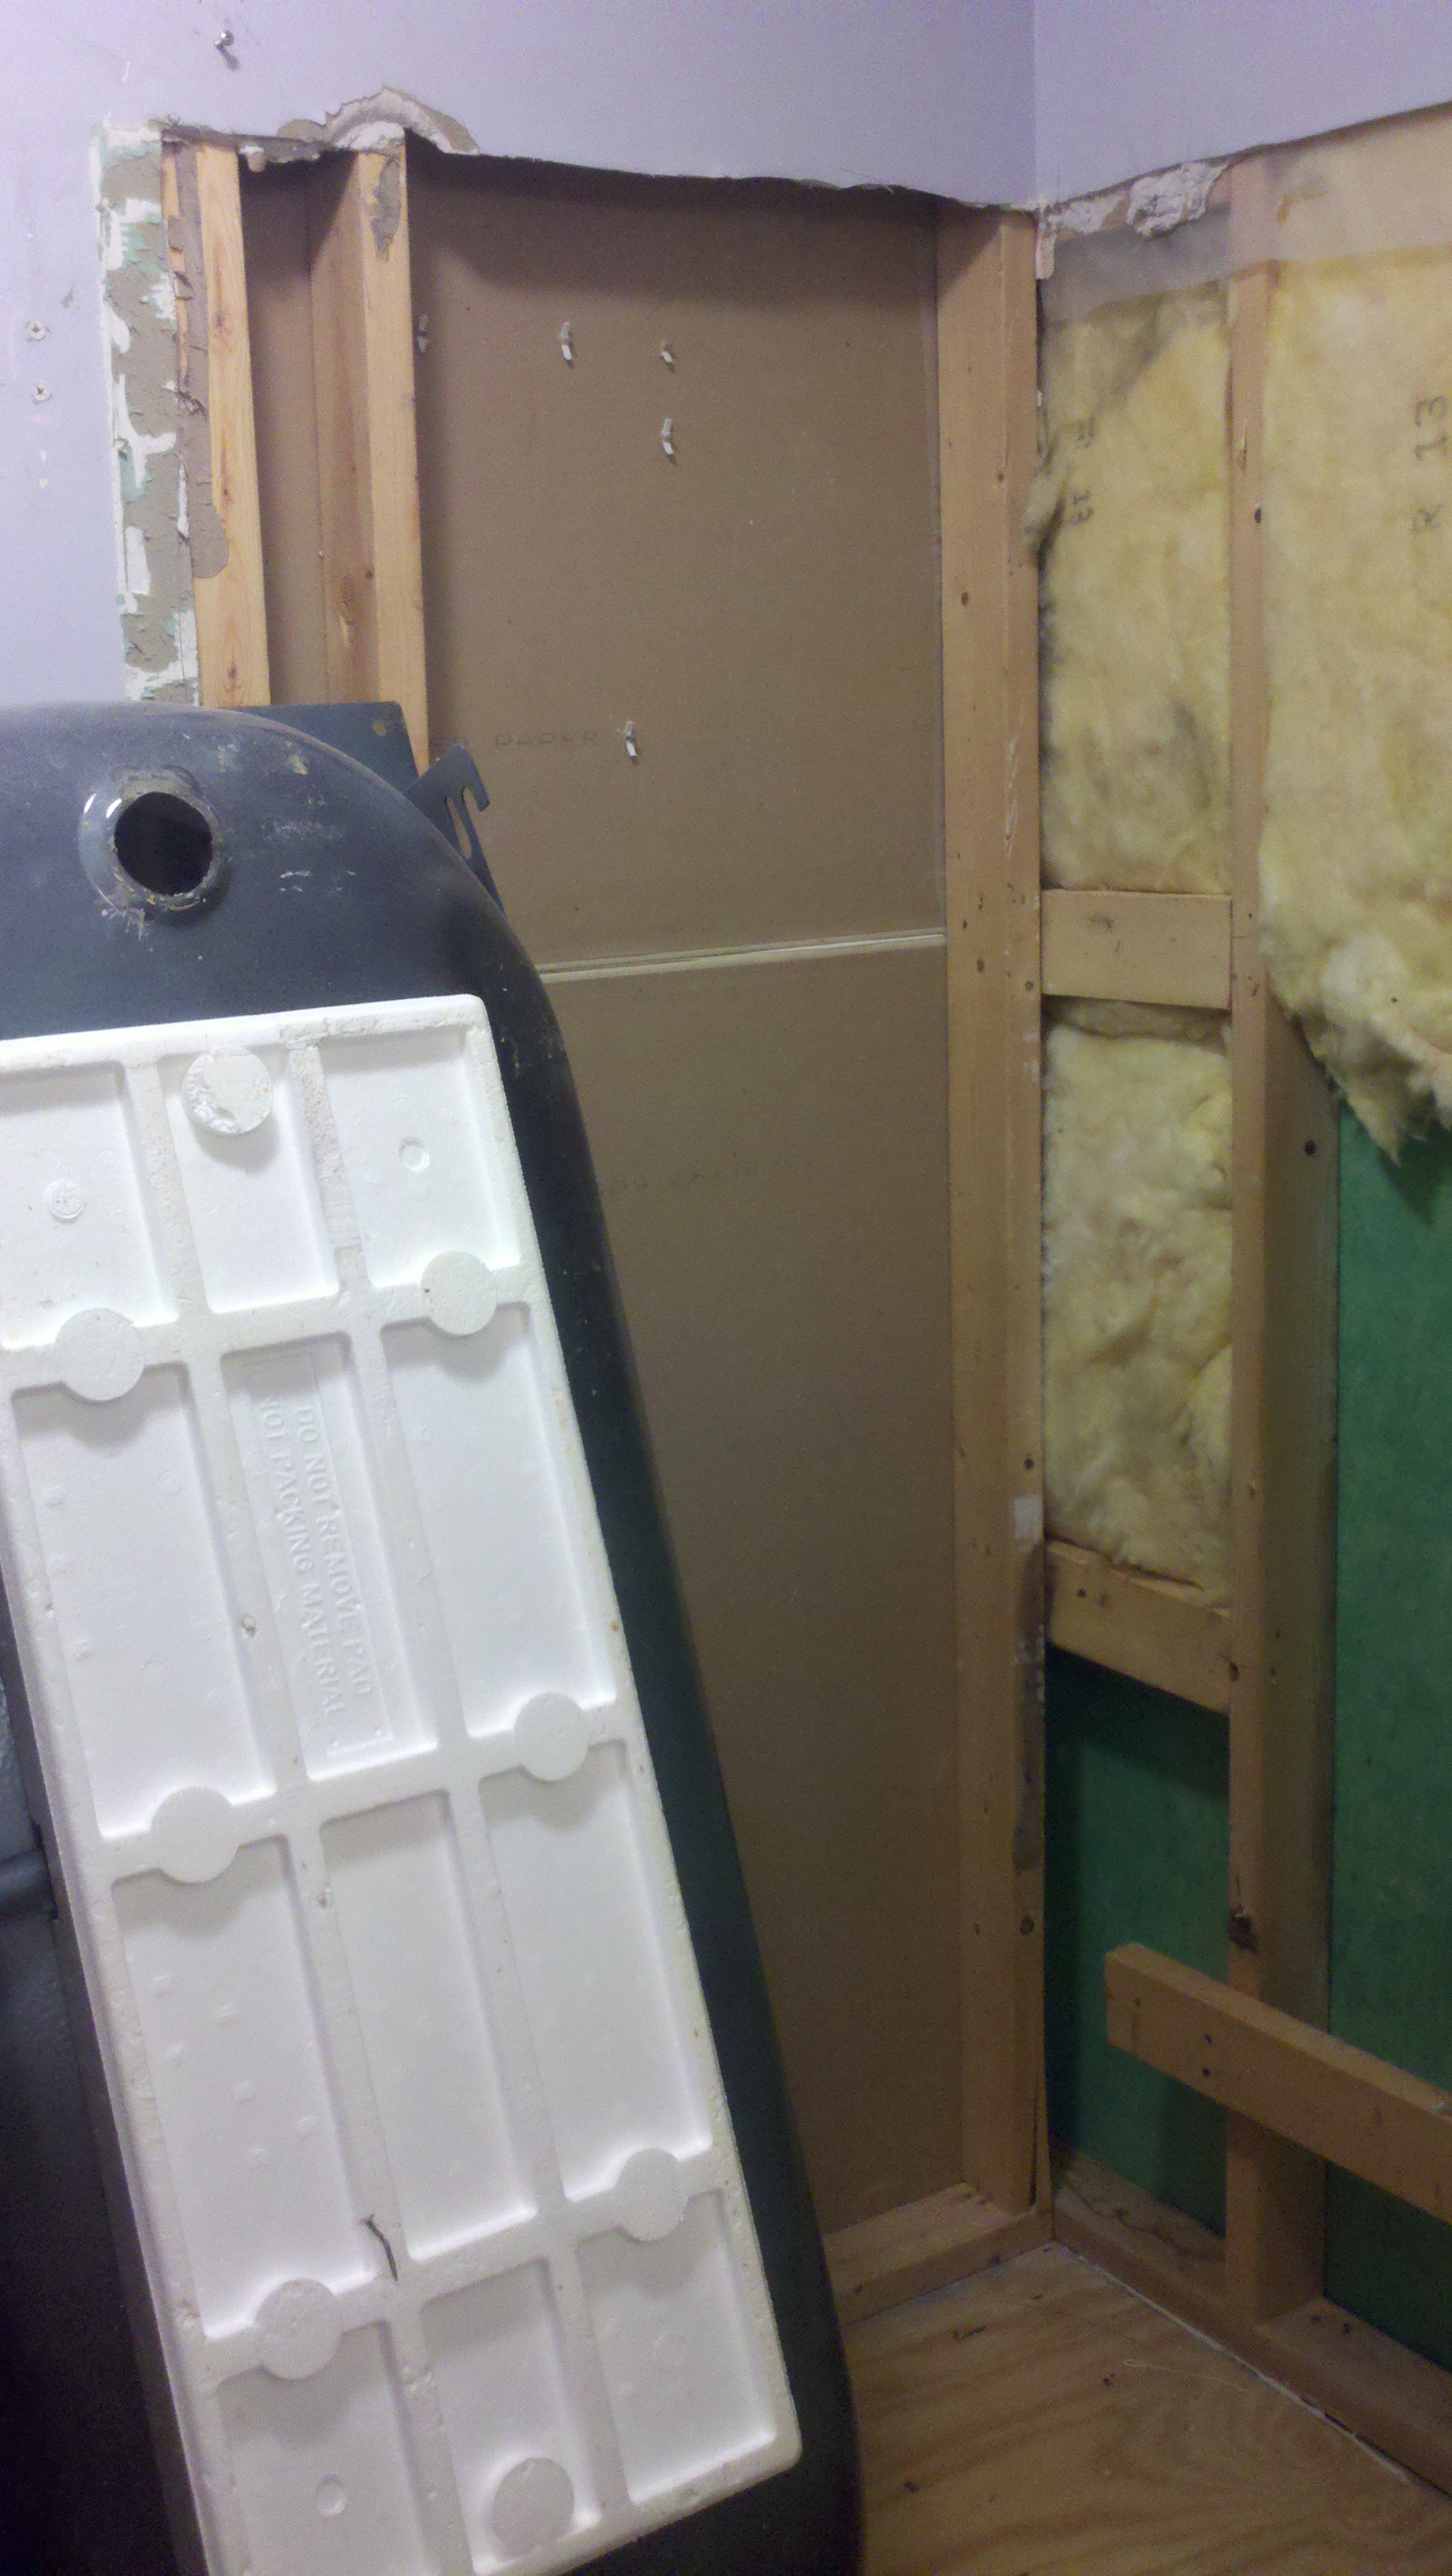
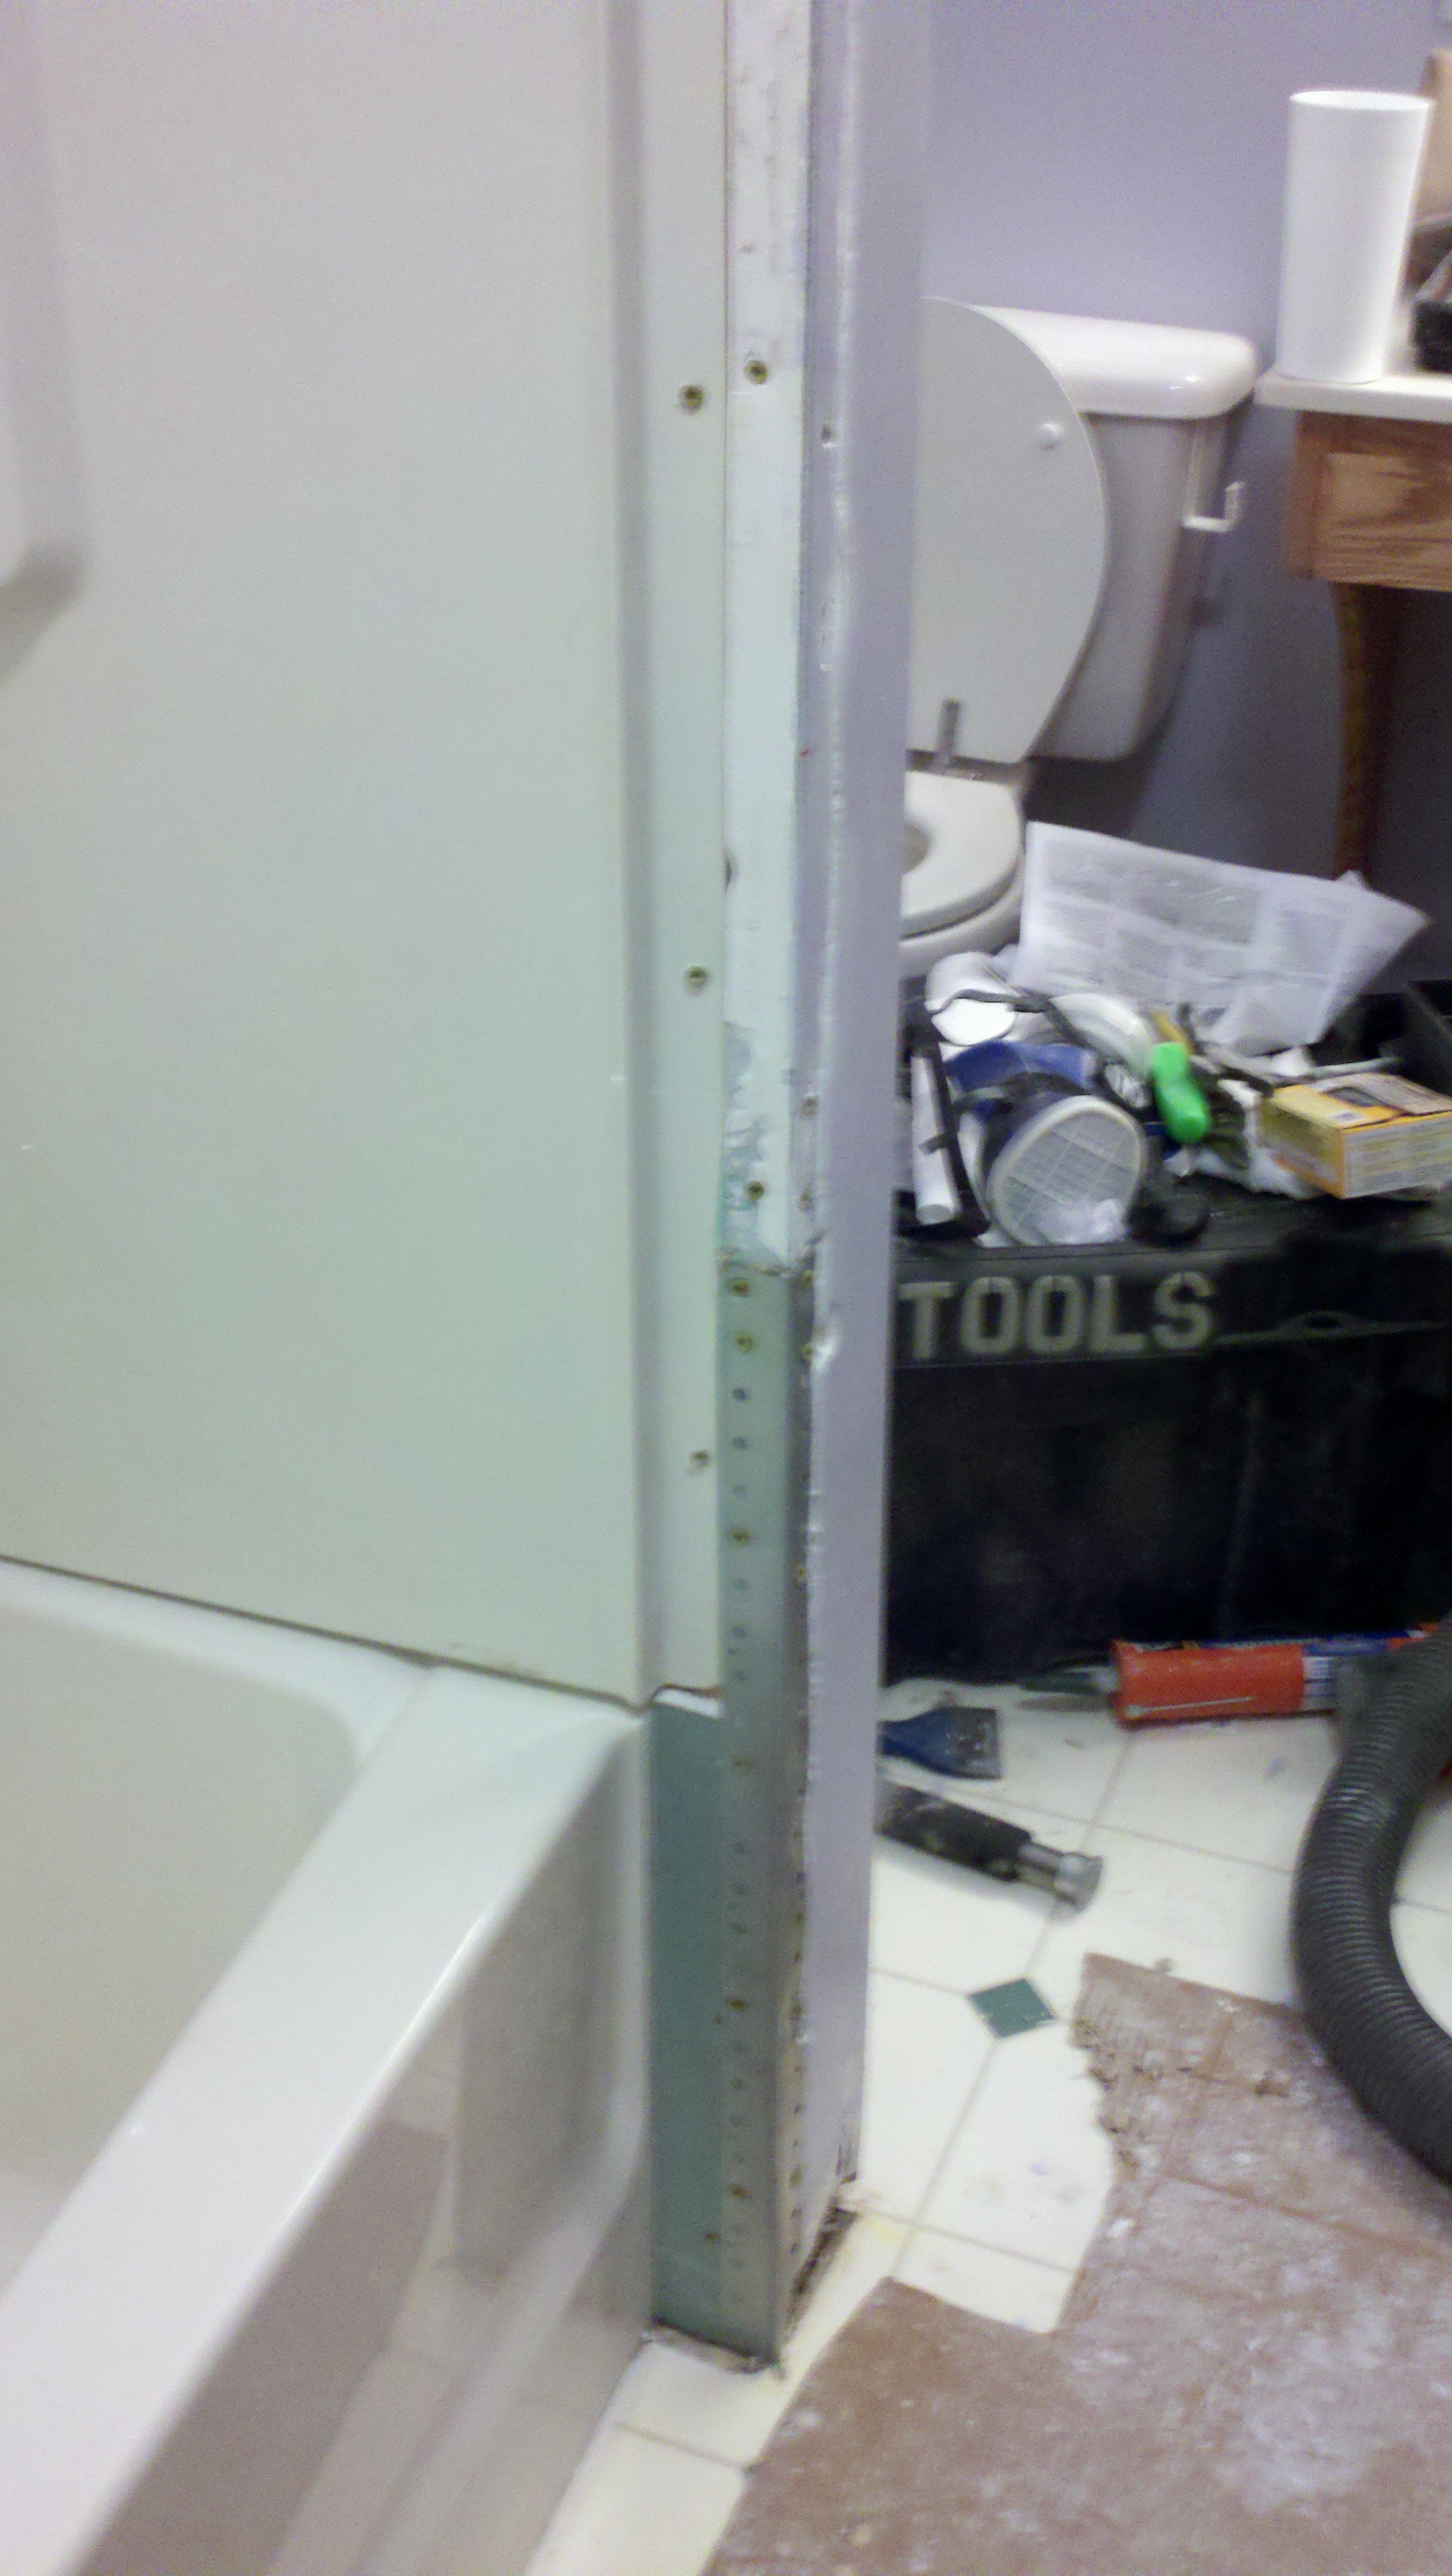
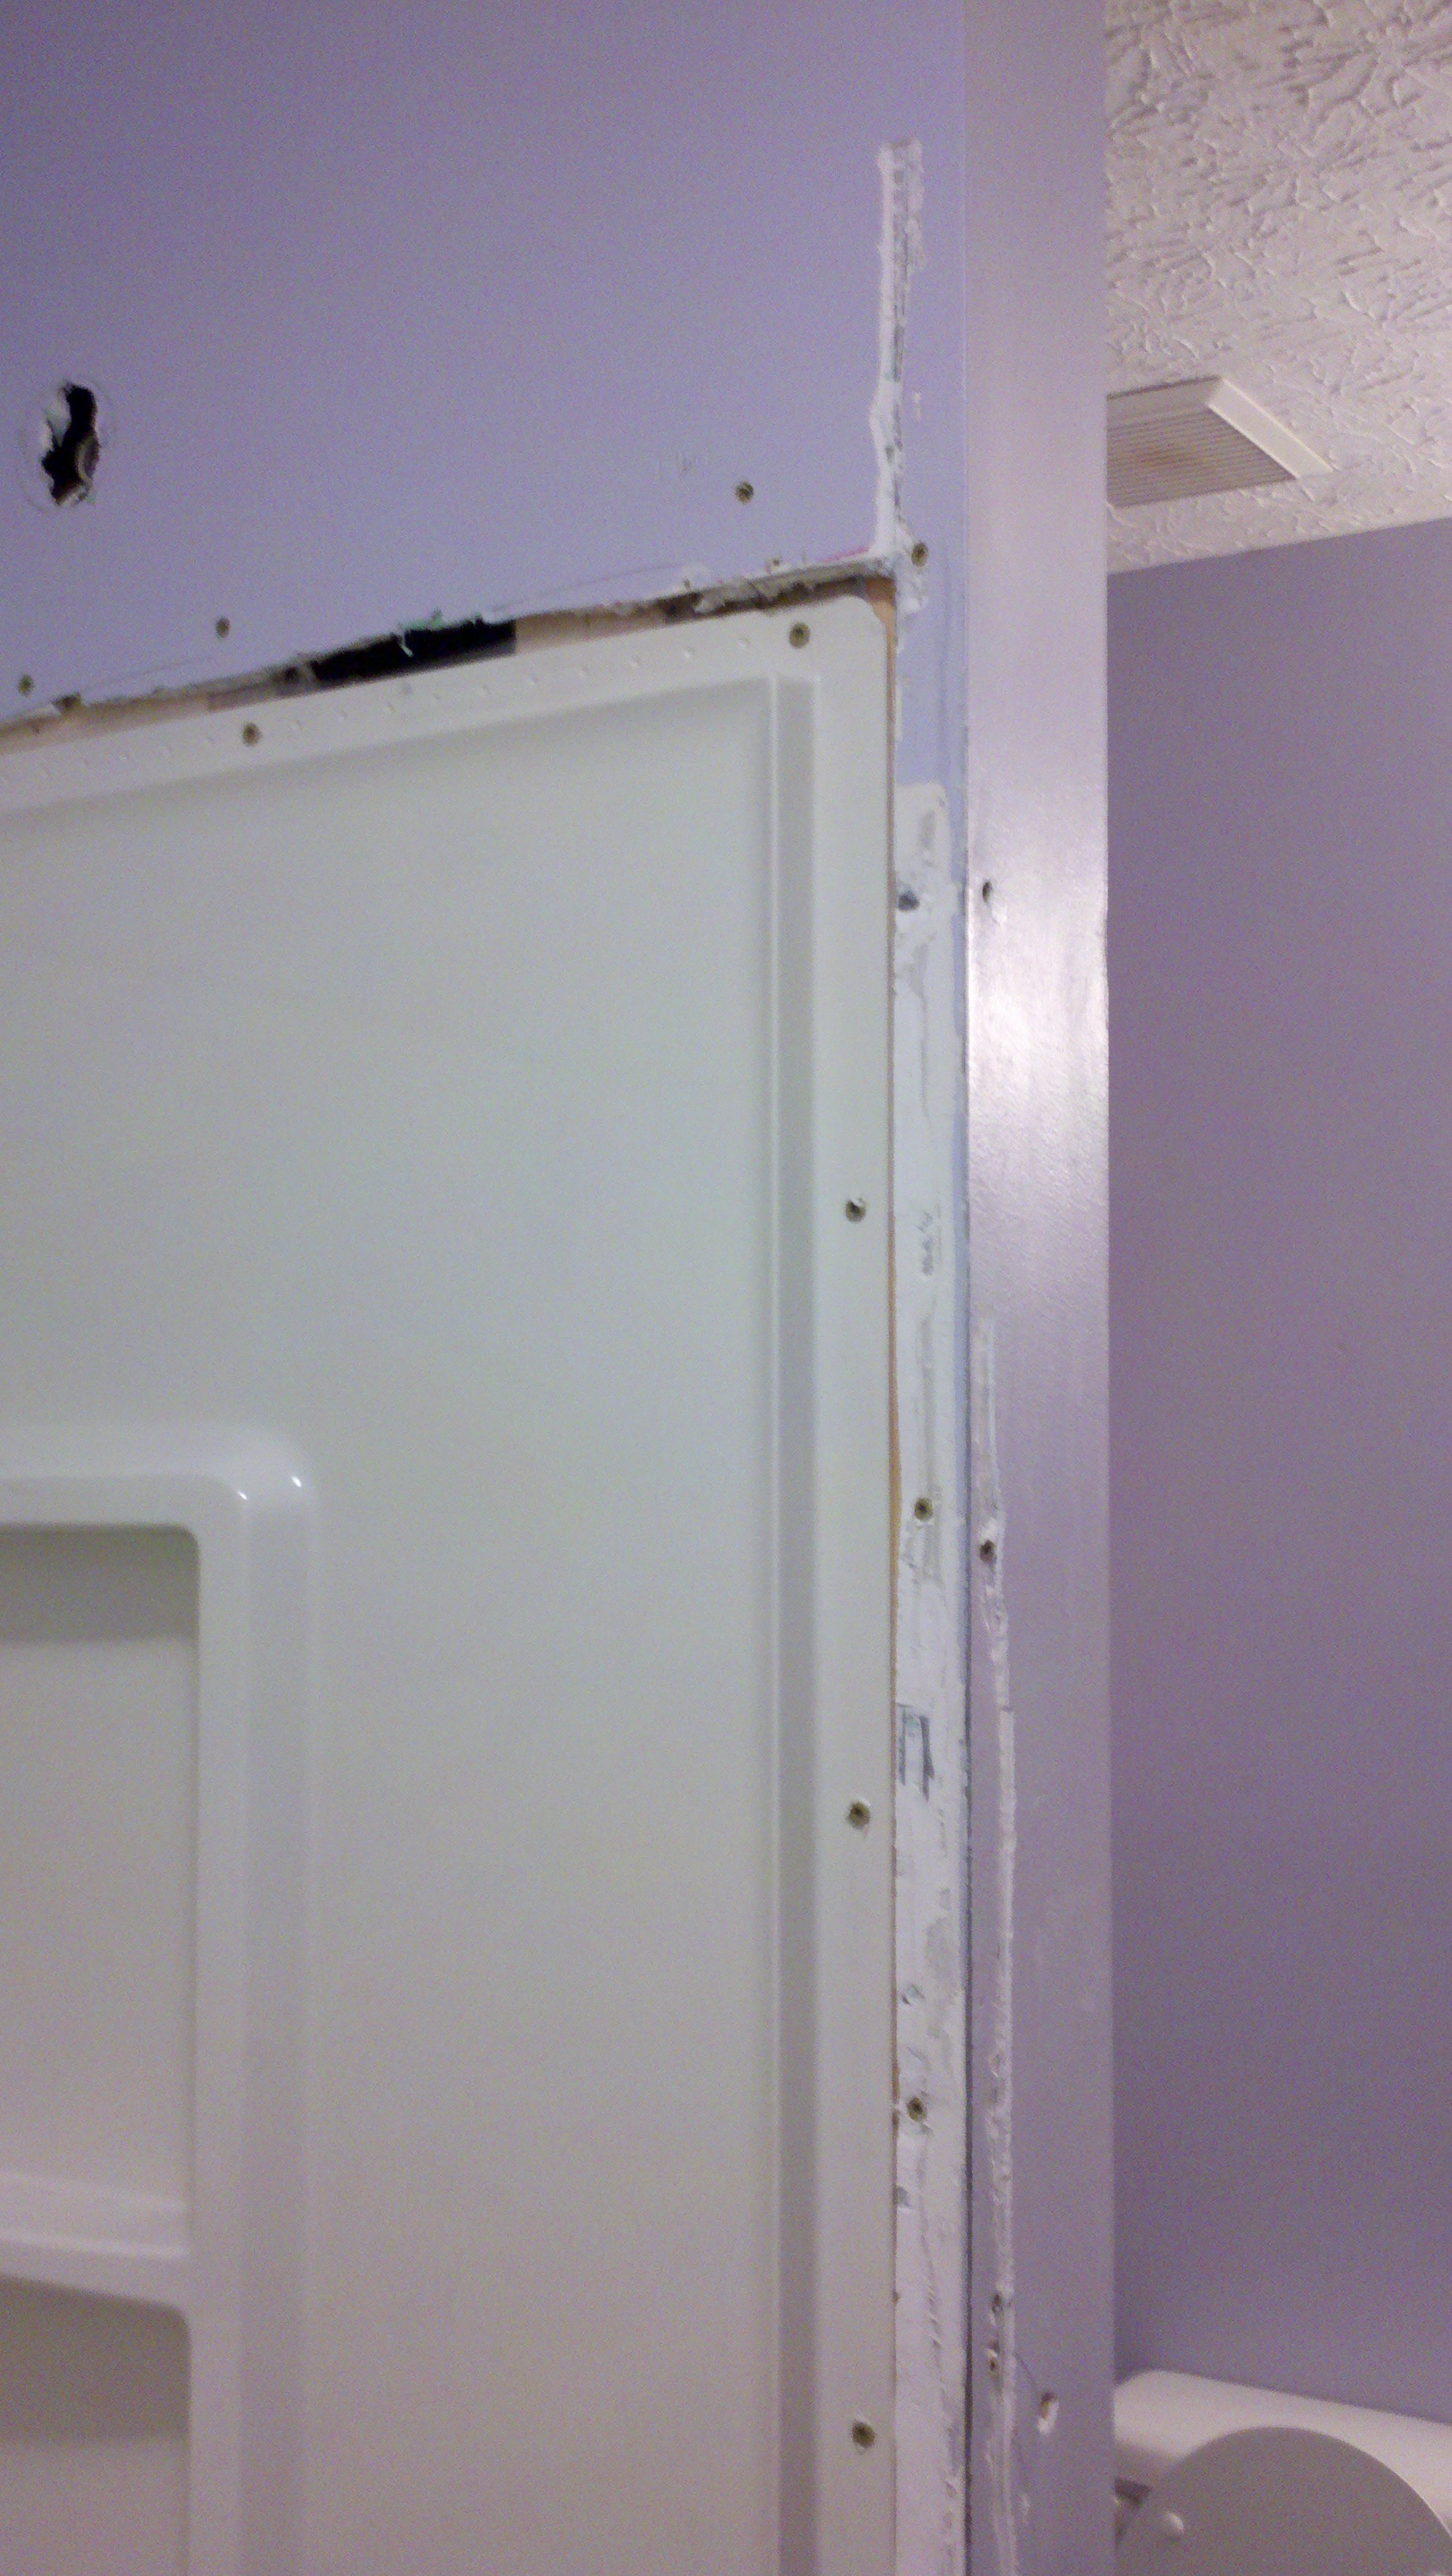
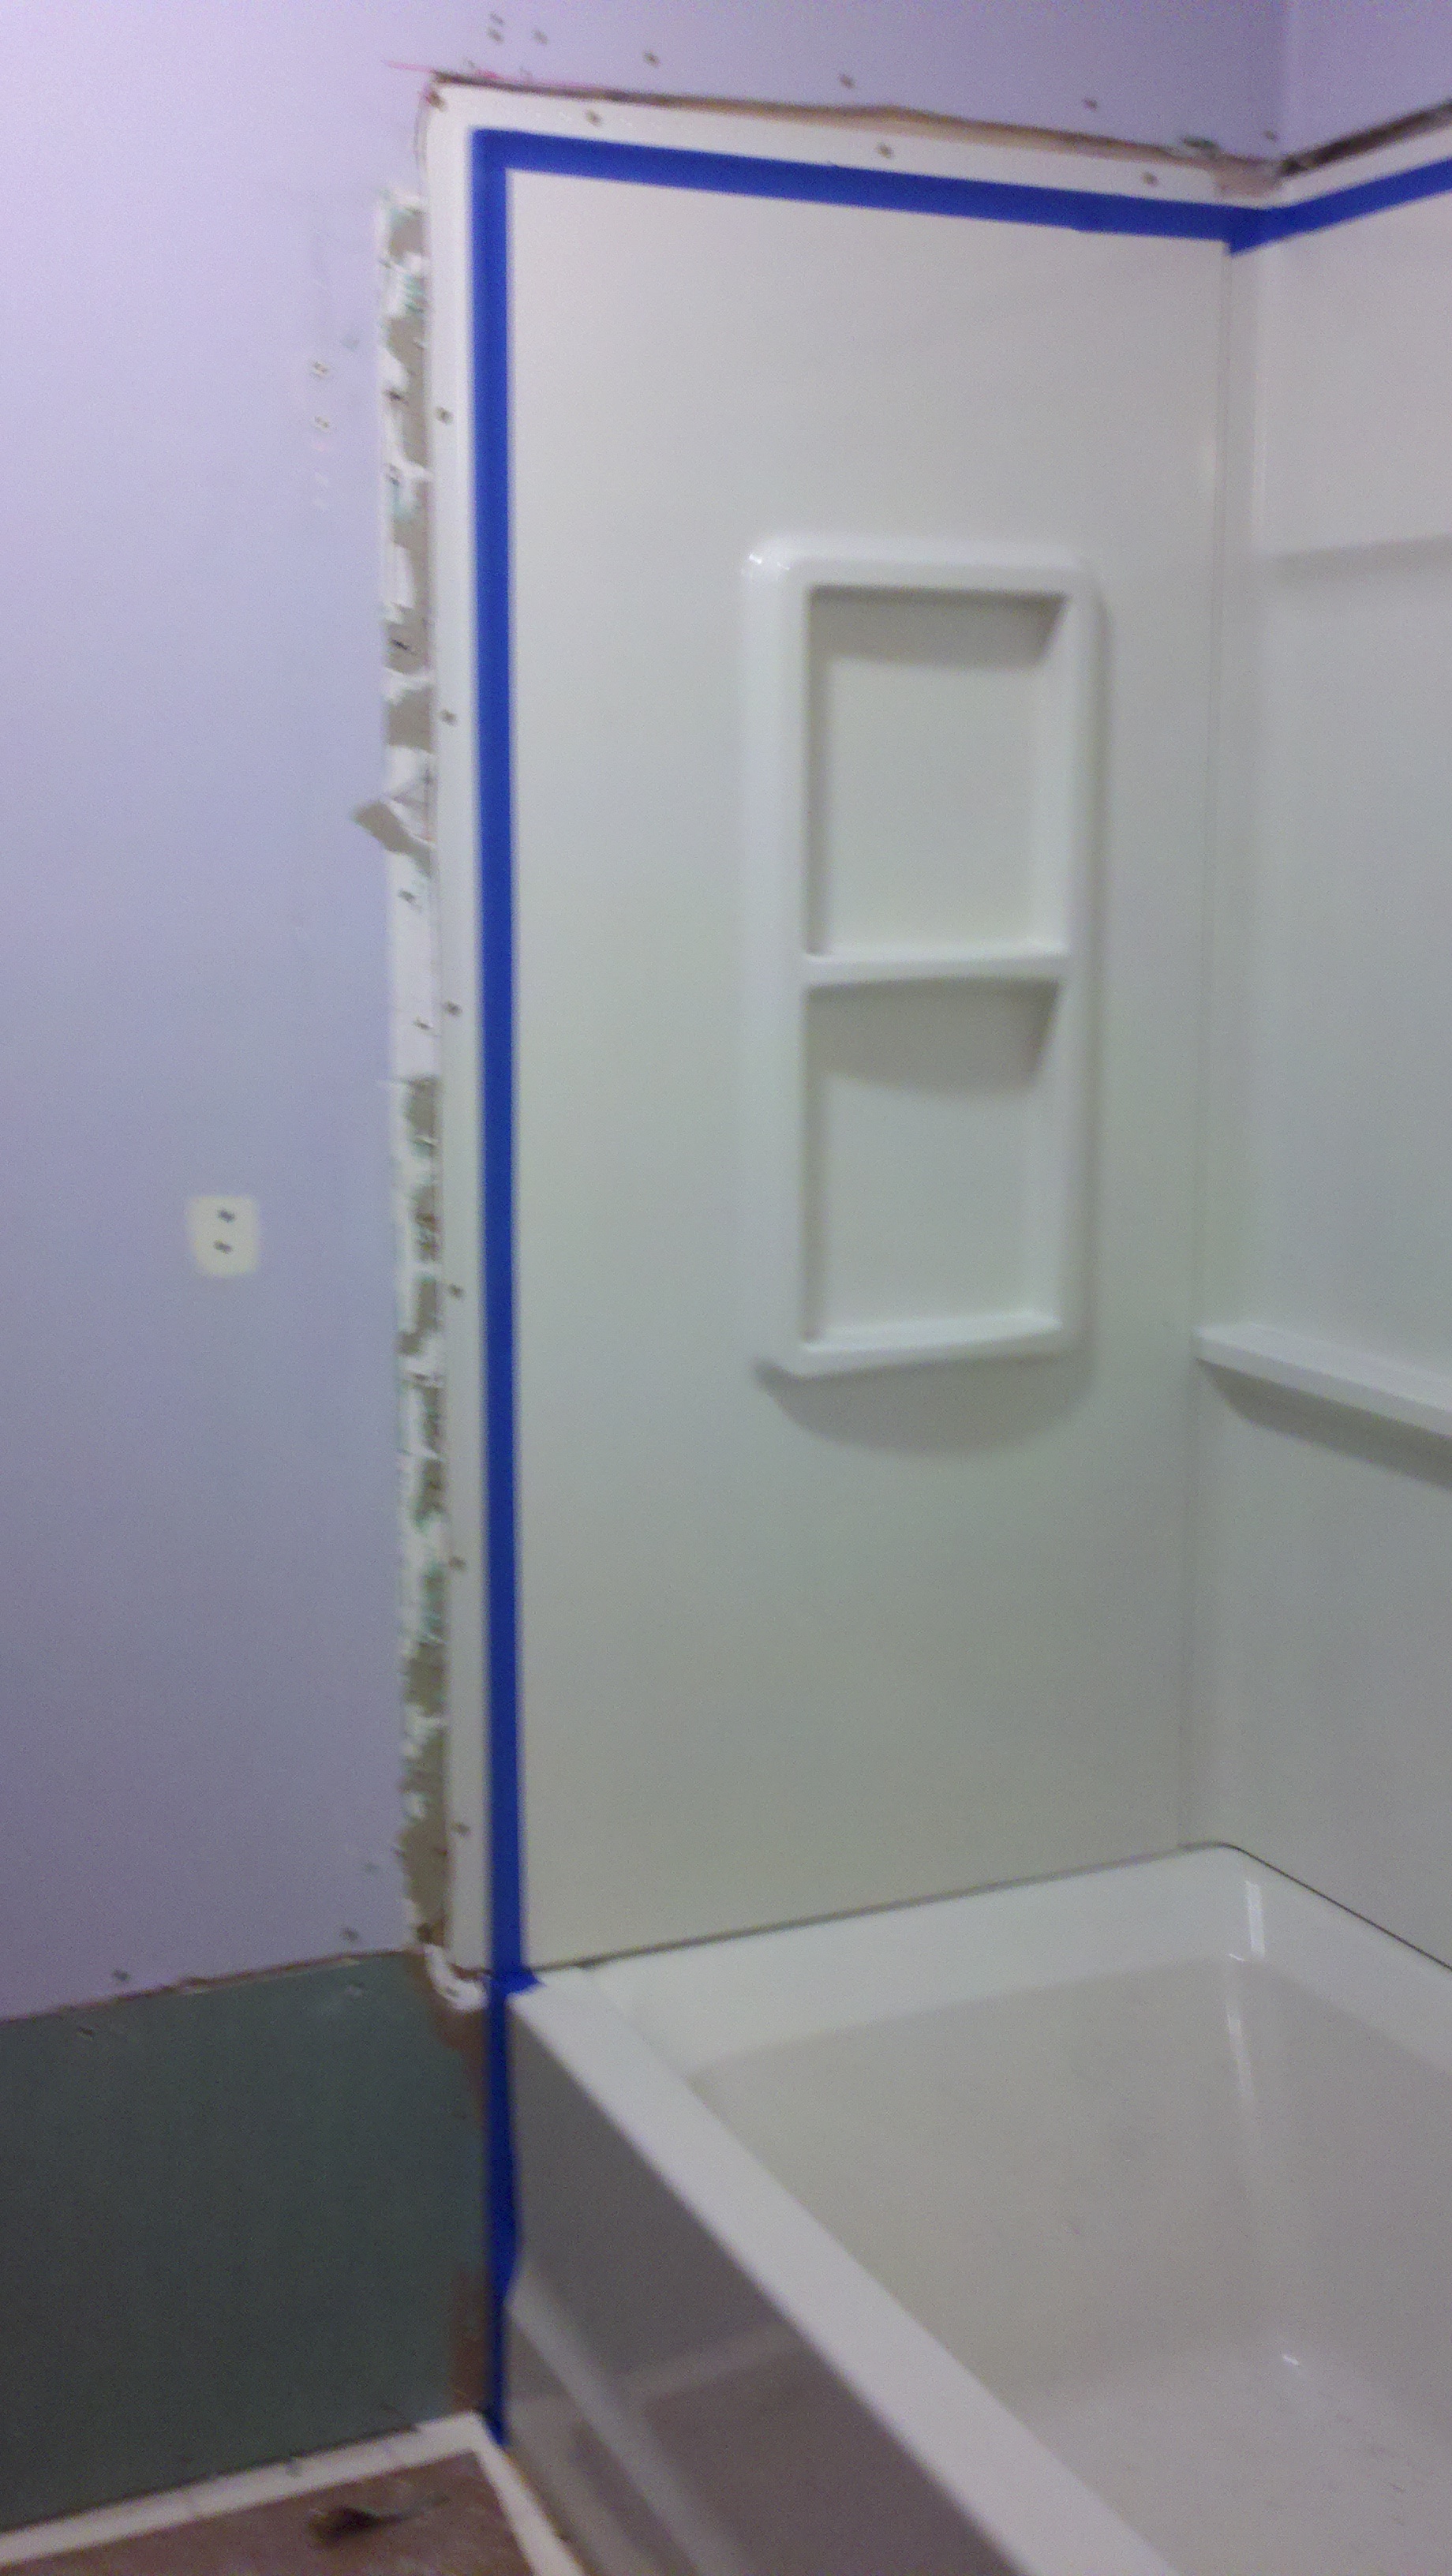
| Previous Bathroom Tile
Installation Removal, Repair, & Re-Installation of Tile
IN-PROCESS |

![]()